Material Selection
The basic requirement for the kiln body is that it has to be heat resistant and should have insulation properties. The industrially manufactured kiln are made with refractory bricks with steel body.
Refractory bricks also known as fire bricks are used widely used for lining furnaces, kilns and fireplaces.
The refractory bricks are able to withstand high temperature while having a very low thermal conductivity for optimal energy efficiency. Thus, the fuction of refractory bricks is to act as an insulation material to prevent heatloss from the kiln. The outer steel body gives structure to the kiln and makes the kiln portable and prettier.
For my project, I planned to make my own refractory bricks owing to the fact that we don't get refractory bricks here in Bhutan.
I had to first understand the composition of the refractory bricks. Refractory bricks are made of fireclay which contains two main components namely silica and alumina.
It also contain small amounts of magnesium, calcium, potassium, iron and titanium. Fireclay is typically divided into grades depending on the type of fire resistance needed.
For closed furnance and kilns, refractory bricks made from high-density clay with high alumina content, as much as 40 to 44 percent are used.
While for openfire places, bricks made from clay with lower alumina content is used.
I tried to look for fireclay in the market but sadly I couldn't find them. Thus, I had to opt for a similar material. I went through multiple documents and videos and finally I stumbled upon this
video by The Thought Emporium on youtube. Here he used a mixture of plaster of paris(POP) and sand to make the refractory material lining.
Since both POP and sand were available in the market, I opted to make the bricks using these materials.
Plaster of Paris(PoP) is a quick-setting gypsum plaster consisting of a fine white powder (calcium sulfate hemihydrate), which hardens when moistened and allowed to dry. Plaster of Paris gets its name from the fact that in ancient times, it was made from the abundant gypsum found near Paris.
Plaster of paris does not generally shrink or crack when dry, making it an excellent medium for casting molds and is also used in medicine to make plaster casts to immobilize broken bones while they heal.
Plaster of Paris is fireproof and is also a material that is ideal for heat insulation. The good thing about this material is that it does not shrink while it sets. Hence, it does not develop cracks as it heats and sets.
PoP can withstand temperature upto to 1,200 °C (2,200 °F). For my project, I need to maintain the temperature between 800°C - 1000°C. Thus, I found that I could use PoP for casting the brick lining for my kiln.
For the sand, I used river sand which is the most commonly available in Bhutan. Sand is mainly made of silicate minerals and silicate rock granular particles which is one of the major component of fireclay.
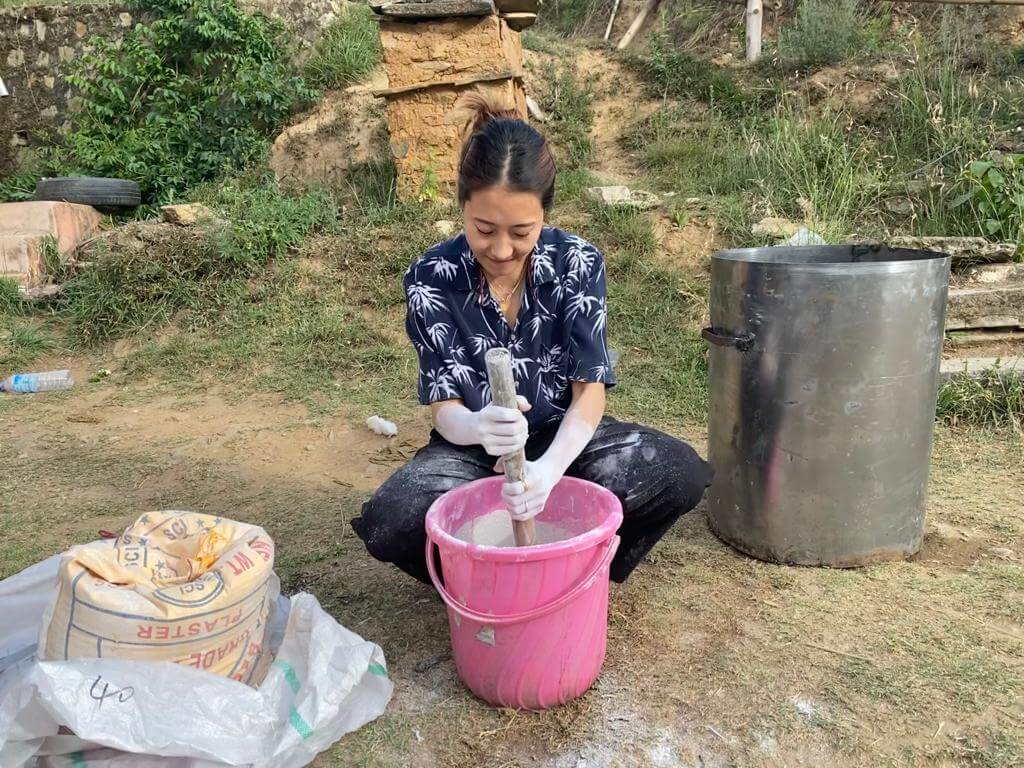
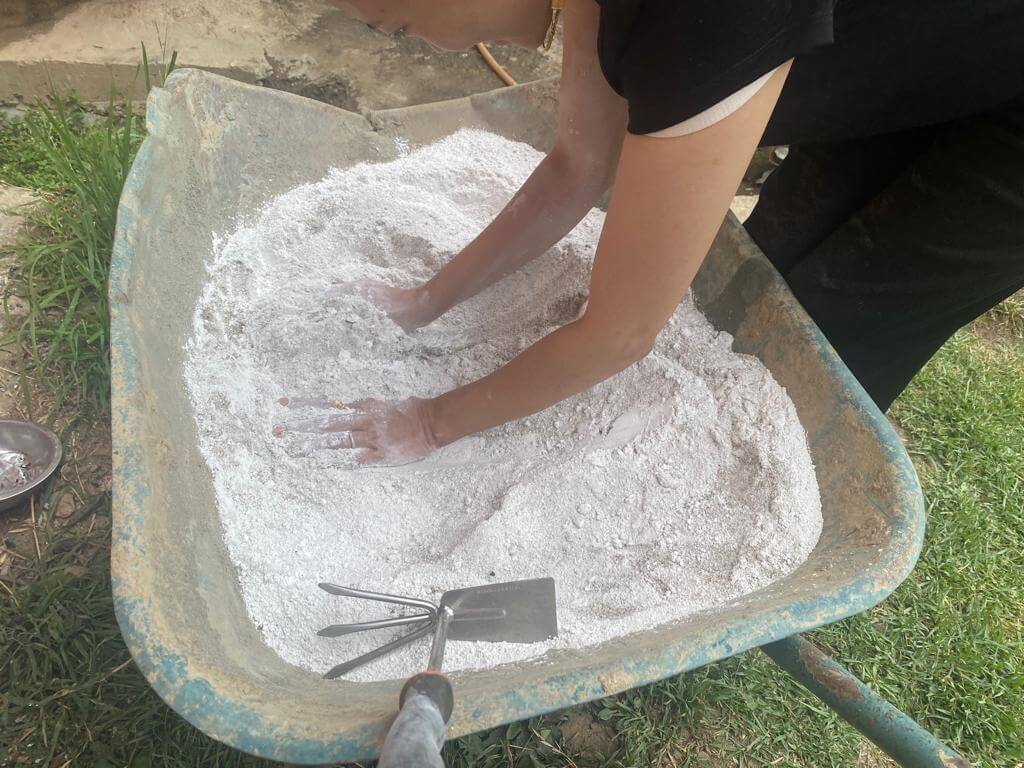
The mixture was made in the ratio of 2:2:1 whereby two parts of PoP was mixed with two parts of sand and 1 part of water.
Since PoP has a very fast setting time, I had a tough time when working with it initially.
Brick Mold
For my brick mold, I initially thought of designing the mold and getting it 3D printed. However, the size of the 3D printer at our lab was quite small. Thus, I couldn't print the mold.
As an alternative, I cut the mold design on wood using the CNC machine. Since my plan was to make a circular kiln, I wanted to make curved bricks. The design was made using Fusion 360 and can be seen below. I cut the design using CNC machine on wood planks.
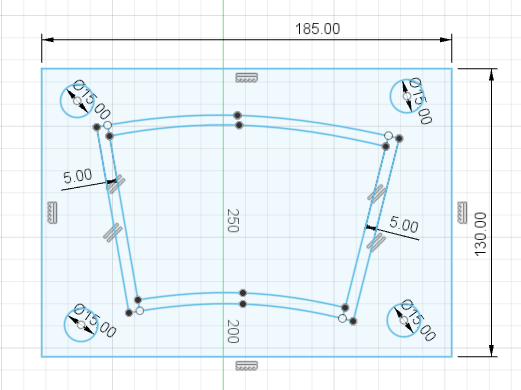

The plan is to make multiple cut of the design and stack them on top of one another to create a thick brick mold. The idea can be explained in the picture below;
Howevr I couldn't continue with this plan either. The CNC machine broke down after I cut the first design. As I had to leave for an official work soon after, I couldn't cut more designs. hence, I had to change my plan again.
This time I opted for the method used in the video by The Thought Emporium whereby I made the casting in one go. The plan was to pour the PoP and Sand Mixture into the outer steel body and create a hollowed out cylinder.
Outer Steel cover
For the outer steel/metal cover of the kiln, I wanted to use a premade steel bucket. However, I couldn't find one in the market. hence, i opted to make one on my own.
I used mild steel sheet to create a cylinder for the kiln. Before cutting the sheet, I had to first calculate the dimensions for my kiln.
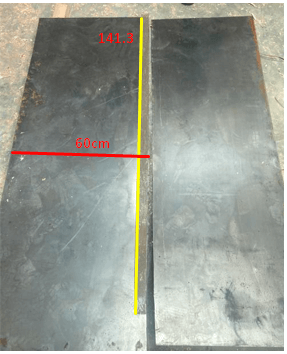
My plan is to make a kiln with 60cm height and 45cm diameter. Thus as per these requirements, I calculated the total material I needed. The calculations were as follows;
Height= 60cm;
Diameter=45cm;
Radius=45/2= 22.5cm;
Since I already know the height I wanted for my cyliner, I just needed to calculate the circumference to know the total material required.
Circumference= 2πr
= 2*3.14*22.5= 141.3cm
From this I found that I needed 141.3cm * 60cm metal sheet to construct my kiln. I marked the sheet of metal on the dimensions I required. I need a sheet of length 141.3cm and width of 60cm. I kept the length of the material a big longer than required.
The additional length would be helpful when folding the sheet into a cylinder. It can also provide additional strength when welding.
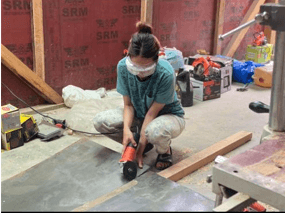
I cut the metal sheet using angular grinder. Since this was my first time using it, I had a tough time learning to control it and learing to cut it in a straight line.
Eventually, I was able to learn to control the machine and I cut the sheet as per the dimensions required.
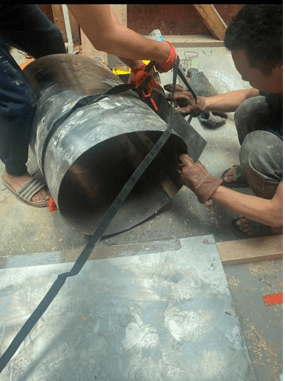
Once the metal sheet was cut, I had to fold the sheet into a cylinder. Since, it was difficult for me to do it alone, I got some help from my family.
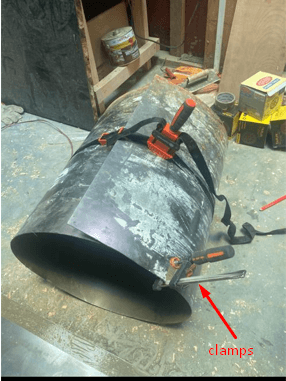
I used clamps and a rope to hold the metal in shape.
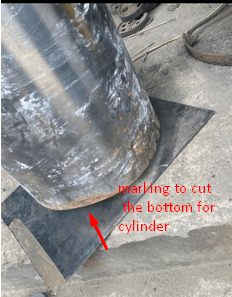
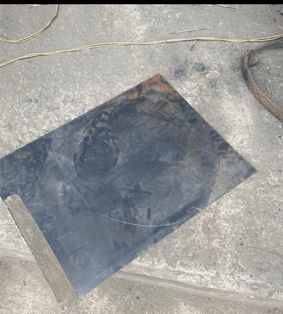
For the bottom cover of my cylinder, I placed the cylindrical sheet on top of a plain sheet and marked the circle I required. Then I cut the sheet into a circle to create a the bottom cover of my kiln.
Welding
The next step was to weld the sheets to form the cylinder. Since I had never done welding in my life and I read that it is quite hazardous and dangerous, I decided to get a professional help for this.
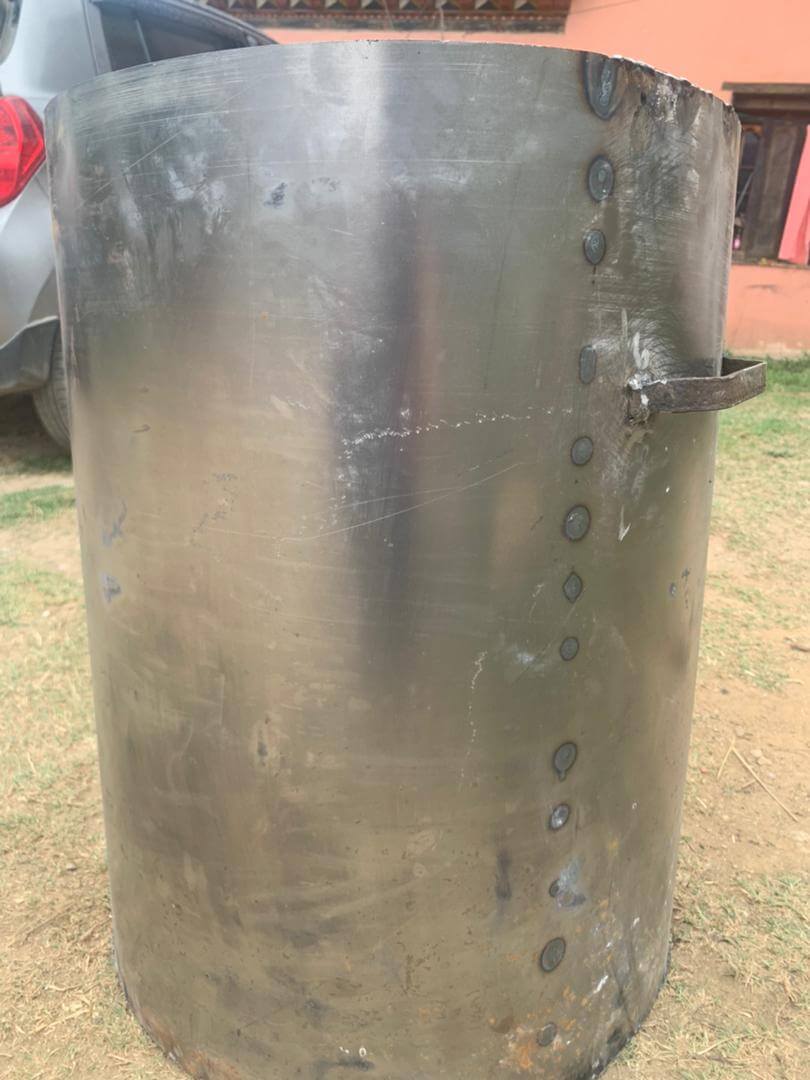
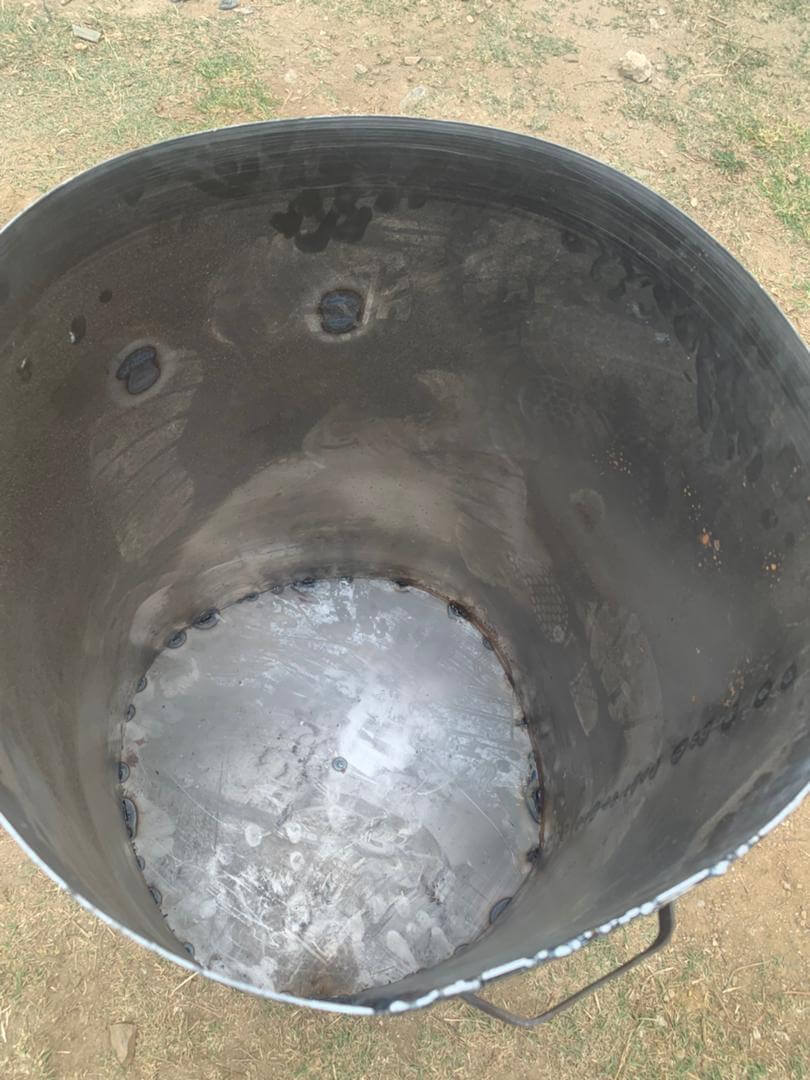
I went a car repair workshop to get the welding done. The guy used stick welding also known as Shielded Metal Arc Welding to create my kiln body. I also added some handles on the sides of the kiln.
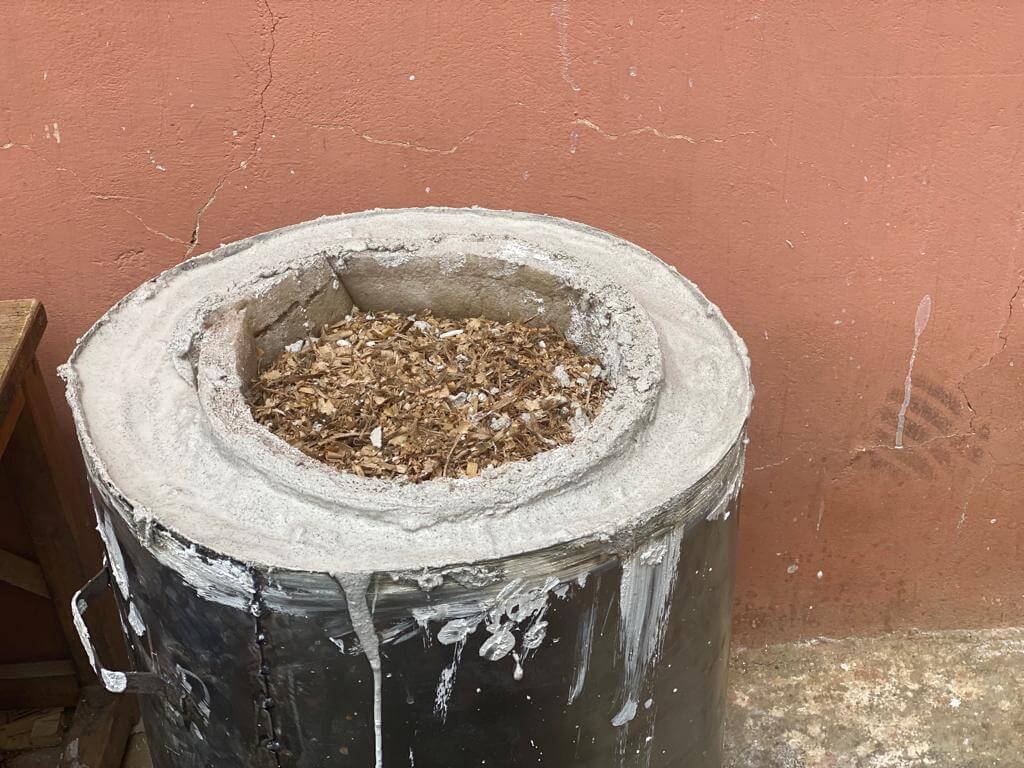
After the welding was done, this was the final product.
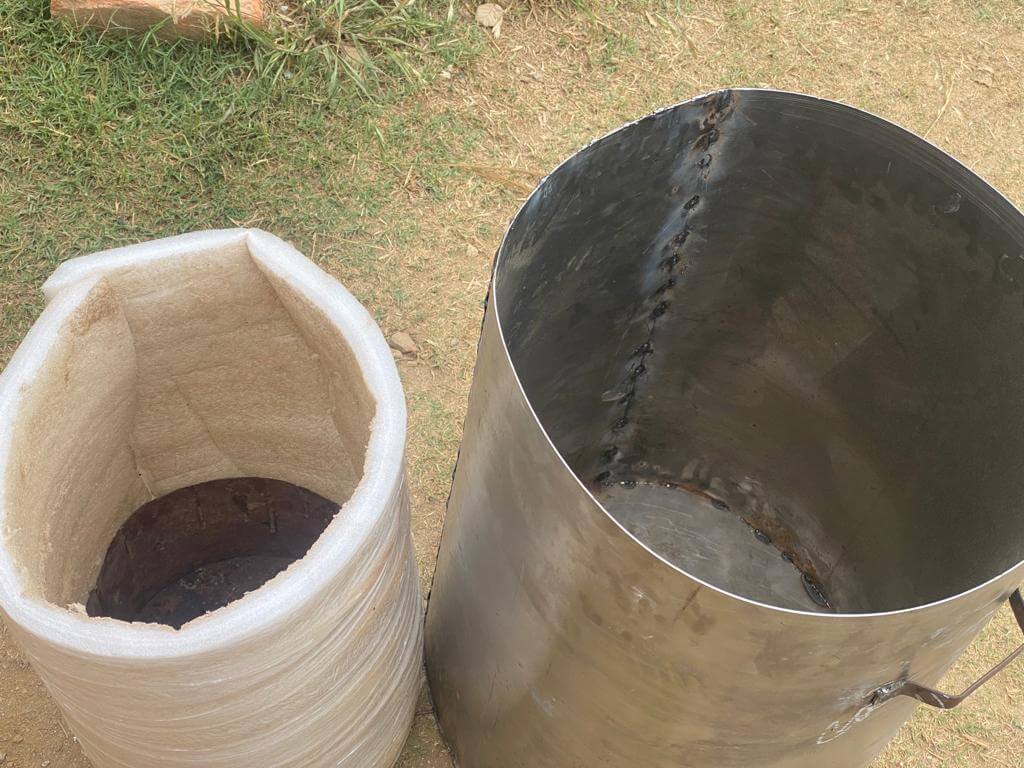
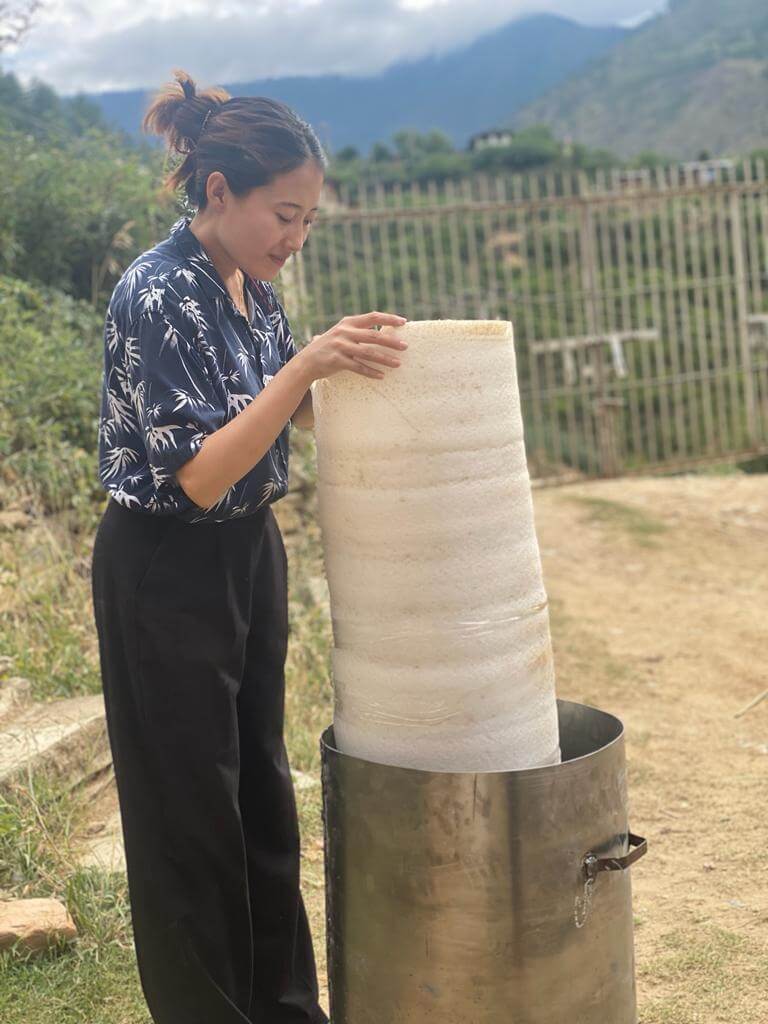
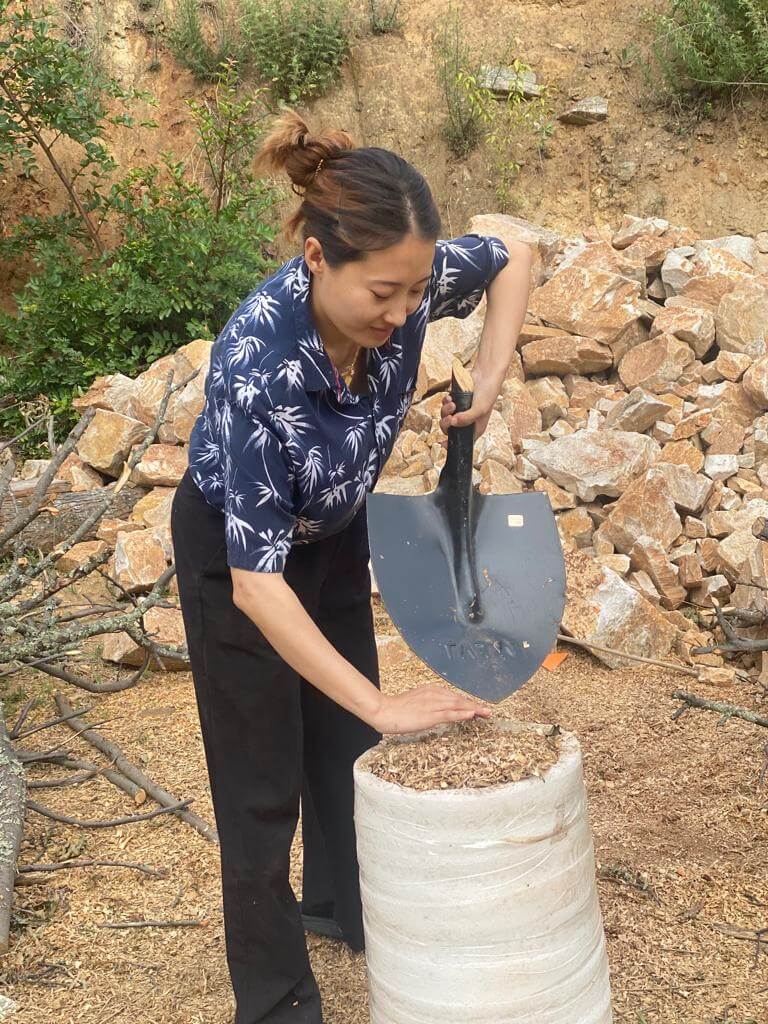
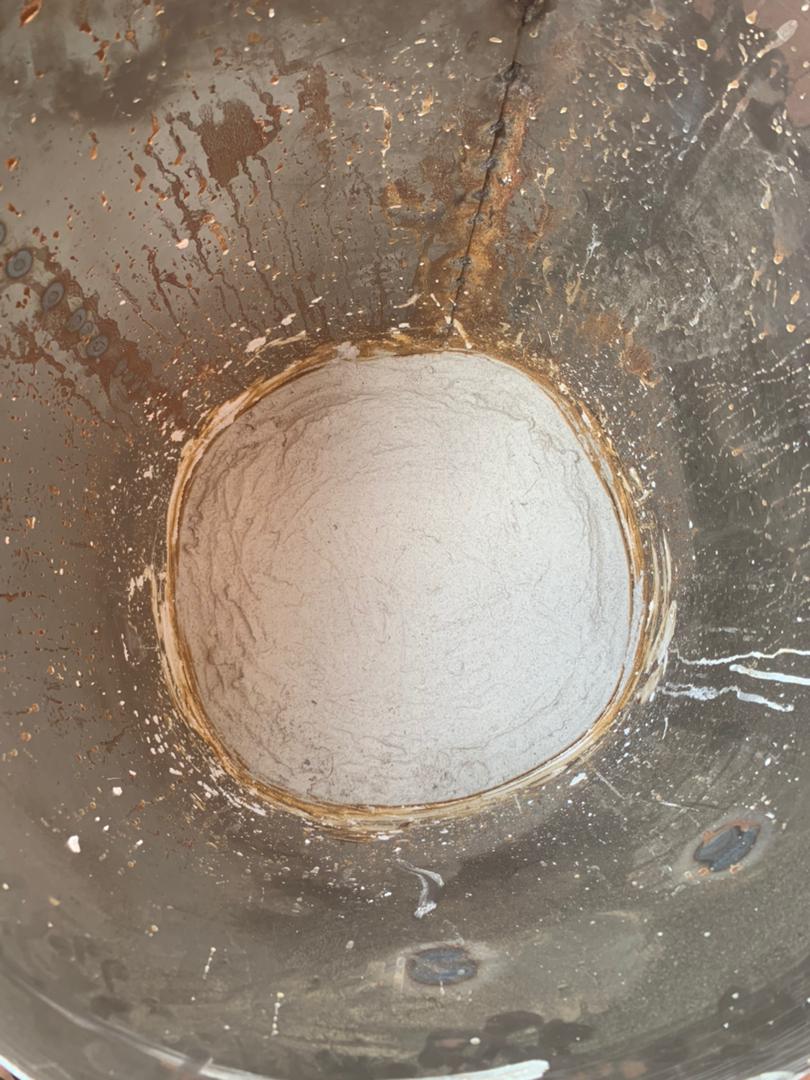
Refractory Layer - Insulation LayerFor the inner refractory layer, as mentioned above I used a concrete mixture of sand and Plaster of Paris. The ratio of the mixture was 1:1 i.e., one part sand with one part plaster of paris. The slurry mixture was made by adding water. The water is added in the ratio of 1:2 i.e., 1 part water for 2 parts of sand and PoP mixture. Before preparing the slurry, I had to make a smaller cylindrical mold which will be put inside the steel body to create a hollow in center when removed. For this I used a discarded mattress I had in my backyard. In the video by The Thought Emporium, he used a plastic bucket but he mentioned that it was really difficult to take out once the concrete sets. He suggested to use something malleable that can be removed easily. Thus, I used the mattress which could be easily folded. The mattress was folded around a tin can to ensure it hold shape and also to create base for the mold.