Week 1
- Category: Projectment Management
- Sessions Date: 26th Jan, 2022
- Assignment:
- watch git tutorial
- upload wesite in gitlab
Getting started with Gitlab
Gitlab is very new to me and while pushing my website to the web, I wasnt really condident. With the help of my friends, I did push the website and it was a really new experince.
Understanding Version control
Version control, also known as source control, is the practice of tracking and managing changes to software code. Version control systems are software tools that help software teams manage changes to source code over time.
Git is a free and open source distributed version control system designed to handle everything from small to very large projects with speed and efficiency.Steps followed in pushing my website to Gitlab
- Download here and open your Gitlab account
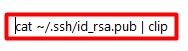
- Open Git terminal and type this command to generate your SSH key:
- Copy SSH key :
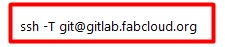
- Go in gitlab account and paste key in Profile Settings---> SSH key
- Check its linked with your gitlab account
- Configure your username and email ID :
- Clone repository in local system

git config --global user.name "USER NAME"
git config --global user.email "your mailID"
cd documents

cd Temp (I named my website folder temp)

git clone

Pushing
Inorder to push your work/assignments on gitlab, I needed the following git commands
cd folder_ name (since I had saved mine in documents, cd documents)
cd temp (name of my folder name)
git add --all
git commit -m"write any message"
fit push
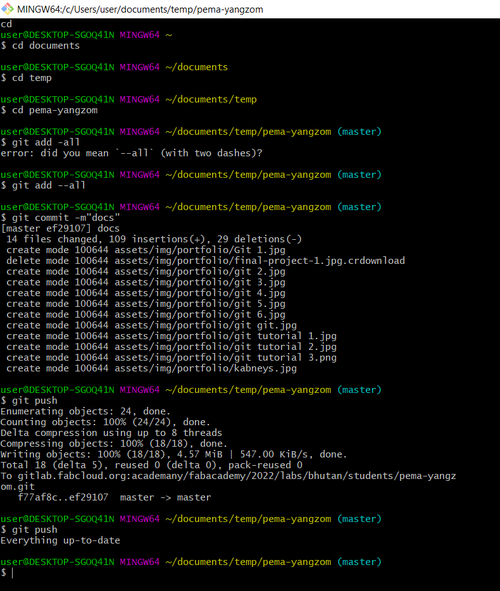
And its a SUCCESS!!!!!
Understanding HTML and Markdown
- What is HTML
- HTML stands for Hyper Text Markup Language
- HTML is the standard markup language for creating Web pages
- HTML describes the structure of a Web page
- HTML consists of a series of elements
- HTML elements tell the browser how to display the content
- Source HTMl Introduction
- What is Markdown
- Markdown is a lightweight markup language for creating formatted text using a plain-text editor.
- The philosophy behind Markdown is that plain text documents should be readable without tags mussing everything up, but there should still be ways to add text modifiers like lists, bold, italics, etc. It is an alternative to WYSIWYG (what you see is what you get) editors, which use rich text that later gets converted to proper HTML.
- We can find Markdown used in Facebook chat, skype and Reddit.
- Markdown is very simple and easy to use
- Source What is Markdown?
Developing website
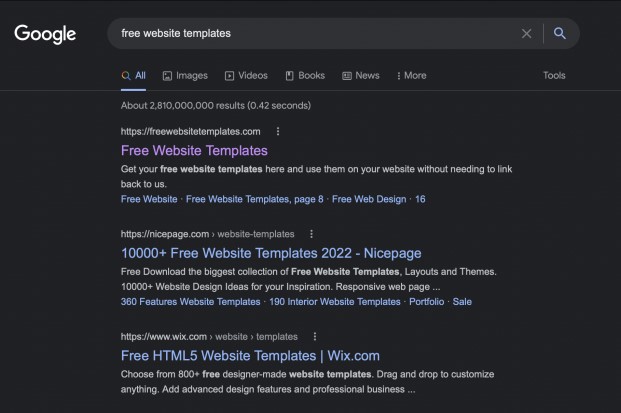
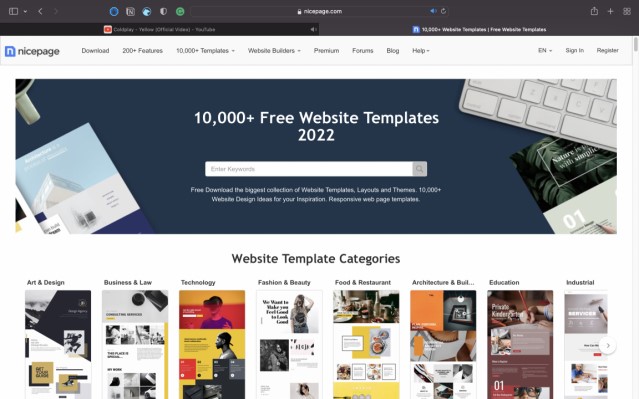
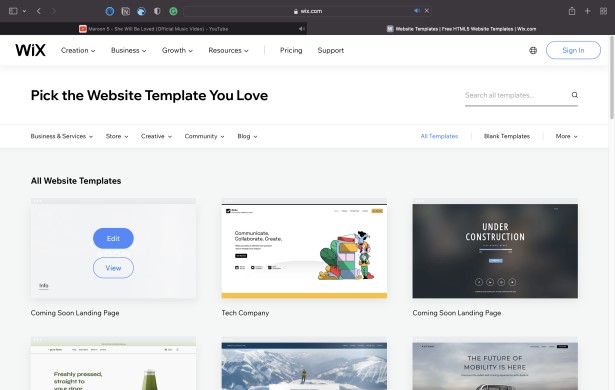
First of all, as per the instructions offered during Prefab Academy, I searched for templates that best suited the content I wanted to share in my website. I went through many websites that offered free templates.The language I used was HTML since I already learned about it in our Prefab Academy.
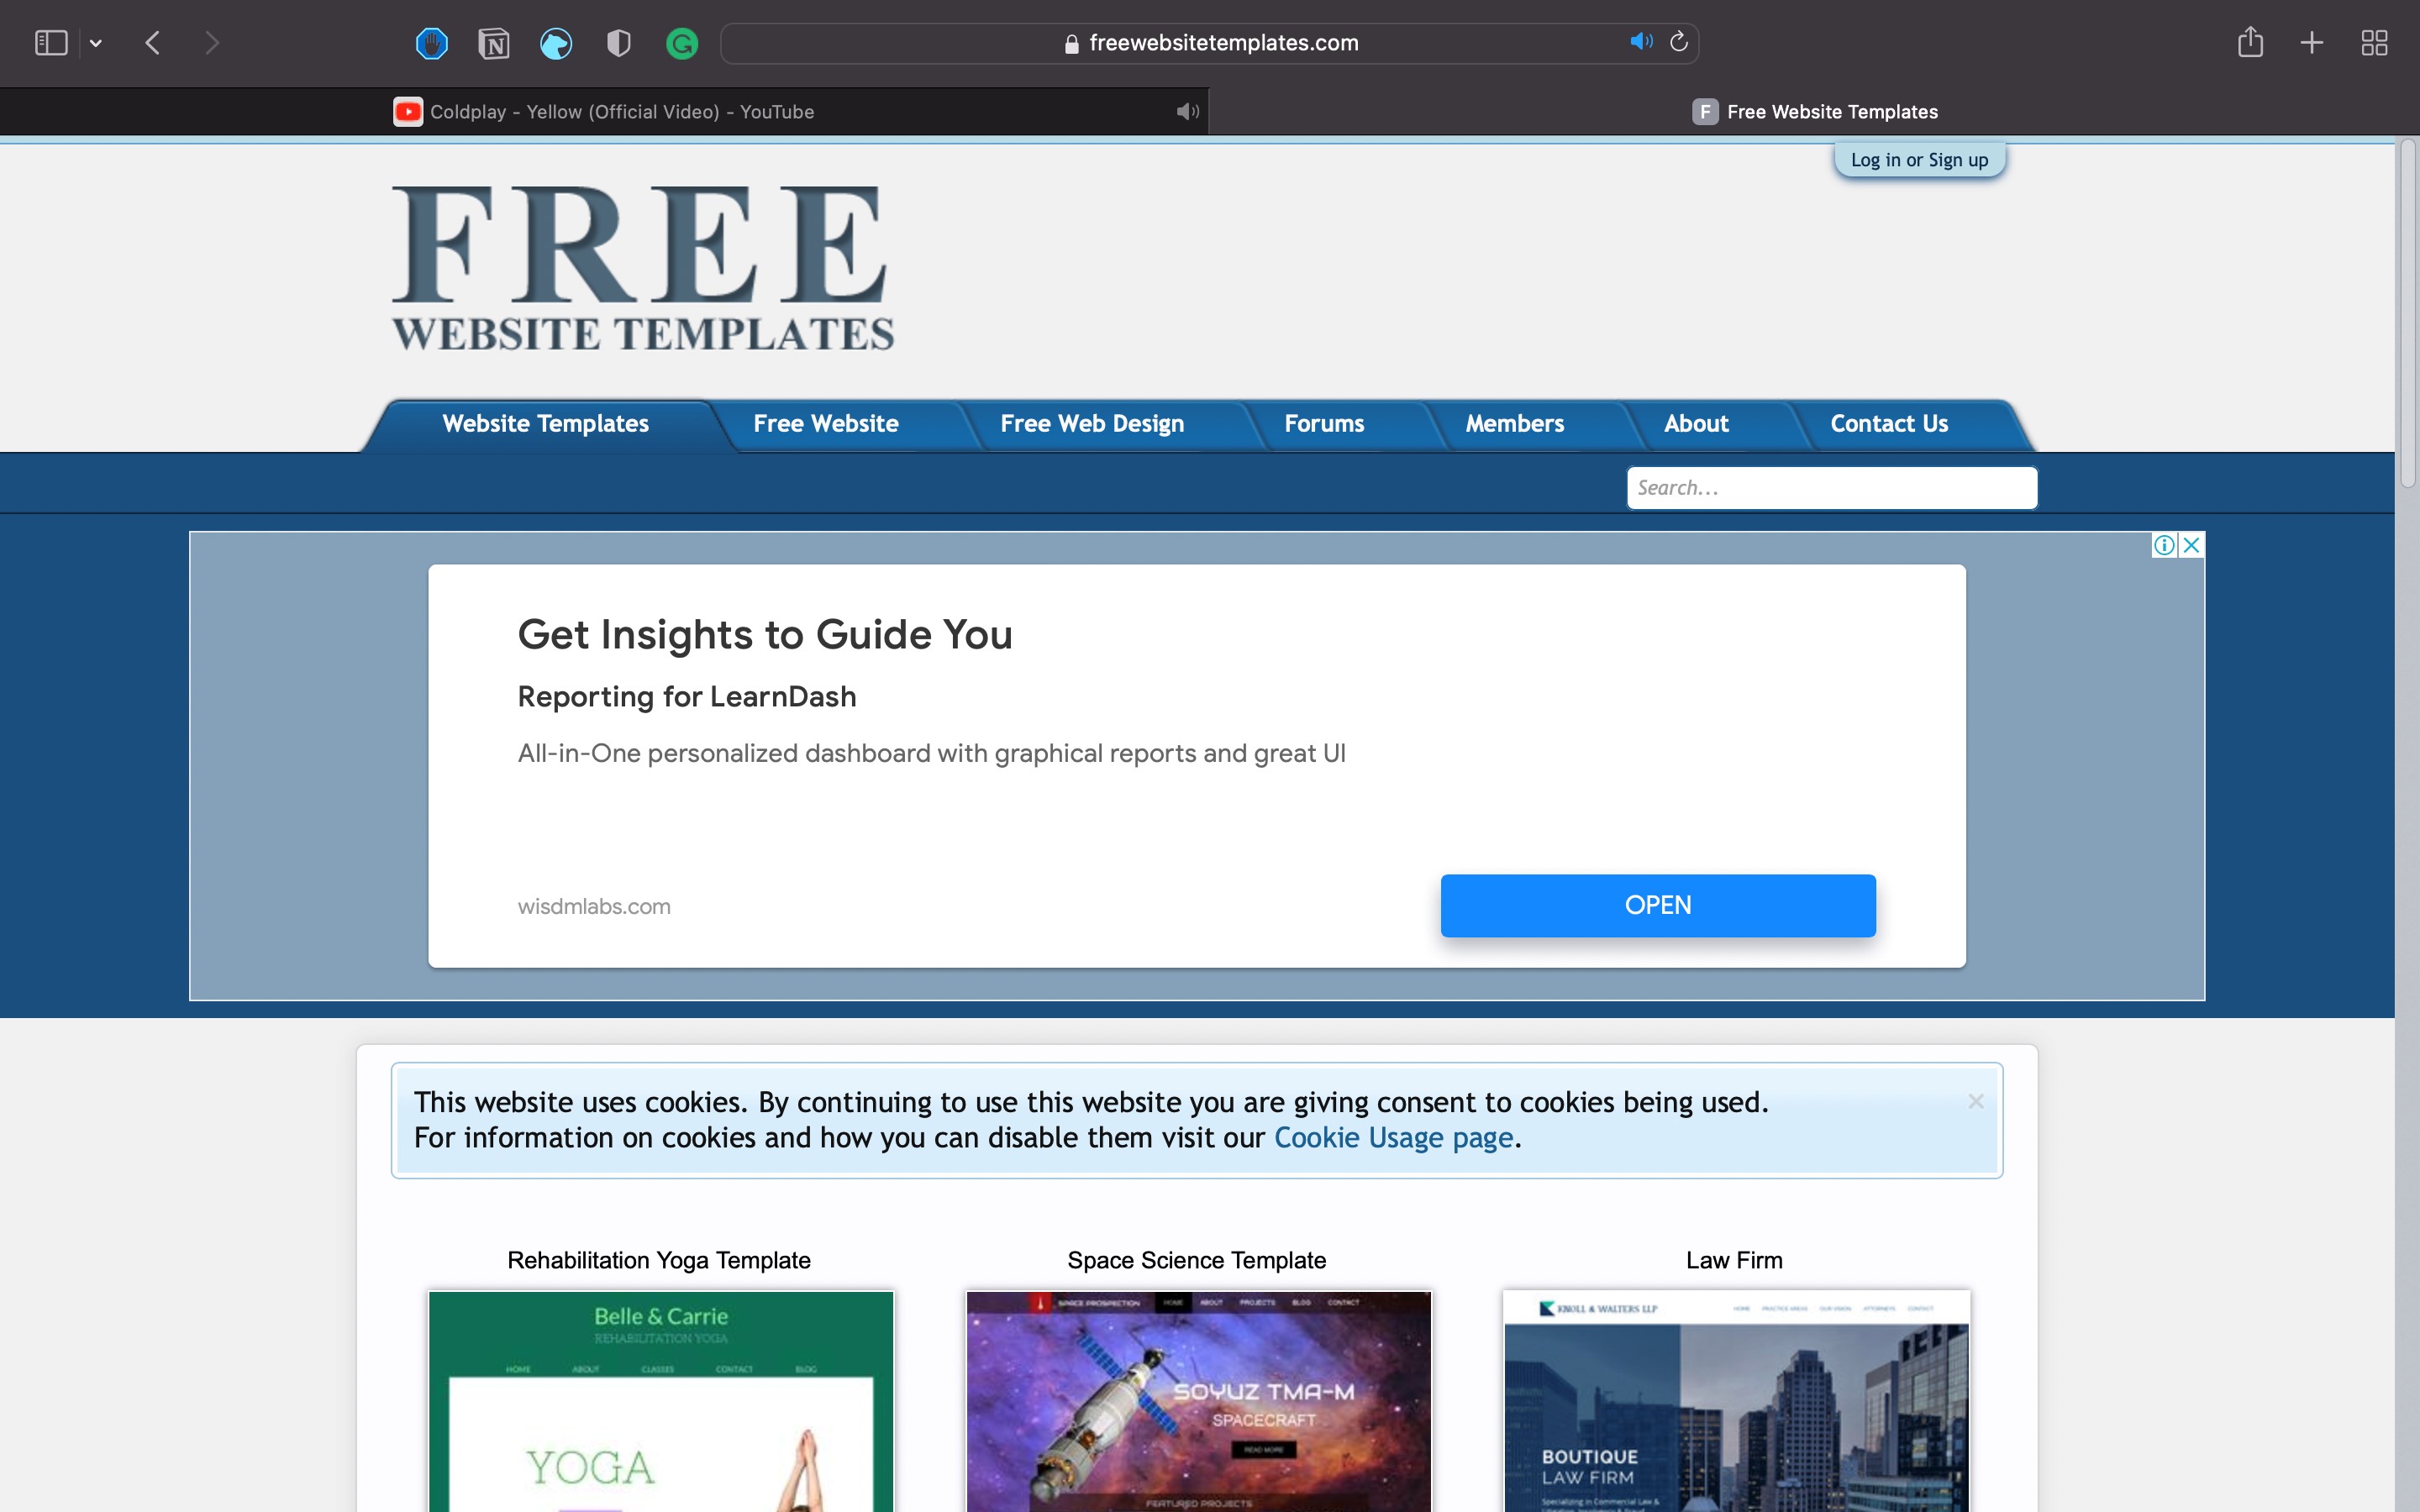
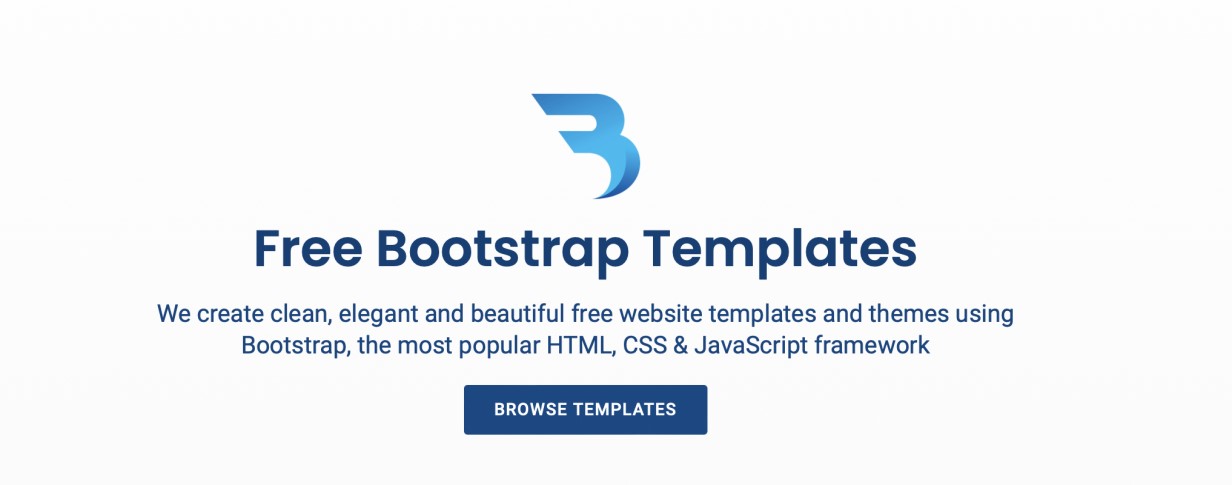
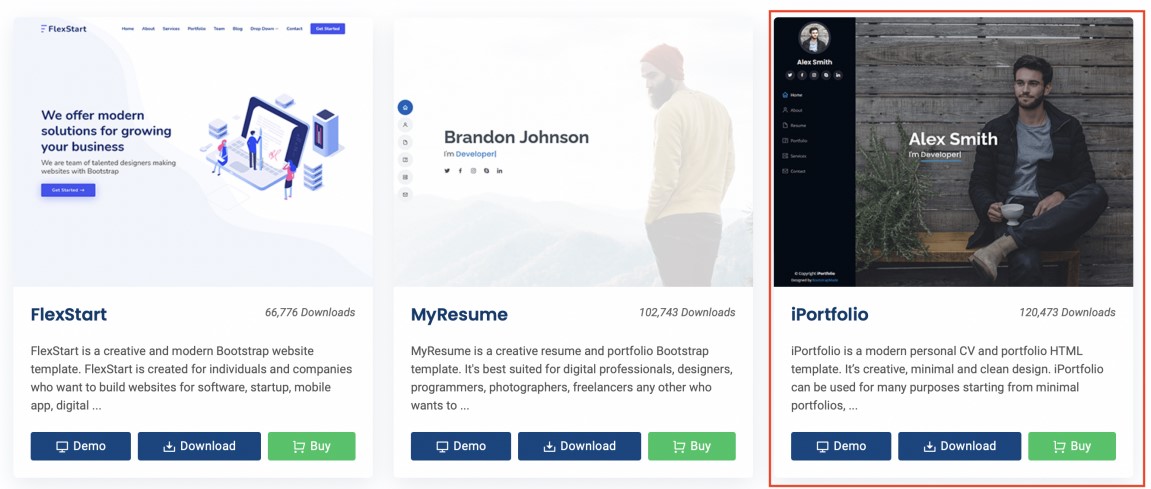
After going through various templates, I decided to go for a template from bootstrap.
Most of the preset format that were present seemed too hectic to edit. With a minimalist site in mind, I finally found the template that was best for me. It was titled iPortfolio and was designed to document an individual’s CV. Even the features stated about the template acted as a bonus basis to select the website. On top of that since my intent was to document the progress I had over time and show case certain detail about myself, it best fit my requirements.
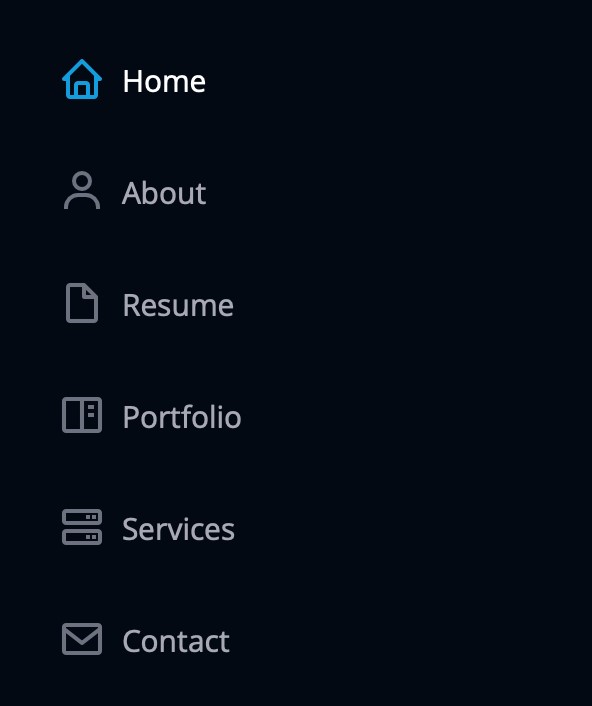
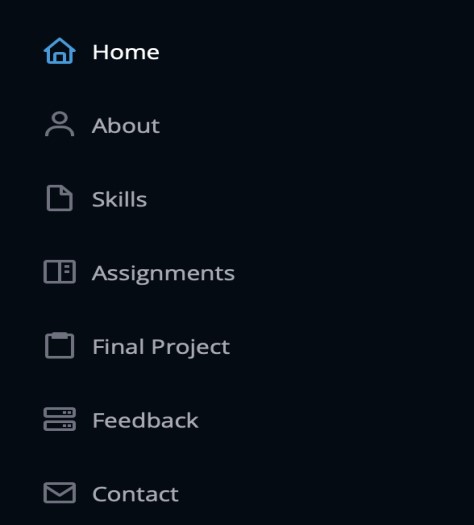
I downloaded the template and tried to see the preset information that was in the site. Having no clue on how to proceed with customization of the website, I started with the navigation bar. Through the websites that I referred in the Fab Academy website, I knew the tabs I had to create for my nav bar.


Now I moved on to the main content of the website. The first thing was the home section. The data displayed there was exchanged with details on my own. It even has an image that consists of my colleagues and my students


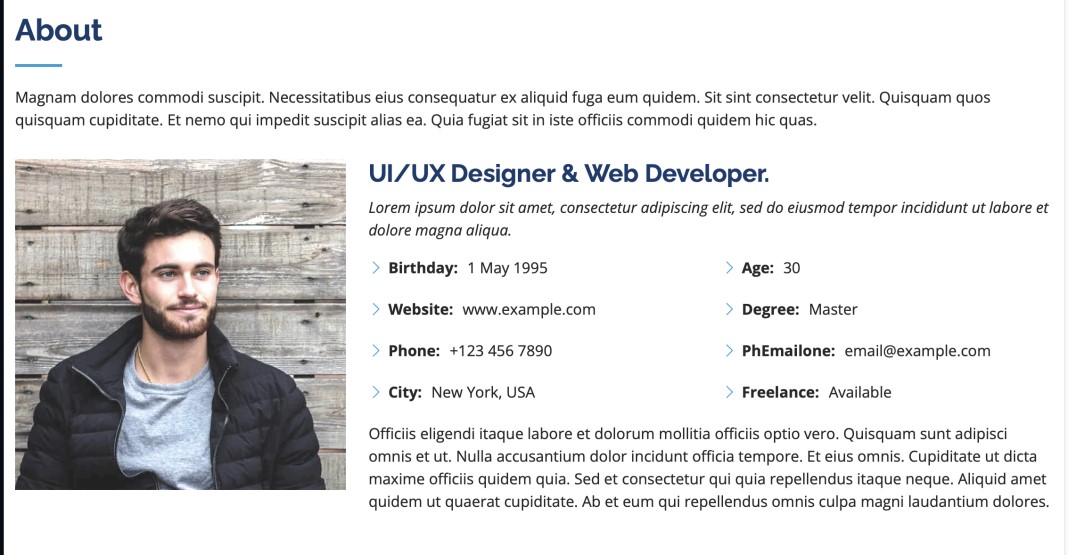
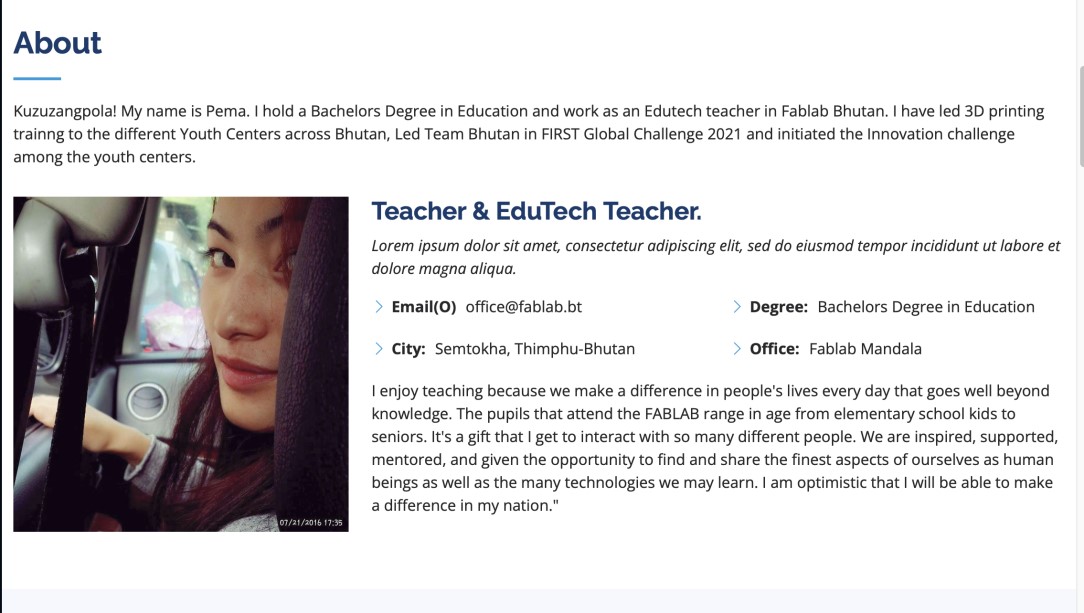
Next customization that I had to make was on the about section of the website. The title, information and images were changed as per my liking
Now came the tricky part. I had added a new tab called Fab Academy, which was missing in the original template. The main goal of this part of the website was to keep a track of the new things I learned after enrolling into Fab Academy and to boost my self-esteem. Necessary information was added and dispensable were dispensed.

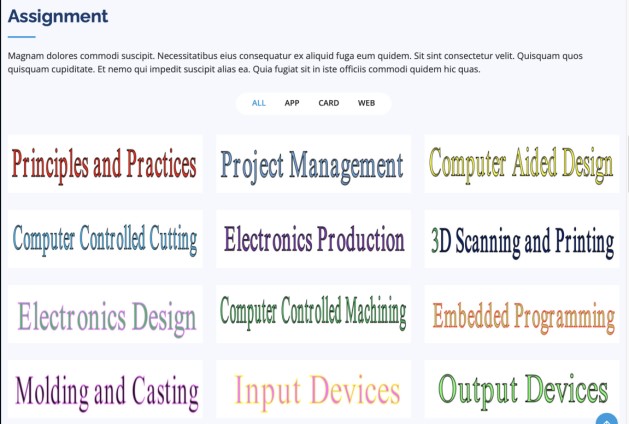
Having gone through the websites made by other students, I came to an understanding that It is very important to document the assignments done every week.
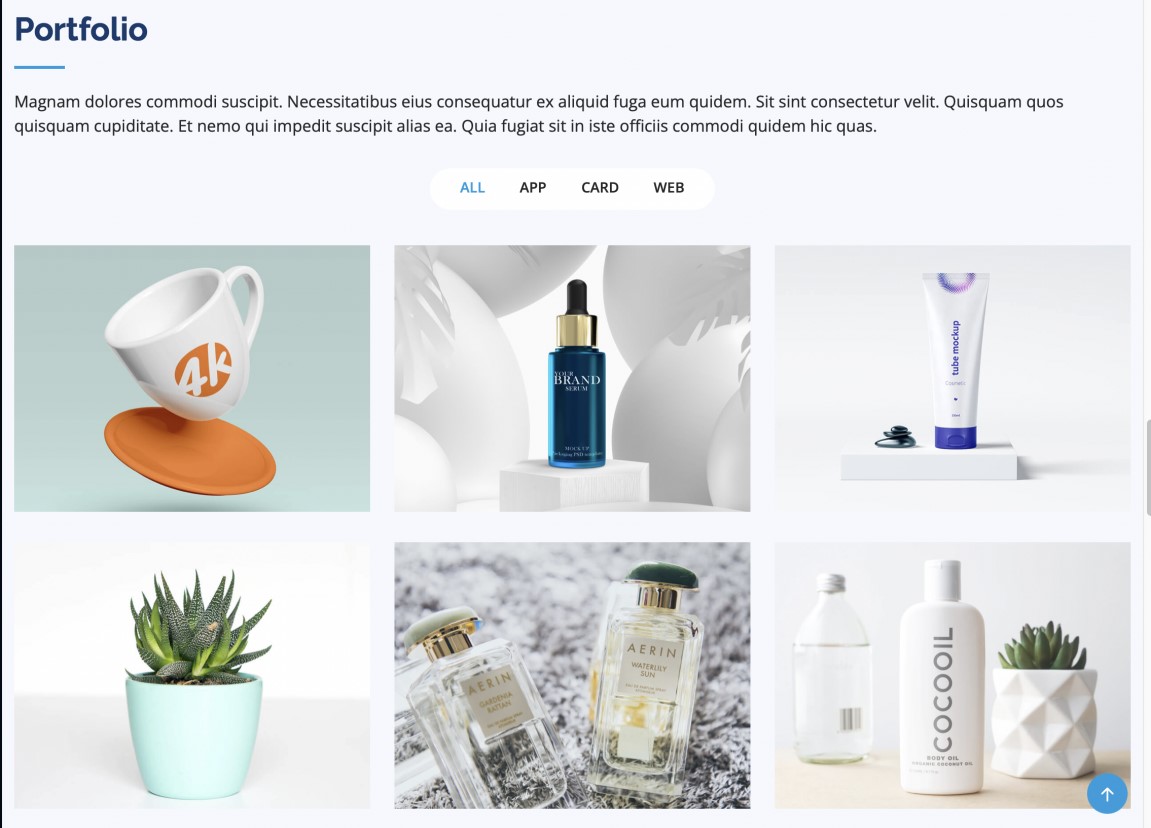
The Portfolio section of the original website was changed to Assignments.
The steps I took to make the changes are:
First the title of was changed to Assignments from Portfolio

To help people visiting the website understand what the particular section of website did, a brief paragraph describing was written
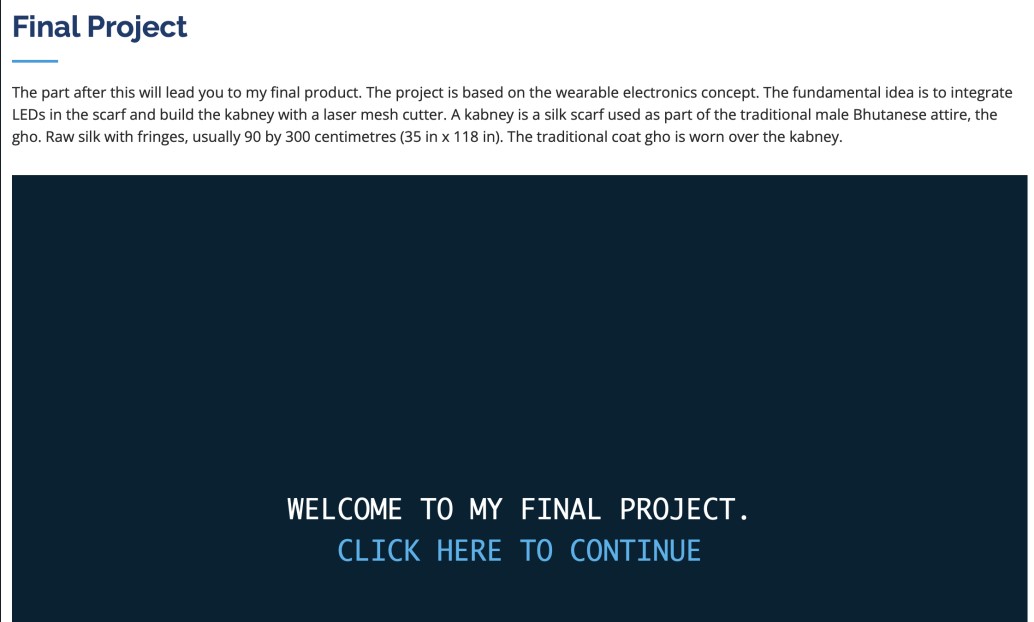
After all our assignments are done, we are supposed to come up with a final project. I had added an extra tab and icon in the nav bar specifically for this. Then I added certain details and a hyperlink with hover effect that will be linked to the documentation of my final project
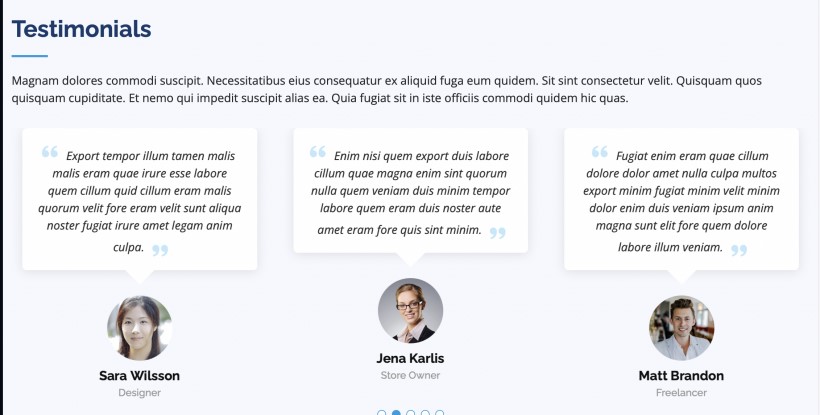
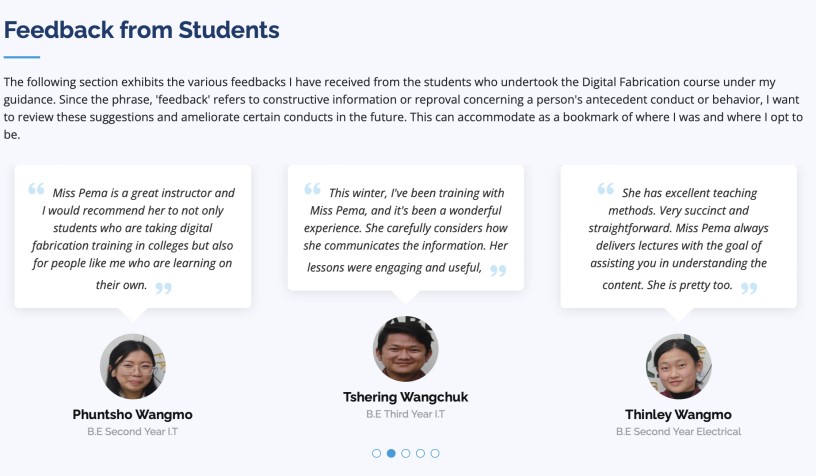
The next section was an idea of one of my students. He had collected a bunch of feedback on how students felt about my teaching and the FABLAB environment in general. So, I decided to add it there as a mark on how much I have overcome over the years. In the original website, this was the testimonial section.
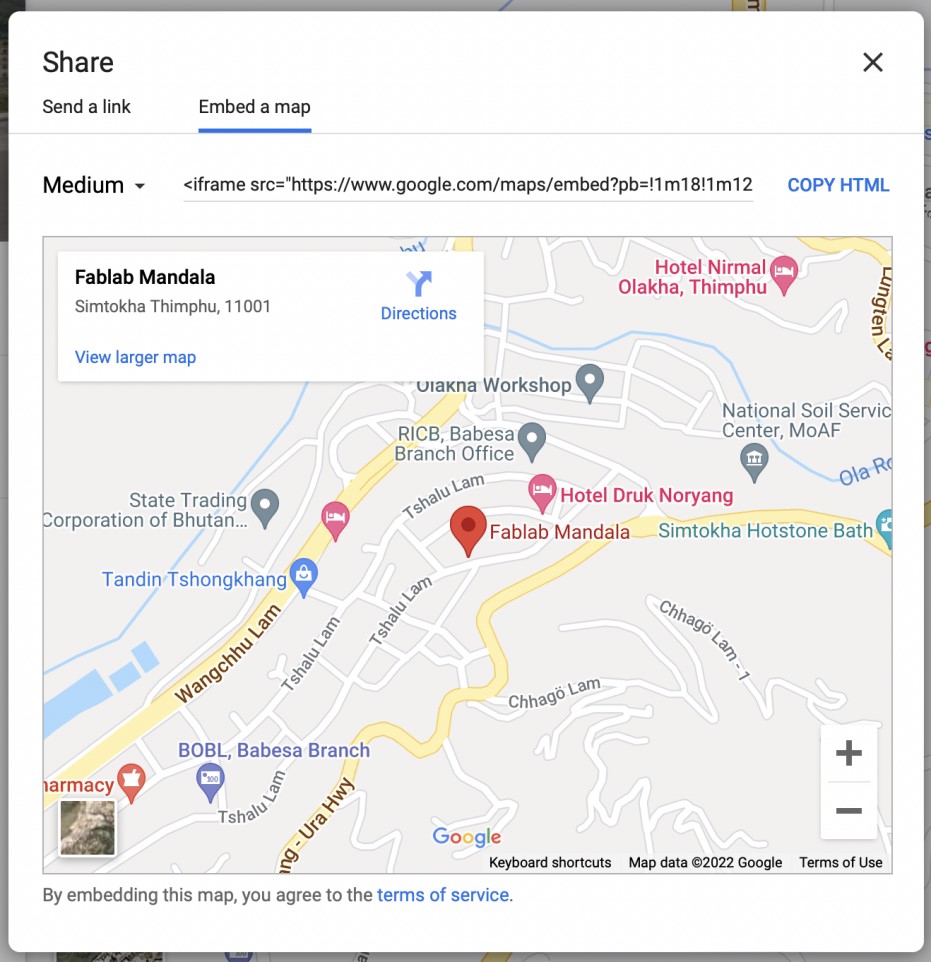
Now the last part of the website is the contact section. For any inquiries visitors had about my project or the website, I made the contact section. I added my details and even added the location of my office. To do this, I used the google map feature that allows copying the link of a particular location. The steps I followed were: