
Week 9
- CategoryMolding & Casting
- Sessions Date3rd March
- Assignment:
- Group Assignment
- review the safety data sheets for each of your molding and casting materials, then make and compare test casts with each of them
- extra credit: try other molding and casting processes
- Individual Assignment
- design a mold around the stock and tooling that you'll be using, mill it (rough cut + three-axis finish cut), and use it to cast parts
- extra credit: use more then two mold parts
3D Designing in Fusion 360
So for this week I have decided to go for something simplier since we still have so much of machine work to finish.I am going to make my sons name in our native language Dzongkha.
- Steps for Designing
- Consider the dimensions of your mold wax. The mold wax I got was 150mm by 70mm
- Consider the outer wall thickness, I have given mine a 5mm
- Consider the gap thickness between the outer wall and your design. I kept mine 10mm
- On the remaining surface I applied fillet of 1mm
- Then I typed usinfg Tibetan Language keypad and extruded it by 5mm.
- And then export in the .STL formt
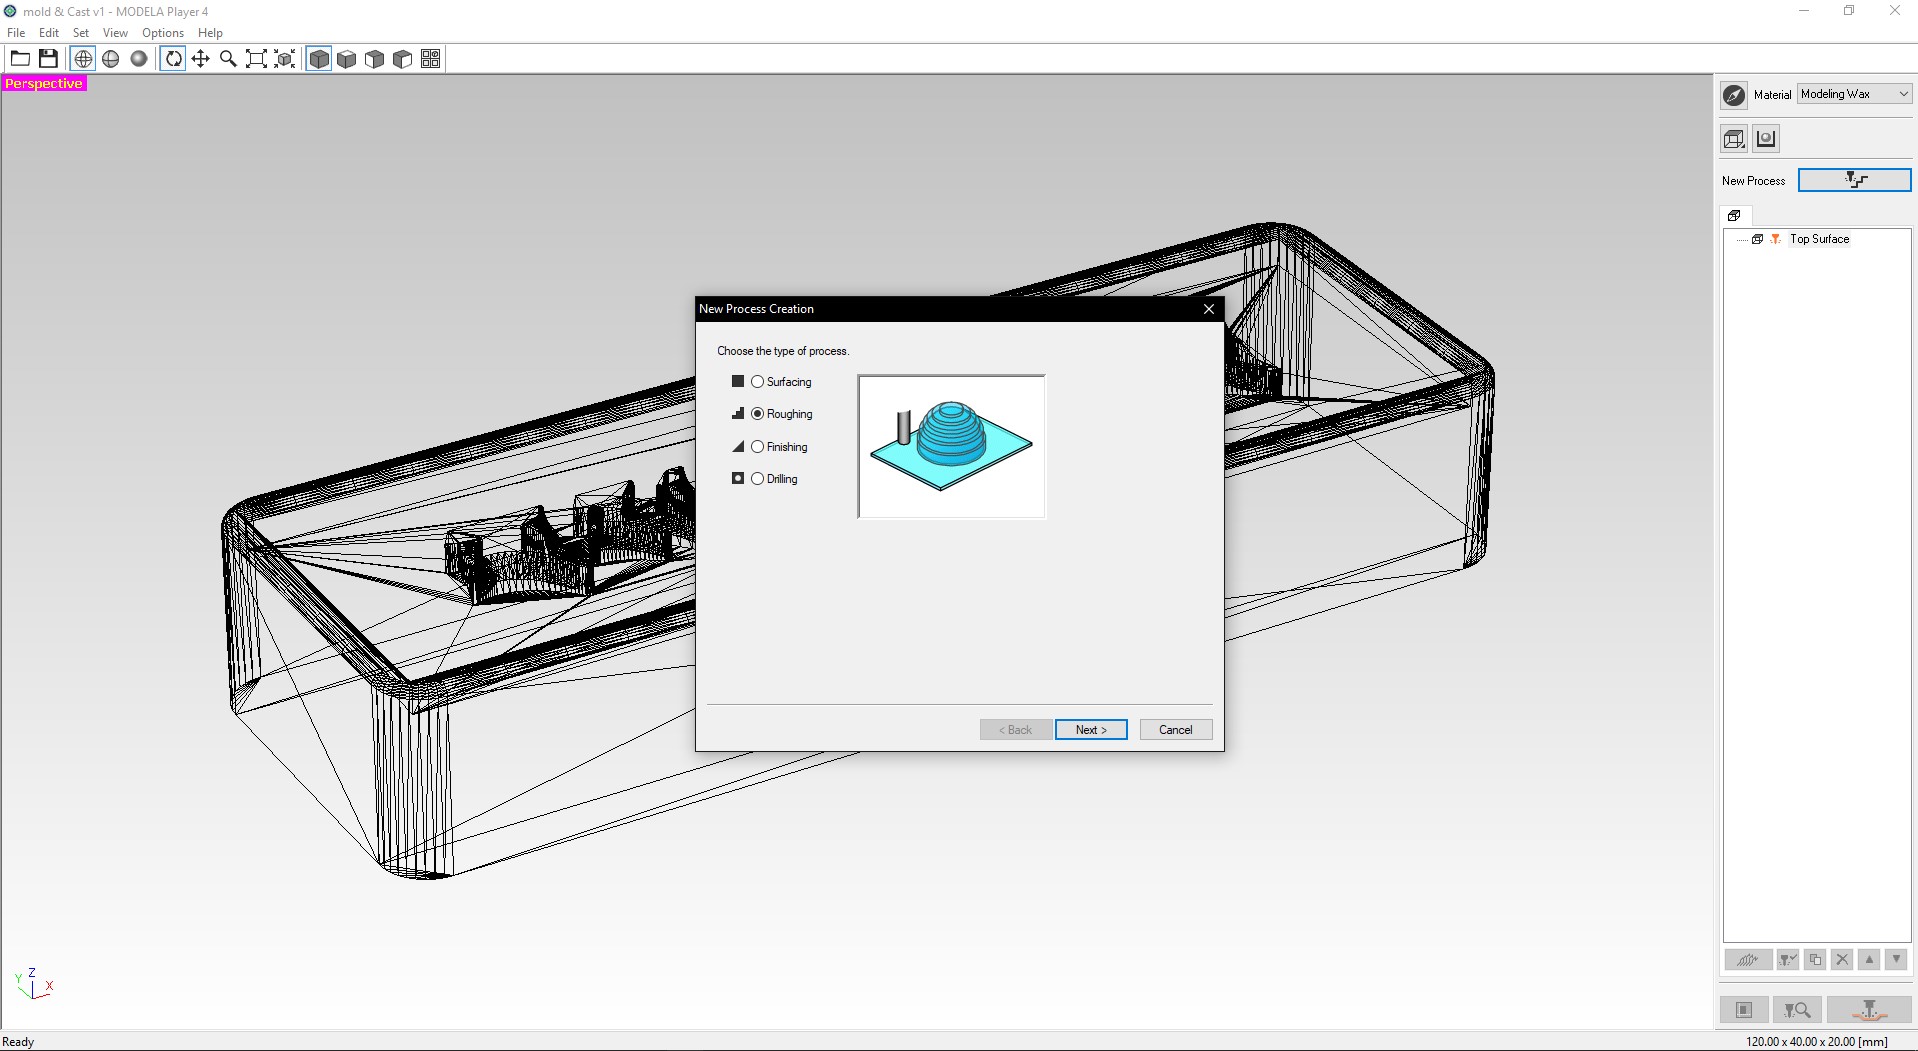
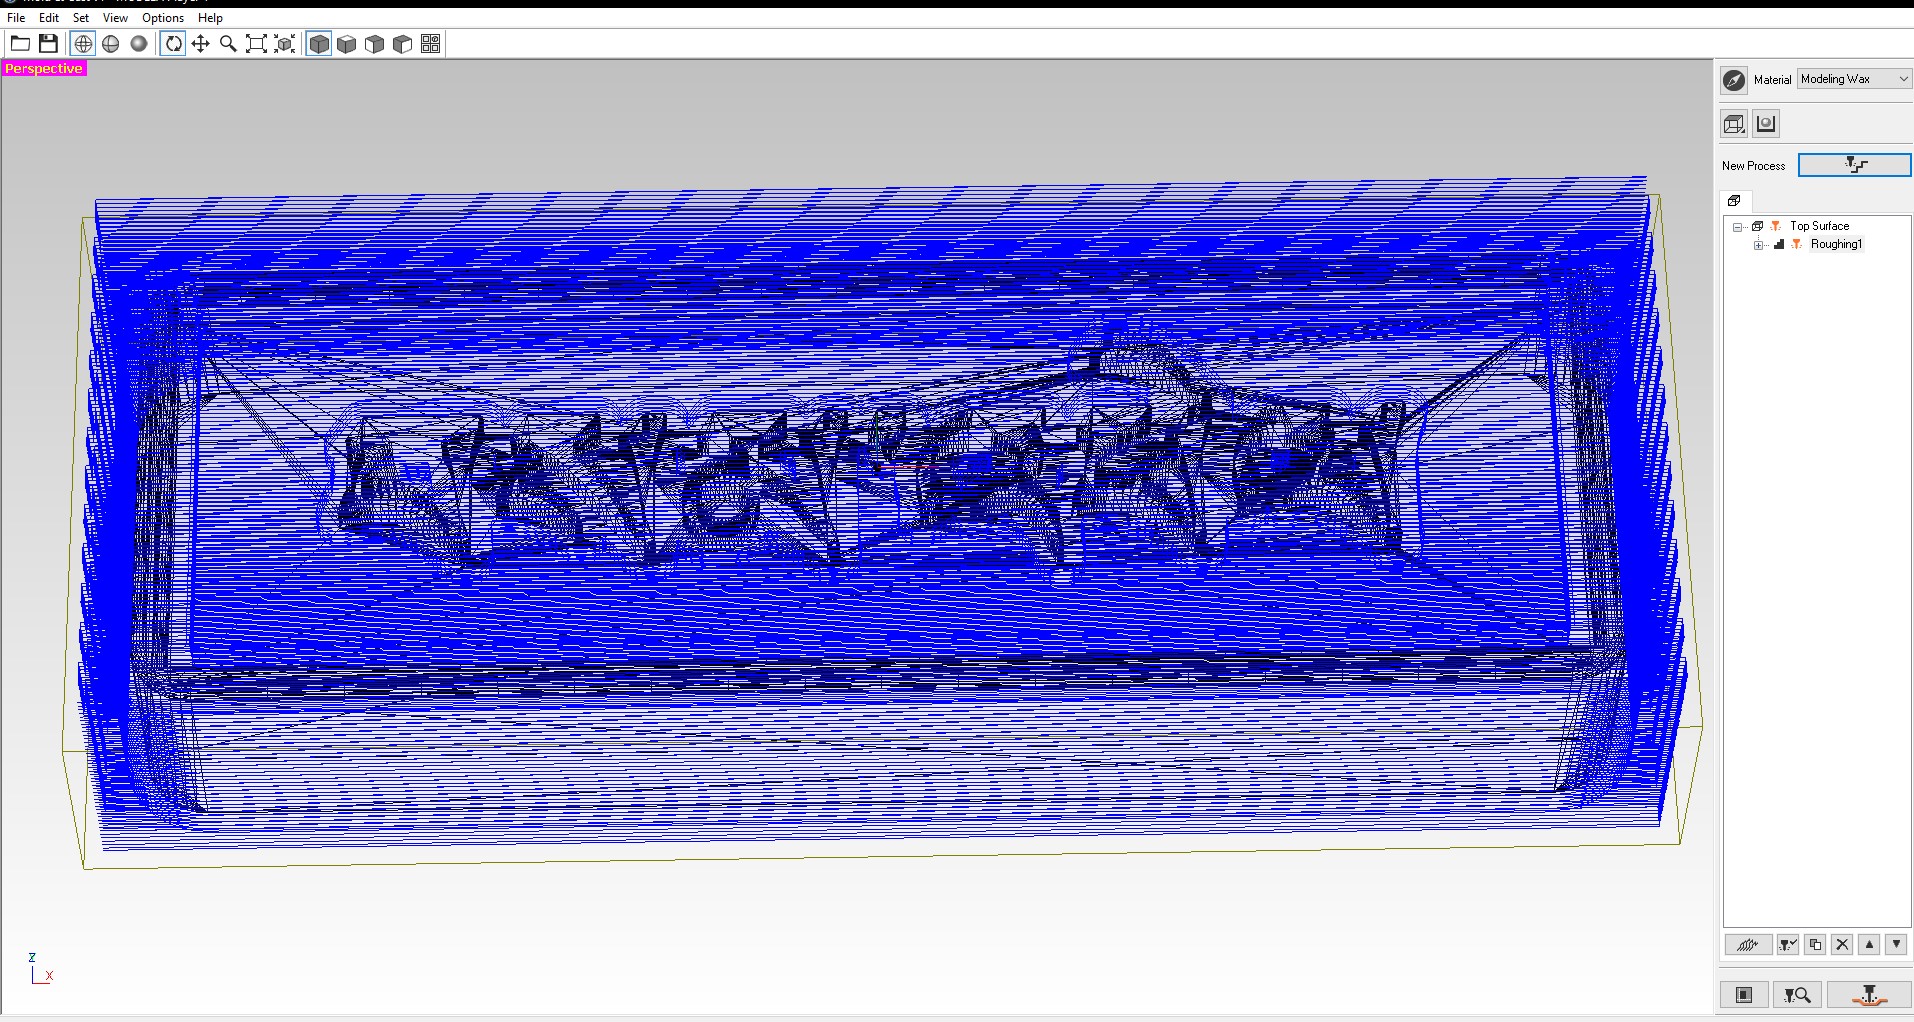
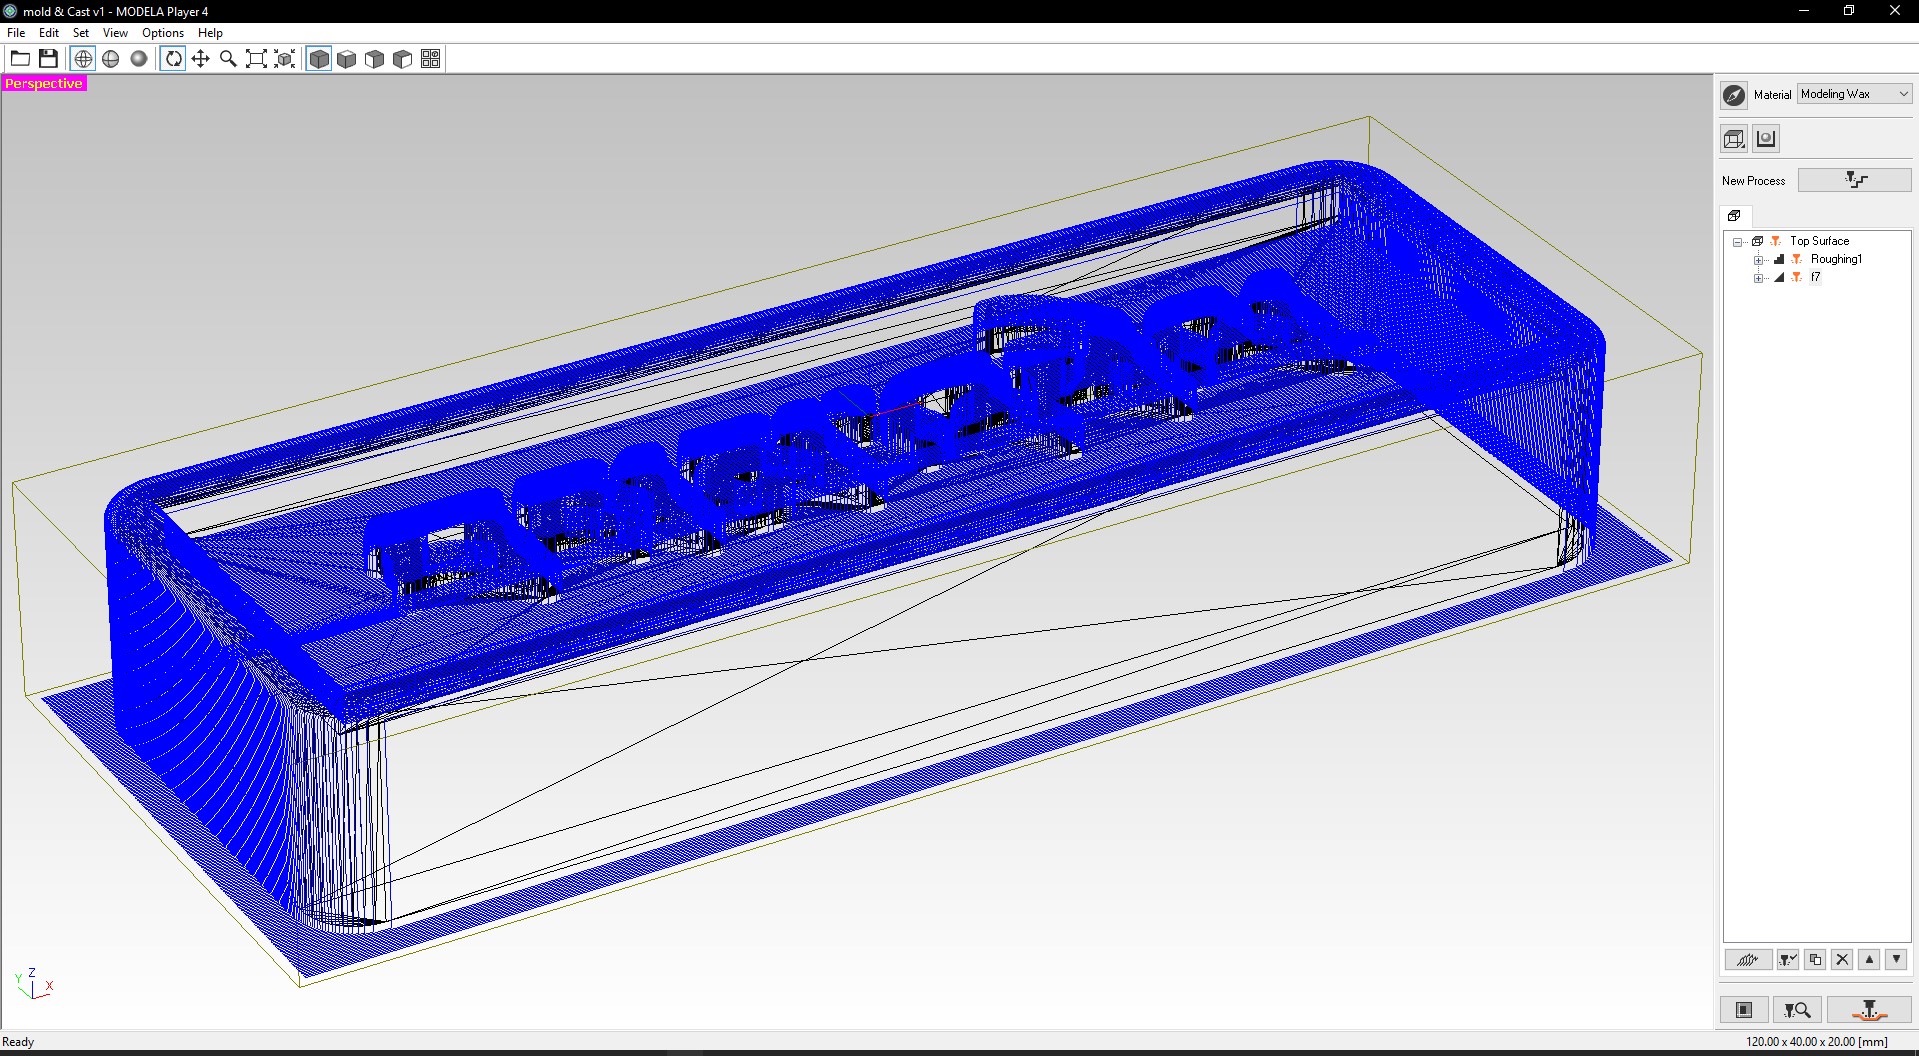
Working in Modela Player
- Roughing
- Import the .stl file in your modela player.
- Click on the outer surface and then set it to manual and set the cutting depth to 10mm from everyside.
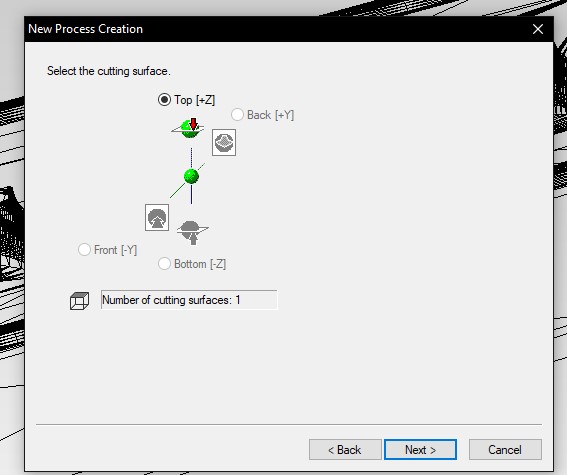
- Click on the new process and choose the Roughing,Keep the cutting surface tab on default.
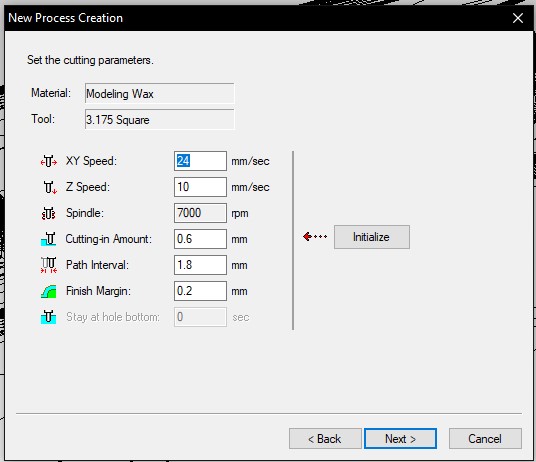
- Set your tool to 3.175 Suaqre
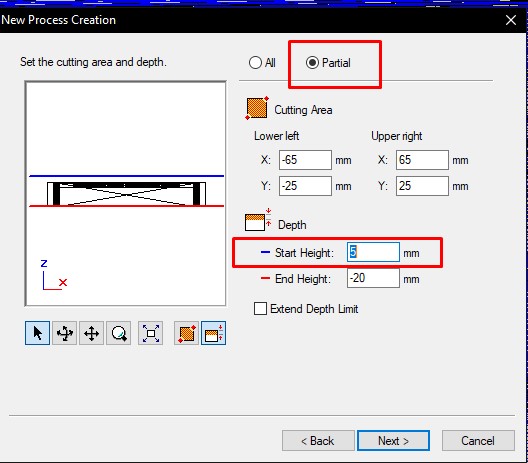
- Set the cutting area and depth to partial and start height to 5mm
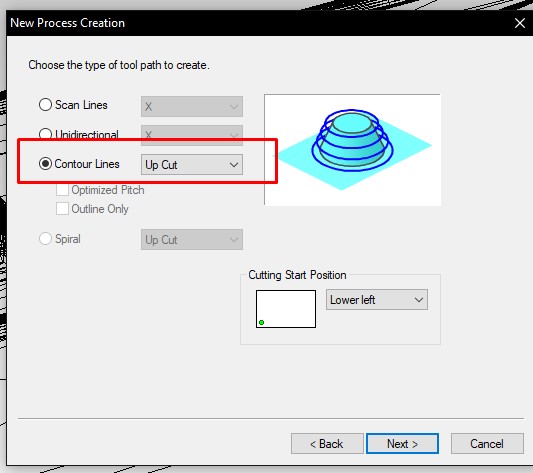
- In the choose the type of tool path to create, choose the Contour Lines.
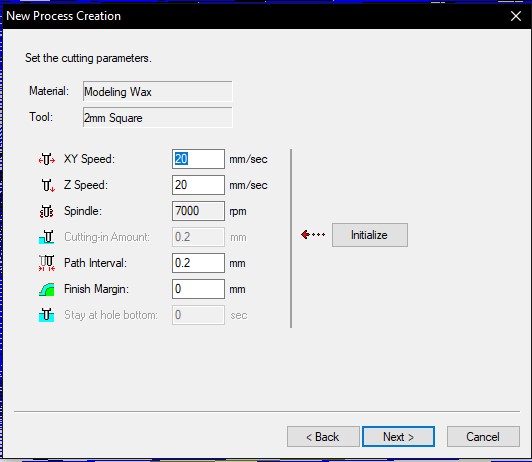
- Set the cutting parameters to default.
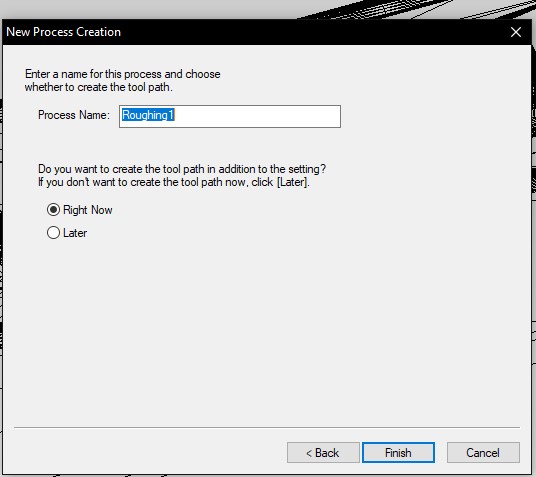
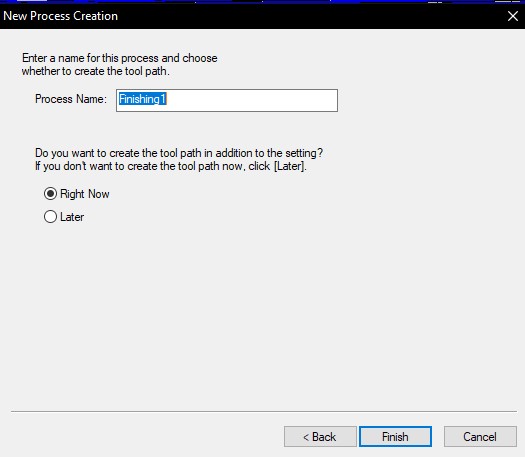
- Name the process name and click on finish.Now good to go.


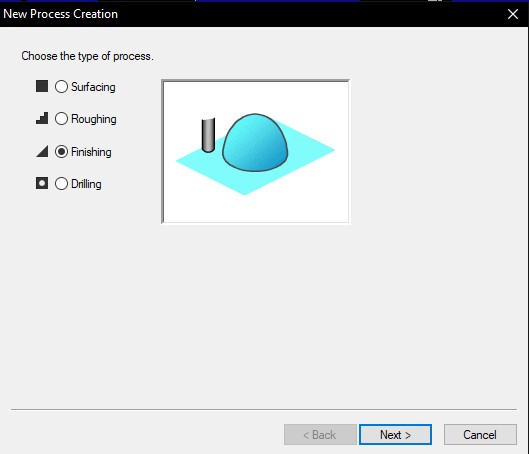
- Finishing
- create a new process and select the finishing.
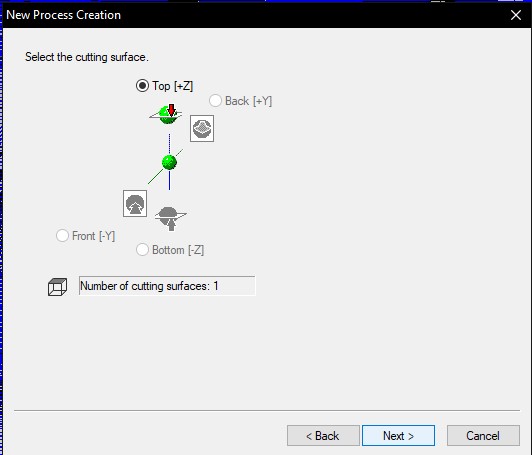
- Set the cutting surfce to default
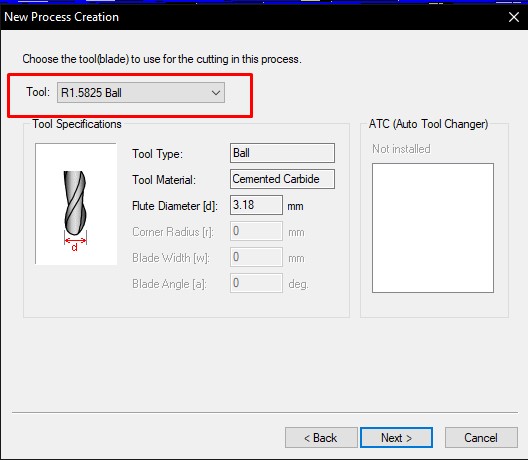
- Select the tool to R1.5825 Ball
- Set the cutting depth to partial and set the start height to 5mm
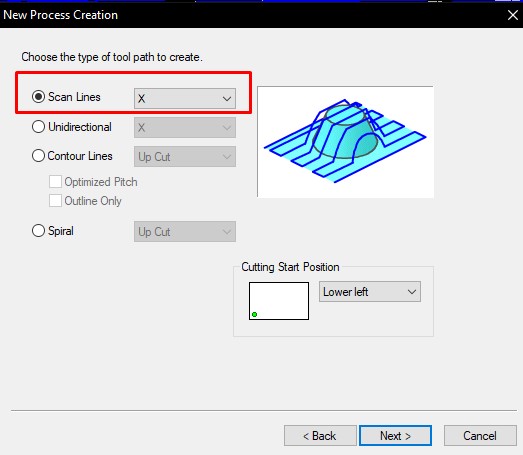
- Choose the type of tool path to create to Scan Lines
- Set tge cutting parameters to default
- And give your process name and its done.
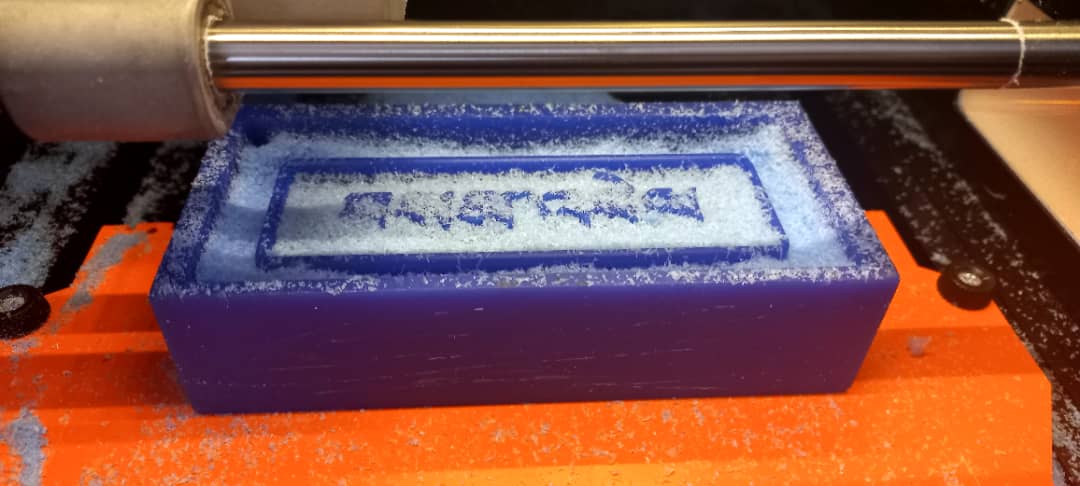
Molding in SRM-20
- Roughing
- Find the mid point for your wax mold. I tried to find the midpoint of the wax mold by finding midpoints from all the sides. But upon reading some of the instructors the trick is to make a diagonal line on the mold and its easier to find the mid point.
- With the help of double sided tape,stick the mold wax on the PCB milling bed and set the bed properly.
- change the endmill to square one and set zeroying and set xy origin
- From SRM-20, click on cut and add the file and click on Output.
- Finishing
- Change the endmill to the ball endmill
- set the z origin
- click on cut and add the finishing file and click on output.
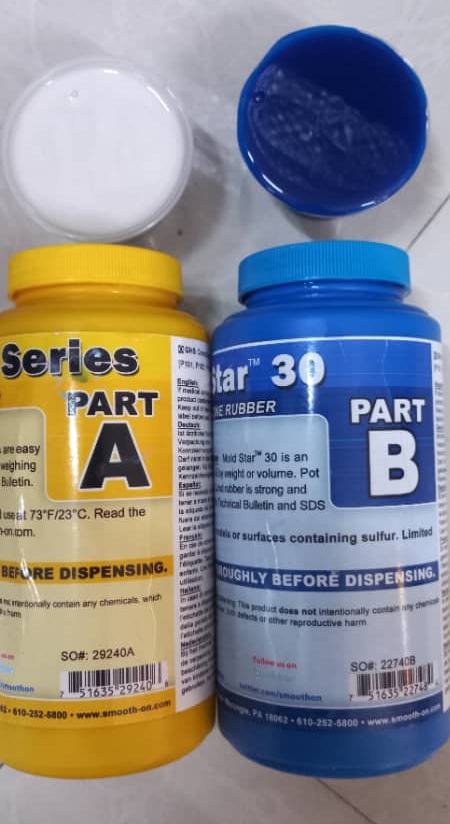
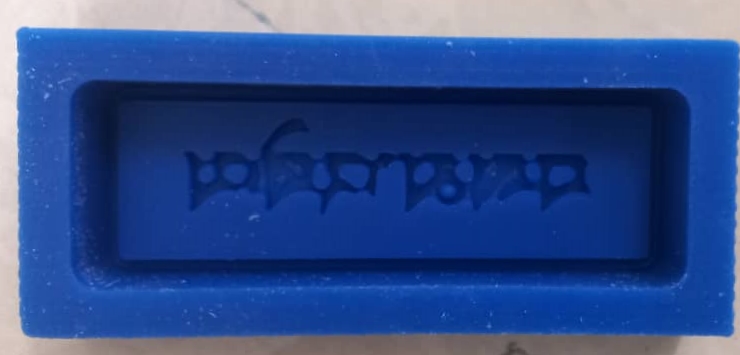
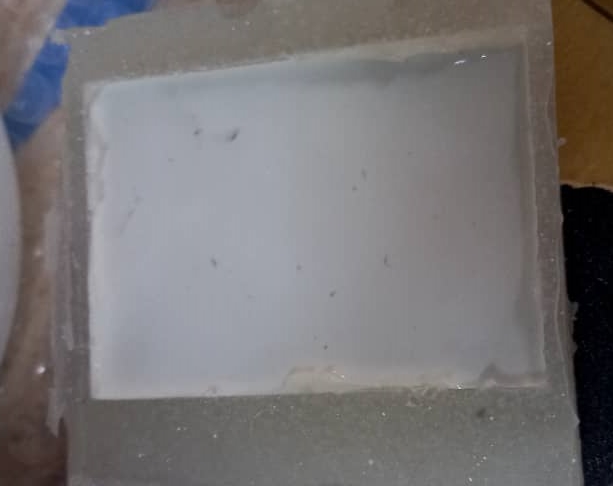
Molding (Making mold with silicone
- Materials required
- Silicon Part A and Part B
- wooden spatula
- clean glass
- weighing machine
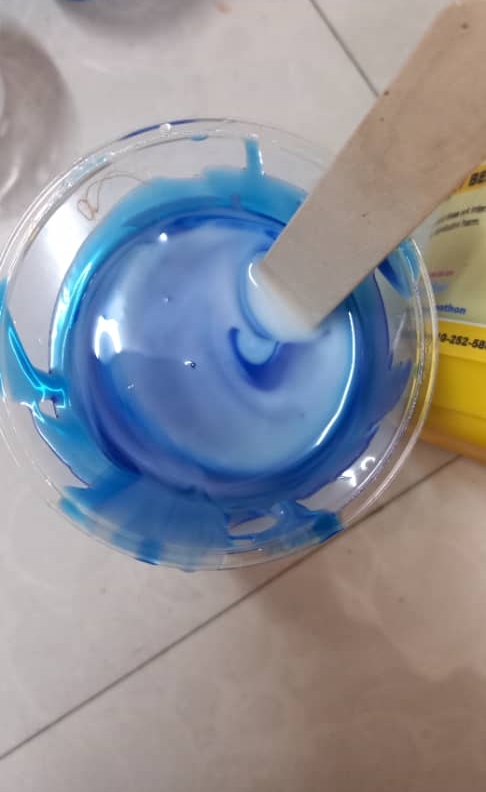
- Steps followed
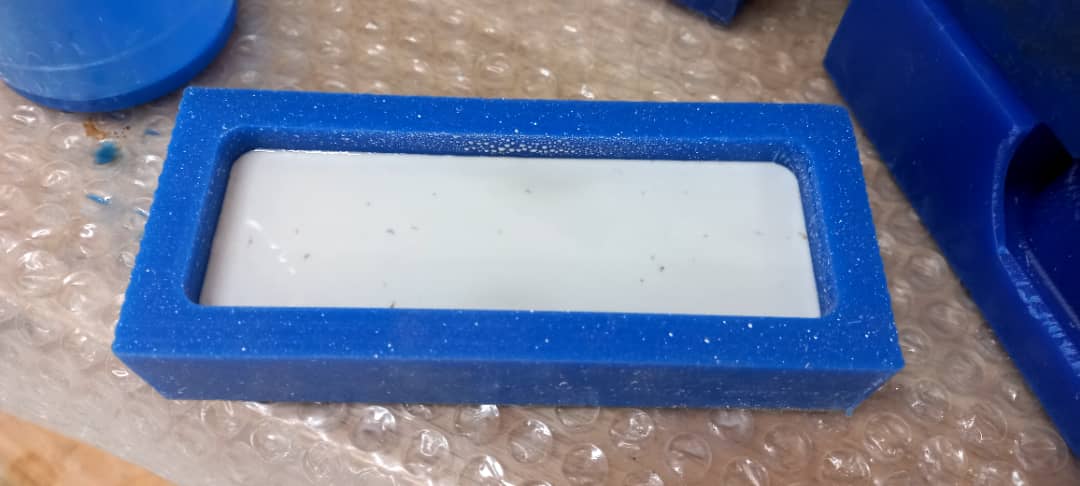
- Take one each of the Part A and Part B silicon in the small cup and mix it well in a bigger cup
- Then pour the mixture in the wax mold. Inorder to avoid bubbles, pour it slowly and thin.
- sit it on the table and tab on the table giving vibration to remove the bubble and let it set.
Casting
- Steps followed
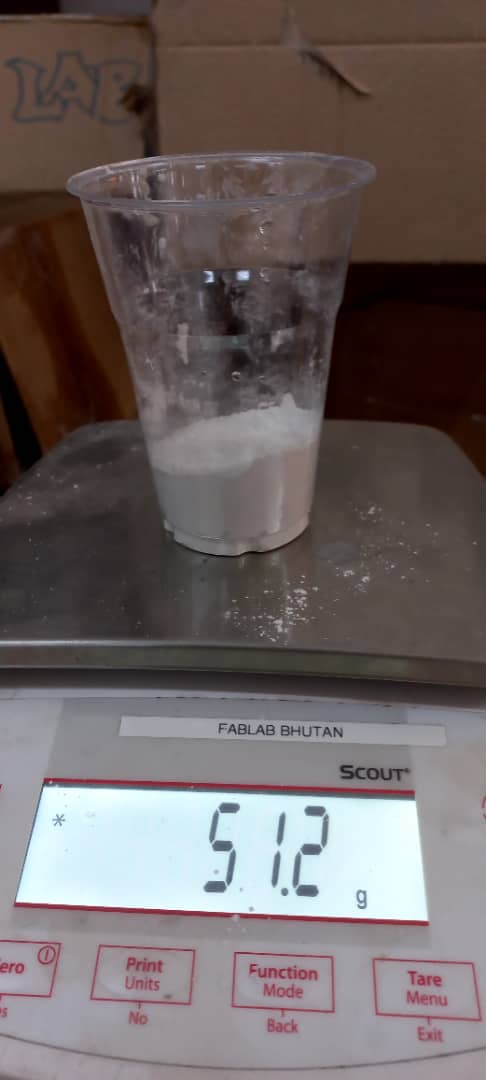
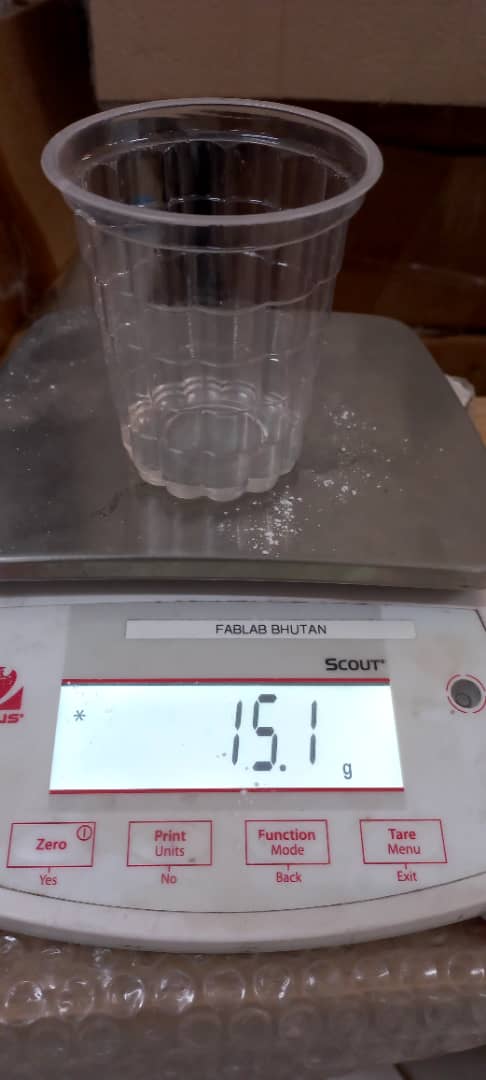
- keep a clean glass on weighing machine (set it to zero to reduce the glass weight) and add hydrostone. I used 51.2g and for water I used 15.1g
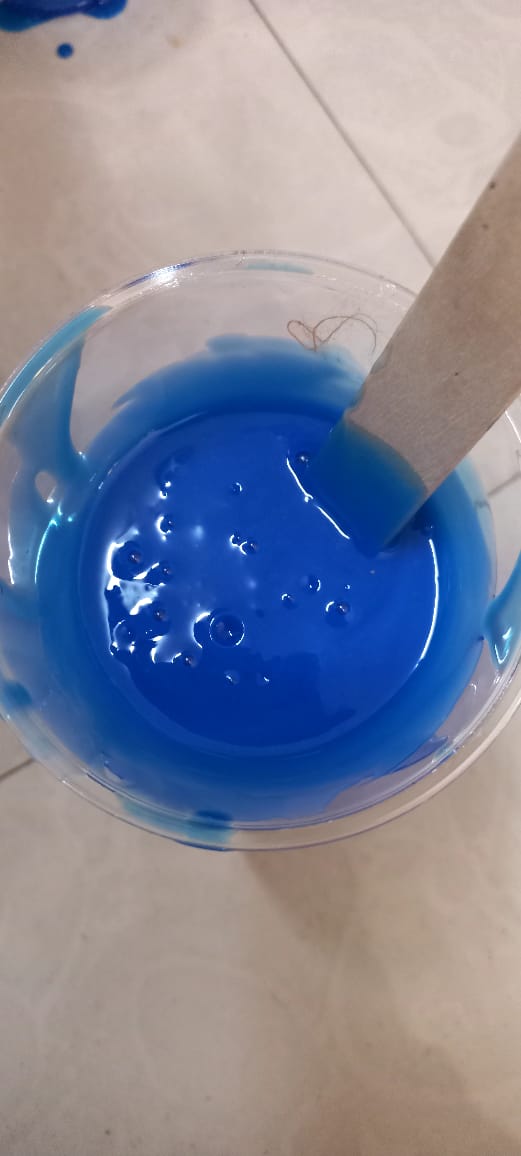
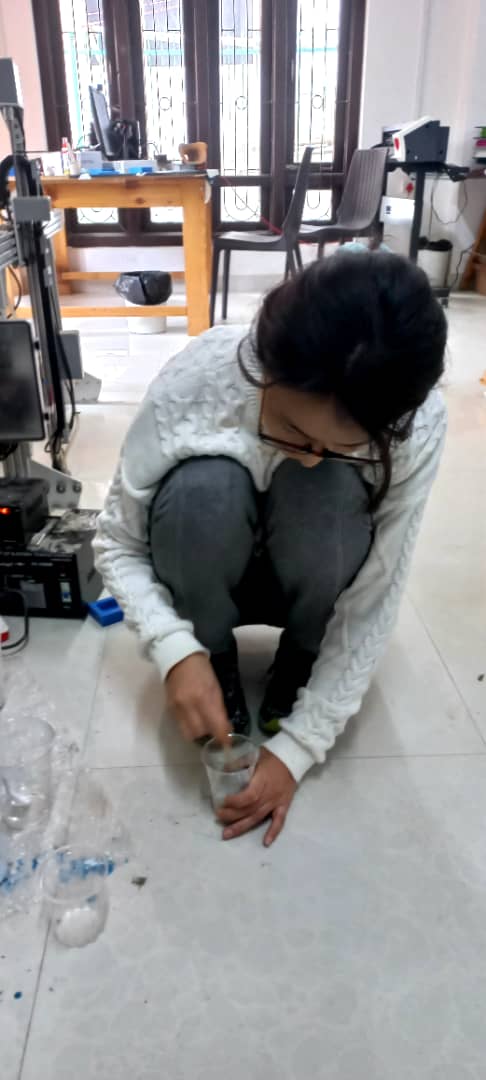
- Put the water in the hydrostone and mix well.
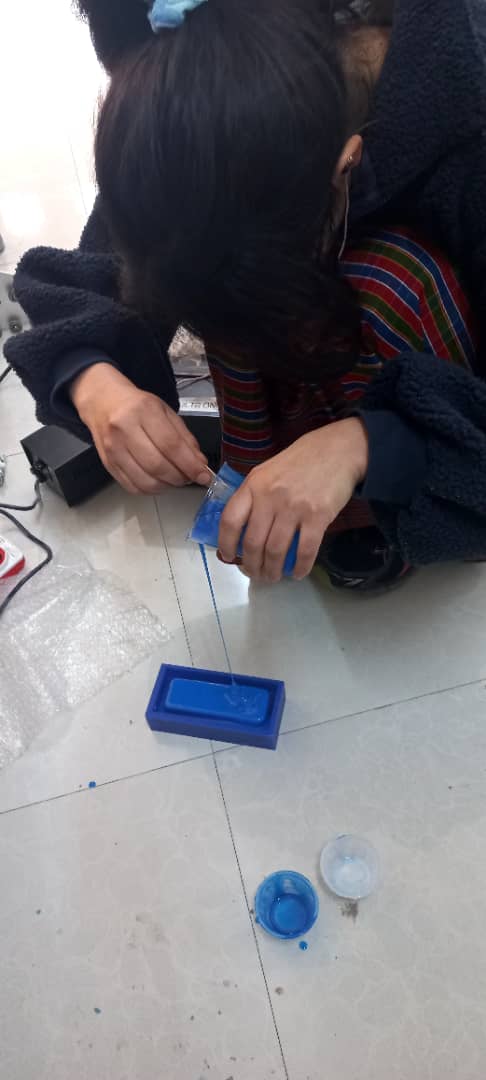
- Pour the mixture in the silicon mold. Make sure to pour it from a height and thin to avoid bubble
- After that set it on a table and tap on table to remove the bubbles and let it dry.
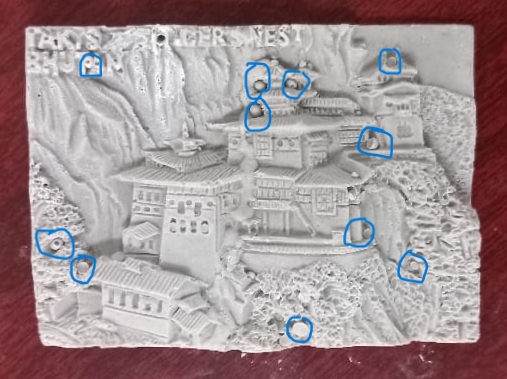
Hero Shot
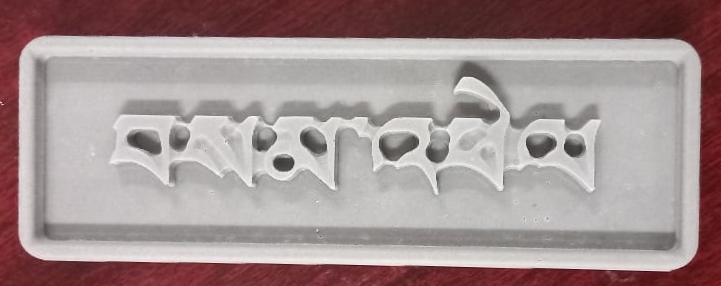
I wanted to see how casting would turn out if I dont measure the hydrostone and water. There was definetly some bubles in it.
Files
Design File
Designed by Samphel