
Week 6
- Category: Computer Controlled Machining
- Sessions Date: Feb, 2022
- Assignment:
- Group Assignment
- do your lab's safety training
test runout, alignment, fixturing, speeds, feeds, materials, and toolpaths for your machine
- Individual Assignment
- make (design+mill+assemble) something big (~meter-scale)
- extra credit: don't use fasteners or glue
- extra credit: include curved surfaces
- do your lab's safety training
Time to make somethig BIG!!! Super Excited for this week.
My plan is make a Mennequin of my size for so that I can use it for my final project.
Initially I planned on 3D scanning. I scanned by whole body but the scanner wasnt not able to scan one side of my back. It was hollow everytime I scanned. So after trying for like 10 times, I gave up. So,my tutor recommended I design the mennequin using Fusion 360. And thats what I am going to do!
Designing the mennequin using inkscape and Fusion 360
Prototyping of the design
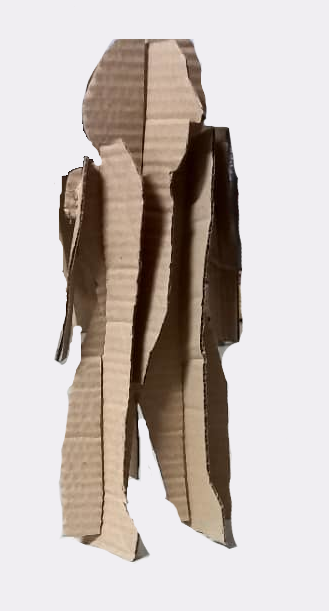
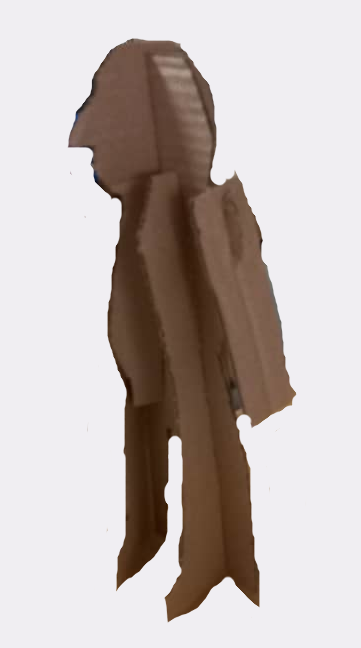
With the help of cardboard, I cut this design out. It helped alot with the designing.
Photoshoot


Since I wanted the mannequin to be my, I took few shots so that I can trace out the size. I tried tracing out the body in fusion but it was too complicated so I used inkscape.
Using Inkscape to trace the body.
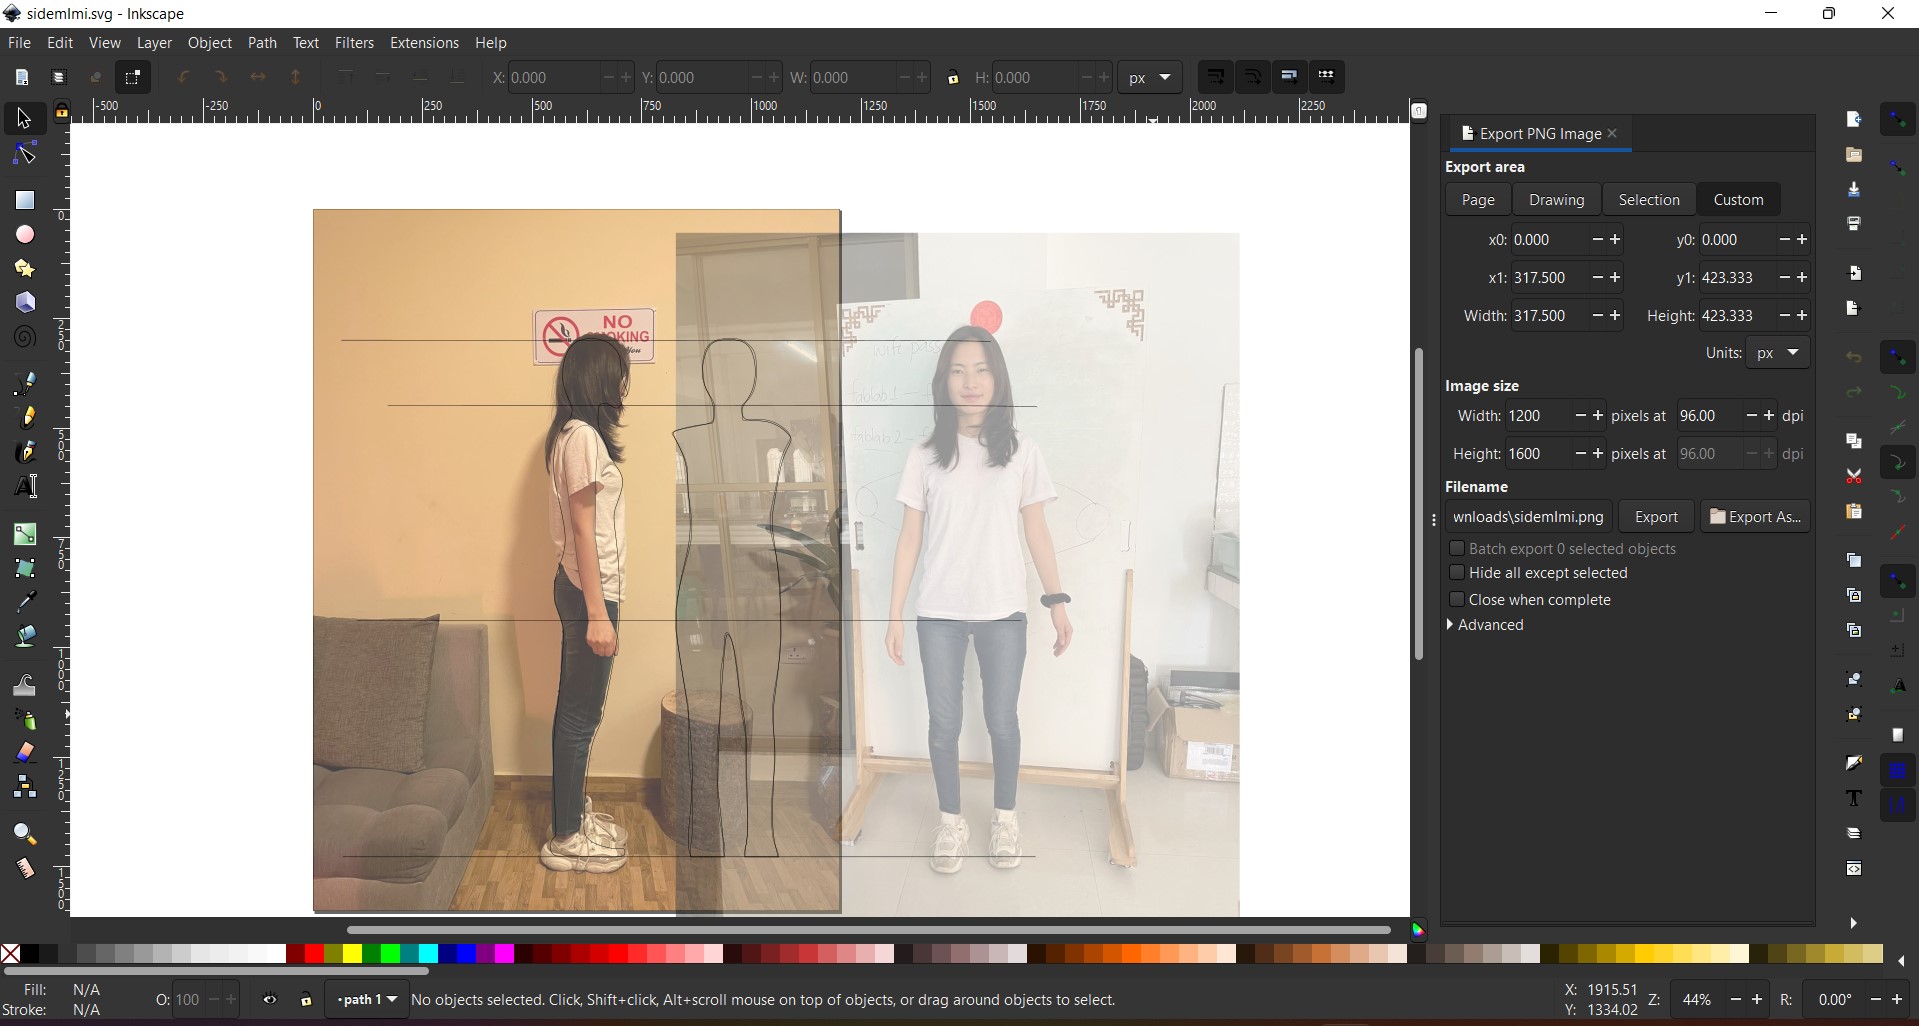
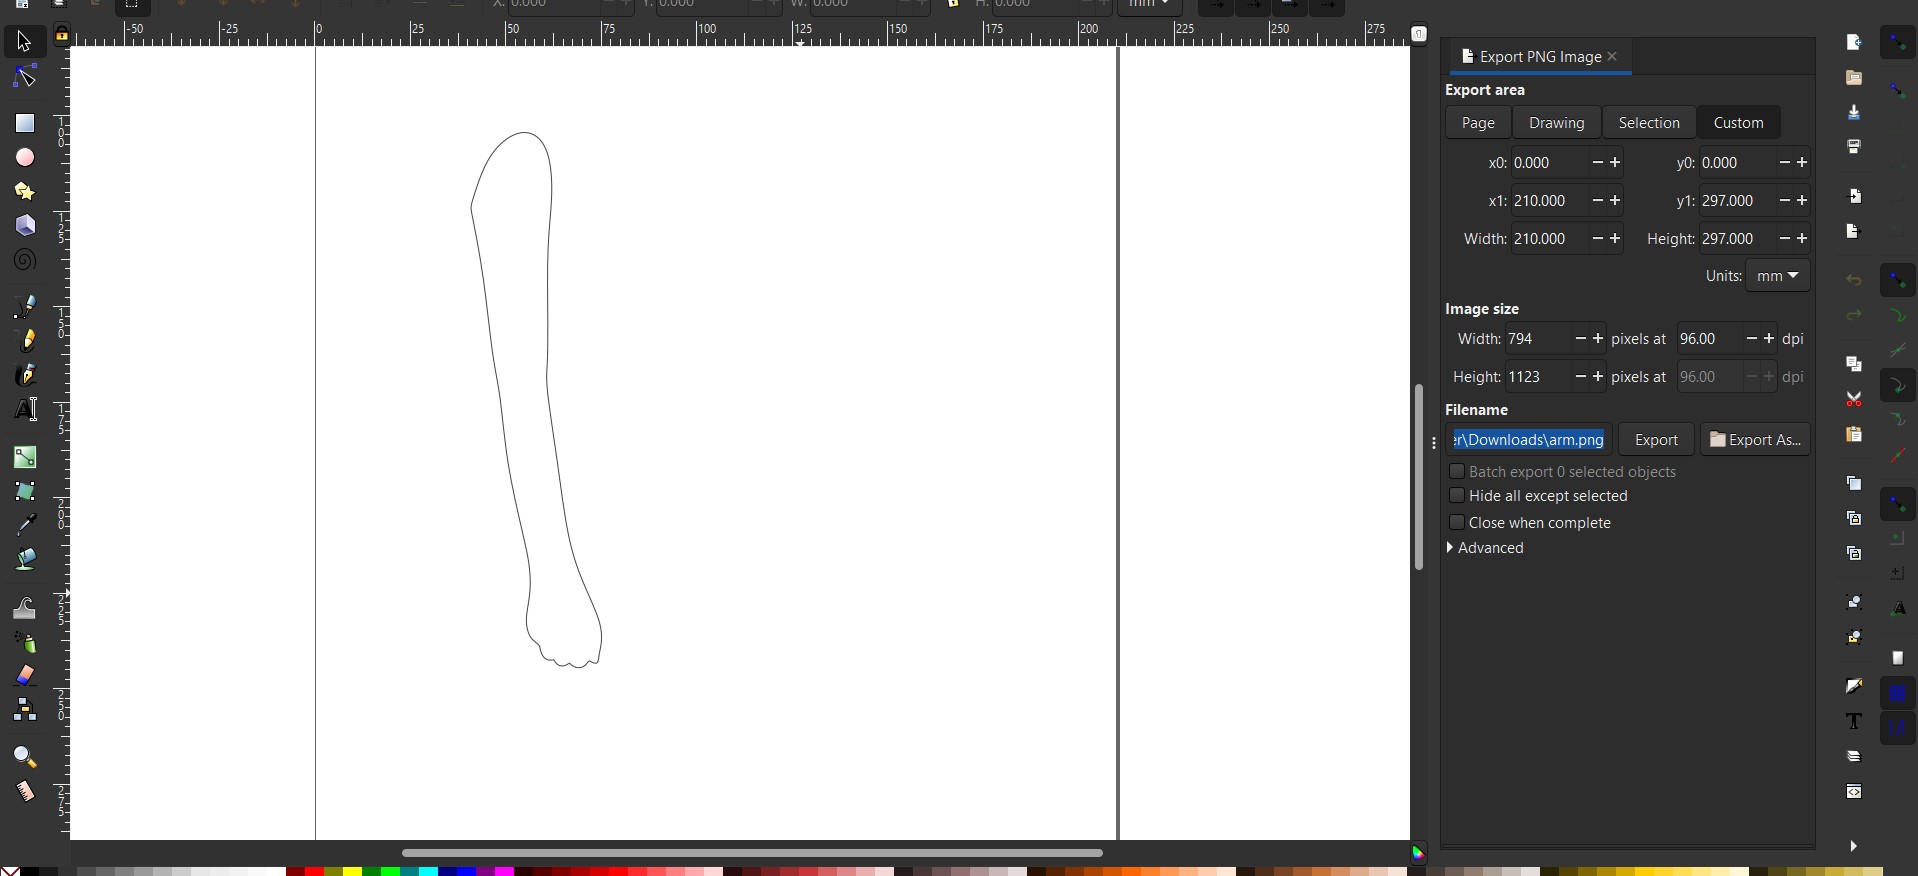
While tracing out the hardest was trying to get the accurate height for all the bodies. Since the front view of my body was taken from near and the other two side views from far, it was hard to get the exact body size. But with the help of the square and trying to align it together, it was better. After that exported the file in .svg format.
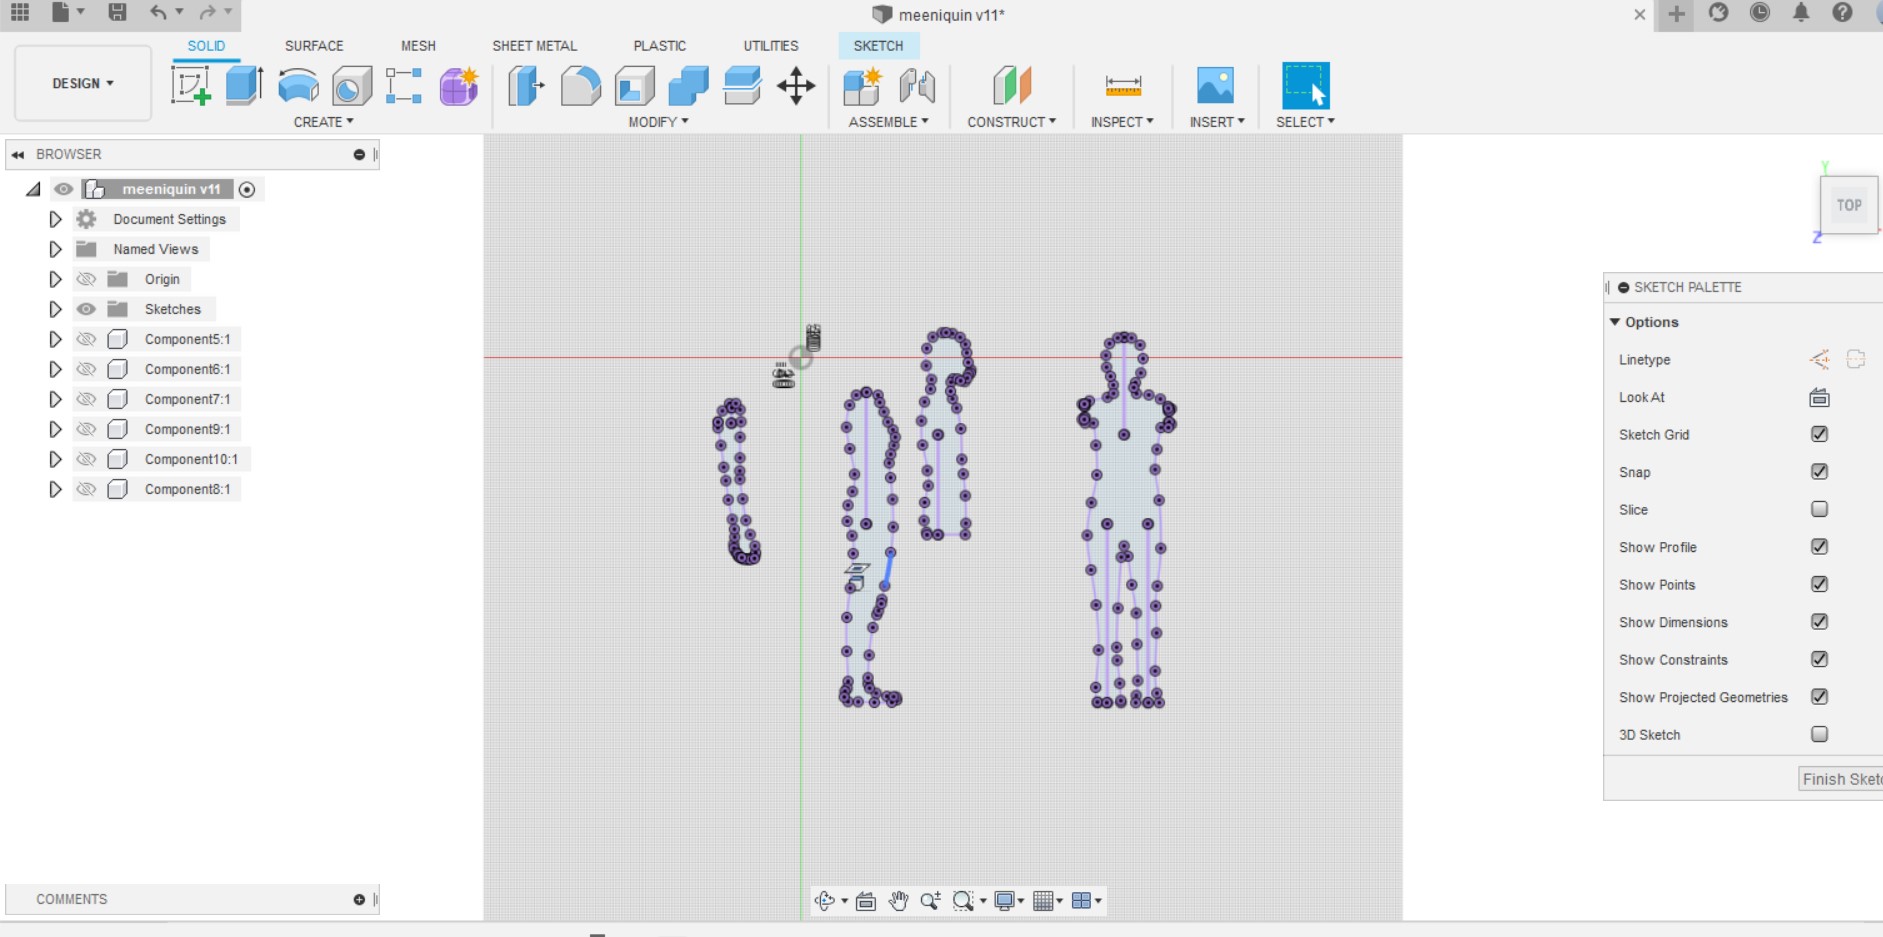
Fusion 360
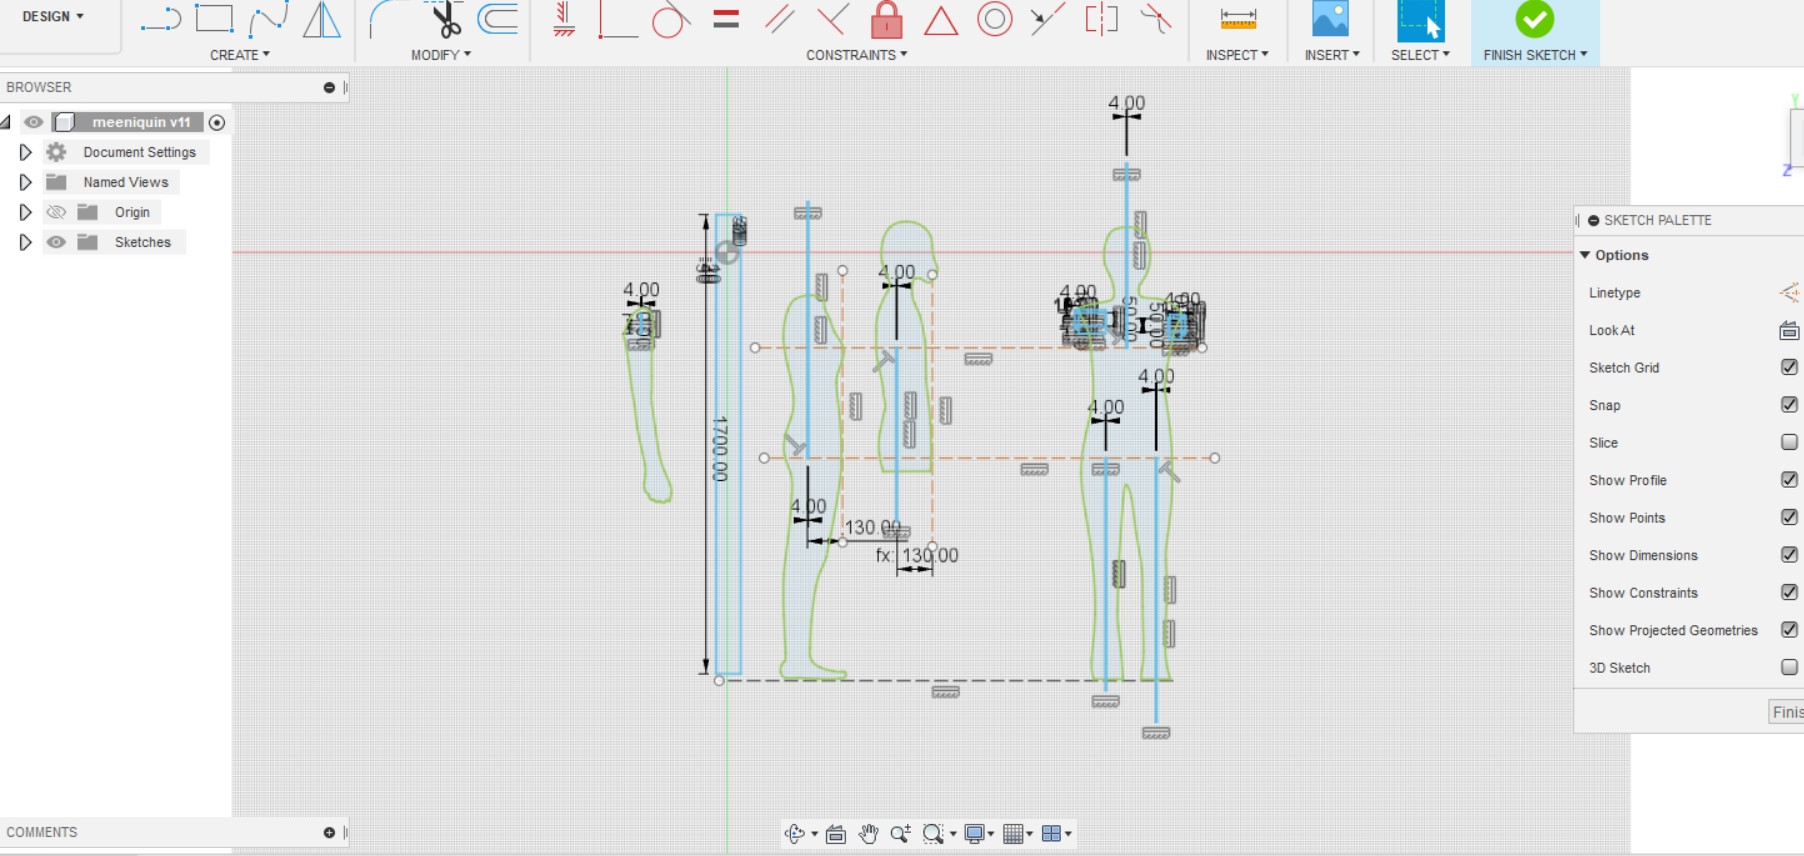
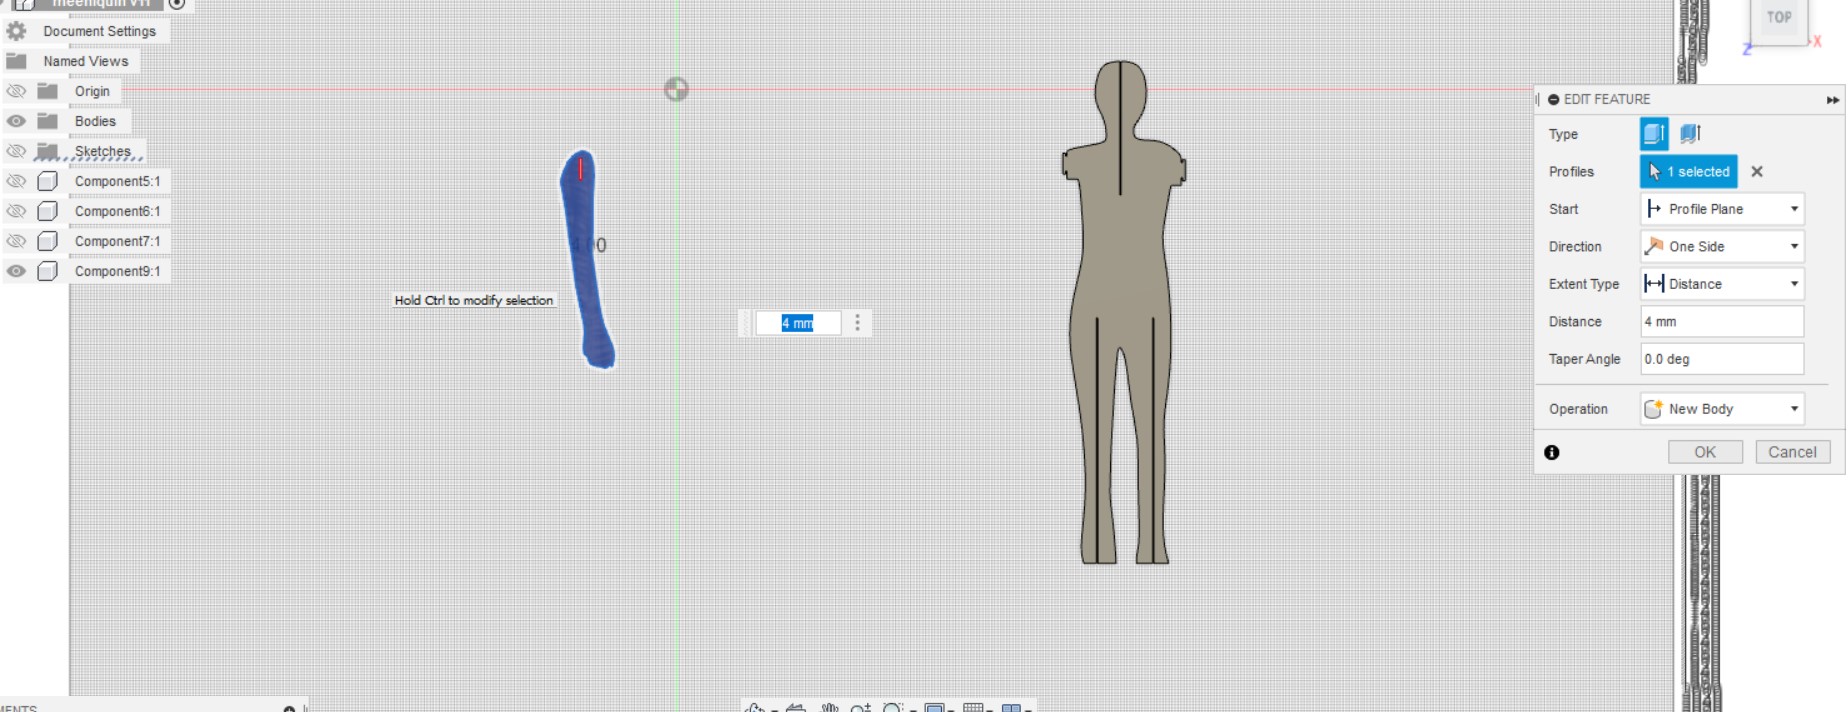
After importing the svg file, I alligned them together using the construction lines and made slot using parameter. I am going to use a 4mm plywood so, I kept the width of mt slot 4mm. After that I extruded the skecth by 4mm.
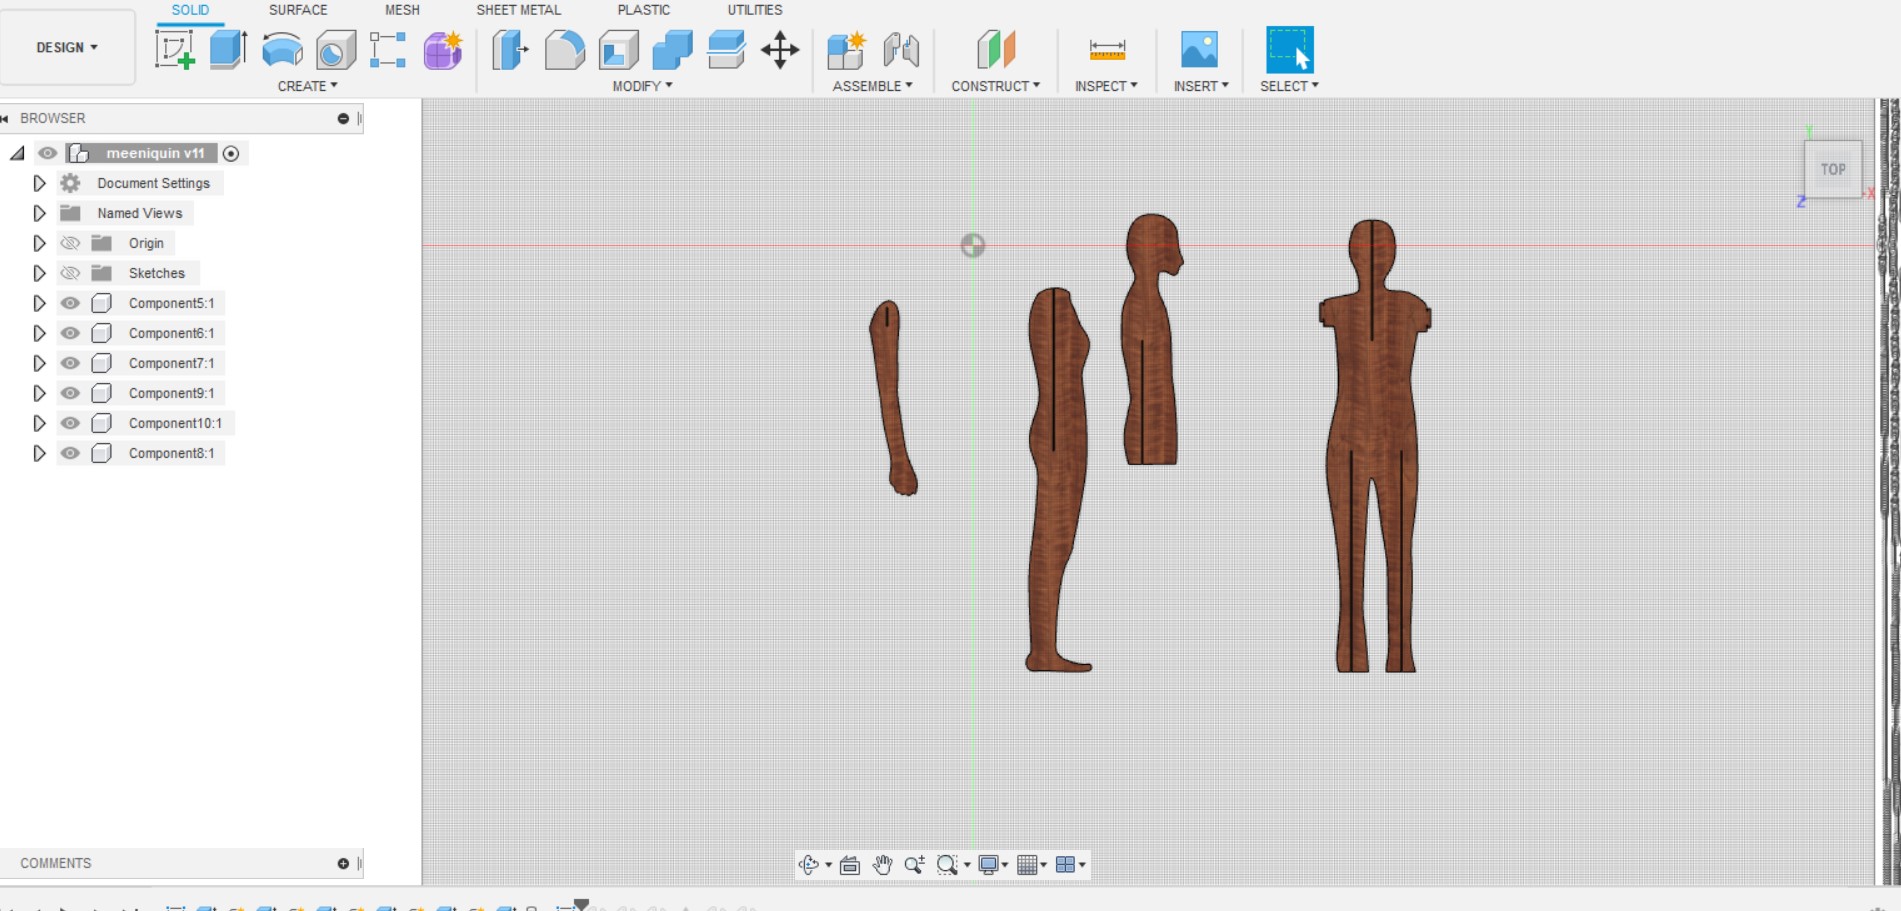
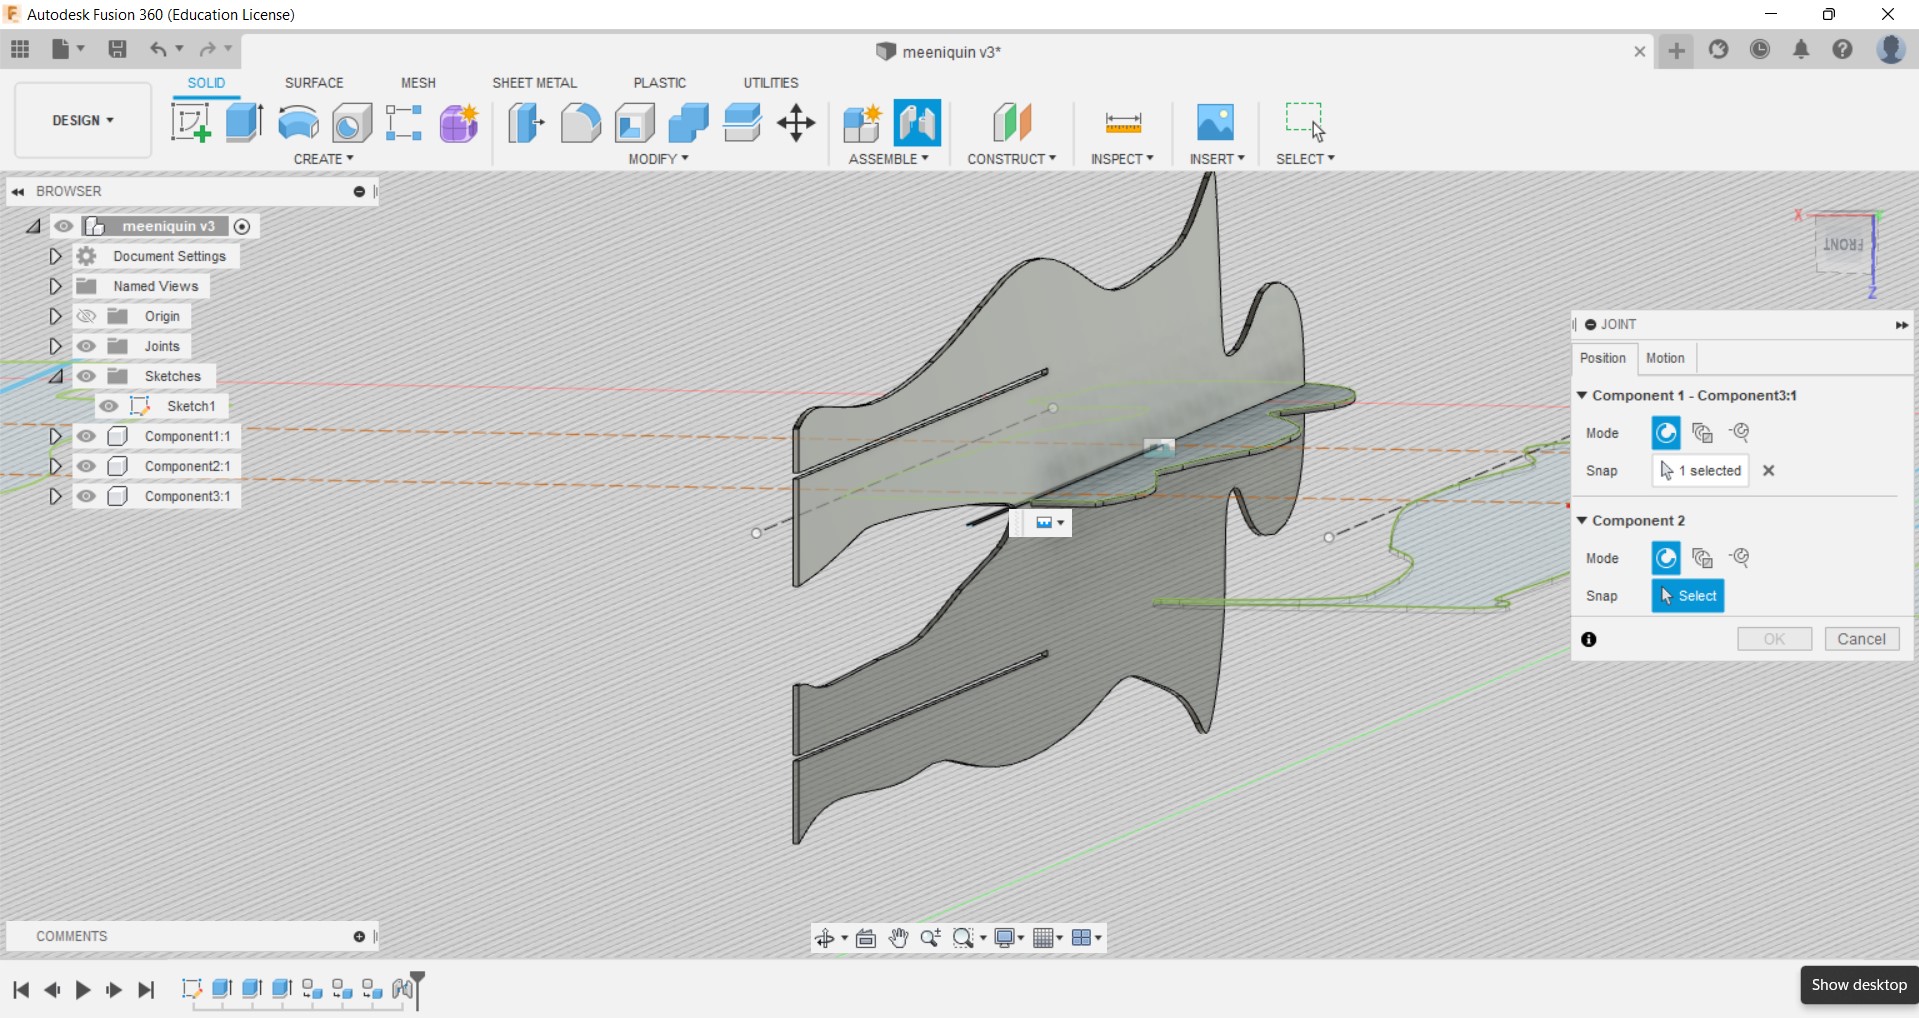
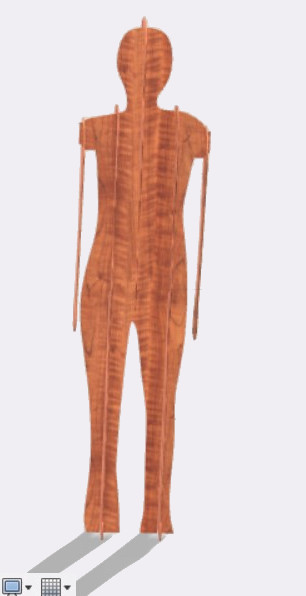
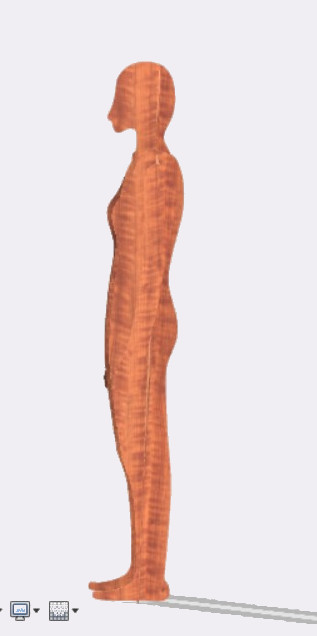
I assembled the parts so that I can have a clear picture of how it looks. I never tried assembling and rendering in Fusion, so it took me alot of time.And after that I exported the design on .dxf format for cutting.
Working with CNC Shopbot
For my mannequin, I needed a thinner materail. So I opted for a 4mm board. Luckily there was 4mm board in the hardware store.
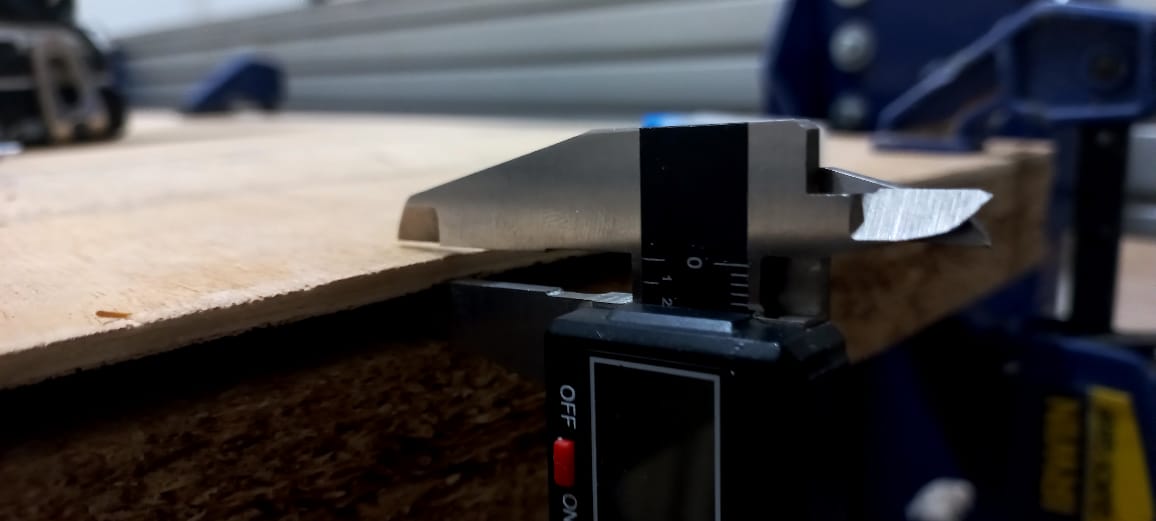
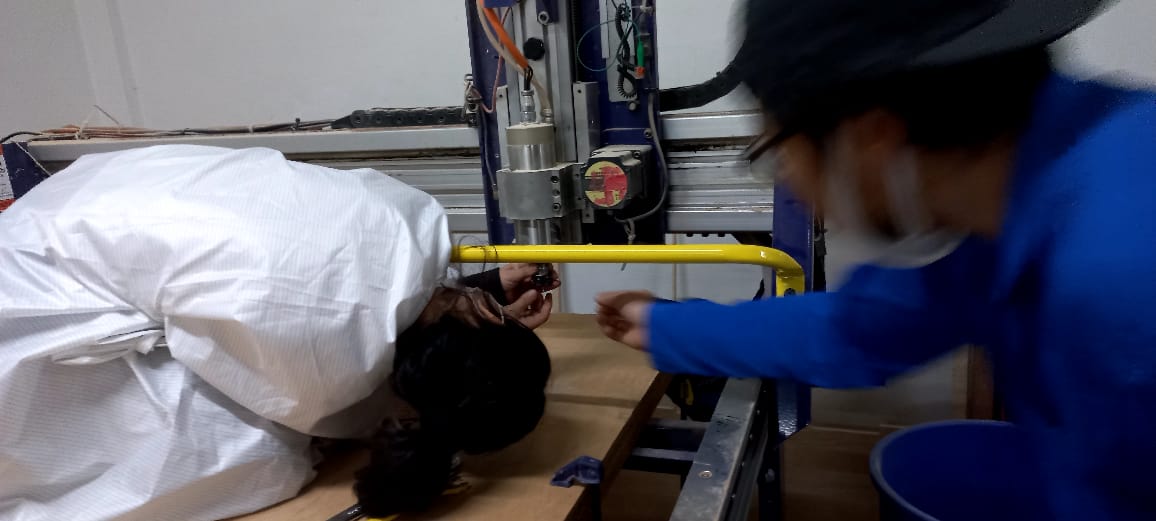
Thats Takesan helping me with carrying board and the thickness of the board.

Then I alligned the board on the shopbod bed and clampped them.
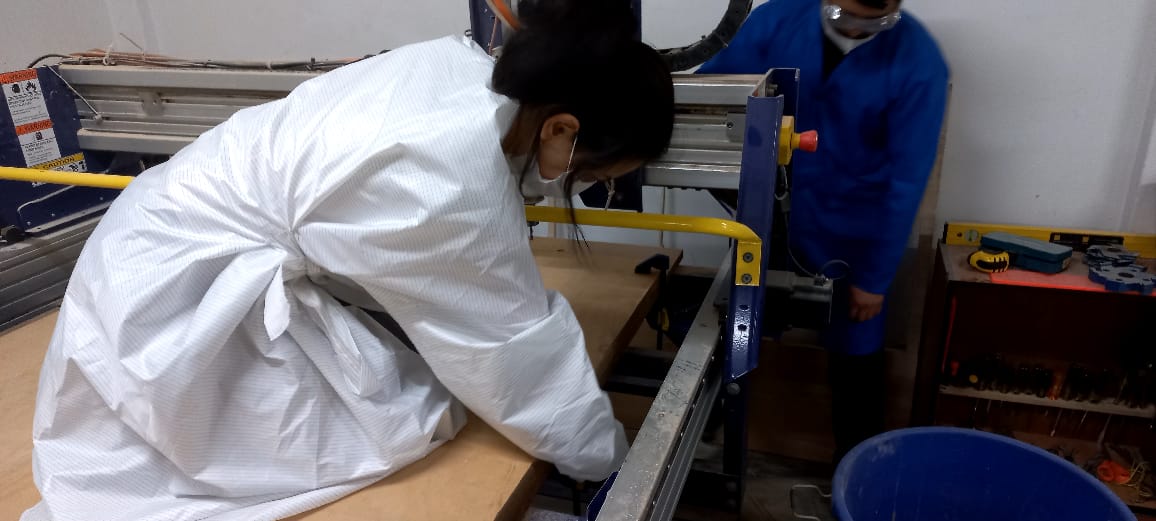
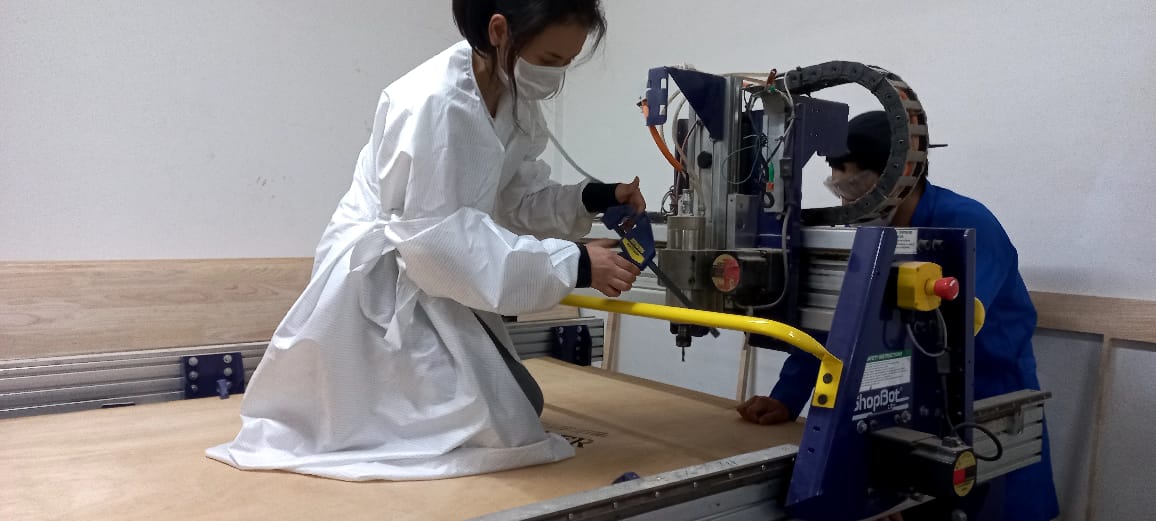
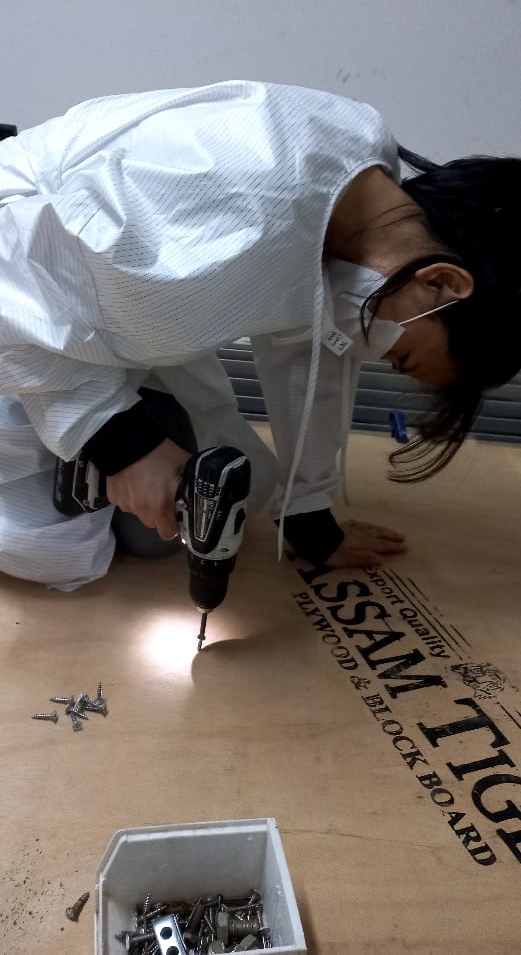
I was adviced by my instructor to drill the board in with screw rater than clamping it. So, we generated the holes through Aspire and alligned the board with screw.
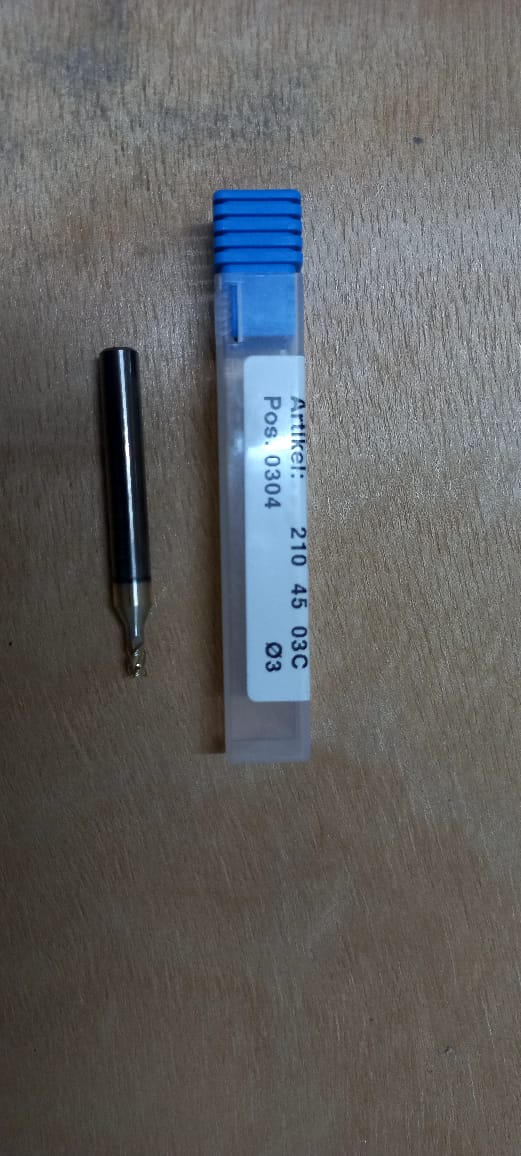
After setting my board on the shopbot bed, I learned to change my endmill. Since, I was using a 4mm thick board, I used a 3mm endmill.
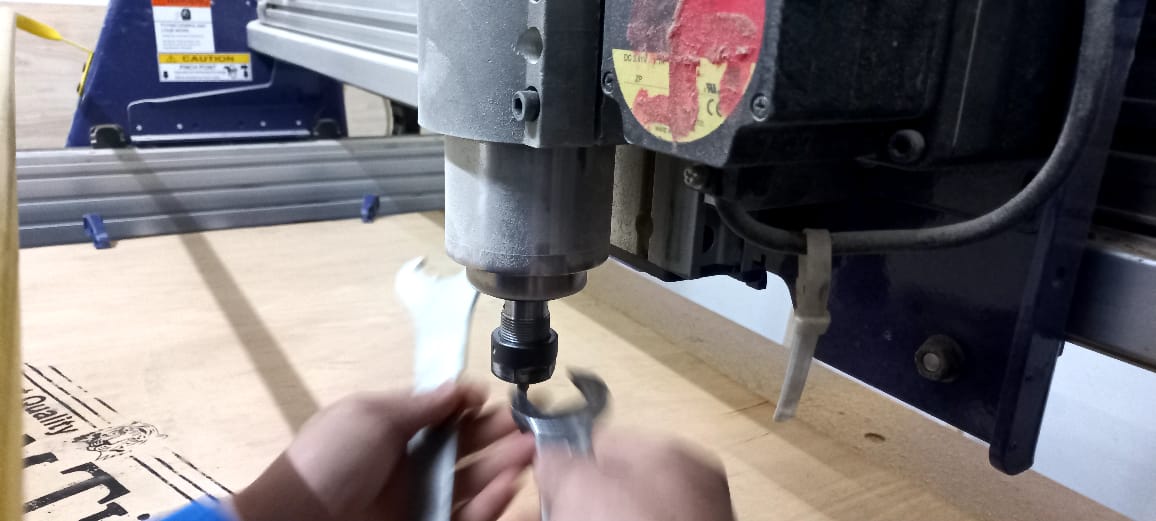
3mm endmill
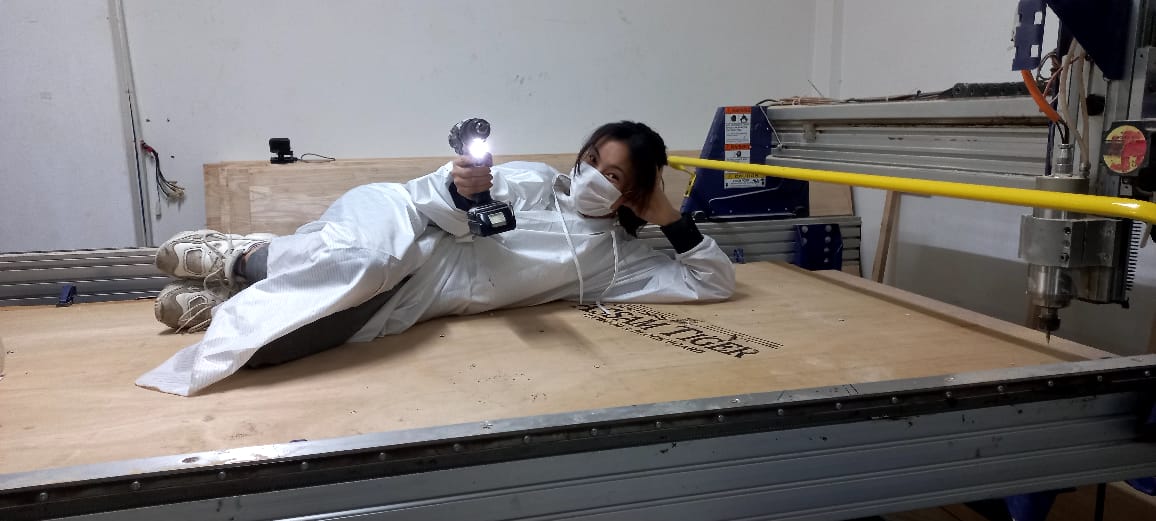
So, this is my hero shot after managing to set up the cnc bed and the endmills.
- create new file
- set dimensions
- import the DXF file and arrange the desiigns to fit in the working area.
set the toolpaths
Cutting depths- I set my cut depth(c) 4.5 mm since I was using a 4mm material and needed to cut through.
End mill- I set mine 3mm
Machine vectors- outside/right and Direction select climb.
Edit Tool
In the name select the End Mill (3mm)
Set the units to mm and set the diameter to (3mm)
Set the No. of Flutes 2
For the cutting depth set the pass depth at 1.5mm and Stepover at 0.9 mm 30%
For Feeds and Speeds, I set the Spindle speed at 18000 r.p.m, Feed units to mm/sec, Chip Load 0.0667mm, Feed Rate at 40mm/sec, Plunge Rate 30 mm/sec and Tool Number 1.- Save and export to Shopbot 3
Aspire
- Set the position
- Import files.
- Run
Shopbot 3
Important Note- Keep your hand on the Emergency Button incase something dangerous happens. You will find the emergency buttons one near the PC and the other on the shopbot. Red Buttons!
Cutting Time
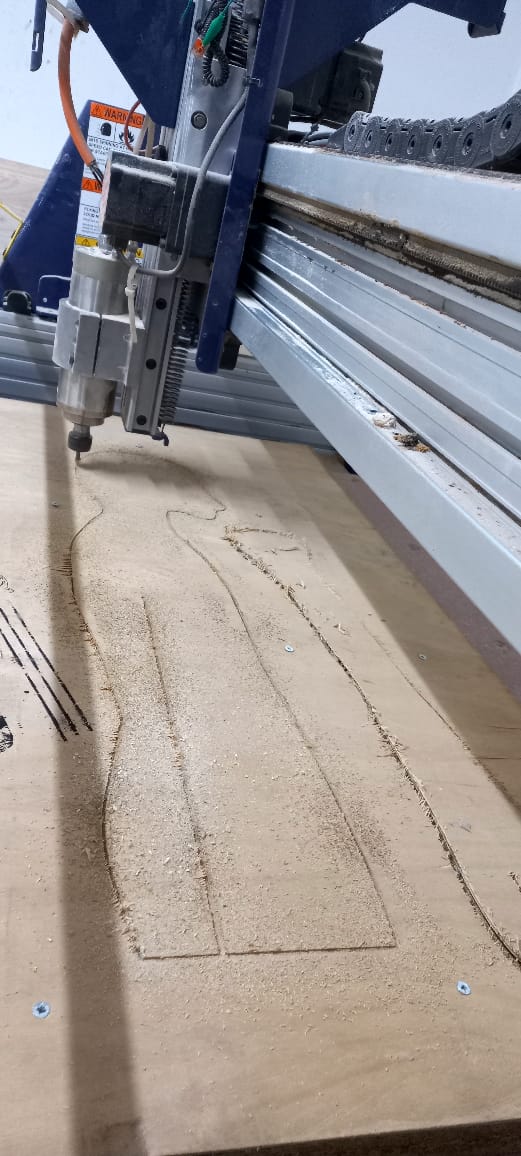
First Attempt
The first time I tried cutting it, there was alot of rough patches and the board was falling apart.
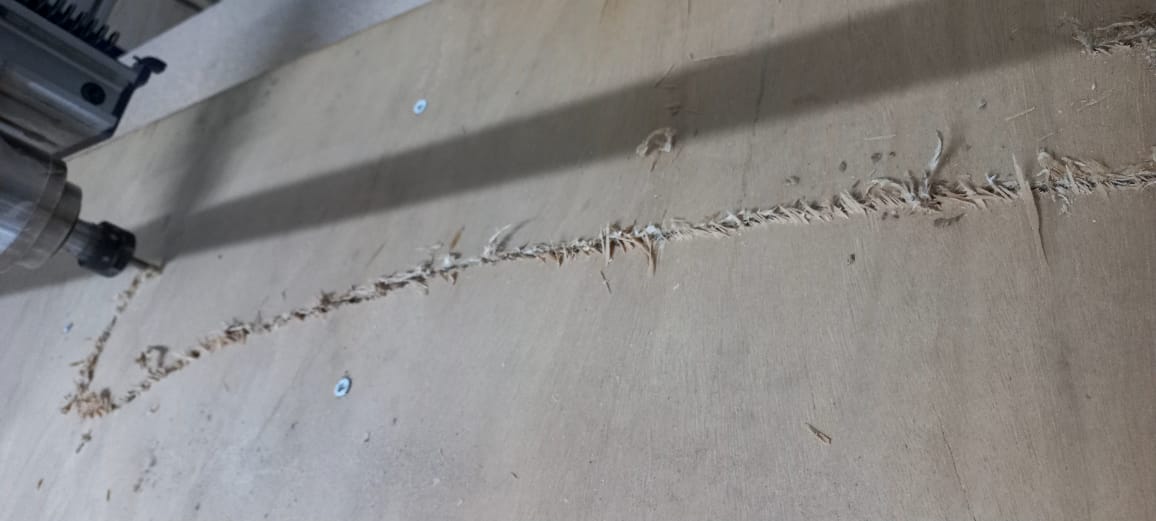
So, we changed the feed rate and this time it came out much cleaner.
Post Processing
The board had rough patches and it could prick your hand. So I did sanding on all the parts using sanding paper and sanding knife.
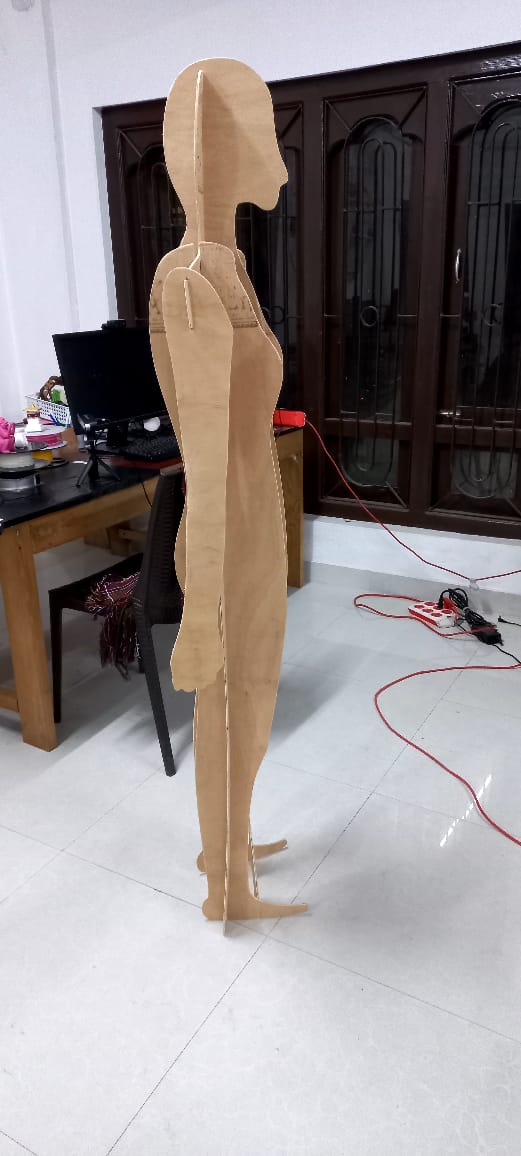
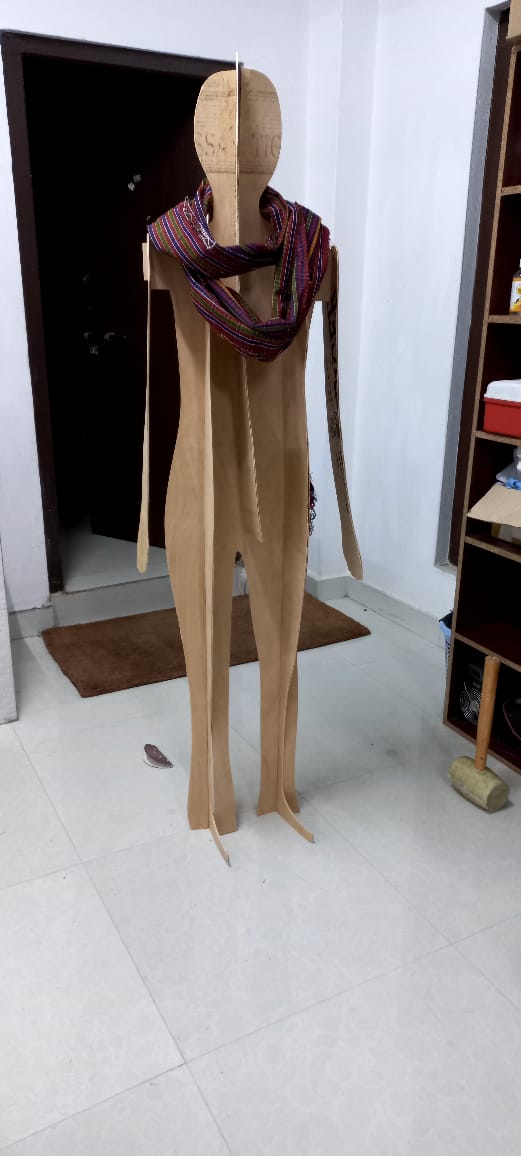
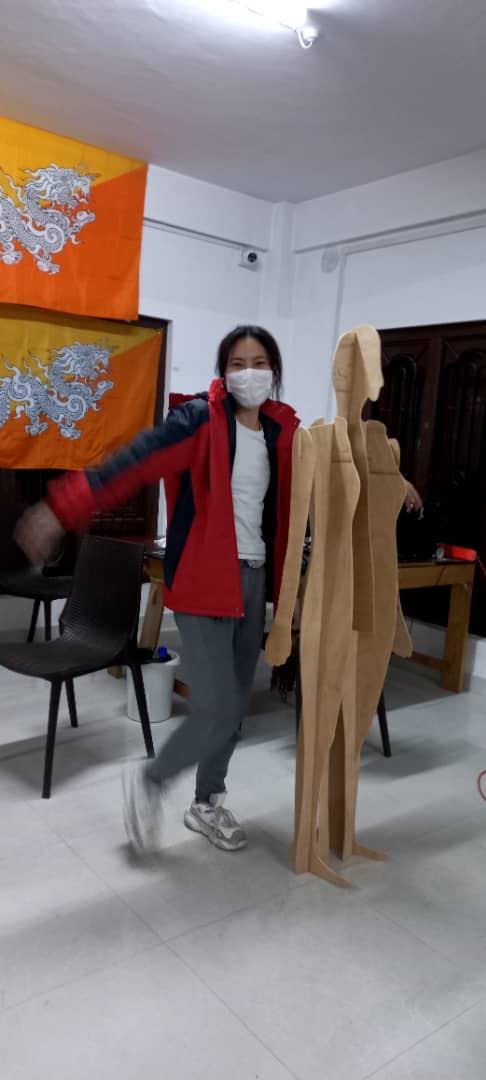
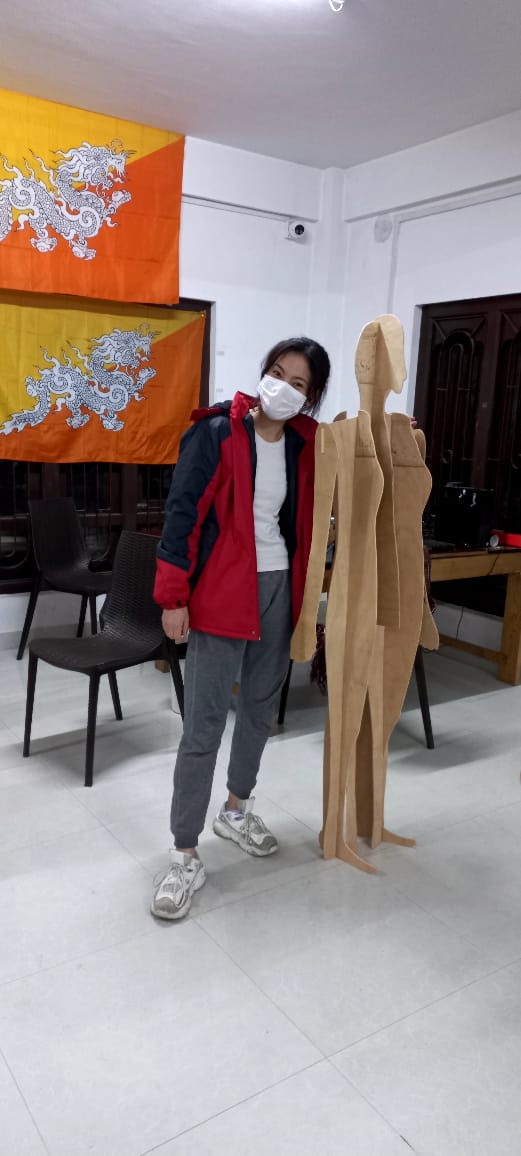
Assemble Time

And heres my Mannequin
Group Assignment
Safety TrainingRun out test