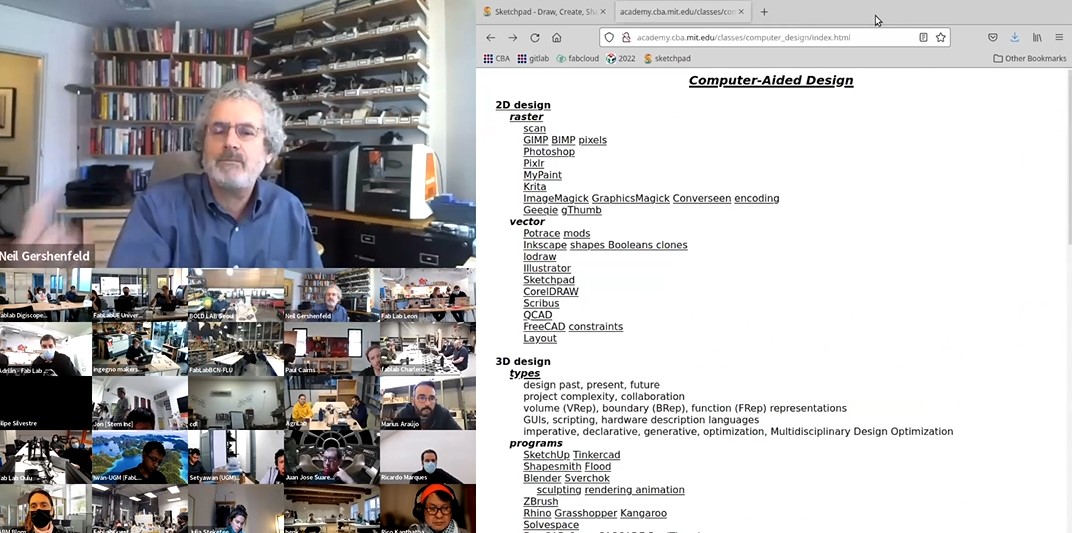
This week we were introduced to Computer Aided Design (CAD)and its softwares by Professor Neil. Personally I have fair experience with 3D softwares like Fusion 360 and Tinkercad,which I have learned
here in our lab. Though I have basic experiece with Fusion 360 and Tinkercad, I still have miles to go and experience with what these softwares could do.
As for the 2D softwares, I have some experiece with Coral Draw but I have never explored to its capability.
Takeaways from the Global and local Sessions
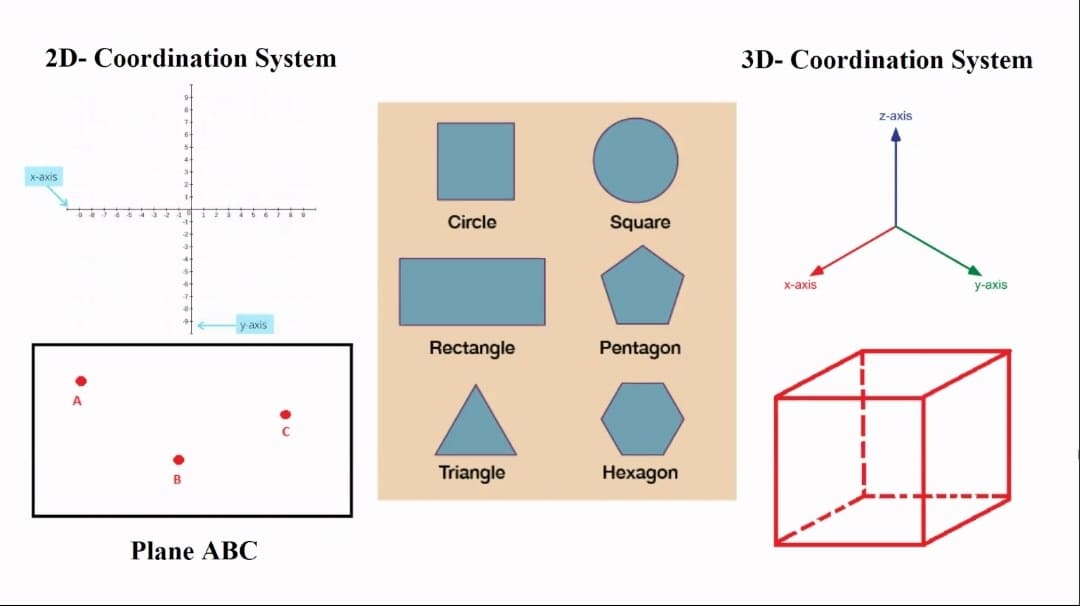
What is 2D and 3D?
The D in both 2D and 3D stands for "Dimesions" involved in creating a shape. The 2D shape is comprised of two coordinates, that is X-axis and Y-axis.
And the 3D is comprised of three coordinates, that is X-axis,Y-axis and Z-axis.
Though a 2D and 3D shapes are basics which we have been taught from our pre-primary, I was not really clear on the concept so I googled these sites
techdifferences and twinki
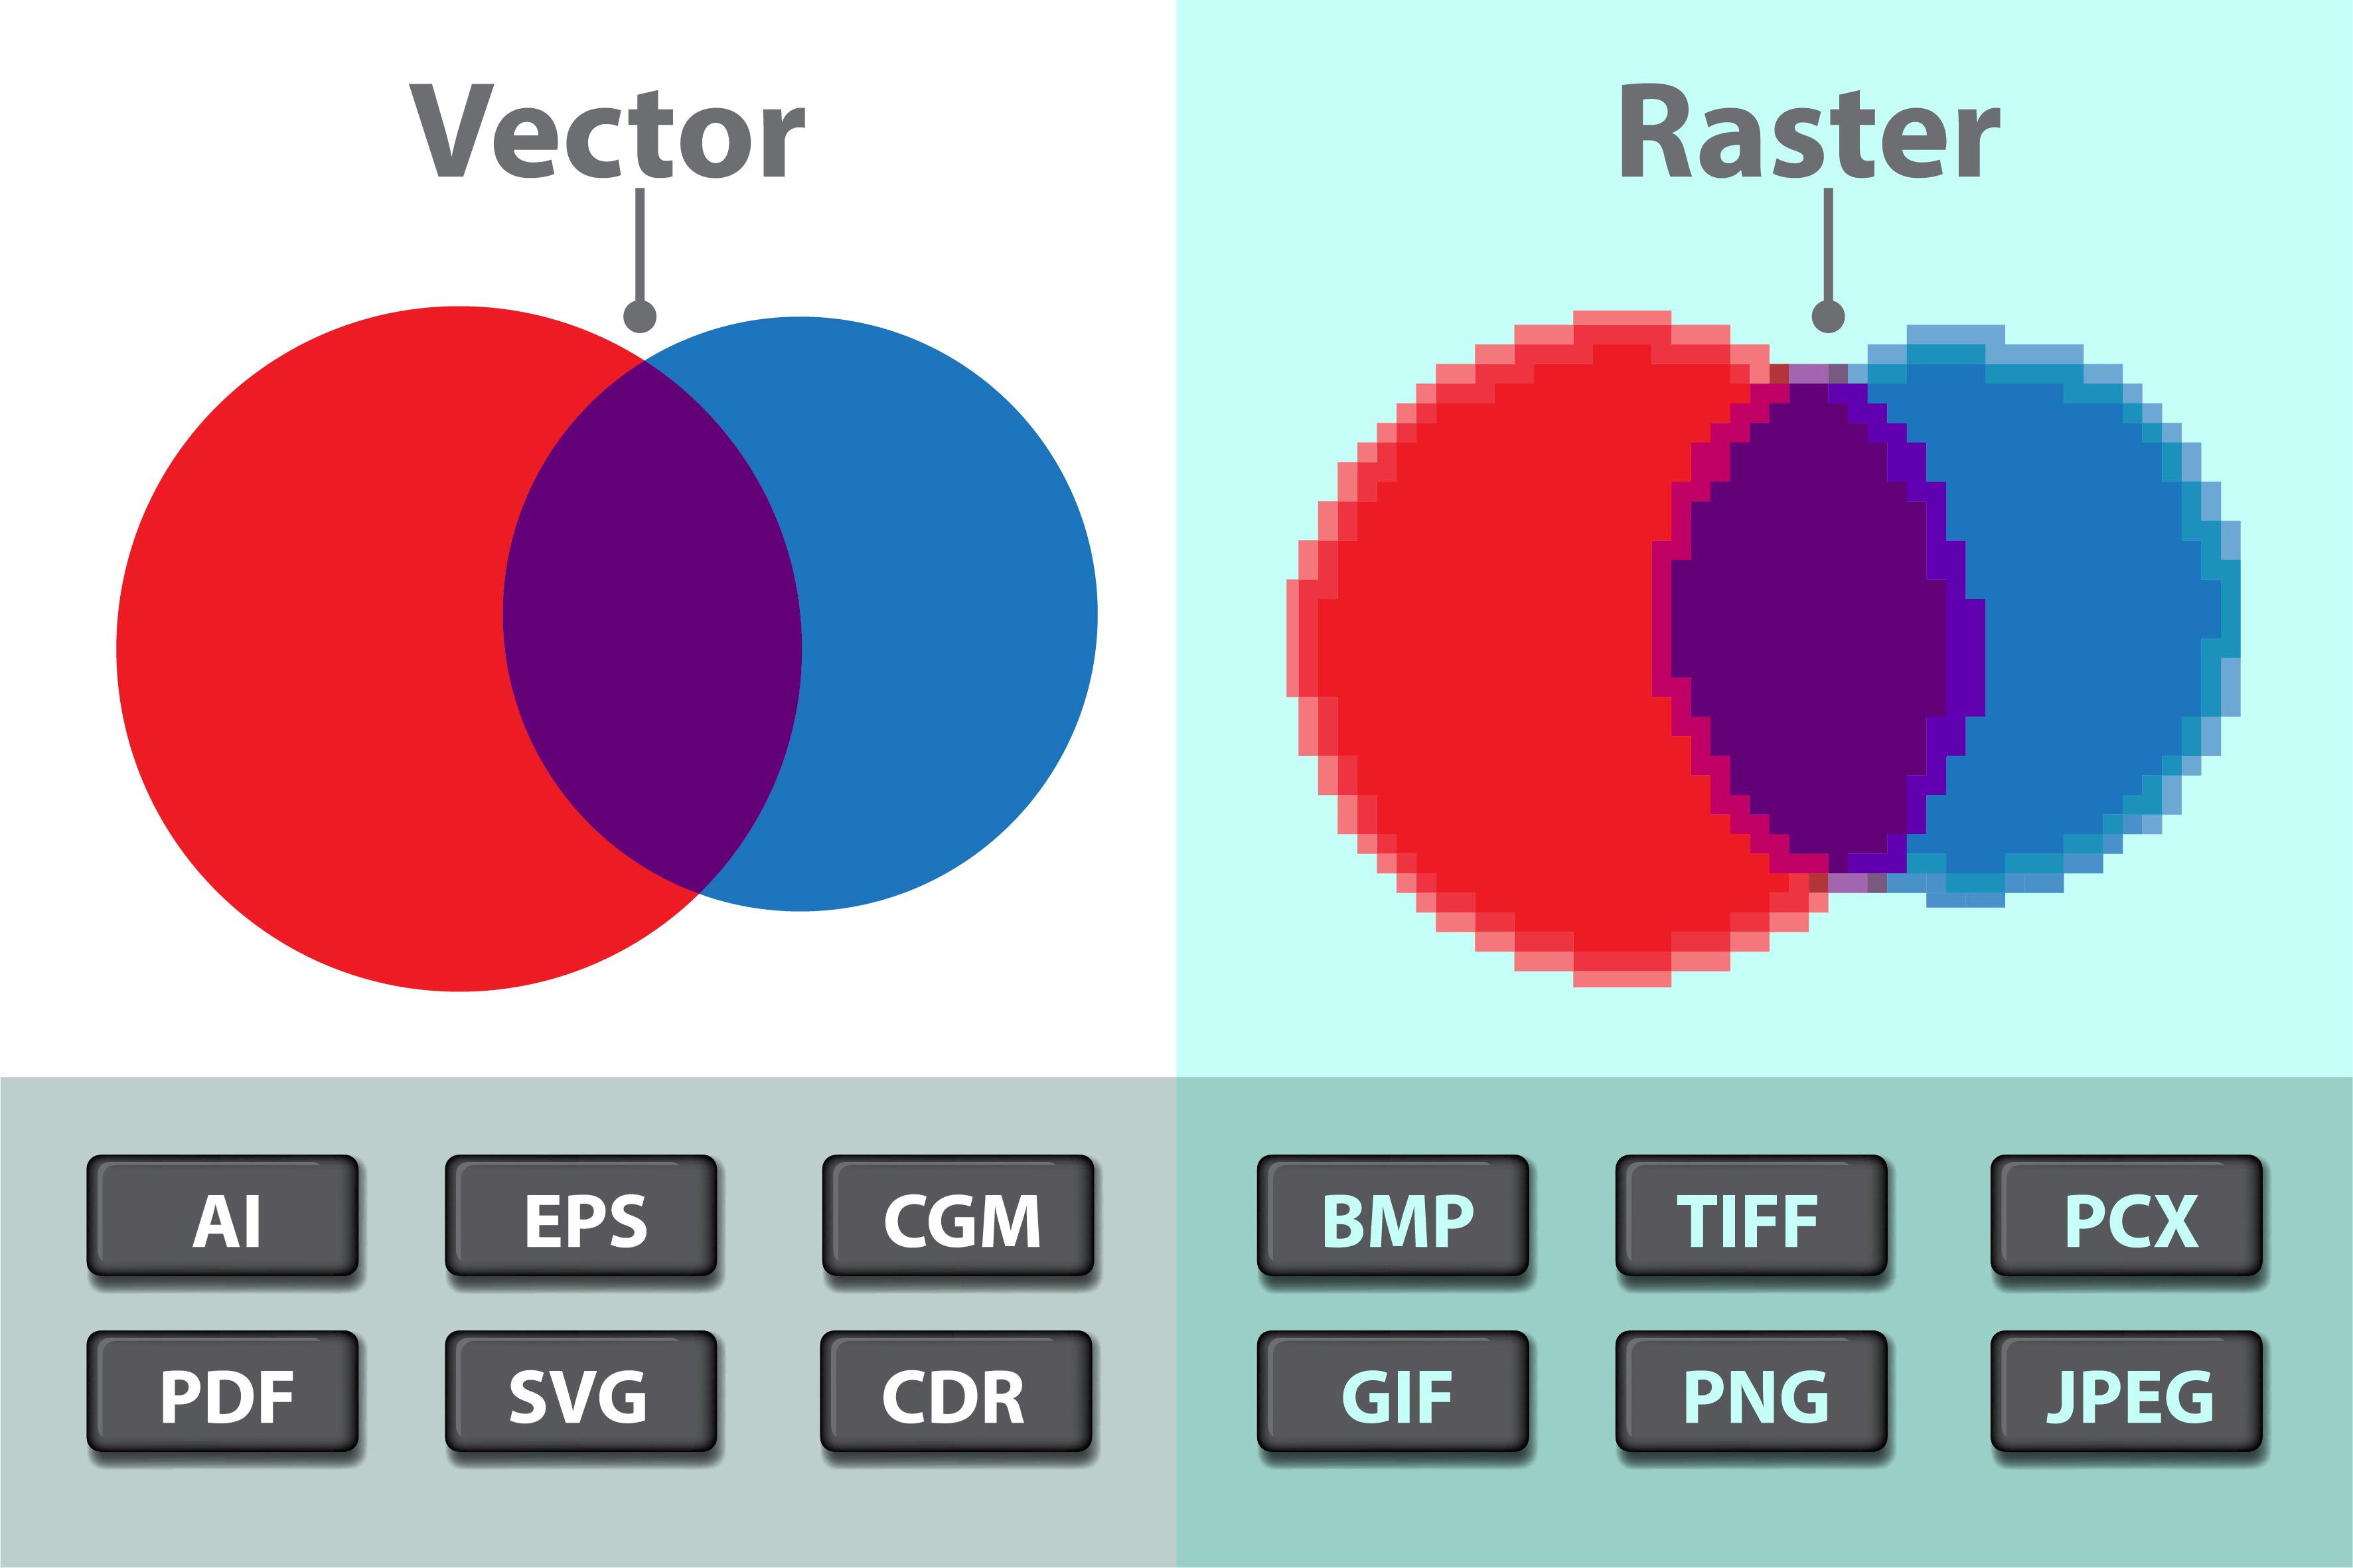
Raster and Vector
Raster images are made up of tiny pixels and the amount of pixels determine the quality of image.So basically, what is means is the resolution of your image depends
on the number of pixels present in it. More the pixels in a image, better the resolution and vice-versa. While I was experimenting with the laser cutter in our lab,
I figured that when we send a raster image to be printed in the laser, it just prints you the image. So if you want your images or product to be cut out, we need to vector the images.
Vector graphics are digital art which are made with connecting curves and lines and anchored by connecting dots. Vector graphics are also known as SVG (Scalable
Vector Graphics) and perfect for scalable objects and solid edges.
When to choose what?
If you are looking for a complex color blend and just want to print the image, you should go for raster and if you need a scalable shapes and bold colors, you should go for
vector.
2D softwares
XnConvert
In the first week while documenting, I was told by the instructors that my file was large and adviced me to resize my images. So upon Ricos recommendation, I downloaded
the Xncovert image converter,which I absolutely loved. It was user friendly and quick too.You can download from here XnConvert.
So this is me resizing my images in XnConvert.
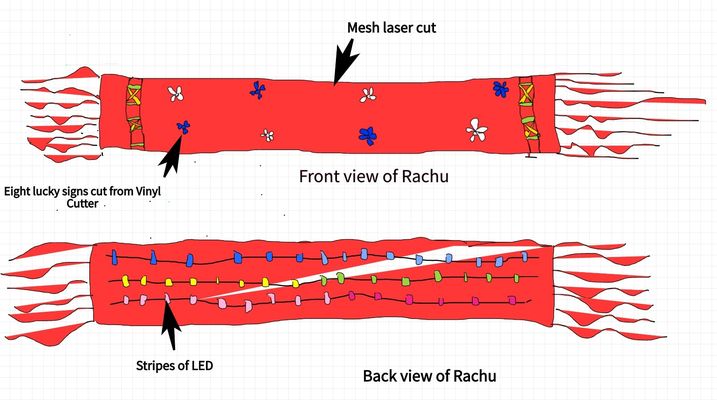
 Made this collage using Inkscape. Sketchy but with more practice will deffinitly get there.
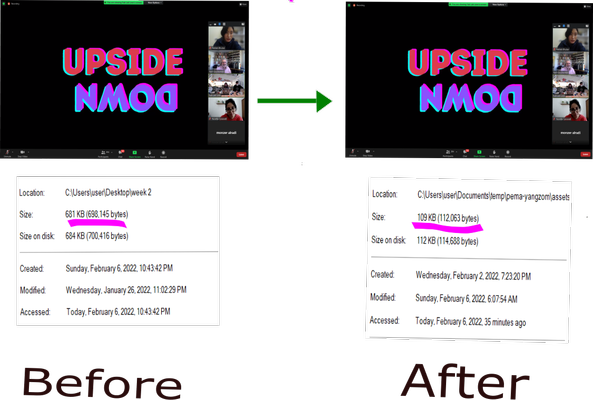
You can see that in the first picture the image size was 681KB and after resizing it in Xncovert, the image size reduced to 109KB.
After trying it for the first time and seeing the differences it made, I resized all my images for my documentation which was just occupying my space unnecessarily
I would recommend to those who are struggling with your file size to try this software.
Inkscape (Vector)
Ummm...not really sure how I feel about this.Took me sometime to understand the interface there or maybe its just me.
For the beginners like me who needs alot of guidance, I would advice you to go through various tutorials. Particulary for me,I wasted alot of time trying to figure it out on my own and this tutorial
by TJ Free was a great help. He also have tutorials on other useful softwares.Go check him out!
I still need to explore the tools more and after watching more tutorials, I think it will be very useful.
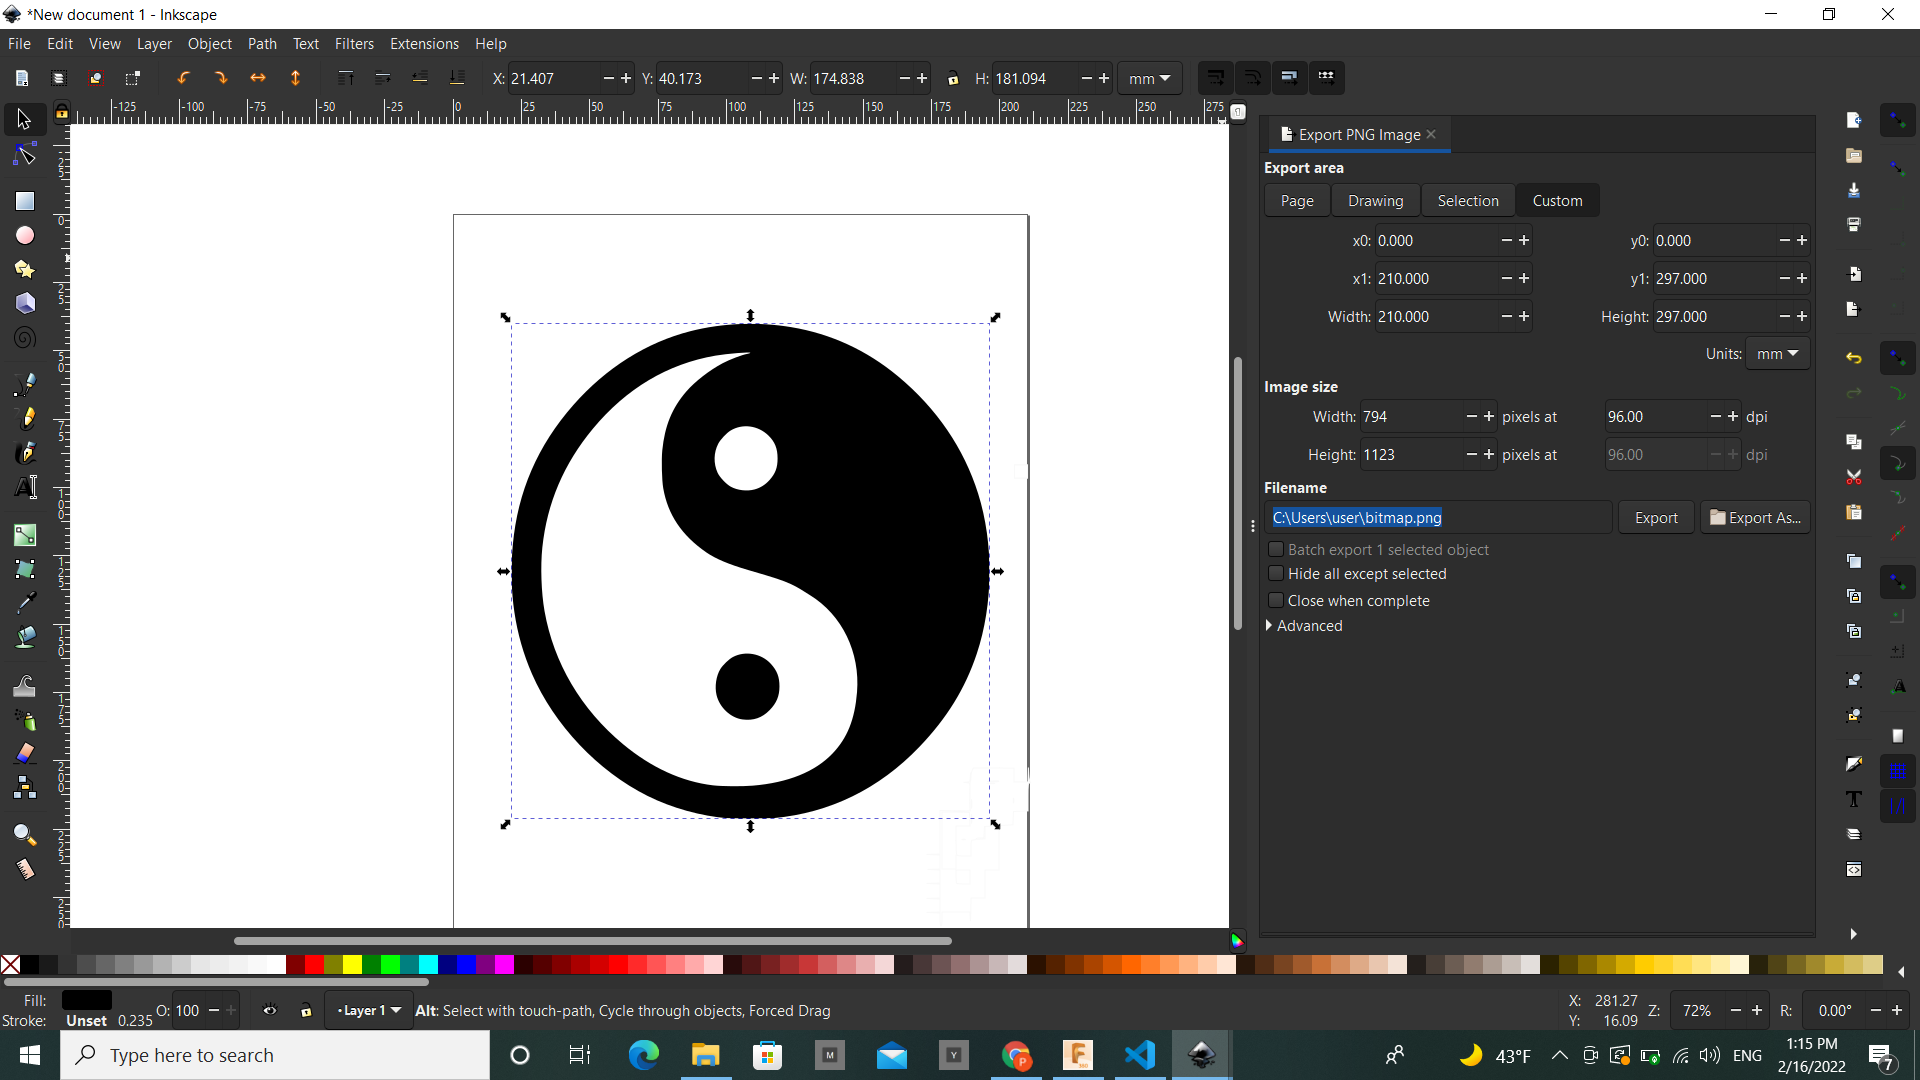
This is the first ever me trying to use inkscape and as I have mentioned above found it really difficult to understand the environment.
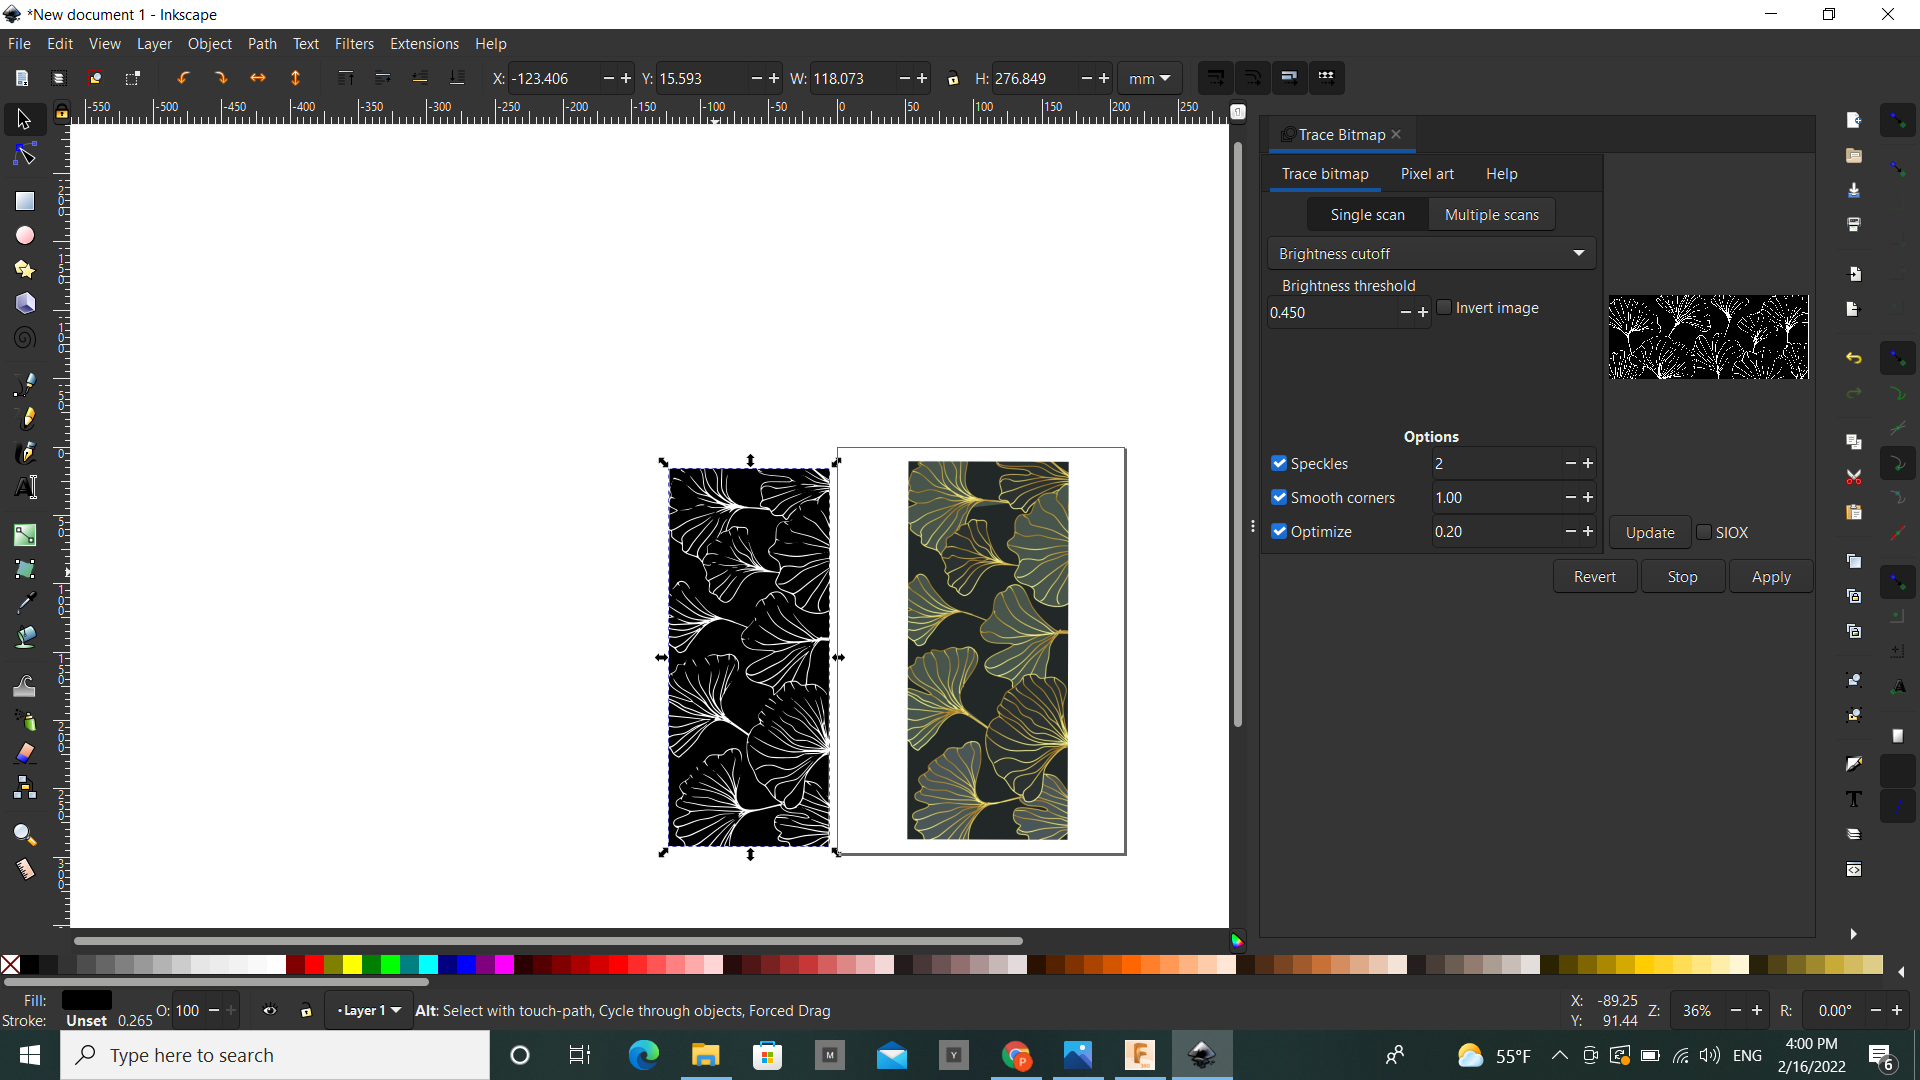
I have also used Inkscape for my vinylcutter week to make the image from raster to vector.
SketchPad (Raster)
Love love love this software. Very user friendly and amazing features.
They have this cool feature whereby when you skecth you get to choose both the outline and the infill color. So as you sketch, it gets colored without having
to color separetly
Besides every geometry set that we will need for sketching, the tools that stood out for me were the Caligraphy and the mirror brush. The option to Undo and Redo is a bonus!
 I was sketching my final project so I tried to import images and realised its too complicated. Watched a video on it but it didnt help.How I wish it has importing options like the other 2D software.
TeacherTube Math
Personally my favourite so far and I found using the keypad better than using mouse while sketching.
I was sketching my final project so I tried to import images and realised its too complicated. Watched a video on it but it didnt help.How I wish it has importing options like the other 2D software.
TeacherTube Math
Personally my favourite so far and I found using the keypad better than using mouse while sketching.
GIMP (Image Manipulation Program)
To know everything about GIMP refer Introduction to GIMP
I find gimp really useful and fun to play around especially for photo editing.
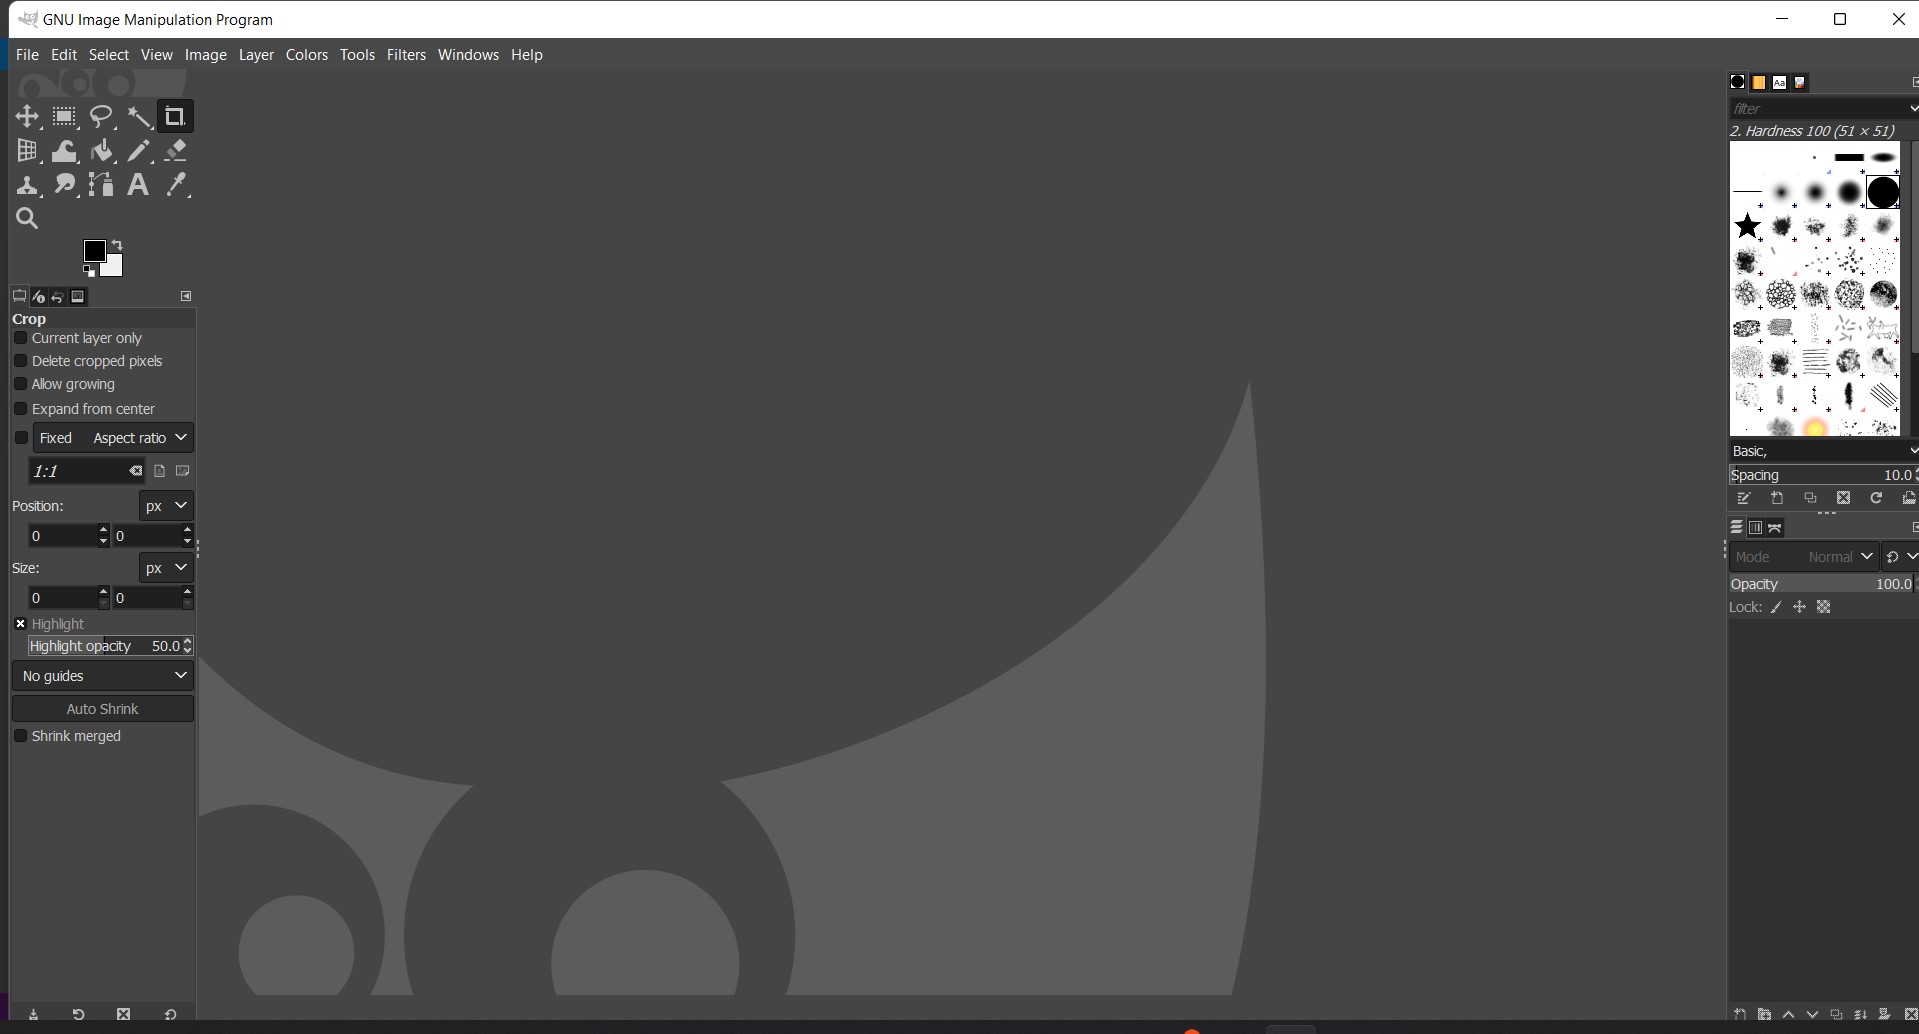
Getting started with GIMP
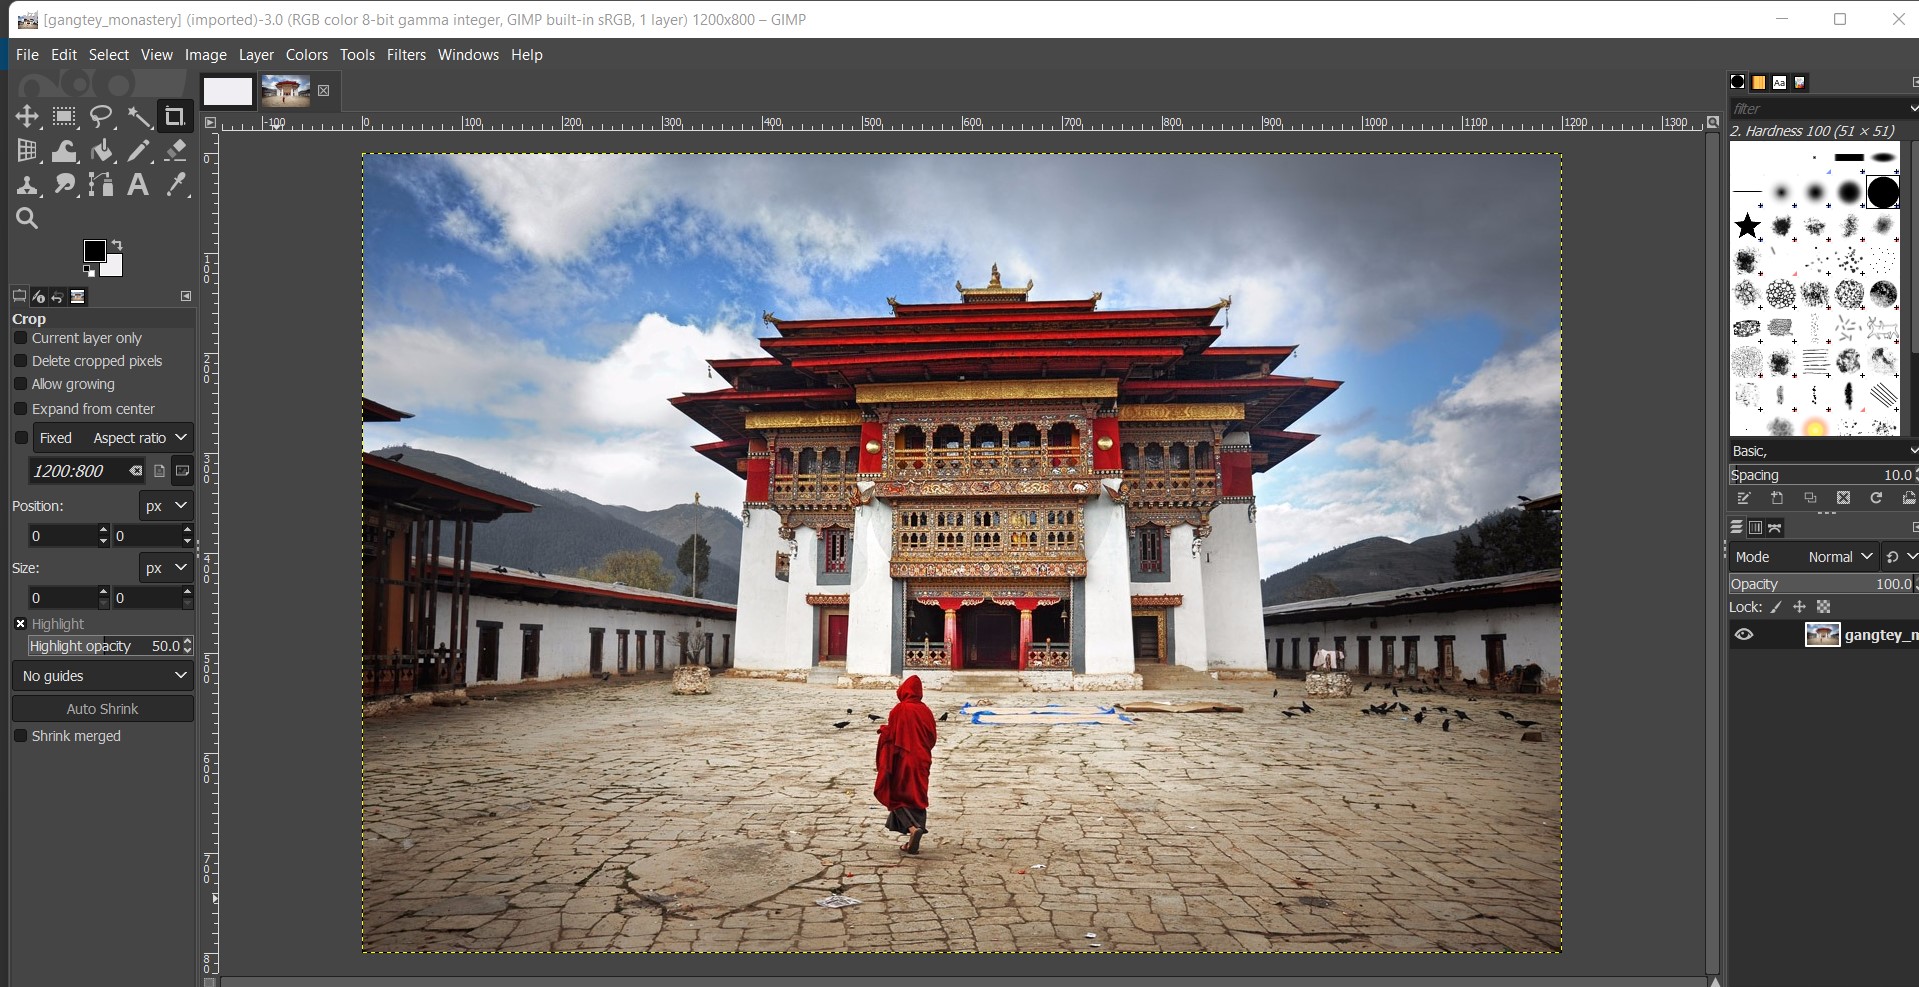
When you open GIMP, this is how the environment looks like.
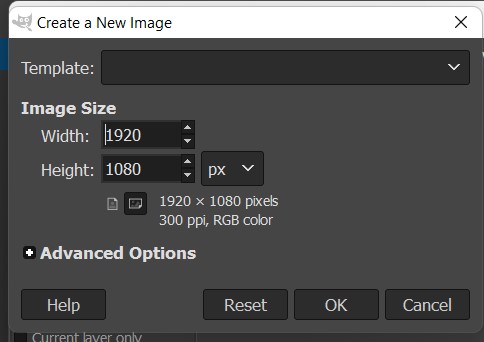
 When you click on a new project, a dialog box will pop-up where we can scale the size of your image.
 After this, I inserted the image.
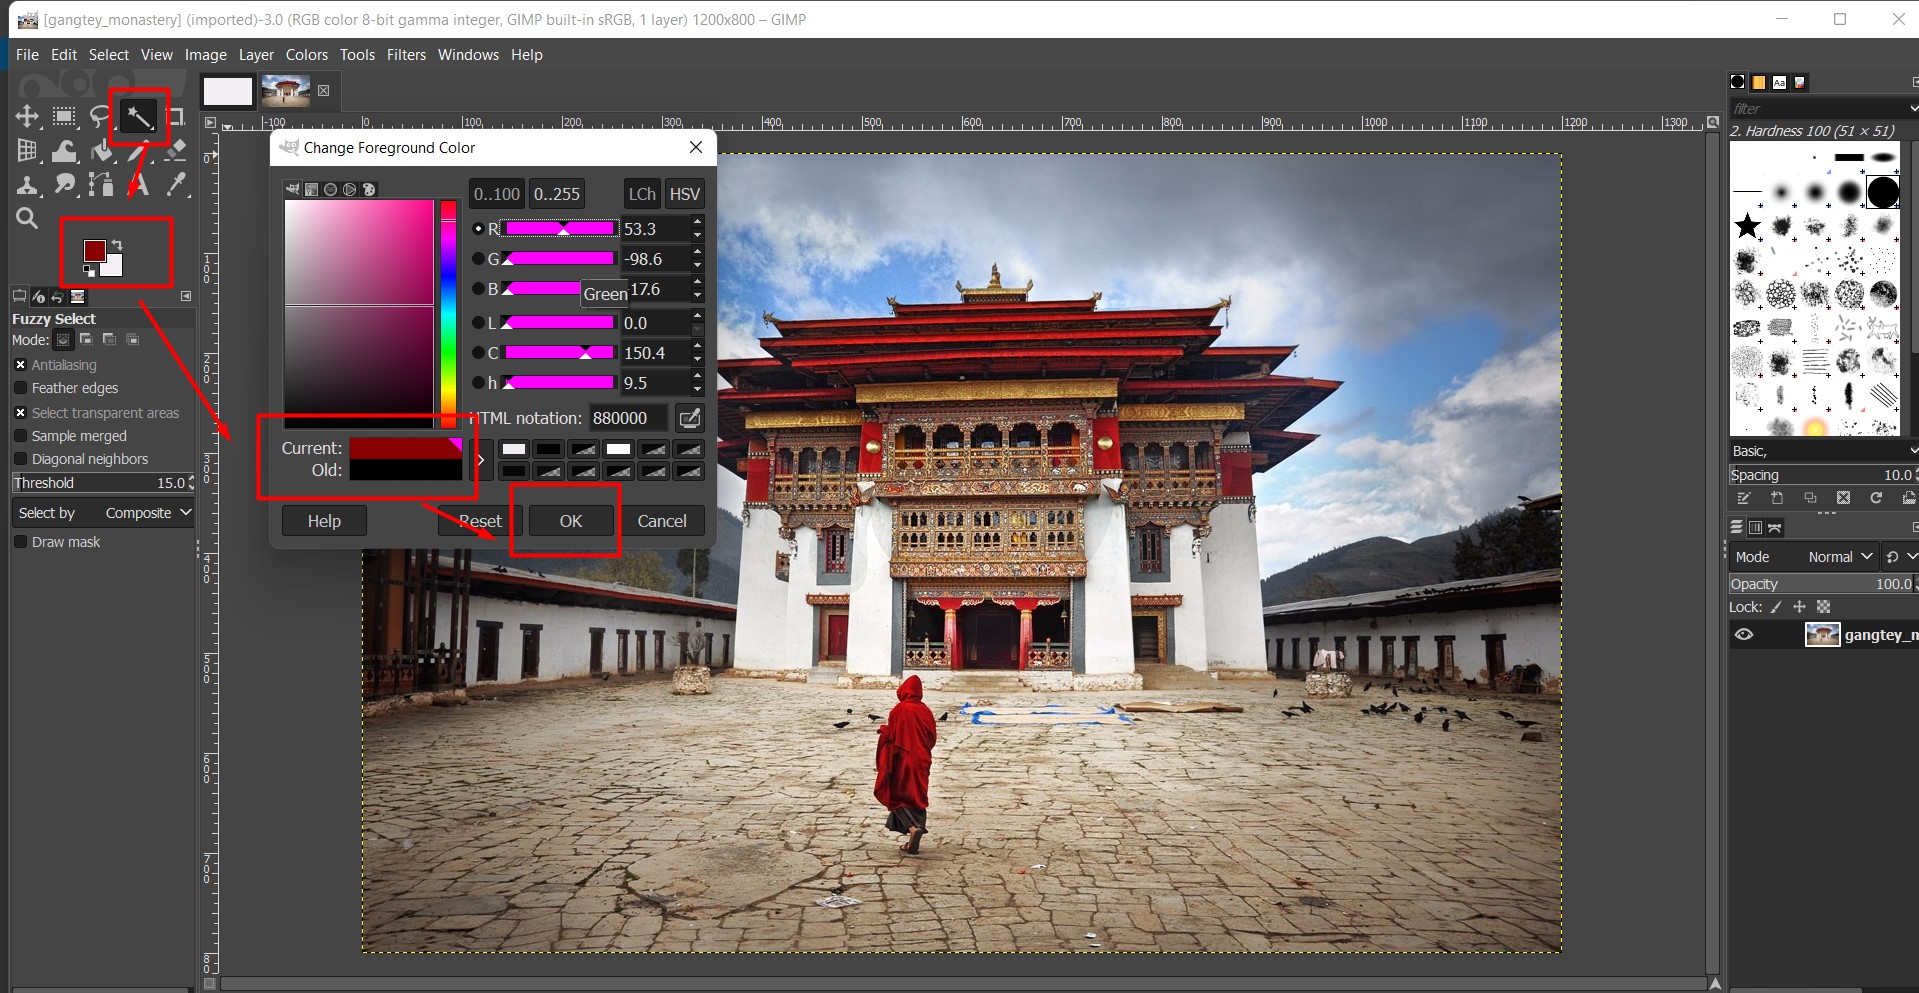
 So using the fuzzy tool, I tried to change the sky color into pink. Following is how I changed the color.
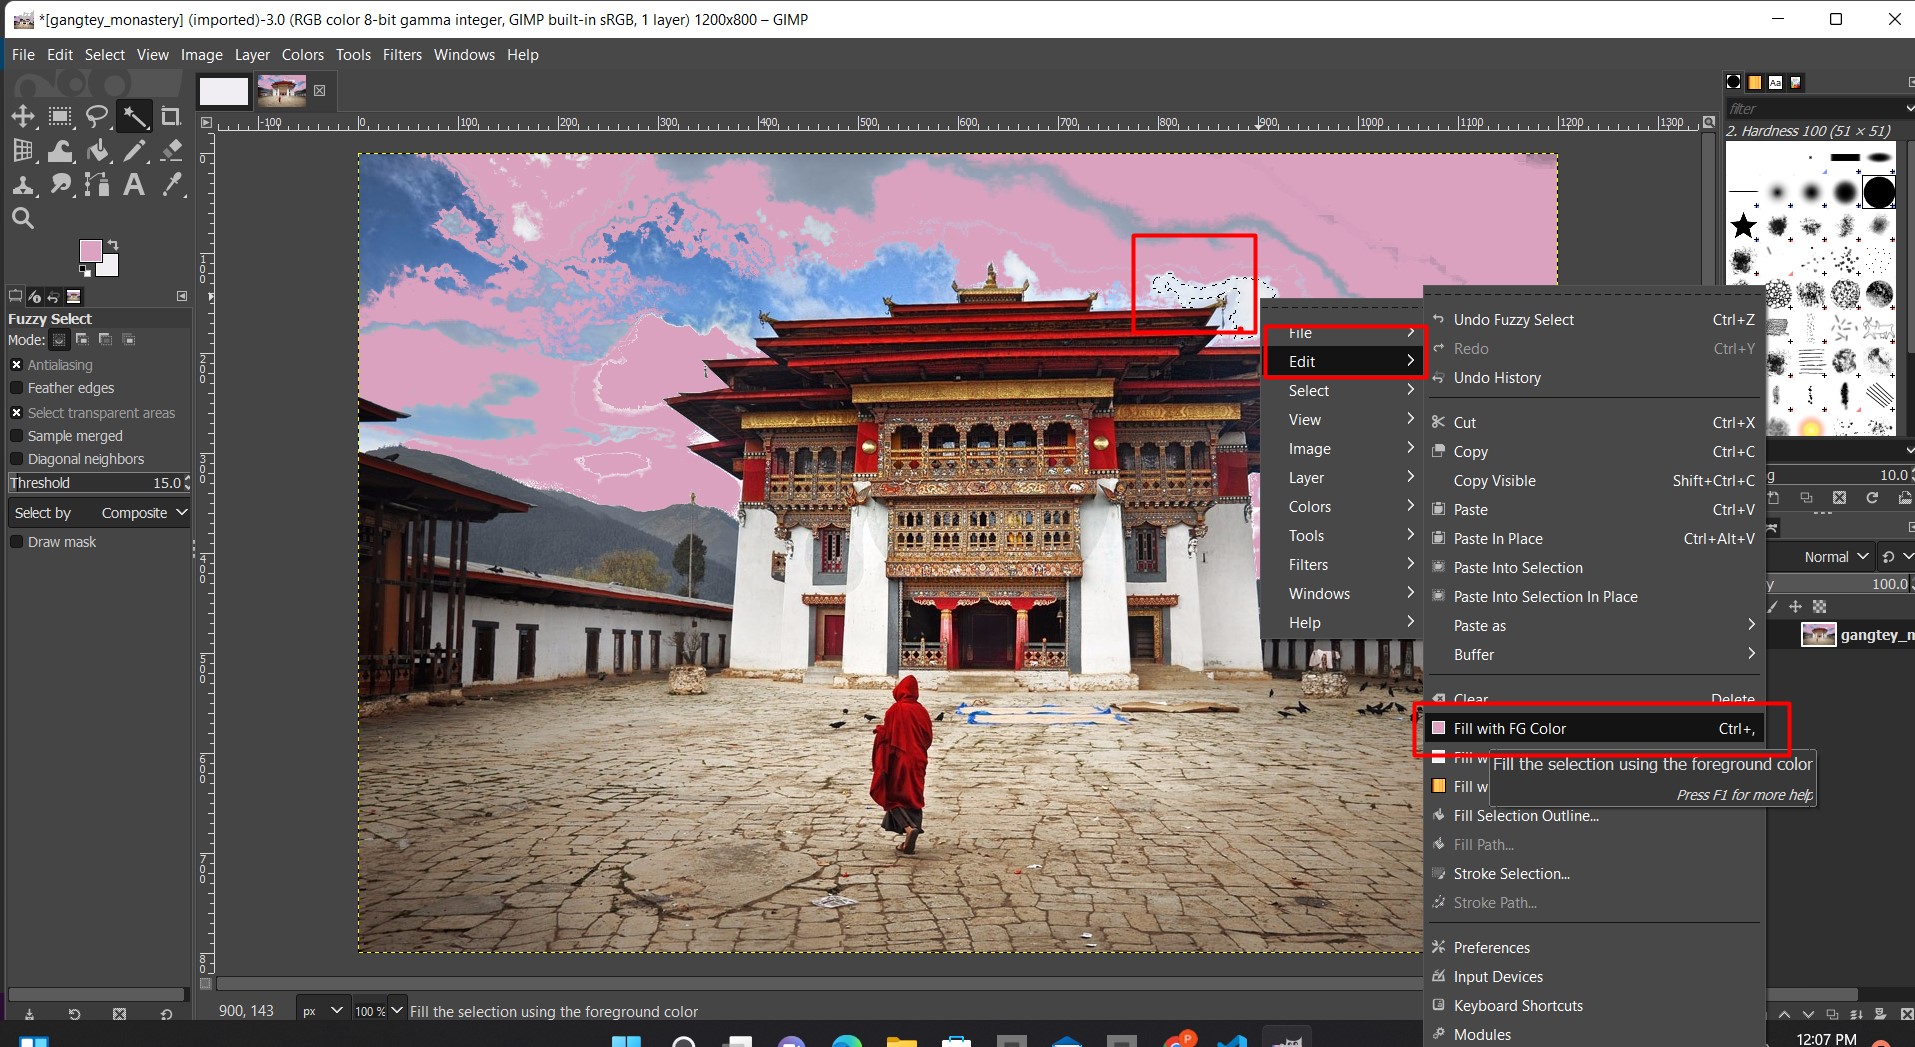
 So after this, I press Shift + right click and select all the clouds I want to paint pink. Then to apply, I right click and then chose the fill with FG color.
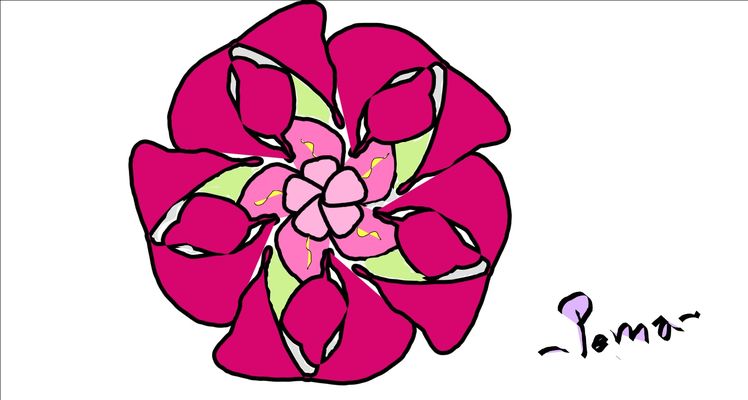
 So like-wise, I have tried playing around a little bit and then export it.
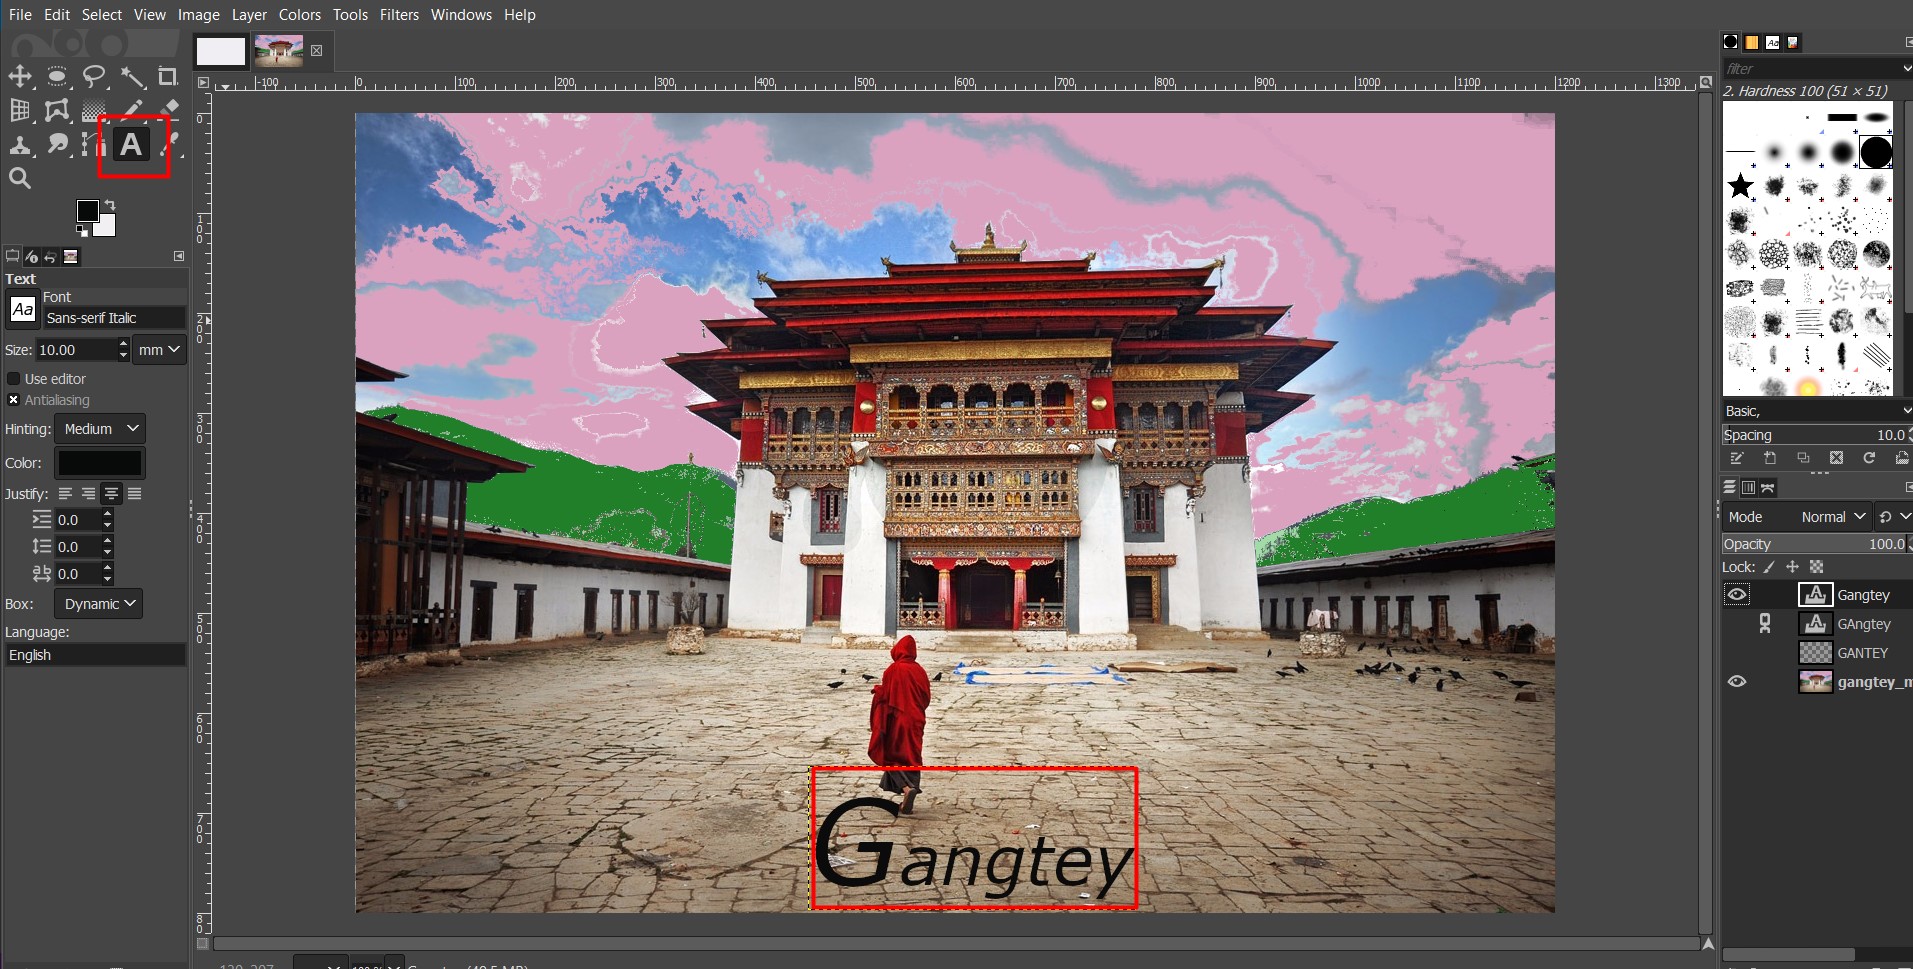
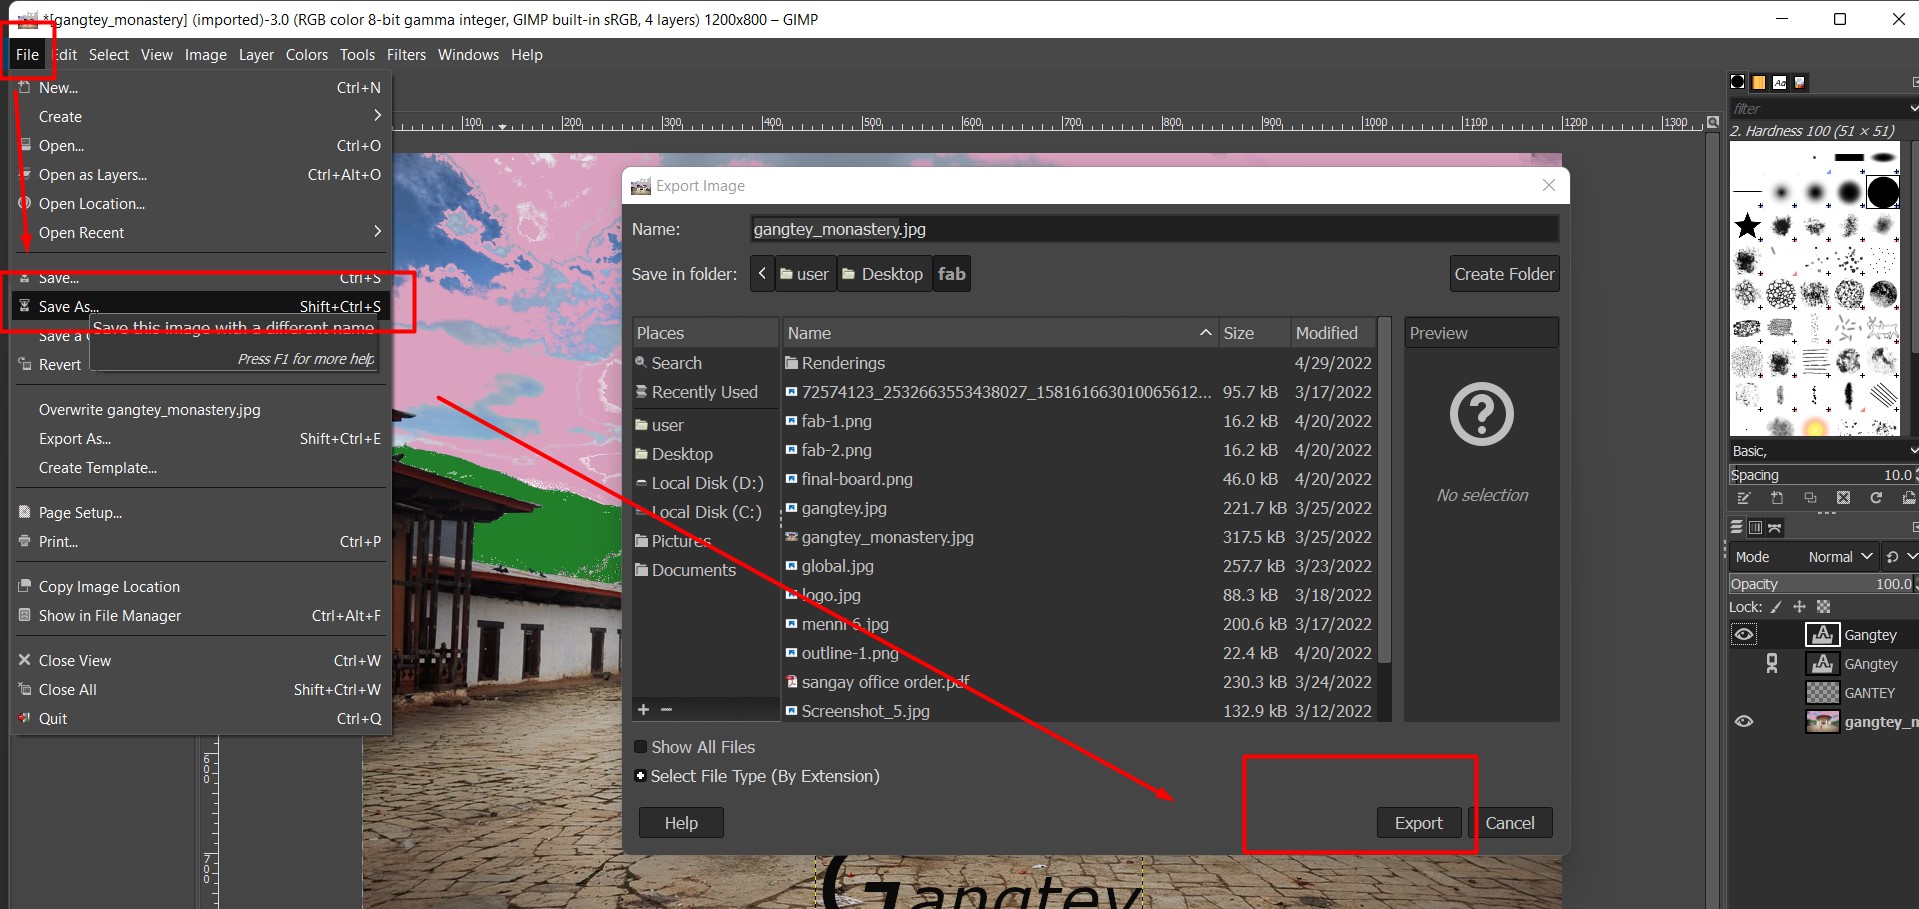 And this is how the image looks like after completing it.

I have also used GIMP to style profiles for my website.
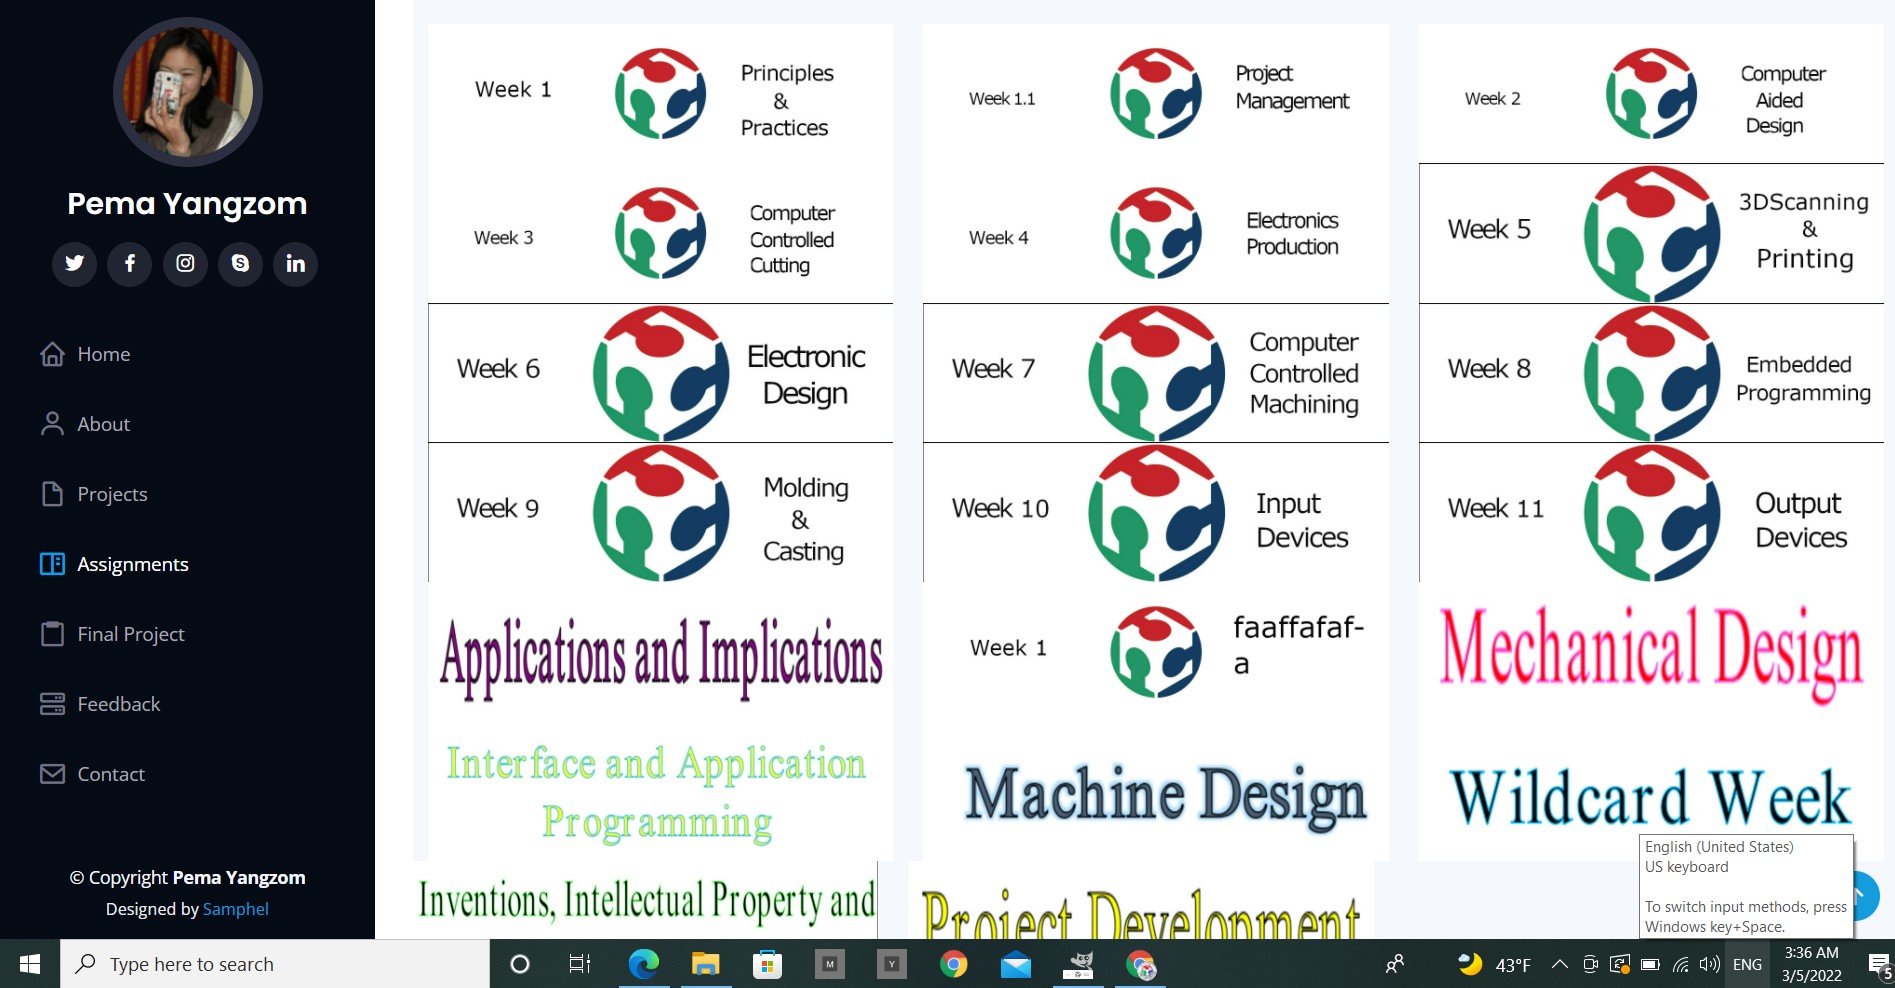
Final look of the website

3D
Tinkercad
Tinkercad I think the very basic for 3D designing. Its very easy and great software for kids.I have used Tinkercad in the Youth centers when I went to give training
on 3D printing. It was esier for the beginners and the youths loved it more than Fusion 360.It is a must have software in schools especially to promote STEAM education.
It is fun and engages the students. Since its online based, we dont really need sofisticated laptops for it. Also we can use Tinkercad in smartphones, which gives easy
access to everyone.
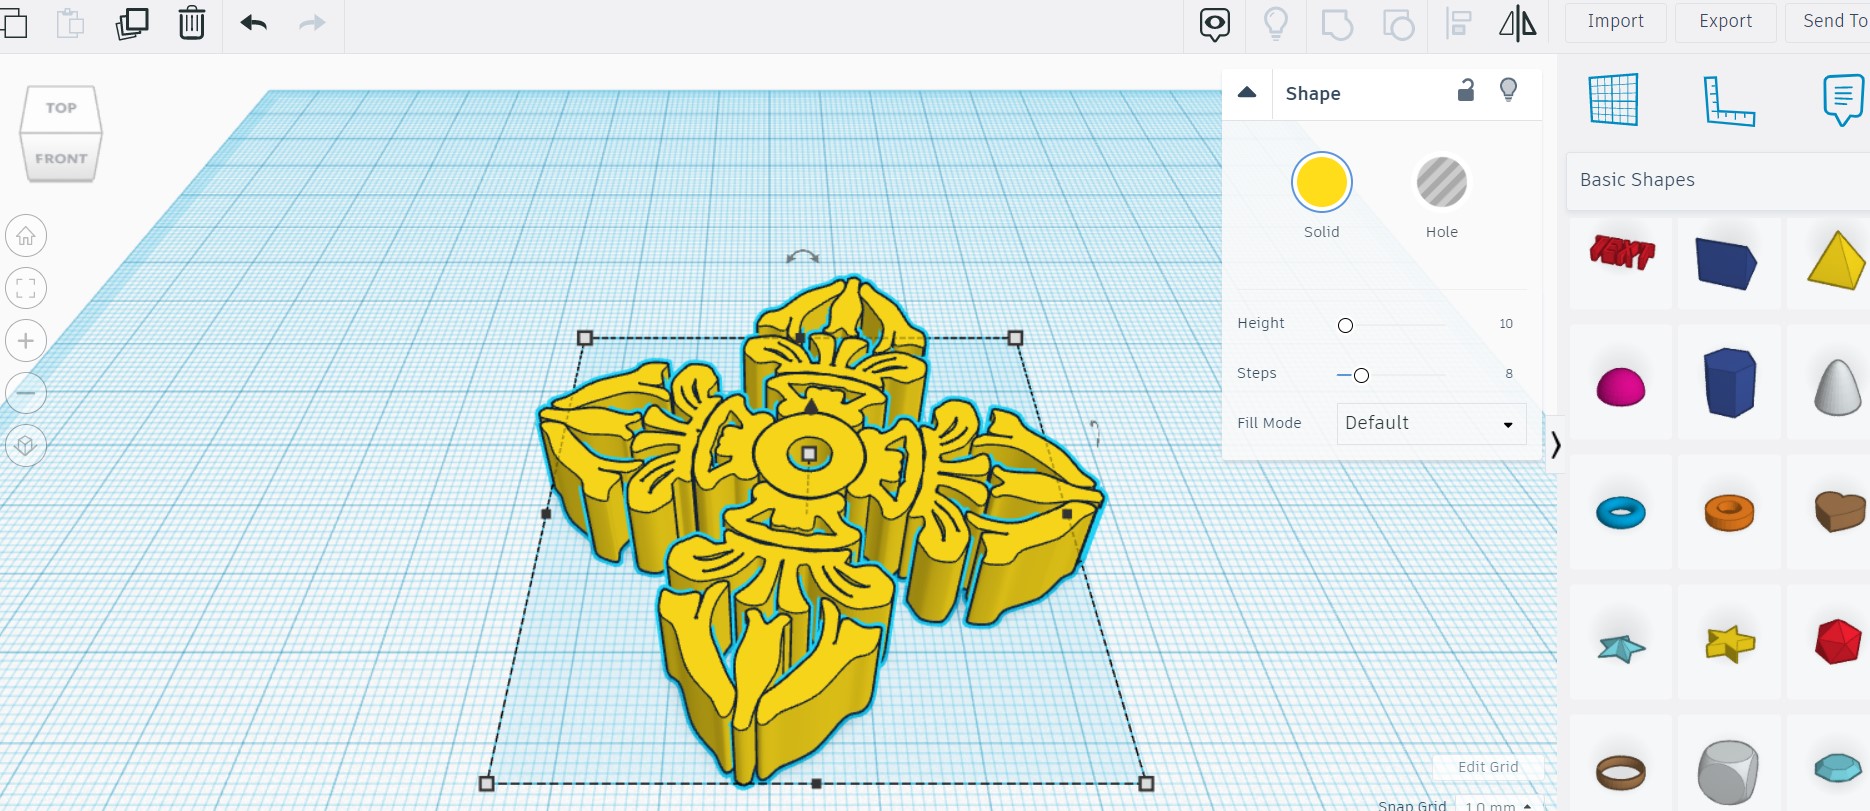
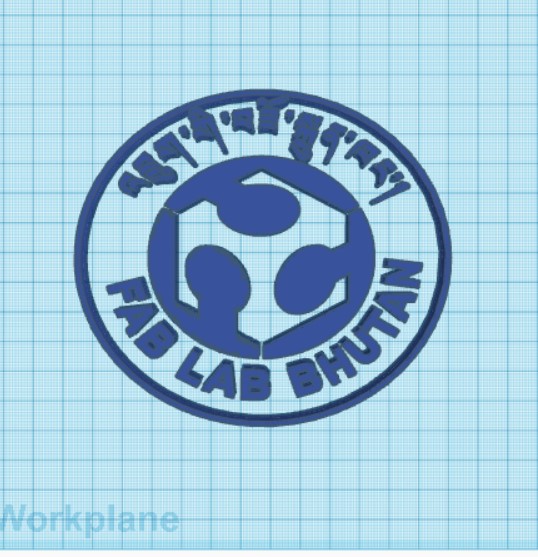
Designing in Tinkercad

Fusion 360
The great thing about Fusion 360 is that its free with so many cool features and very versatile.
Also since it is cloud based, you can easily assess each others file and start working on a design. Great for group/collaborative projects.
Parametric design features
Its a cloud based software. Easy access to you model data if you are working from another computer.
The timeline is the best feature. You can save alot of time by just going back and changing it there if something is wrong then to start all over again.
I designed a book holder and a pipe to practice on Fusion360 with the help of these turtorials. It was quite basic and easy to understand.
Bookholder.
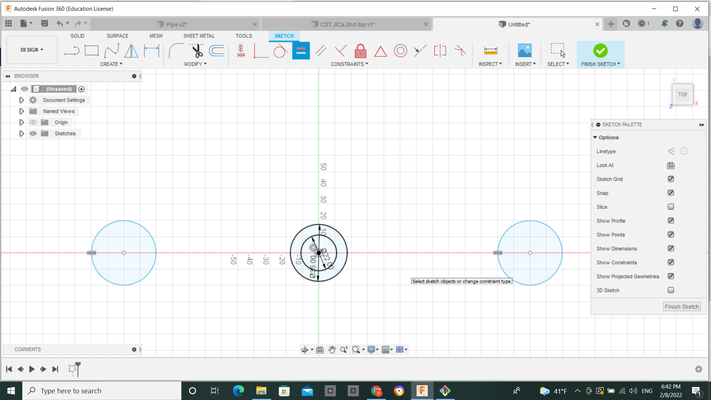
 One of the most useful tools in Fusion360 is its skecthing feature. It makes designing 2x faster and easier.
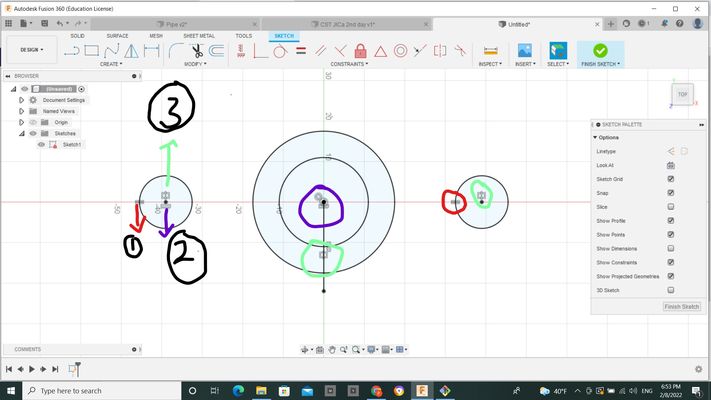
When you are skecthing, you have to make sure that all your drawings are constraint. Constraining your skecth will help your design to stay intact and when
you change the dimensions of any sketch, it will ensure that it gets updated as expected. Trying to use the constraints can be quite challenging but once you
get hold of it, you will love it. If your sketch is not constraint you will see that your sketch color is blue and if its fully constraint, it will be black.
In the first picture you can see that the two small circles on sides are not constraint. So, I used three different constraints(marked in the second picture) to constraint my sketch.Now
the circles are in black color which means they are fully constraint.
Also in the second picture you will see that the skecth dimensions are missing. To do that you can use the skecth palatte on the right and tick on the options there
to your preference. I found using this feature very useful so as not to overcrowd your design and could be very confusing.
One of the most useful tools in Fusion360 is its skecthing feature. It makes designing 2x faster and easier.
When you are skecthing, you have to make sure that all your drawings are constraint. Constraining your skecth will help your design to stay intact and when
you change the dimensions of any sketch, it will ensure that it gets updated as expected. Trying to use the constraints can be quite challenging but once you
get hold of it, you will love it. If your sketch is not constraint you will see that your sketch color is blue and if its fully constraint, it will be black.
In the first picture you can see that the two small circles on sides are not constraint. So, I used three different constraints(marked in the second picture) to constraint my sketch.Now
the circles are in black color which means they are fully constraint.
Also in the second picture you will see that the skecth dimensions are missing. To do that you can use the skecth palatte on the right and tick on the options there
to your preference. I found using this feature very useful so as not to overcrowd your design and could be very confusing.

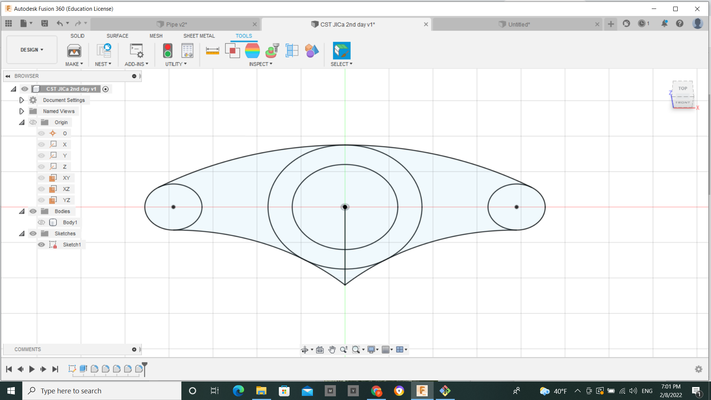 So for my bookholder, I needed to use arc. After drawing arc using the 3-point arcs, I constraint them to the circles using the Tangent constraint option.
If you are trying to constrain your sketch and if it doesnt work, try changing your sketch dimensions and try again. Especially with the arc in this model, I had to
change the arc dimensions so many times.
Type "D" - short cut key to dimension
So for my bookholder, I needed to use arc. After drawing arc using the 3-point arcs, I constraint them to the circles using the Tangent constraint option.
If you are trying to constrain your sketch and if it doesnt work, try changing your sketch dimensions and try again. Especially with the arc in this model, I had to
change the arc dimensions so many times.
Type "D" - short cut key to dimension
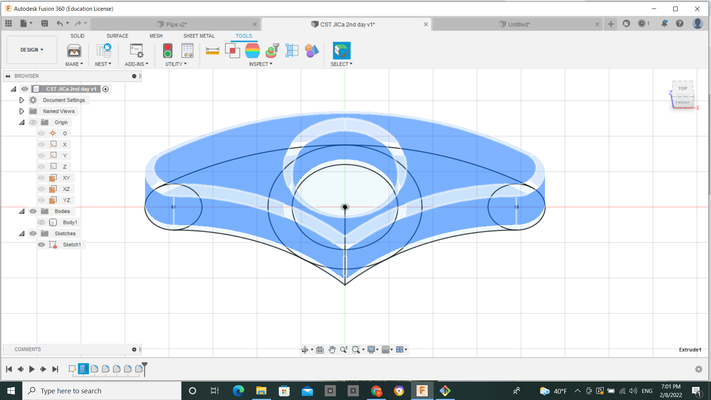
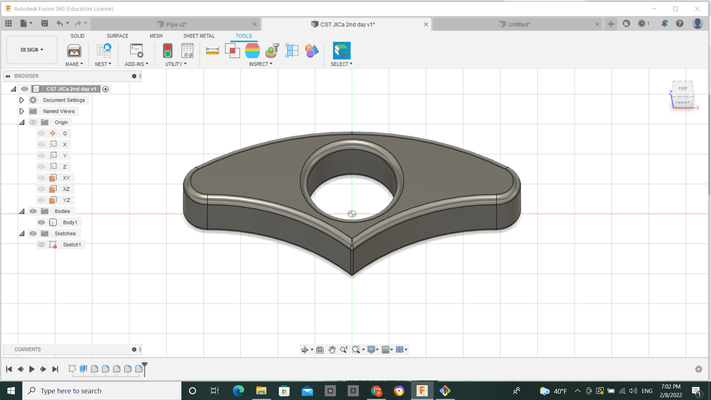 After finishing the sketch, I extruded and applied fillet on the sides.
Three ways to extrude
Type "E" - short cut key for extrution.
Right click on your mouse and choose extrude option.
From the tools bar, click on extrude.
Drawbacks
The user interface at first can be challenging.
Since its all cloud based, you will need to have access to internet to be able to work.