
Week 5
- Category: 3D Scanning & Printing
- Sessions Date: Feb, 2022
- Assignment:
- Group Assignment
- test the design rules for your 3D printer(s)
- Individual Assignment
- design and 3D print an object (small, few cm3, limited by printer time) that could not be made subtractively
- 3D scan an object (and optionally print it)
Finally a week I am little confident about! I started my digital fabrication journey with a 3D printer so this week excites me alot!!! When I first came to Fablab Bhutan, lab had Makebot sketch, Tiertime and Ultimaker(which wasnt working properly). I explored the 3D printing parameters in the makerbot. Oh boy! I spoiled a build plate or two.
Another Lockdown!!! No access to lab so the 3D printing will be done after the lockdown.
😷
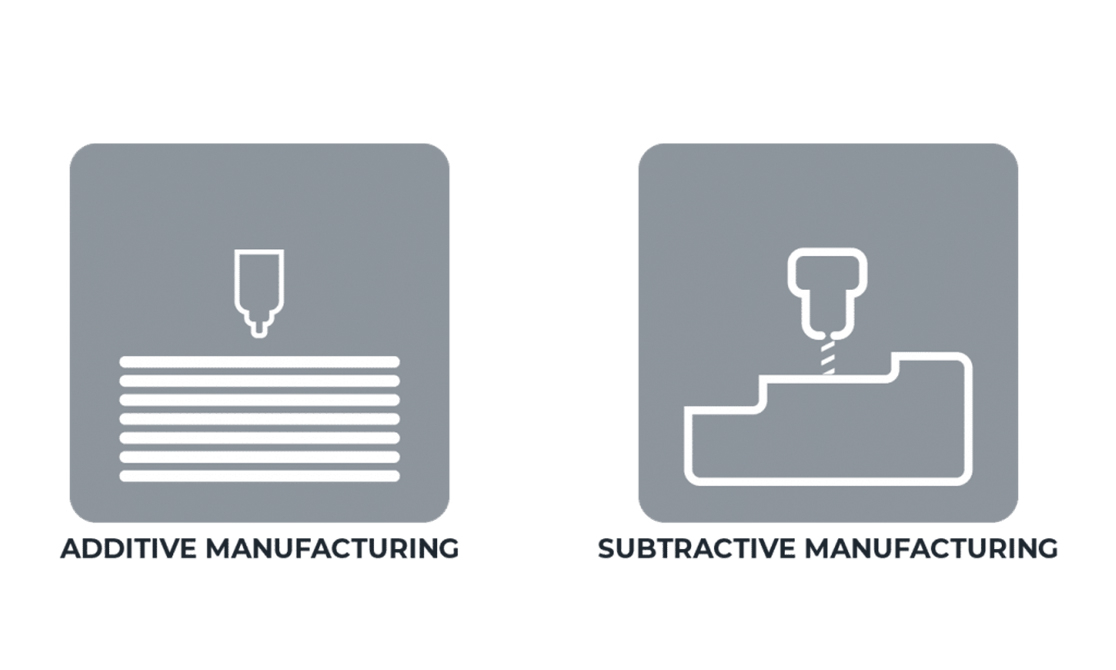
Understanding additive and subtractive manufacturing.
Additive manufacturing is a process where by we create a 3 dinmensional object by layering materials.3D printer is an additive manufacturing.
Subtractive manufacturing or subtractive fabrication involves the process ofcutting away from a solid block of material.For exmple, PCB milling machine, CNC and Vinyl Cutter.
Individual Assignment
So for my individual assignment I was required to design and 3D print an object. Since, I dont have access to lab for now, I will be working on my design and improve my skills.
I am using Fusion 360 to design my object.
Failed attempts
I tried making a chain using Fusion 360 but it didnt go as I hoped to. I refered to these two tutorialsHow to make a simple chain andHow to make a simple chain in Fusion360 but for some reason I couldnt get it done.I am going to try out next time.
Attempts again
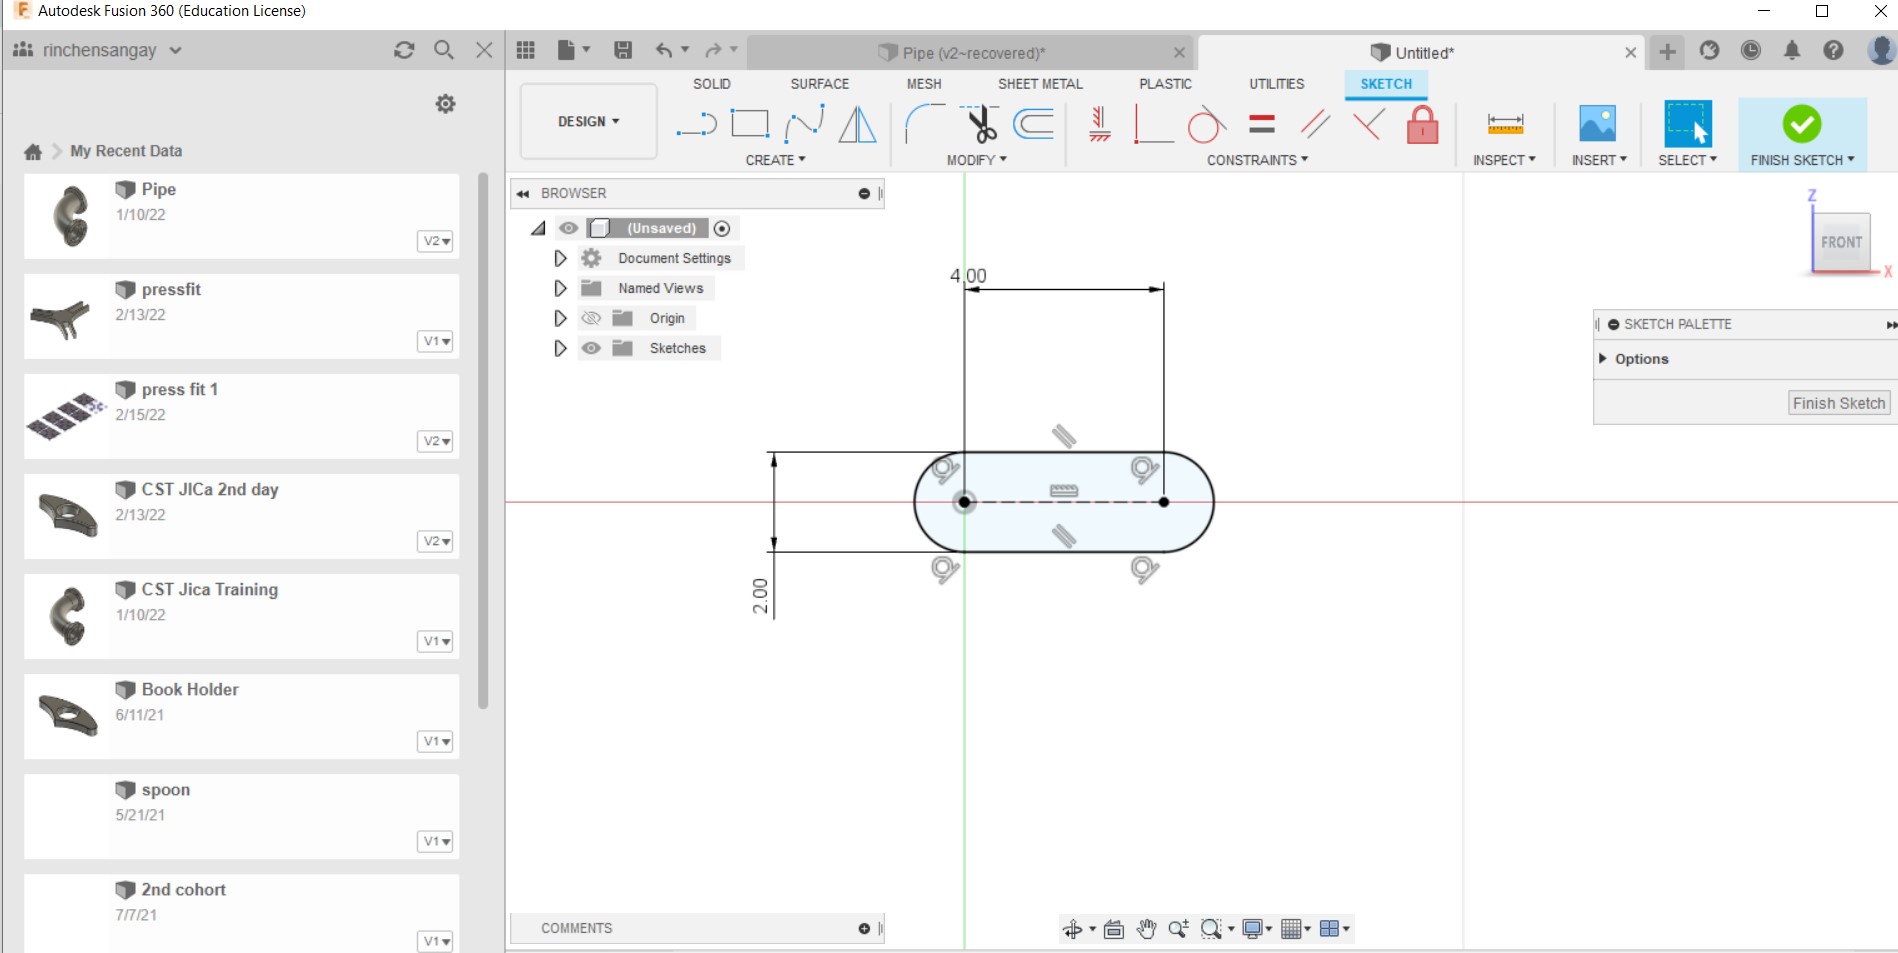
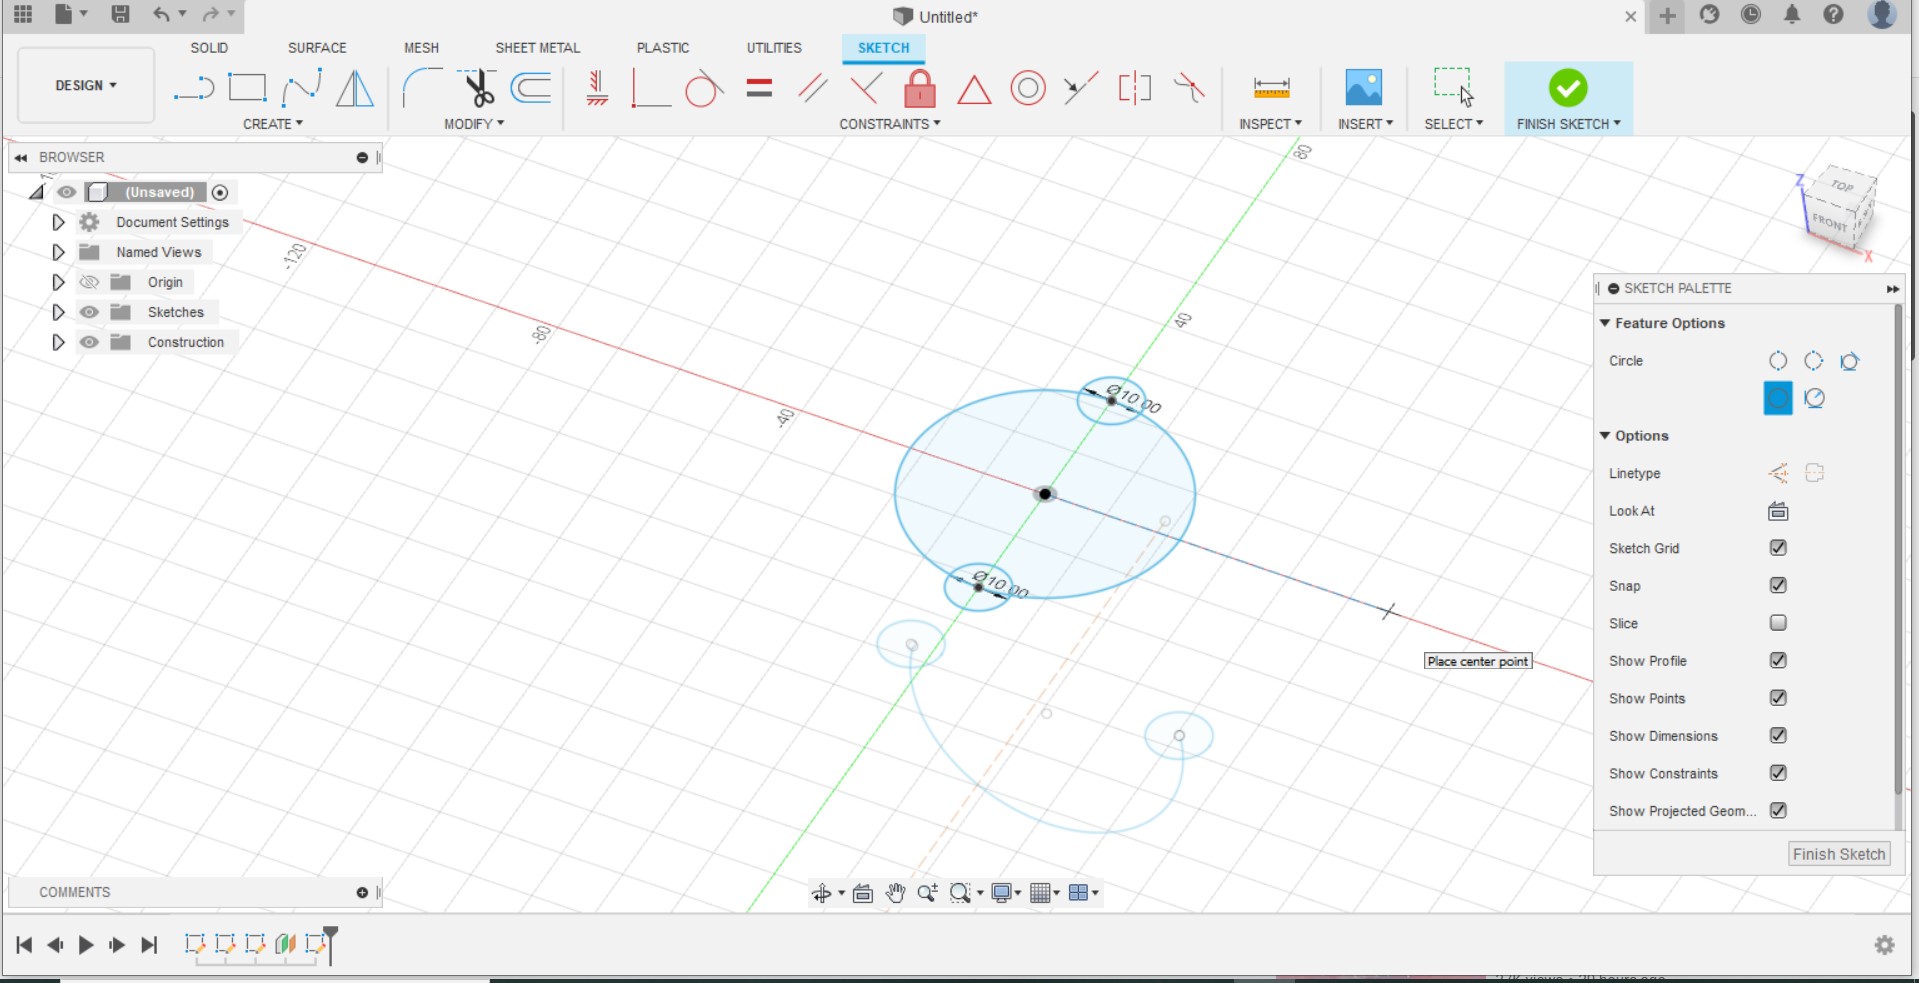
This time I am going for a simplier design, hopefully this qualifies for the assignment.
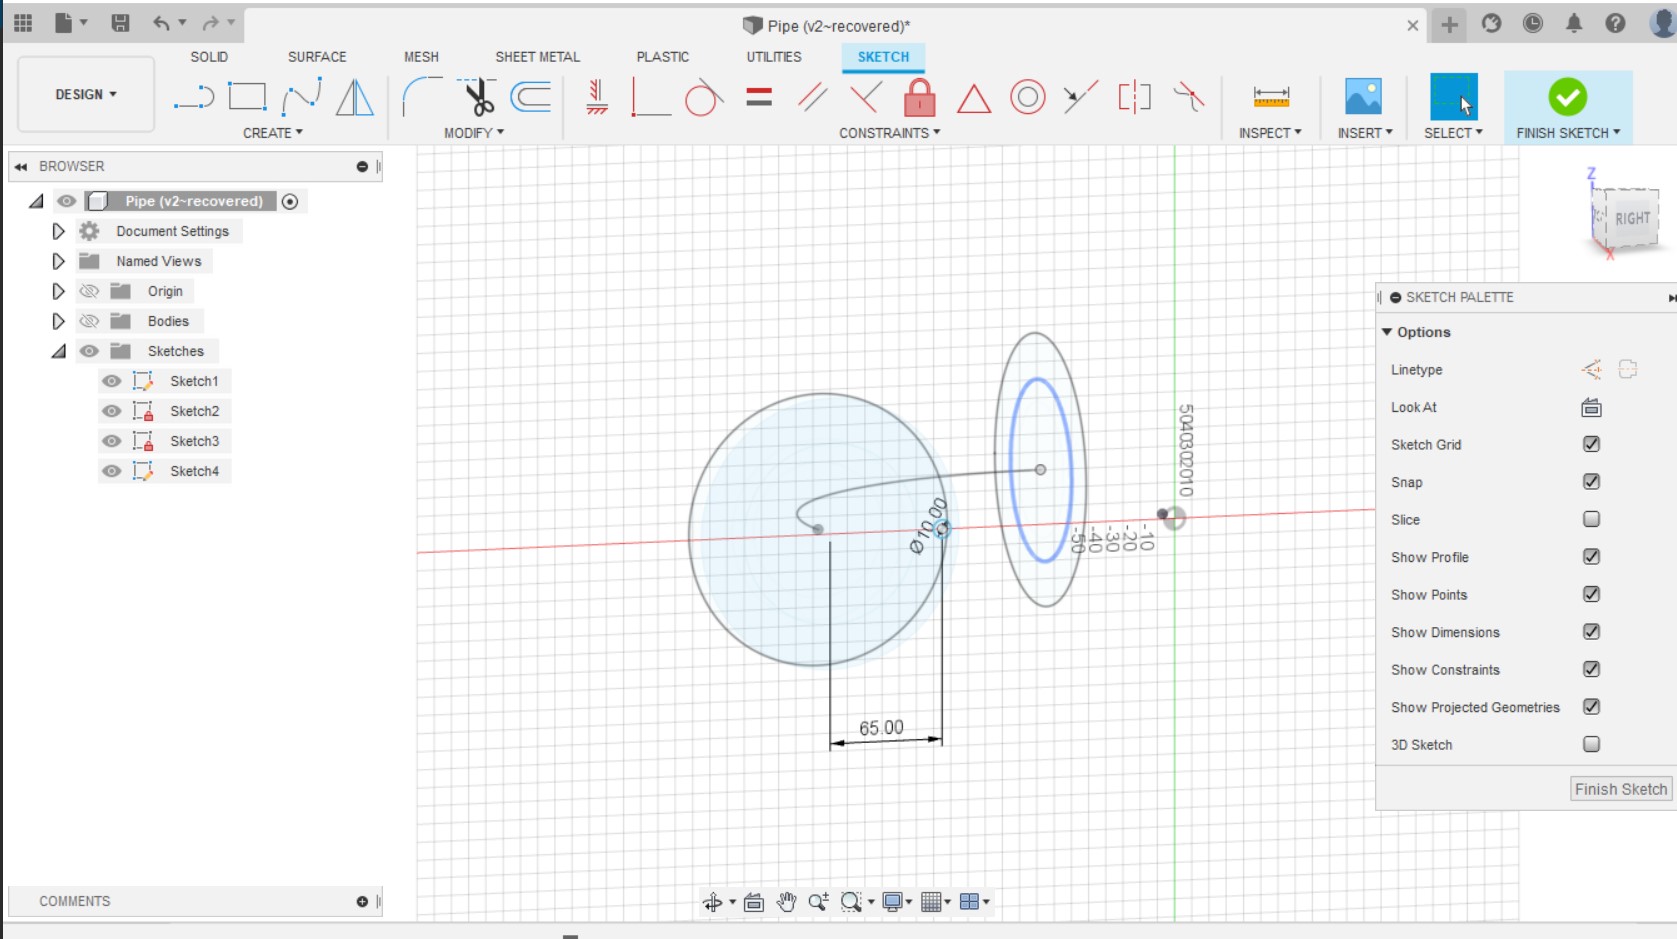
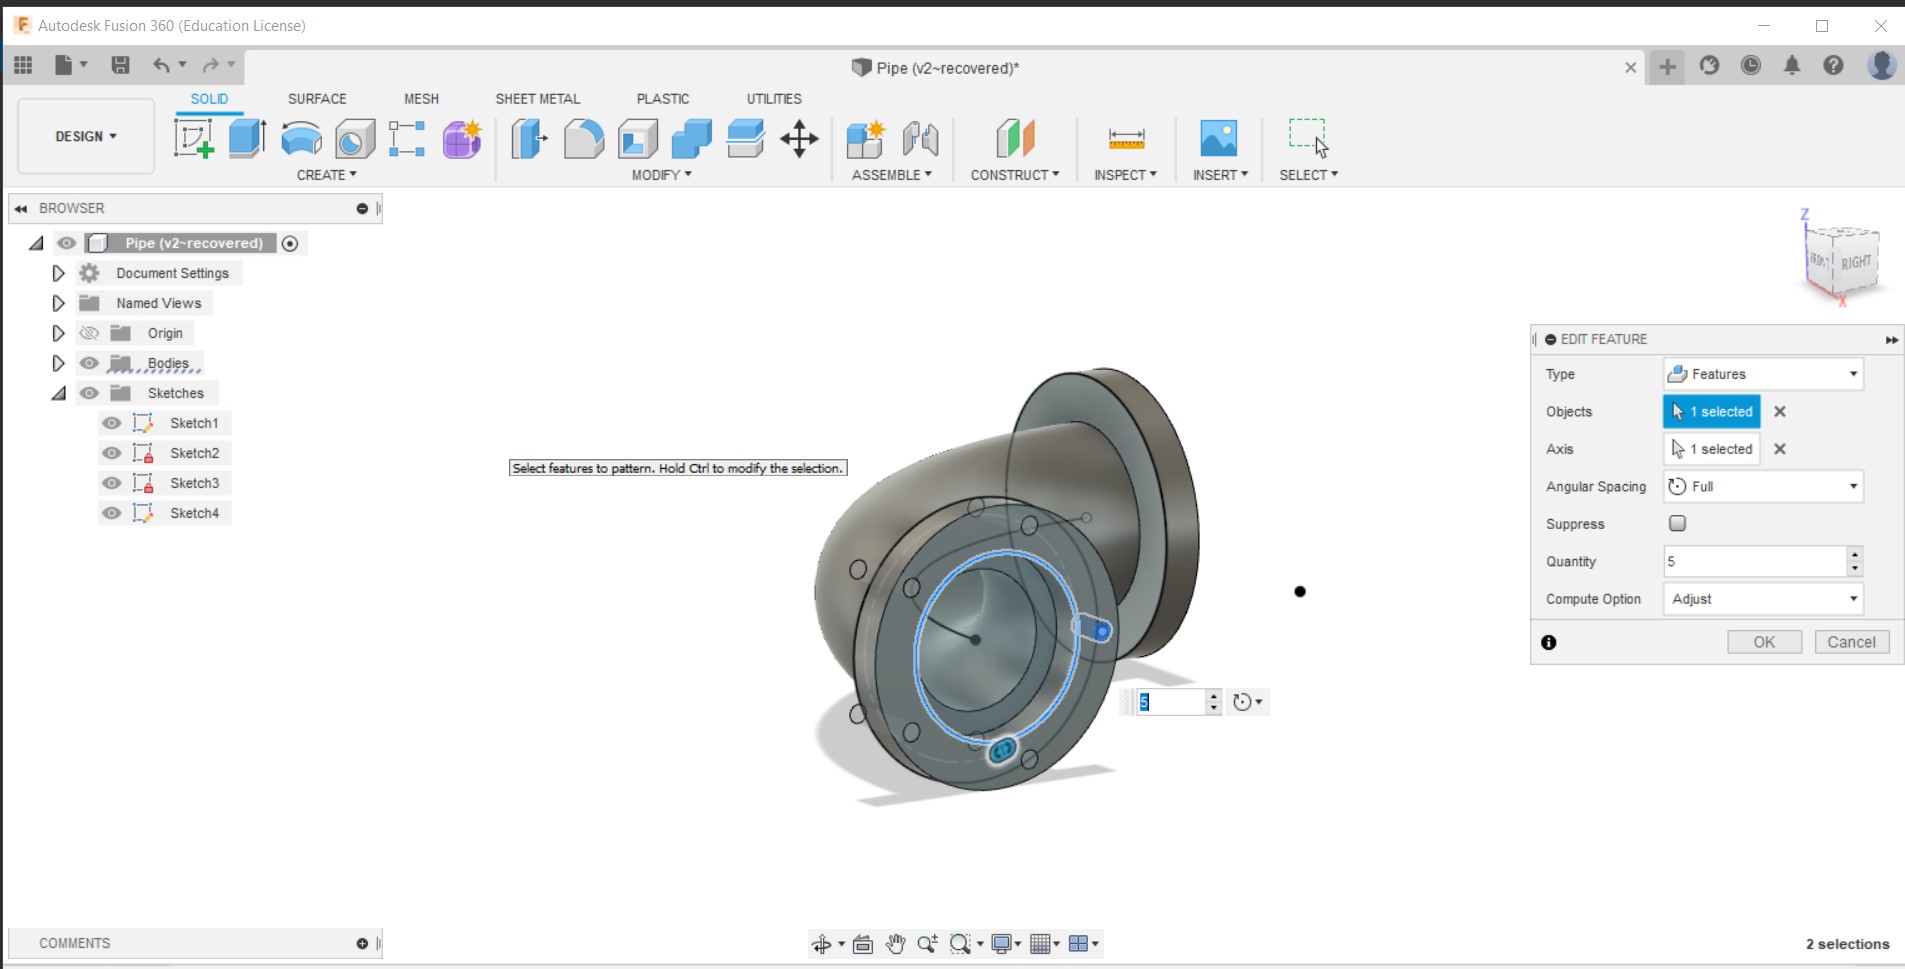
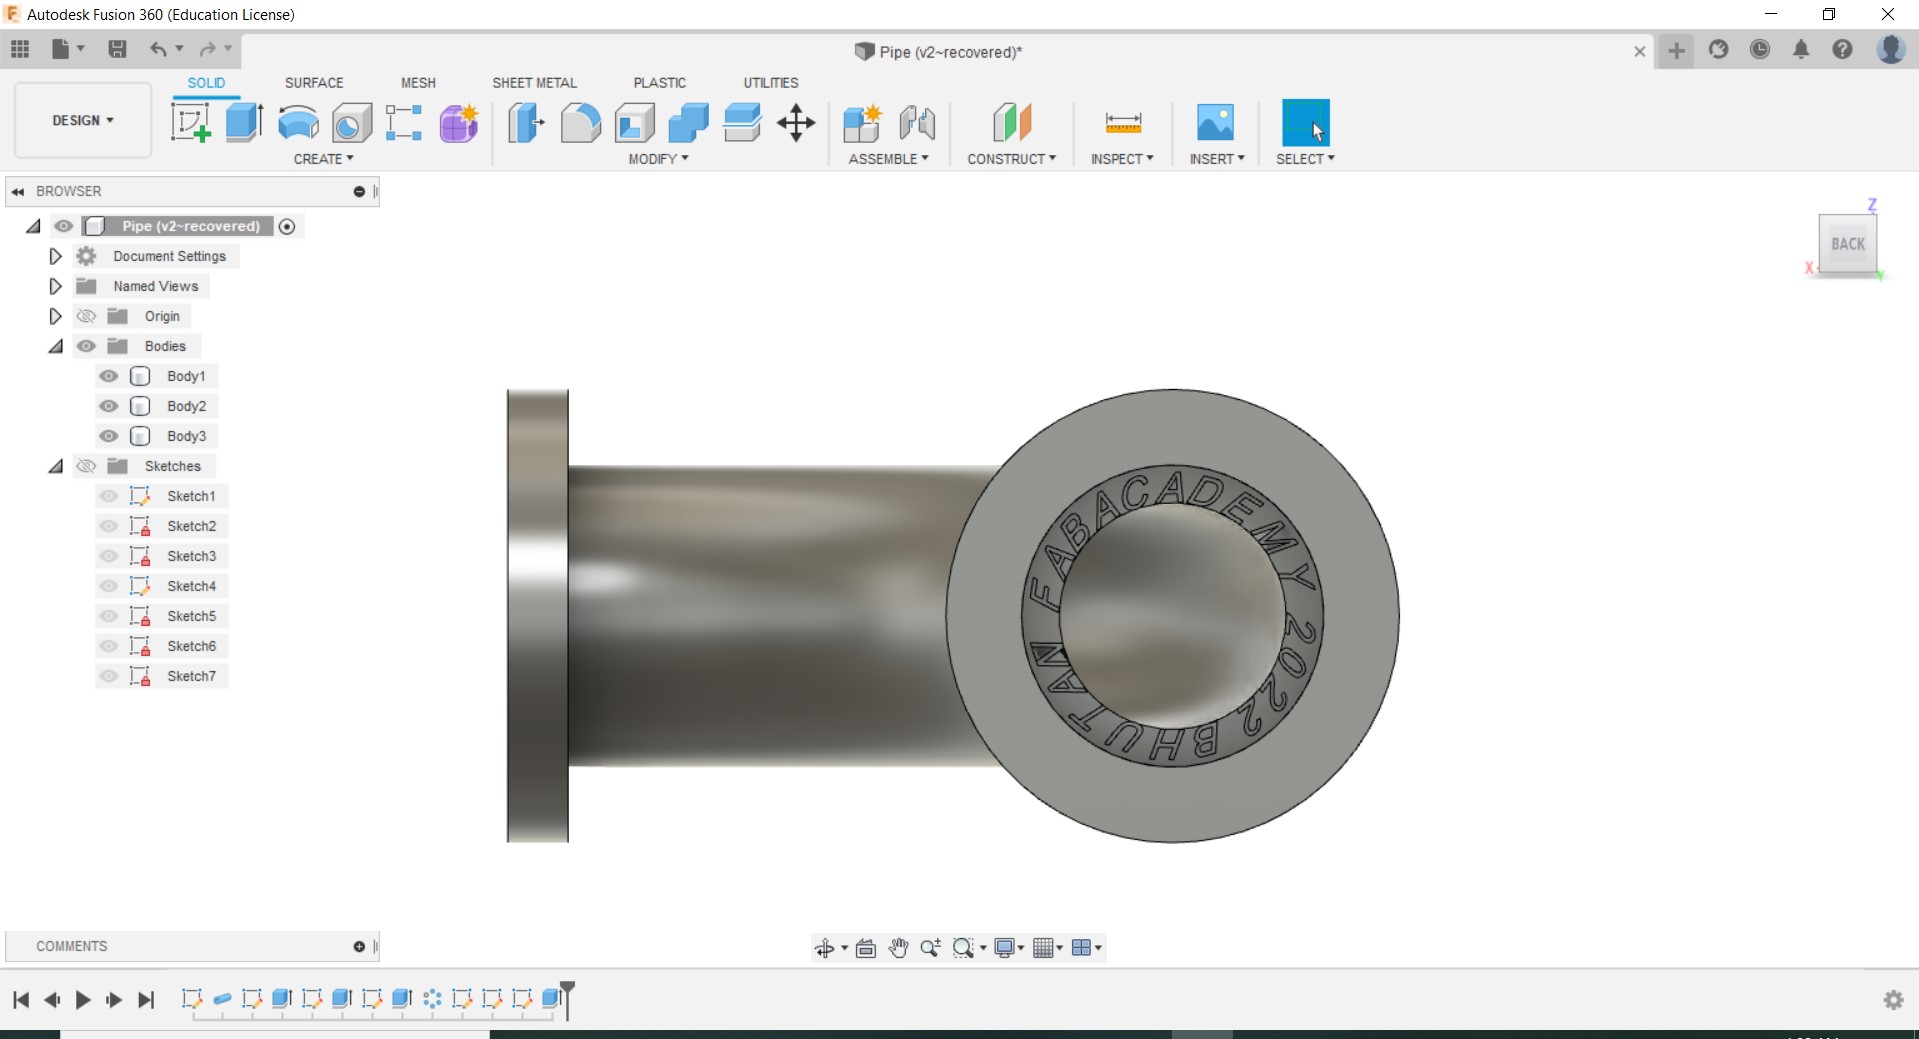
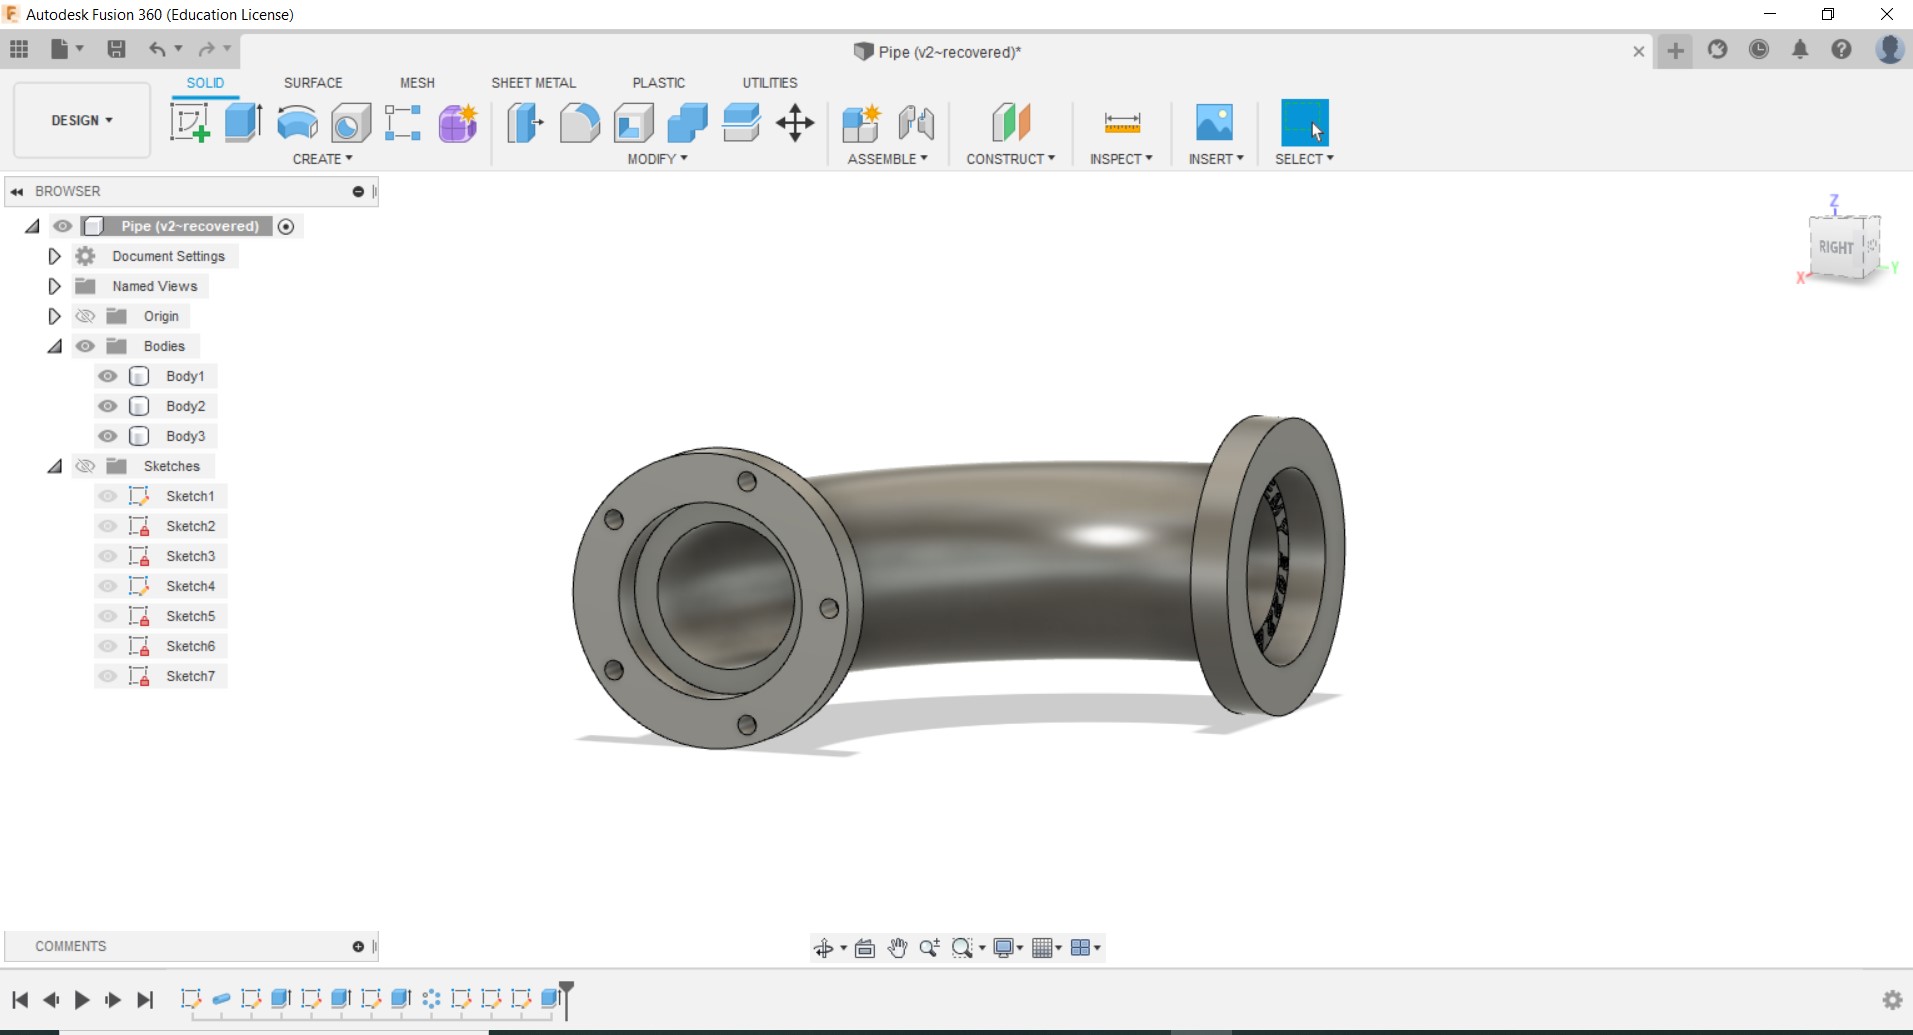
After creating the pipe, I sketched on top of it to make the wide opening. I used the circular pattern around the opening surface to make the holes. Using the Text feature, I engraved some text inside the pipe.

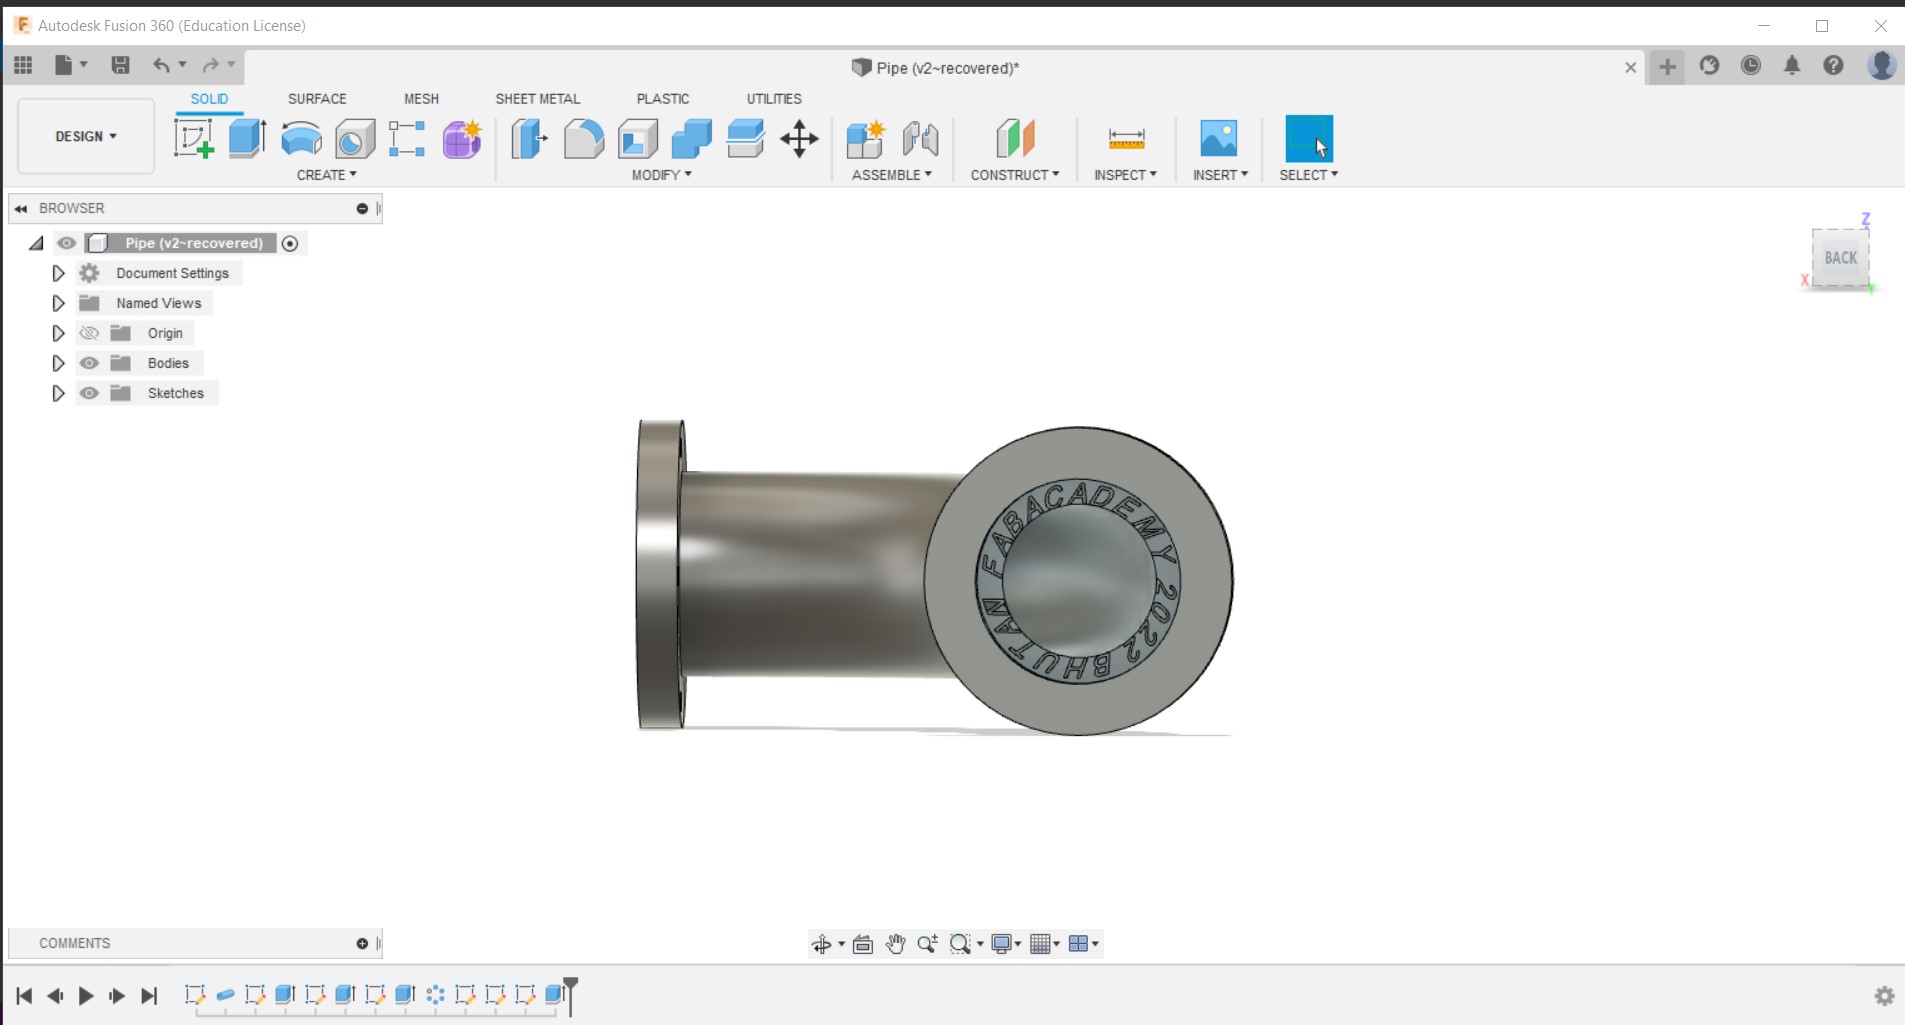
Final design
Will 3D print this after the lockdown and see if the words are visible.
3D Printing
Slicing
The 3D Printer in our lab is Markerbot Sketch and has wireless features. The slicing software required is
Makerbot Print
After I finished 3D designing, I export it in the form of .stl format and imported on the slicer software Makerbot Print.
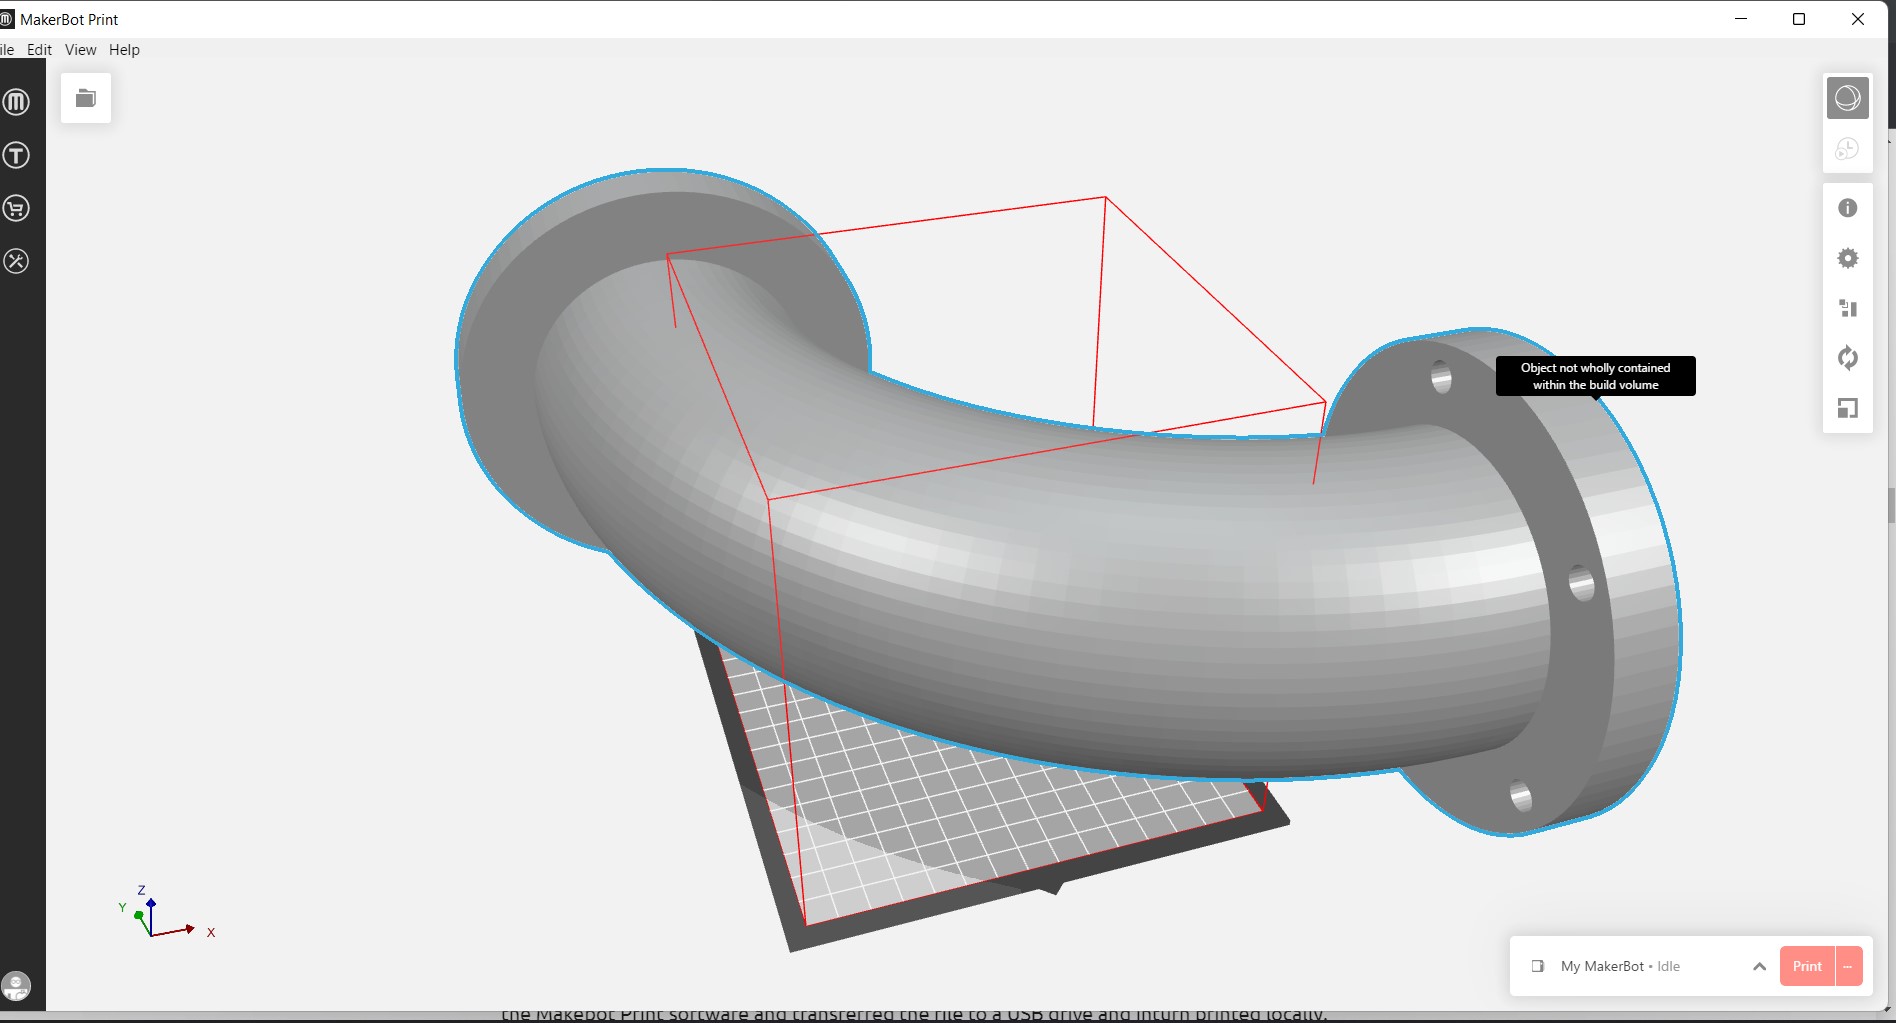
After importing, the model was too large for the 3D Printer so I scaled it down to a smaller one.
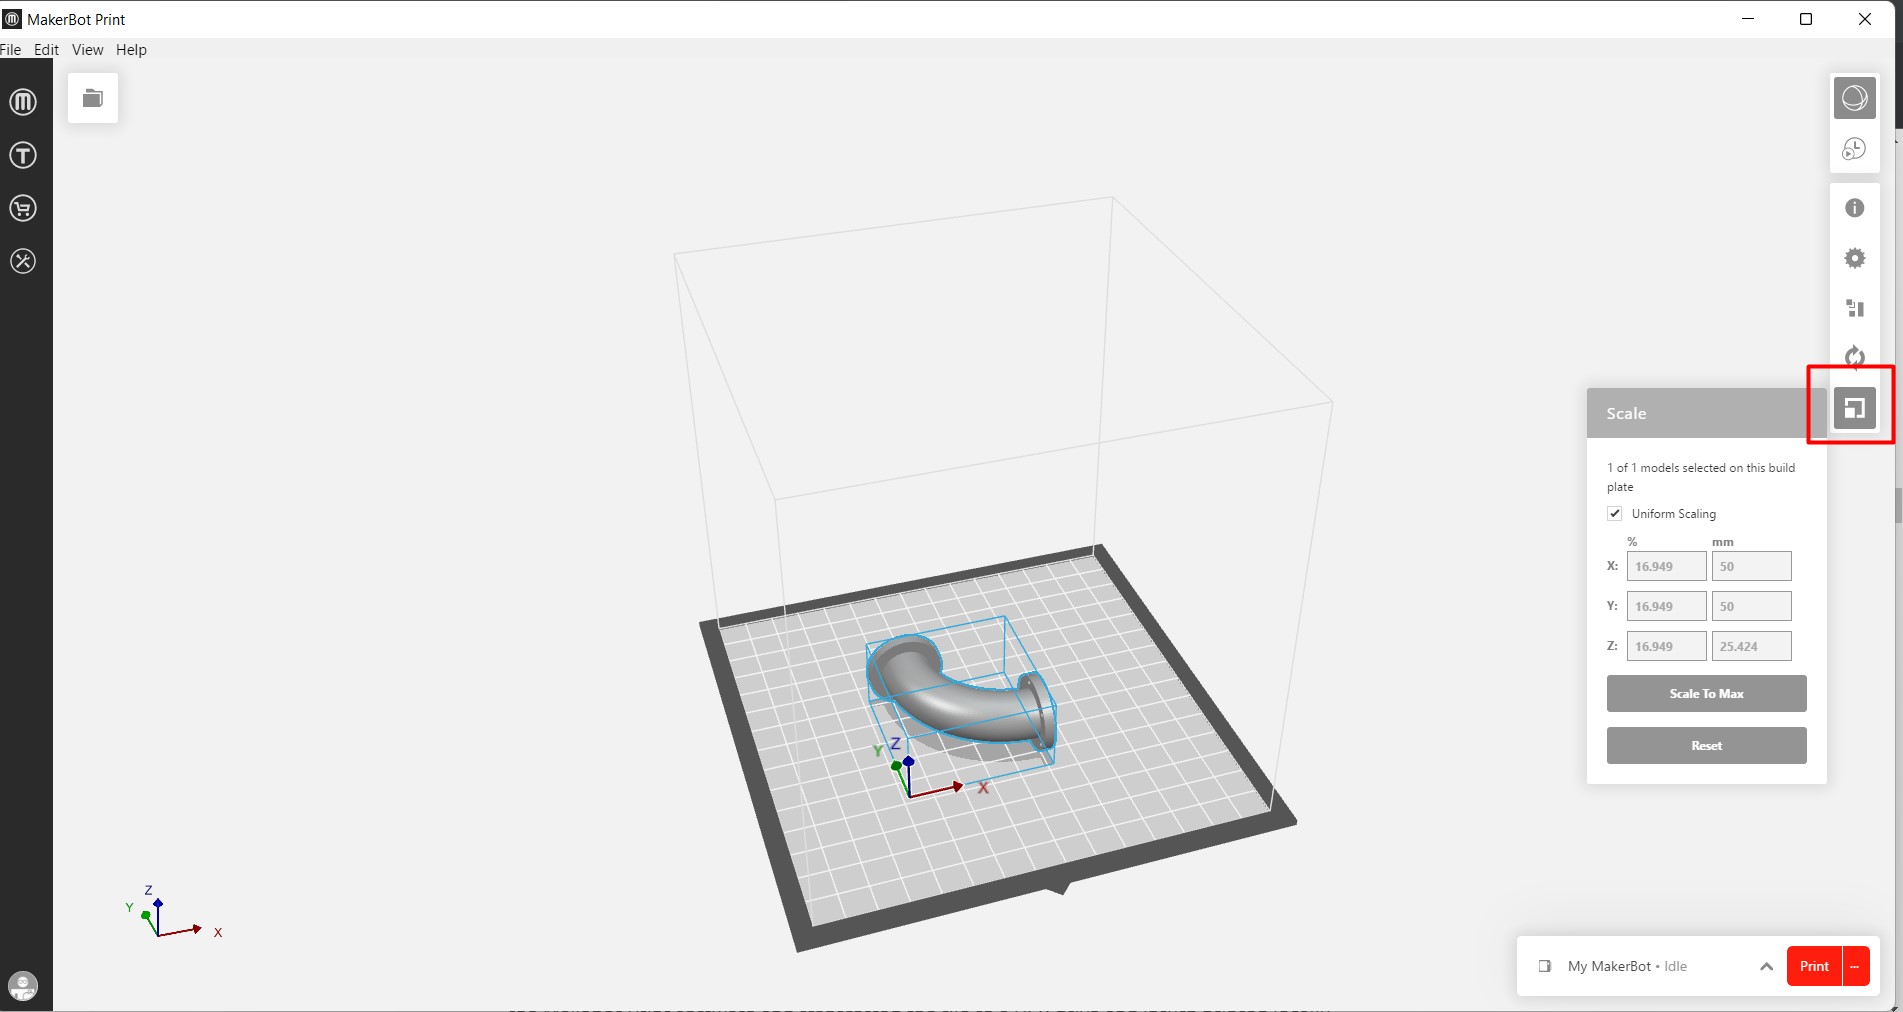
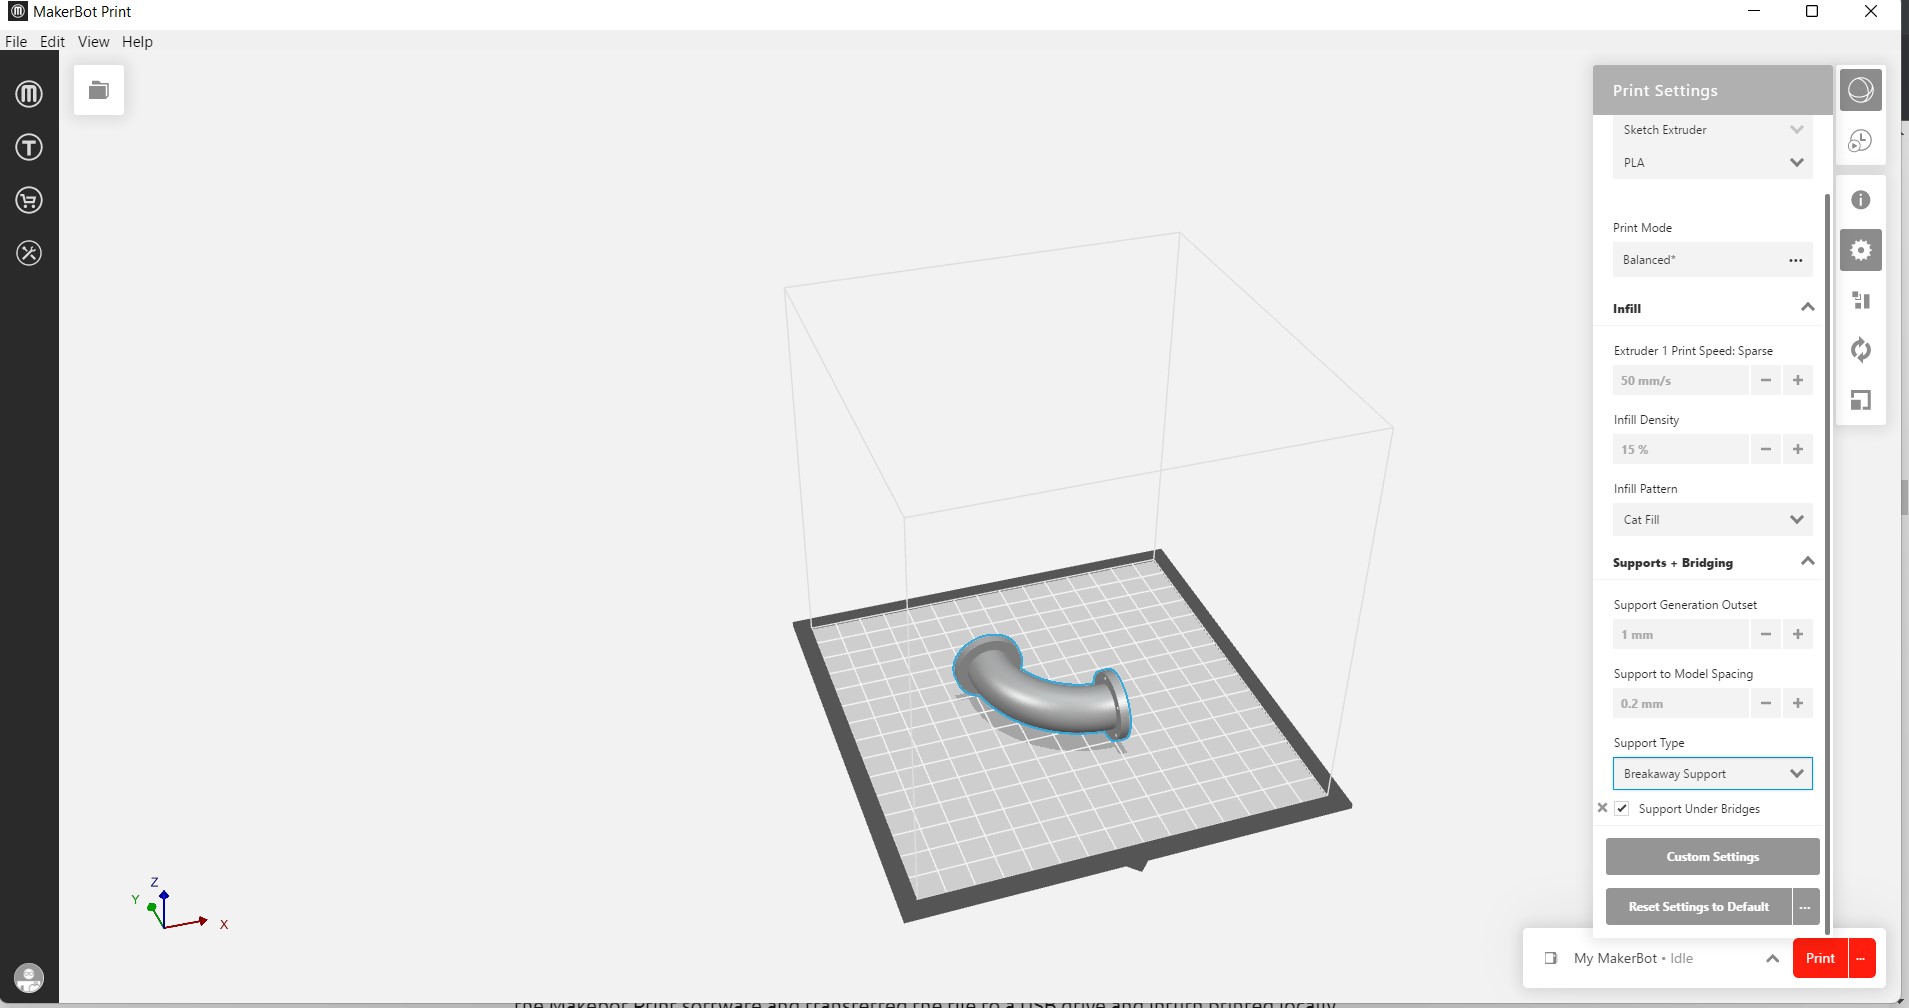
After that I changed the print settings. I kept the infill at 15% since its just a prototype, I didnt want to waste the filament. I also added support for the Model since I have to make a pipe.
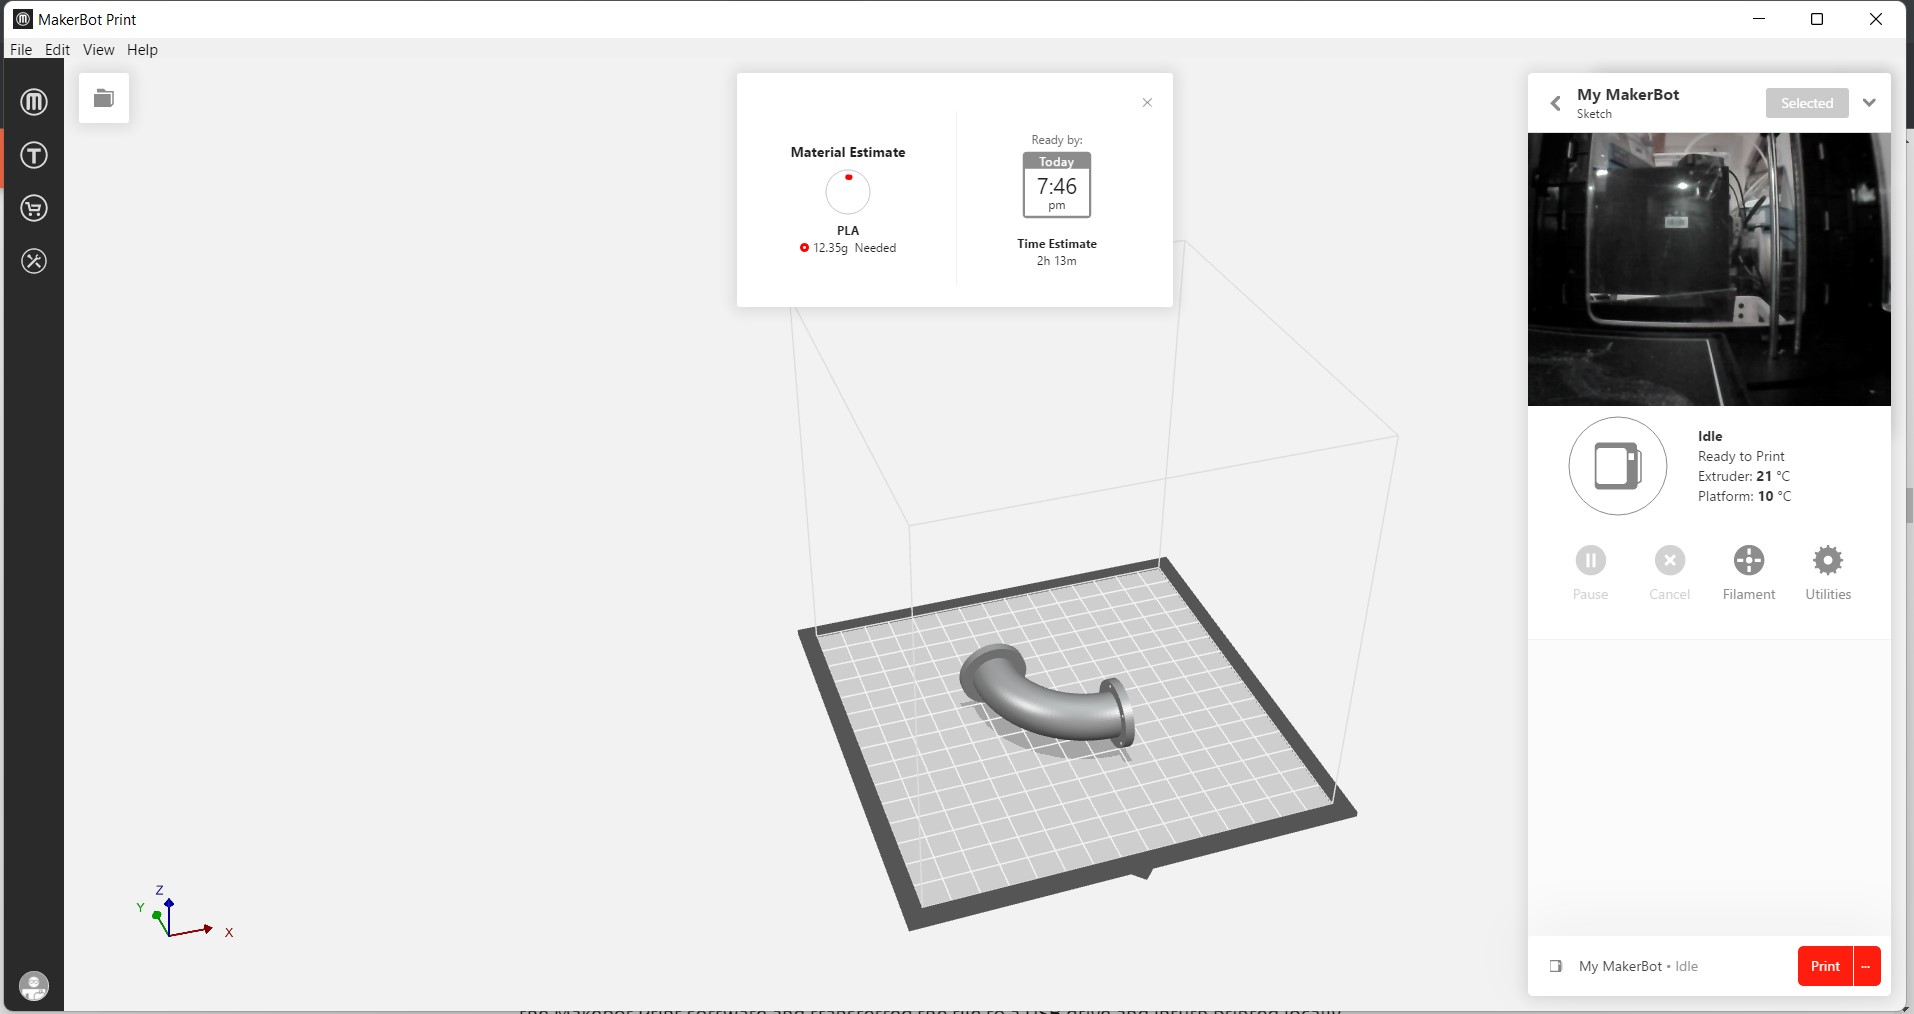
After that, I sent my model for printing since the Slicer software and Printer is already connected wireless.The slicer shows how much material it needs, time to print and the job status. What I like about the wireless feature is that we need not always go and check the 3D printer, we can always monitor it through the slicing software.
The job status on the Printers LCD screen.
3D Printing
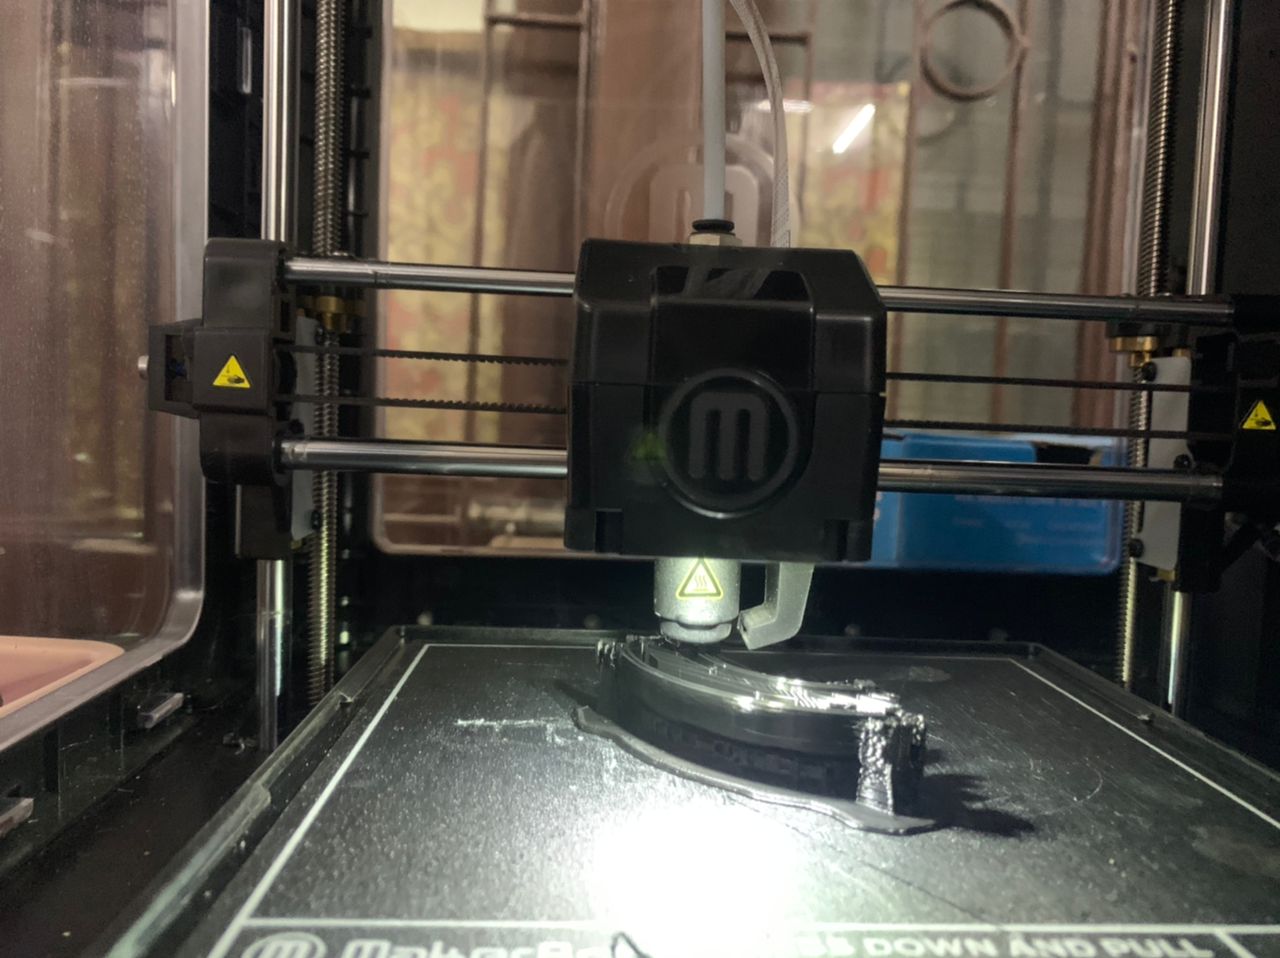
The video below shows how the 3D printer starts printing after it has heated up. The Makerbot requires approximately 240 deg/celcius to heat up the build plate and extruder before printing.
The picture below shows the model half way printed. We can see how the rafts and supports are added inside the pipe.
.jpeg)
After the model was done printing, I take out the build plate and remove the model carefully with a help of scaper. Its highly recommended to let the printer cool down before you take the model/build plate out from the printer. If the printer is too hot, it could burn you.
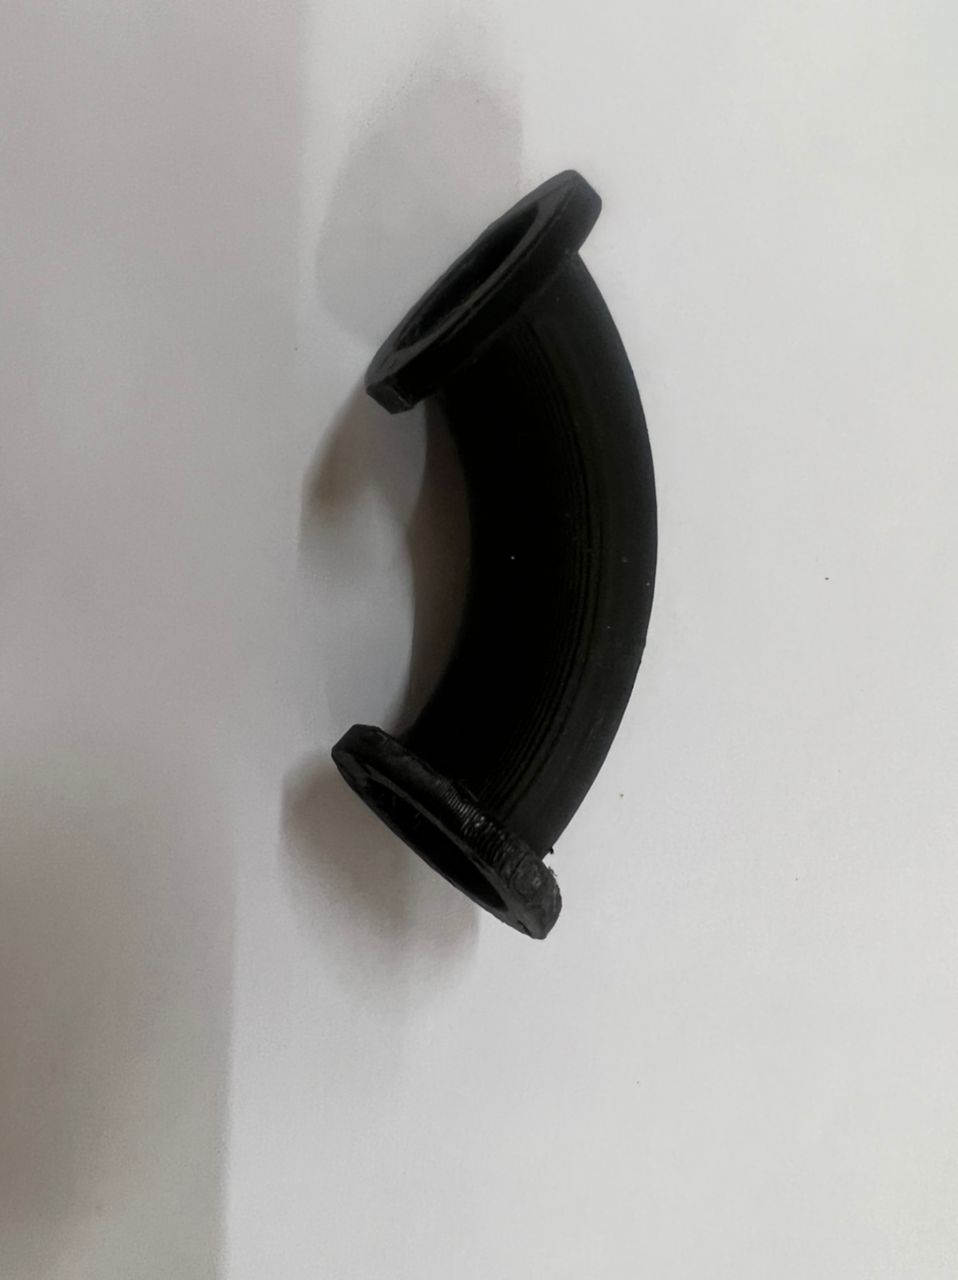
The model came out well. I take out all the raft and support with the help of cutter and did a lil sanding to make the surface smoother. The model has the hole and is exactly as I it wished to be. However the text I wrote is missing. I think it could be some mistake with my design. I dont remember extruding it.
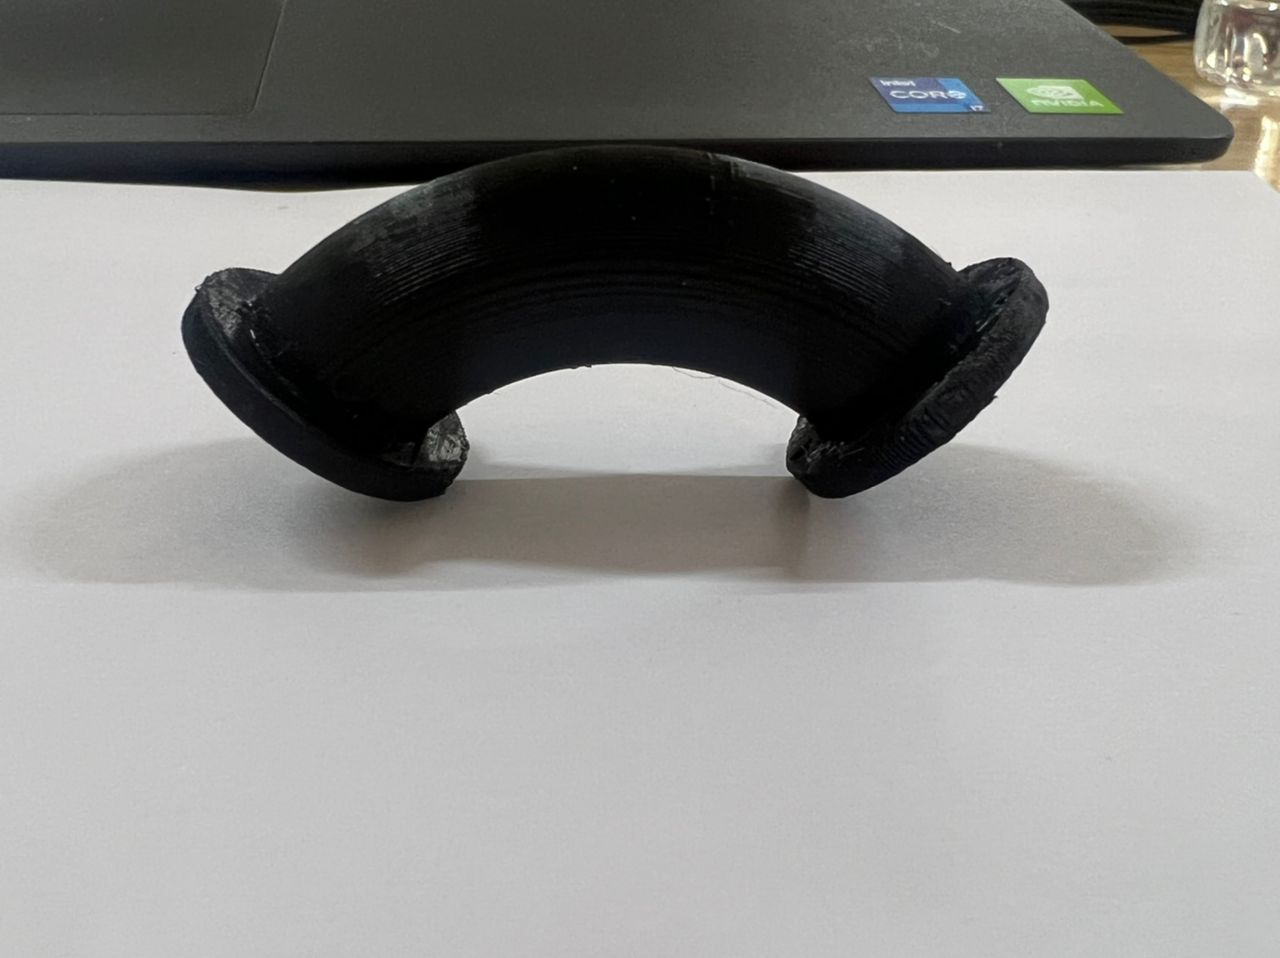
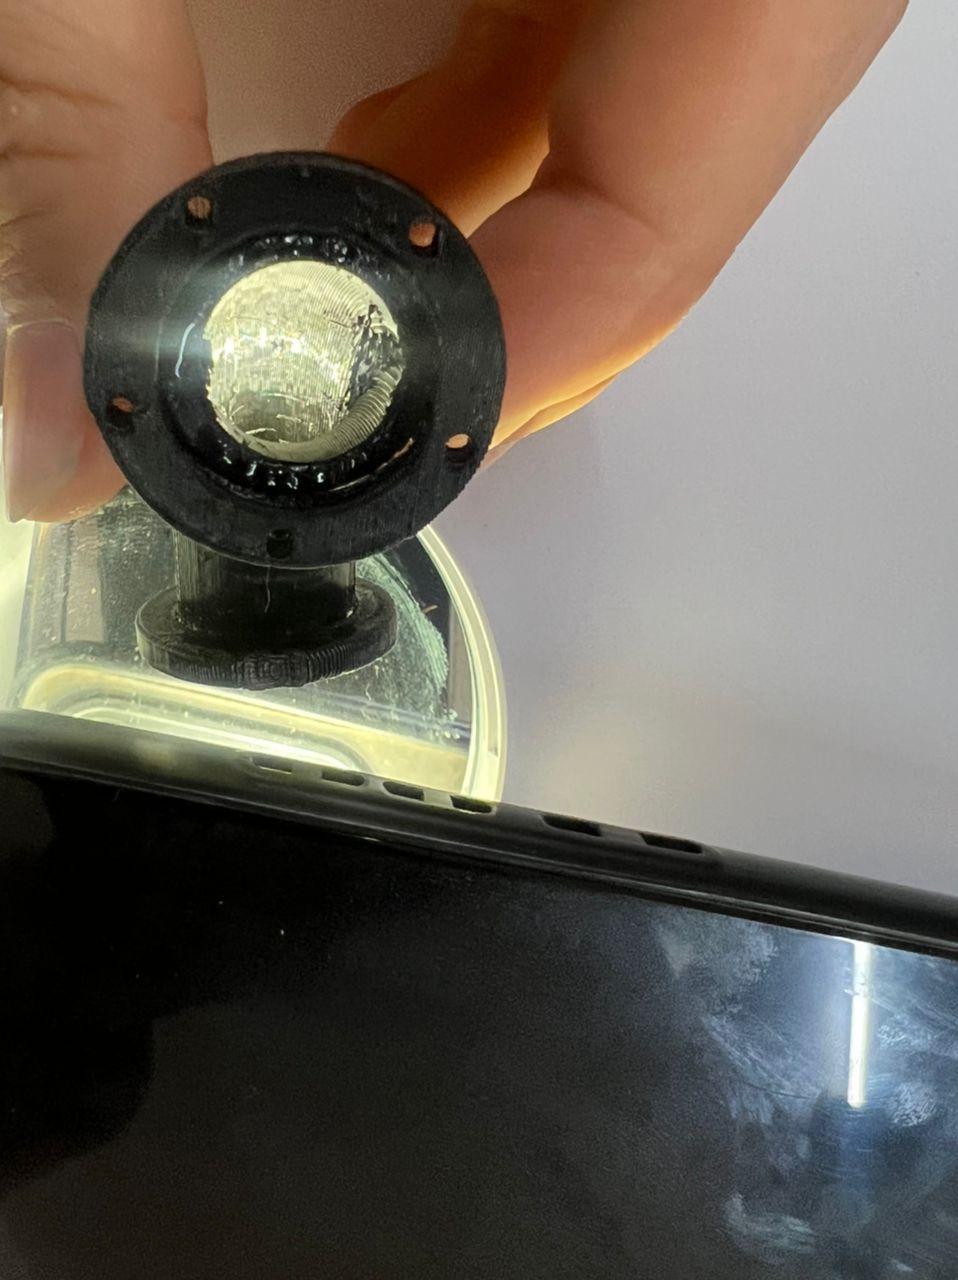
Since this is a pipe, I used a mirror and flashlight to show that the pipe is hollow which can be made only through additive manufacturing.

Photogrammerty in Meshroom
Since we dont have access to Lab due to the lockdown, we didnt have access to the 3D scanner either so I am using Photogrammerty.Alicevisionthe link to download meshroom.
My plan is to scan the entire body and make a mannequin using Fusion 360 slicer and then laser cut it or use CNC. I took 40 pictures of myself from different angle
and made a folder for it.
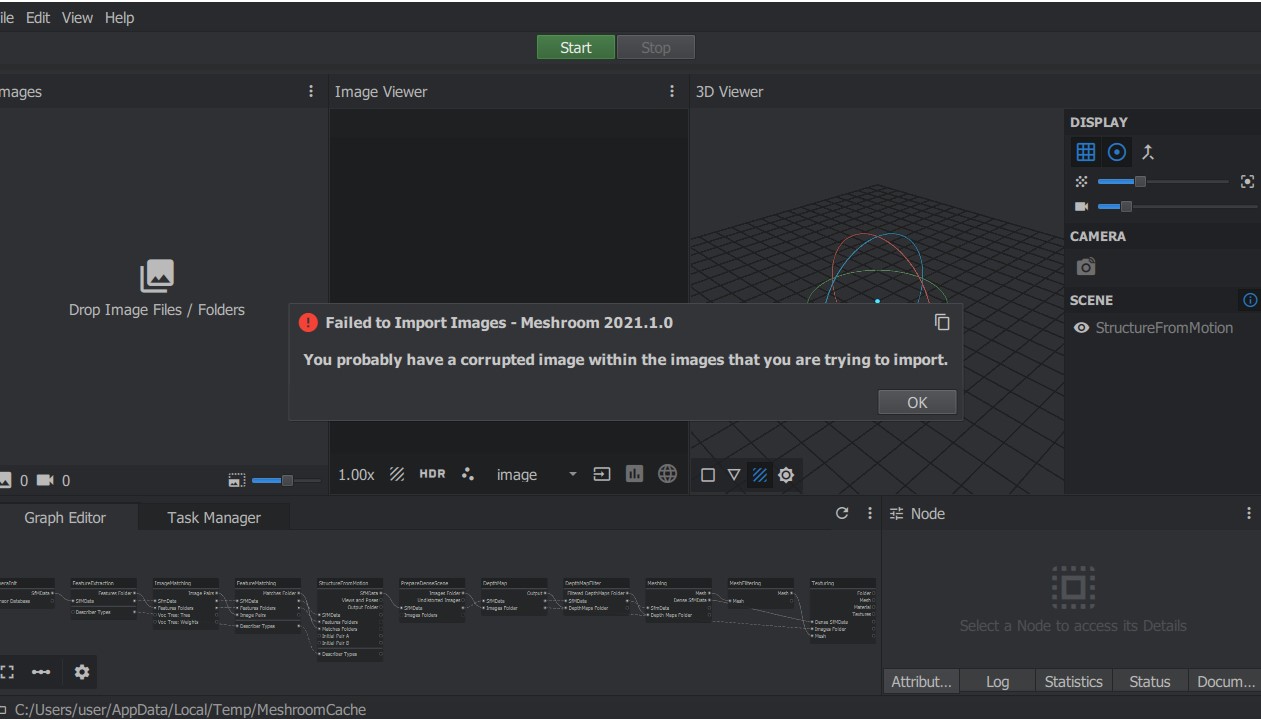
When I was importing the images, I saw that it had options to import images/folder. So I inserted the folder in the Meshroom and it didnt work. So, I tried importing the images.
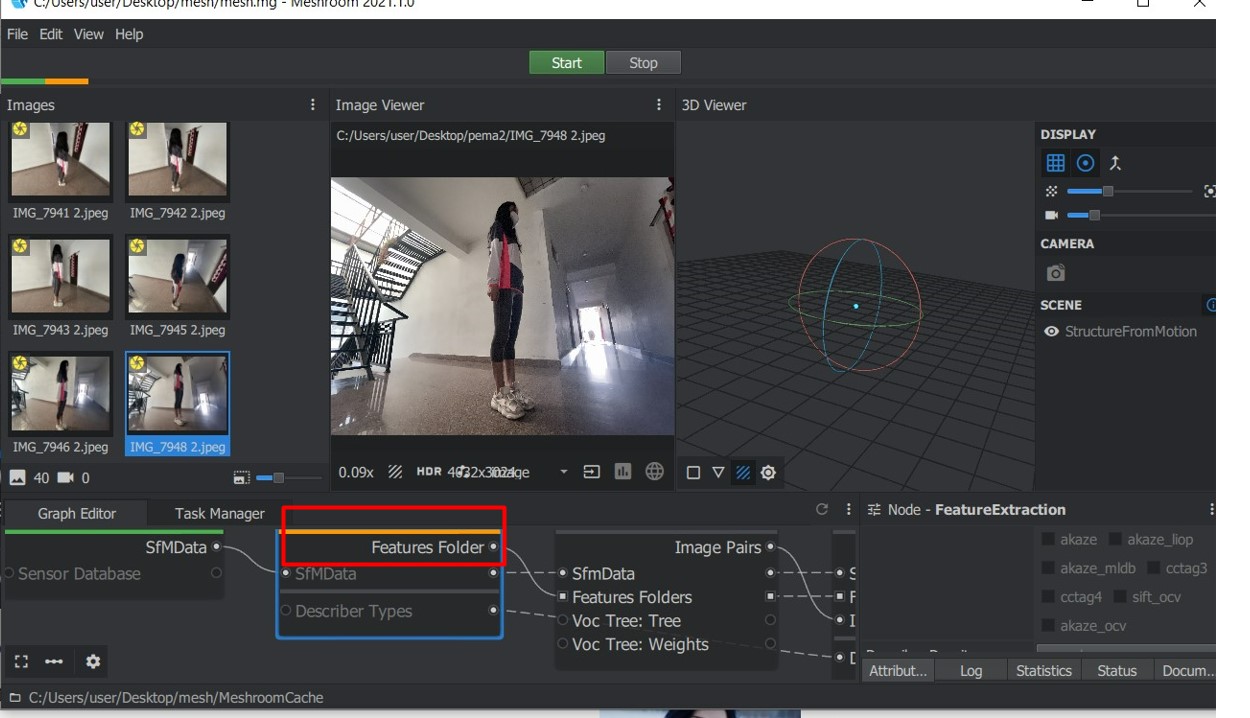
Steps taken in Meshroom
- Import all the pictures in the meshroom and wait till the icon on the pictures turn green. When I did that, the image icon didn't turn green even after waiting for several minuutes so I decided to take the risk and proceed.
- Below the room, you will see mods like things which we will have to work on. Its a lot of computing. To compute, right click on your mouse and click on compute and wait till it turns green. Green means go! While computing some could take a lot of time while some take only few seconds. So be sure to check the status before you lose patience.
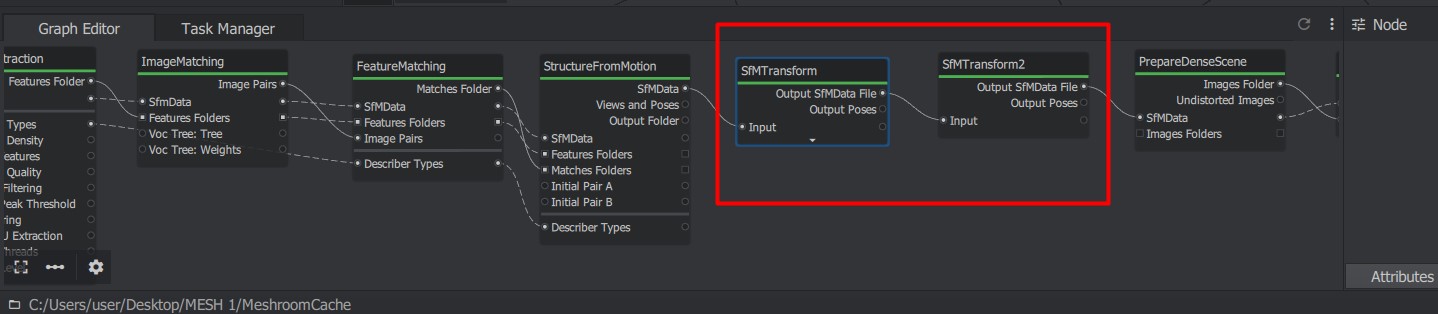
- Keep computing till you reach "Structure from Motion". Compute it and then for next step, shift the nodes and make empty space next to it. Right click on your mouse and click on the "SfMTransform" and now you will have a new node. Connect the SfM data to the the input and remove the connection on top. You can refer the images below for more clarification. Repeat the same steps again and now you should have two "SfMTransform"
- You can check your progress on the screen. You should be able to see a faint 3D model of yourself.
- Keep computing till you reach the Meshing node to the right of the meshing node. Right click on your mouse and select the "Export" and then from there select the "Publish"
- Now you need to connect the mesh to the input file on the Publish node. In the output folder, copy the name of the folder you want your mesh to be saved, copy it there and compute. This is to export your mesh and I wanted to do the clean up in Blender.


ERROR
So,I was supposed to have my mesh exported in the folder I saved, but it wasn't working. I tried computing time and again and waited for 5 to 6 hours for it to finish computing. I still couldn't figure out what the problem is. So I am going to try again and if it still doesn't work, I want to wait for the lockdown to be lifted and use the scanner.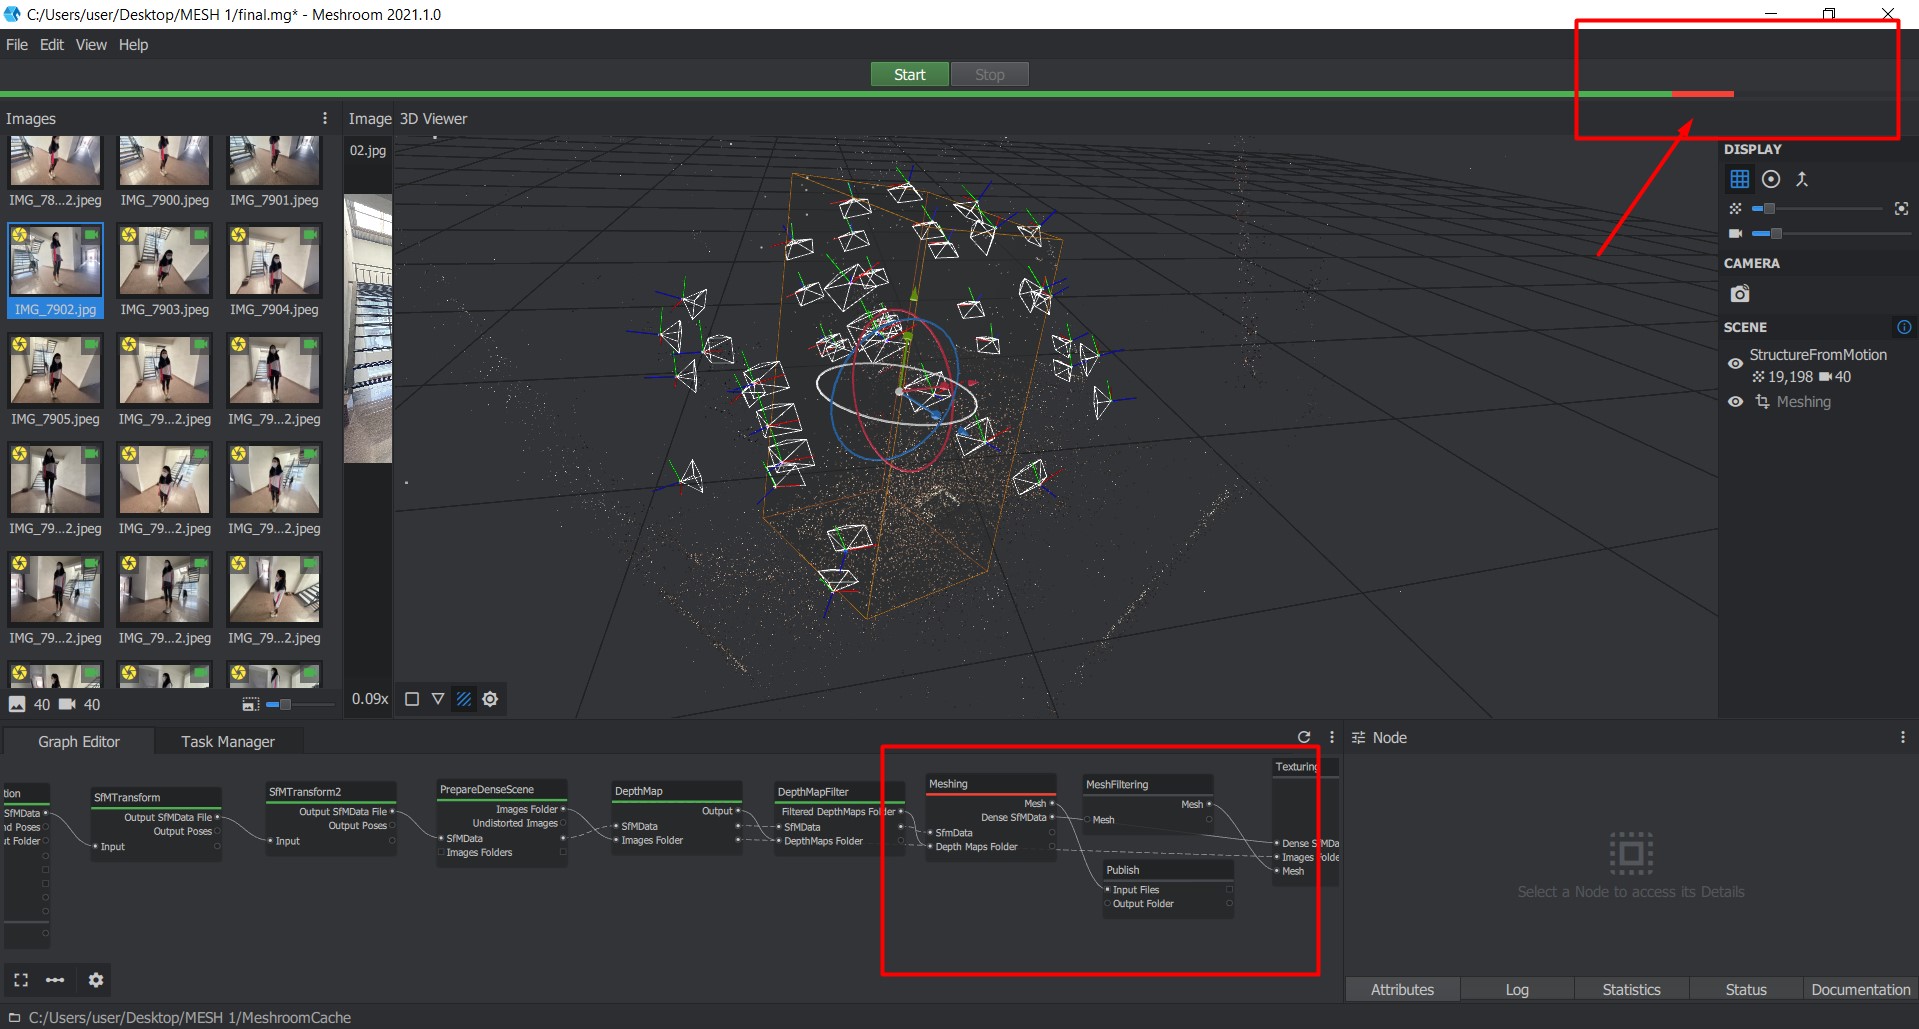
3D Scanning
Right after lockdown we got access to lab and decided to try 3D scanning. I tried to scan myself but it didnt turn out well even after few attempts so I decided to go for something smaller.
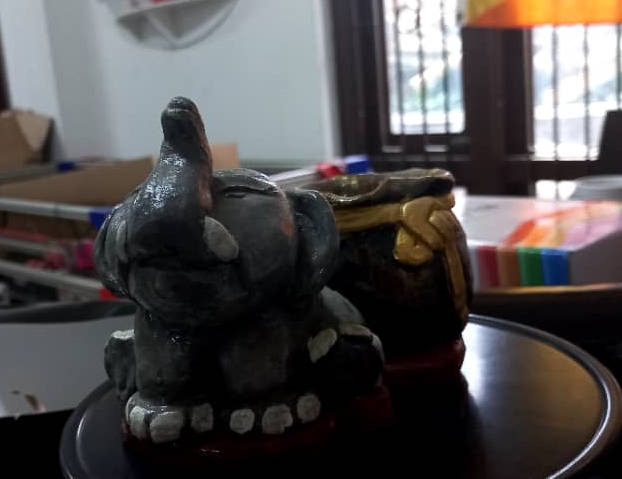
Since I have to 3D scan and print mask for my final project, I decided to give it a try.
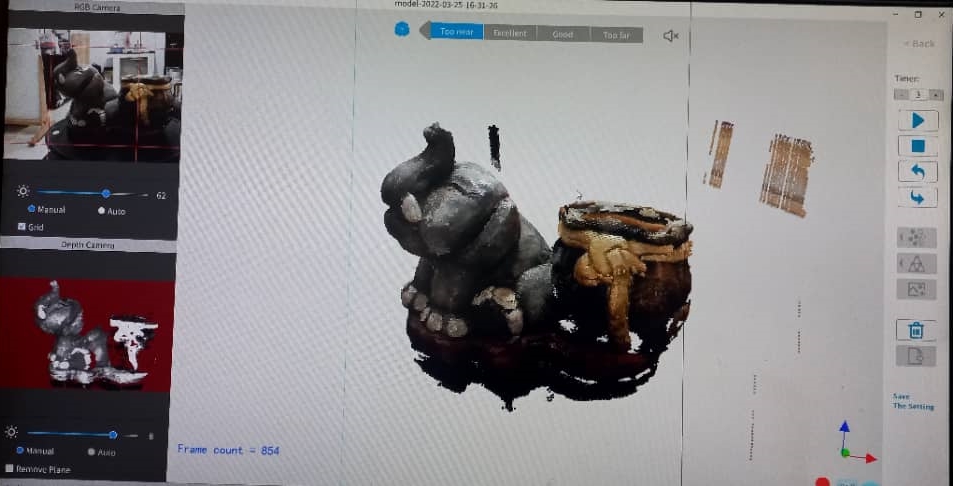
The scanner we are using is Revopoint and have used Revo Scan to scan the 3D.
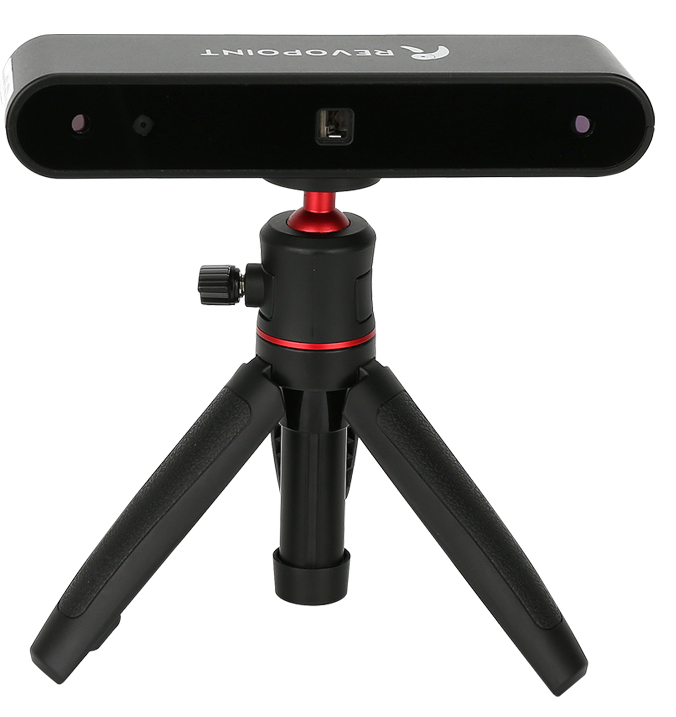
First we set up the station for the scanner. We needed something that would rotate without disturbing the scanner. So, our instructor Take-san set up a customised station using fillament spools. Below is an image of the set up.
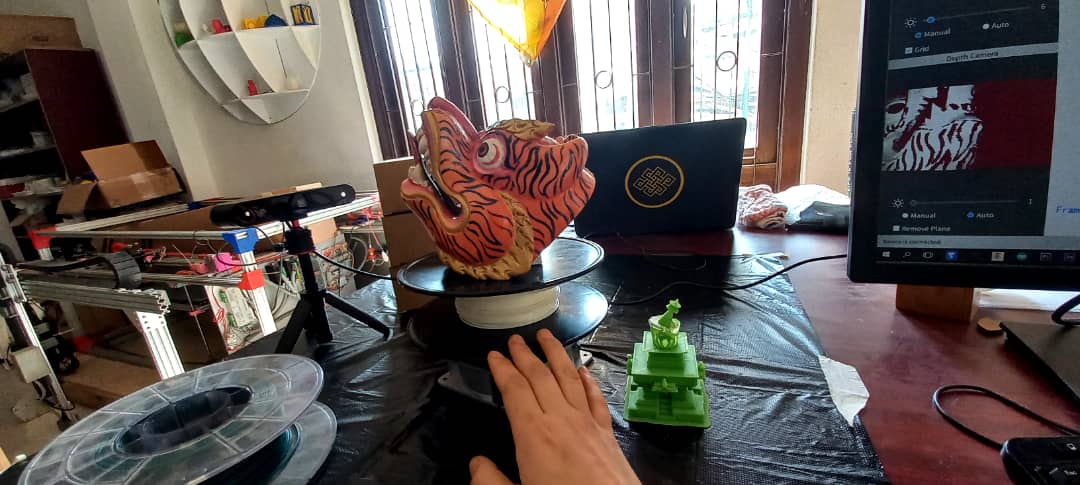
After that I started scanning and I missed few spots so I tried again and this time, I was able to get better scan of the mask.The trip I learned while scanning is to keep a steady hand and to not move fast.
Right side view.
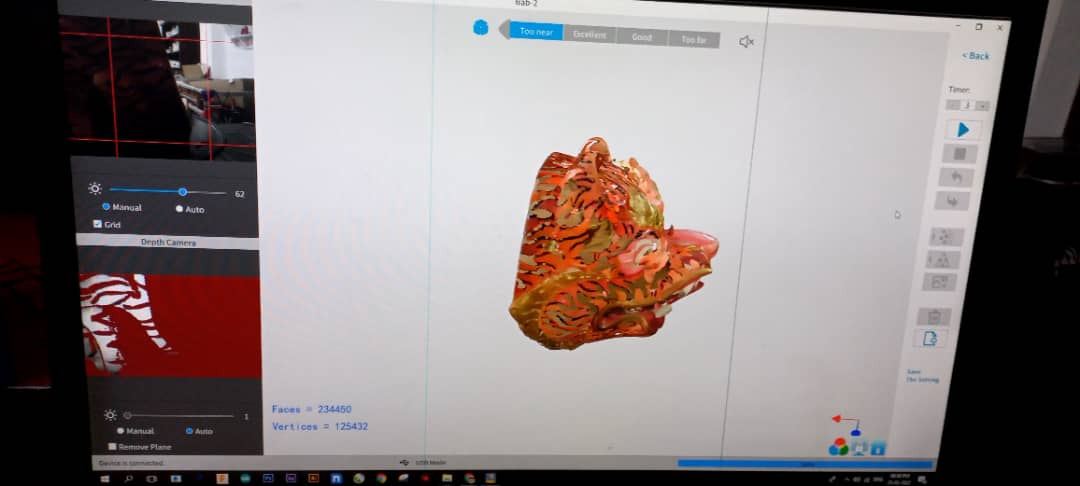
Left side view
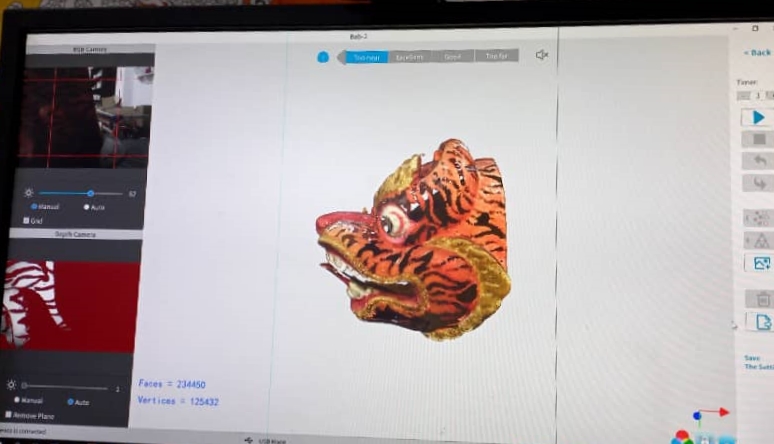
Front View
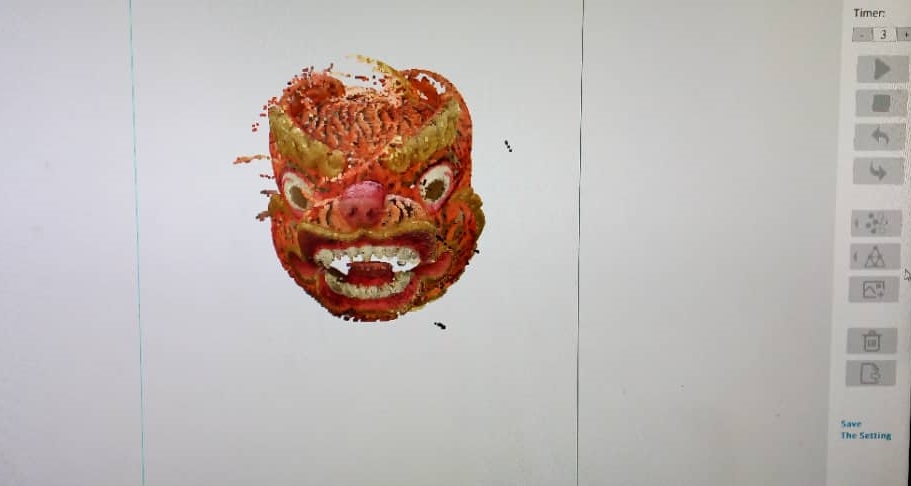
I have also tried scanning other objects.
Group Assignment
Here is the link to group assignment.
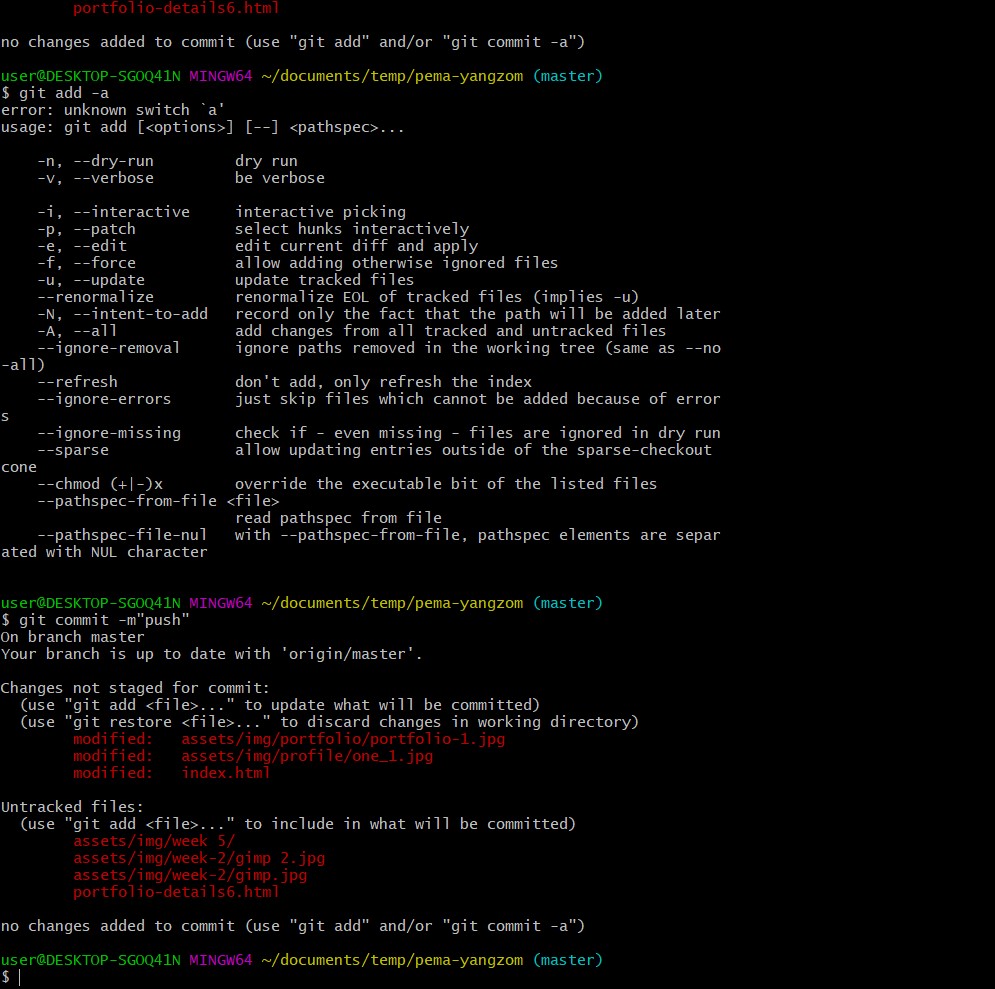
Git Errors
So I am not being able to push my updates on git.
Files
3D Model Additive manufacturing