WILDCARD WEEK
GOALS FOR THE WEEK
- Design and produce something with a digital fabrication process (incorporating computer-aided design and manufacturing) not covered in another assignment, documenting the requirements that your assignment meets, and including everything necessary to reproduce it.
PASTE 3D PRINTING
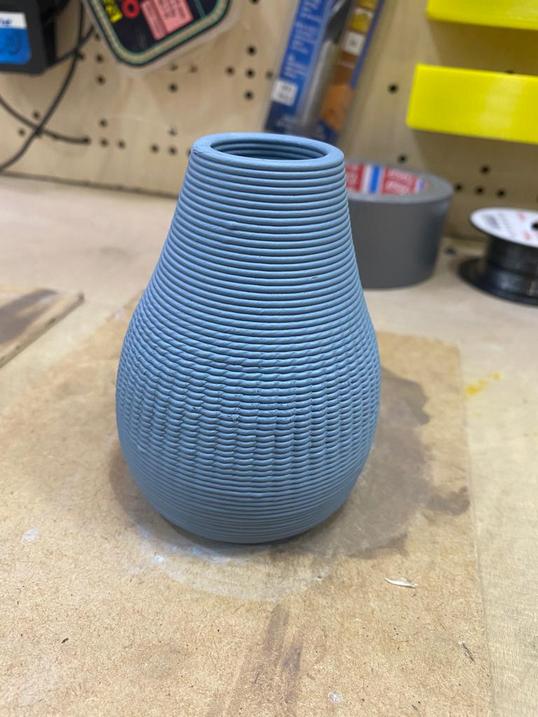
TEST 1
DESIGN
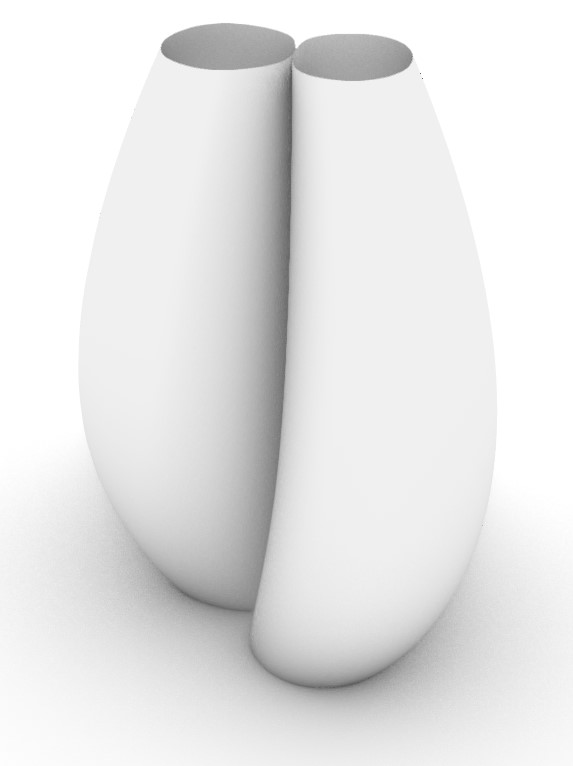
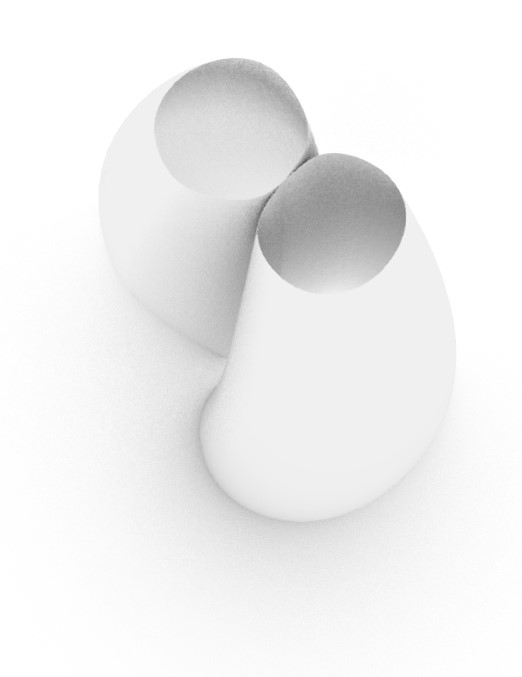
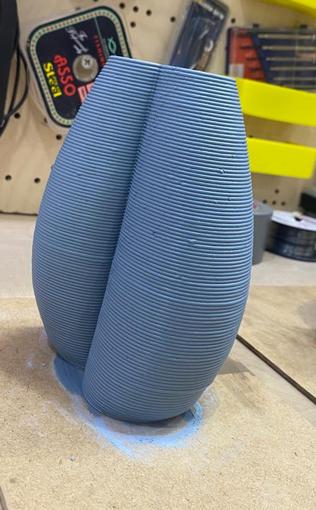
I wanted to make a small vase with a crease pattern in the center, for which i used grasshopper.
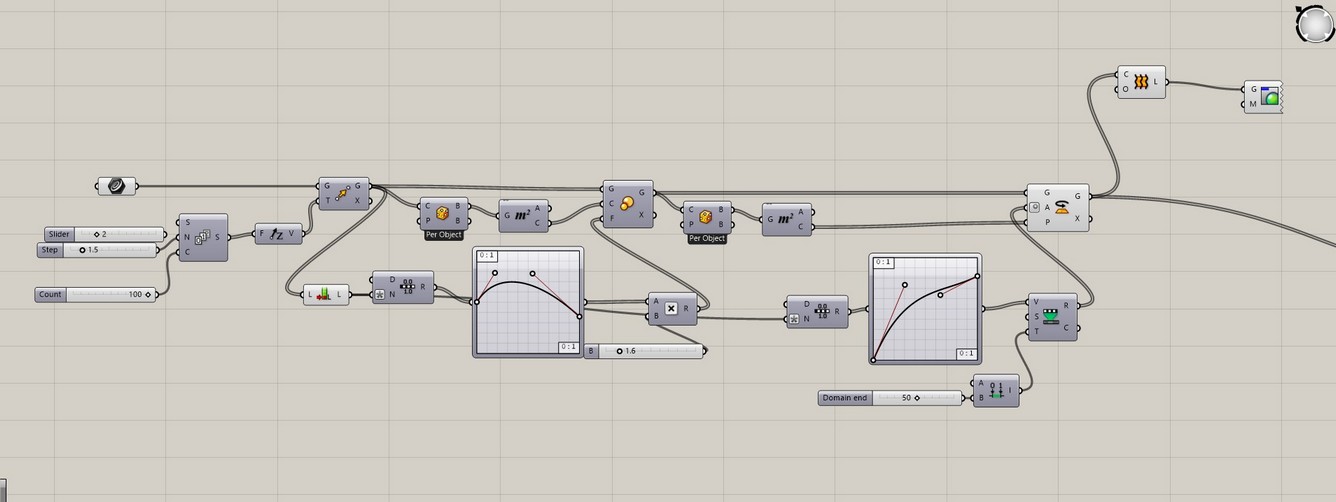
- First I made a base geometry and multiplied it in the same plane and used the graph mapper to control the distance between the concentric circles.
- The second graph mapper controls the form of the crease pattern.
- Weave to used to make the pattern in the center.
- Contours create the slices for the geomtery
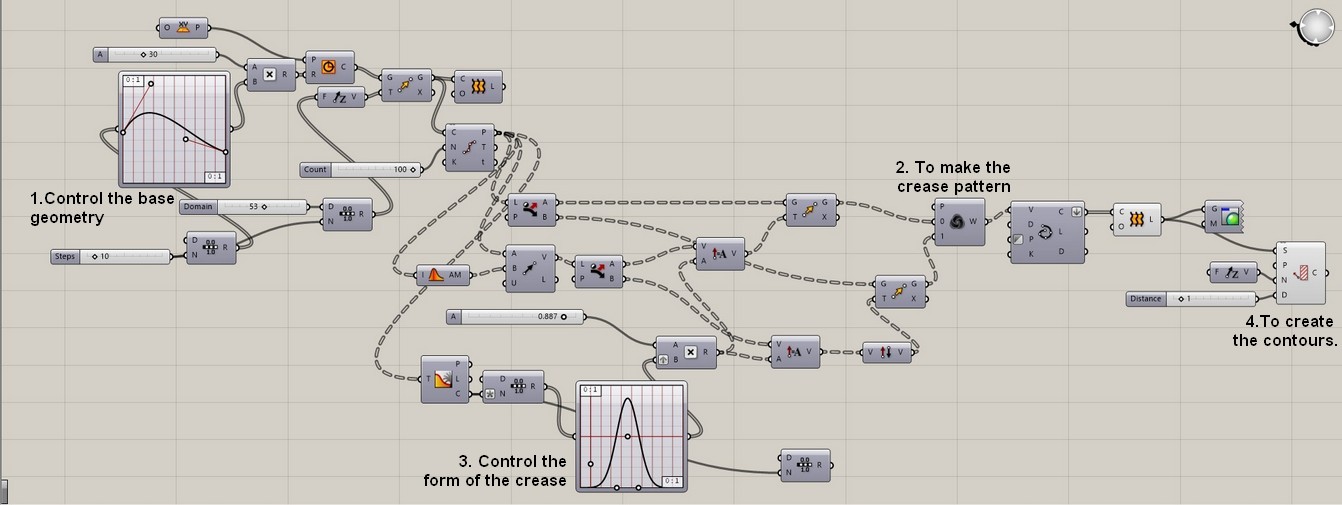
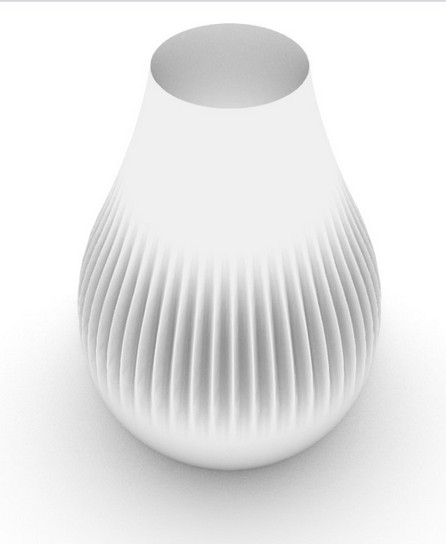
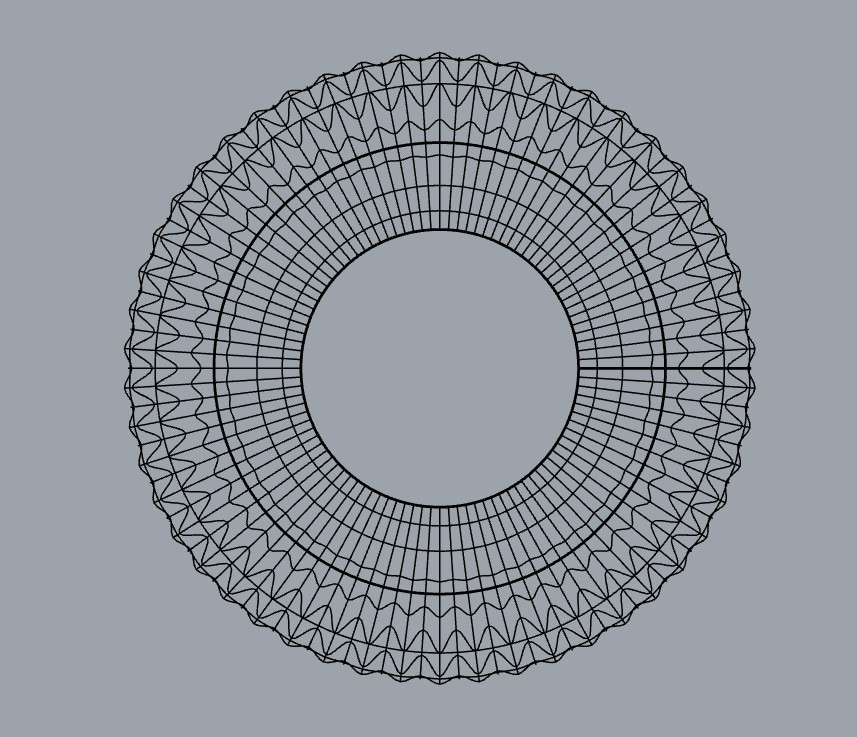
But the closed contours created this way would create GCODE that would stop printing between each layer. This would show the seam of the print more than a continous flow. This can be changed into a continous polyline while processing in grasshopper.
PROCESSING IN GRASSHOPPER
Script made by fablab Bcn for slicing:
- Set the geometry from Rhino into Grasshopper.
- The first part of the script converts the form into slices of polylines.
- The polylines are then converted to points in space which is then turned into GCode format.


SETTINGS ON REPETIER
- Connect the printer to your laptop.
- Change the size of the bed accordingly.
- Add an extra MDF Board on the bed and make sure its flat.
Paste the copied Gcode from Grasshopper to Gcode editor in Repetier
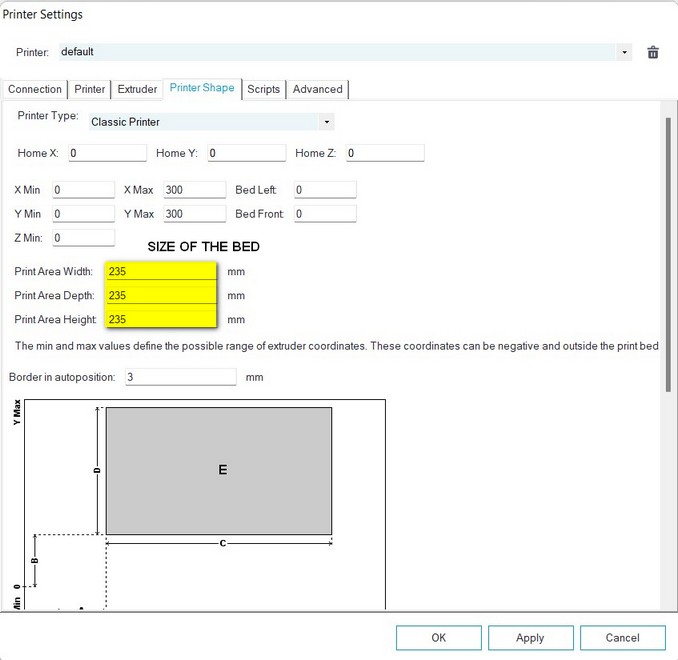
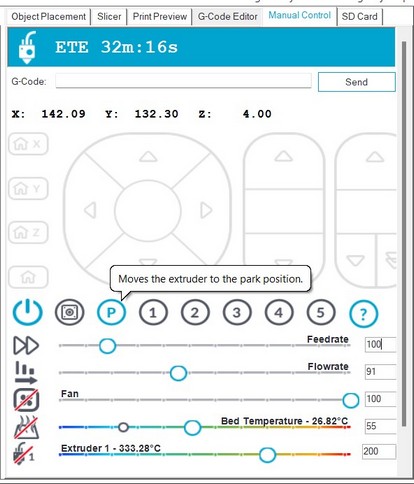
Some GCode basics:
- G0 – Is a rapid movement
- G1 – Is a linear movement
- X – Movement in the X axis
Y – Movement in the Y axis
E – The amount to extrude between the start and end point of a movement
F – Feed rate per minute as described previously - G28 – Move to Origin
- G90 - Set absolute co-ordinates
- G91 - Set relative co- ordinates
PRINTING
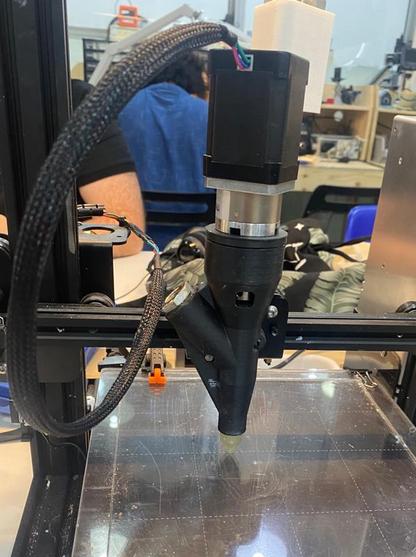
- 3D printer connected to Laptop
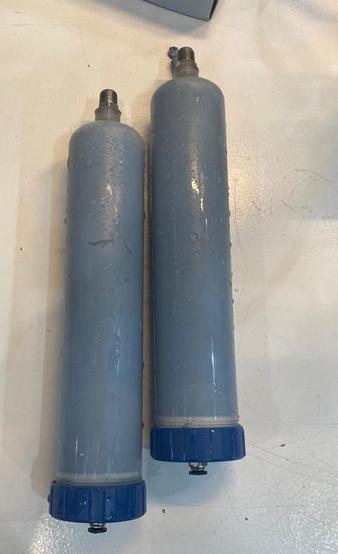
- Clay cartridges
- 3mm Nozzle
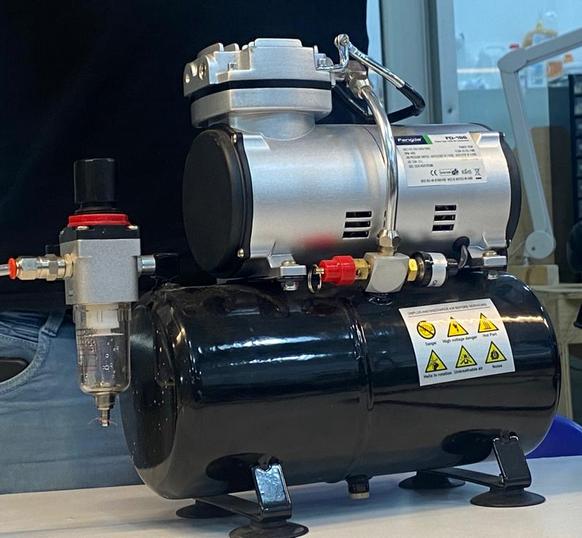
- Air Compressor
TEST 2
DESIGN
PRINTING
Design files download
Gh File for Test 1
Gh File for Test 2
Gh file for Slicing
