Photoshop

Introduction to Photoshop:

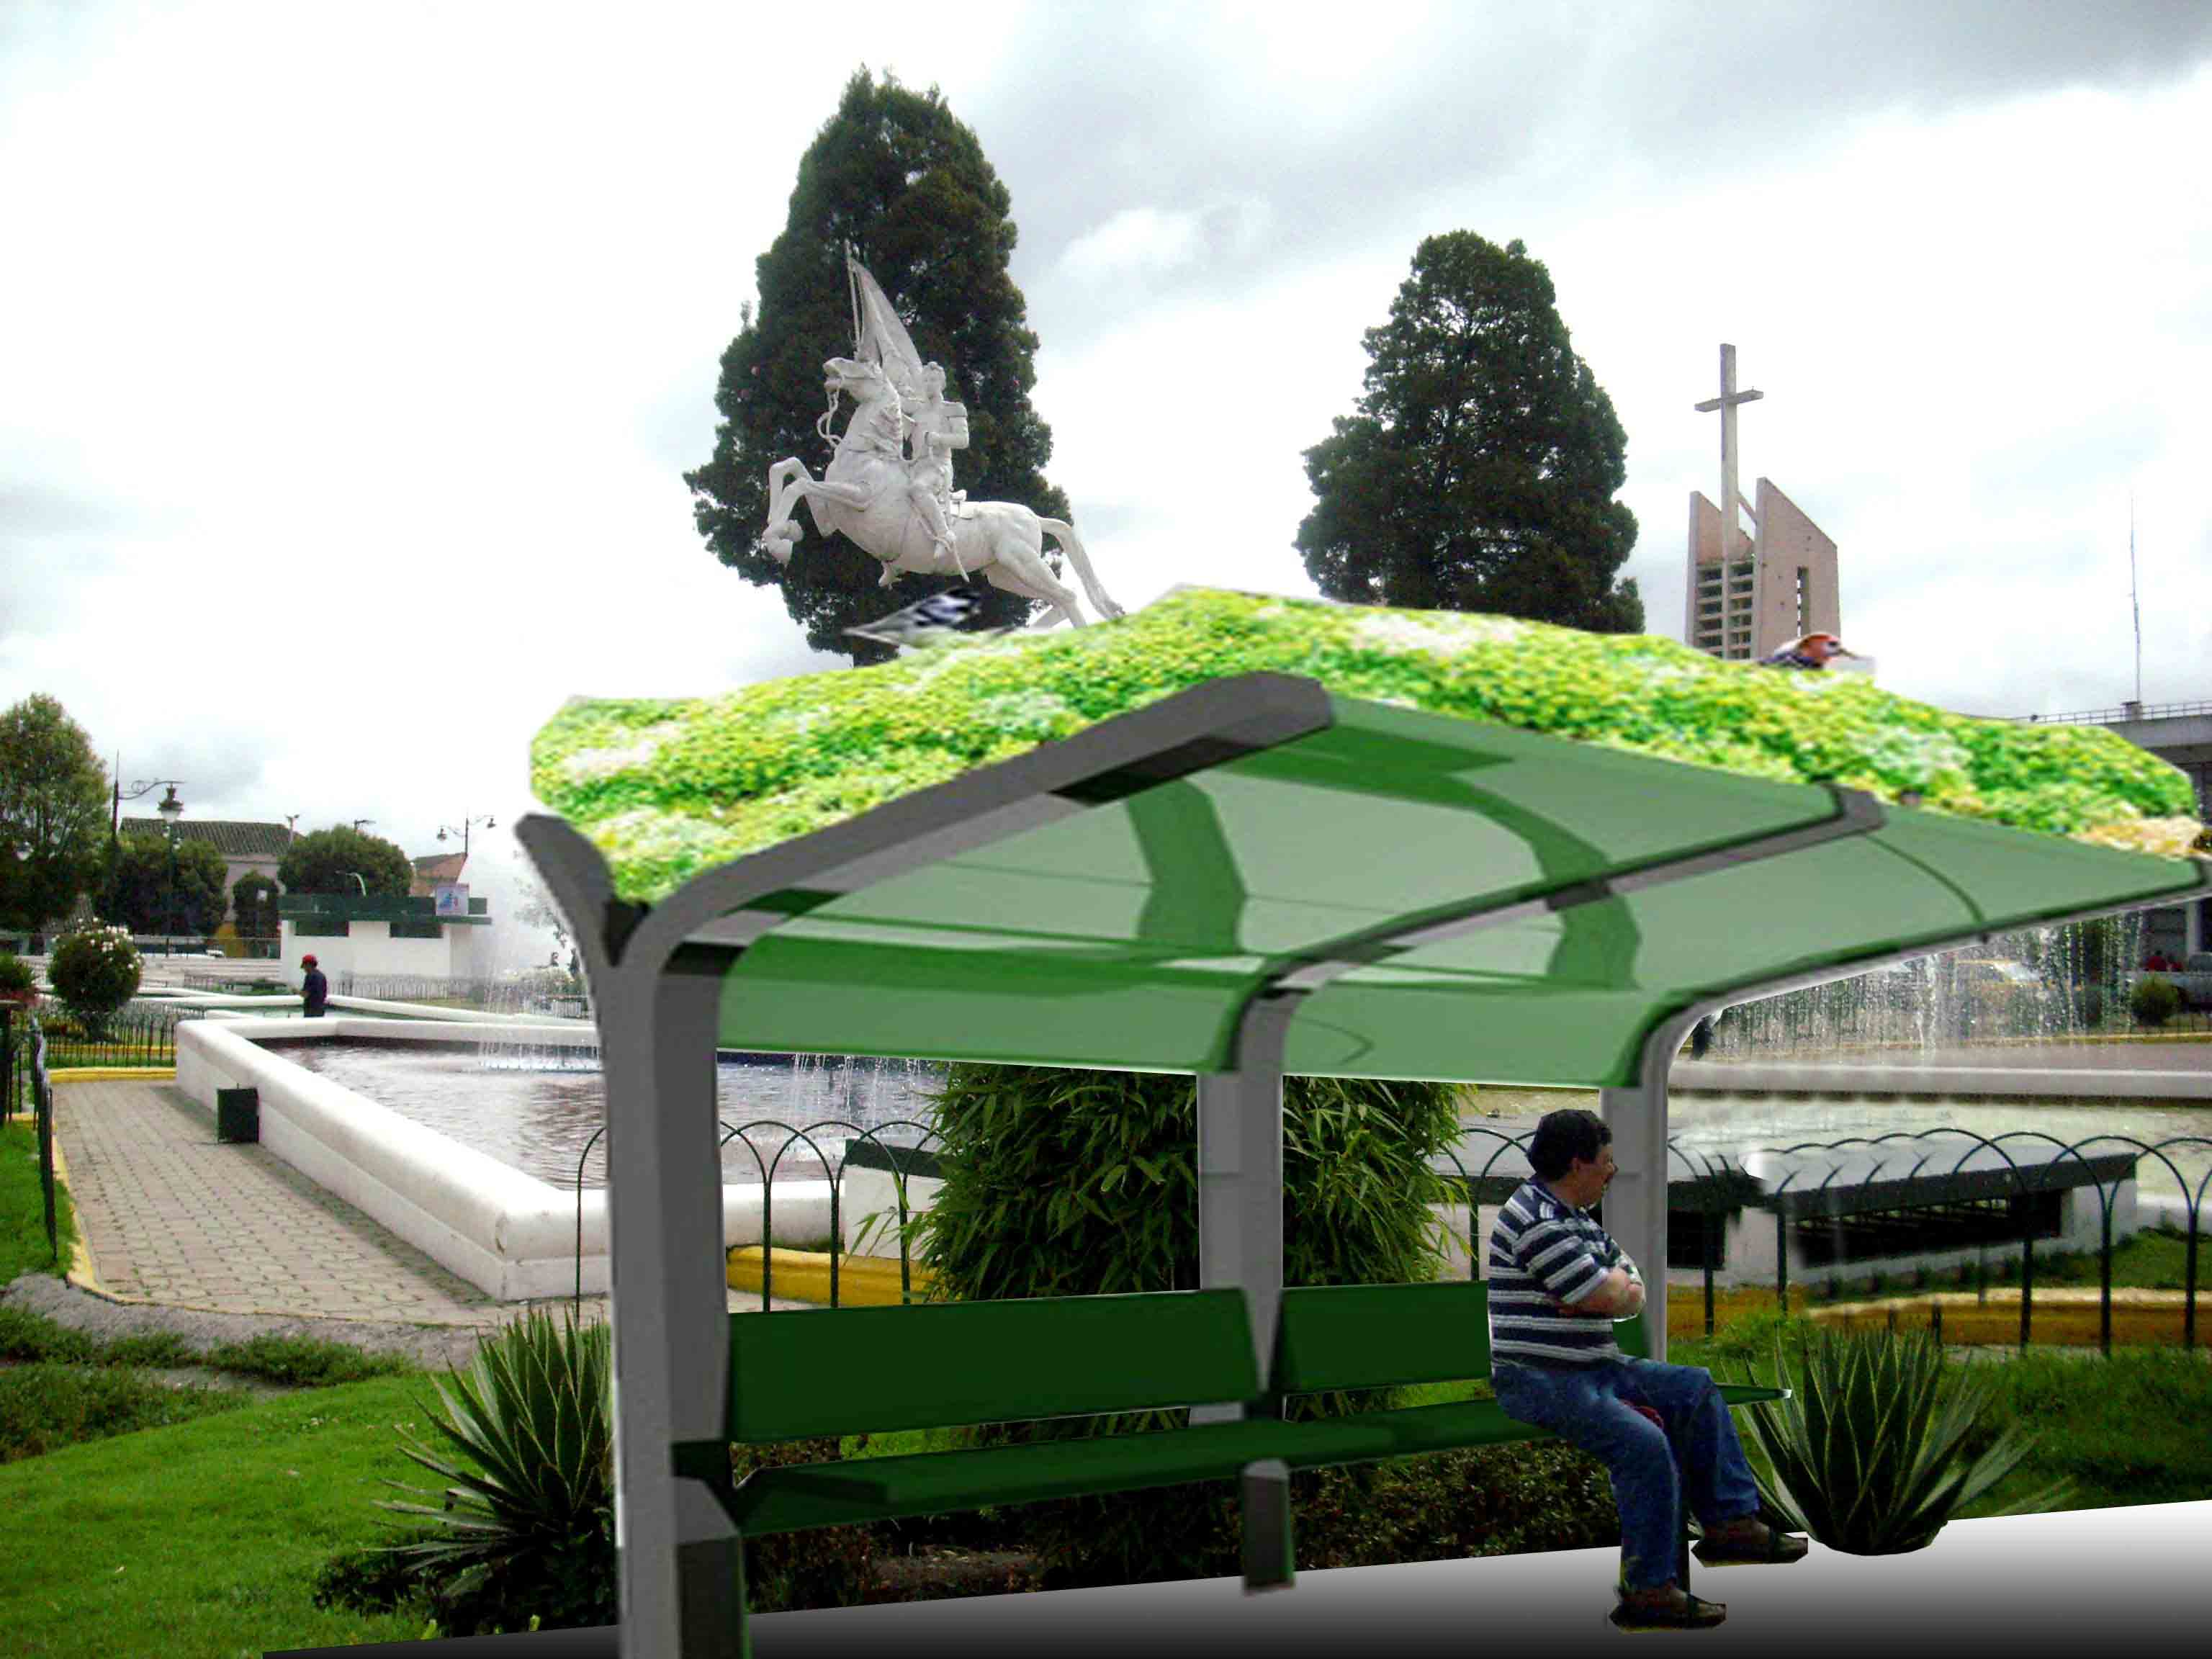
Photoshop is a photo editing and raster graphic design software which allows users to create, edit, and manipulate various graphics as well as digital art. It also allows to create and edit raster images with multiple layers and import the images in various file formats. Photoshop is developed by Adobe Systems for both Windows and MacOS.


To start a job with PhotoShop, first we will configure the work area. we can create a specific area, or choose pre-determined sizes such as A4


  • Starting.

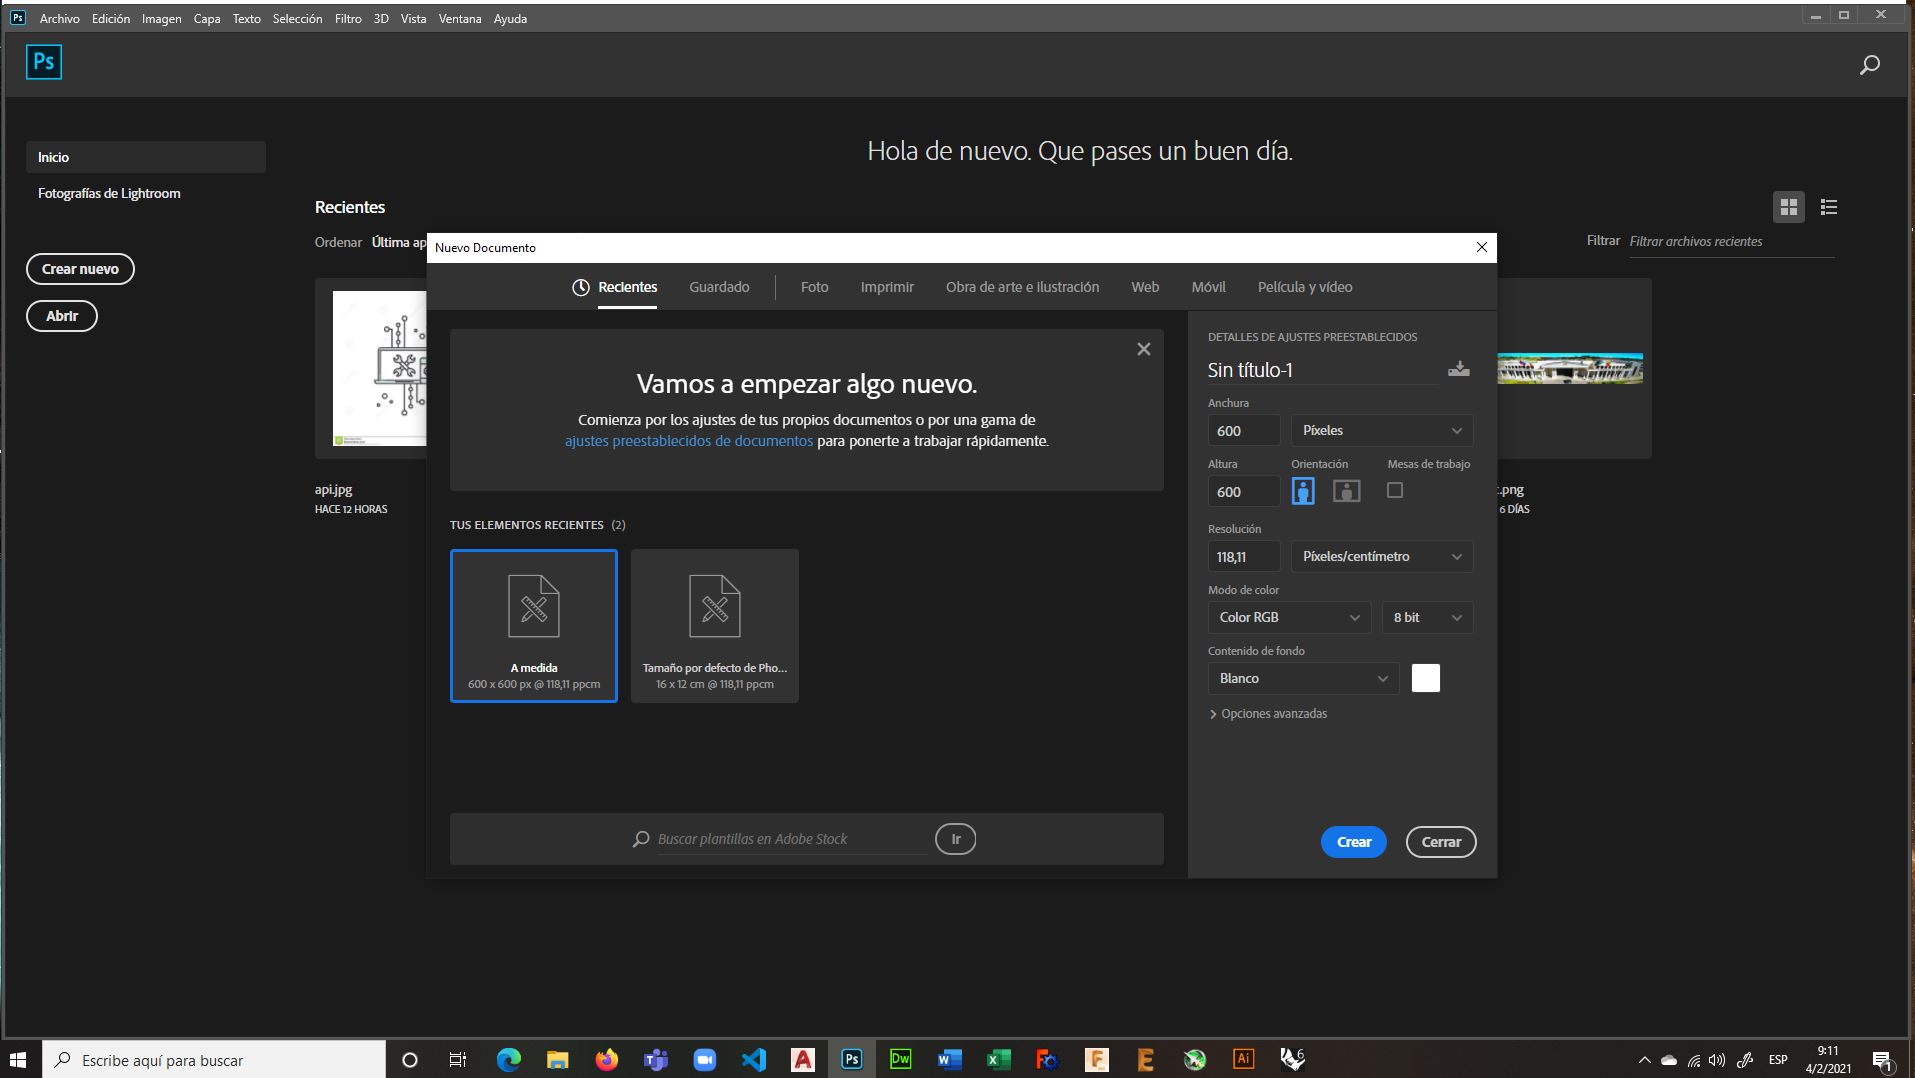
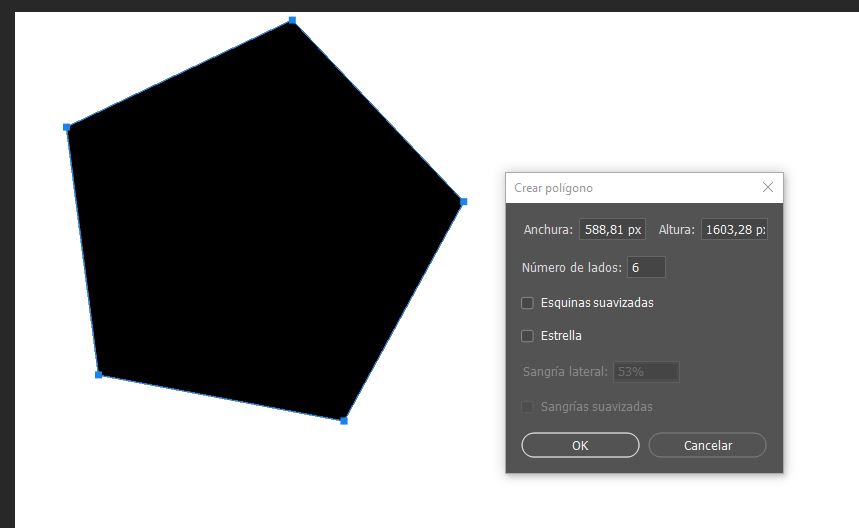
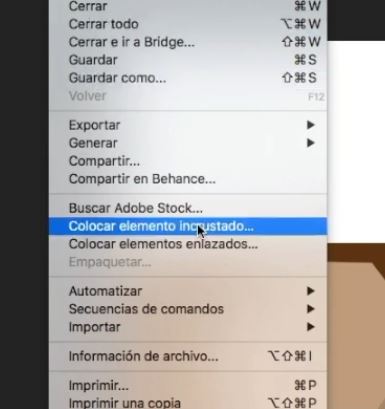
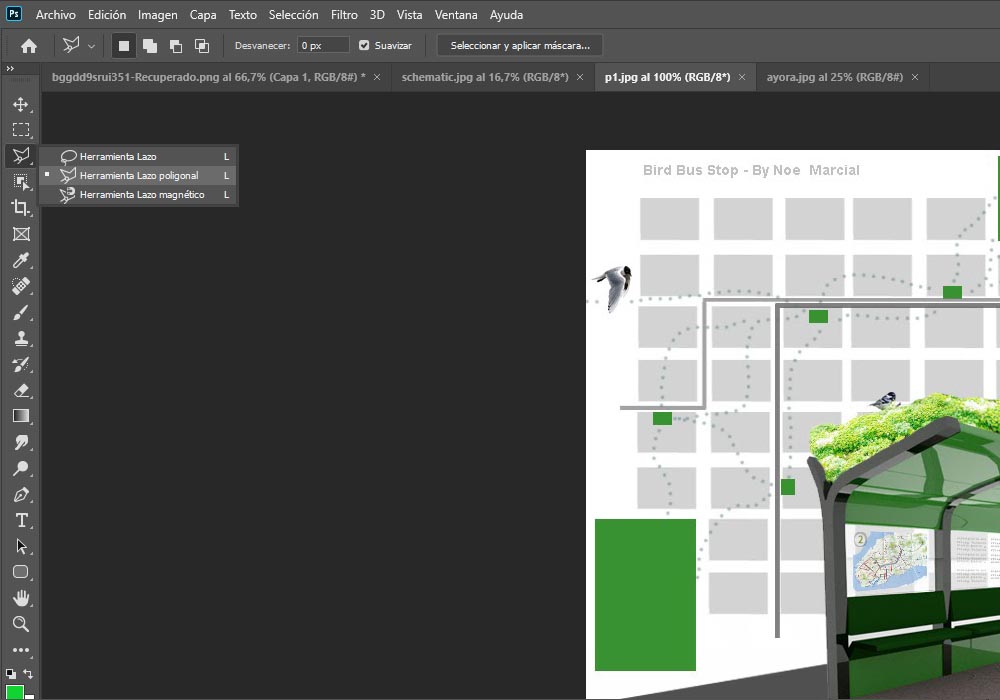
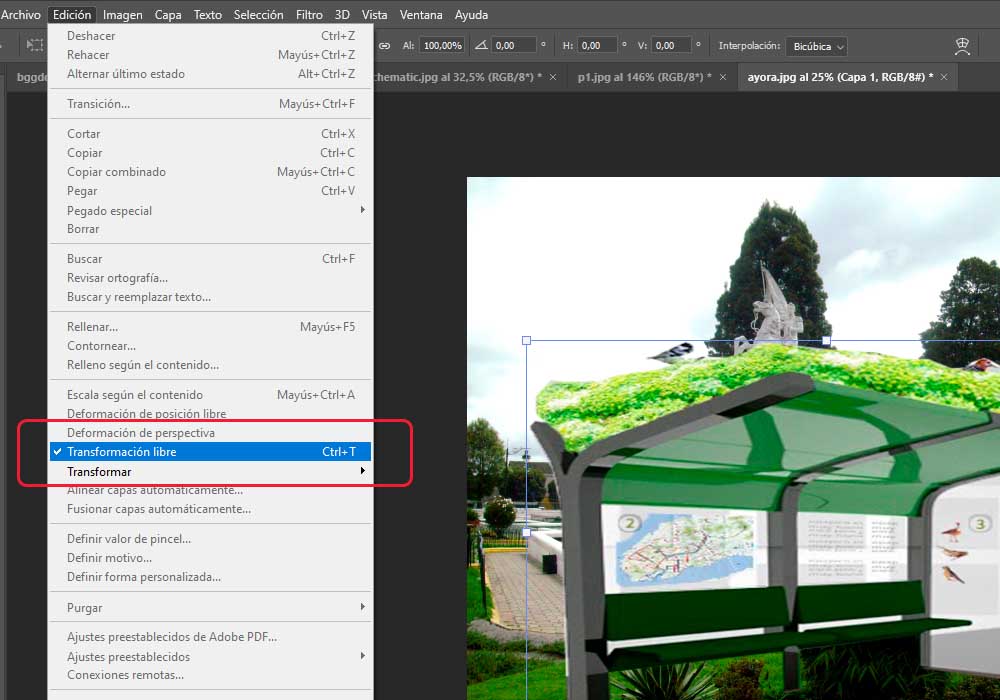
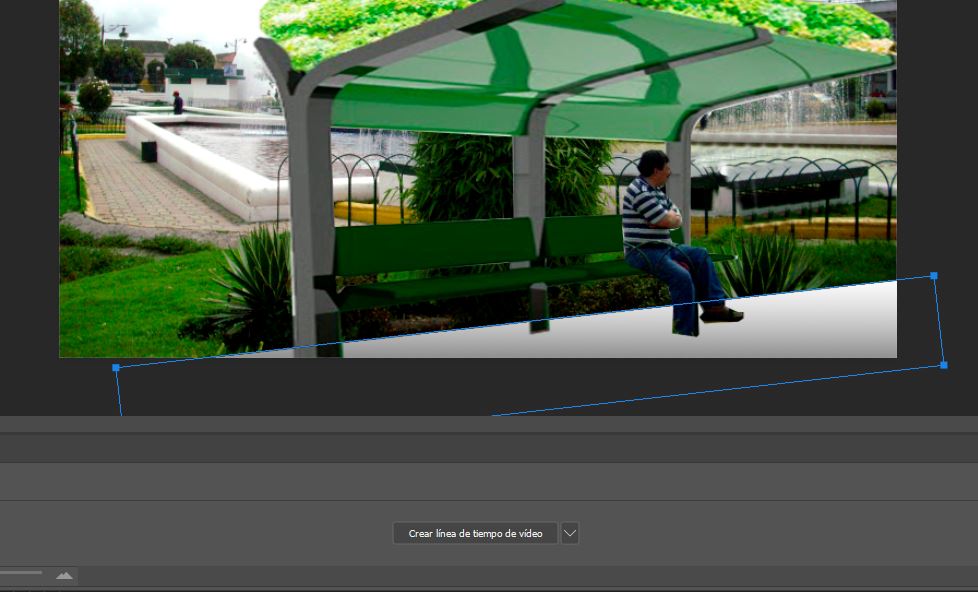
  • Photoshop configuration is very easy to do, being able to organize the work area as well as its tools at the discretion of the designer. we can start a new project in very few steps, and choose the format and the medium in which we will publish it, then we will see how in a few steps we can create an image using its tools.


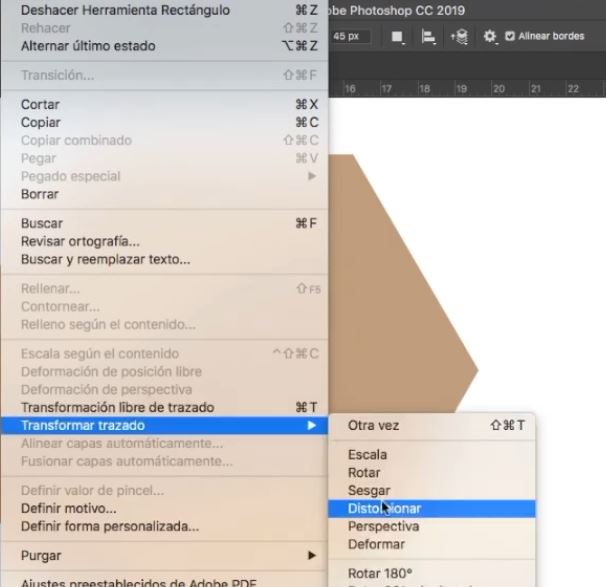
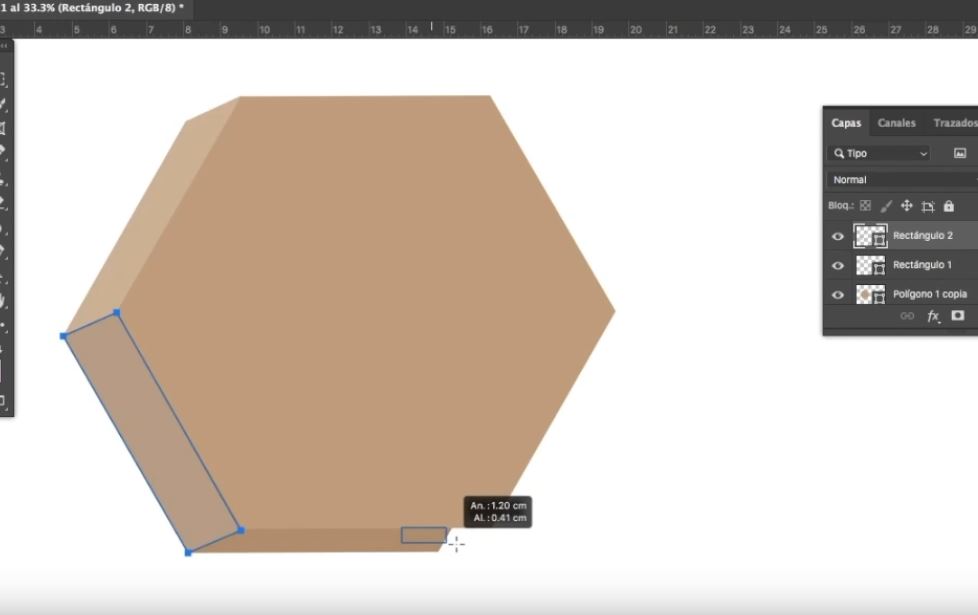
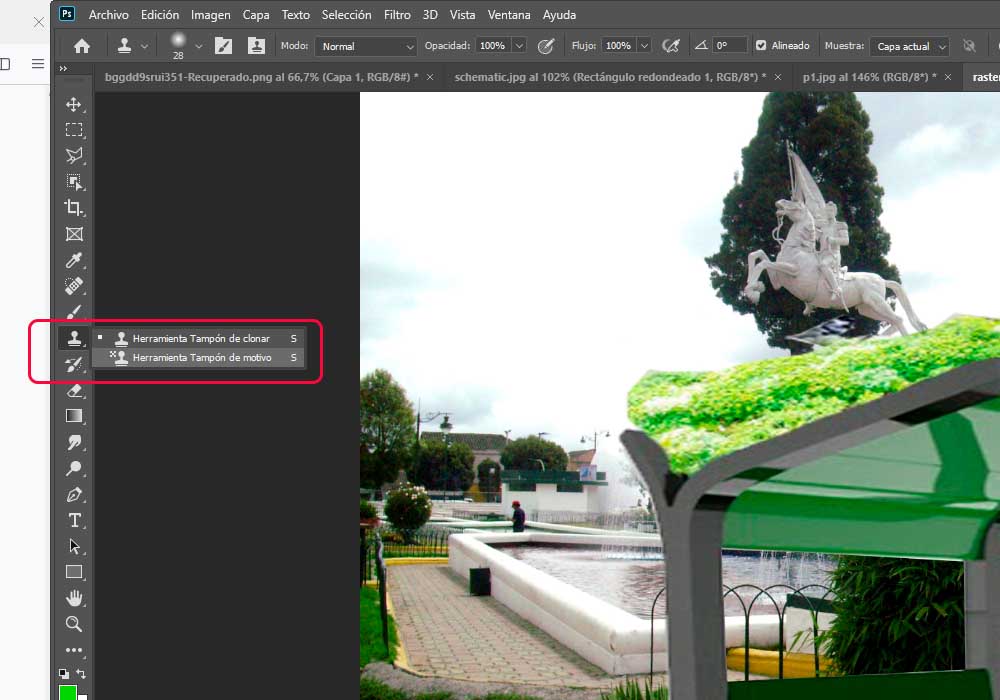
    Photoshop has basic drawing tools that will allow us to create basic shapes, the ideal is to have a graphic tablet that will allow us to better manipulate each of these tools, drawing with a graphic tablet will always bring us closer to a natural drawing, as if we were drawing with a pencil, of course at the beginning it is difficult to draw, but gradually you get used to it


  • Finally we can see the final result of the work, done in a few steps, to draw a box of chocolates

  • Overlaying the image of the final project


    We will start a new project, with a pre-defined area, here we will make a photo montage, for this we will choose the park where the bus stop will be built and a model of a bus stop similar to the one that will be designed for this work.

    In the first image we will make a selection of the part of the image that we need, for this we will use the polygonal lasso tool, to select only the part of the image that interests us


    Once the selection is finished, we will cut the selection using the keyboard shortcut Ctrl + X, then we will go to the final image where we will place our bus stop with Ctrl+V

    As the two images will not coincide in size and / or perspective we can deform our bus stop using the free transformation tool, in this way we achieve that the


    To achieve greater naturalness in the image superimposed on the background, we will use the polygonal lasso selection tool again, to clean up the image a bit so that we can see more of the image from behind.

    We can add geometric elements to our image, as in the previous exercise, in the same way we can edit the shape as well as its color, In our case, we will add a rectangle for the floor, we will edit its color to a gradient, each shape can be edited with the side tool where there are the ocnset of tools, color layers, etc.

    Using the same tools, we will relocate the person to sit in our stop, we can retouch certain parts of our composition using the clone tool, which is located on the left in the side toolbar.


    Final result


    video-tutorial

    Return