Input Devices
Uses for Input Devices
Input devices cover a broad range of compoenents in electronics ranging from the most basic, a button, two things far more complex such as SD card readers. However at the end of the day nearly all of these components will communicate with the microcontroller in one of three ways: digital, analog, or some sort of communication protocol. Due to the universality of this it allows for nealry any input device to interphase with any microcontroller.
Input devices cover a broad range of compoenents in electronics ranging from the most basic, a button, two things far more complex such as SD card readers. However at the end of the day nearly all of these components will communicate with the microcontroller in one of three ways: digital, analog, or some sort of communication protocol. Due to the universality of this it allows for nealry any input device to interphase with any microcontroller.
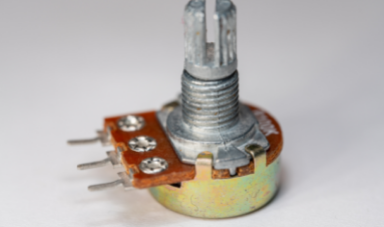 Potentiometer
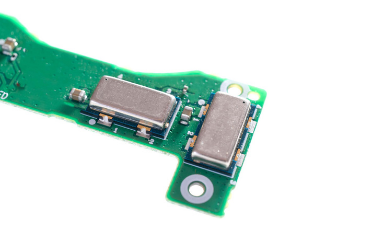 Accelerometer
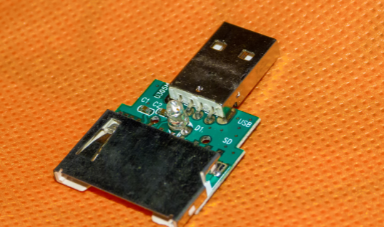 SD Card Reader
Group Portion
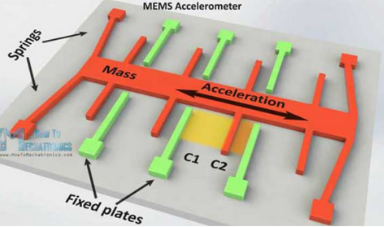
For this week Professor Goodman taught us about a whole bunch of various input devices and how they worked. We covered sensors such as photo resistors (and phototransistors) as well as potentiometers, rotary encoders, and accelerometers. Photoresistors work like a regular resistor limiting the current, but doing so based off of the the amout of light it absorbs which allows it to be read with analog read. Potentiometers are also read with analog read, and are simply a circular resistor that you can slide accross change the resistance from basically no resistance on one end to max on the other. Rotary encoders are a bit more complicated and work sort of like two regular buttons, that when you rotate the thing at one point the current will be complete for one of two buttons. This makes is so that the output of a rotary encoder is two out of phase signals turning on and off. Depending on white signal comes first will detemrine the roatation of the rotary encoder. Finally the accelerometer works by the thing connected to a set of spring moving up and down relative to gravity moving between two fixed played changing the capacitantance. The change in capactiance of the fixed plates thus givrsd information about the position of the springs. We also introduced pull up and pull dwon resistors, something that I have used in previous projects.
Following this as a group we did two things. First we toyed around a bit with input devices such as photoresistors and multimeters to check out how they work, then we also jumped into TinkerCAD to practice using input devices. My group played with a potentiometer and photoresistor simply reading their input with analog read and printing the result (between 0 and 1023) to serial.
 Accelerometer
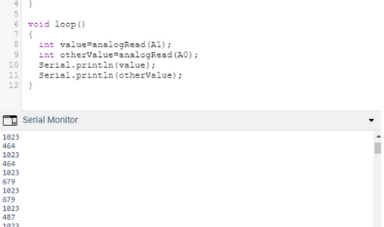 Serial Output and Program for TinkerCAD
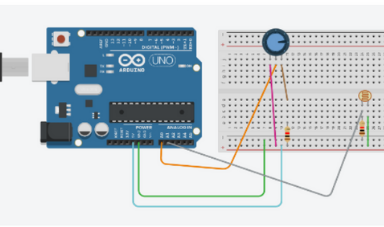 TinkerCAD setup
Designing and Fabricating the Board
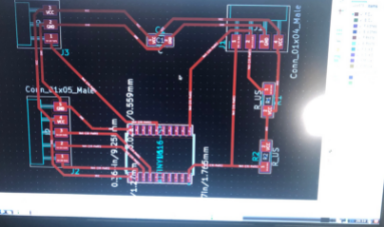
For my board designed I intended to connect both an lcd screen the interfaces with the MC via I2C and a joystick which is nothing more than a couple of potentiometers. To connect there it was quite simple all I had to do was connect the lcd screen to the I2C ports (SDA and SCL) on the board which I found on the datasheet, and then connect the button two a couple of ports that had analog read capability. I designed the board in KiCAD connenting to a 3216 attiny (since we ran out of 1616s).In the PCB view I imported in the net list, spread out the components and tossed it into FreeRouter since routing by hand is a thing of the past and feels like the equivalent of still using floppys to store data. Following that is the same standard procedure used in every other week, I used FlatCAM since mods is an attrocity, brought the GCode into Candle, generated a heightmap (a feature my cheap mill has and the 3k Roland does not) and milled the board with a 1/64 inch round endmill.
Now I did have to end up milling this board three times and no not due to the mill failing (since unlike the Roland my cheap knock off mill actually work near 100% of the time), but due to me connecting the joystick to 3 of the four pins that do not support analog read amongst all the opther pins in the board that do, and also due to me forgetting to put pull up resistors on the I2C line which you need when working with an attiny. I did end up using the board that I just forgot to connect to the proper analog pins but with proper I2C connections for the following weeks project, output devices.
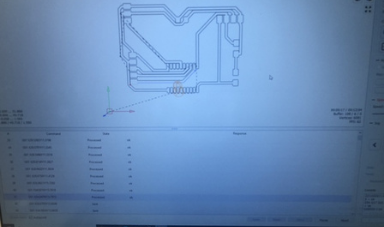 Loading NC Code into Candle
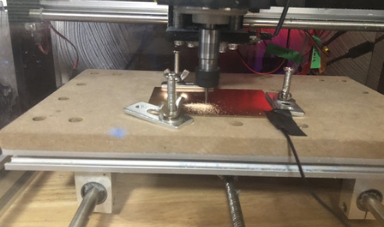 Milling the Board
 Generating Heightmap in Candle
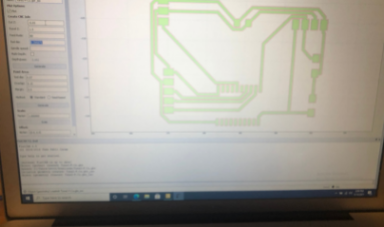 Using FlatCAM
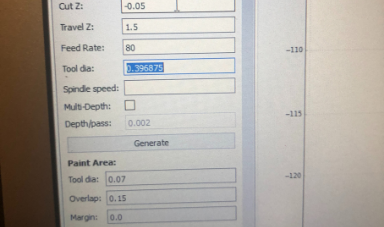 FlatCAM settings
 KiCAD PCB View
Programming the Board
I had a lot of fun here programming trhe board with my friend Tuna challenging me to make something cool this week, so I just made a more complicated version of his video game and called it Tuna 2.0. For this project I made a game where you control a rockethsip with the joystick dodging bombs that are faling towards you. You can move freely as you qwant accross the board, but the moment you hit a bomb you die. There are three main parts of this code the first being a class designed to store all the information related to the rocket such as it's location and the methods to move the rocket. The second is a class terraining that stores information on the location of all the bombs, and has methods for generating new bombs and moving them all down. The finally in main there are a few functions linking it all together include reading the jooystick for the inputs and checking if the rocket collides with a bomb. I also made cool bit maps for the rocket and the bombs so they could becustom designs. Finally at the end of the game the game tells you your score which is determined by how long you lasted.
This joystick is in reality just two potentiometers that using analog read can both get read seperately resulting in a value between 0 and 1023, and they work just by their resistance changing as you move the sweeper along the track of the potentiometer. These values are then interpreted to determine how the joystick was moved to then make the rocket go in the appropriate direction. For more uses of input devices check out my final project where I used a pH probe, conductivity sensor, water level sensor, and thermistor. With the expection of the thermistor they all worked by pugging in directrly the data to an analog pin and reading the change in voltage to determine the value which can be used to detemrine the balue in proper units with a callibration curve. The thermistor works the same but with a bit fancier math and also requires a voltage divider.
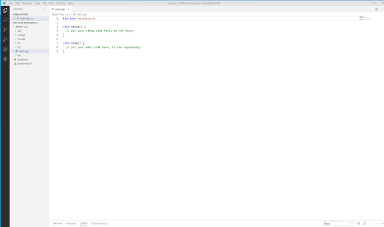 Platform IO
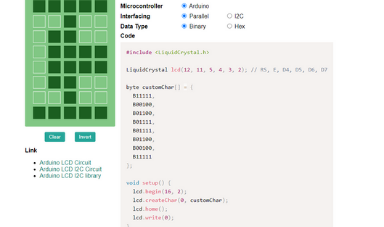 Making Bitmap for Rocket Design
 Files
Files
Click Here to Download all the files from these projects!