Wildcard Week
Tormoch Mill
For this weeks assignment I got the chance to go to the Fab Lab of Dassault Systeme's Fab Lab and use their Tormach Mill the PCNC 440. This mill, unlike ours, is capable of actually and comfortably cutting both aluminium and steel. This is a three axis mill, but does have possible upgrades that can be bought to add a multi axis mill. Now we were provided with rather poor instructions so a lot of "winging it and google searching" had to be done. I did this week in collaboration with Tuna .
For this weeks assignment I got the chance to go to the Fab Lab of Dassault Systeme's Fab Lab and use their Tormach Mill the PCNC 440. This mill, unlike ours, is capable of actually and comfortably cutting both aluminium and steel. This is a three axis mill, but does have possible upgrades that can be bought to add a multi axis mill. Now we were provided with rather poor instructions so a lot of "winging it and google searching" had to be done. I did this week in collaboration with Tuna .
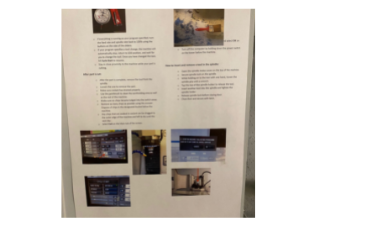 Set Up
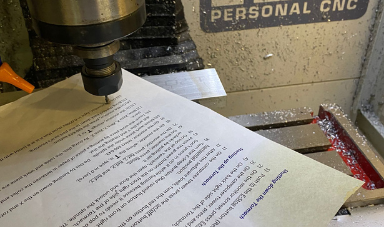
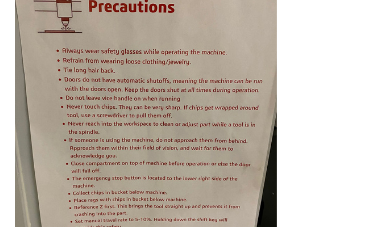 Saferty Sheet I Ignored
 Milling Process
CAD and CAM
The first part of this project was the easy part. Here we designed a lego block and a couple of 2D milling operations were implemented in Fusion 360. We added the tool manually by measuring it, and ran into some small collision and clearence errors that we fixed due to the size of the end mill. We used a two flute 1/8 inch endmill for this. The hardest part of this step was finding the appropriate post processor to use which after and lengthy google search was found. The inital design contained a male and female part of a lego brick in two different blocks so they could stack but due to us wanting to test the machine first we decided it was best to just start with the simpler male component.
The first part of this project was the easy part. Here we designed a lego block and a couple of 2D milling operations were implemented in Fusion 360. We added the tool manually by measuring it, and ran into some small collision and clearence errors that we fixed due to the size of the end mill. We used a two flute 1/8 inch endmill for this. The hardest part of this step was finding the appropriate post processor to use which after and lengthy google search was found. The inital design contained a male and female part of a lego brick in two different blocks so they could stack but due to us wanting to test the machine first we decided it was best to just start with the simpler male component.
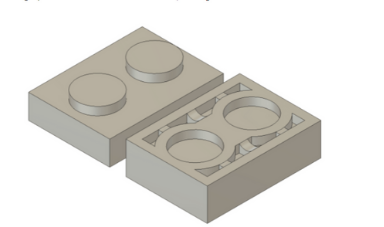 Components
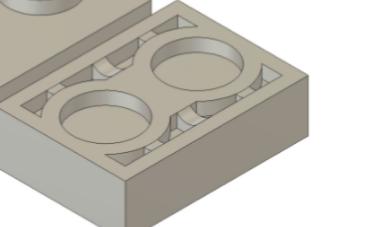 Female Component
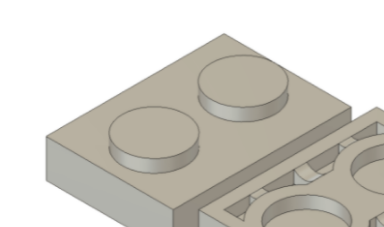 Male Component
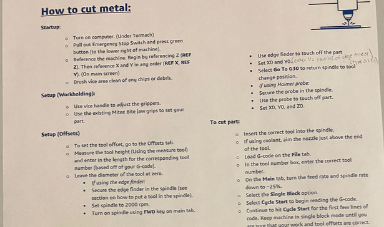
Preparing the Mill
Now with the NC files ready we had to prep the machine. Now before I had much time to use the machine and try it out Tuna decided to push the y axis to the limit switch completely freezing the machine. This was a bit of an impass since in my experience I dealt with limit switches just by moving it slowly with many actions but in this case the machine froze entirely. After digging through the instructions I found an option to disable limit switches entirely (what a terrfying setting). I went disabled it and not until triple checking direction on the controller moved it away from the limit switch then immedietly re enabled the setting. We then homed the machine simmilar to the process I described for my mill just this time fancier. We then loaded the endmill in a fashion more simmilar to old school manual mills which suprised me where we had to load it in the collet and tighten it from in the belt box. To zero the z axis we used the paper trick which is to lower the endmill just enough that you cannot move the paper under it. All that was then left to do was load the nc file through the super confusing UI.
Now with the NC files ready we had to prep the machine. Now before I had much time to use the machine and try it out Tuna decided to push the y axis to the limit switch completely freezing the machine. This was a bit of an impass since in my experience I dealt with limit switches just by moving it slowly with many actions but in this case the machine froze entirely. After digging through the instructions I found an option to disable limit switches entirely (what a terrfying setting). I went disabled it and not until triple checking direction on the controller moved it away from the limit switch then immedietly re enabled the setting. We then homed the machine simmilar to the process I described for my mill just this time fancier. We then loaded the endmill in a fashion more simmilar to old school manual mills which suprised me where we had to load it in the collet and tighten it from in the belt box. To zero the z axis we used the paper trick which is to lower the endmill just enough that you cannot move the paper under it. All that was then left to do was load the nc file through the super confusing UI.
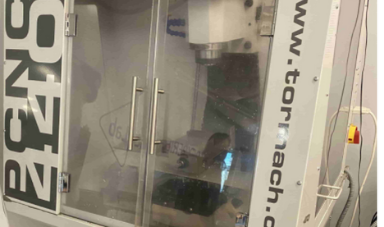 The Mill
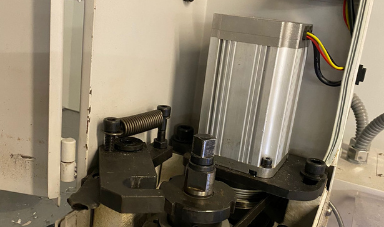 Tightening the Collet
 Zeroing Z Axis
Milling
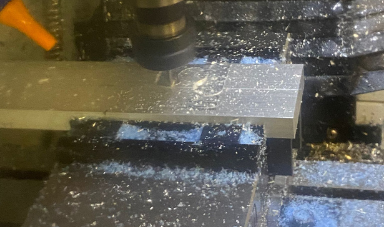
We first started by milling a block of machine wax that we found laying around. To do this we secured the wax block in the vice (before the x, y and z axis zeroing) then ran the nc file there was not much to it. The result was a bit rough around the edge, but that was propably due to us not doing a final finishing pass. The speed (controlled by the machine) seemed proper, but the feed a bit fast which concerned us but due to time constraints poorly decided to ignore and tried again with a block of aluminium laying around. This was working fine at first but the bit did end up suddenly snapping. Fortunately we ran the wax first to have something to show! Regardless this week I got the chance to learn how my skills on a cnc can be applied to any cnc device and how they all work approximately the same. Now I just need to toy a bit more with multi axis milling.
We first started by milling a block of machine wax that we found laying around. To do this we secured the wax block in the vice (before the x, y and z axis zeroing) then ran the nc file there was not much to it. The result was a bit rough around the edge, but that was propably due to us not doing a final finishing pass. The speed (controlled by the machine) seemed proper, but the feed a bit fast which concerned us but due to time constraints poorly decided to ignore and tried again with a block of aluminium laying around. This was working fine at first but the bit did end up suddenly snapping. Fortunately we ran the wax first to have something to show! Regardless this week I got the chance to learn how my skills on a cnc can be applied to any cnc device and how they all work approximately the same. Now I just need to toy a bit more with multi axis milling.
 Zero X and Y Axis
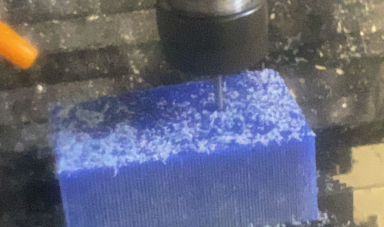 Milling the Wax
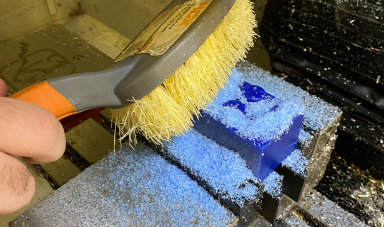 Cleaning the Shavings
 Loading Aluminium in the Vice
 Milling the Amluminium
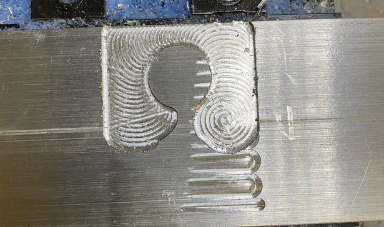 Final Cut
Click Here to Download all the files from these projects!