Project Management
Week Objectives:
- 1. To be familiar with GitLab.
- 2. Build my own website and learn some HTML plus Markdown.
New software used in this week:
- 1. GitLab
- 2. Brackets
- 3. Atom
Before starting the Fab Academy Diploma, we had a pre-FabLab course. Most of the classes were online through Microsoft Teams. First we learned using GitLab to initiate a HTML website and modify it by using a software called Brackets. In addition, we learned using the Atom software to iniate websites and modifying them by using the markdown language. Here are the full steps I did to initiate my website.
GitLab
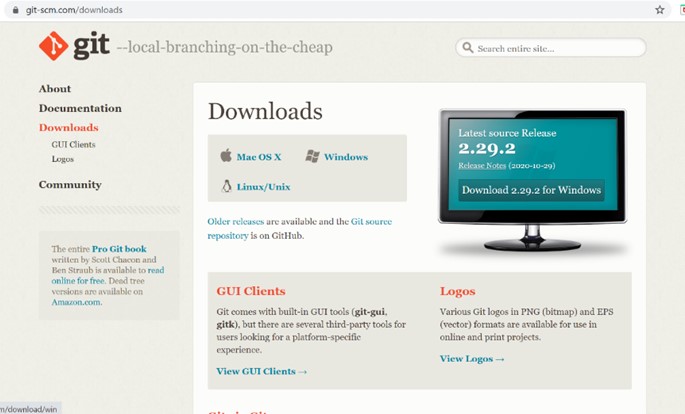
The first step was to sign up in GitLab and to download the Git software.
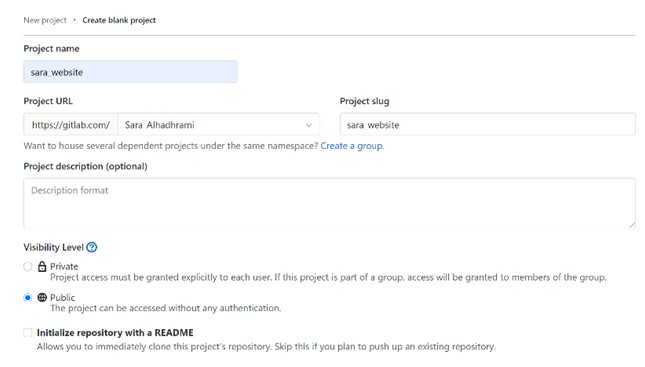
The next step was to create a new project in GitLab. I named my project "sara_website" and I choose it to be public.
Then I linked my account in GitLab with my computer by writing the following Git commands in Gitbash. The commands include my username and email that I used to sign up in GitLab.
- git config --global user.name "Sara_Alhadhrami"
- git config --global user.email "sara_astronomy@hotmail.com"

After that, I generated the SSH key by typing the following command.
ssh-keygen -t rsa -b 4096 -C "sara_astronomy@hotmail.com"
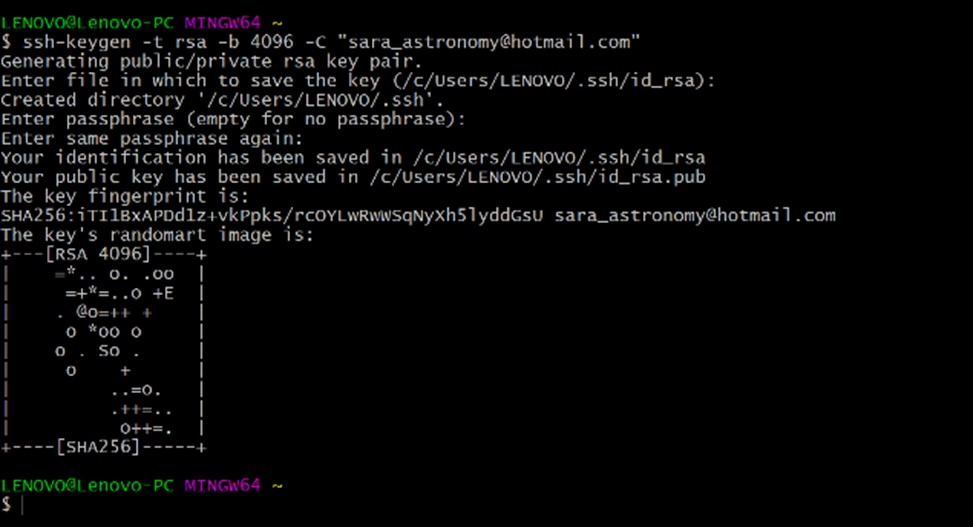
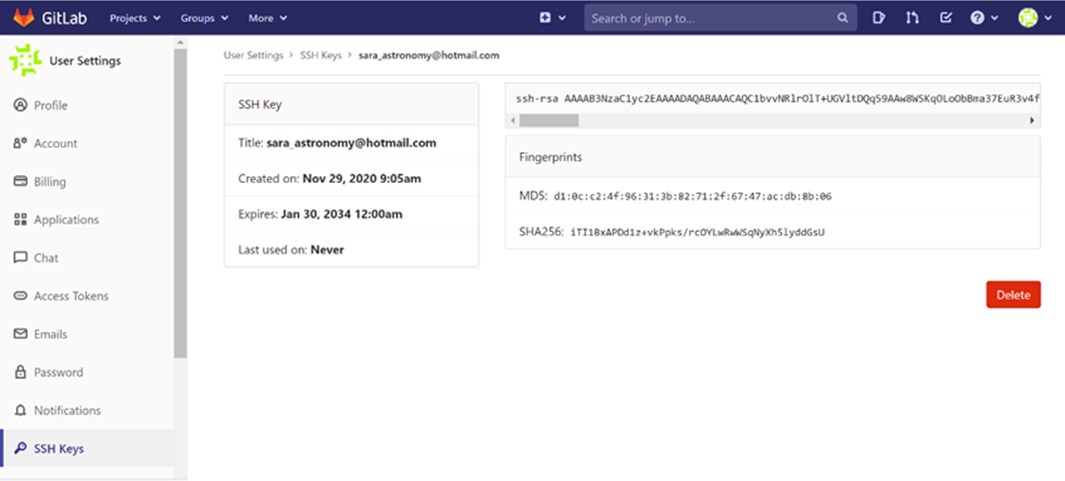
Now the SSH key is downloaded as a file in my computer. I opened the file and copied the key. Then I went to my project in GitLab >> setting >> SSH keys >> add key and I paste the key there.

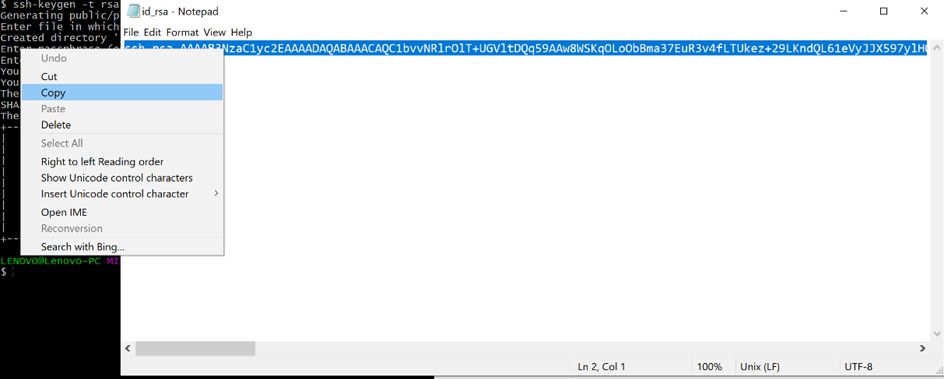
The SSH key of my account is generated as shown in the following picture.
The next step is to clone my website to my computer. This step stablished by copying the URL (clone with SSH) from the project page as shown in the following picture.
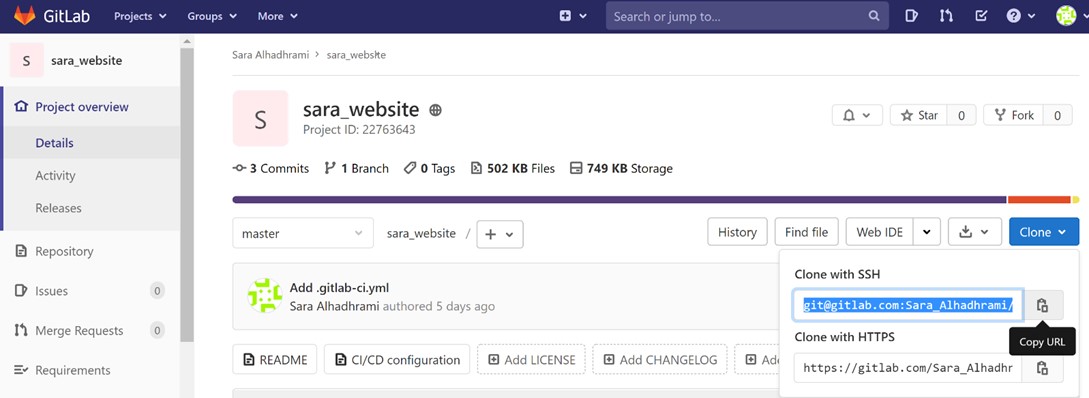
After that, I opened Gitbash in the desktop and I wrote git clone and paste the URL (clone with SSH) that I copied before a while.
git clone git@gitlab.com:Sara_Alhadhrami/sara_website.git

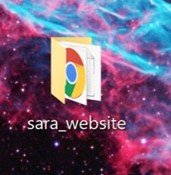
Now the website is cloned to my computer as a folder. This folder includes everything related to my website and all updates will be done in this folder.
To add any file to GitLab from the computer, few steps are needed :
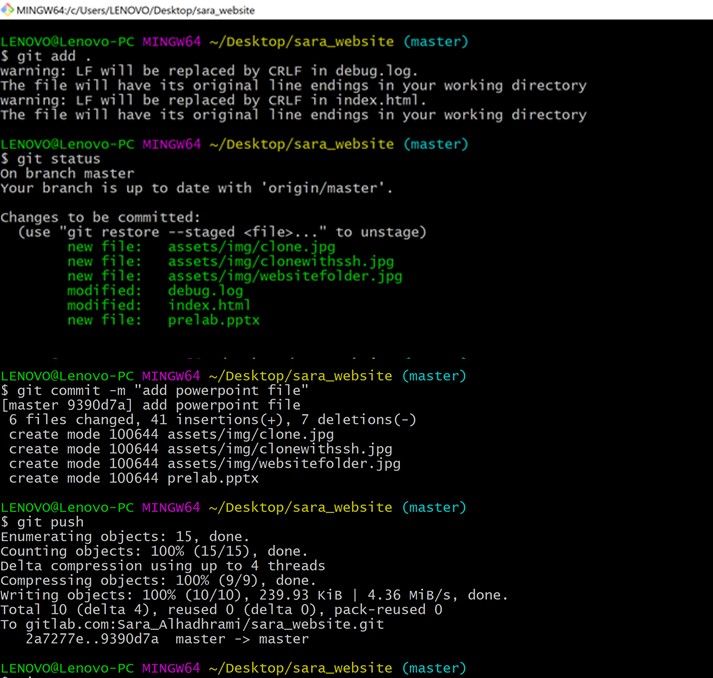
First, the file could be created inside the folder that is connected with GitLab. For example, I created a powerpoint file and I name it prelab. Then, three commands should be written in Gitbash to upload the file to GitLab.
- git add .
- git commit -m “message”
- git push
After writting the command "git add ." I usually use the command "git status" to ensure that all the updates were added.
The following picture shows the steps I did.
Creating HTML Website
The first step I did was to download a website theme. I downloaded a theme from Start Booststrap.
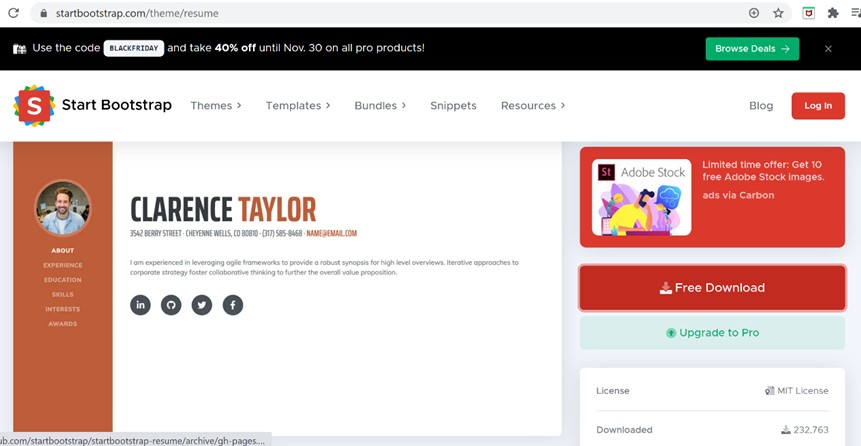
Then, I copied the downloaded files of the website theme and I paste them in my folder (sara_website). In addition to push the file to GitLab by using the three commands (git add, git commit and git push).
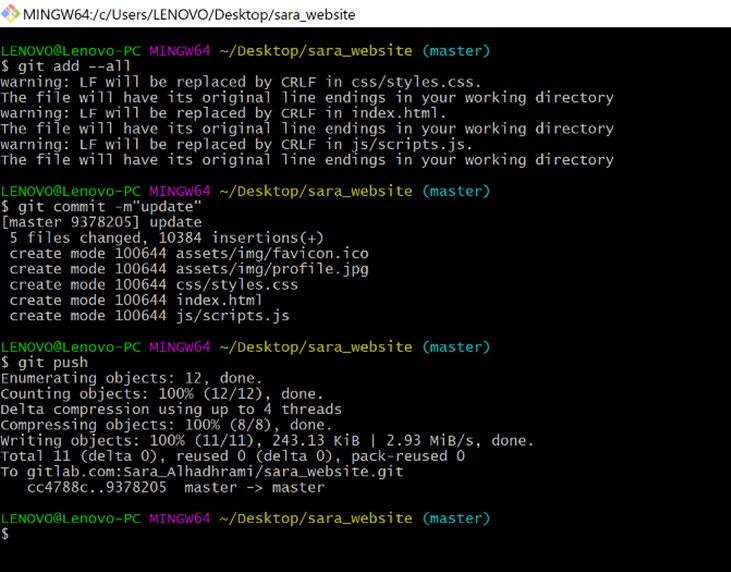
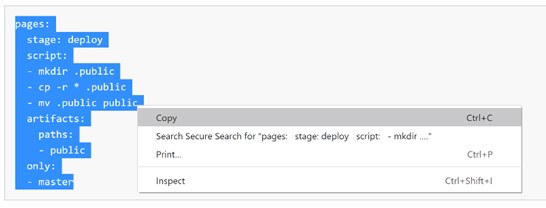
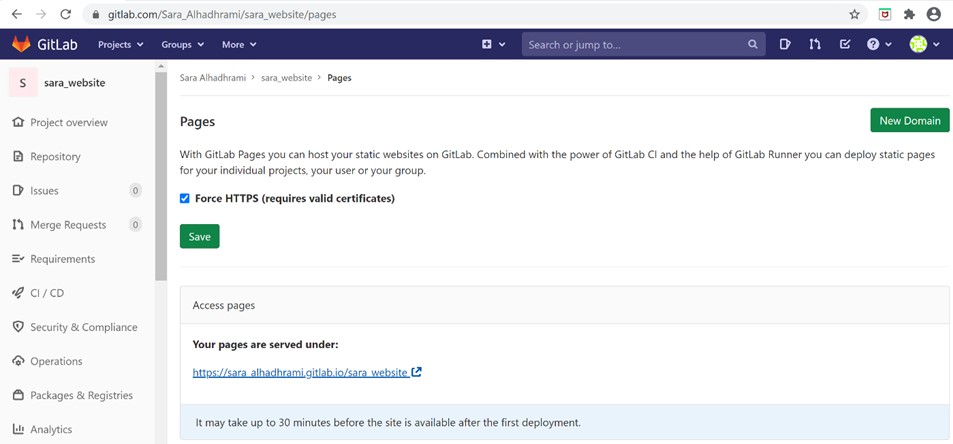
Creating Link for my Website
Here is my website link
To modify and do some changes on the website, I downloaded Brackets software which allows me to use the HTML language to modify my website.
The final step is to open the HTML index file with Brackets and then press the Live preview button to see how the changes I did will look like in my website.
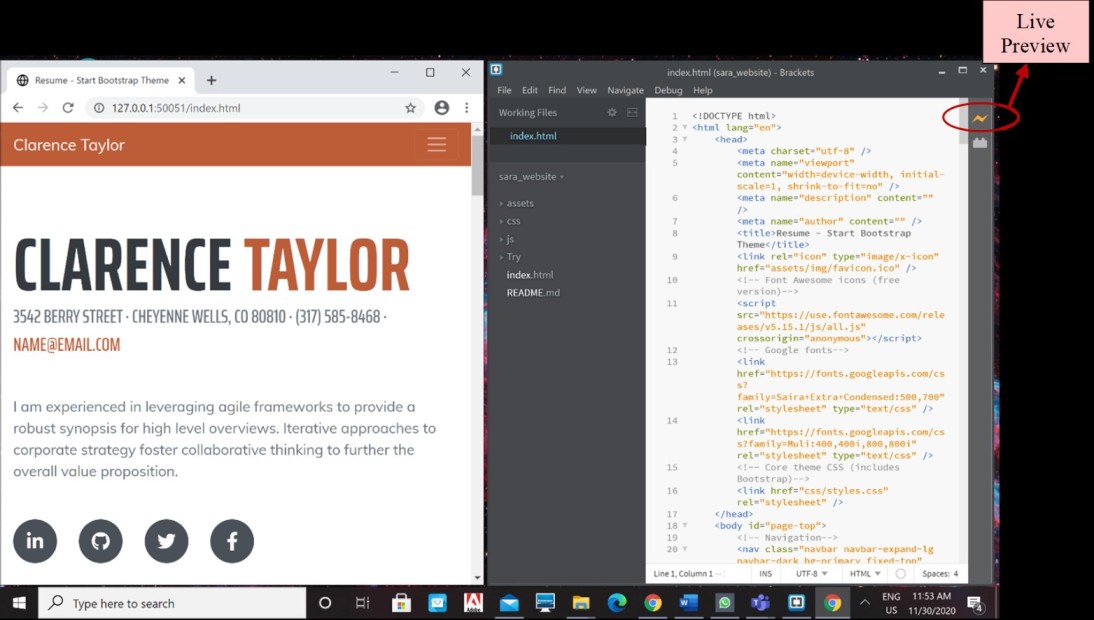
Here I changed the name and email.
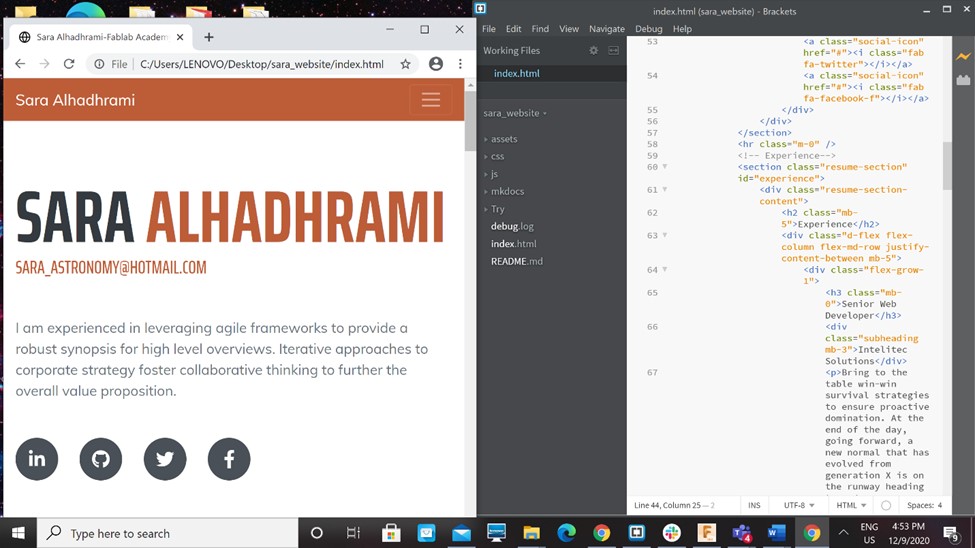
After I do any changes in my website I should always go to my website folder and open Gitbash to write the following commands to upload all the changes and update my website.
- git add .
- git commit -m "here write the message you want"
- git push
- git add .
- git commit -m "any message"
- git push
- 1. This class was the first online class for me, it was not easy at all. It requires to be fast by trying to pay attention to the instructor while describing the steps and trying to do them immediately.
Summary of the main git commands
| Command | Description |
|---|---|
| git pull | To download content from the repository in GitLab to my PC |
| git add . | To add all the changes I did in my website folder to Gitlab |
| git status | To check that all the updates were added |
| git commit -m “any message” | To write a comment regarding the changes I did in my website |
| git push | To upload all the changes to Gitlab |
Intro to MkDocs
MkDocs is a software that allows us to use a language that is much easier than HTML for documintation which called Markdown.
To be able to use MkDocs, I downloaded the version 3.7.9 of Python and I installed Atom software.
To check that the version is downloaded
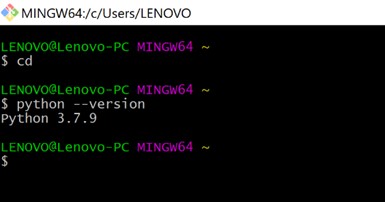
Then check pip version

After that, install MkDocs
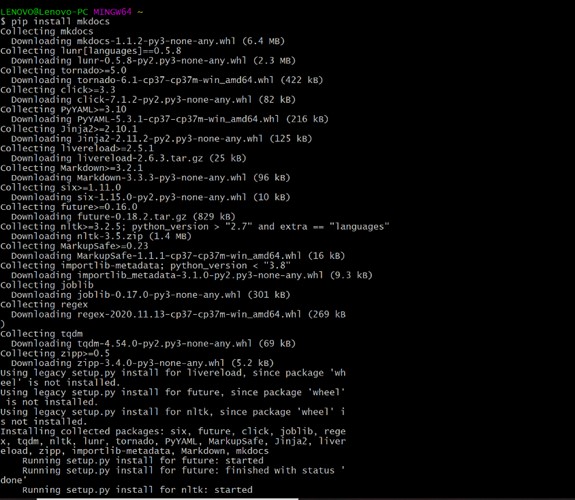
Now, check the downloaded MkDocs version and instal the MkDocs material
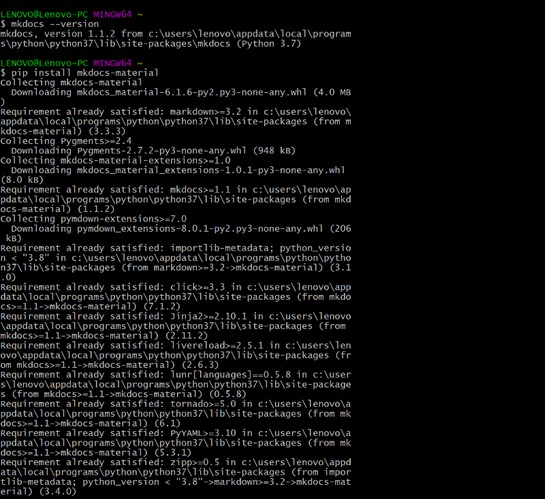
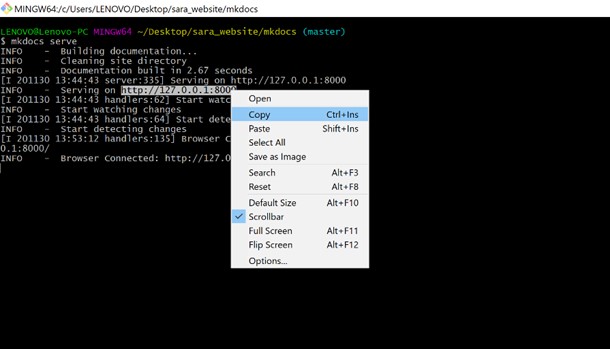
All the material of MkDocs is now installed and I can use the command "mkdocs serve" to copy the link of my website and paste it in chrome to open it. Also I can edit my website by going to Atom and open the .md file. After saving the file, all the changes will appear directly in the website.
To be honest, markdown is much easier that HTML. But I used HTML in creating and modifying my website because I get used to it quickly.
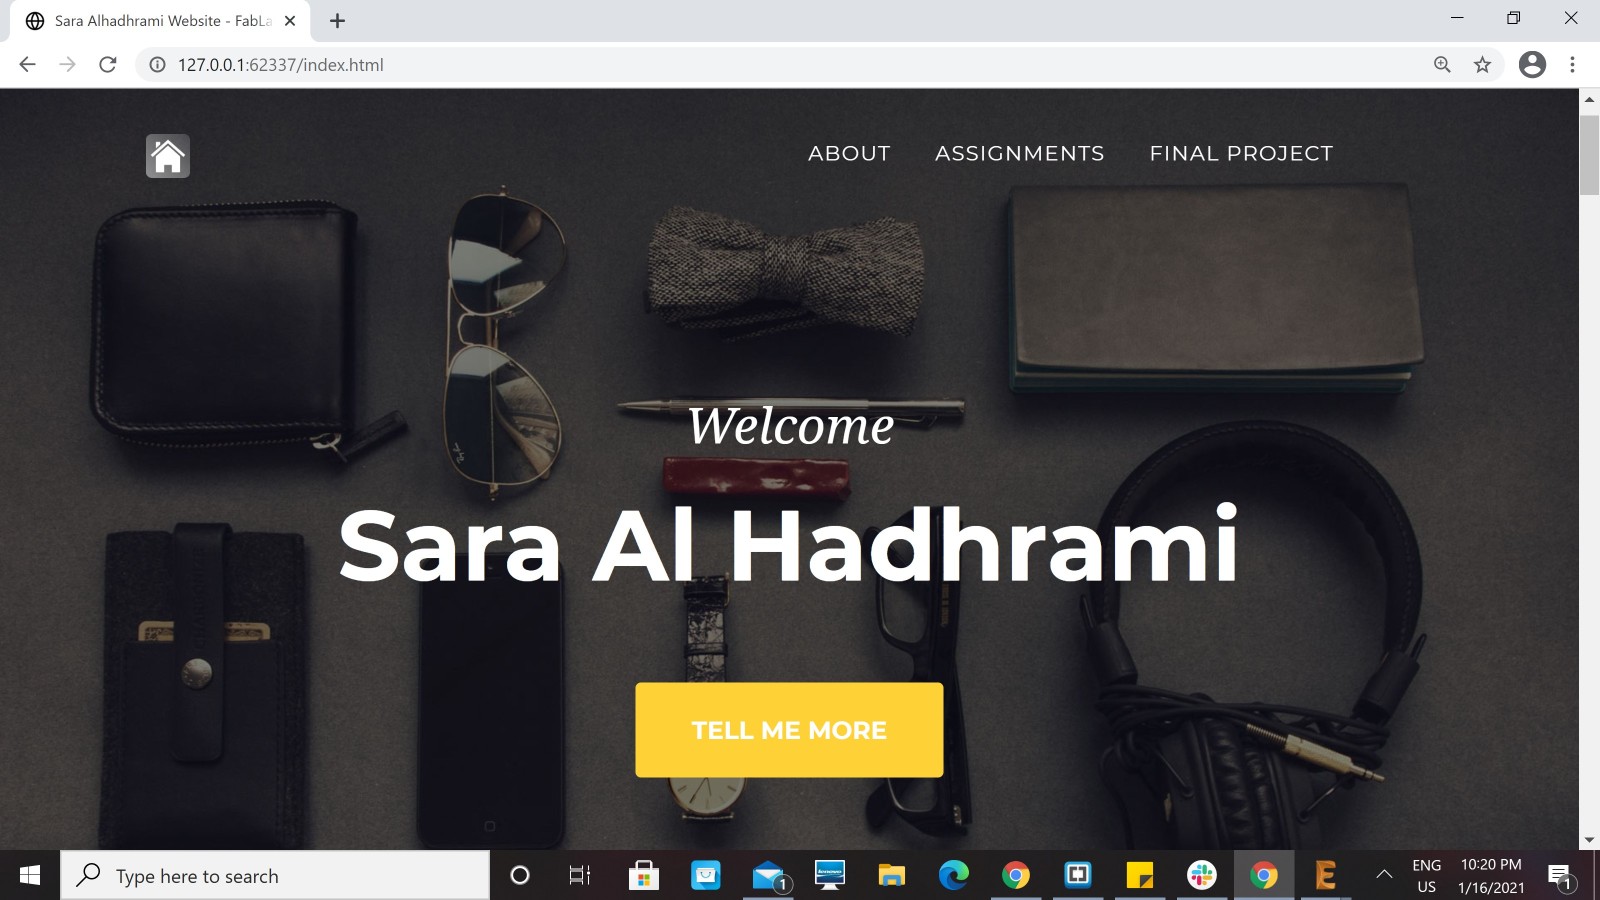
New Theme:
Later on, I downloaded a new theme for my website and I deleted the previous one by deleting all the files that are related to the theme and I paste the file of the new theme. And finally I went to Gitbash and wrote the commands:
"This is my new theme"
Joining Fab Cloud
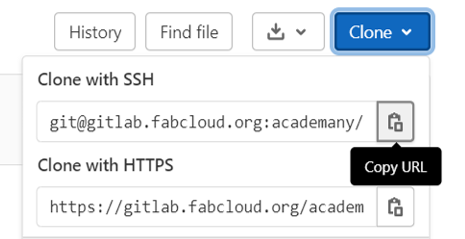
The first step to join the fab academy cloud is to follow the instructions I received through an email from fab academy IT. I signed in and reset my password then I copied the SSH URL to clone the git folder to my PC.

Also I changed the background image again to put something I like.
I deleted the original background image from git folder and I put another image.
My new website link after joining Fab Cloud

Problems I faced:
Links of tutorials I watched:
