Wildcard
Assignment:
Design and produce something with a digital fabrication process (incorporating computer-aided design and manufacturing) not covered in another assignment, documenting the requirements that your assignment meets, and including everything necessary to reproduce it.
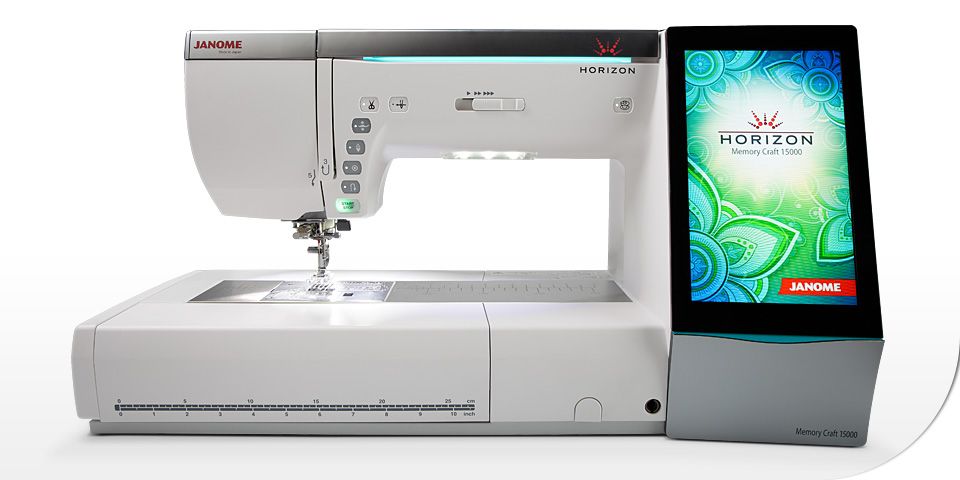
In this week I decided to use Digital Sewing Machine (JANOME Memory Craft 15000)

First, I choose the hoop that fit well my design. Then I have to put a white paper on the hoop to ensure that the rag is leveled well to allow the sewing needle perforate smoothly through the rag. Then I put the black rag on it.


I closed the hoop and tighten the screw.


After that, I pulled the rag from the sides till it become flat and tighten carefully. And Salama taught me a trick, if I hit the rag by my fingers and I heared drum sound, then its perfect and very tight.
Then I placed the hoop in its designated place


Now I have to work with the software of the machine.
- First, I need to select the type of the hoop I used (FA10).


Then I wrote my name SARA.


After I wrote my name and pressed OK, the following notification appread. I should keep my hands away because the hoop will move to its centre position. Then I pressed OK.

Before the machine starts working, it shows me the following notification. This notification asks if the hoop I'm using is FA10. Yes it is.


Then I changed the thread. This machine has two places for thread and it works as shown in the following video.
Video Link
Thread 1
I pressed the lock button to ensure the needle will not move will fixing the thread


Thread 2
I did the same thing for thread 2.

Everything is ready now, I can press the START button.
This is the result.

Here I removed the supporting paper.

Then I put it in a frame.
The screw is very hard I couldn't tight it more.


DONE

Digital Sewing by using my own design
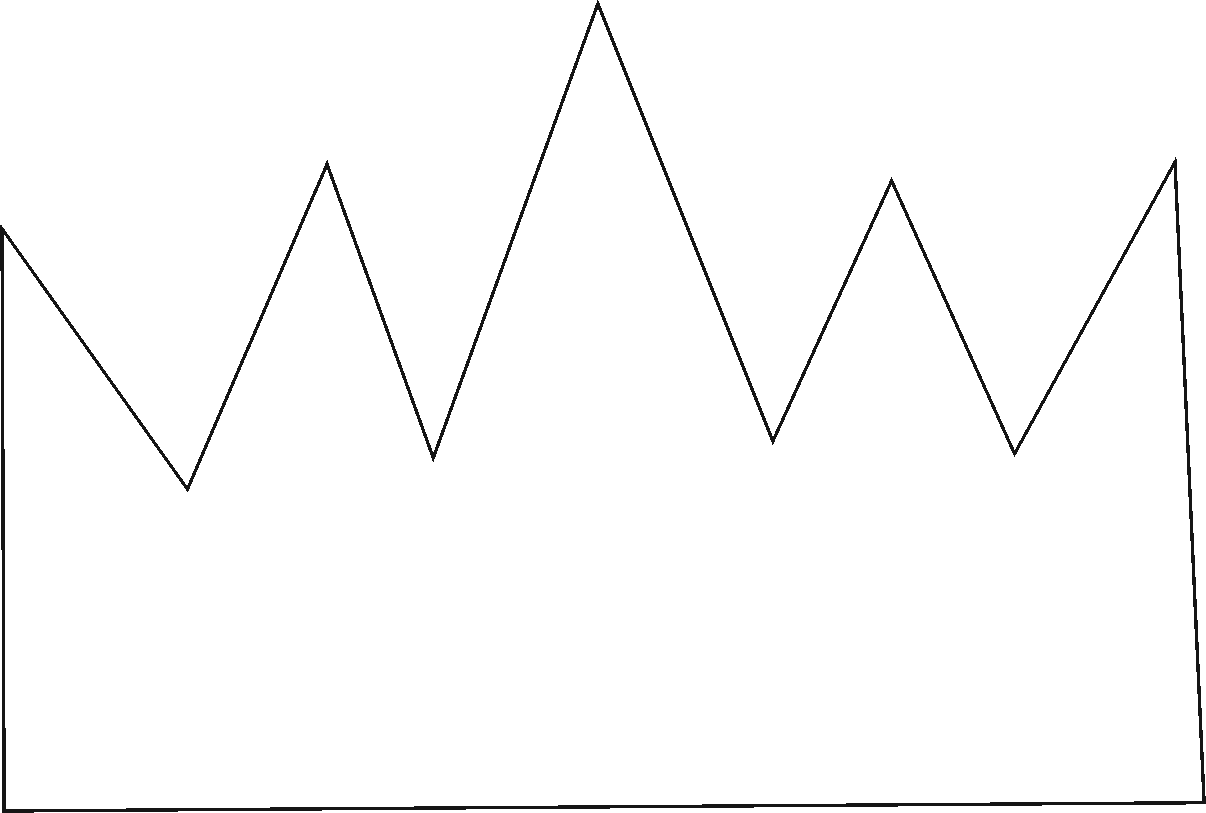
I did a crown design by using CorelDraw software and I export it as PNG file.

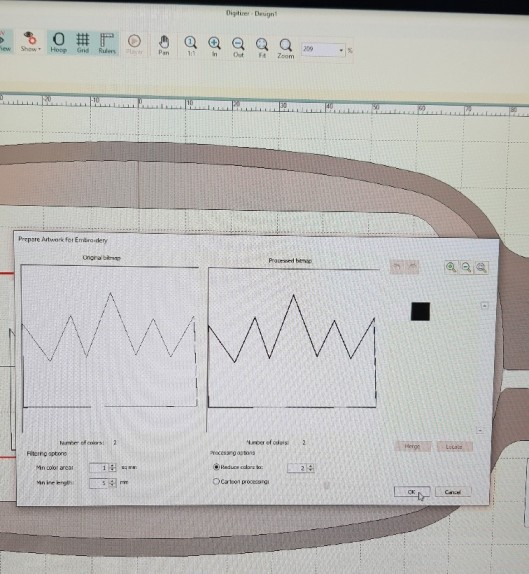
Then I put it in the Digitizer V5 Embroidery software

To import an image in the Digitizer:
Click on Auto Digitize >> Insert Artwork
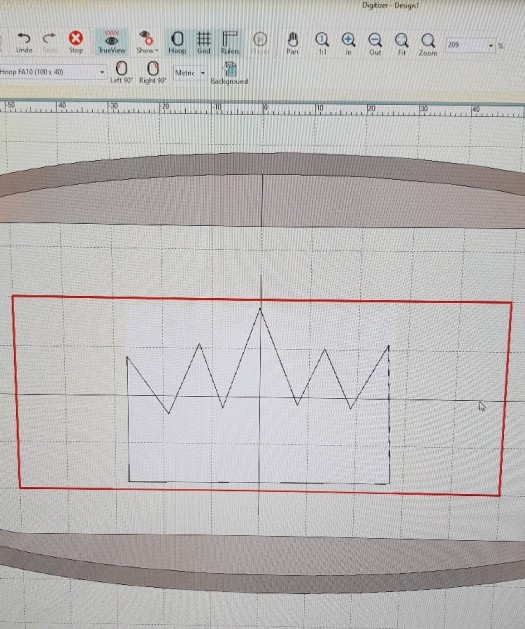
And don't forget to choose the hoop type you are going to use. I used HOOP - FA10


I used the tool Click to Fill to remove the background of the image.


Now the design is ready. I chose the machine name and I clicked on Link. Then by clicking on Send I can send it to the machine


Design was recieved. I did the same steps documented above for fixing the thread and the rag then I pressed the START button.
And this is the result

Files List:
| Crown design | Digitizer File | PNG File |
Close Project
