
Molding and Casting
Assignment:
- Design a 3D mould around the stock and tooling that you'll be using, mill it (rough cut + (at least) three-axis finish cut), and use it to cast parts.
Molding and Casting is the process of making a mold for a 3D design then pour a liqued material in the mold to get the a 3D object. And this is the process used in factories.
Below are the steps of making my own 3D object by Molding and Casting:
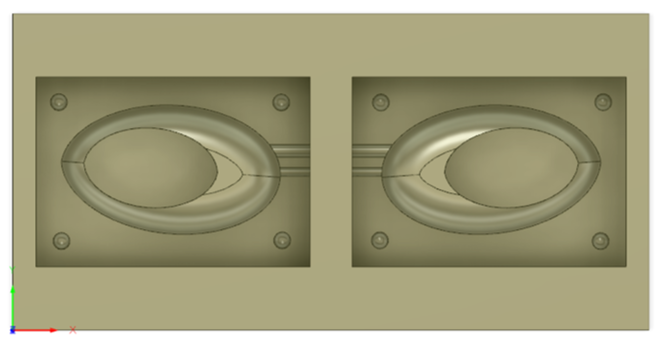
Since I am inspired by the structure of the Museum of the Future . I decided to design something similler to it in Fusion360 and to use the design for this week assignment. The museum is located at my country the UAE in the city of lifeو Dubai.
The museum is shown in the following images:


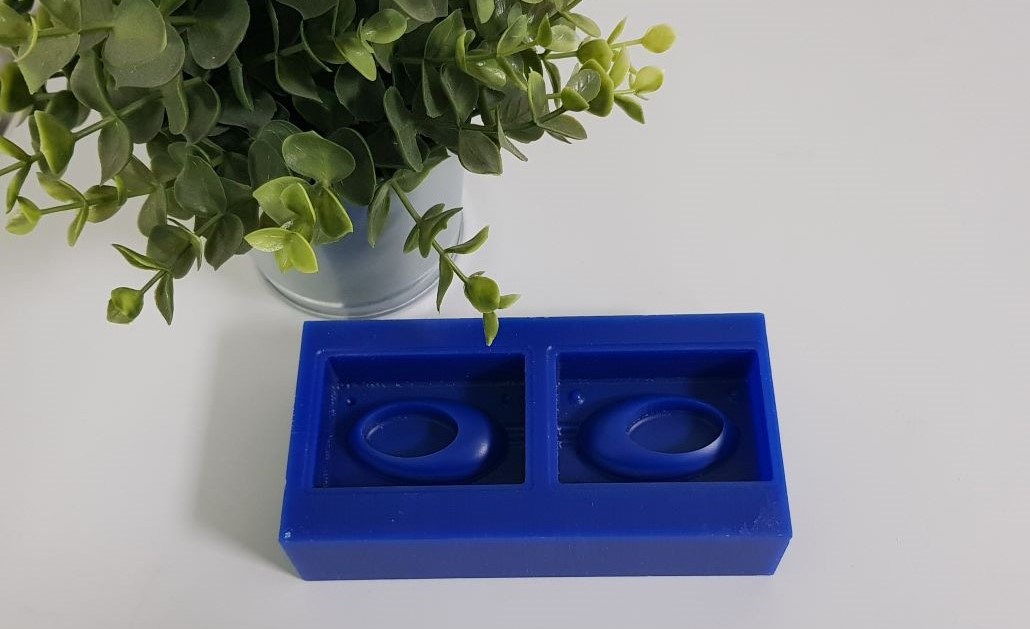
My design is very simple comparing to the actual design.
Now it's time to set everything related to the machine.
1. Setup
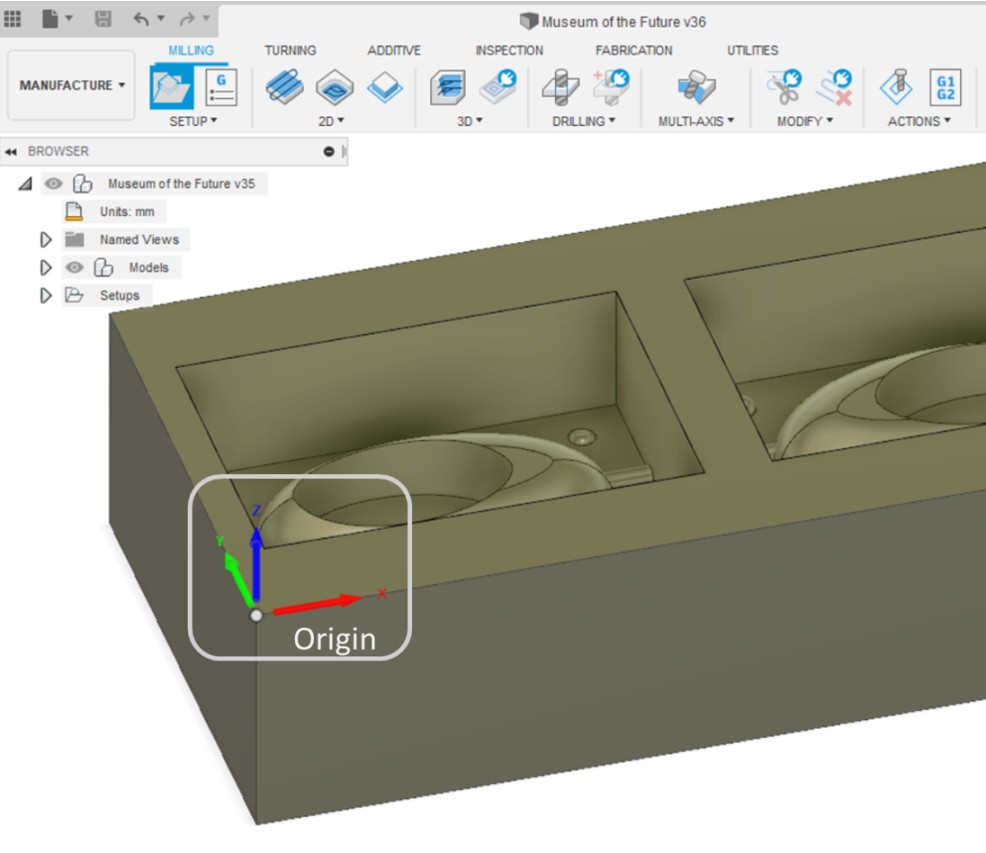
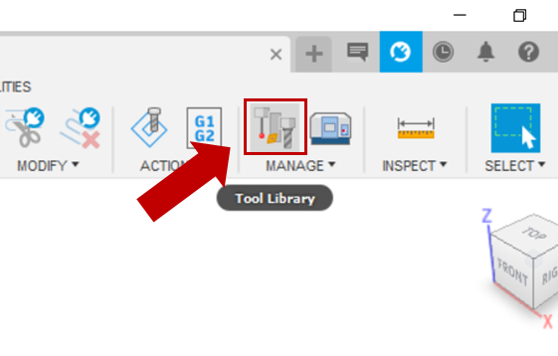
First, I set the Work Coordinate System by going to (1)MANUFACTURE >> (2)SETUP >> (3)Machine >> (4)Orientation, Select Z axis plane and X axis >> (5)then I chose the edges of the z and x axis >> (6)Stock Point >> then I selected the point that I want it to be the origin, in my design I selected the buttom point in the left of the design as shown in the images >> Finally click on OK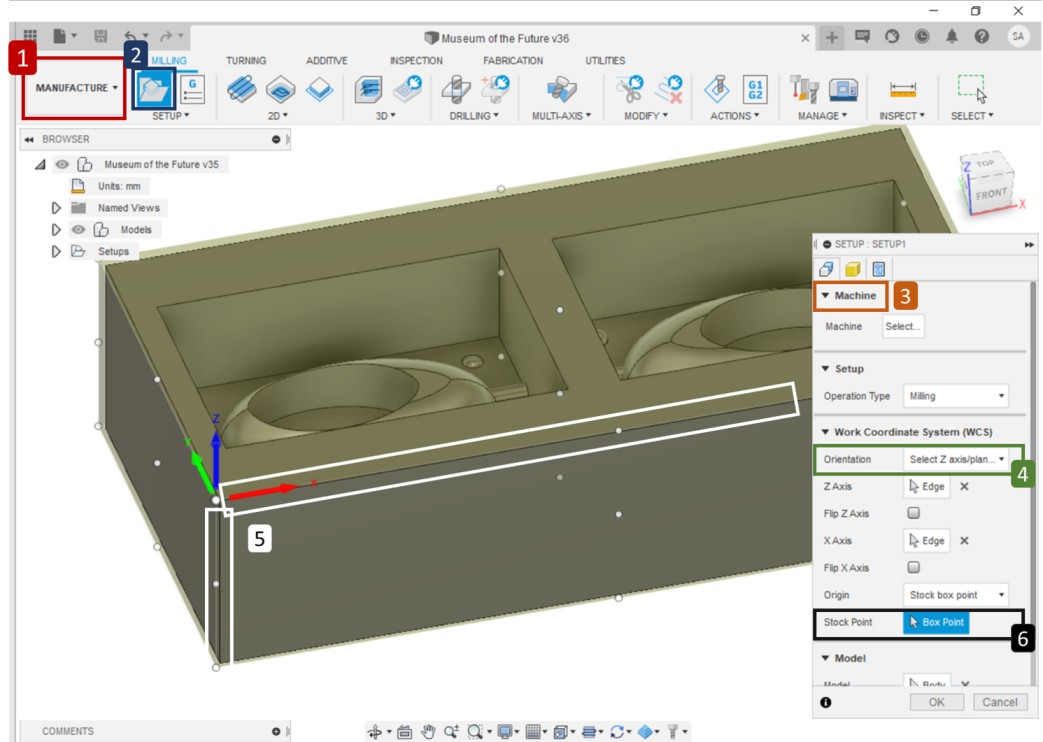
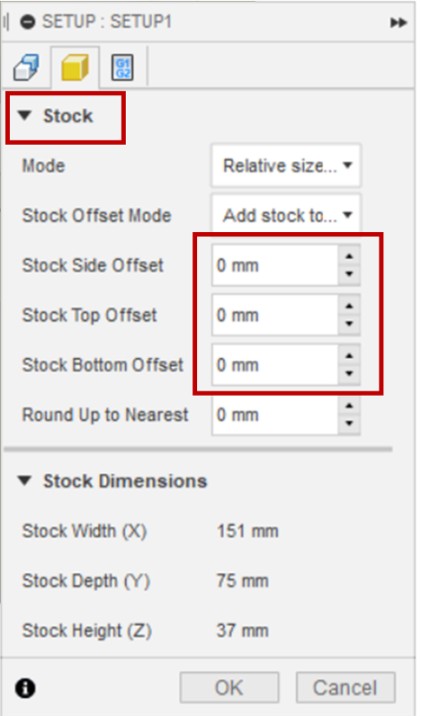
Then I clicked on Stock >> made all stock offset to zero millimeter >> Ok
After that I added the specifications of the tools I'm going to use in milling the mold.
I will be using a 1/8 Flat End Mill and a 1/8 Ball Nose End Mill
The following steps shows how I added the tools in Fusion360
2. Adding tools:
To add tools, I went to Tool Library >> Documents >> clicked on my projects name (Museum of the Future >> clicked on the plus sign

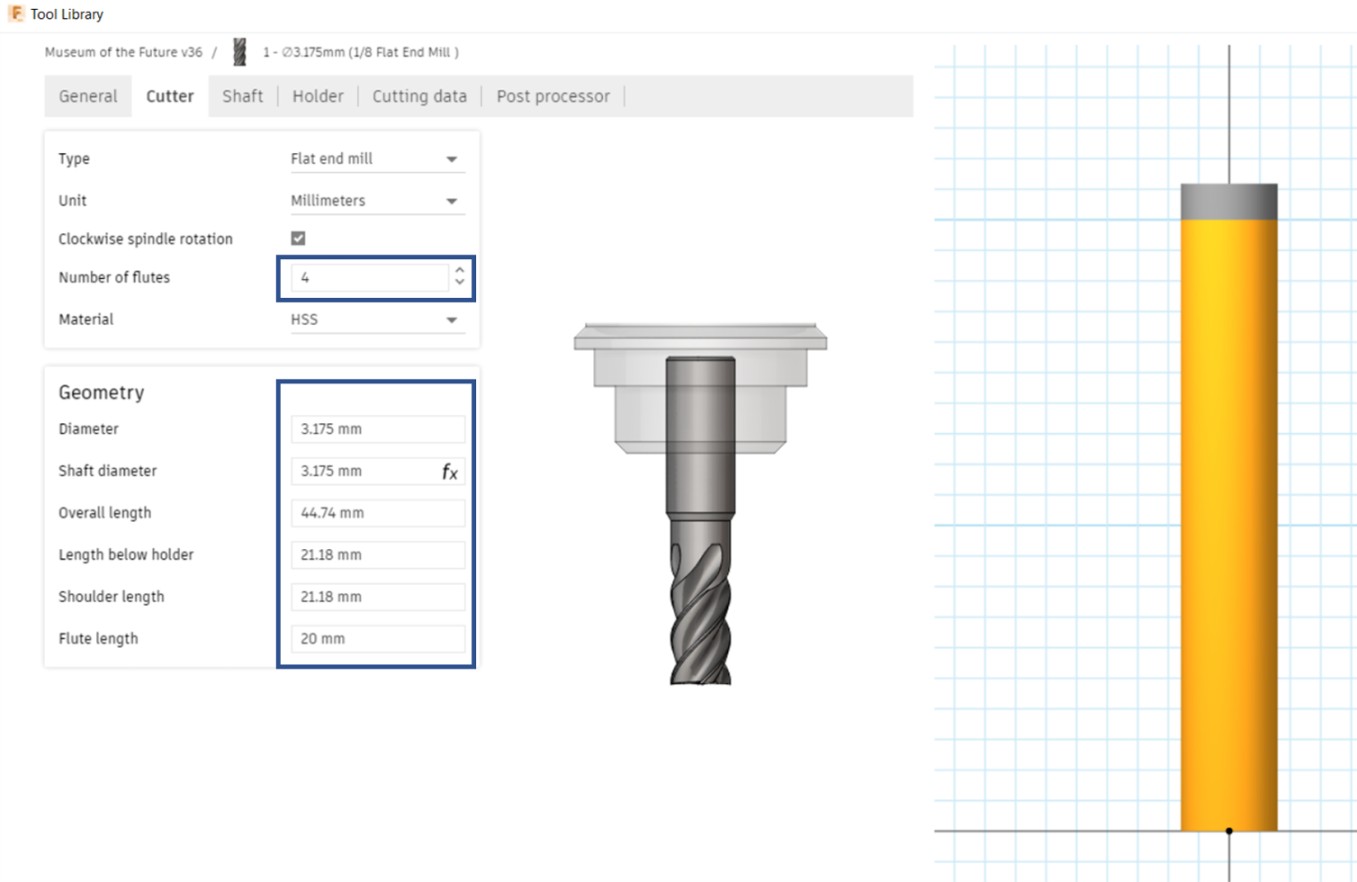
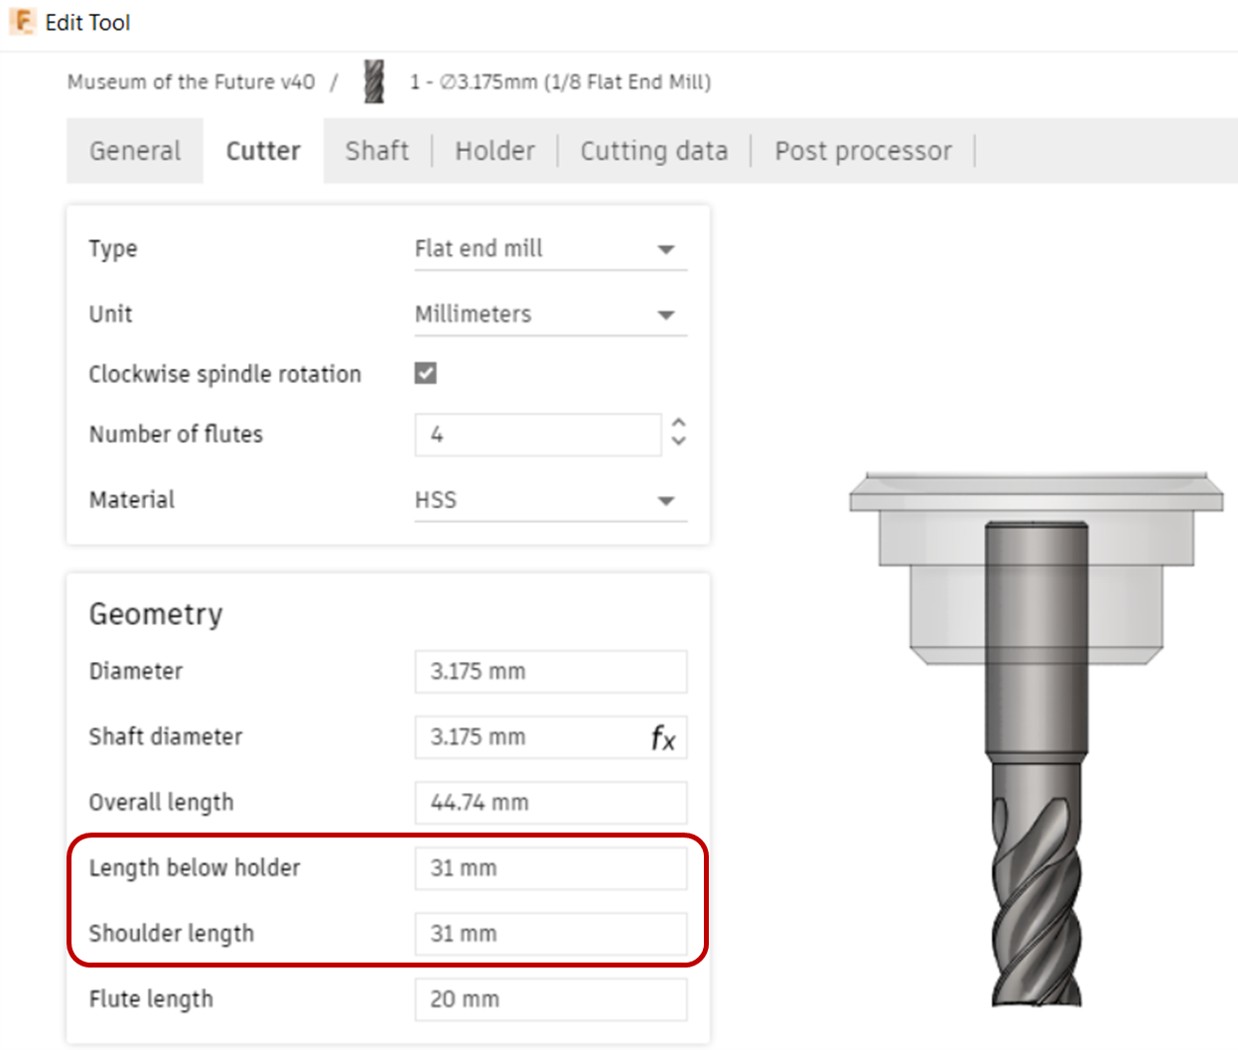
Then I selected Flat End Mill tool >> General >> in General I write the name the of the tool in the Description (1/8 Flat End Mill) >> I went to Cutter and modified number of flutes and Geometry depending on the tool we have in the lab
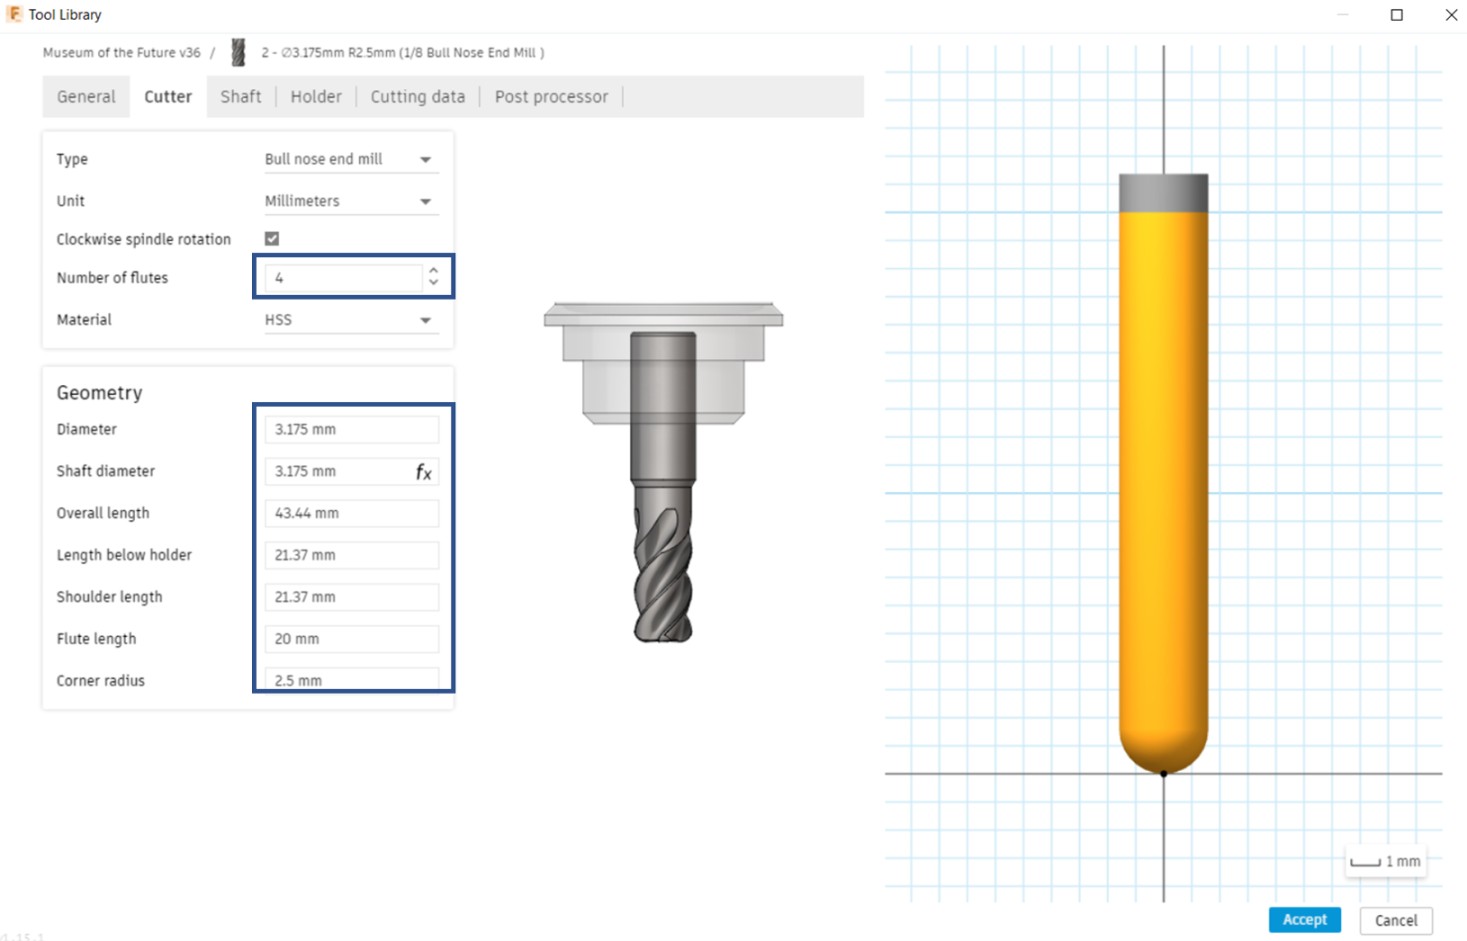
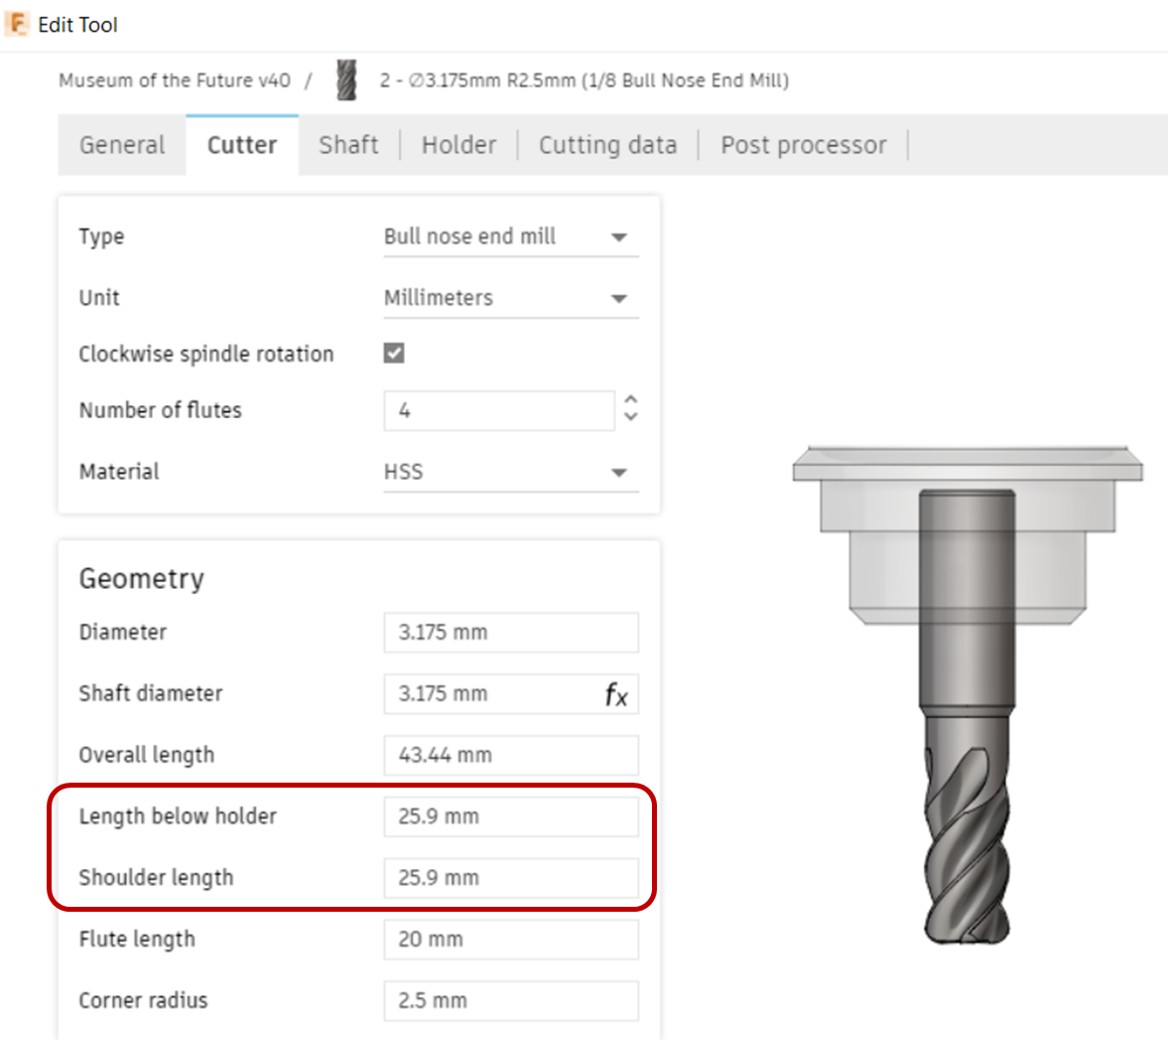
After that, I repeat the previous steps to add the Ball Nose End Mill tool
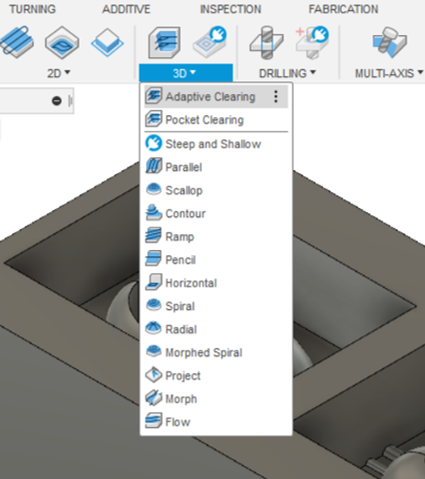
After adding tools, I have to determine the adaptive clearing tool which will be used first to grave the wax cube then I will be using the parallel clearing tool which will do the finishing to have a clear and smooth result.
The Flat End Mill tool will be used as an Adaptive Clearing tool and the Ball Nose End Mill tool will be used as a Parallel Clearing Tool.
Steps were done as follows
Adaptive Clearing Tool
First I went to 3D >> Adaptive Clearing
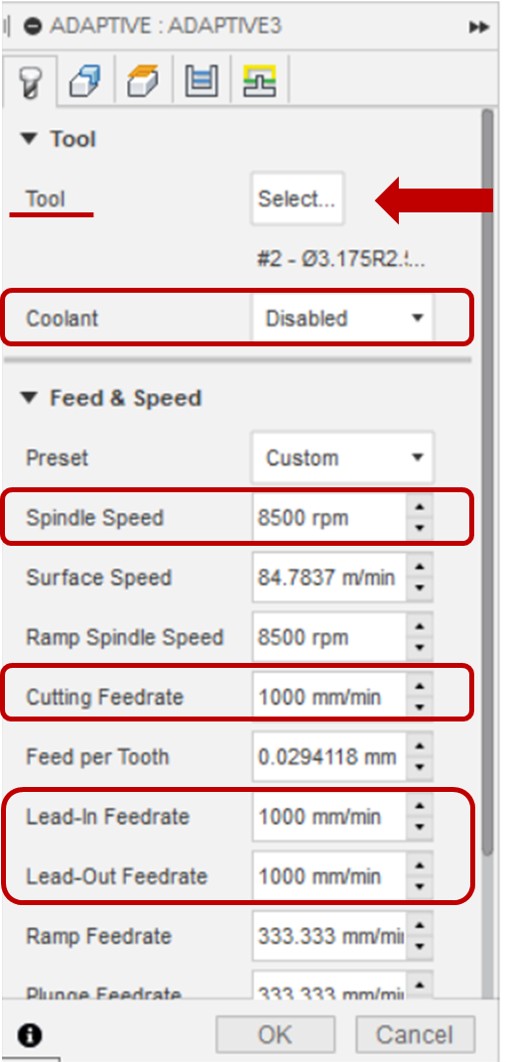
Then I went to Tool and clicked on Select to choose the Flat End Mill tool
I also disabled the coolant and modified the spindle speed and I made it 8500rpm wich is the speed of the milling machine I will be using.
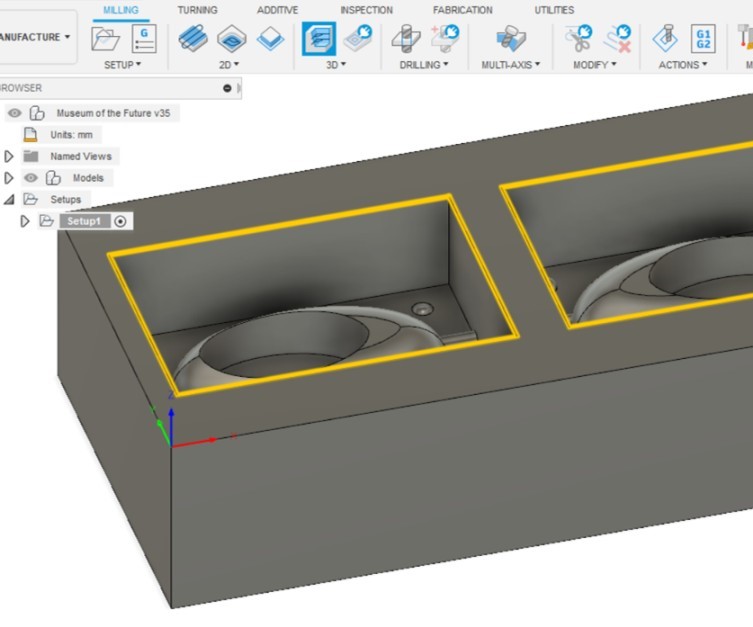
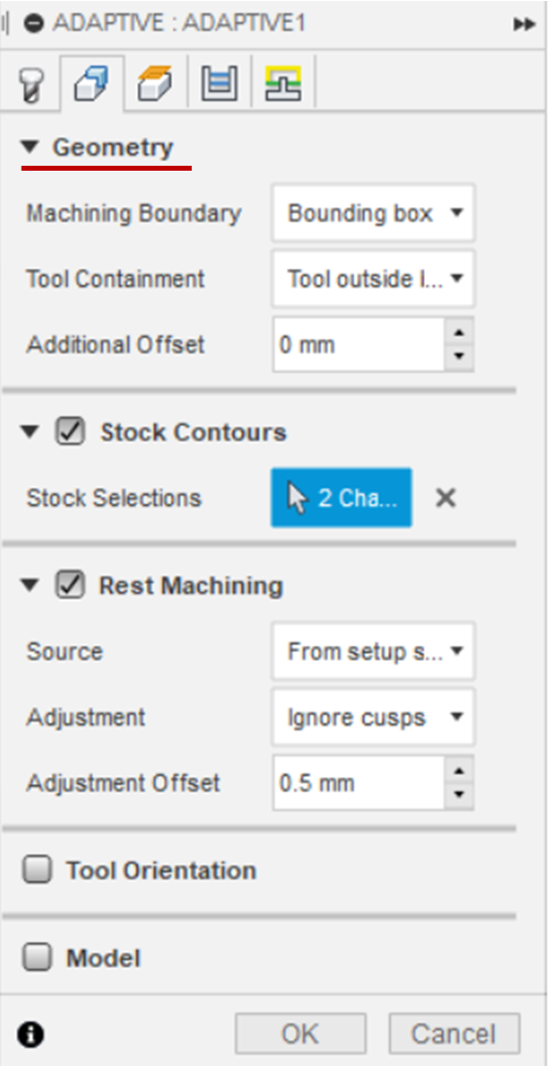
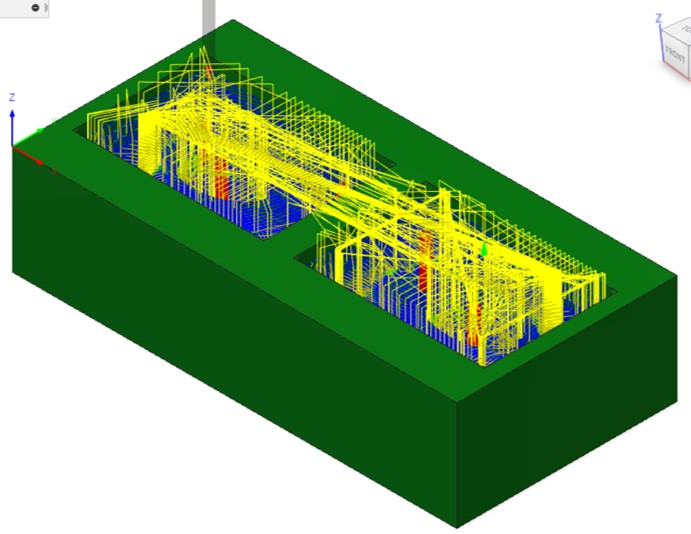
Then I went to Geometry and I selected the main two rectangles in the design
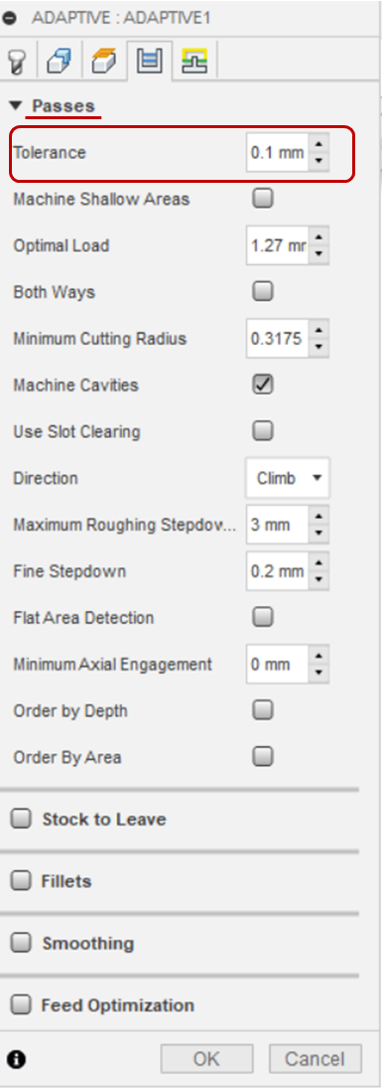
After that I clicked on Passes and I made the Tolerance equals to 0.1mm
Maximum Roughing Stepdown >> 3mm
Fine Stepdown >> 0.2mm
Then I click on OK and the toolpath will be generated.
Parallel Clearing Tool
I did the same steps for the paraller clearing tool. I went to 3D >> Parallel
Then Tool and clicked on Select to choose the Ball Nose End Mill tool
I modified the spindle speed by making it 8500rpm which is the speed of the milling machine I will be using. I also disabled the coolant.
After that >> Geometry >> clicked on Machining Boundry >> select the main to rectangles in my design.
Passes >> I made the Stepover equals to 0.1mm
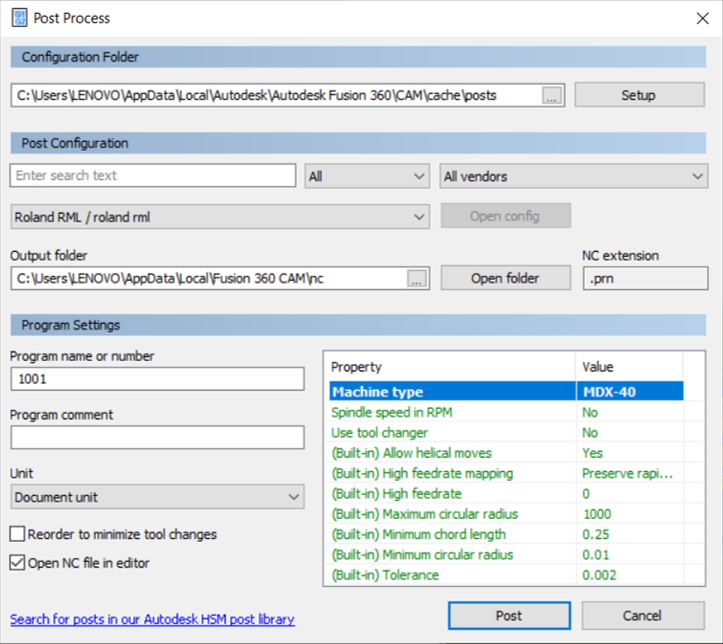
Finally, to save the toolpath >> Right click on each pathtool >> Post Process
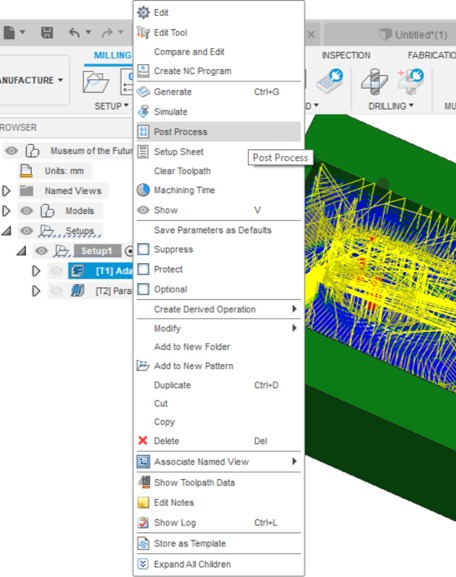
Select machine type >> MDX-40 >> click on Post
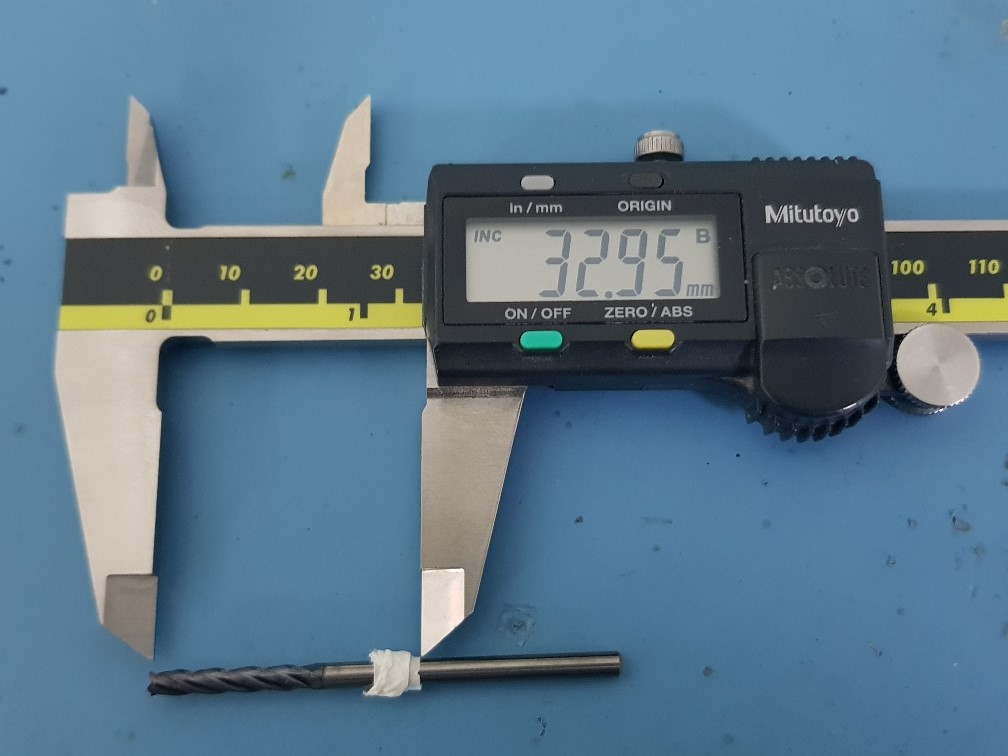
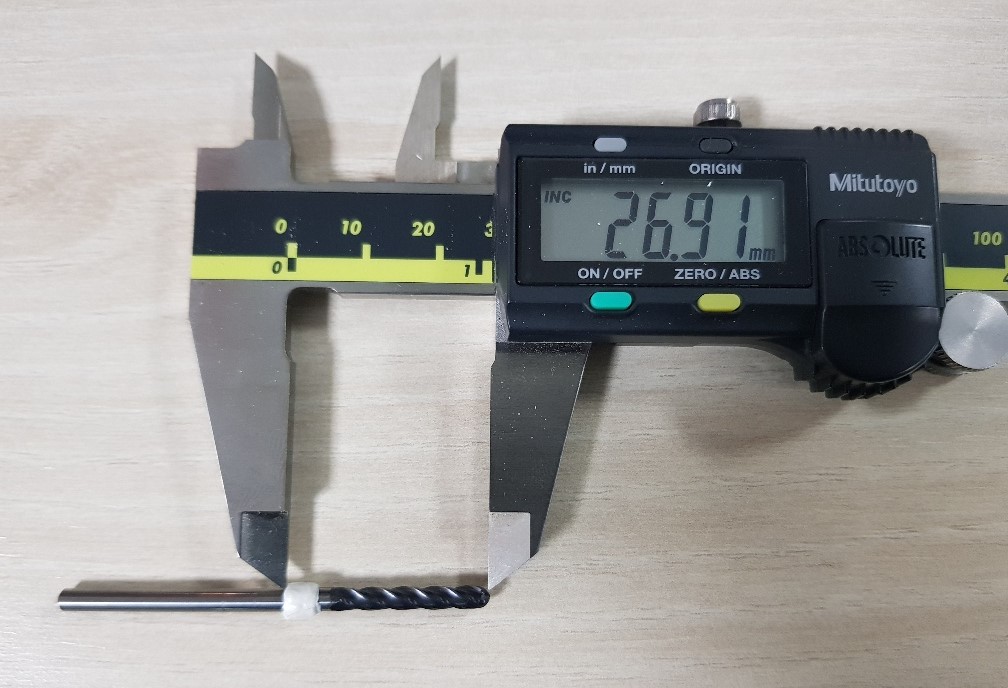
Now it's time to put the Flat End Mill tool in the machine and fix the x, y and z origin. Then I put a tabe around the tool to know the exact length of the tool and to modify the Length below holder and Shoulder length.
I subtracted 1 from the measured length to get better results.
I saved the file again and I put it in the machine with the same origin that I set before. Then start milling.
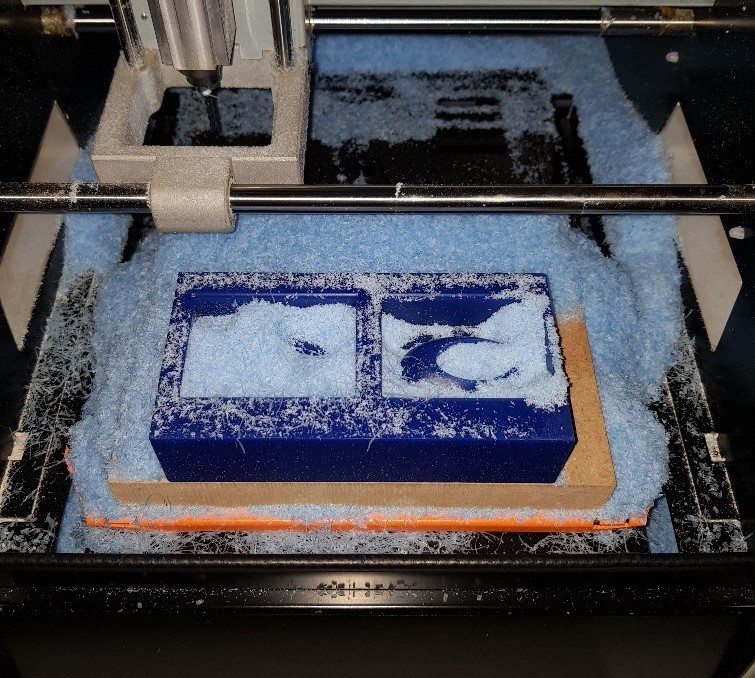
Here I'm going to mill a cube of Machinable Wax which will be used later on to produce the mold.
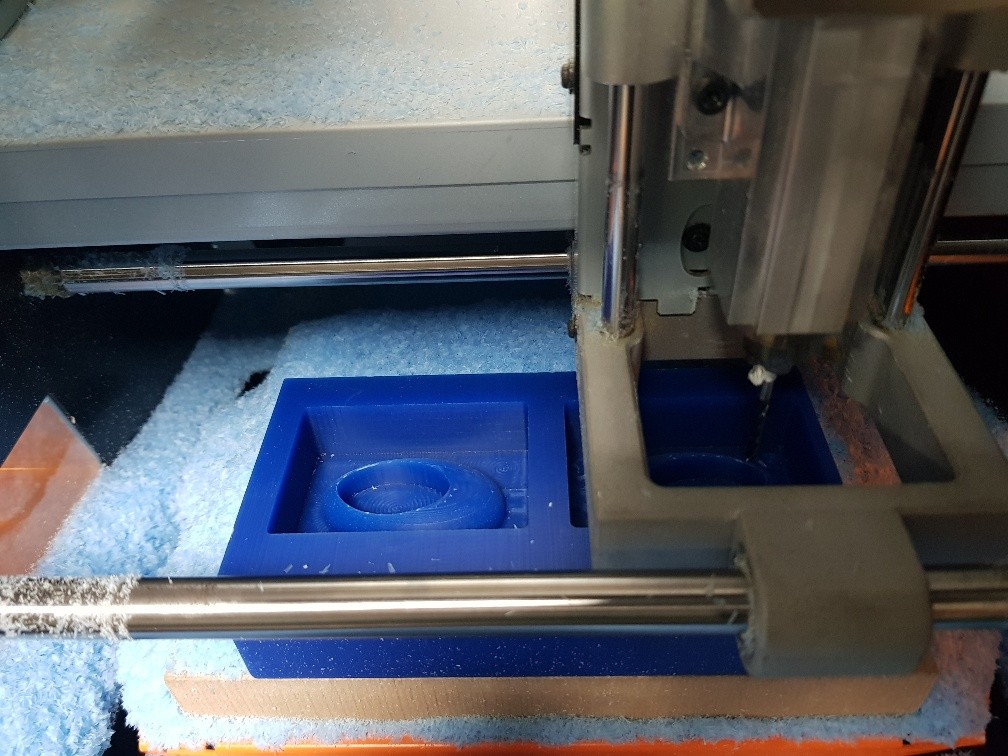
After that, I removed the tool and I repeated same steps with the Ball Nose End Mill tool and kept the same origin settings. This tool is used for finishing to get a smooth texture.
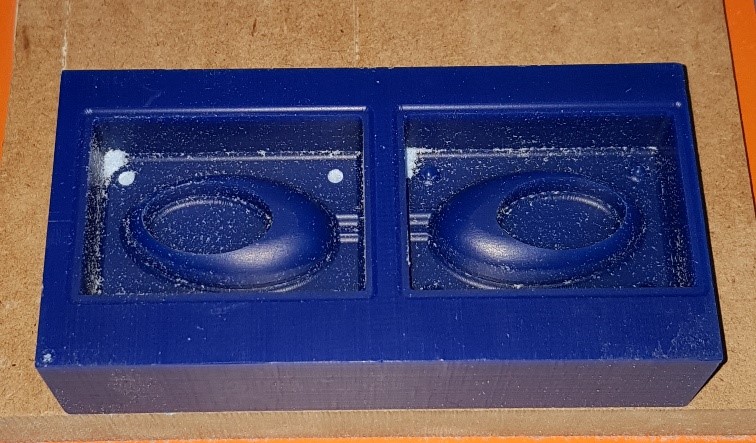
Final result after milling the Wax cube.
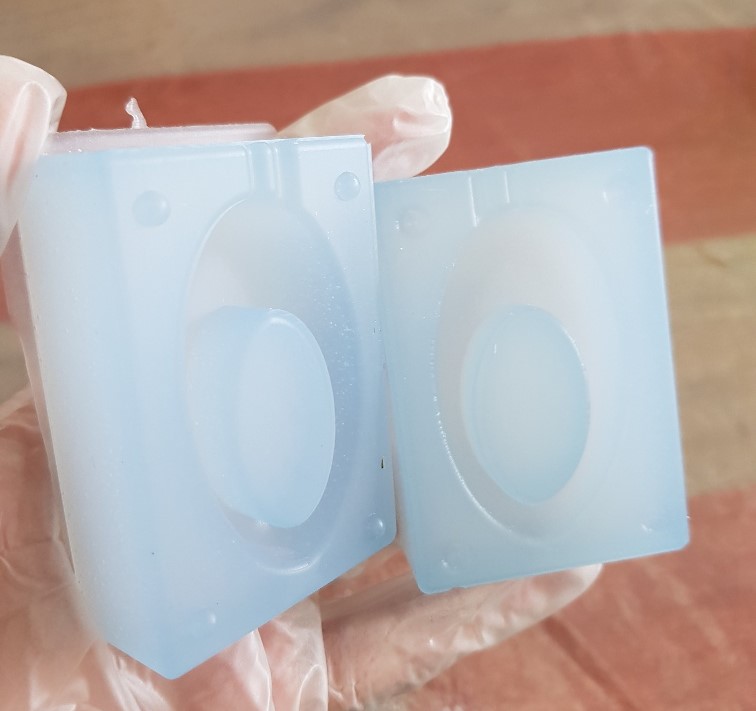
Molding:
Now it's time to make the mold
First, I have to wear gloves and gogles for safety.
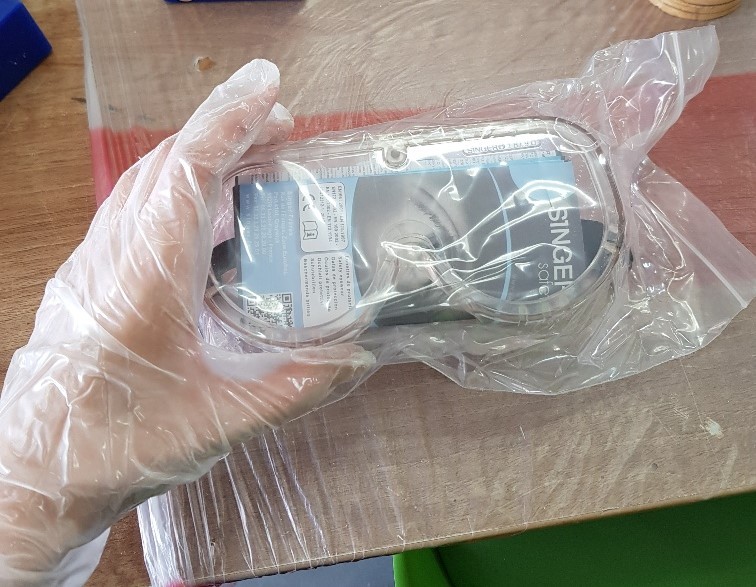
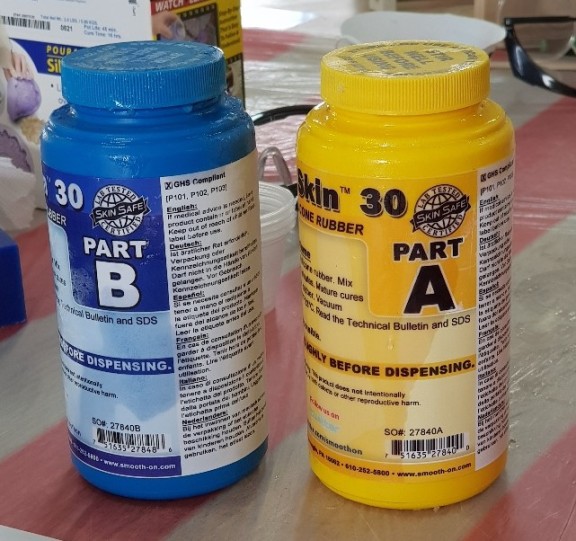
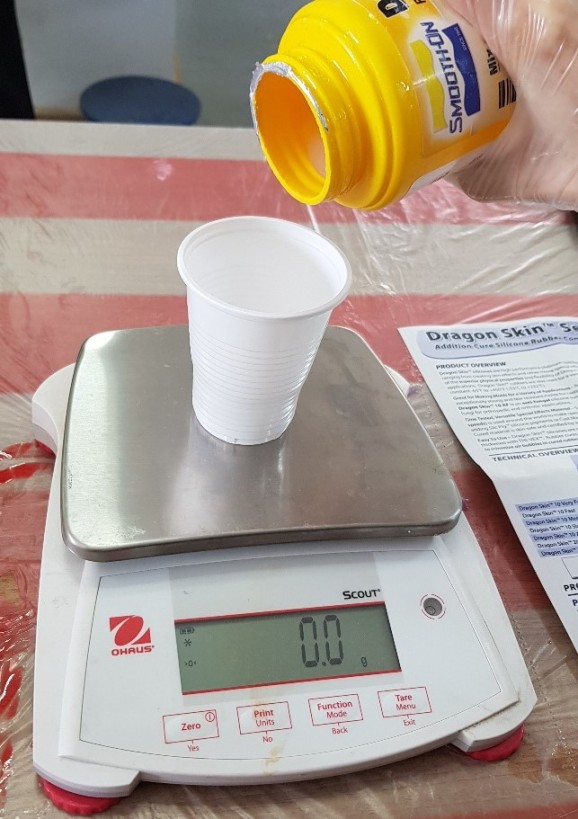
I will use the Dragon Skin Silicone Rubber (Safety Datasheet) to make the mold. The type I'm using has two parts and I have to mix the same amount of each one since the mix ratio is 1A:1B by volume or weight.
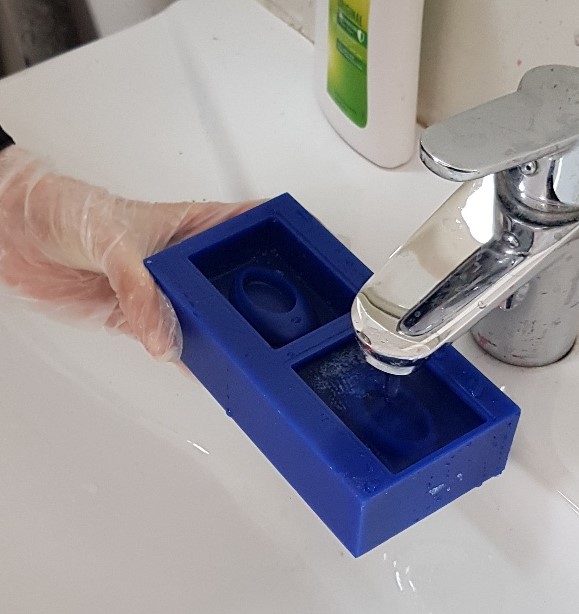
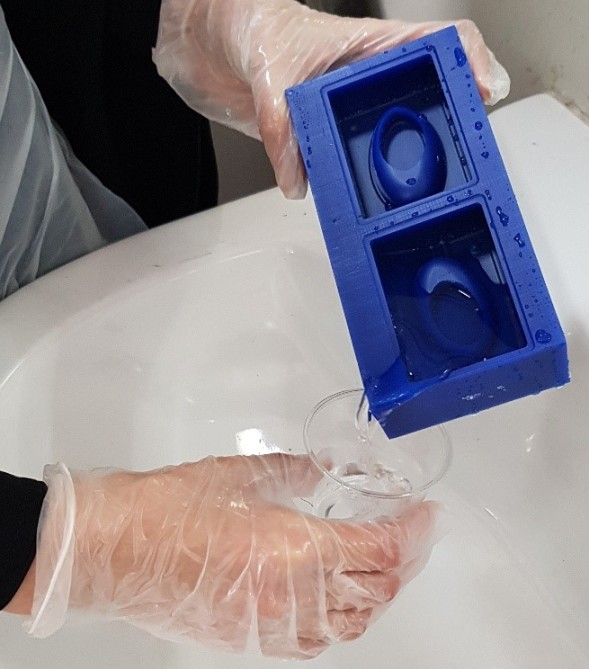
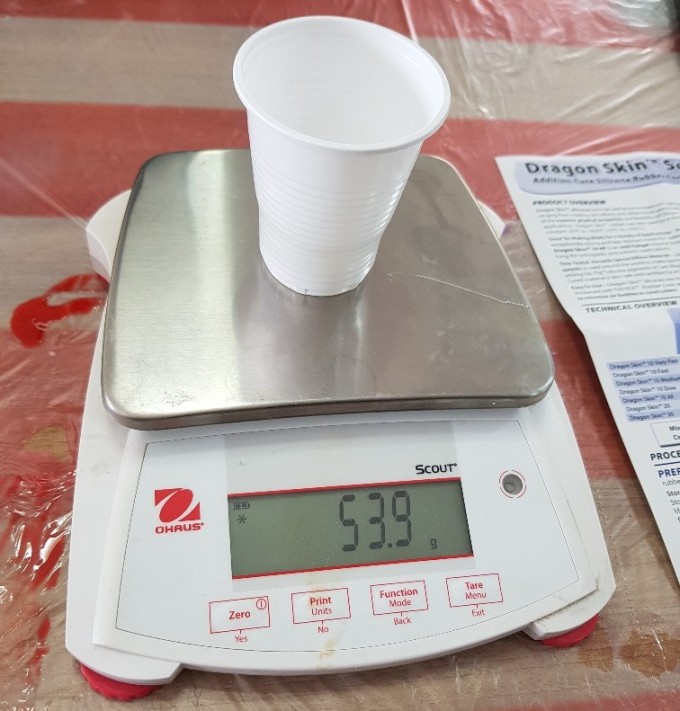
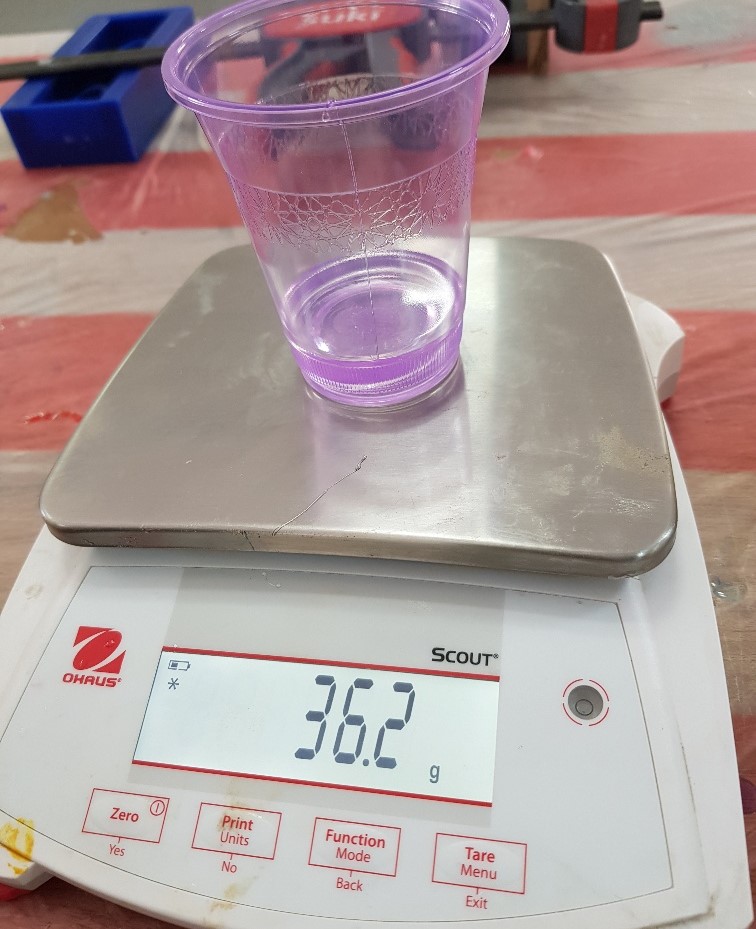
Before I pure the silicone, I have to measure the amount that I can put to cover the mold. So I poured water in one side, then I took a cup and I measured it's weight then I made it zero. Then I put the water in the cup and I measured the weight. After that, I took a clean cup, I put it on the scale, then I made it zero and I started pouring the Silicone Rubber Part A.
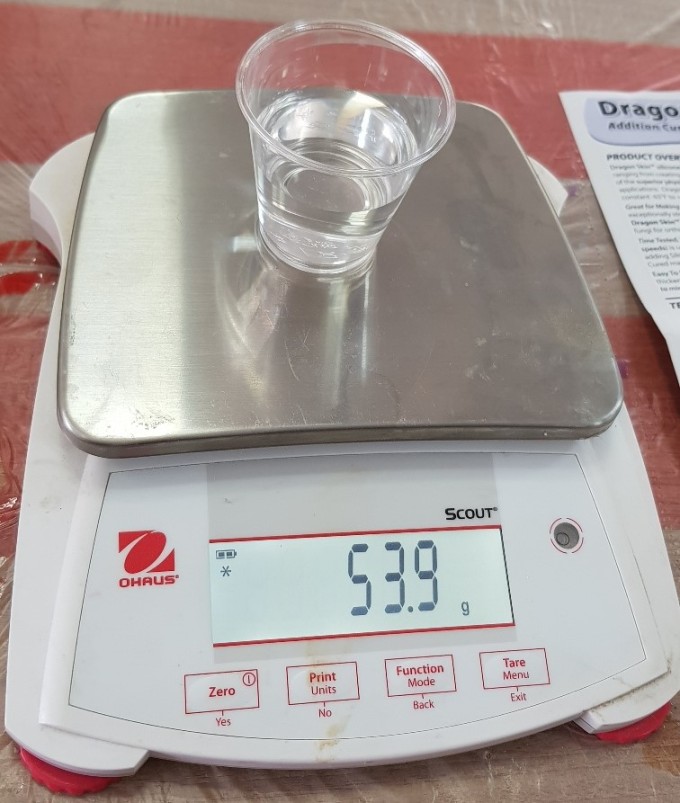
Now the cup is filled with 53.9g of PartA.
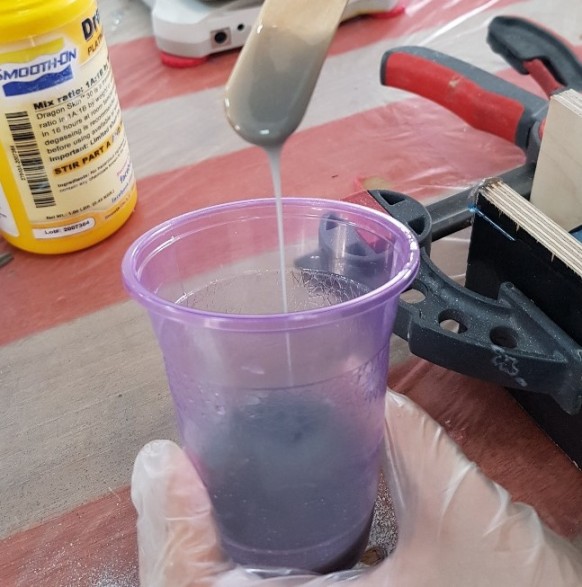
The next step, I kept the cup on the scale as it is and made the scale zero. Then I started pouring the Silicone Rubber PartB with the same amount.
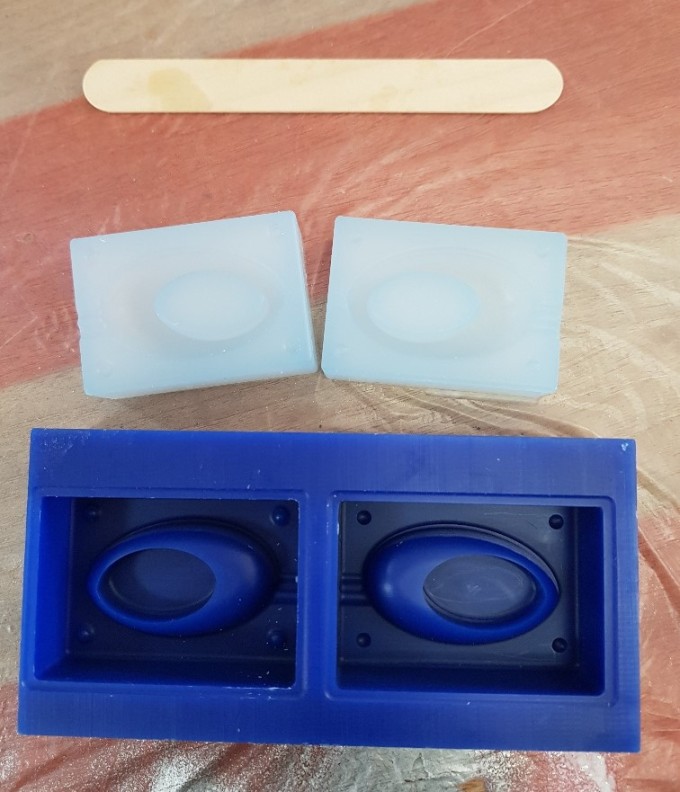
Now the cup is filled with 53.9g of part A and 53.9g of part B. I mixed them for two minutes and I poured it inside the mold.
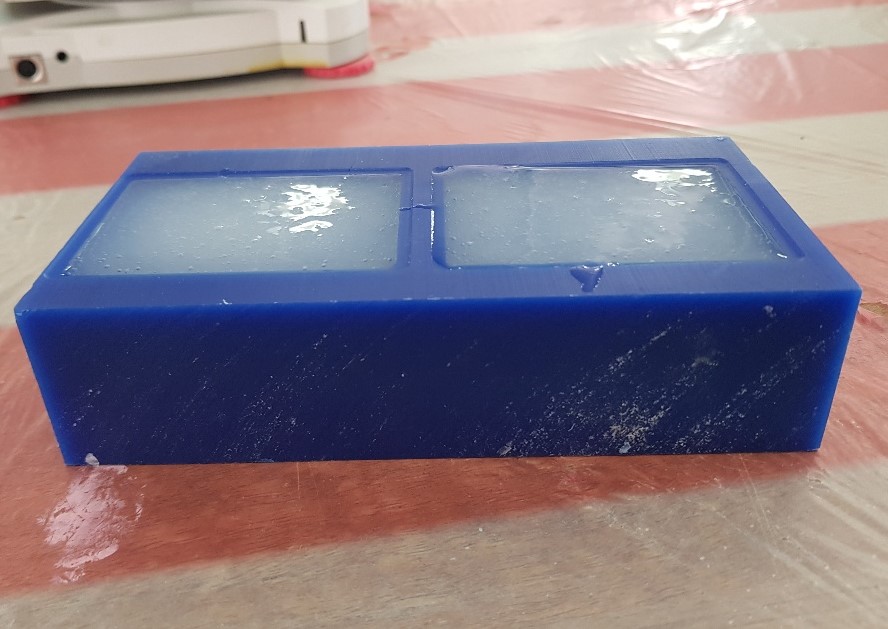
I leaved it in the lab for two days.
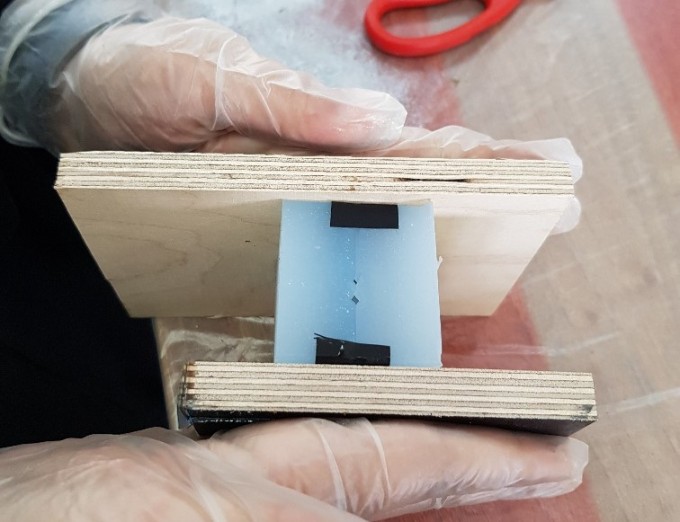
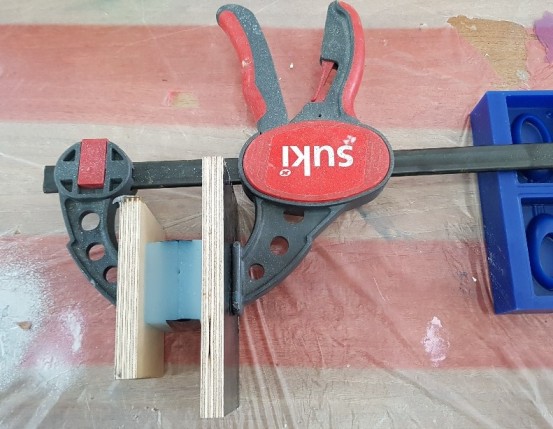
I used a holder to fix the mold as shown in the images
Casting:
Now I will use the Art Resine (Datasheet) material. The Resine we have in the lab has two parts, and depending on the instructions I should put the same amount of each part to get good result.
Safety: Do Not Forget to wear gloves, gogles and plastic apron.

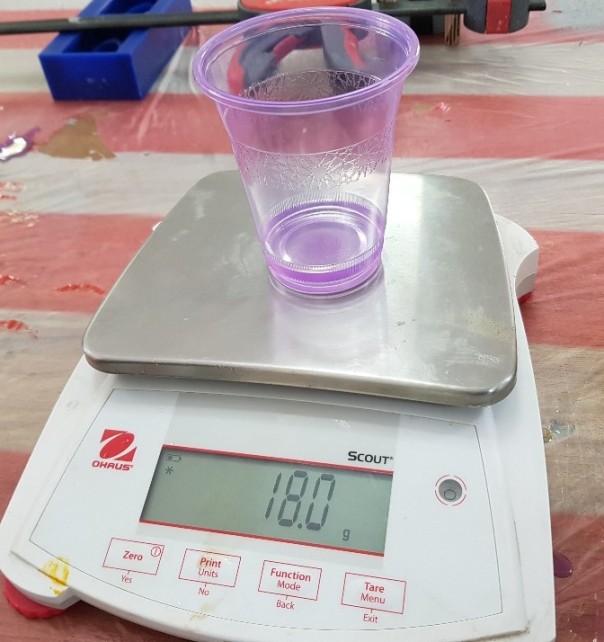
After that, I put the cup that I will use on the scale and I made it zero. I added 18g of each part (Part A and Part B) of Resine and I mixed them carefully.
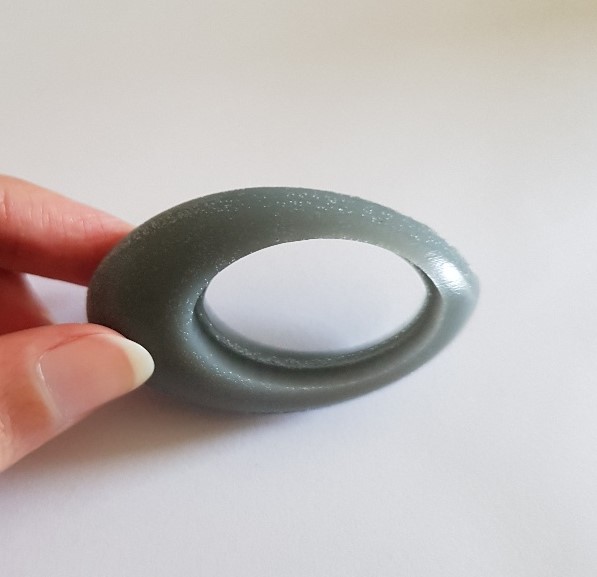
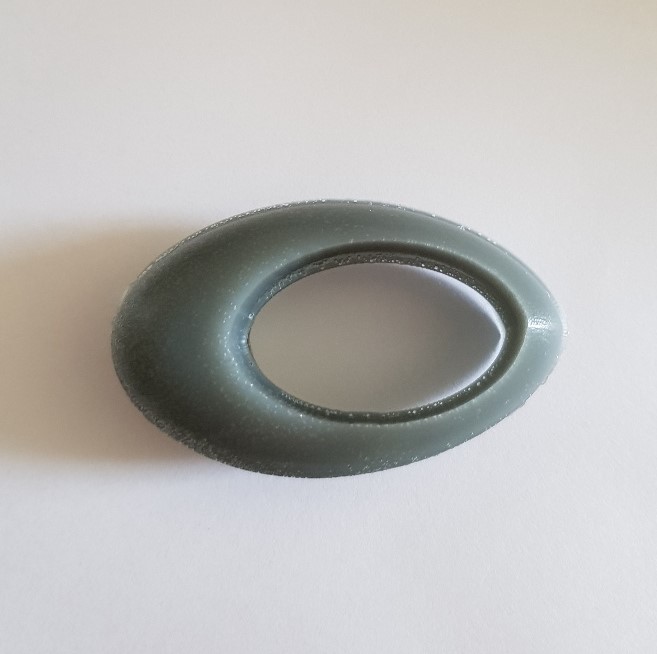
Then I added the color I want to the resine mixture and I mixed them, I used Gray Acrylic color.
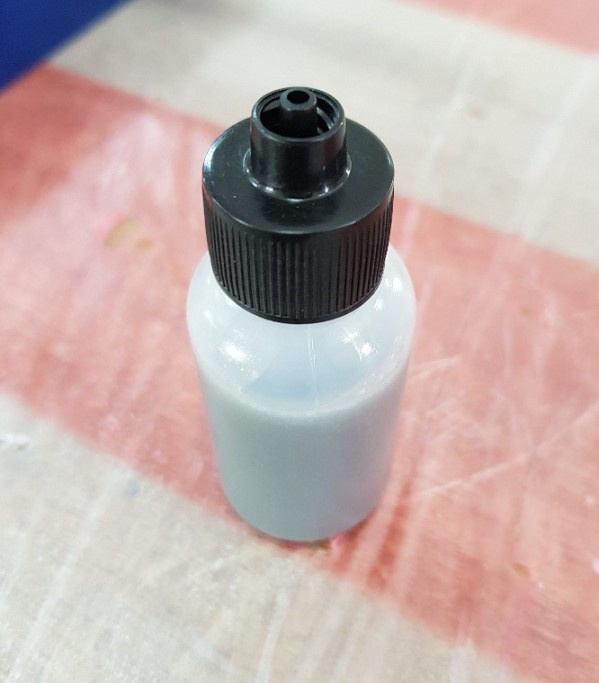
I put it in this can to easily insert the resine inside the mold.
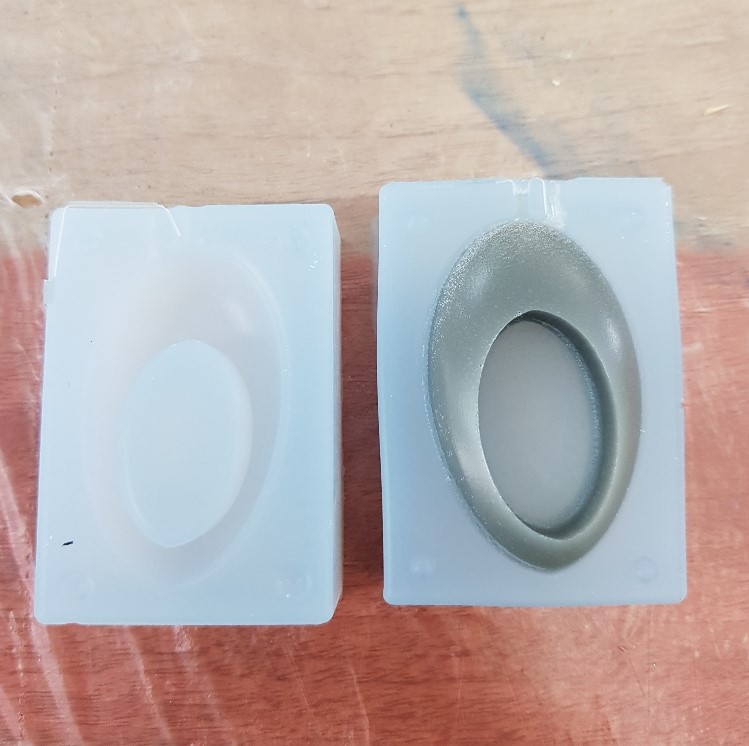
The final result
Files list:
| Mold design file | F3D File |
| Mold design | STL File |
Close Project