
WEEK 5
3D Scanning and Printing
Group assignment: Test the design rules for your 3D printer(s).
Individual assignment: Design and 3D print an object (small, few cm3, limited by printer time) that could not be made subtractively.
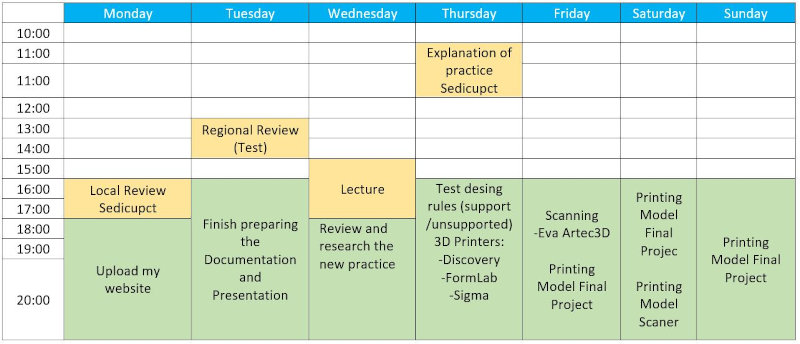
I have developed a weekly work plan that I describe in the following calendar.
1. Group assignment
Go to the Sedicupct website
2. Individual Assignment
2.1 Design and 3D print an object
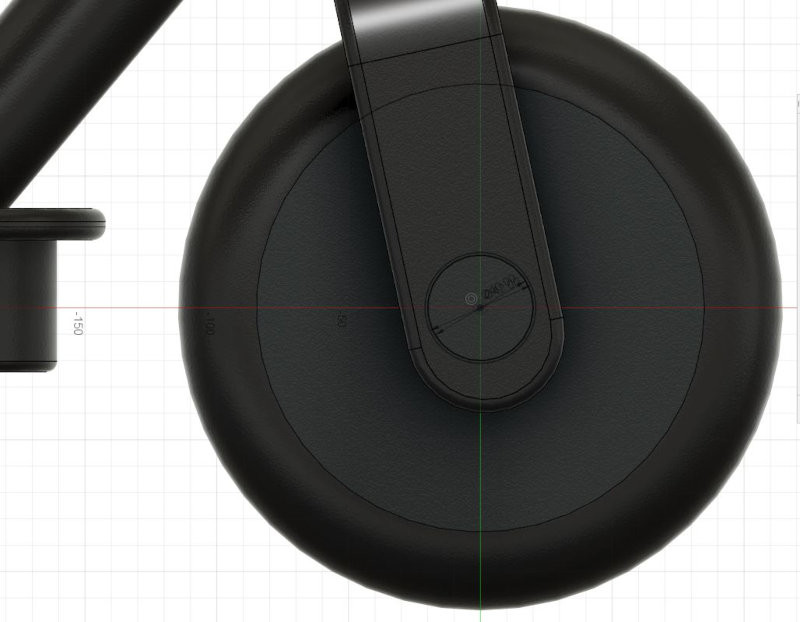
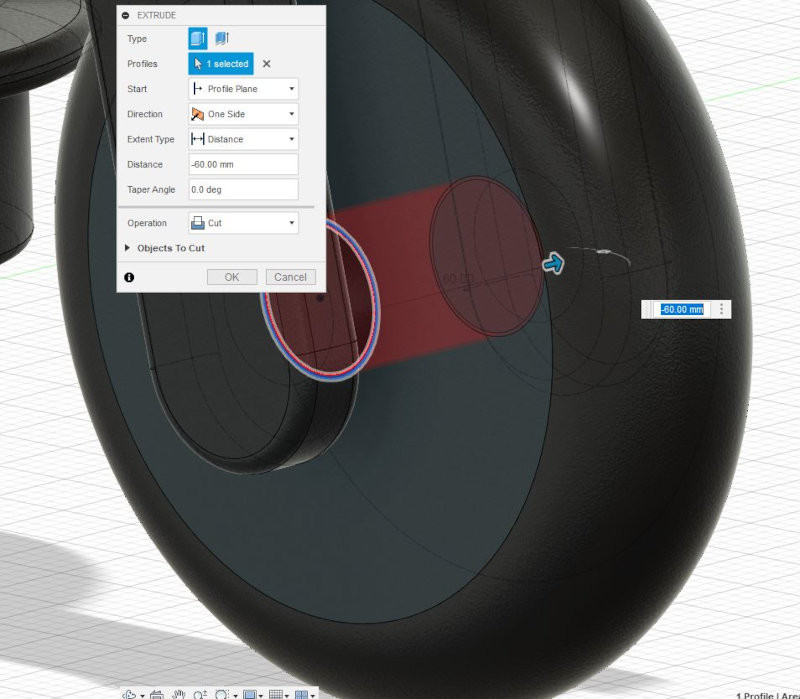
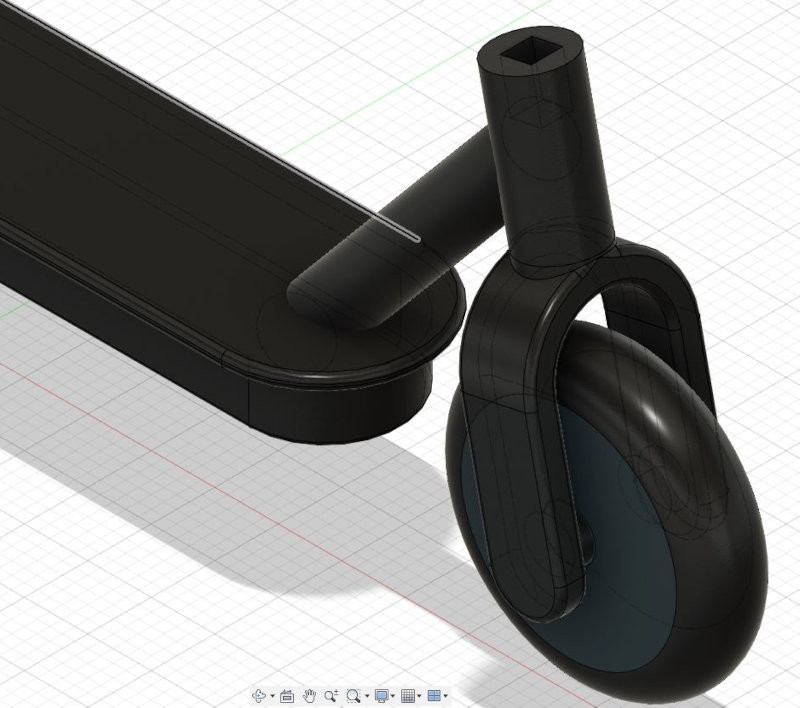
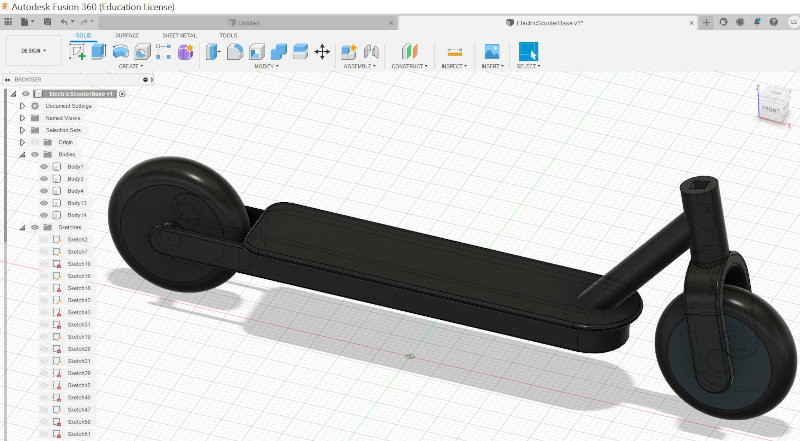
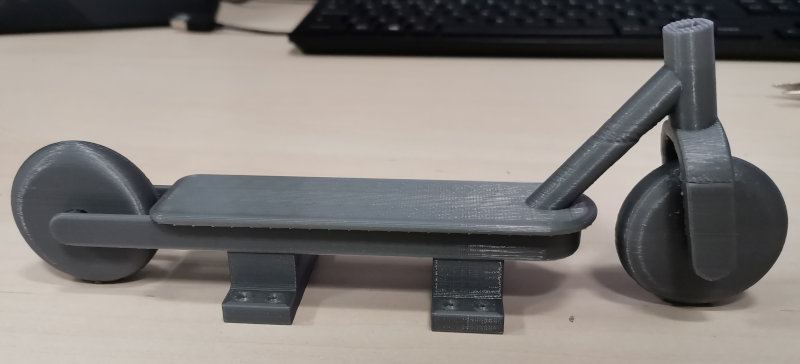
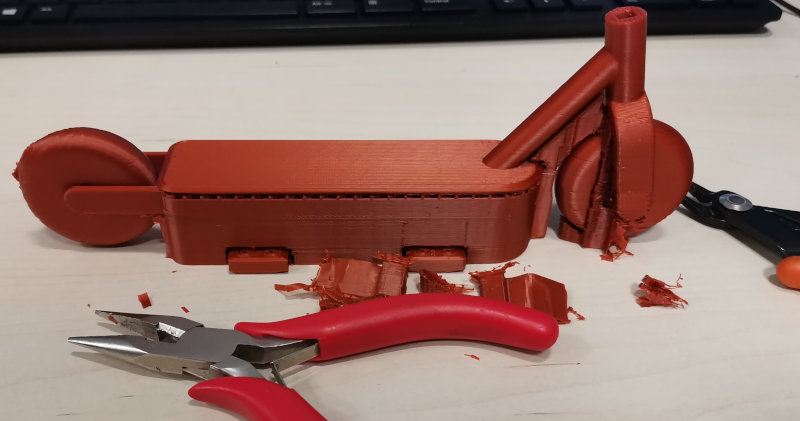
I use the design of my final project "vr scooter" to print it in real size. The wheels will be of free movement by means of an extrusion in the axis of 1mm with respect to the wheel.
The electric scooter cannot be easily made subtractive because I want the wheels to stay moving without having to assemble later. I want to have a complete model to obtain it with a single 3D print, without having to assemble the wheels of the electric scooter.
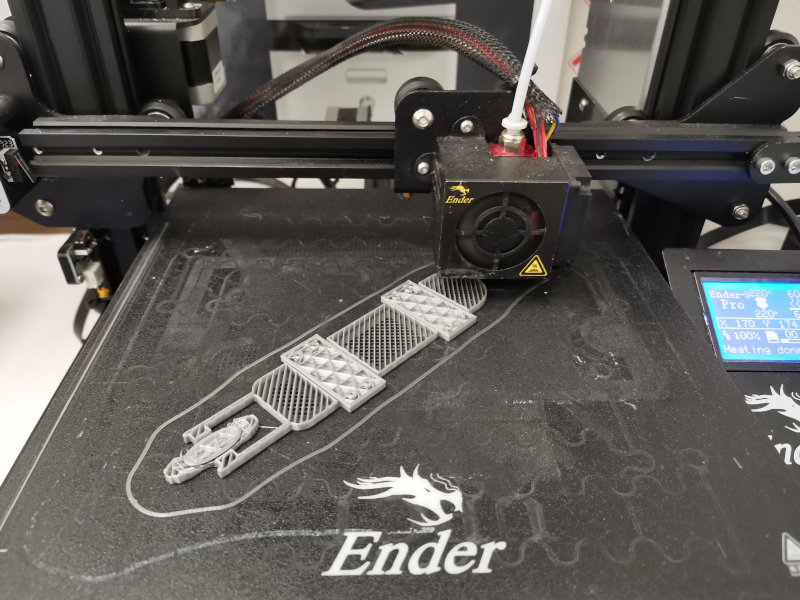
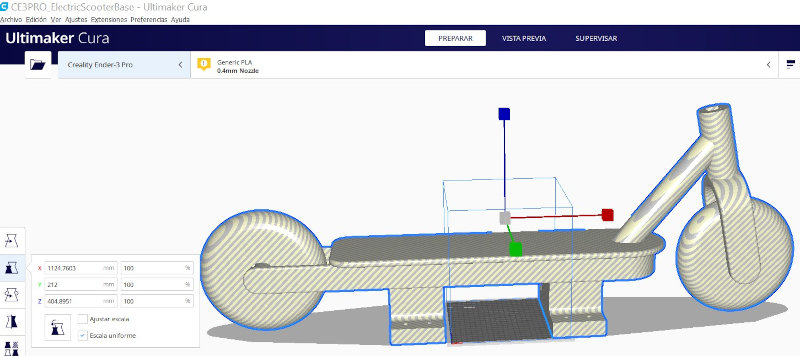
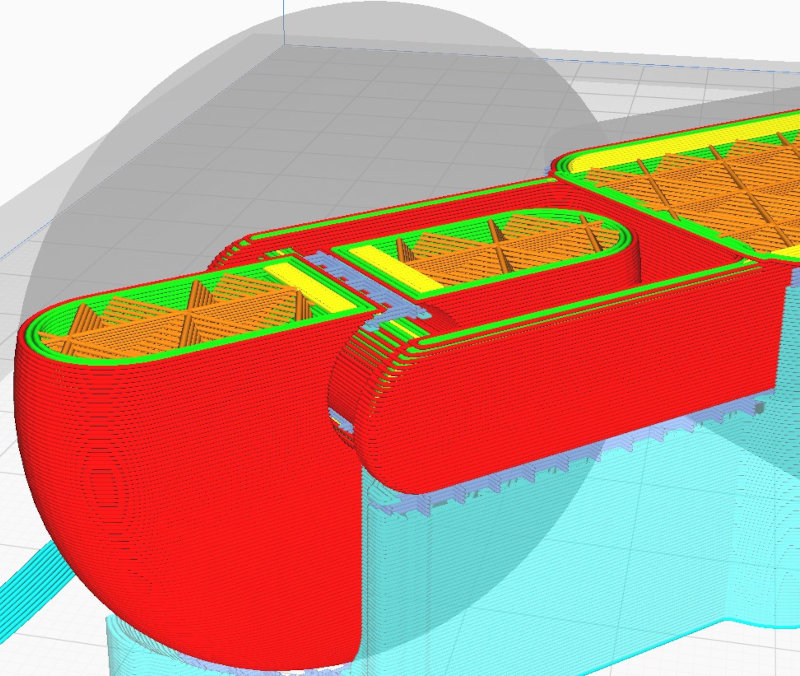
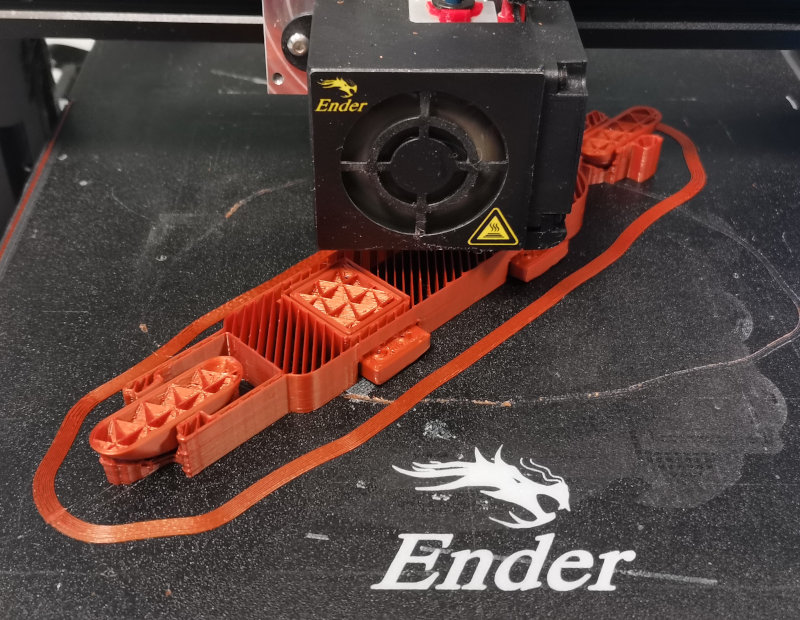
In the Ultimate Cura program I import the fusion360 .stl file to print it at full scale on the Discovery large format printer. But the extrusion nozzle of the printer is stuck and I could not do the printing. So I decided to print it on an Ender 3 Pro printer.

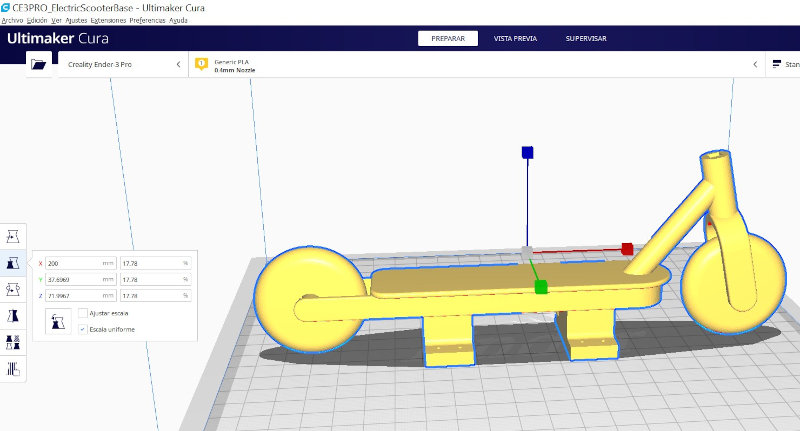
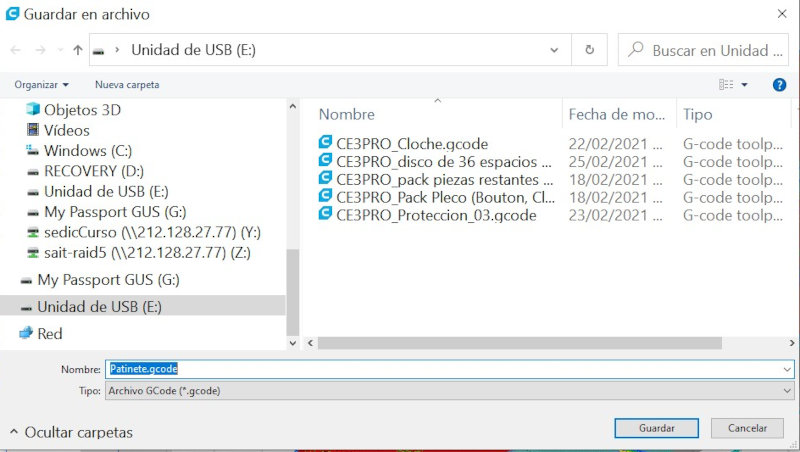
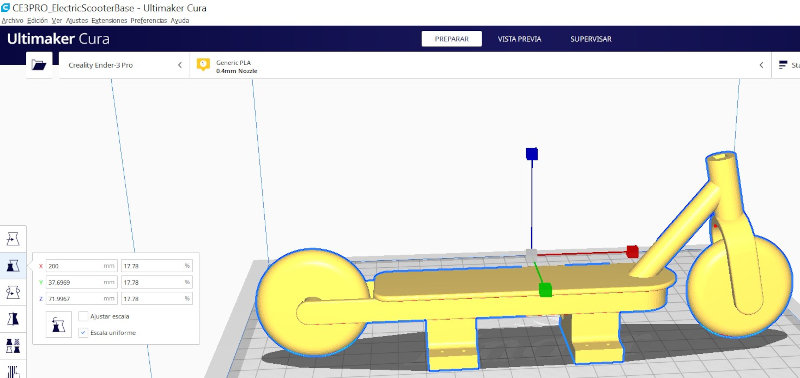
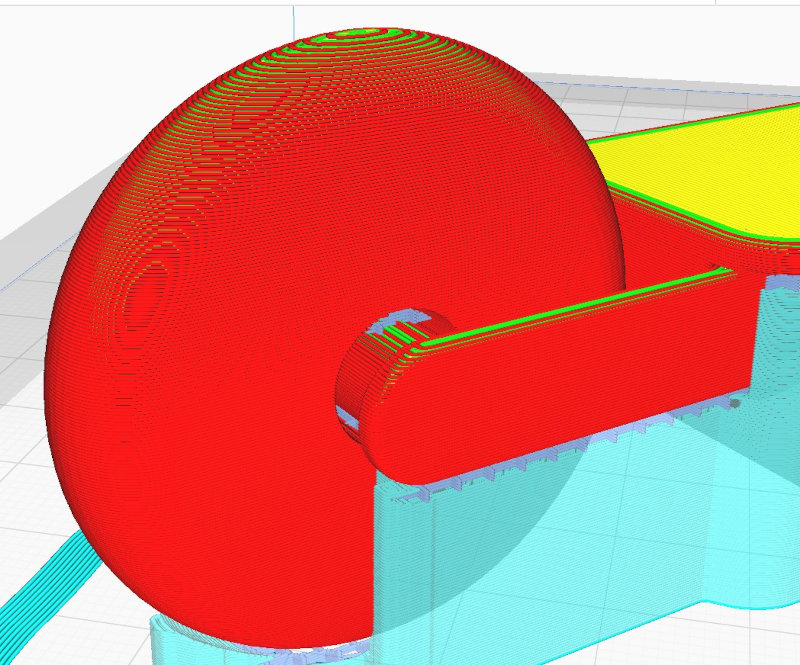
The imported model is too large, I scale the model according to the Ender 3Pro print area and export the .gcode file.
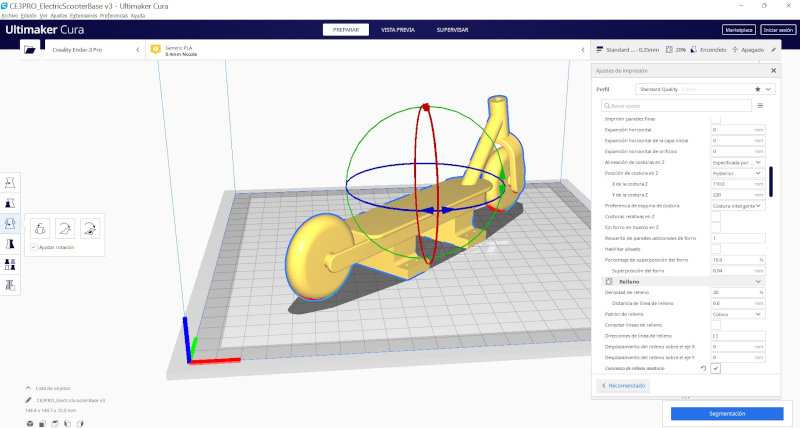
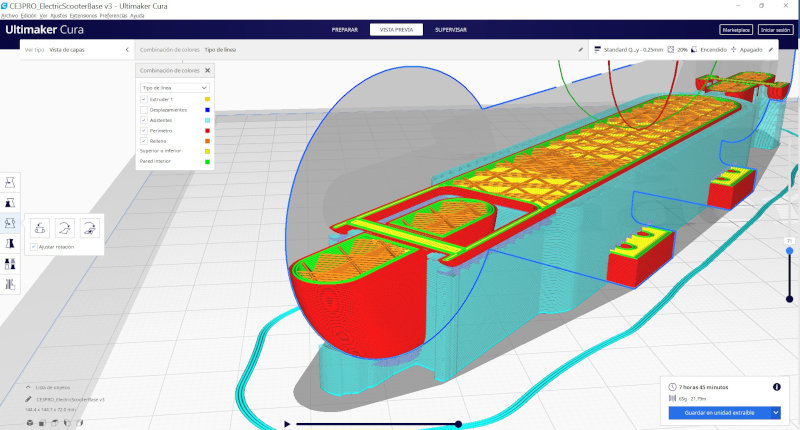

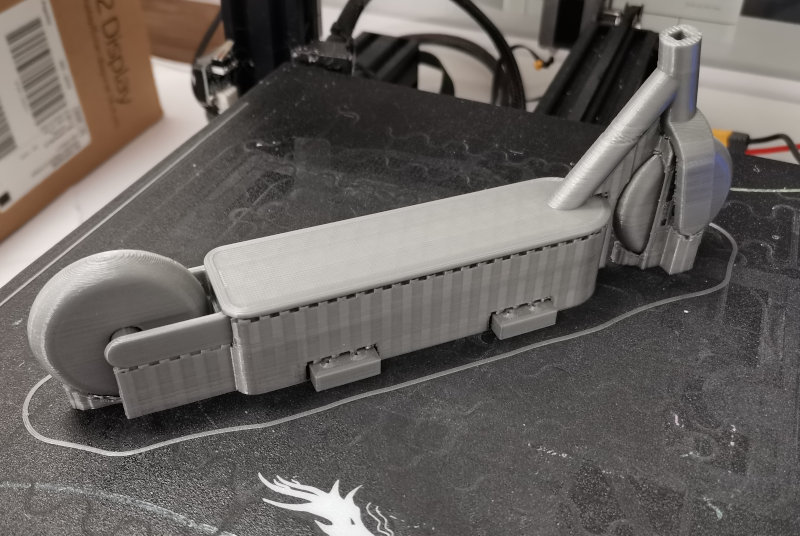
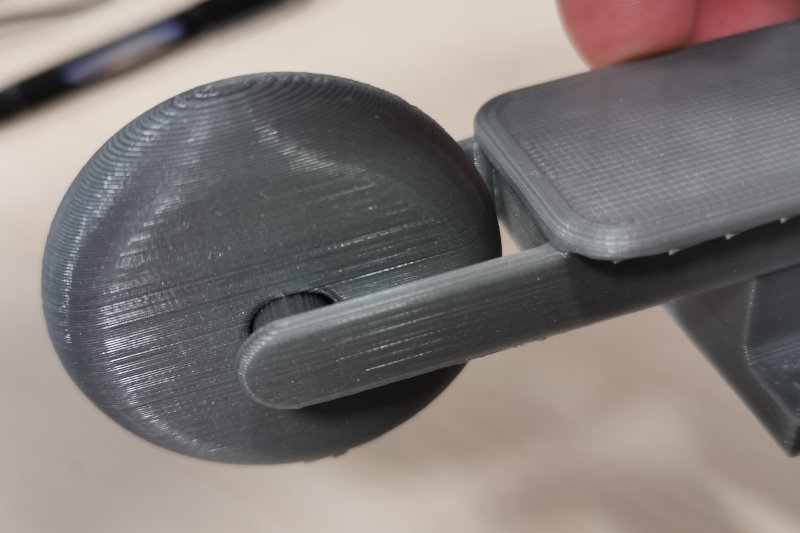
The wheels do not rotate because when scaling the model on the Ender 3pro, the extrusion measurements on the axle and the wheel were also scaled, so the original value of 1mm was reduced to a scale of 6 being 1.66mm which prevents that the wheel is free-moving. I have modified the extrusion value between the axle and the wheel 6 more times, so that when I scale on the Ender3Pro, the final extrusion value in the print is 1mm.
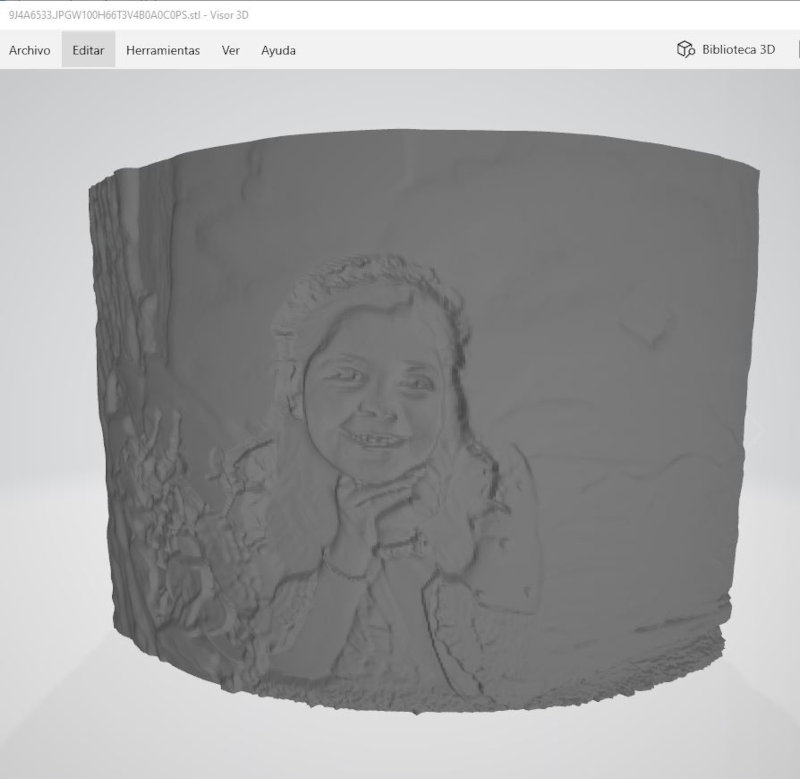
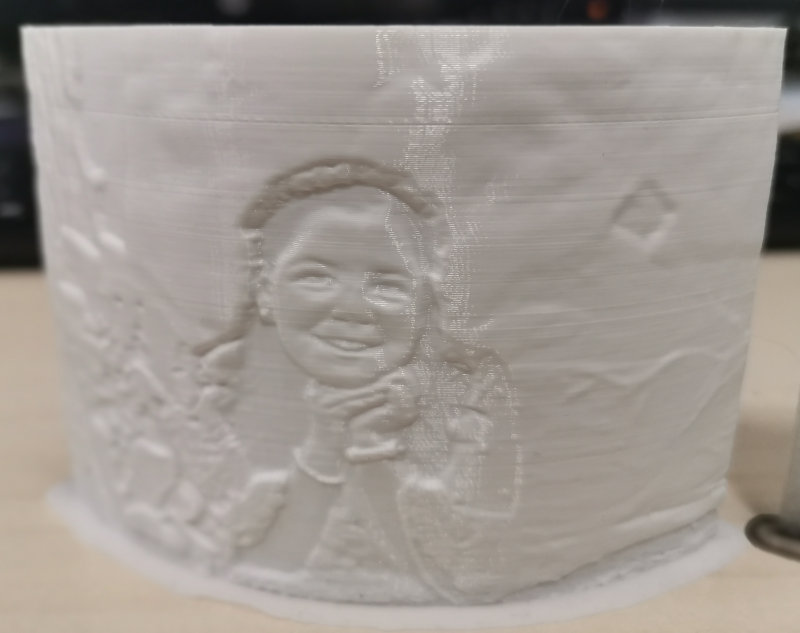
2.2 3d lithophany
The lithophany is a projection of light on a semitransparent sheet with different volumes. Thanks to the volume changes, we get areas more opaque than others and, when the light passes, the result we are looking for is obtained. It should be noted that the most opaque or dark areas will be those that contain a greater volume and the lightest areas will be those that have a lower volume and, at the same time, those that allow more light to pass through the sheet
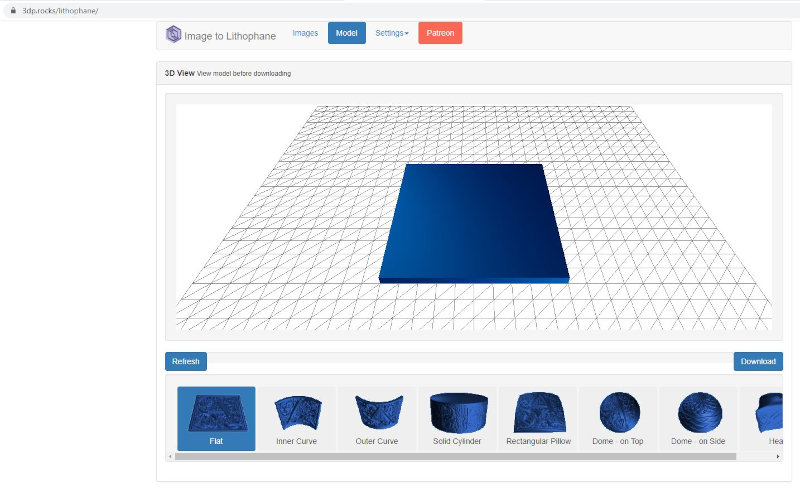
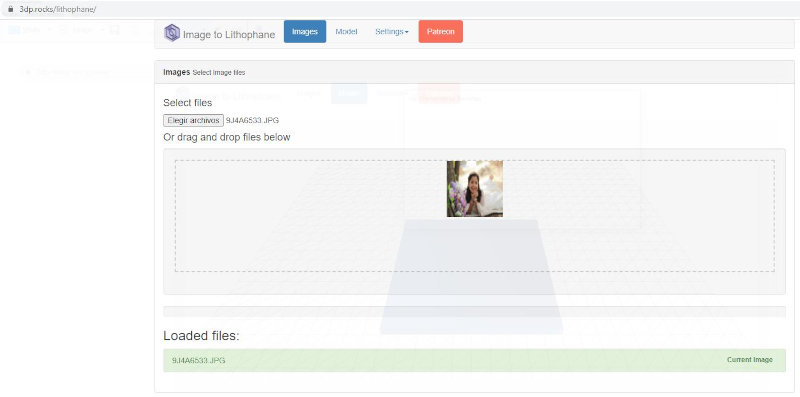
The program that is used is online and we do not even need a registration or anything like that, we simply need the link of the web which is the following 3Dp.rocks website
I have followed the following tutorial
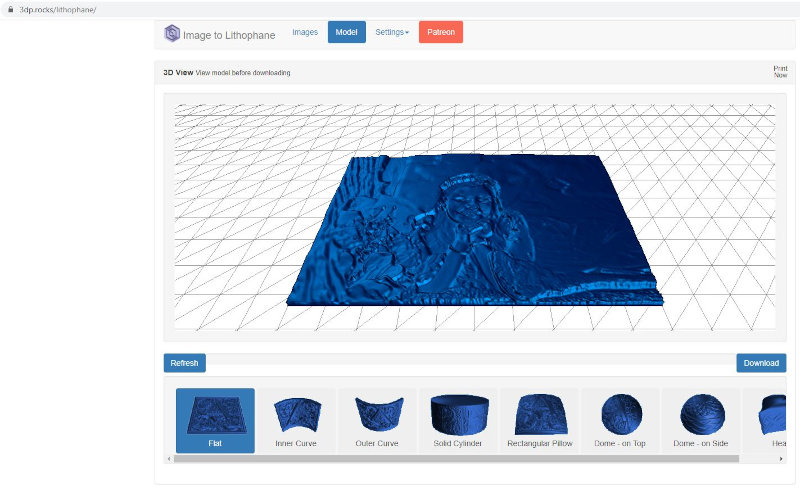
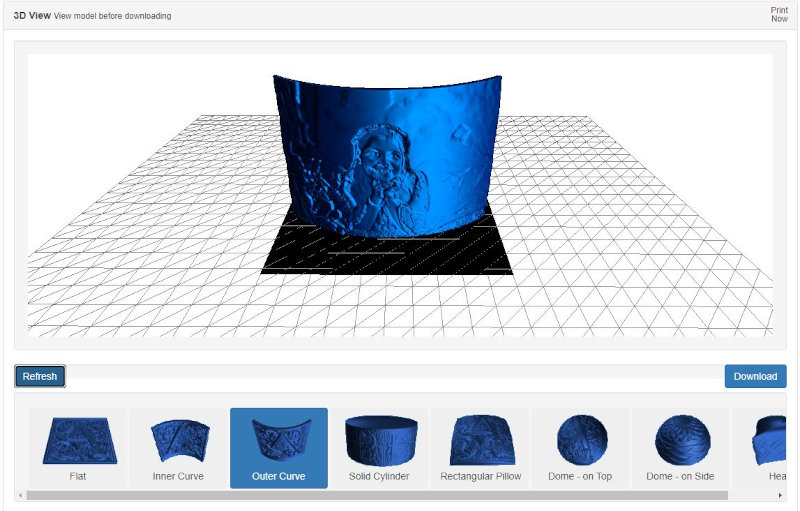
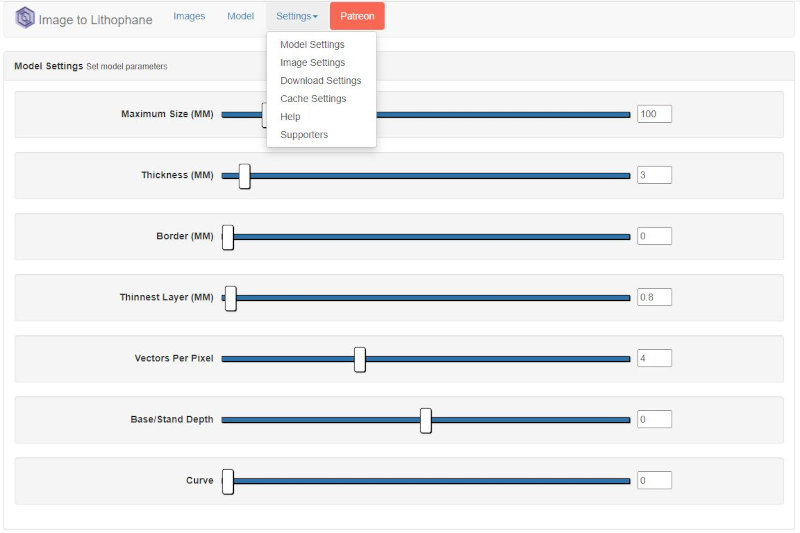
I import an image. I select the print model. I modify the printing parameters and download the .stl file.
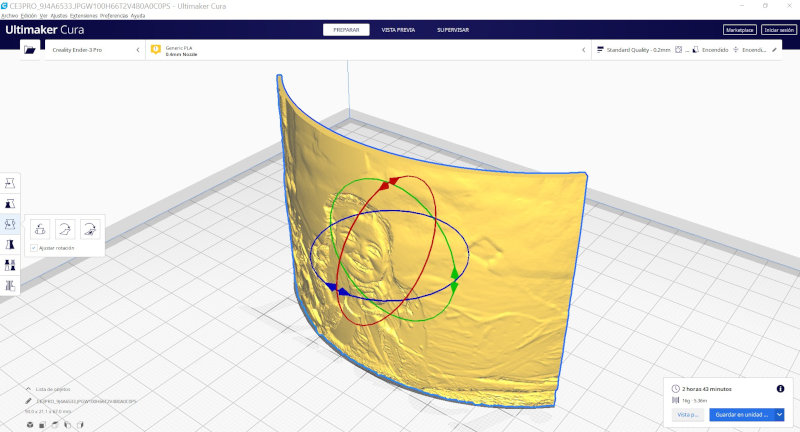
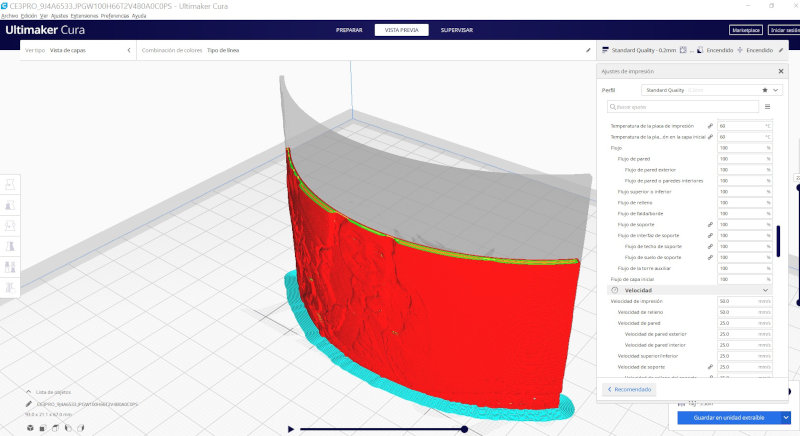
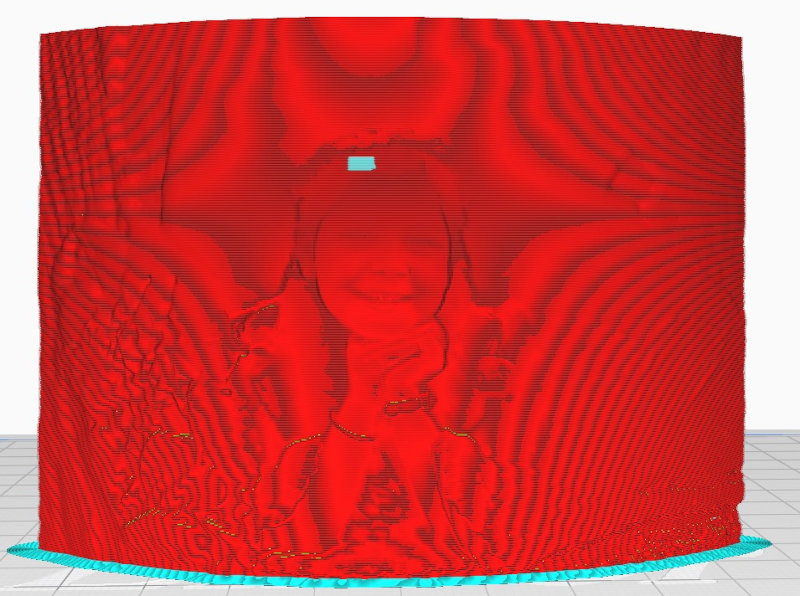
I import the .stl file into the Ultimate Cura program and select the parameters to print on the Ender3Pro.
I have printed on transparent PLA.
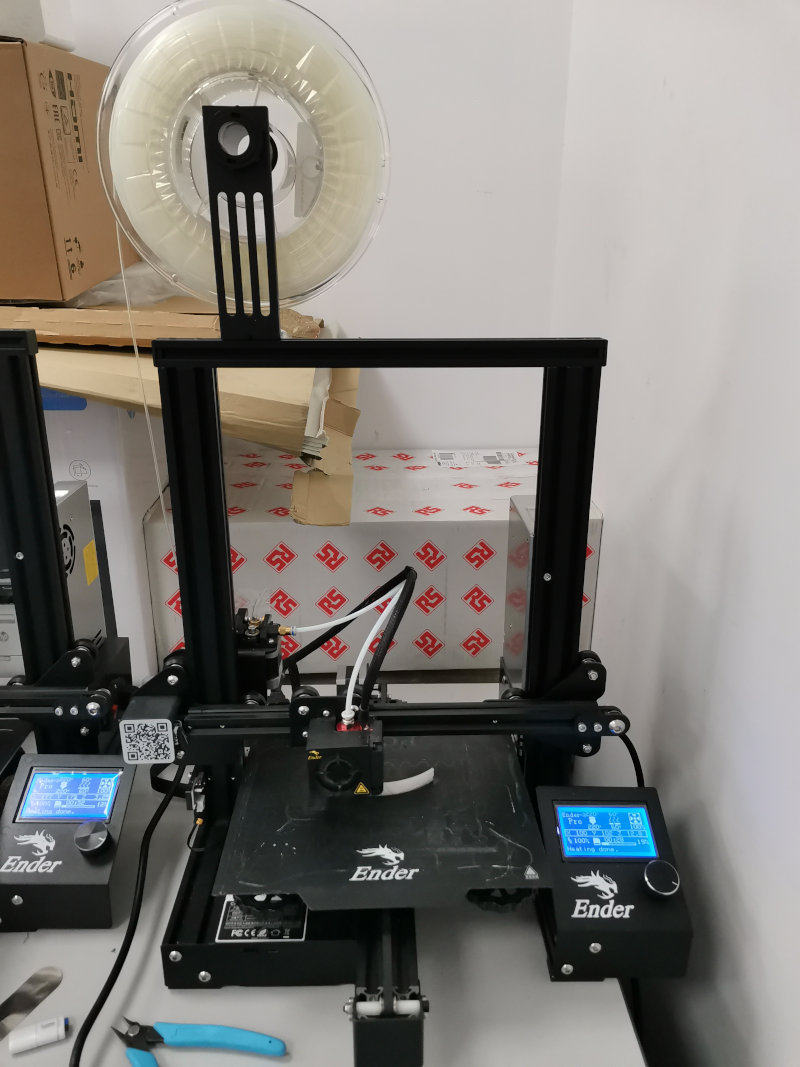
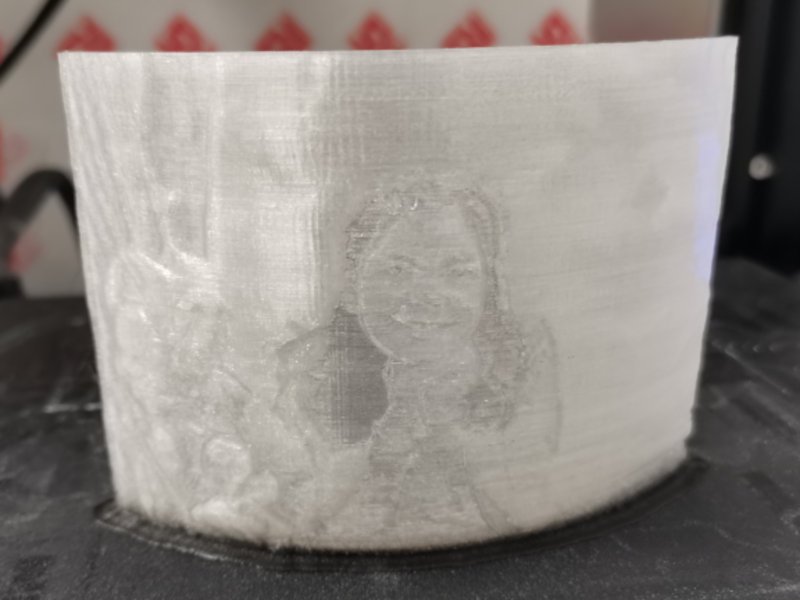
I use a light behind the printed model to see the effect of the lithophany.
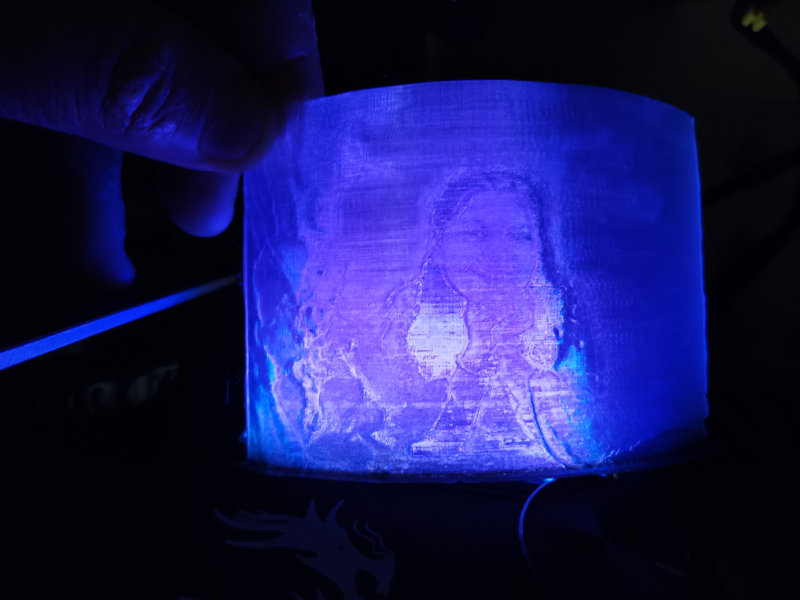
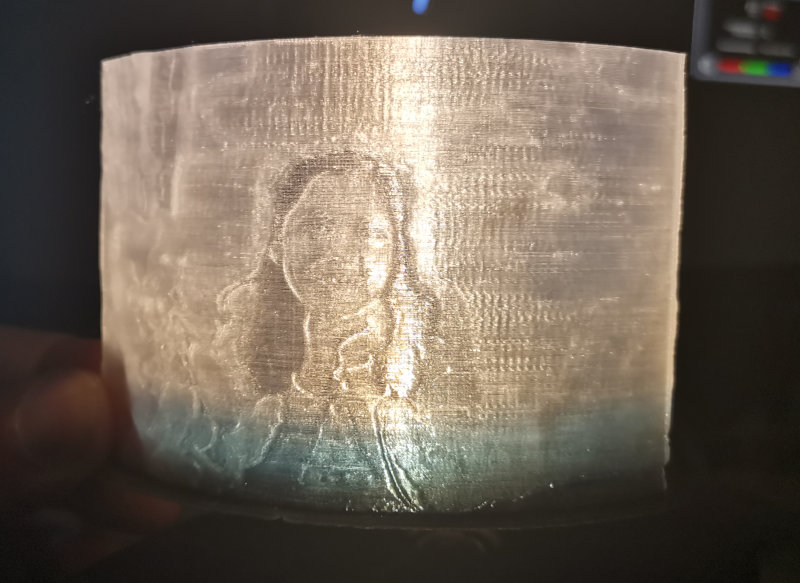
Select another white PLA and the results will be better.

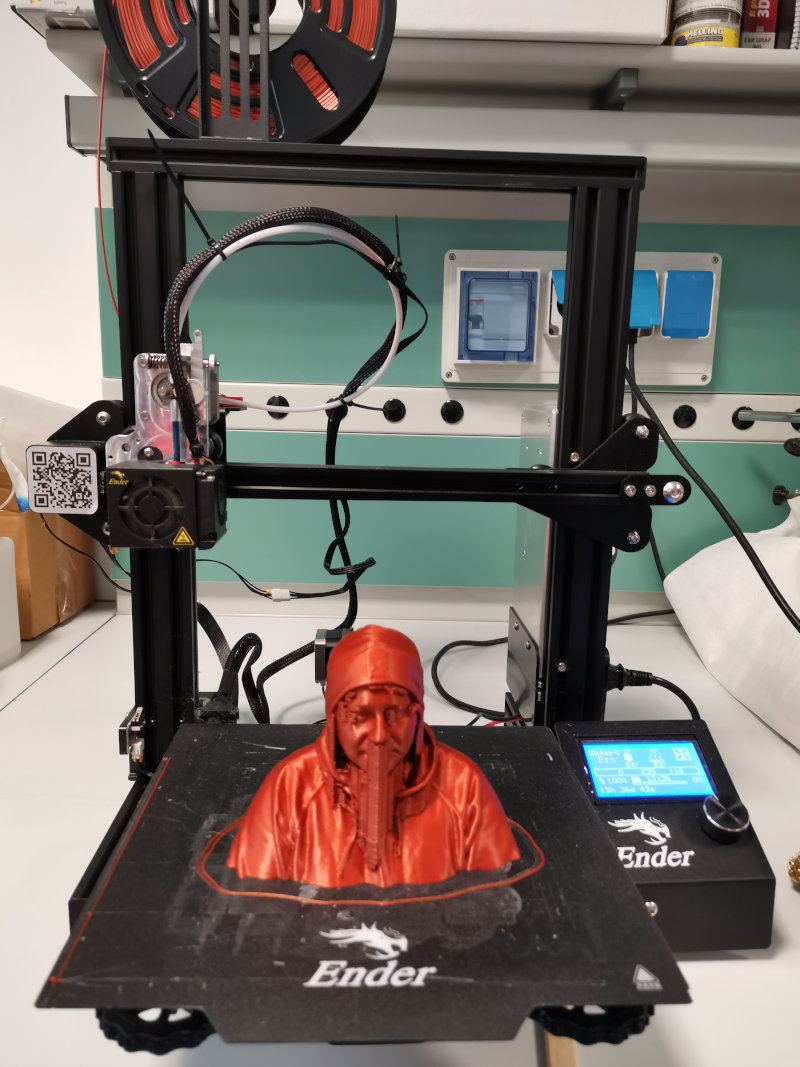
2.3 3D scan and print
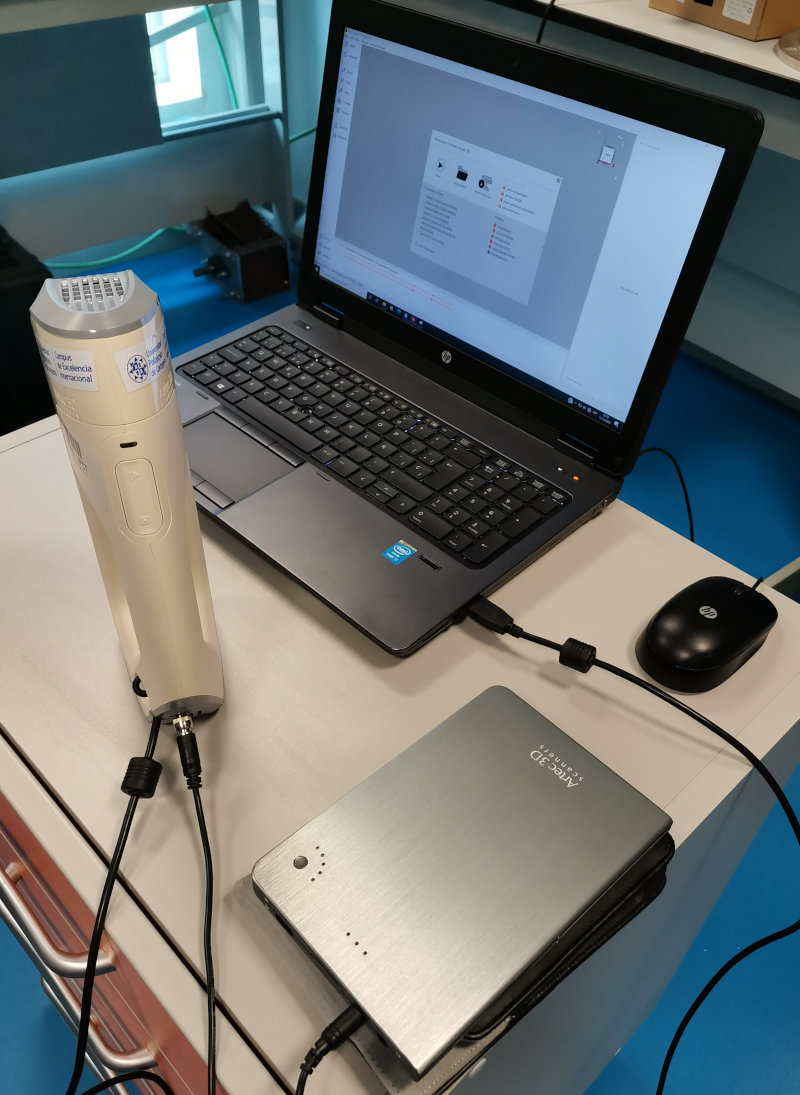
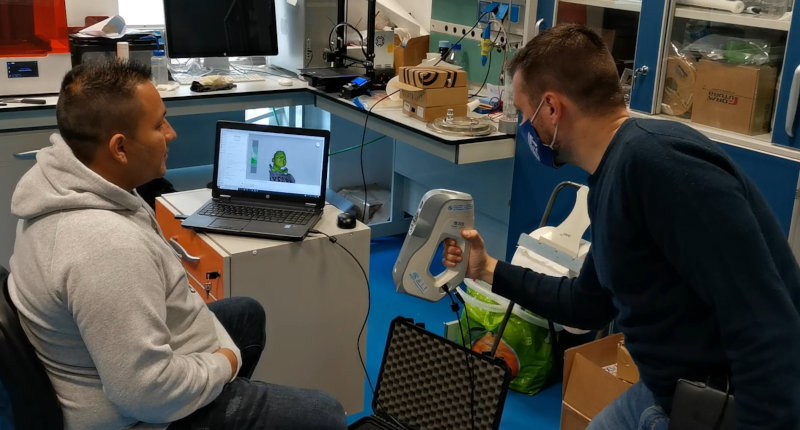
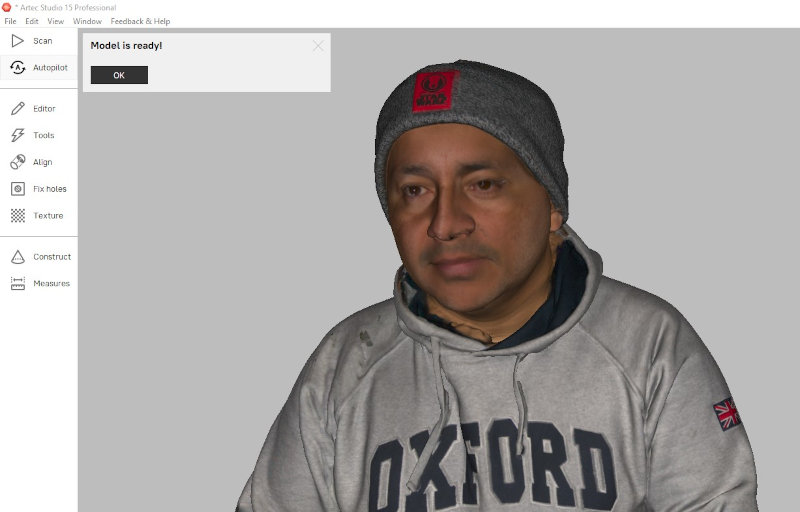
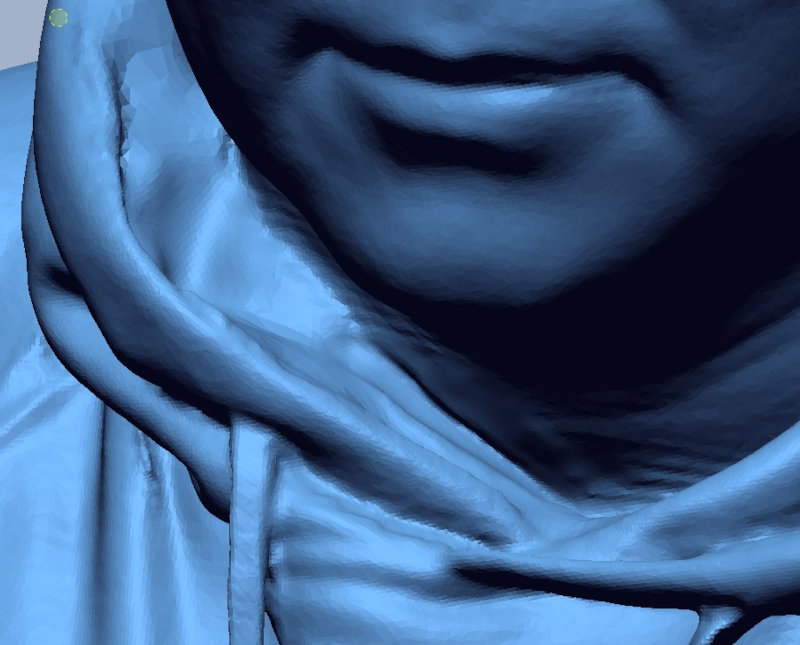
With my partner Hector, we have used artec3D's Eva scanner to scan each other.The scanning program is Artec Studio 15 Professional.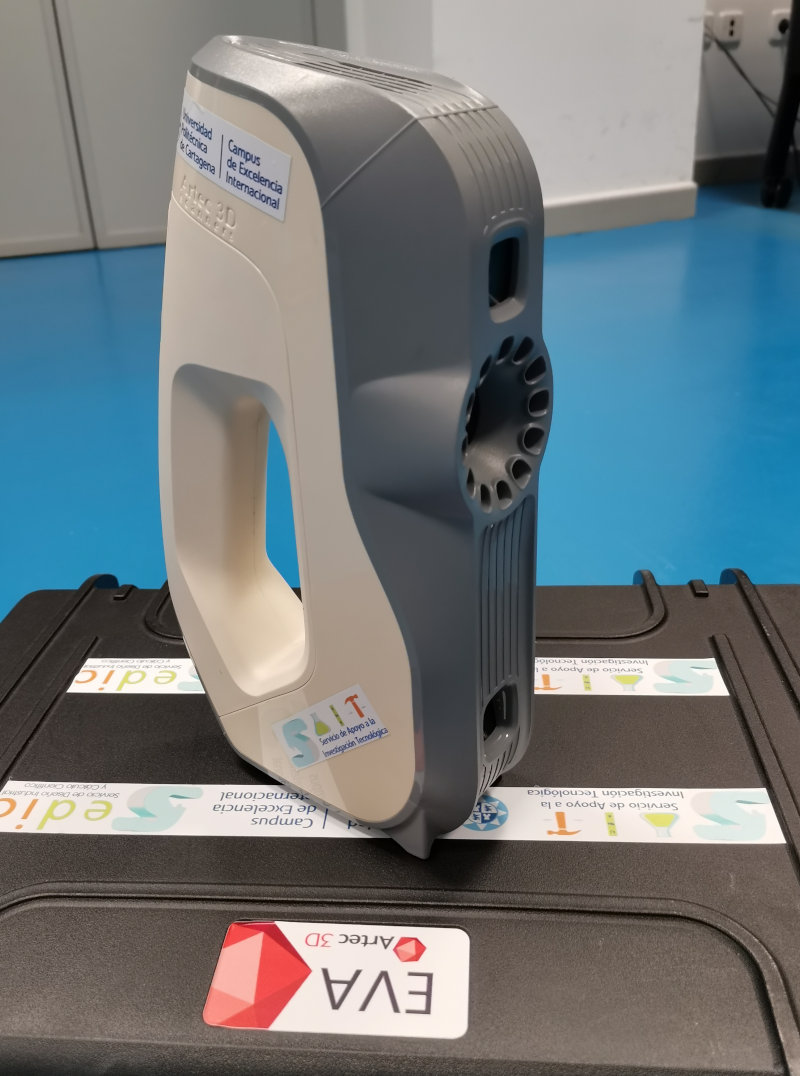

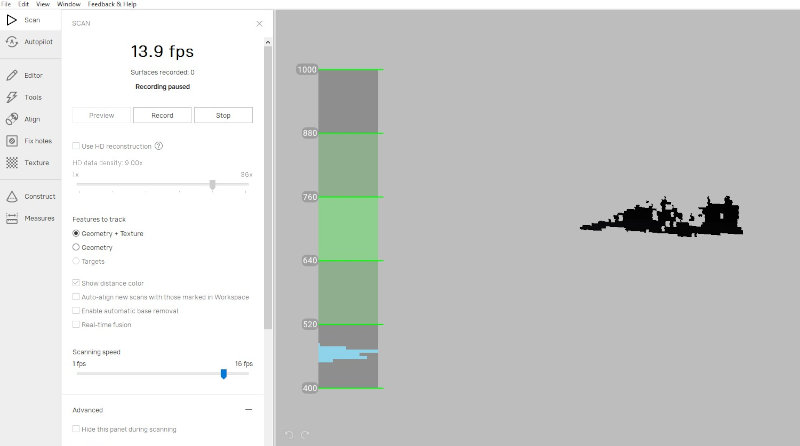
Select the Scan icon. Features to track (Geometry + texture). Scan speed (15fps).
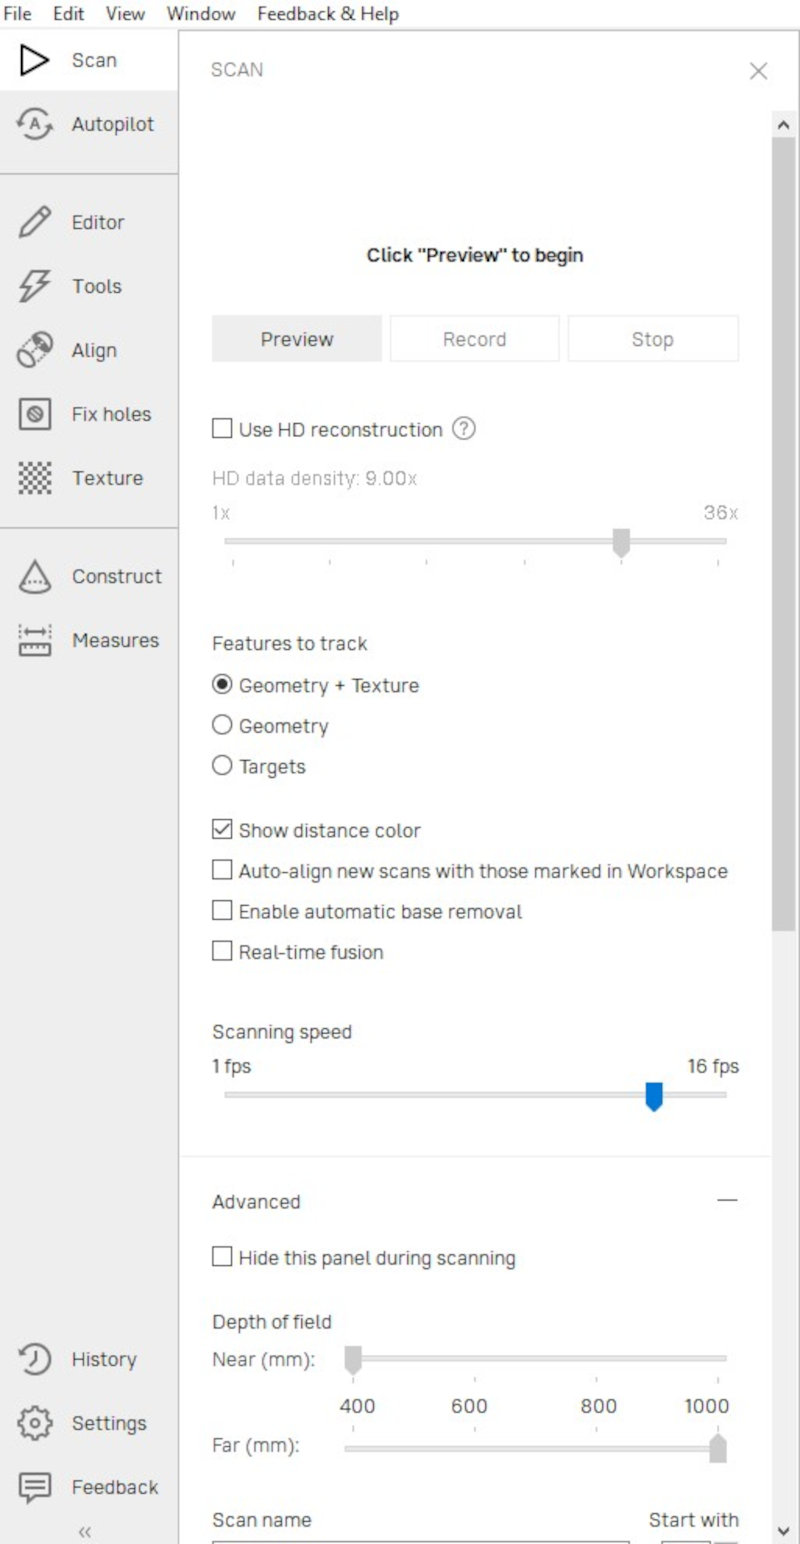

The scan should be in the light green area for best model results. At the end select Autopilot to generate the 3d model.
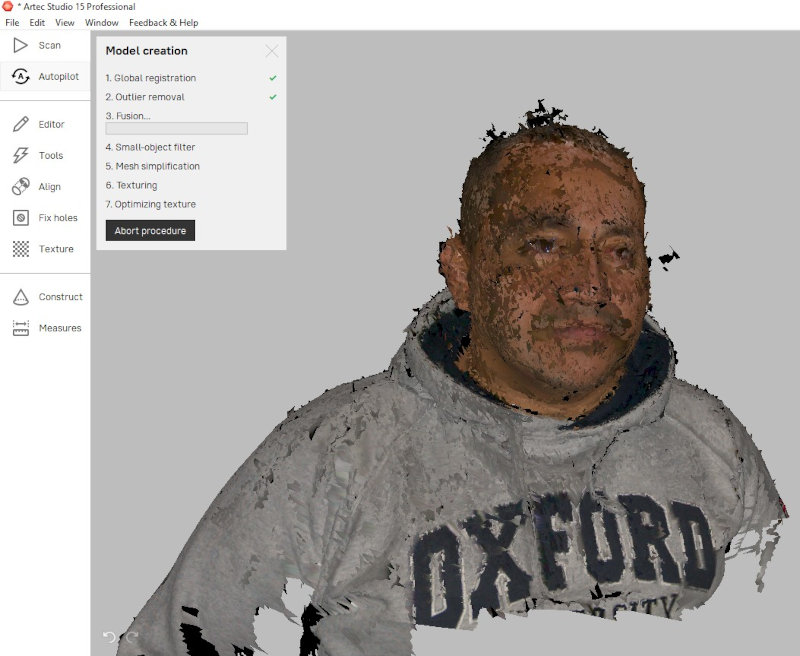
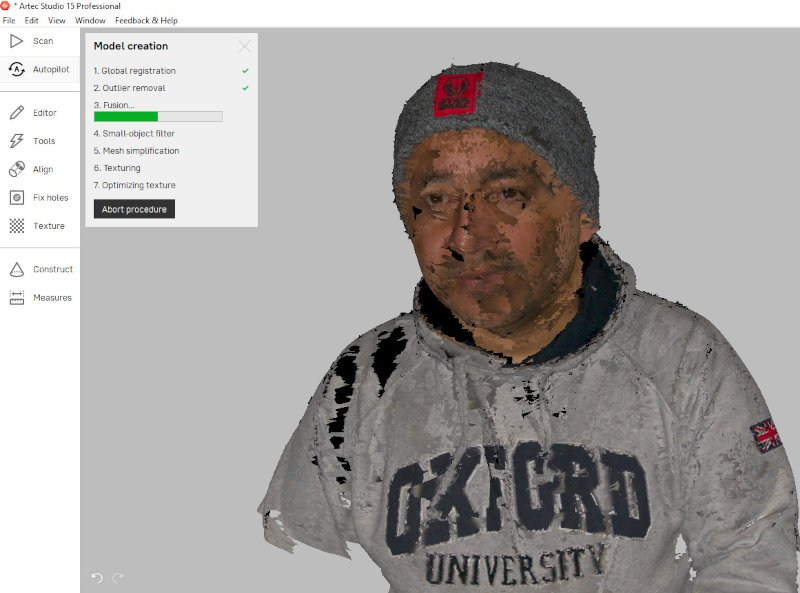
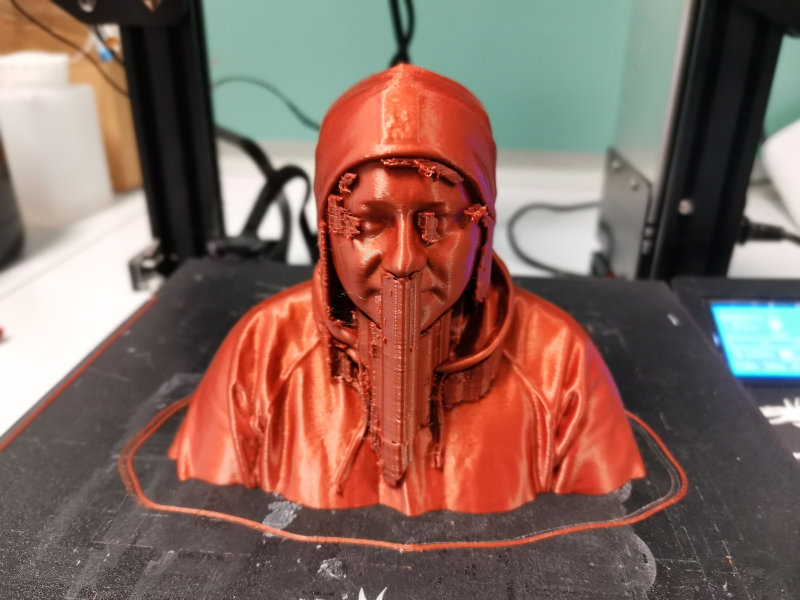
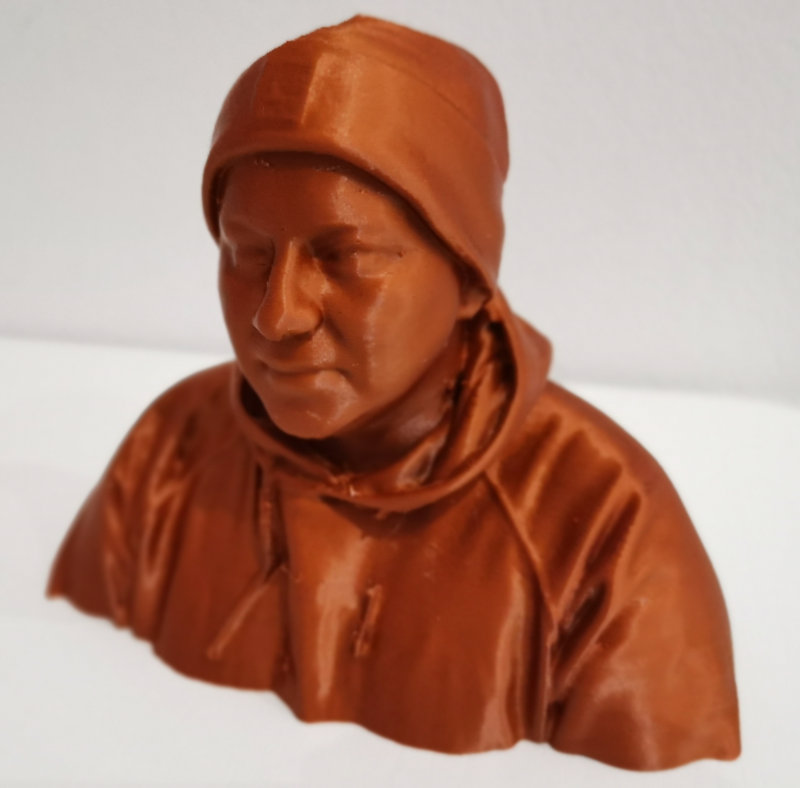
The hair area creates too much noise in the model and the result deforms the upper part of the hair. Wear a hat so that you avoid hair noise and get an ideal model.
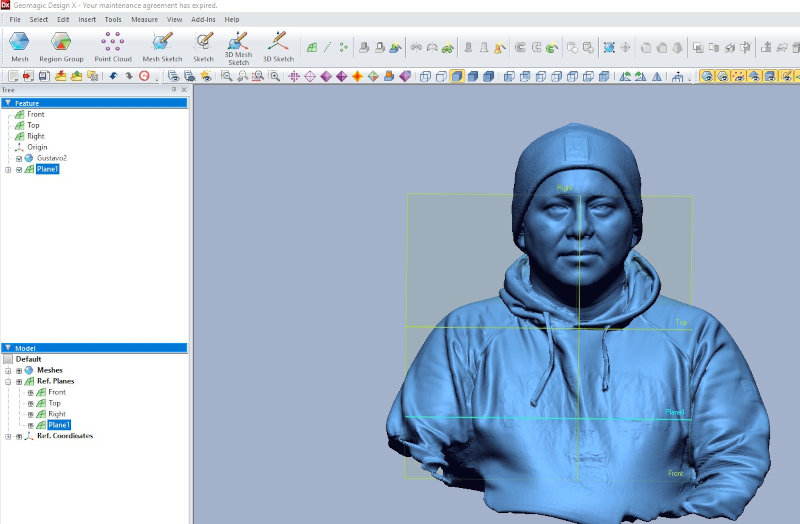
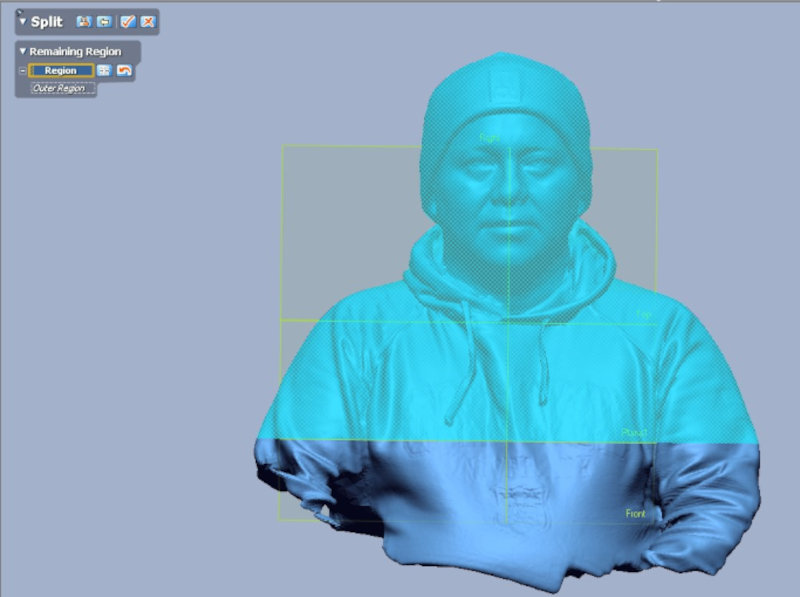
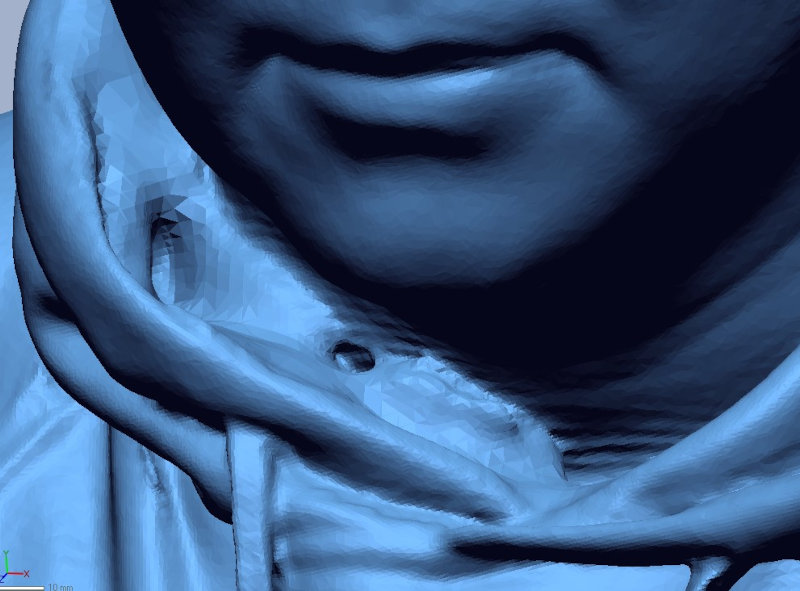
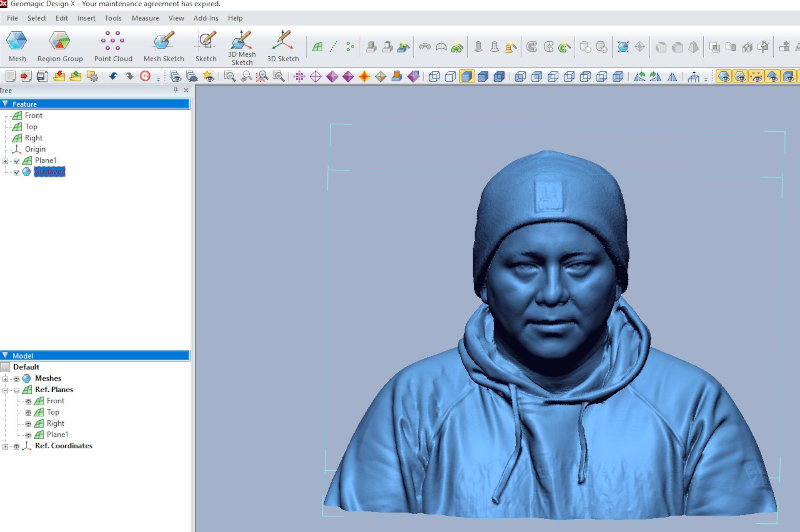
To edit the model use the Geomagic Design X program. I have created a plane to make a flat cut of the model and correct some deformations of the mesh. I export the model in a .st file.
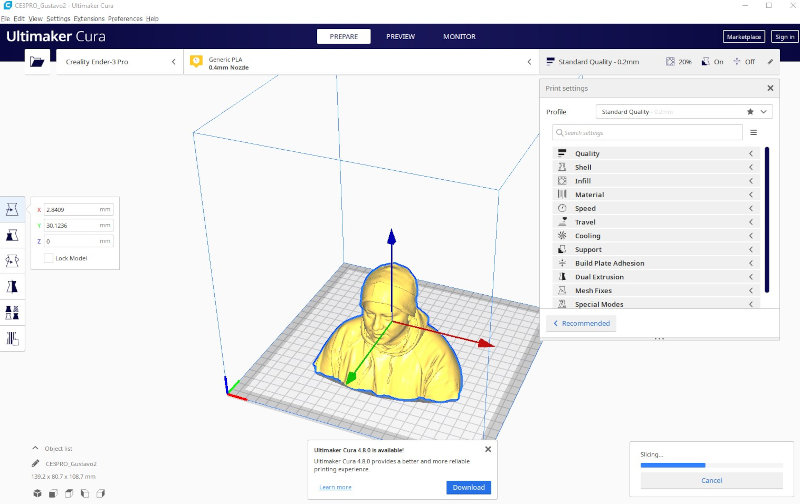
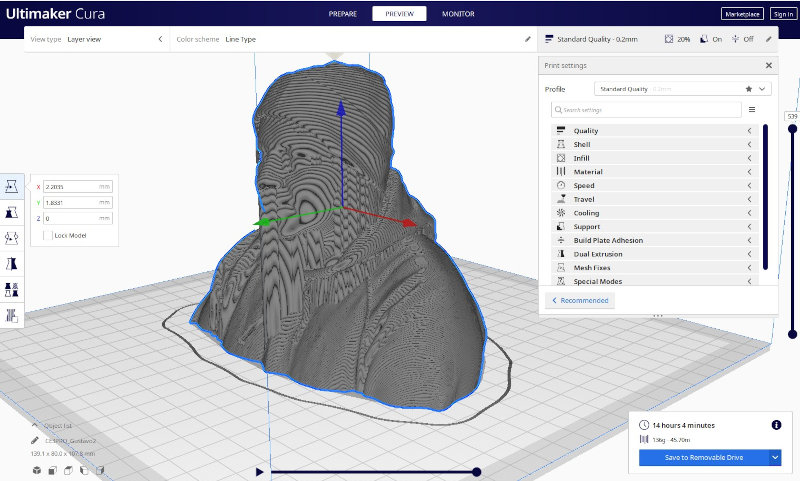
I import the .stl file into Ultimate Cura to print it on the Ender3Pro
4. Conclusions of the week
How was the week?
I liked the assignement this week because I have learned how to use 3D printers and apply the lithophane technique to create a lamp from my daughter's photograph. My recommendation is to put the scanning technique in a separate week to better understand the post-processing of the scanned models.
What went wrong ?
- The first electric scooter design I wanted to print at full scale on the Discovery large format printer. But the extrusion nozzle of the printer was stuck and I couldn't do the printing. So I decided to print it on an Ender 3 Pro printer on a smaller scale.
- The wheels do not rotate because when scaling the model on the Ender 3pro, the extrusion measurements on the axle and the wheel were also scaled, so the original value of 1mm was reduced to a scale of 6 being 1.66mm, which prevents the wheel from moving freely. I have modified the extrusion value between axle and wheel 6 more times, so that when I scale on the Ender3Pro, the final extrusion value in print is 1mm.
What went well?
Scanning is a technique that I knew before and with which we had no programs, a recommendation: when scanning people the hair area creates too much noise in the model and in the final result it deforms the upper part of the hair. Wear a hat to avoid hair noise and get an ideal model, otherwise you will have to edit the model with another program, such as Geomagic.
What will you do different next time
I would use other types of materials for 3D printing to know their properties and difficulties when printing.
3. My files
Design / Printing Electric Scooter
Electric Scooter Models Fusion360 (.f3d)