Principles,Practices and Project Management
week 1 assignment is to plan and sketch a potential final project. Also a tutorial of git and build a personal web site of mine in the class archive describing me and my final project
Project Selection
To chose a topic for the Fab final project,there are some fab criteria need to follow.
- Must have At least 1 output and 1 input
- project must include a hardware component and a mechanical part
- It's better to have something moving controlled by electronics according to particular events
- It should use maximum fablab tools and machines as possible during the production
- Project must be open source and files needs to be available for the community
Based on the instruction I shared 3 ideas to the instructors and they helps me to chose one for the final project
Automatic tool changing Screwdriver:-The idea is to create an automatic motorized Screwdriver with auto tool changing capabilities. The changing bits for different headed screws such as +,-,* ..etc.. are the tools which need to be change as pere the user need.The bit can be selected by a button or user's command with voice recognition feature
Flip Flap Time Table:-we all know Flip Flap clocks which has numerical mechanical flap displays controlled by a chip or a mechanism.so similarly I like to do a electro mechanical time table or Event monitor for school student to shows the subject or event happens in a time period. Also includes a digital clock to show time and can be configured via a mobile application
DLP Seal Stamp Printer:-Normally the seal stamps are made with a partially digitalized method. So in order to overcome that i like build a resin printer for making Stamp seals to make the process very simple like 3D printing.
Planning & Sketching..
what I planned to do for my fab final project is simply designed Electro mechanical Time table which works like flip clock mechanism
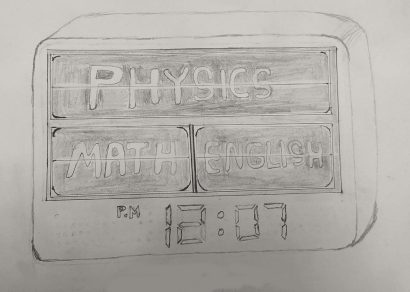
this is wall mounted design which basically will place on a classroom wall.It has 3 main flip mechanical display with LED back lights, and time clock under it.One of 3 display shows the current Subjects others are for upcoming subjects/events.
Check out my Project page for more and further Progress
Building the Site
The whole fab documentation is writing on the website to experience the online web documentation. Also it helps the web development skills of the FAB students.on this week we were doing to make a basic website and pushing or uploading to the gitlab repository.
The fab instructors suggested to use linux OS because it will be more easier than the windows for this course. I installed lubuntu,it's one of the light weight version of the linux OS.For web development there is lot of text editors available like brackets,vs code..etc.. so I'm explaining VS code for this tutorial VS code is one of the famous text editor with lot of extension. the is microsoft product works on linux and mac also. You can find the installation process for Vs code is here..
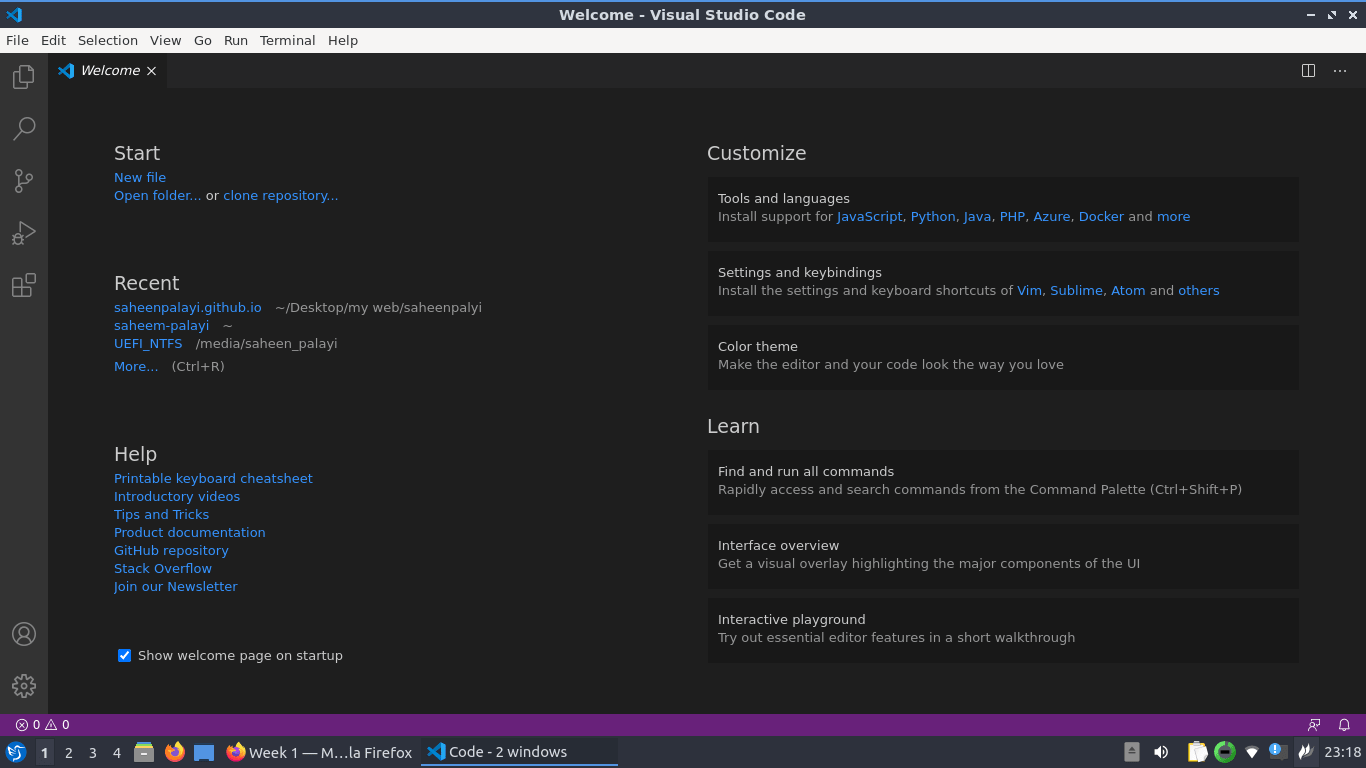
After installing VS code I'm gonna need a live server program luckily that available in vs code ide as an additional instal able extensions.Those can be found by searching the name on the search bar,then install
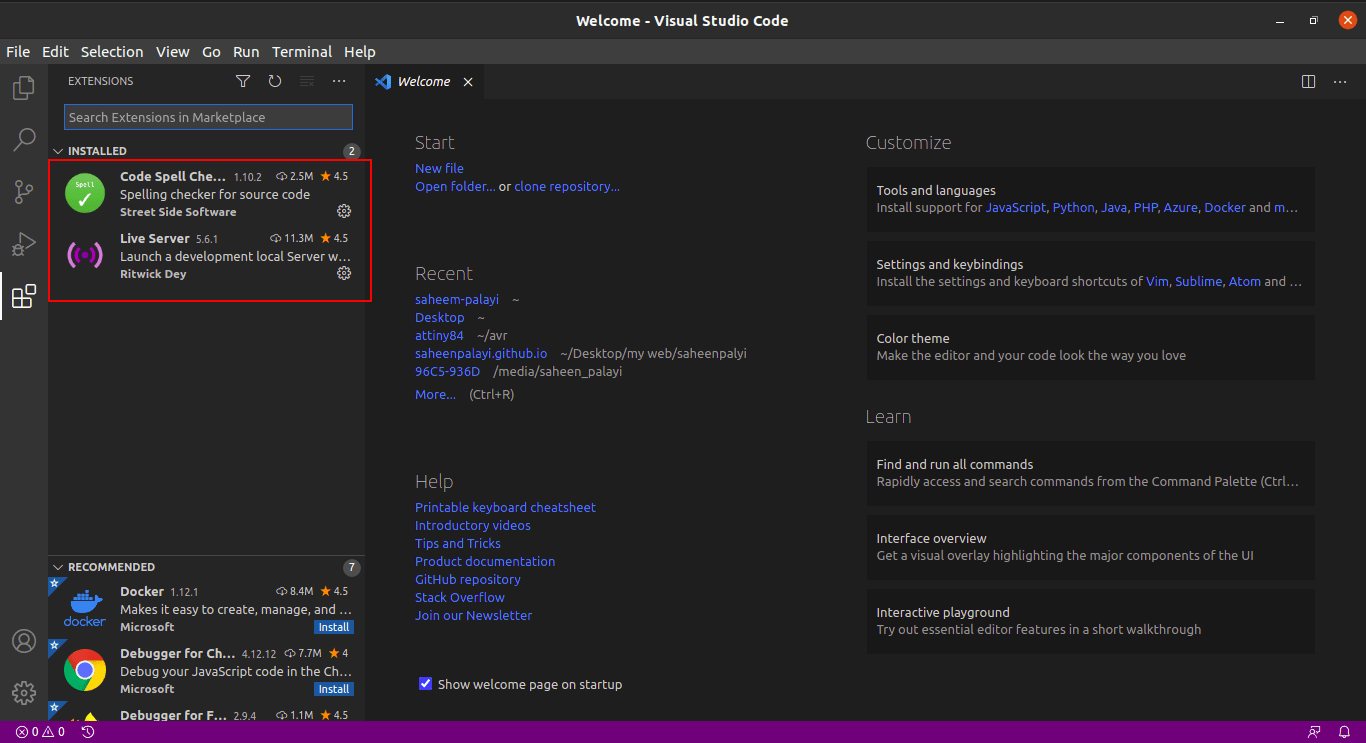
I also installed a spell checker extension which help to clear the spelling of words during documentation
Then I created a folder in my desktop and opened with the VScode.And I created a small directory structure inside the folder then two html pages, one is the 'index.html' for the home page and other one is 'about_me.html' for writing about me.
Directory structure:-
- doc_web
- css (folder for Style sheet documents)
- Style.css (writing CSS style sheet for UI)
- images (Image directory)
- fab_lab_log.png (Fablab Kerala Logo)
- favicon.ico (Page title Icon)
- js (folder for javascript documents)
- about_me.html (about me html page)
- index.html (main Home page html)
with the help of W3school.com and my previous experience with html I did created a home page with necessary menu tabs and other pages
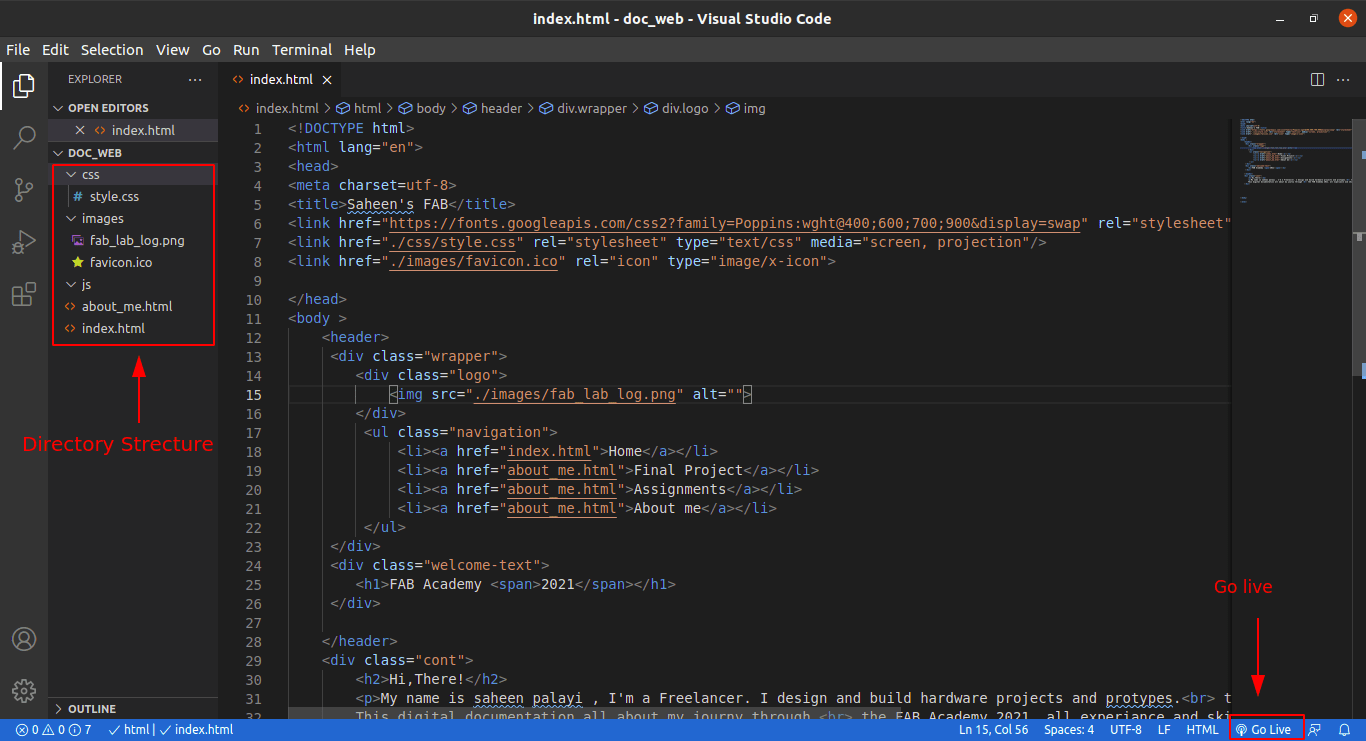
After that I hosted the web page in my pc's local server by clicking go live button from the left bottom tab of the VS code
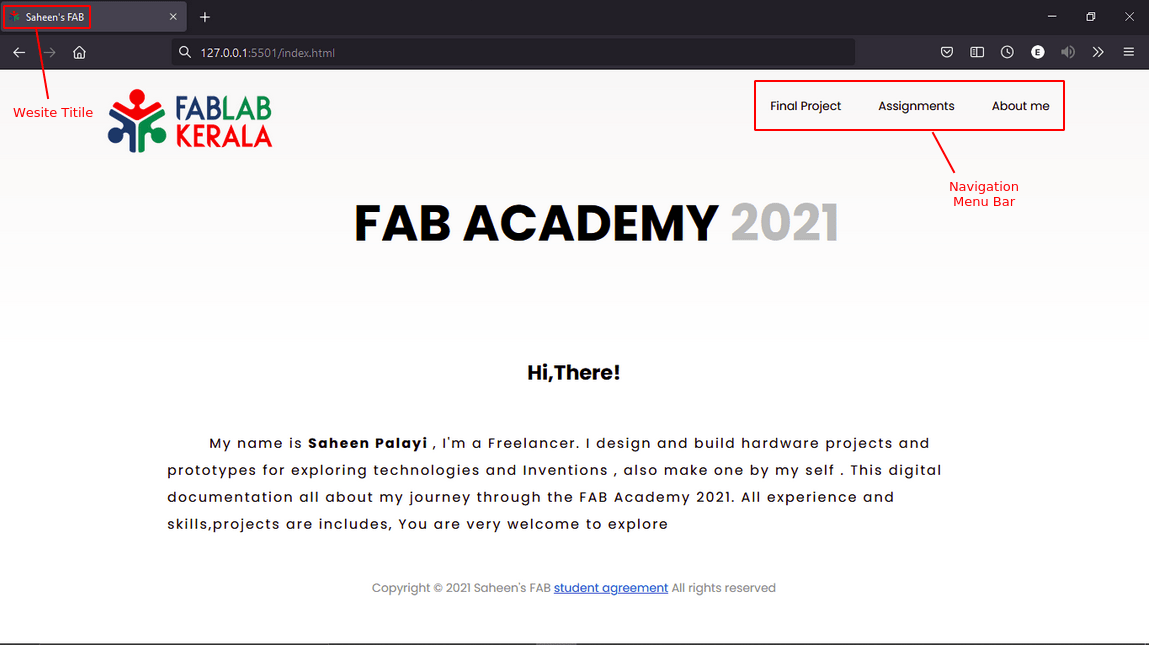
You can see that a web page opened in a browser with a local host ip address '127.0.0.1:5500' .the page is not created in one go,required several tests and modified line of codes to get the results
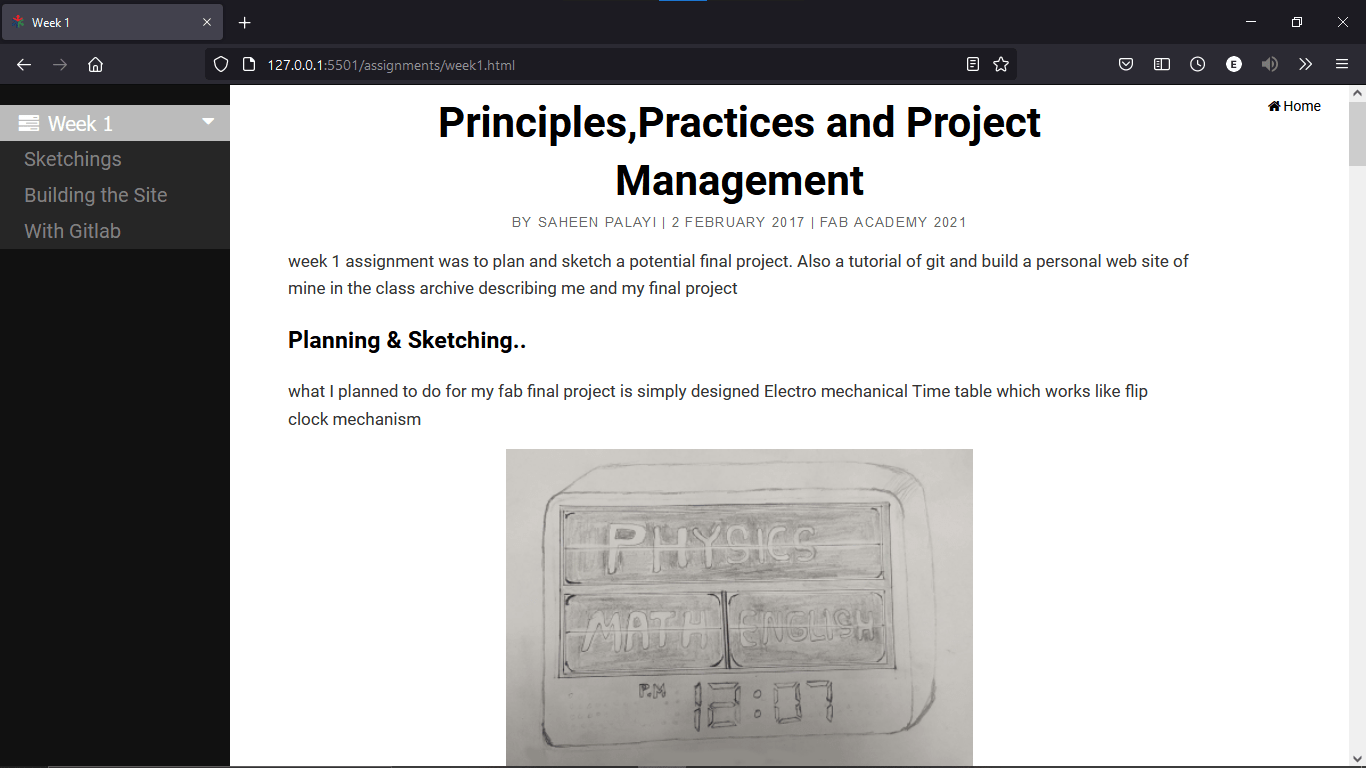
This the first assignment I'm working during this week documentation and also same templates using for upcoming Assignments.You can see I added a quick home button on the right-top corner of the site and also added quick title navigation side bar according to the documentation in the left side.
Getting started with Gitlab
Git is a free and open source distributed version control system designed to handle everything from small to very large projects with speed and efficiency. Git is easy to learn and has a tiny footprint with lightning fast performance. It outclasses SCM tools like Subversion, CVS, Perforce, and ClearCase with features like cheap local branching, convenient staging areas, and multiple workflows. Installing the git in the linux terminal is very easy with single command
sudo apt install git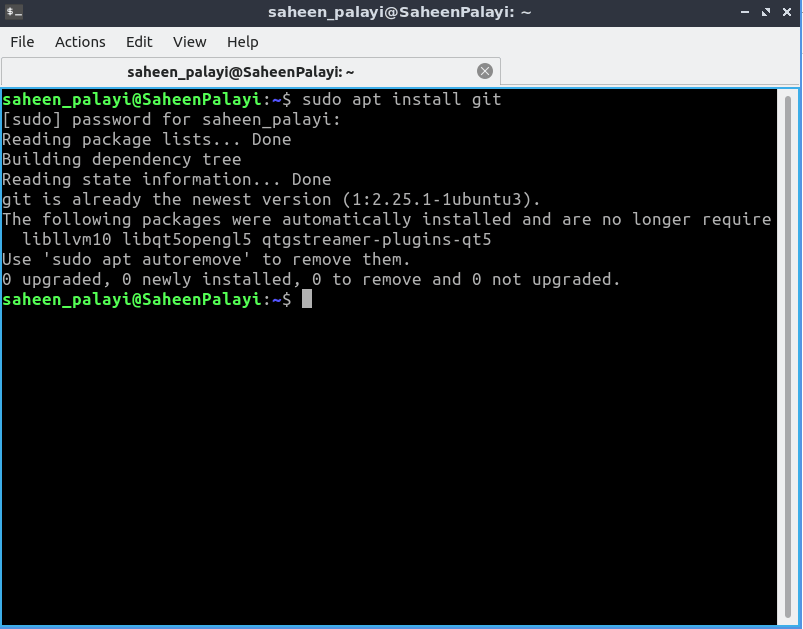
Look like ,It says that I already have the git installed in my lubuntu OS. if u don't have or u are using difrent OS check this git docs
GitLab, GitHub, and Bitbucket - Are services that provides remote access to Git repositories. In addition to hosting your code, the services provide additional features designed to help manage the software development lifecycle. These additional features include managing the sharing of code between different people, bug tracking, wiki space and other tools for 'social coding'.
GitLab is a github like service that organizations can use to provide internal management of git repositories. It is a self hosted Git-repository management system that keeps the user code private and can easily deploy the changes of the code.
We can check git version by using the command below
git --versionFirst we need to configure the github locally.A global username and mail are required.It can be done by some terminal git commands
git config --global user.name "USERNAME"then set the username
git config --global user.email "email_address@example.com"we can verify entered information as-
git config --global --list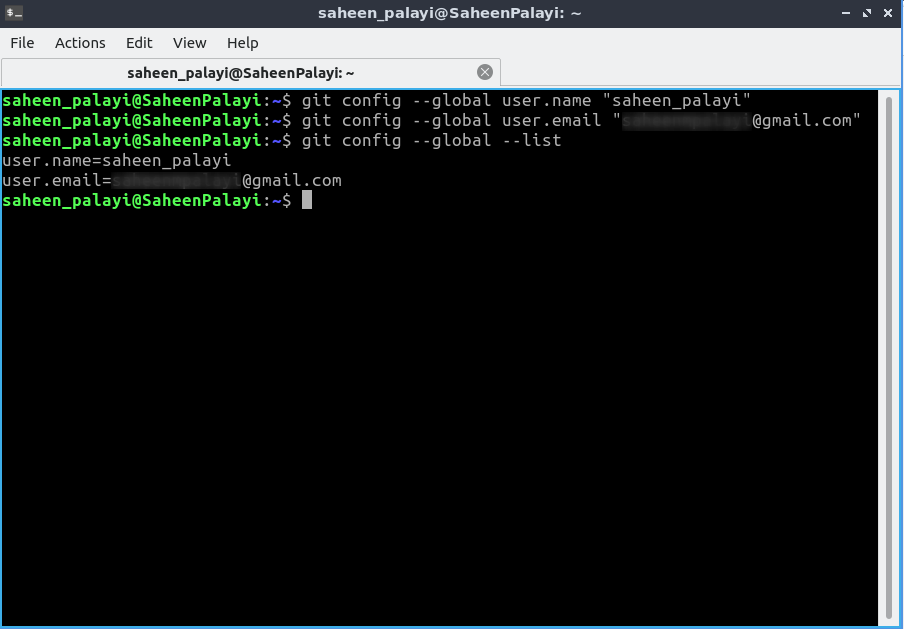
GitLab and SSH keys
SSH is like virtual tunneling through the web from pc to pc.Basically it's a encryption technique ssh key can be generate via the git terminal with helps of few commands . GitLab supports the use of RSA, DSA, ECDSA, and ED25519 keys.I used the RSA key...
ssh-keygen -t rsa -b 2048 -C "email@example.com"the above command is used to initiate the SSH-RSA key,It will be saved in a hidden folder under user directory . after that it required a password to secure the git ssh
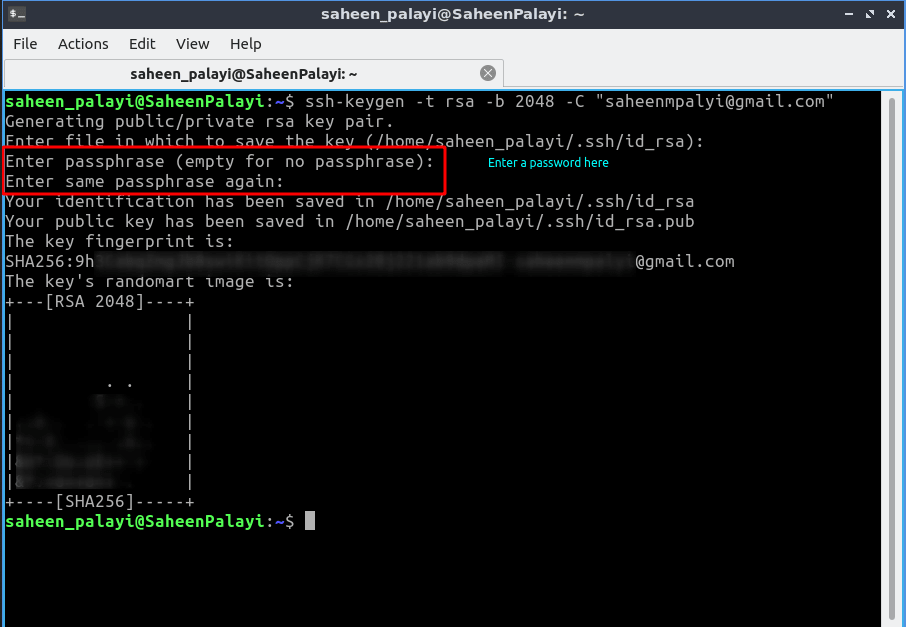
now we got the ssh-RSA encryption key inside the hidden folder in user folder filename extension will be .pub now we need to copy the ssh key from the id_rsa.pub file using the command below
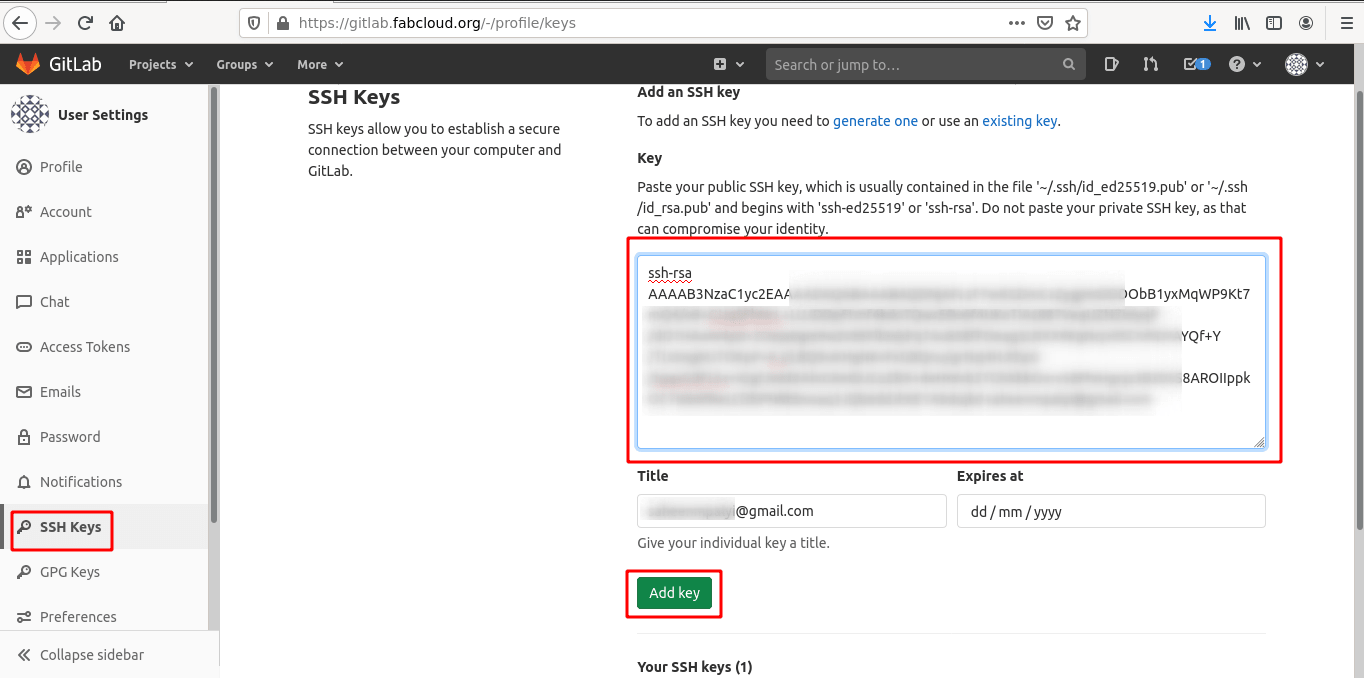
xclip -sel clip < ~/.ssh/id_rsa.pubAfter that log in to gitlab then paste it to the ssh key column under the profile settings
now the ssh is configured. For more information check this Docs.
Cloning the Git-Repository
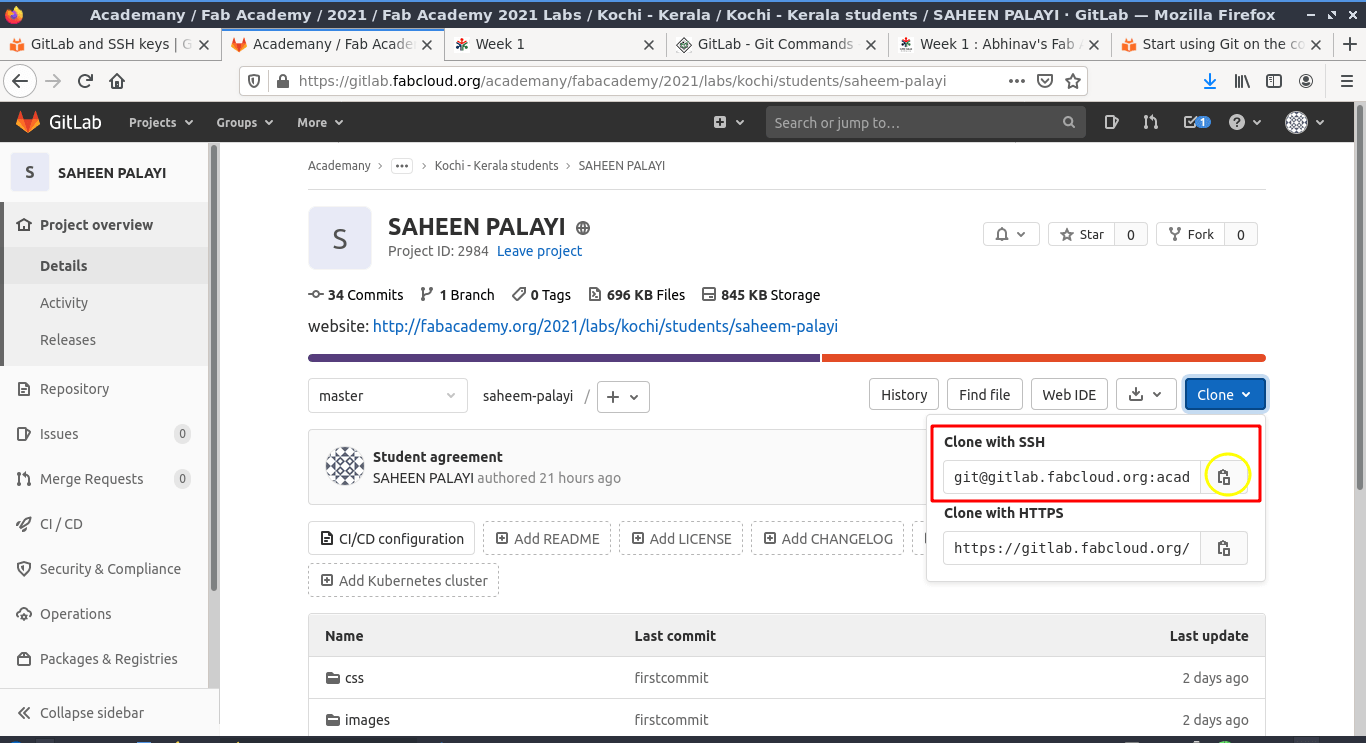
Next we have clone the existing repository which provided by the fab foundation
git clone https://gitlab.com/gitlab-tests/sample-project.gitreplace the example url with ur git repository location you can find it here
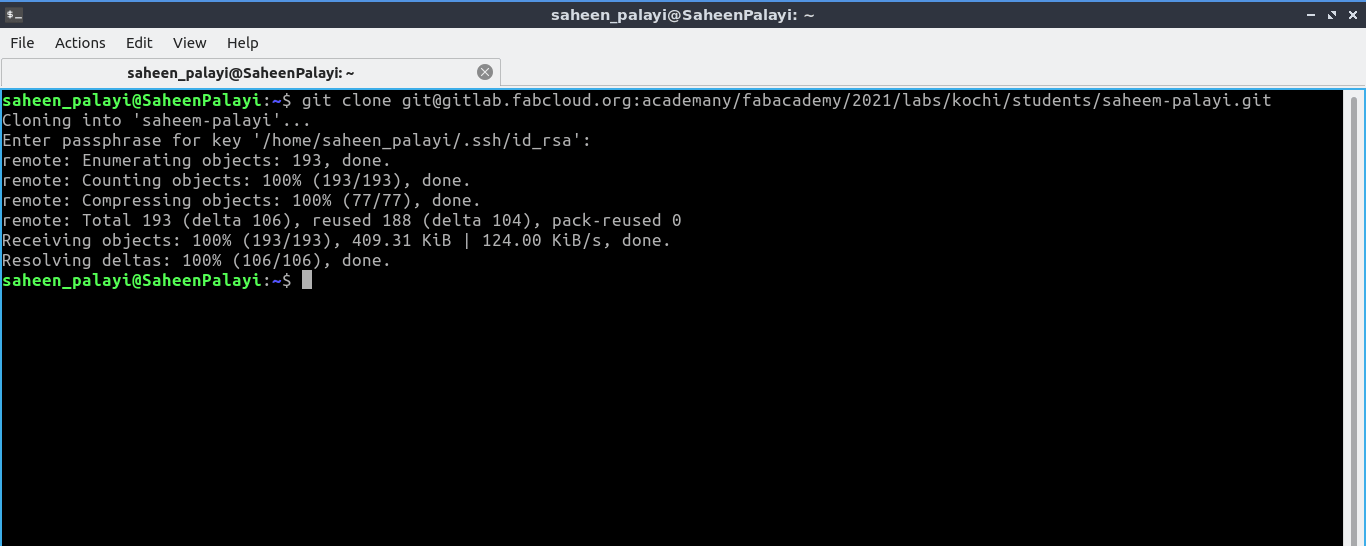
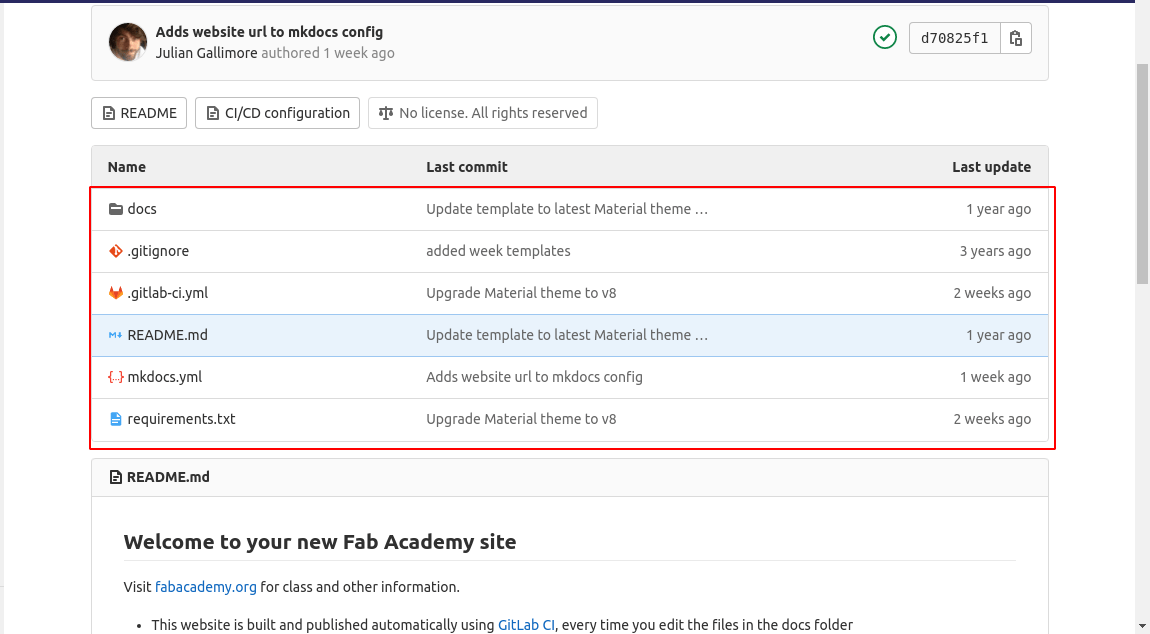
the repository is cloned to the user folder. Now go to inside that folder and remove the existing files and replace with the new website that created earlier the following commands will helps to remove the files
git rm * -r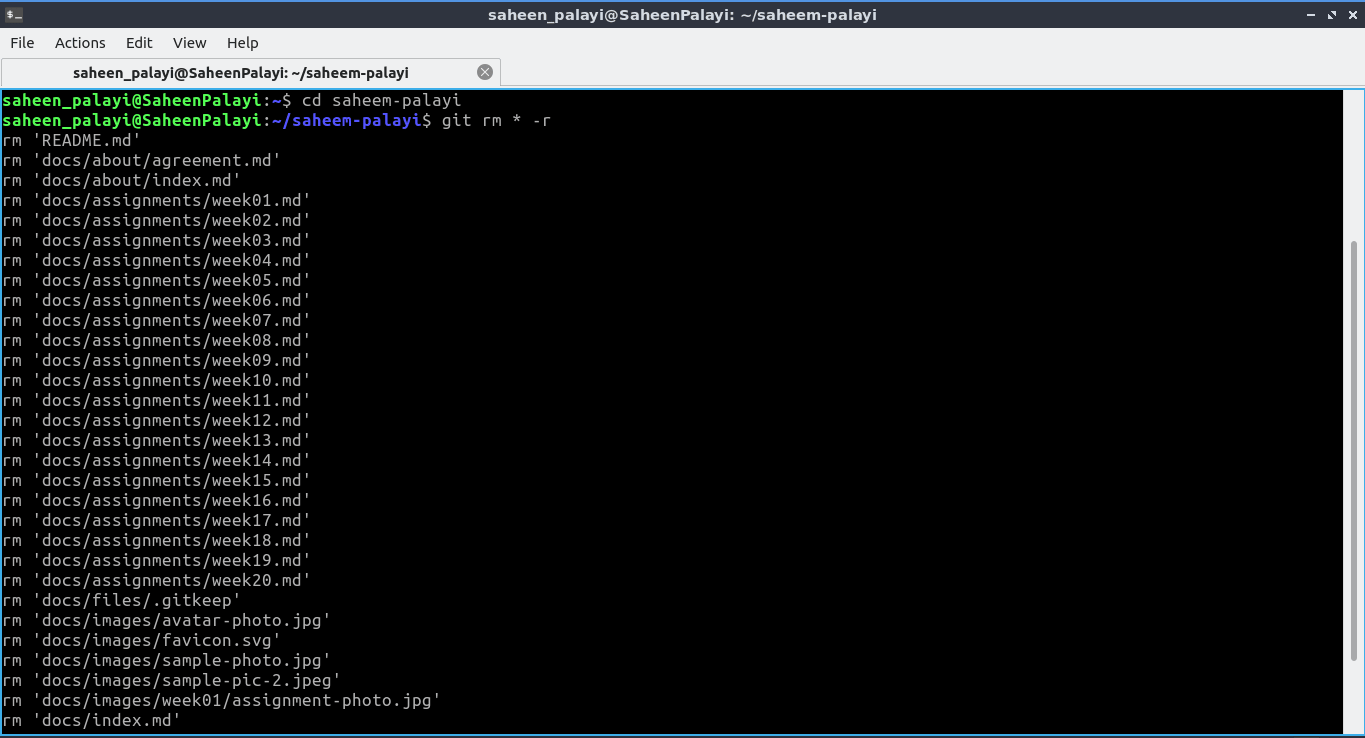
Add,Commit and Push
after copy paste the new files into the clonned repository.starts to uploading or pushing to the website using add all,commit and push command
git add --allgit commit -m "firstcommit"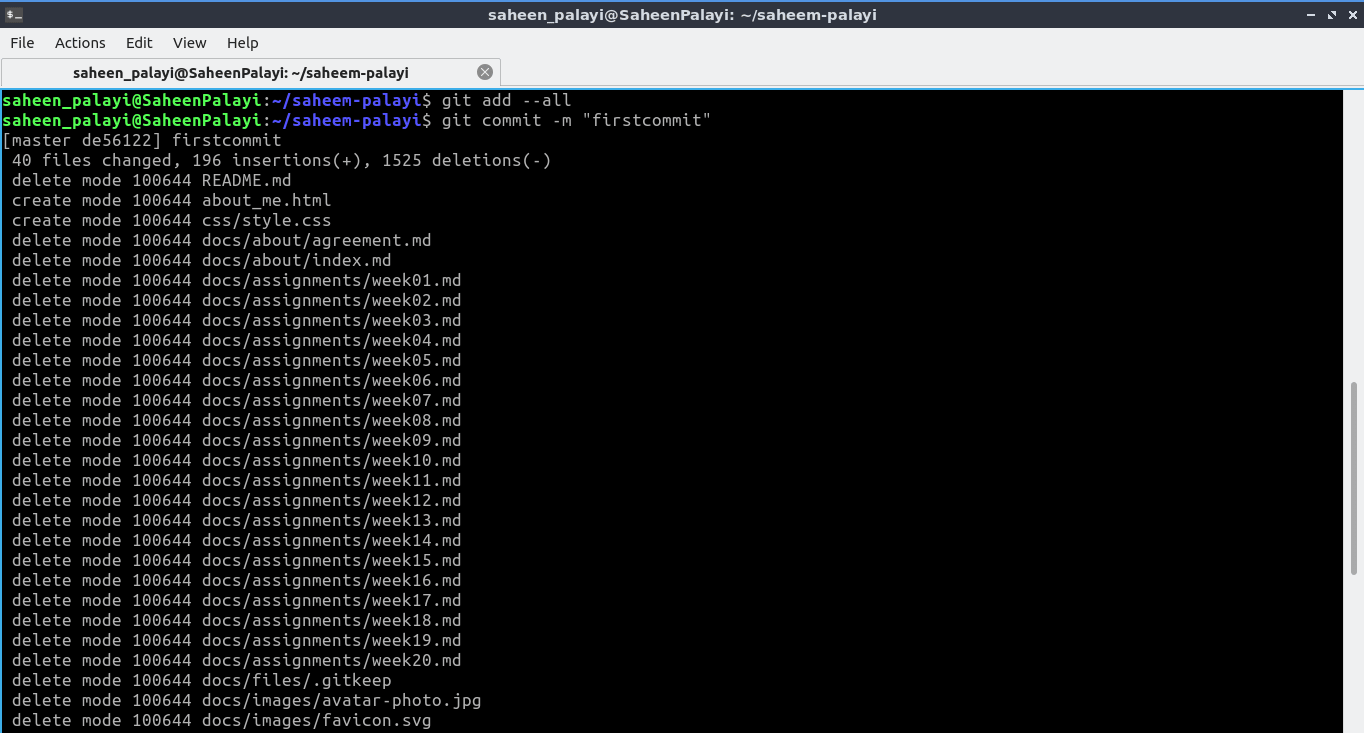
then push the files into the web by using git push command
git push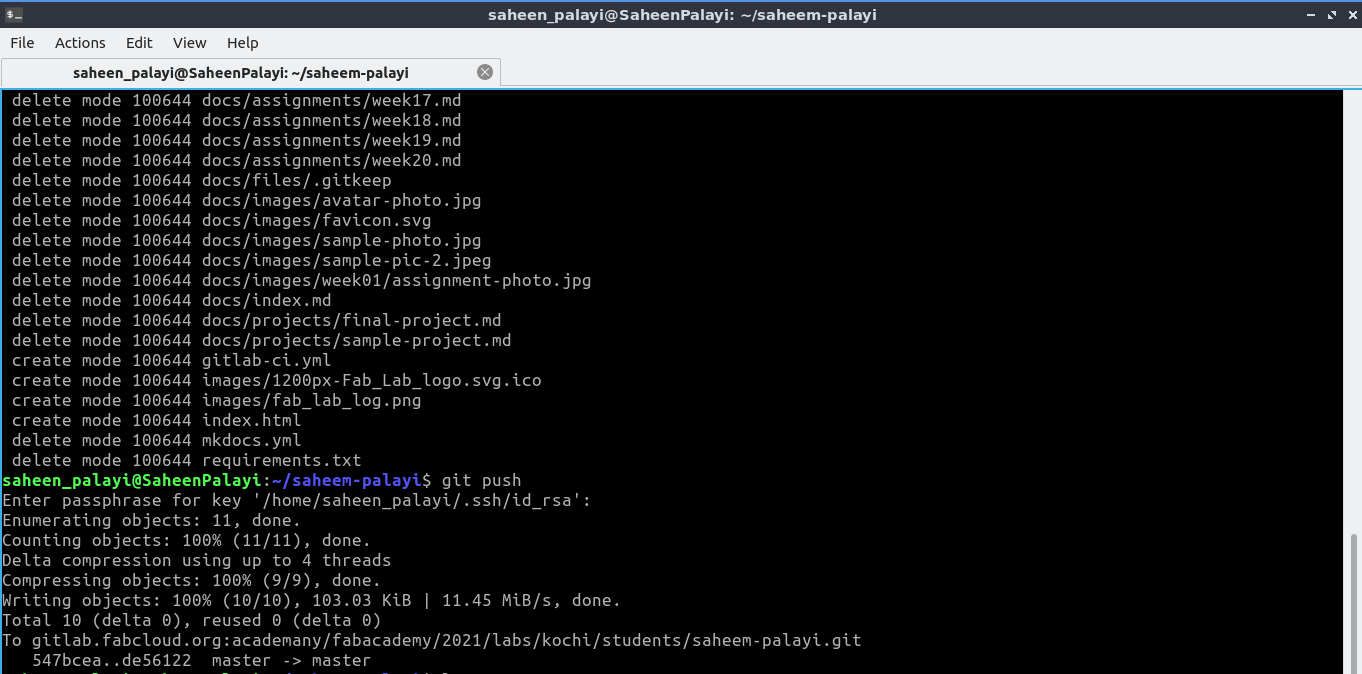
finlay we all done for the first commit of the website
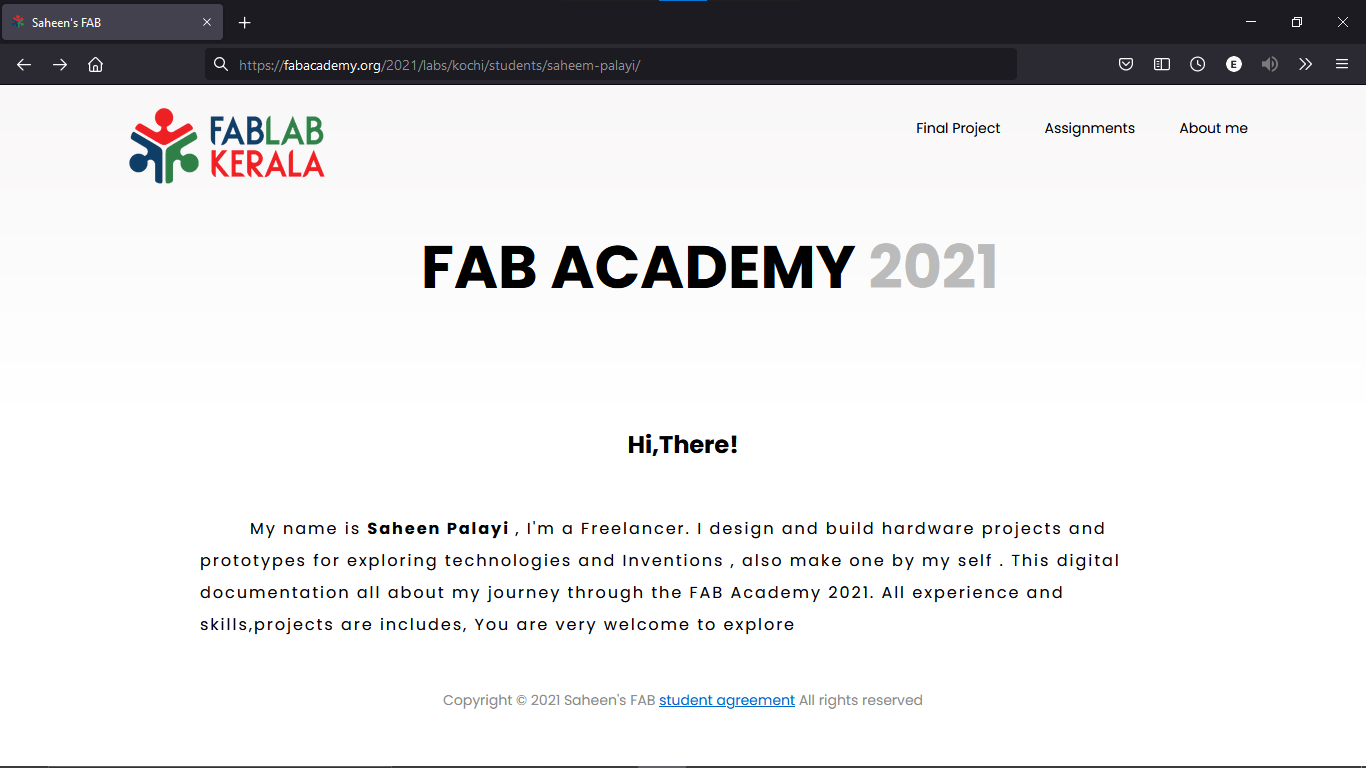
here is the website Final after I pushed to the gitlab cloud .The address found above my directory which is provided by fabcademy.org gitlab pages. The address is shown below
https://fabacademy.org/2021/labs/kochi/students/saheem-palayi/References
- Fab Academy Principles and Practices classes
- Fab Academy Project Management classes
- Visual Studio Code
- W3schools
- Font Awesome
- gitlab.com
- Git
- GitLab Docs
Downloads
- Website Logos and Icons