BACK TO HOME PAGE
WEEK 2
COMPUTER AIDED DESIGN(2D And 3D Design)
Assignment:
1) model (raster, vector, 2D, 3D, render, animate, simulate) a possible final project
2) compress your images and videos
3) Post in on your class page
Raster Vs Vector:
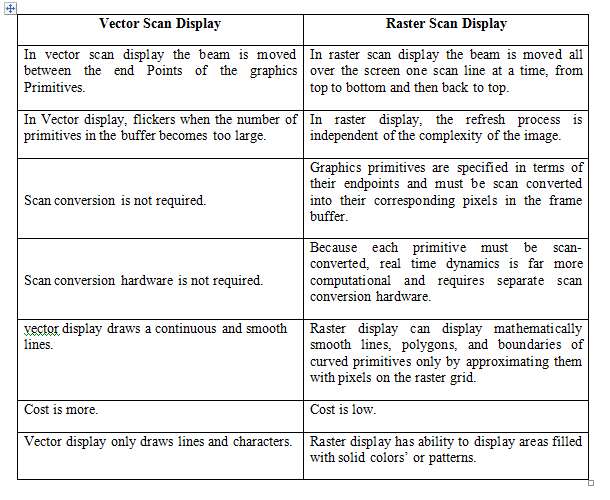
Raster:

GIMP is a free and open-source raster graphics editor used for image manipulation (retouching) and image editing, free-form drawing, transcoding between different image file formats, and more specialized tasks. Using this app, we can create raster images.

This image was taken from the internet. I've removed the ship from it using crop tool.
 <
<This image was also downloaded from the internet, and I have pasted the image of the ship onto it. So I was actually learning how to use the Gimp program.
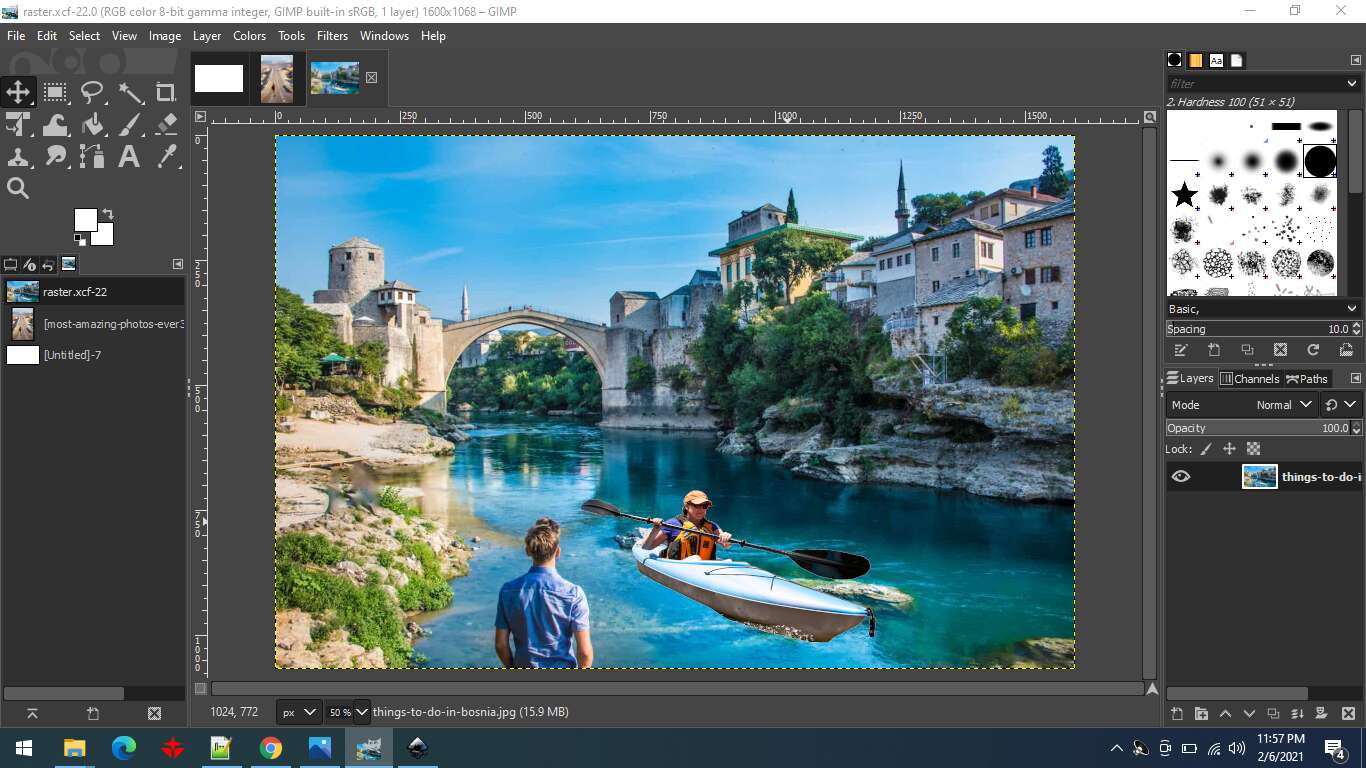
I used the crop tool to cut the ship from the first image I downloaded and put it into the second photo, and finally, I finished my task.
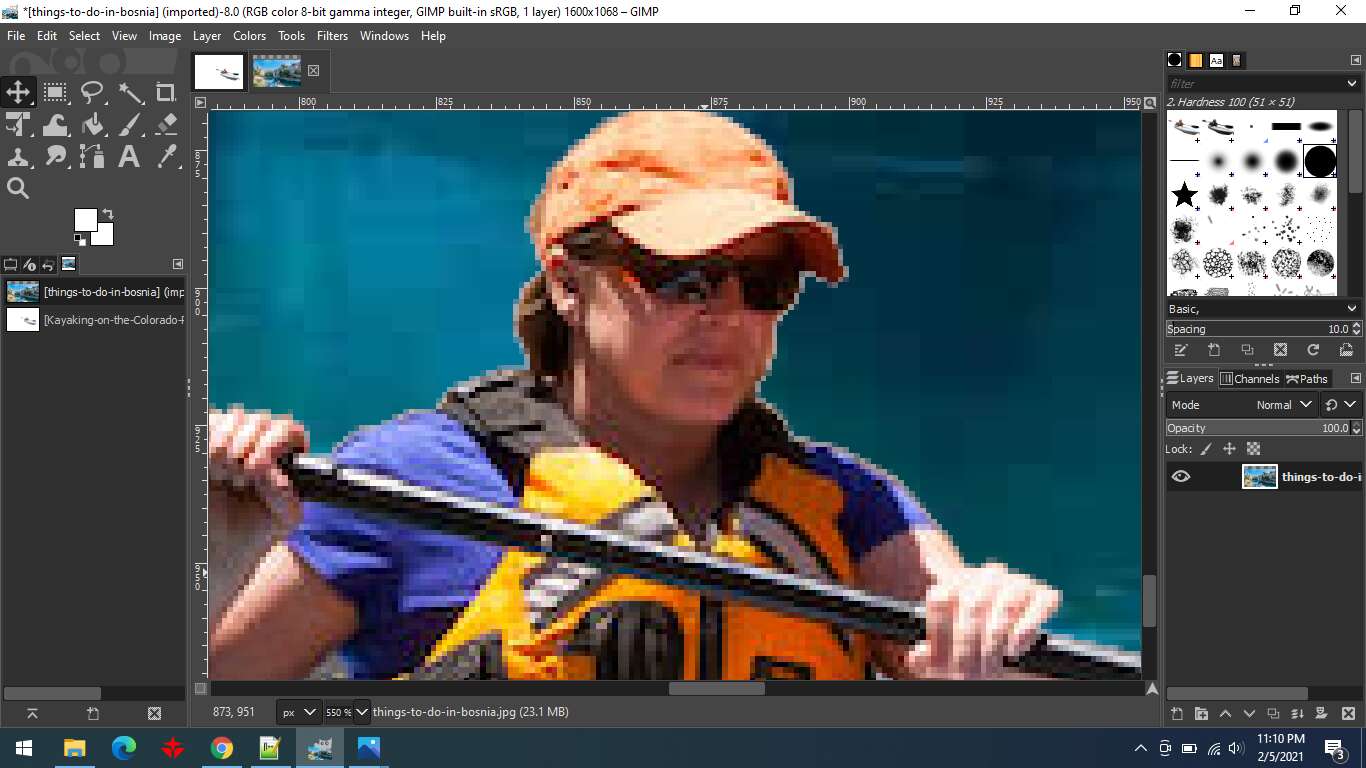
When I zoom in on a picture, the image turns into a raster.
Vector:
Inkscape is a Free and open source vector graphics editor for GNU/Linux, Windows and MacOS X. It offers a rich set of features and is widely used for both artistic and technical illustrations such as cartoons, clip art, logos, typography, diagramming and flowcharting. It uses vector graphics to allow for sharp printouts and renderings at unlimited resolution and is not bound to a fixed number of pixels like raster graphics. Inkscape uses the standardized SVG file format as its main format, which is supported by many other applications including web browsers.
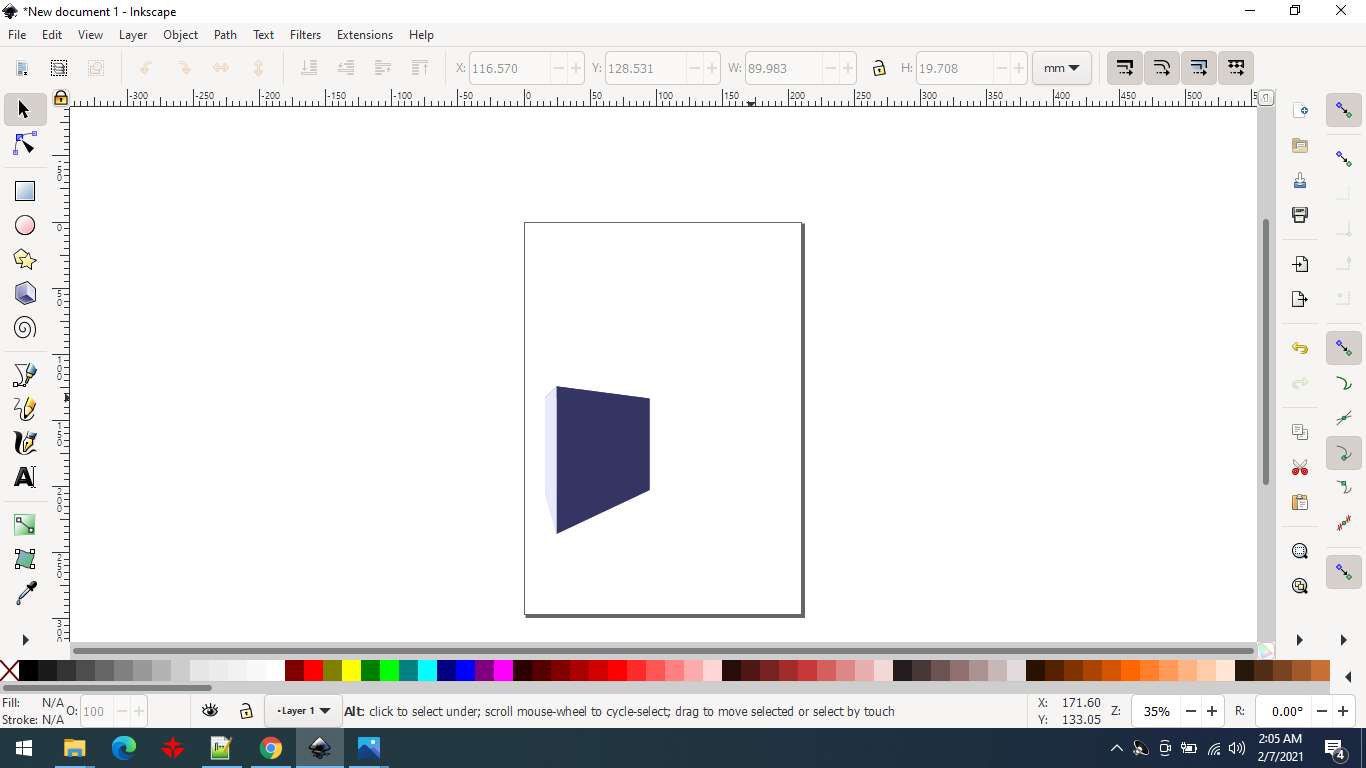
First, I open inkscape and create a square box vector style.
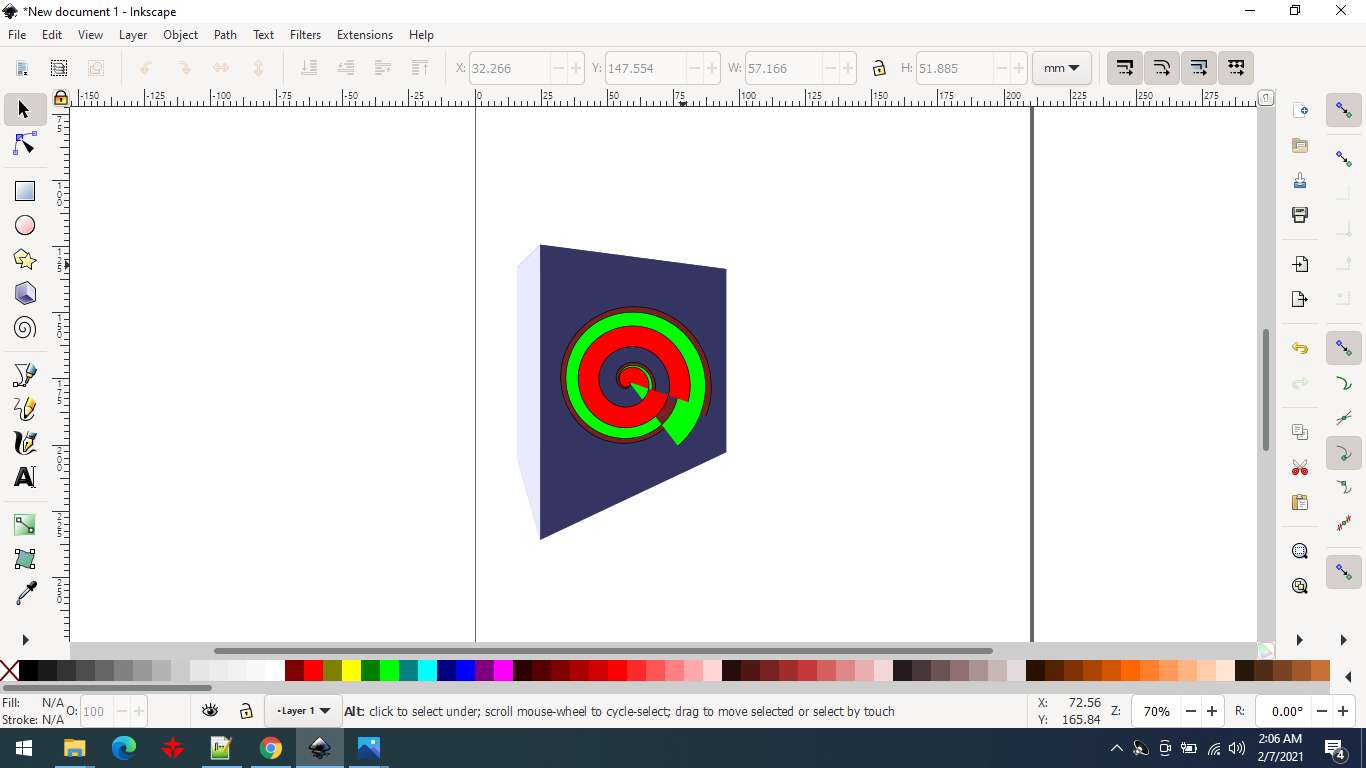
Then I used different colours to create a pattern in a square frame. I was practising with this software because I had no previous experience with it. As a result, I created a straightforward design.
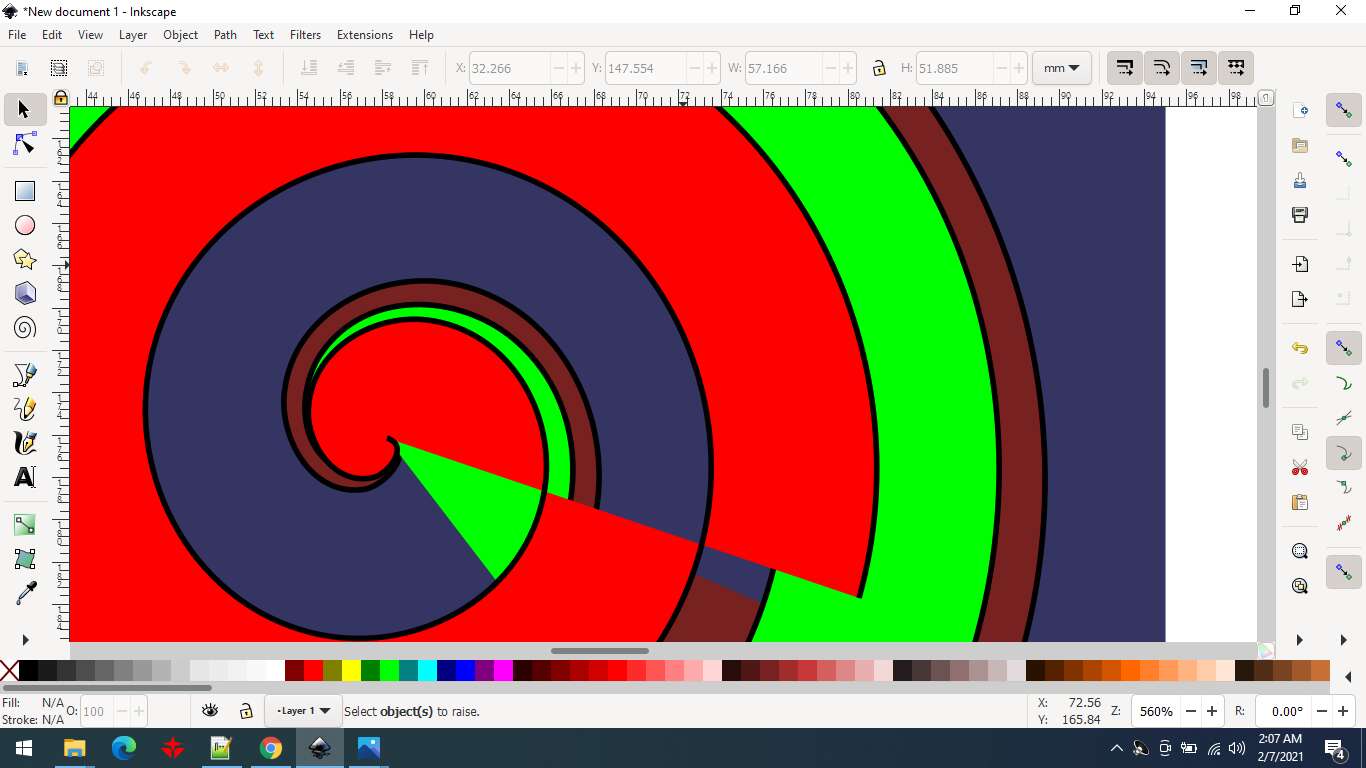
When I zoom in on a vector graphic, I get the following results.
Sketchup:(Non-parametric software)
SketchUp is a 3D modeling computer program for a wide range of drawing applications such as architectural, interior design, landscape architecture, civil and mechanical engineering, film and video game design. ...
SketchUp is owned by Trimble Inc., a mapping surveying and navigation equipment company.

I use the sketchup software to create my final project. My local instructor is dissatisfied due to certain technical problems.
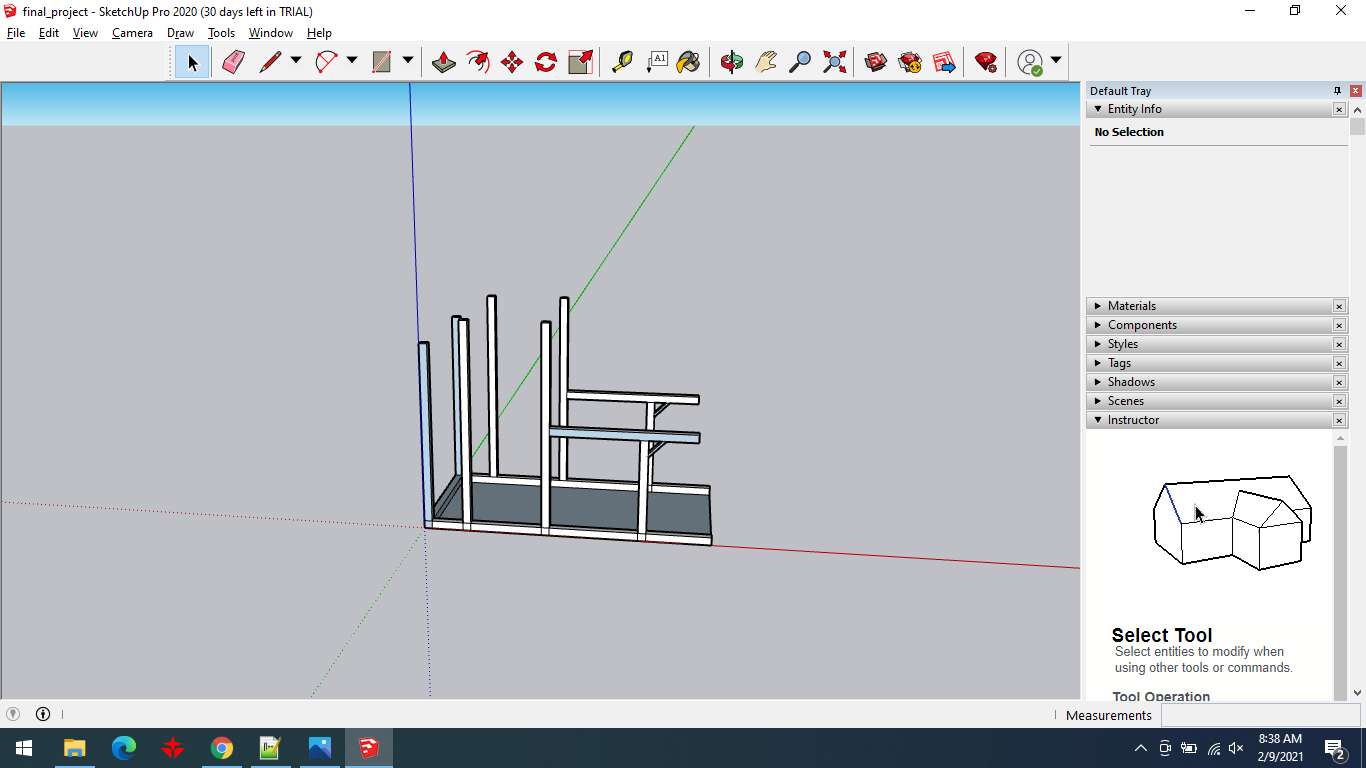
First, I use a shape tool to design the tennis ball machine base, then I use a measuring tape to determine the size of the base, and last, I fabricate the steel pipe that is attached to the base.
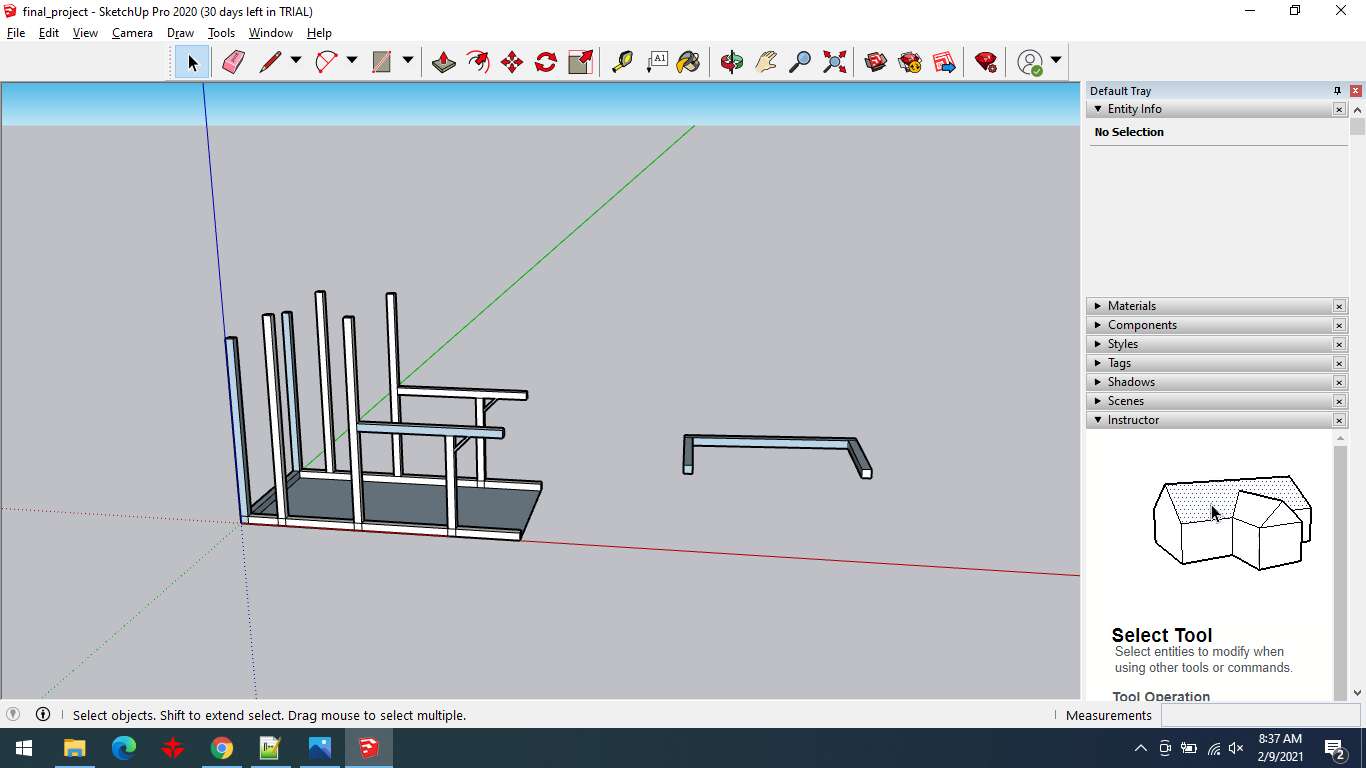
I've made a flywheel frame for projecting the tennis ball machine, which is connected to the front of the frame in this image.
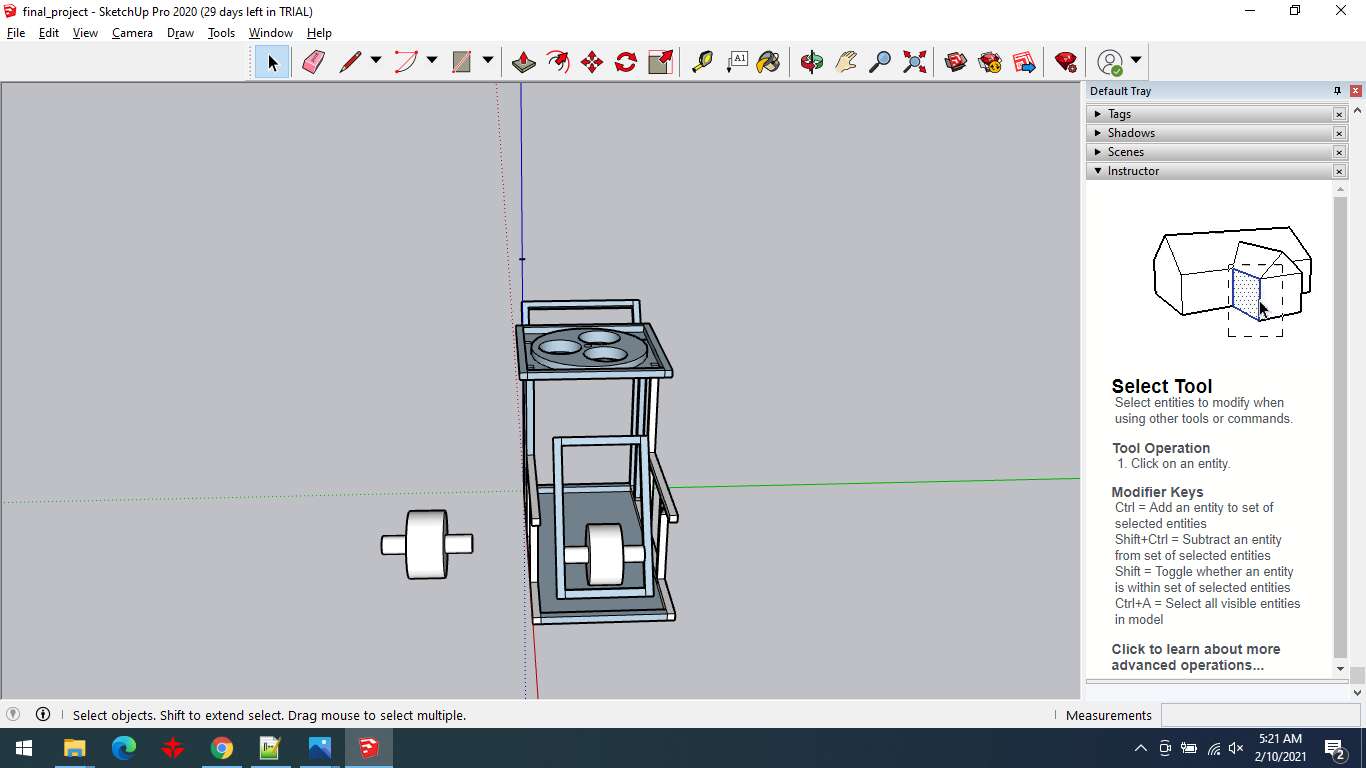
I make a flywheel using a circle tool and extrude it such that the ball may travel through it.
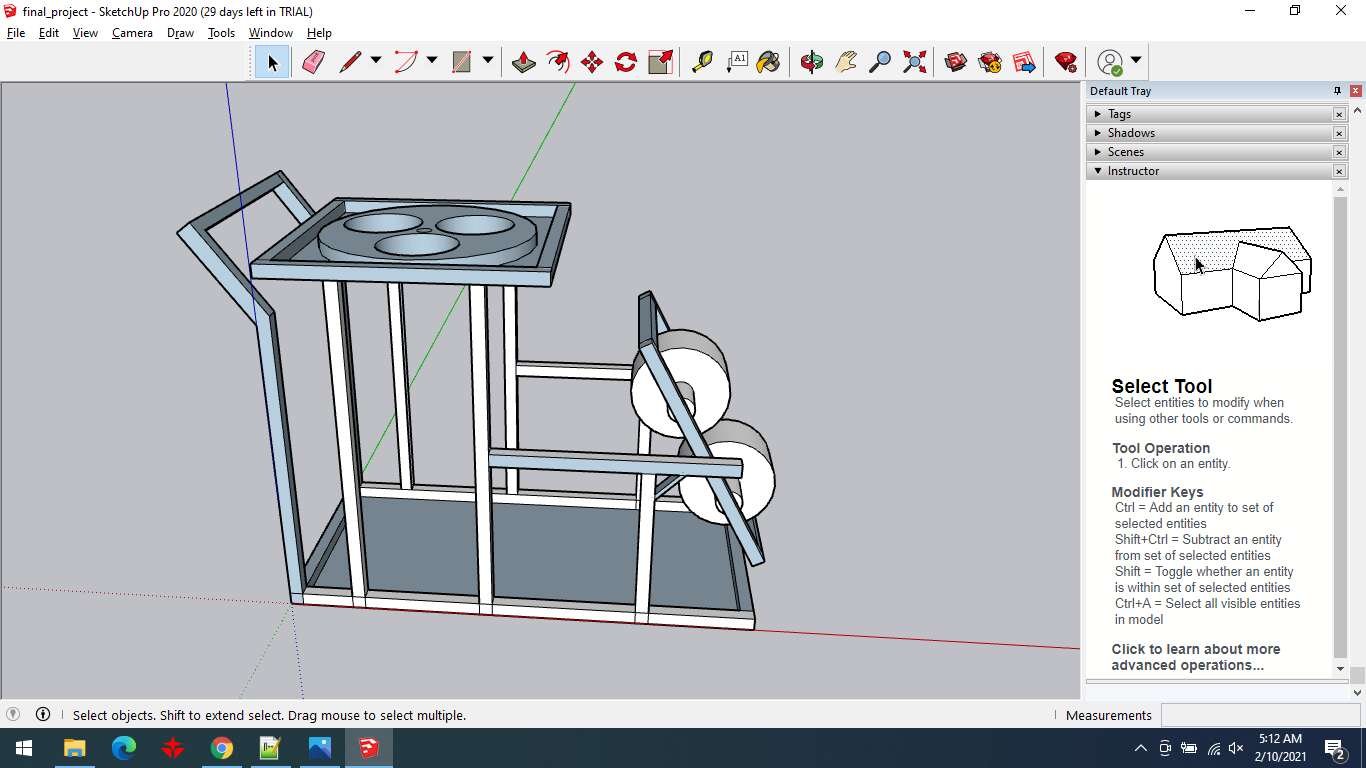
At sketchup app, I'm attempting to complete the fundamental framework of a tennis ball machine.
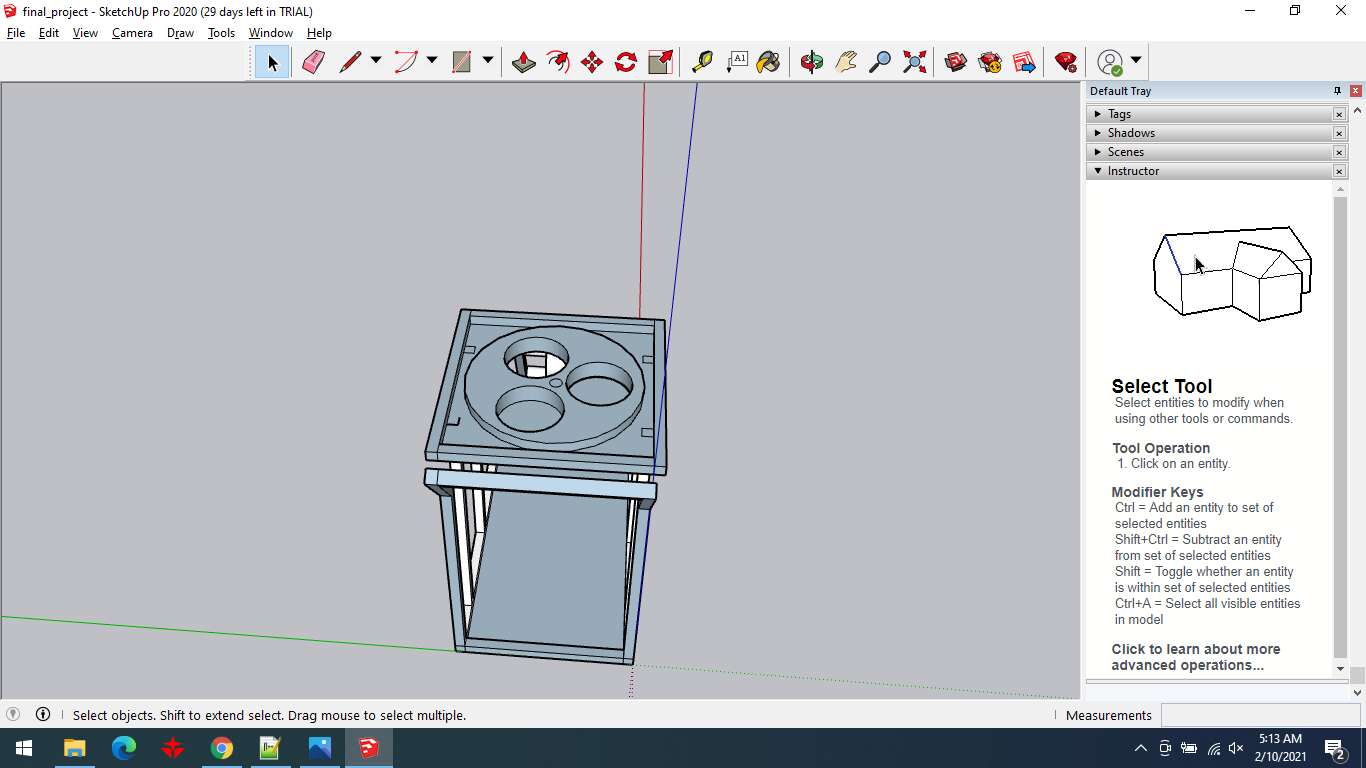
Tennis ball machine from the back
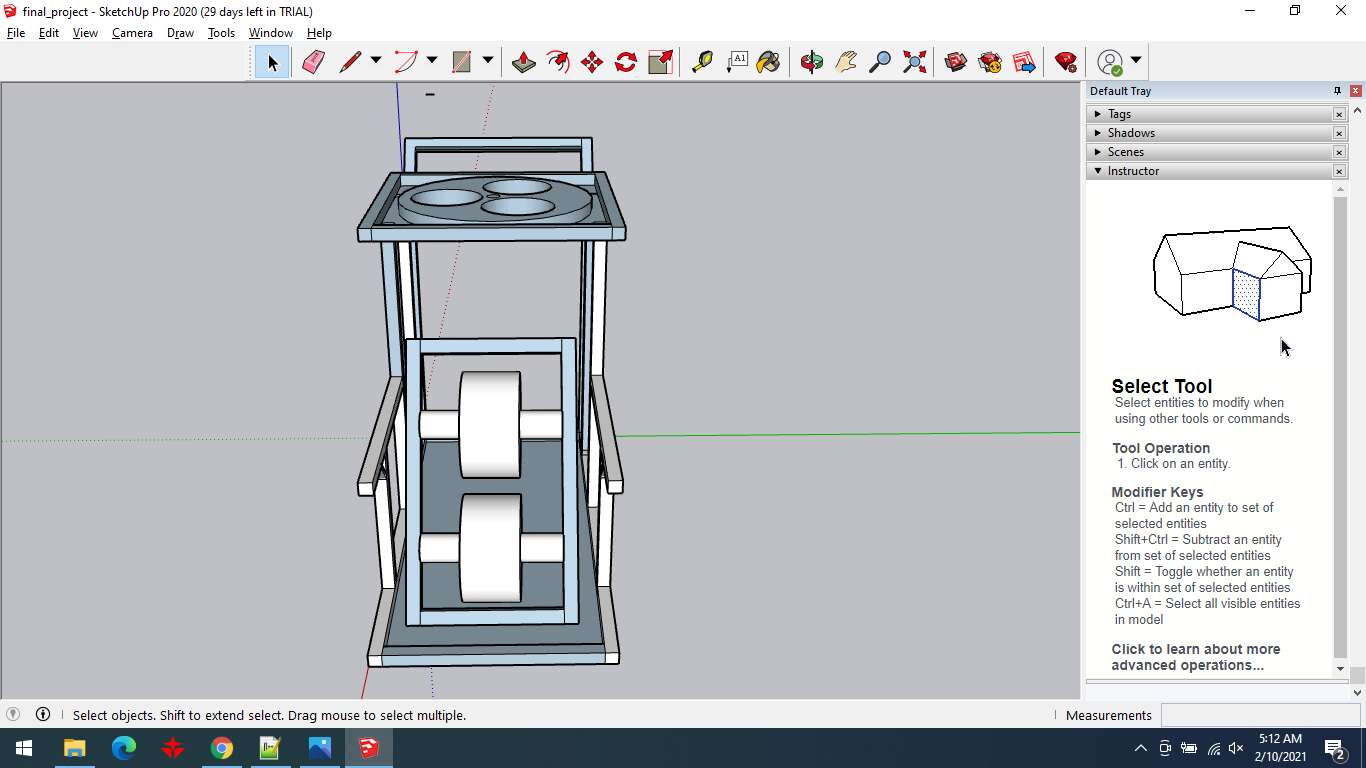
Front view of tennis ball machine
Final Project:(2D design)
I used the inkscape software to create a 2D design for my final project, a smart adjustable desk.
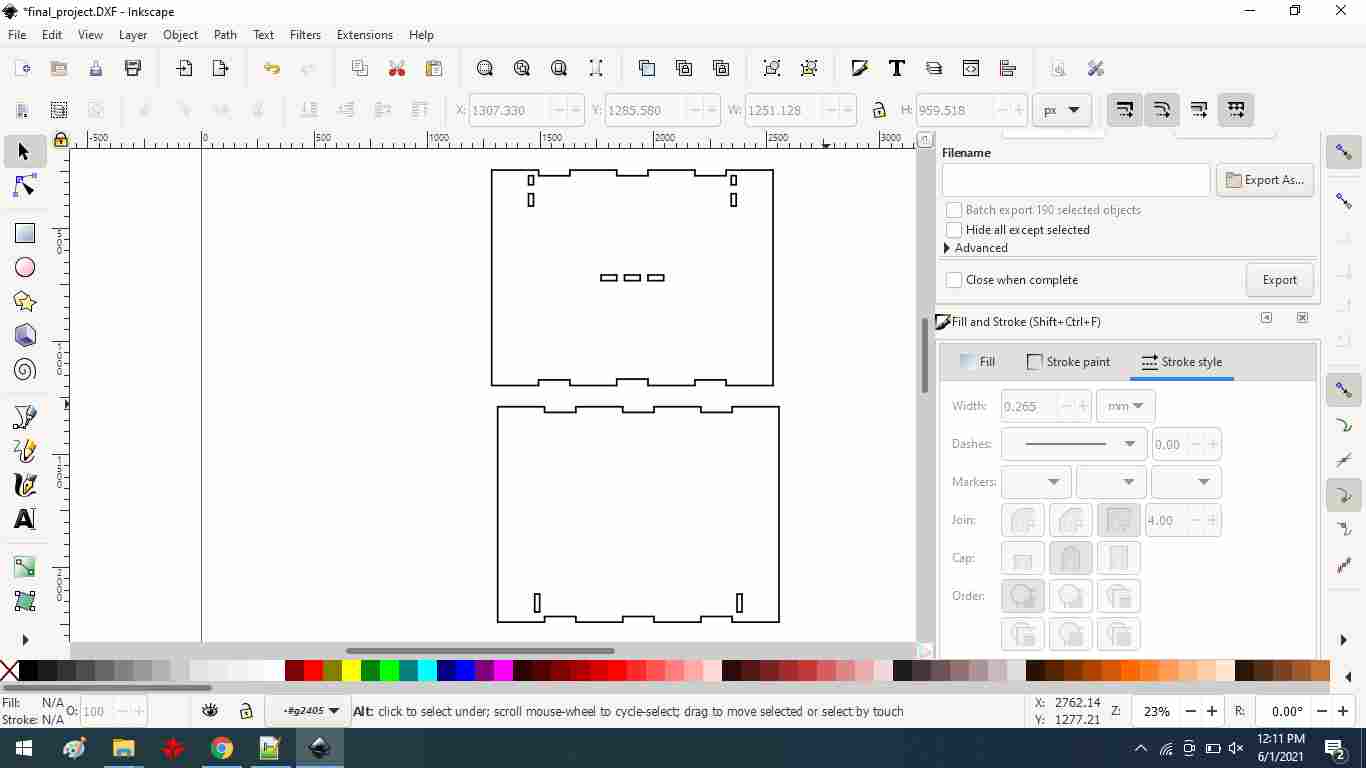
I created the Smart Desk's top and bottom parts. I started by creating the outer part with the pencil tool, and then I used the square shape tool to build the teeth for pressfit.
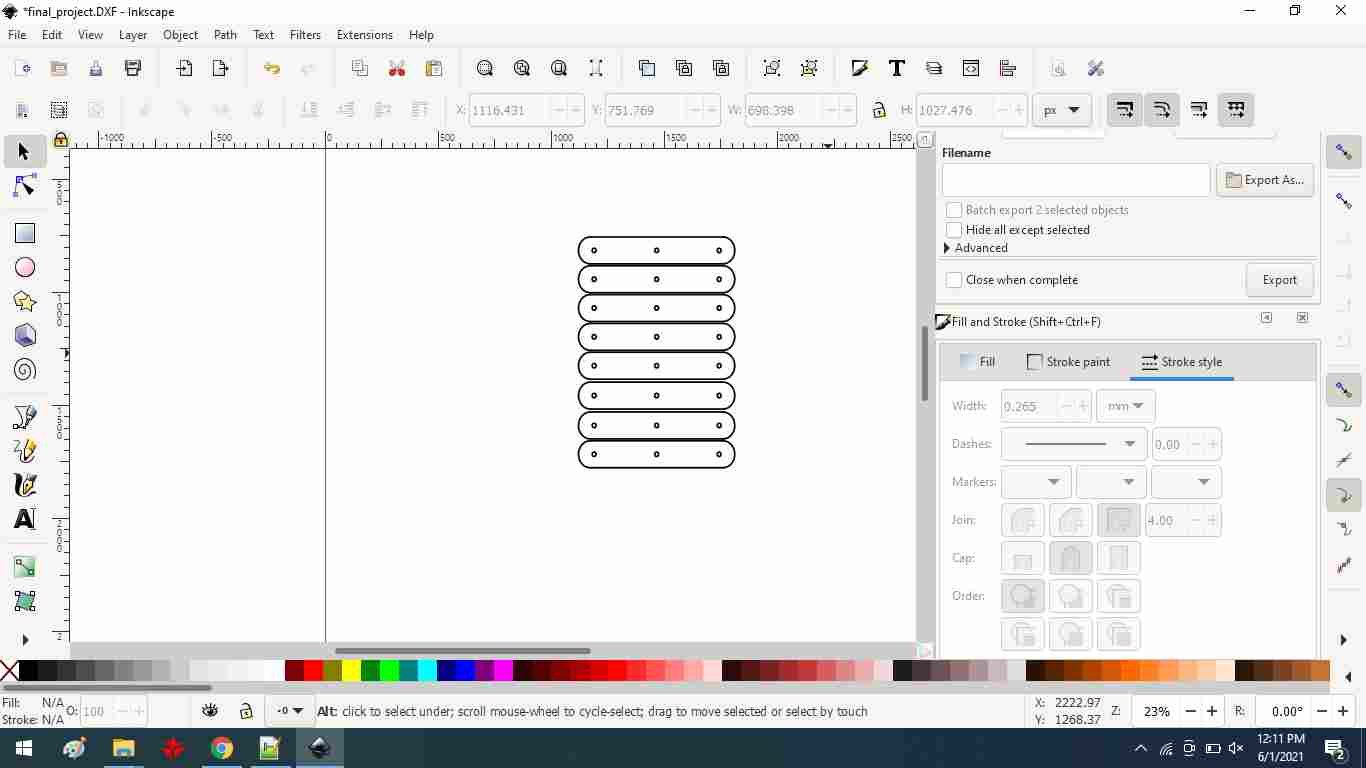
After that, I used the square shape tool to design the scissor portion of my final project, then set the radius of the corner and build a hole within the scissor using circle tool.
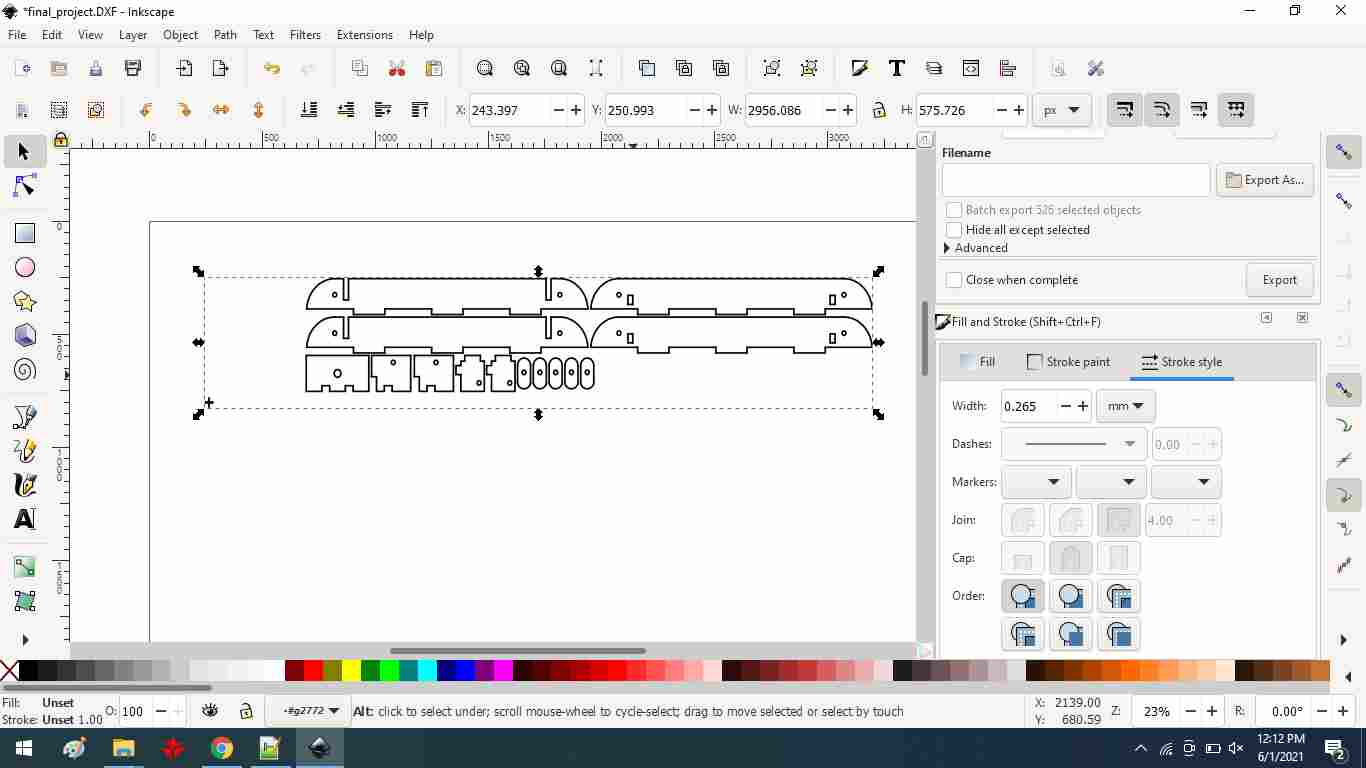
Then, using the pencil and circle tools, I designed the side supports and scissor fixing supports for my final project.
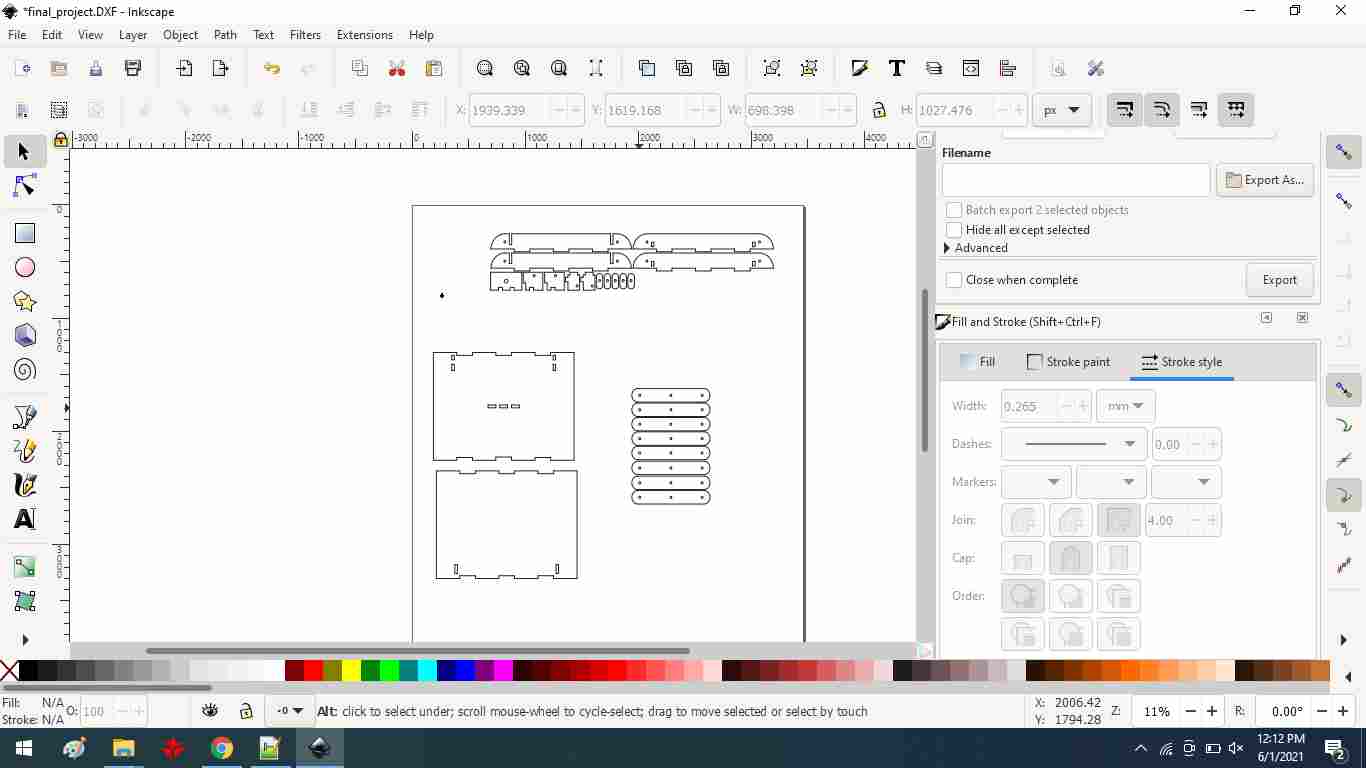
Finally merge all parts
Final Project:(3d design)
Solidworks was developed by MIT graduate Jon Hirschtick and was bought by Dassault Systems in 1997. The software now encompasses a number of programs that can be used for both 2D and 3D design.
Solidworks is used to develop mechatronics systems from beginning to end. At the initial stage, the software is used for planning, visual ideation, modeling, feasibility assessment, prototyping, and project management. The software is then used for design and building of mechanical, electrical, and software elements. Finally, the software can be used for management, including device management, analytics, data automation, and cloud services.

To begin, I used a parametric equation and the line tool to create the upper part of my final project.

Using the extrude boss tool, extrude the upper part. The upper surface's 3D part of smart desk and then make the rectangular shape box which is used for press fit with another part and then I have used the extrude cut tool to cut the rectangular.

using the line tool I sketched the smart desk's side supports and included a hole for connecting the steel rod between the top and bottom part's two side supports.

After that, I extruded the supports with the extrude boss tool.

Then, using the line and circle tool, I sketch another support that connects the side and top parts, as well as the scissor with a nut and bolt.

After that, I extruded it using the extrude boss tool.

I used the ecllipse tool to design the scissor section of my final project.

After that, I extruded it using the extrude boss tool.

I used the line tool to sketch the support, which is connected to the bottom part and bottom side supports, and the circle tool to create the hole, which is also attached to the scissor part with the help of a nut and bolt.

After that, I extruded it using the extrude boss tool.

Using the line tool, create a centre support for the desk, as well as a circle using circle tool for the lead screw shaft movement.

After that, I extruded it using the extrude boss tool.

I design the 33mm bush for supports b/w the middle scissor using circle tool.

Then I used the extrude boss tool to extrude it, and then I made the inner circle and extrude cut it.

Finally, I skect the metal rod clip with a rectangular and arc tool that connects the steel rod to the scissor for scissor movement on the steel rod.

Finally, I extruded it using the extrude boss tool.
"Click here"to download all files of this week