Wild Card Week :-
This week Assignment was
Design and produce something with a digital fabrication process
(incorporating computer-aided design and manufacturing) not covered
in another assignment, documenting the requirements that your
assignment meets, and including everything necessary to reproduce
it
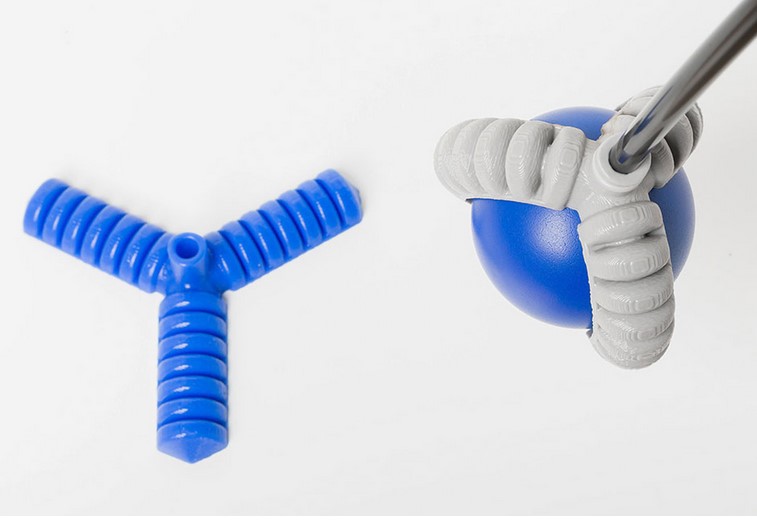
This week i decided to make soft robol "Mini Catcher"
Soft Robotics
Soft robotics is a subfield of robotics that concerns the design, control, and fabrication of robots composed of compliant materials, instead of rigid links.[1] In contrast to rigid-bodied robots built from metals, ceramics and hard plastics, the compliance of soft robots can improve their safety when working in close contact with humans.
How Does It work
There are different ways to acuate a soft robot which include: pneumatic, photosensitive, combustion driven etc. In this week I am going to try out pneumatic actuation. When air is pumped into theses cavities, the cavities expand and the structure changes its shape. The structure can also change its shape when air is pulled out of these cavities. is kind of cool animal to biomimic and I think it would be great experiment. The cavities will swell up when air is pumped throught the air in and the whole body bends. The cavies can be desined according the the required shape and size that5 we need to move/bend the body.
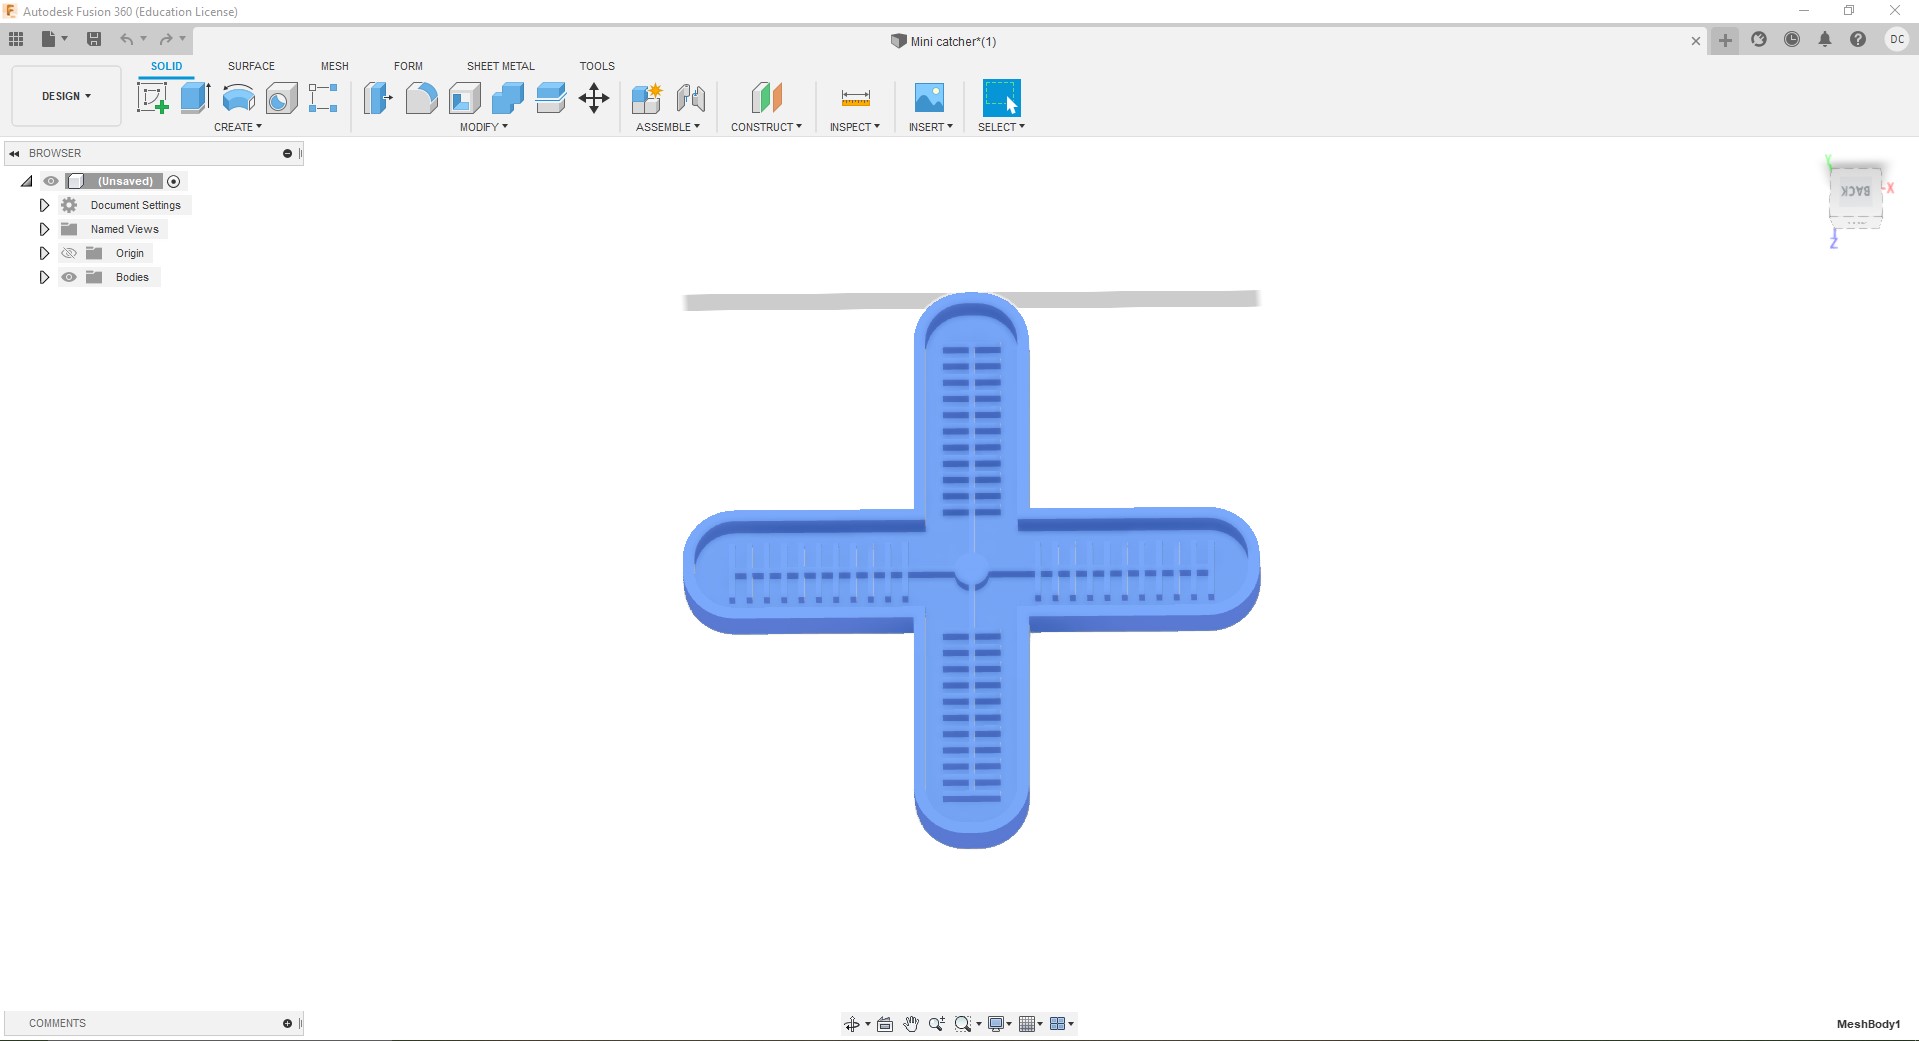
3D Modelling and Printing
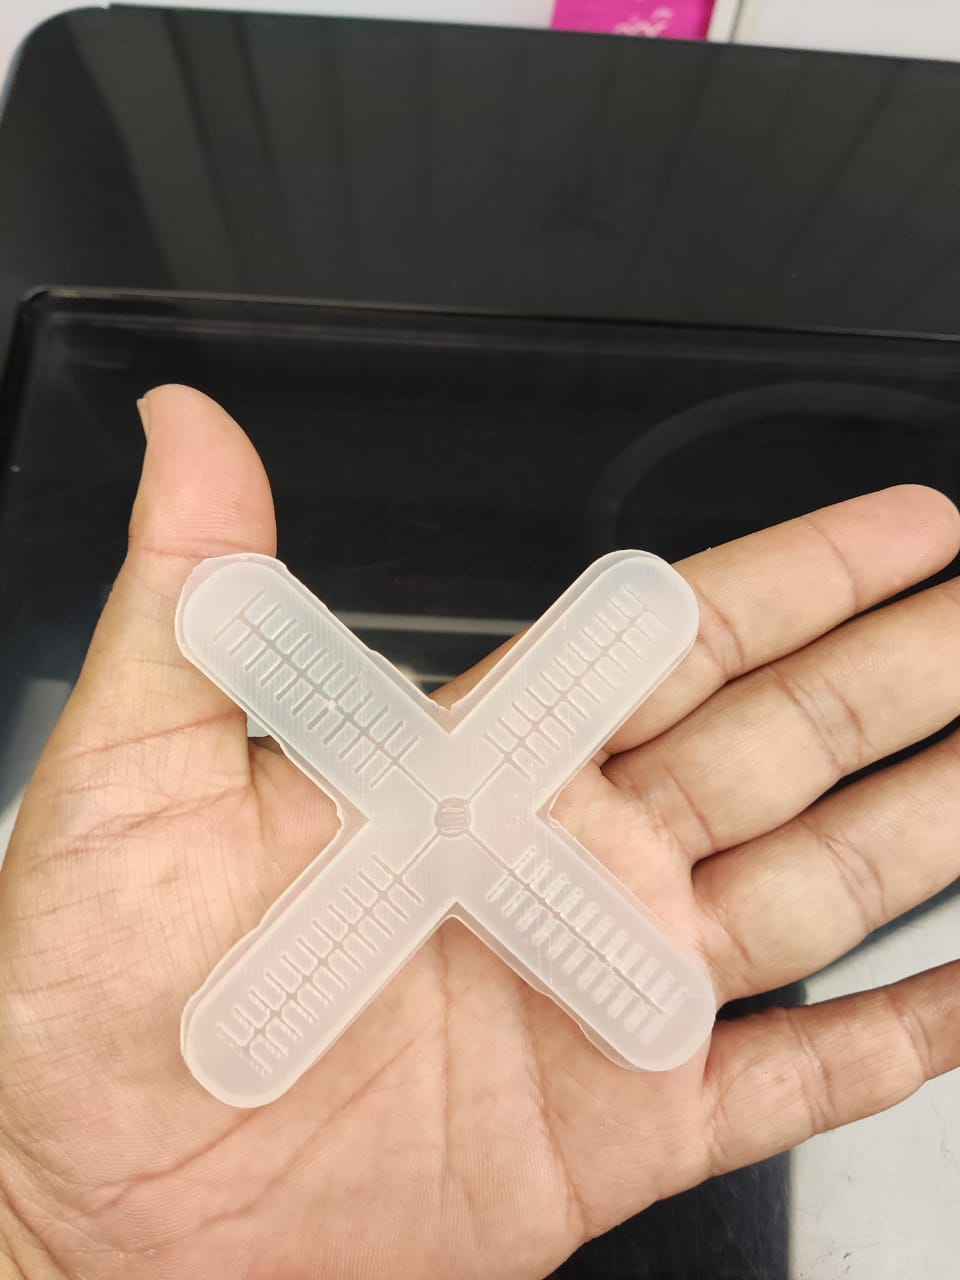
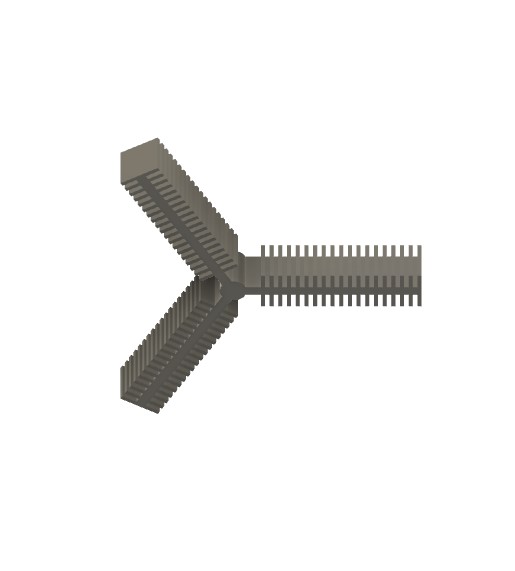
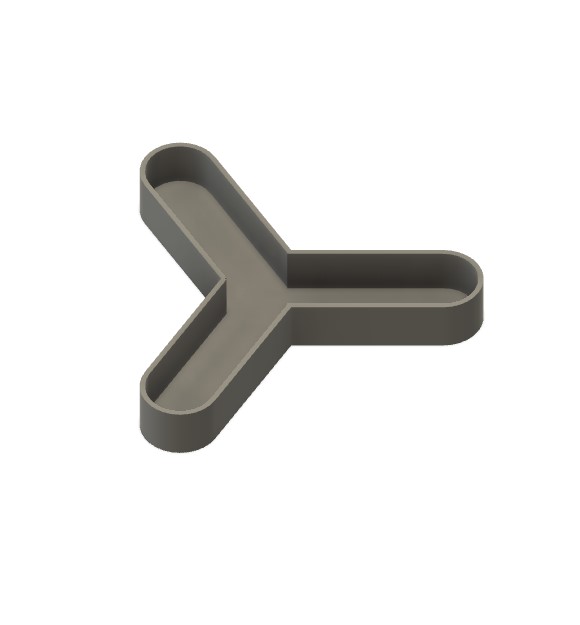
I am using Fusion 360 to design the 4 legged Mini catcher and for that I need to first create the negetive mold. In addition to basic frame, small pockets must be created along the length of fingers inside the mold so that air can be filled which causes the fingers to bend. The rib width was selected as 4mm and the length and breadth of the model is 8 mm height of 1 9 mm width.
I designed the 3d model of mini catcher file in the fusion 360. from scratch and exported as stl file.
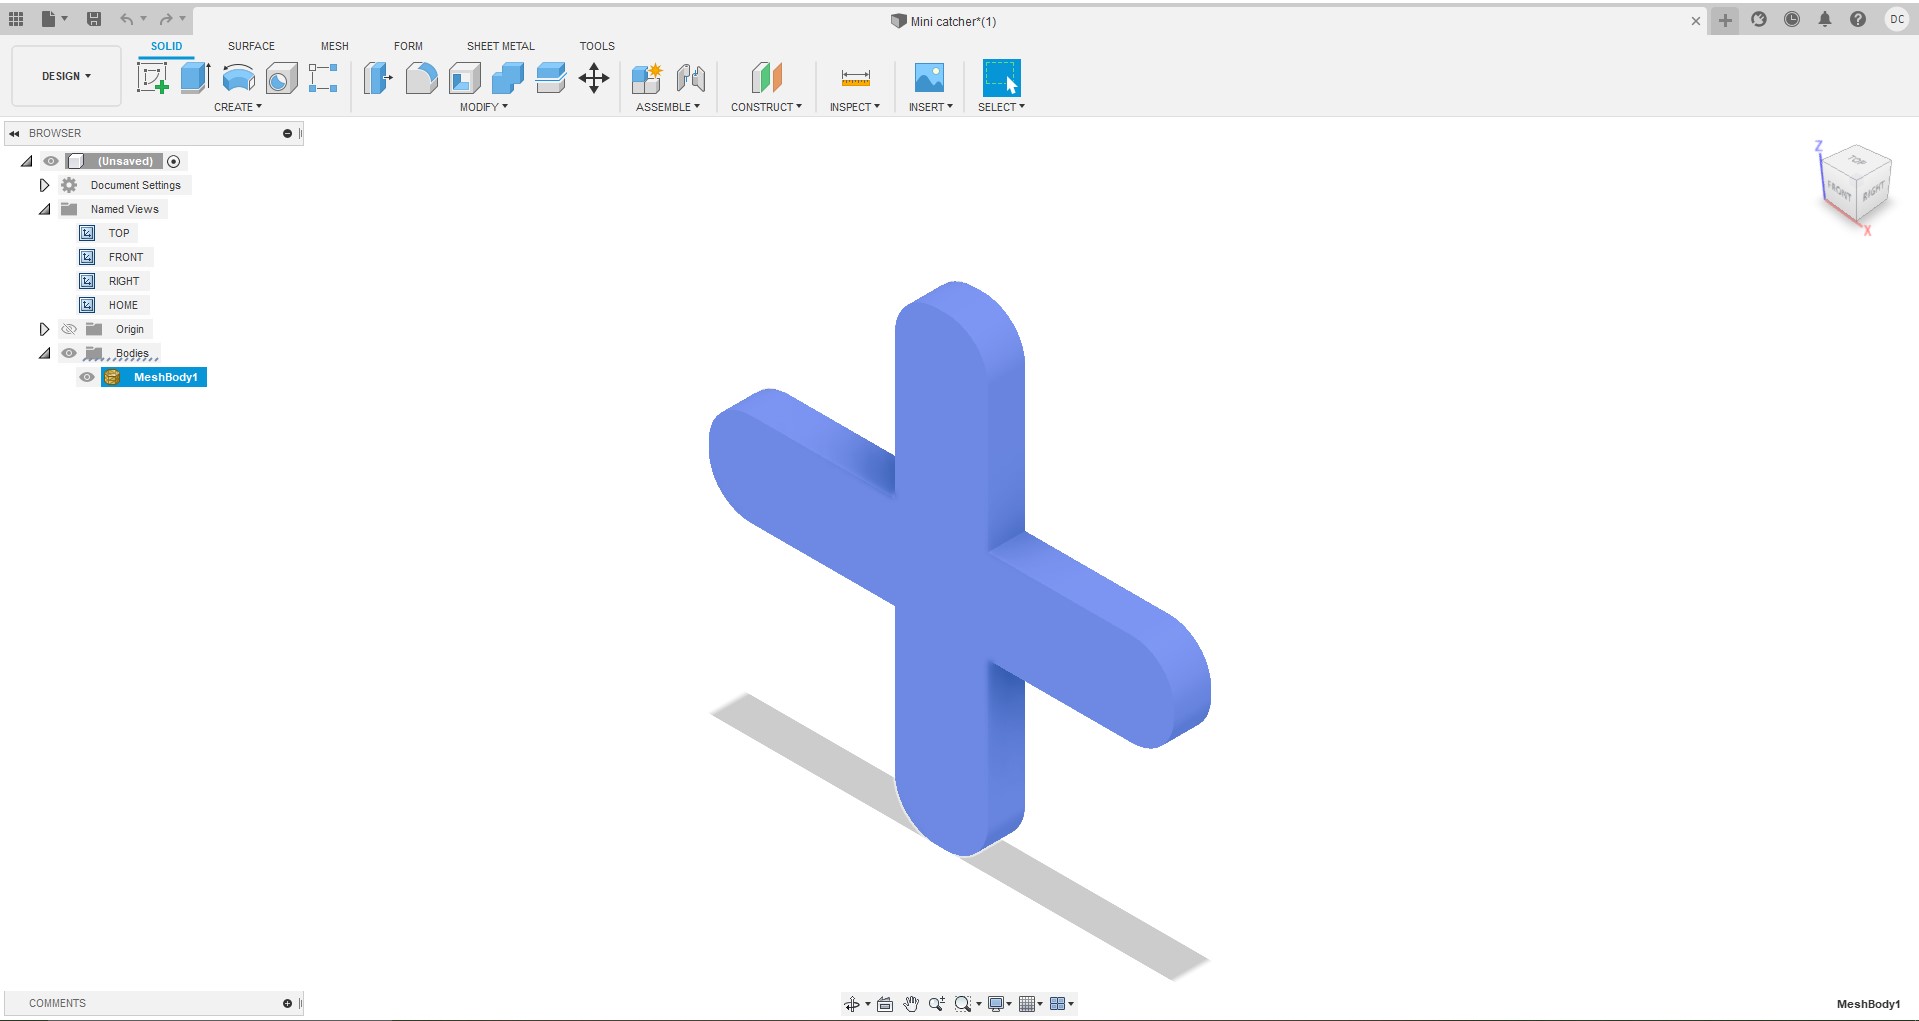
After this i 3 D printed the in the Sindoh 3DWOX printer.It Too around 2 and half hour for printing.
But I found that it was not printed properly there was the issue of high prcision printing and the balancing problem of the machine.I adjusted the levelling of the machine and re prionted it.
.
This time it was printed properly.
Then i prepared the Liquid silicone rubber (Food Grade Rubber) soution.I referd to the datasheet of the LSR here
and followed the instructions printed on the box as shown
Casting
For silicon casting, I had used Siloczest silicone rubber which was available in the lab. Siloczest silicone rubber Series rubbers are premium water white translucent silicone rubbers (platinum catalyst) which cure at room temperature with negligible shrinkage. Silcozest hardness and features high tensile and tear strength. This product also offers the convenience of a 1A:1B by volume mix ratio. Silcozest silicone rubber is FOOD SAFE and can be used for culinary applications including casting chocolate and other confections.
.jpeg)
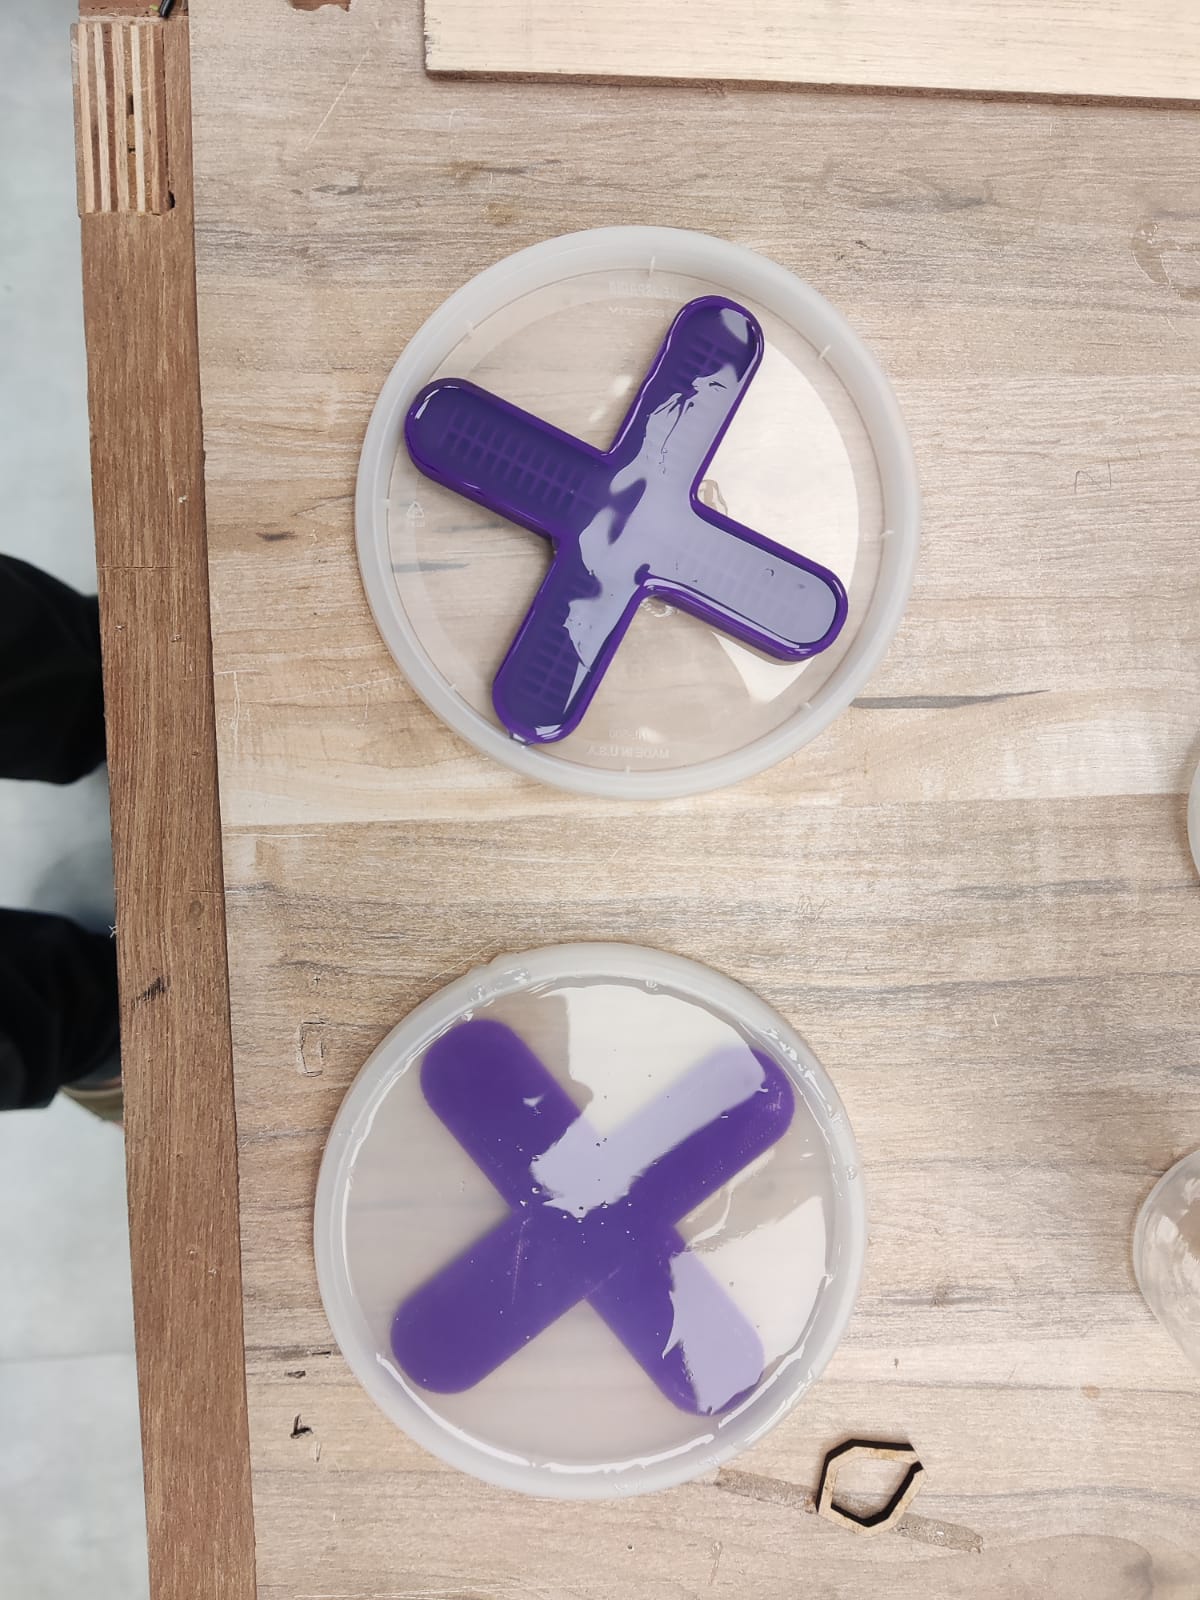
I mix the Part A and B, here I had used 20g of Part A and 20 g of Part B and had mixed no so throoughly. Then I pored the mixture in the mold and waited for 2-3 long hours to solidify.

After this i removed the bubble using the vaccum chaber privided in the fablab.I use the vaccum of 29 inches of mercury for 2-3 minutes.But still some of the bubble are left.Dont worry they will blow out automatically after pouring in the mould.
.jpeg)
After this i poured the solution in the mould
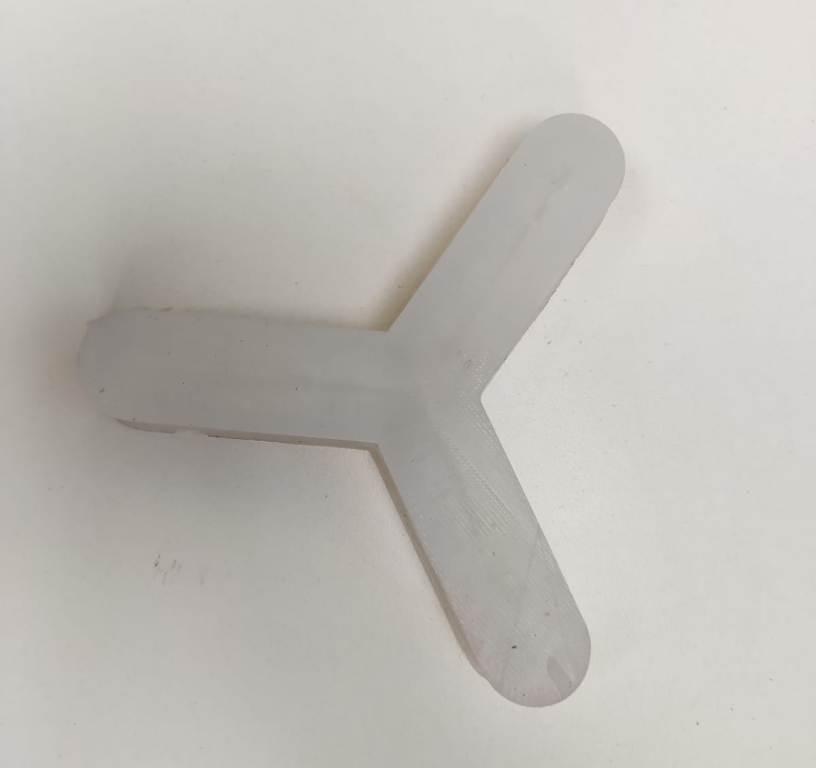
Then i gave the time to set the Liquid Rubber Slicone.After this i peeled the mould LSR from the moulded .It came out perfectly.After 2 and half hour long wait, I had removed the silicon rubber from the mold. The mold came out perfectly, thanks to the bigger footprint of the mold. The next step is stick the bottom side of the mold to the cured silicon poured into the oven plate using silicon. In this step I need to ensure that there is no gap in the edges and the alignment has to be perfect.
.jpeg)
.jpeg)
The next step is to attach the bottom side of the silicon rubber to the cured rubber poured on the surface of the oven plate. The parts are sticked together using silicon rubber and again left for it to cure. Once the parts are cured the extra silicon from the edges are removed using a cutter ensuring that there is no air leakage.I spilled the Solution on the smooth acrylic sheet and peeled it of after 3 hours.I forgot to click the snapshot during the process.
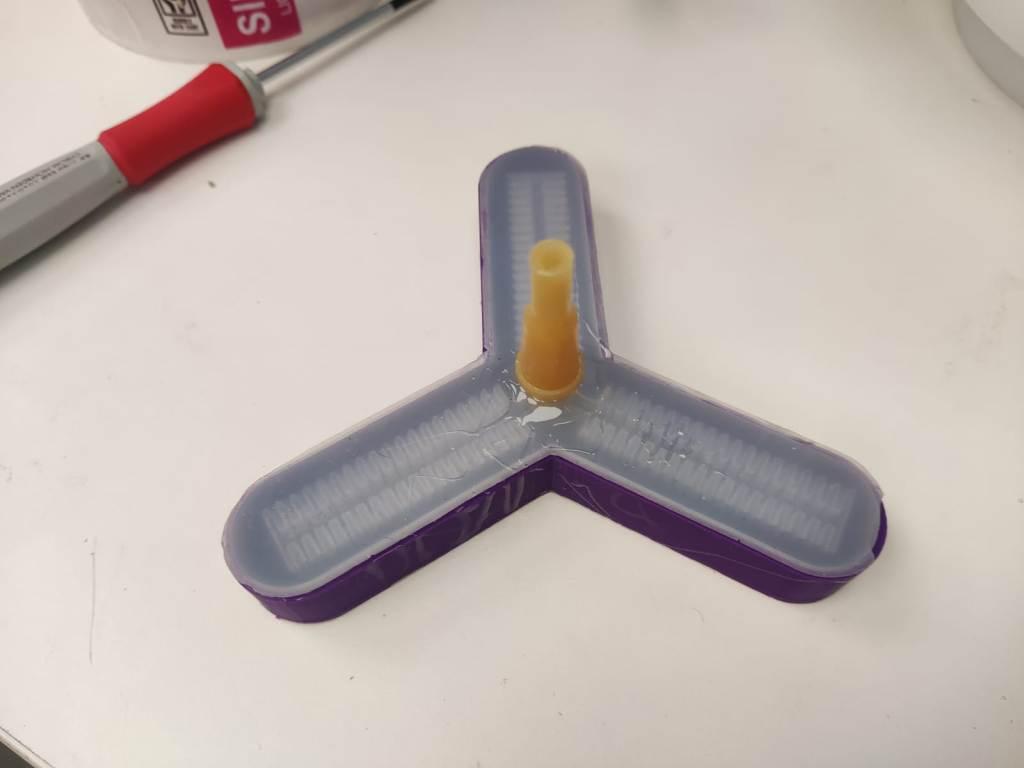
The below image shows the sealed soft robotic arm.
After this i tried to inflate the soft robotic arm with the syringe for testing.But when i was inflating it with air it got bursted.
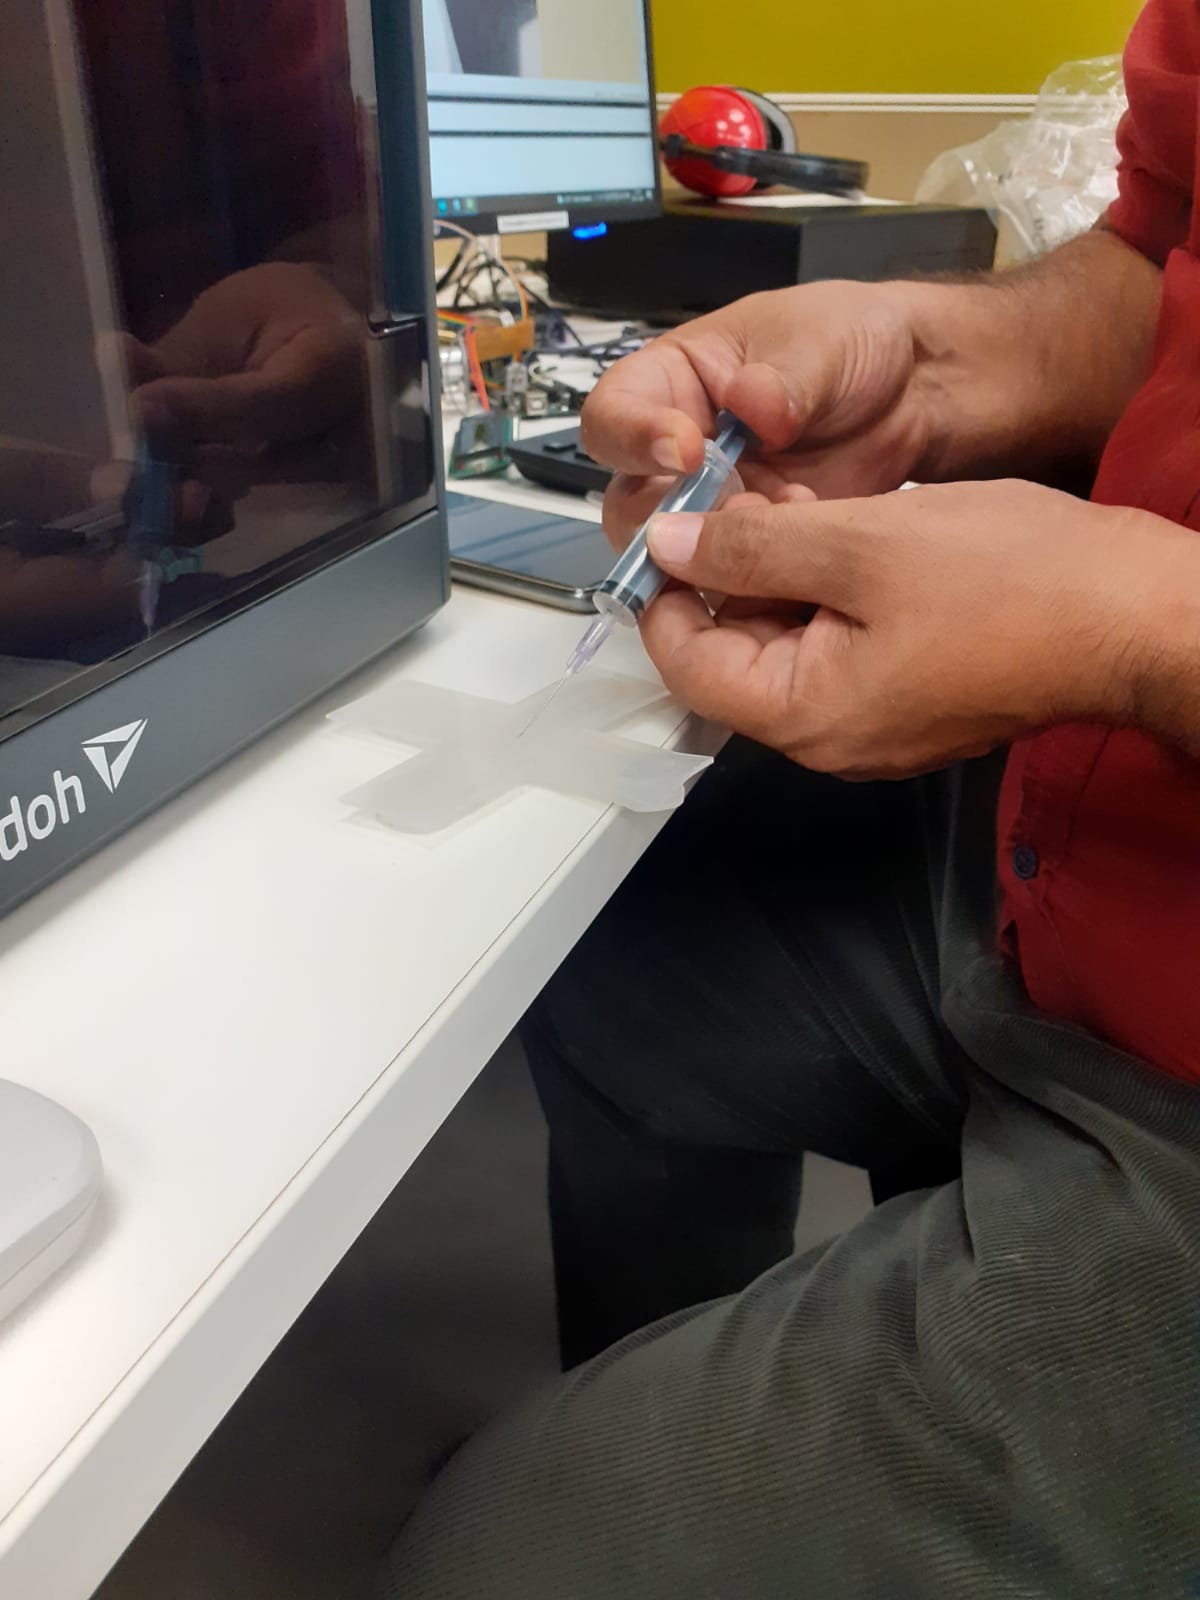
The soft robot didnt inflated properly and it got bursted at the edge due to the thick layer of the silicone rubber.
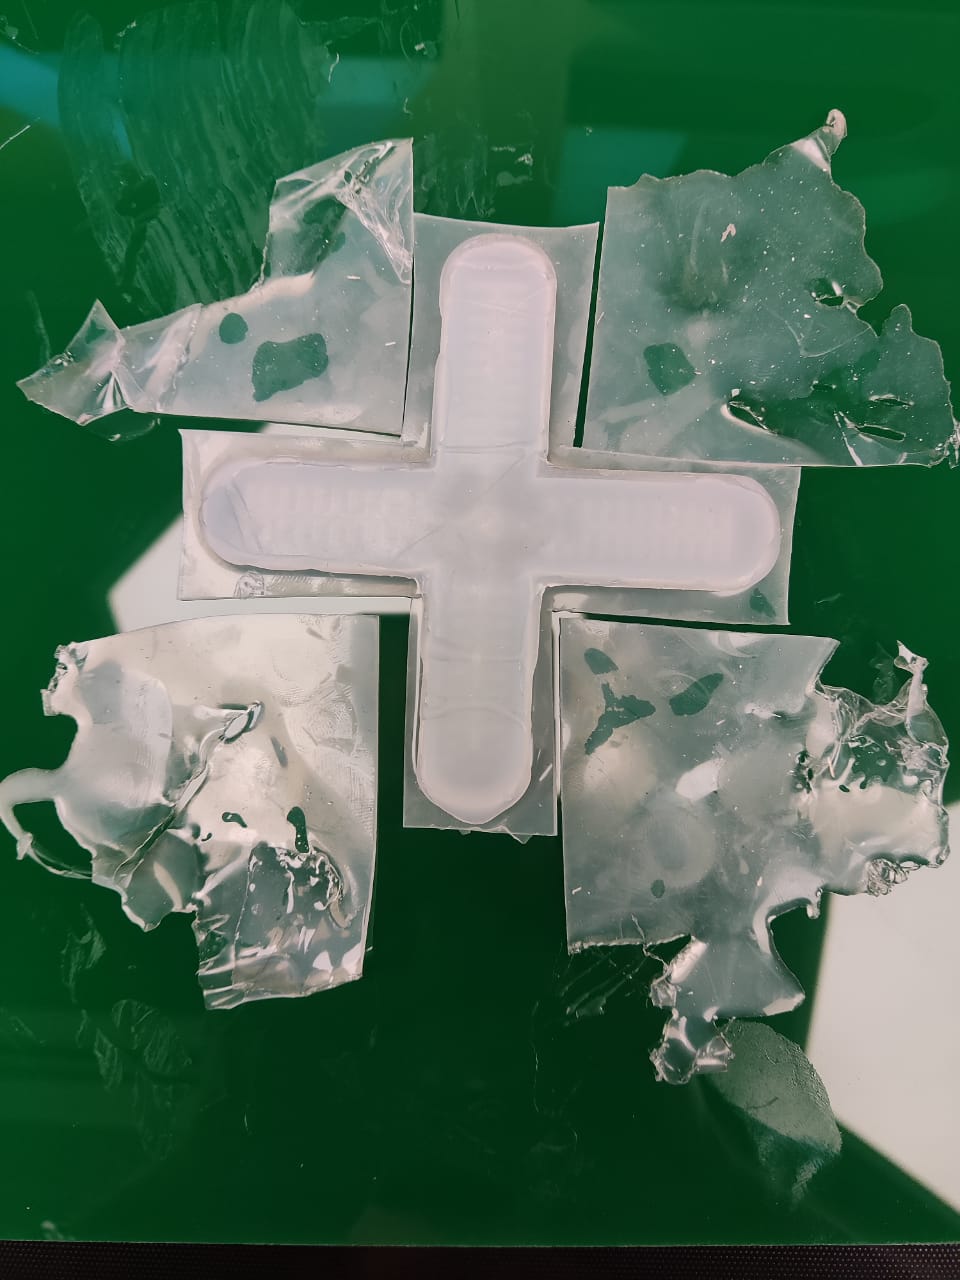
After This i again casted the soft robot with three legs and this time i created the mold of the inner teeths first seperately and the outer body seperatly as shown in image.
.jpeg)
.jpeg)
After i casted thse object as earlier
.jpeg)
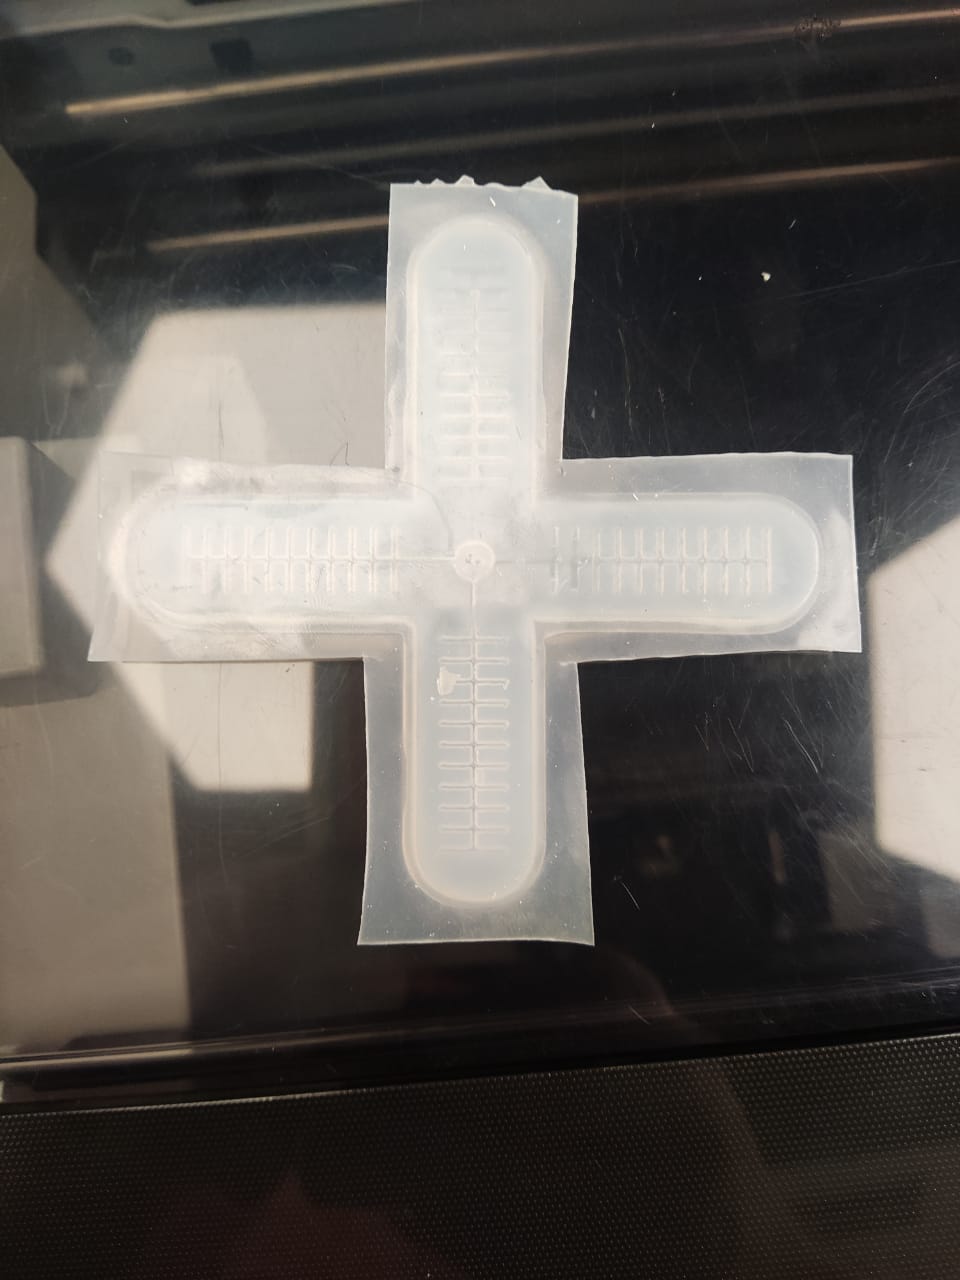
After This I put the cast in the outer Mold inverted with the teeths below side and without applying any pressure so that the surface just may touch the surafce of the silicone solution lying in the outer mold so that it may create the thin layer which may close the openings.During this process I inserted one rubber tube nozzle so that i can fill the air inside the mini catcher.,
After curing of four hours the cast came out like this.
.jpeg)
After this when i was pumping air in it i found that the rubber nozzle didnt sticked to the silicone rubber solution and it didnt worked.,So I filled the air any how in the soft robot.It worked little bit but it didnt worked perfectly fine.
Here is the video of the excer cise.
Result
I didn't get the result as expected due to the mistakes that I had made during the fabrication. The following are the errors that I had made:
- I had unncessarily increased the thickness of bottom layer which prevented the silicon to flex as expected
- The air cavities got filled by silicon thereby reducing the volume taken by air, thereby reducing the efficiency
Composite
This Week assignment we have to design and make a 3D mold, and produce a fiber composite part in it.
What Is Composite ?
A composite material is a combination of two materials with different physical and chemical properties. When they are combined they create a material which is specialised to do a certain job, for instance to become stronger, lighter or resistant to electricity.Composite materials are formed by combining two or more materials that have quite different properties. The different materials work together to give the composite unique properties, but within the composite you can easily tell the different materials apart – they do not dissolve or blend into each other.
Composite work flow:-
Step -1:Piece/Mold Design
Form function, How easy is to build and what type of mold is needed
Step- 2 : Composite Preparation
Available materials and additives, time for forging and curing
Step -3 Finished Object:
Result- condition and lessons learned
My activity:-
Composite was new concept for me.Our remote instructor visiting to STPI fablab explained and guided me to complete the test pocket for learning.
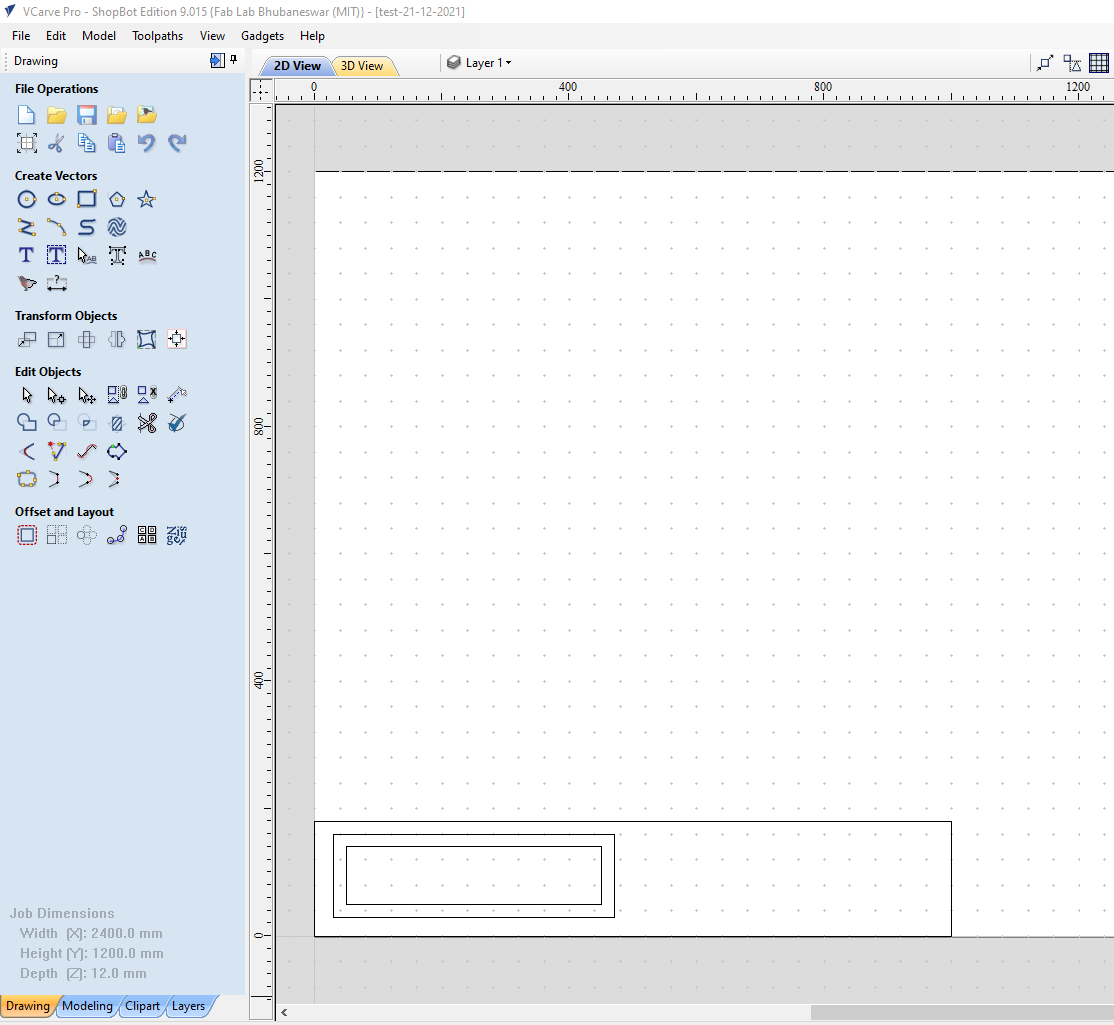
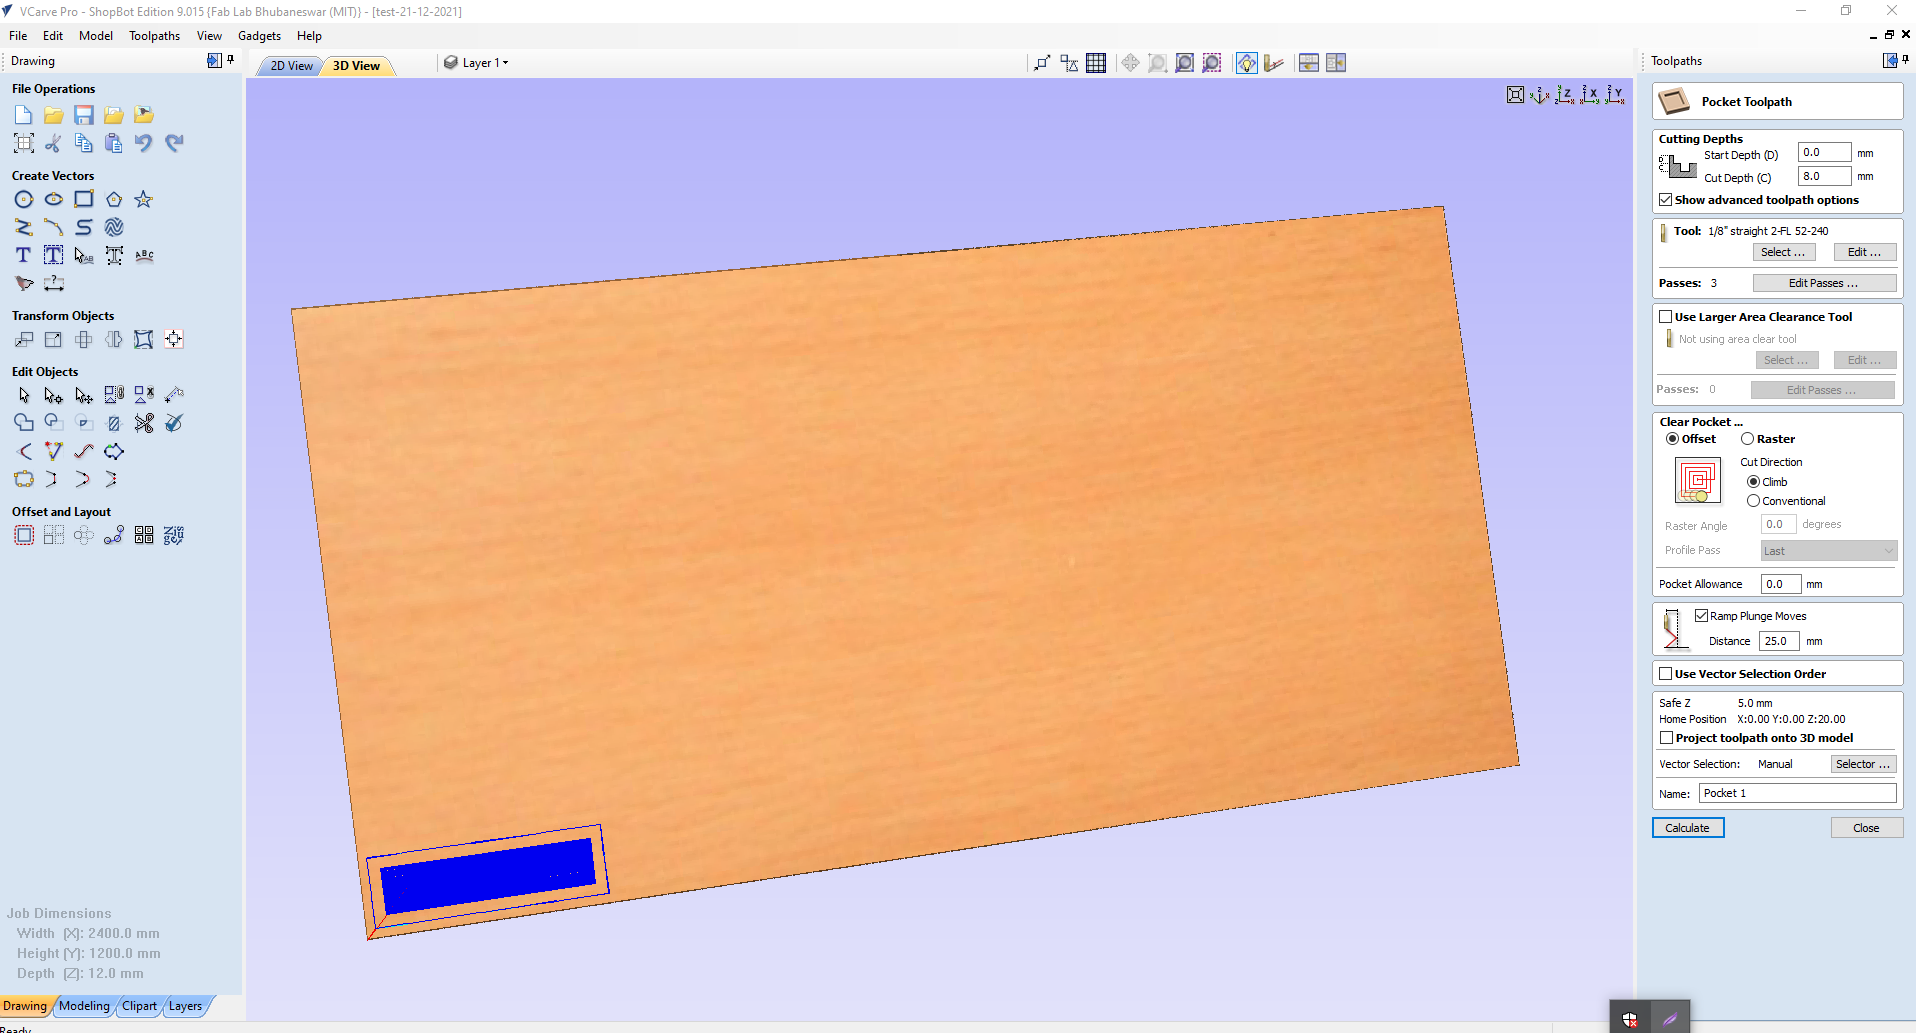
Initially the small a basic designing was made in v-carve pro for making a pocket and make mold piece through the shope-bote CNC
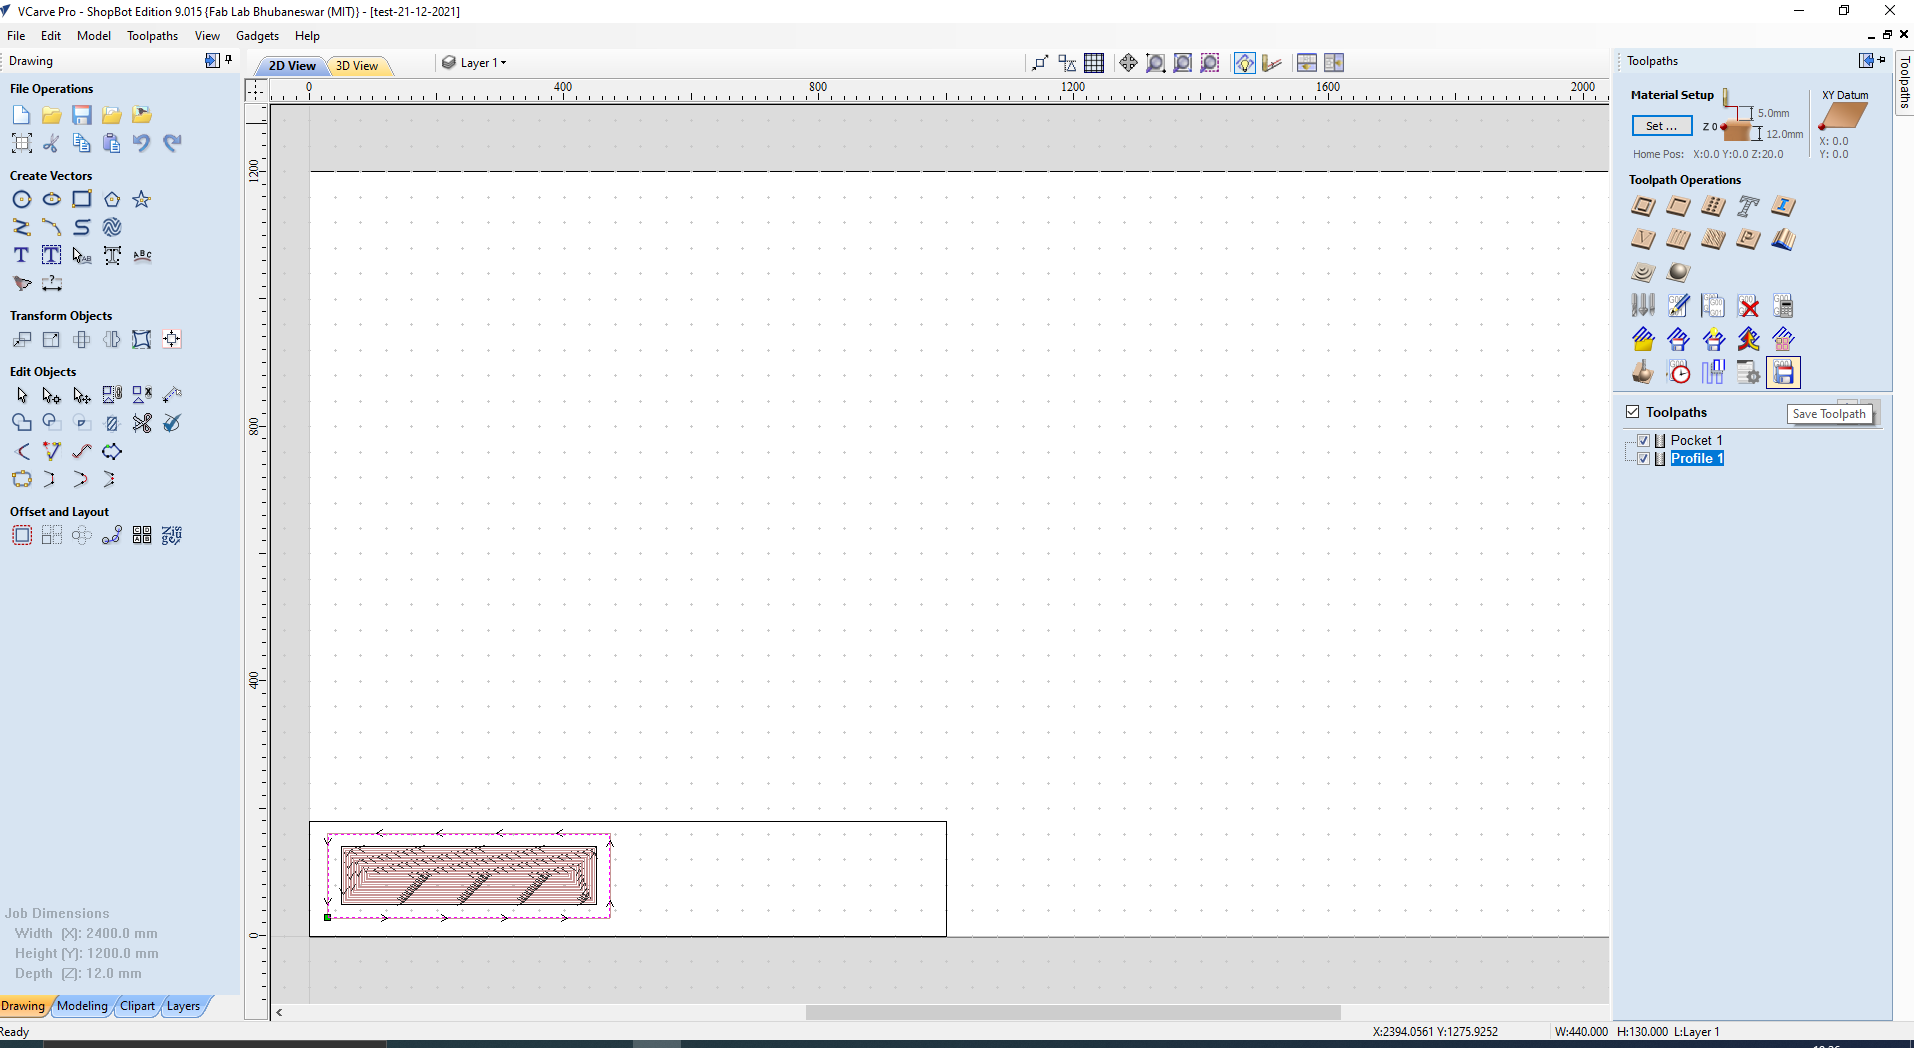
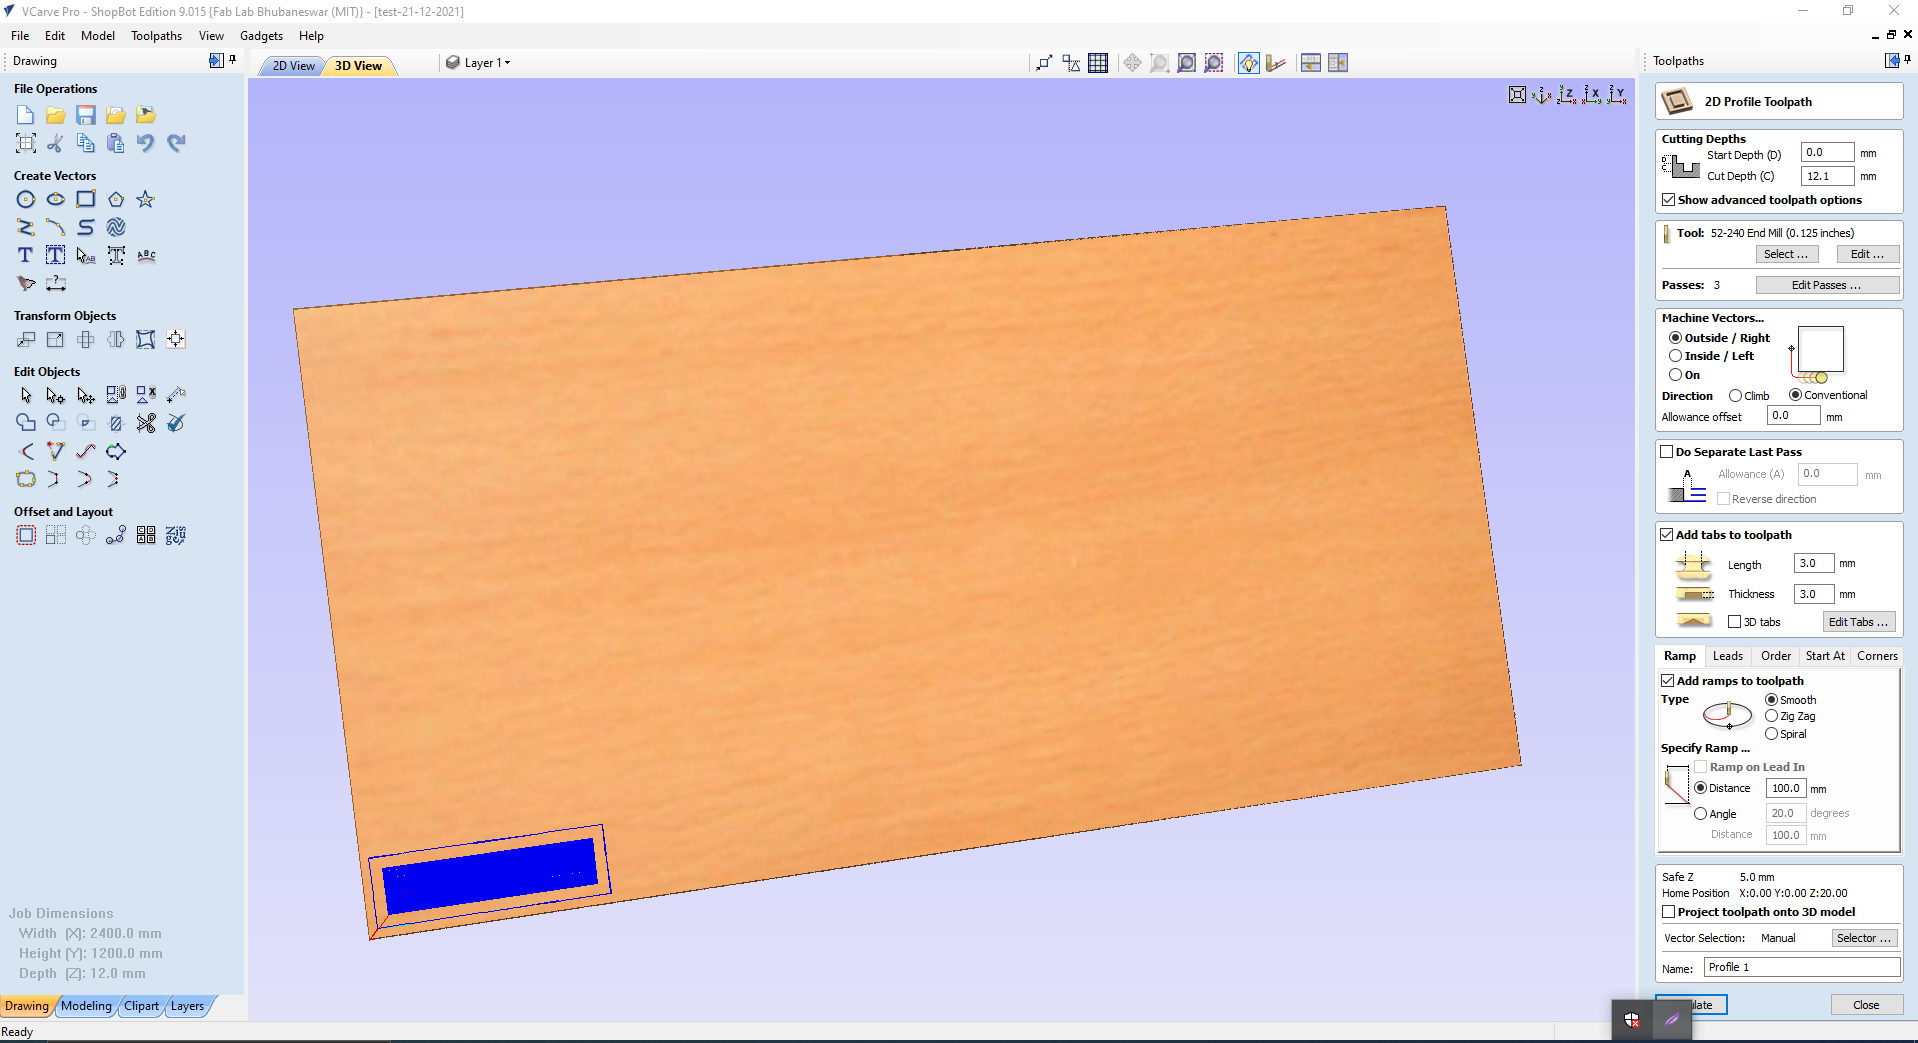
CAD designing and Milling
Following is the in v-carve pro where the pocket is inner width 400mm,Depth is 8mm, Height is 90mm external width 440mm height is 130mm. once deigning then select tool bit i.e 57-910 and create tool path with tab for profile and pocket and download the .sbp file for Milling though Shopebot.
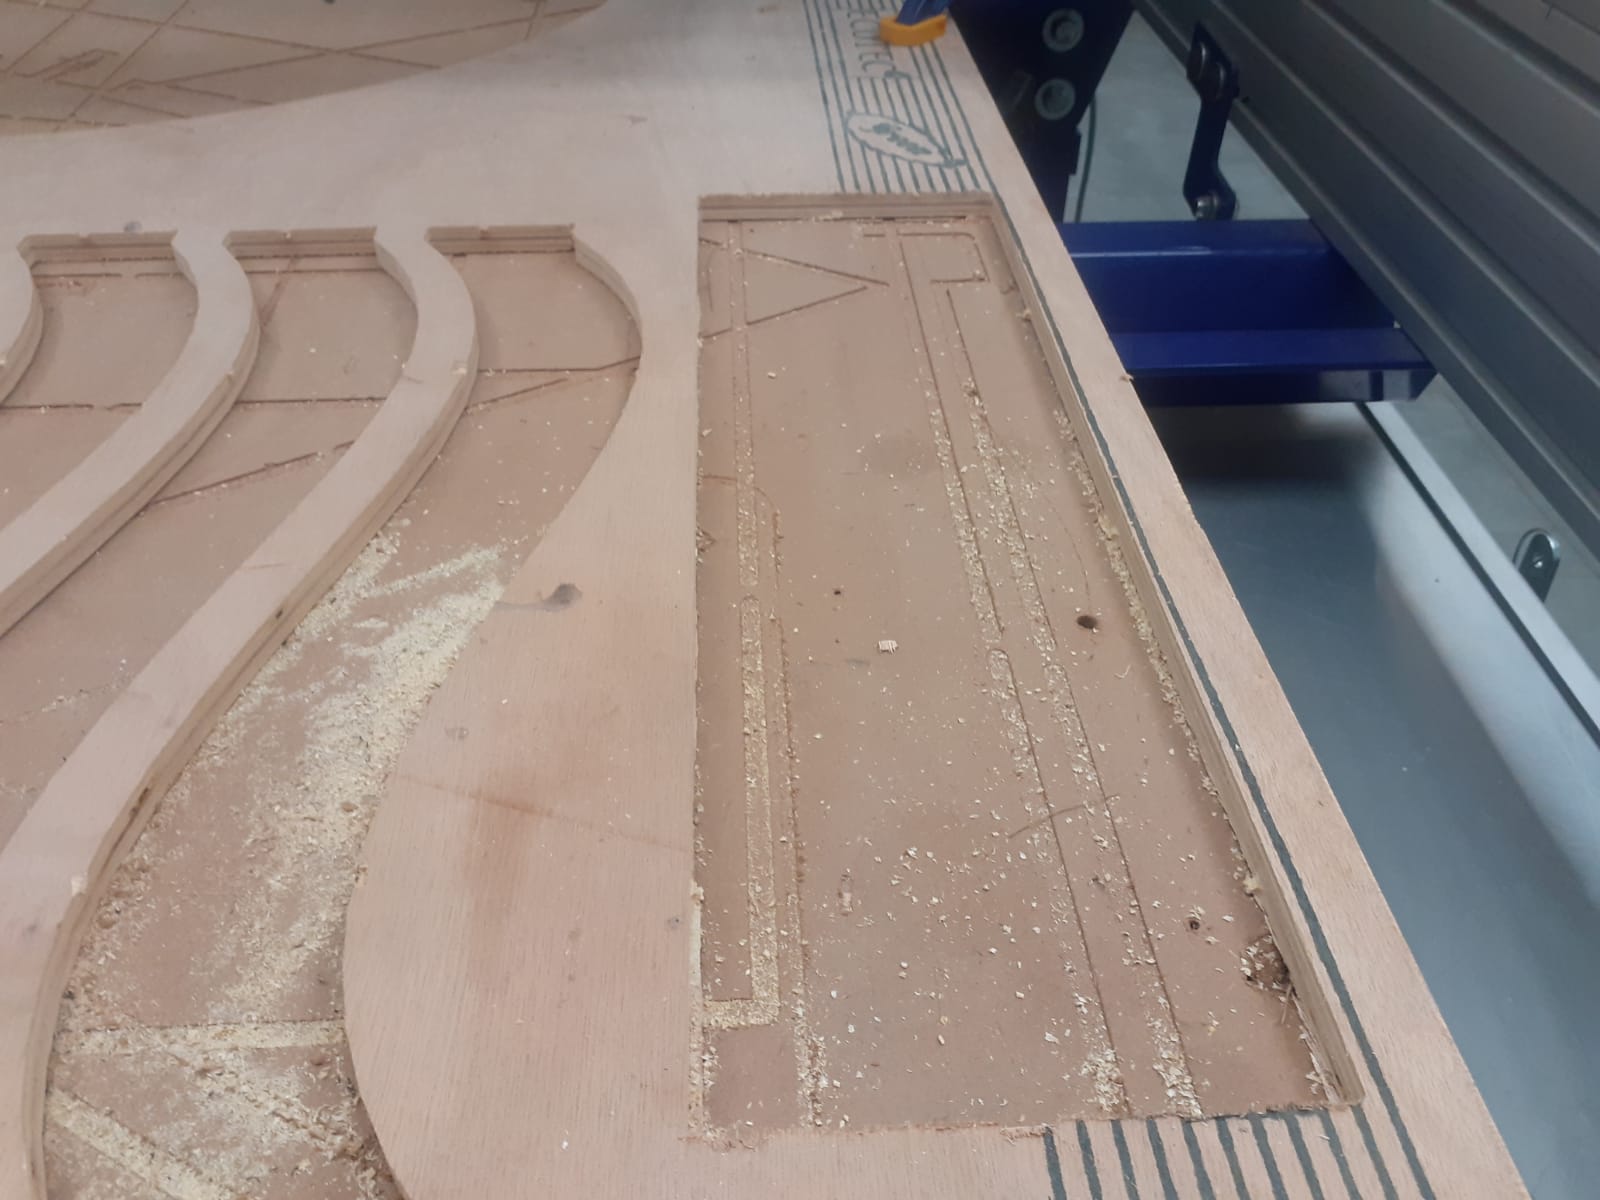
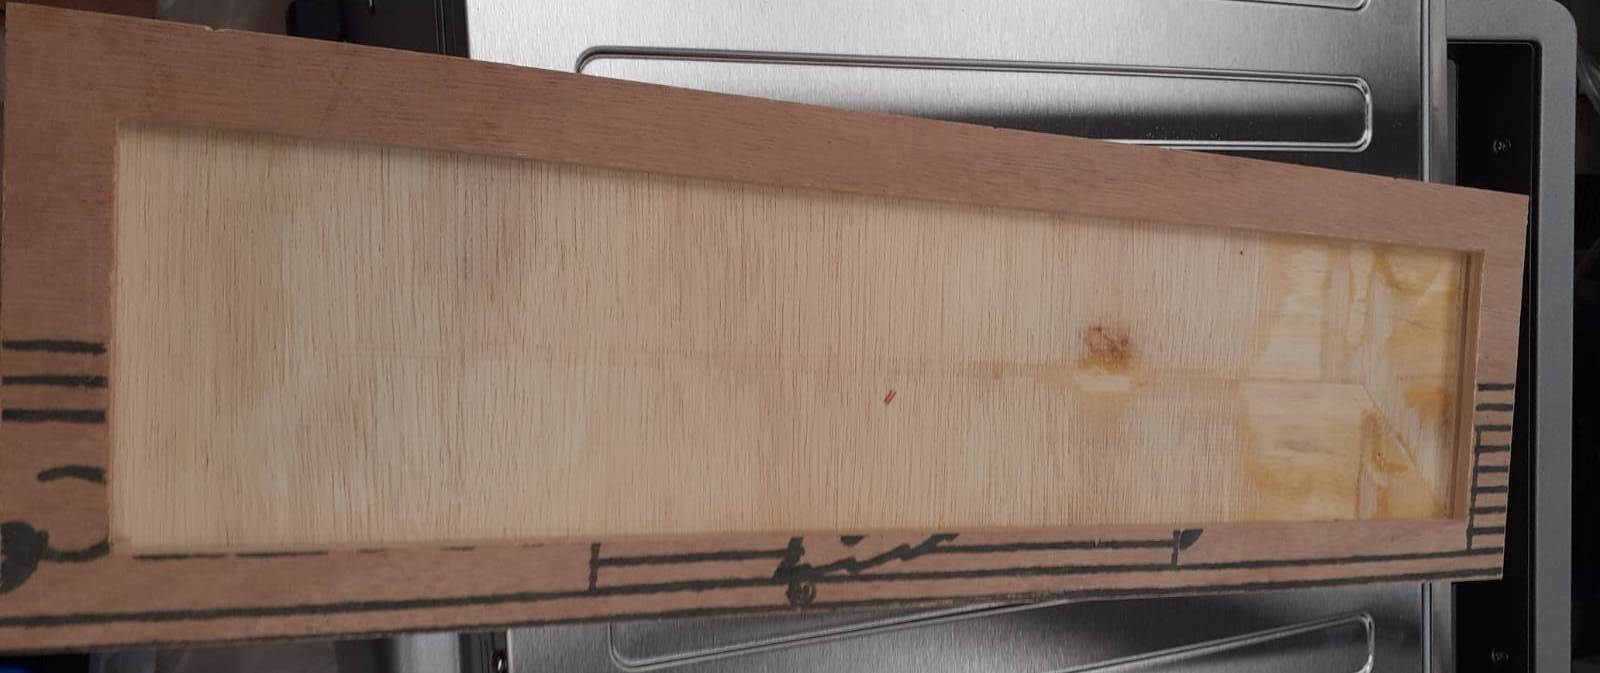
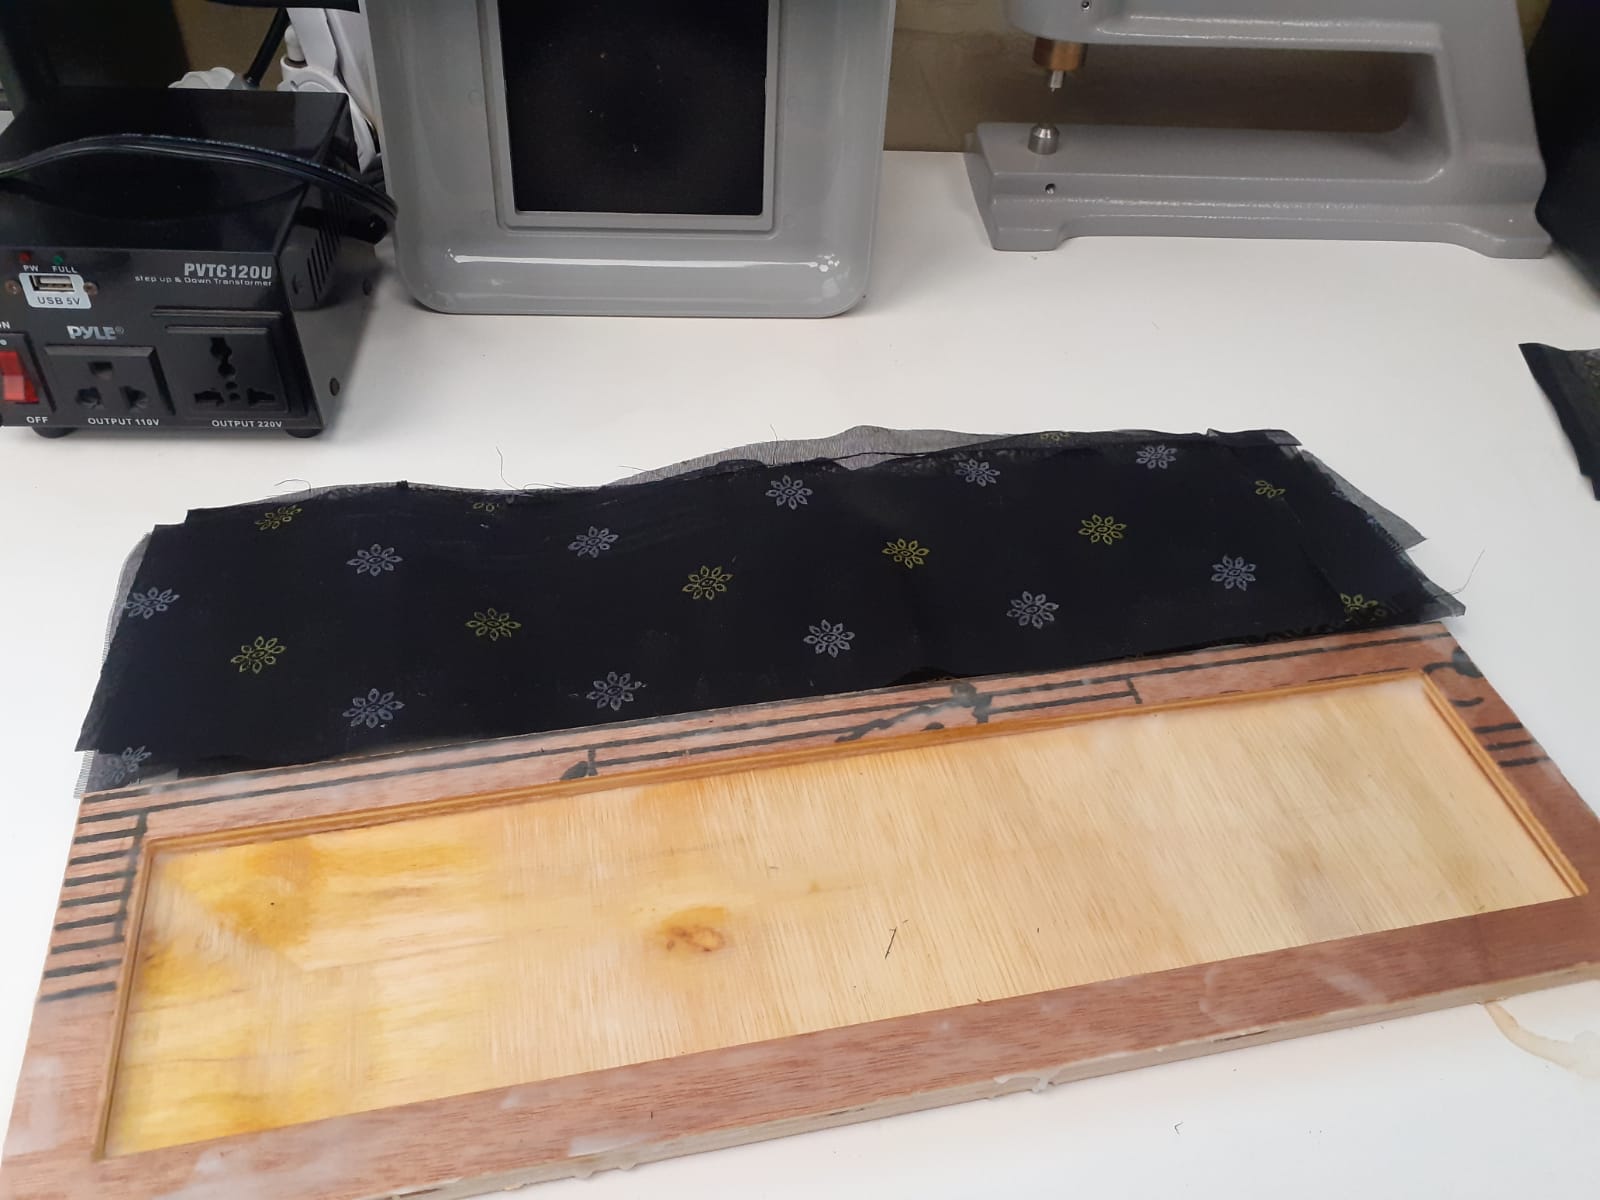
I cutted the mold on the shopbot following the procedure in the Computer Controlled Machining.Here is the outcme of the Mold.
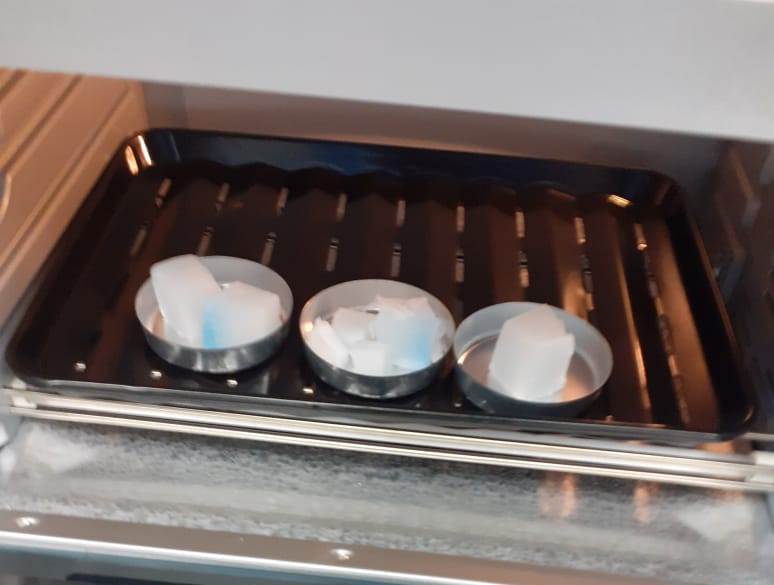
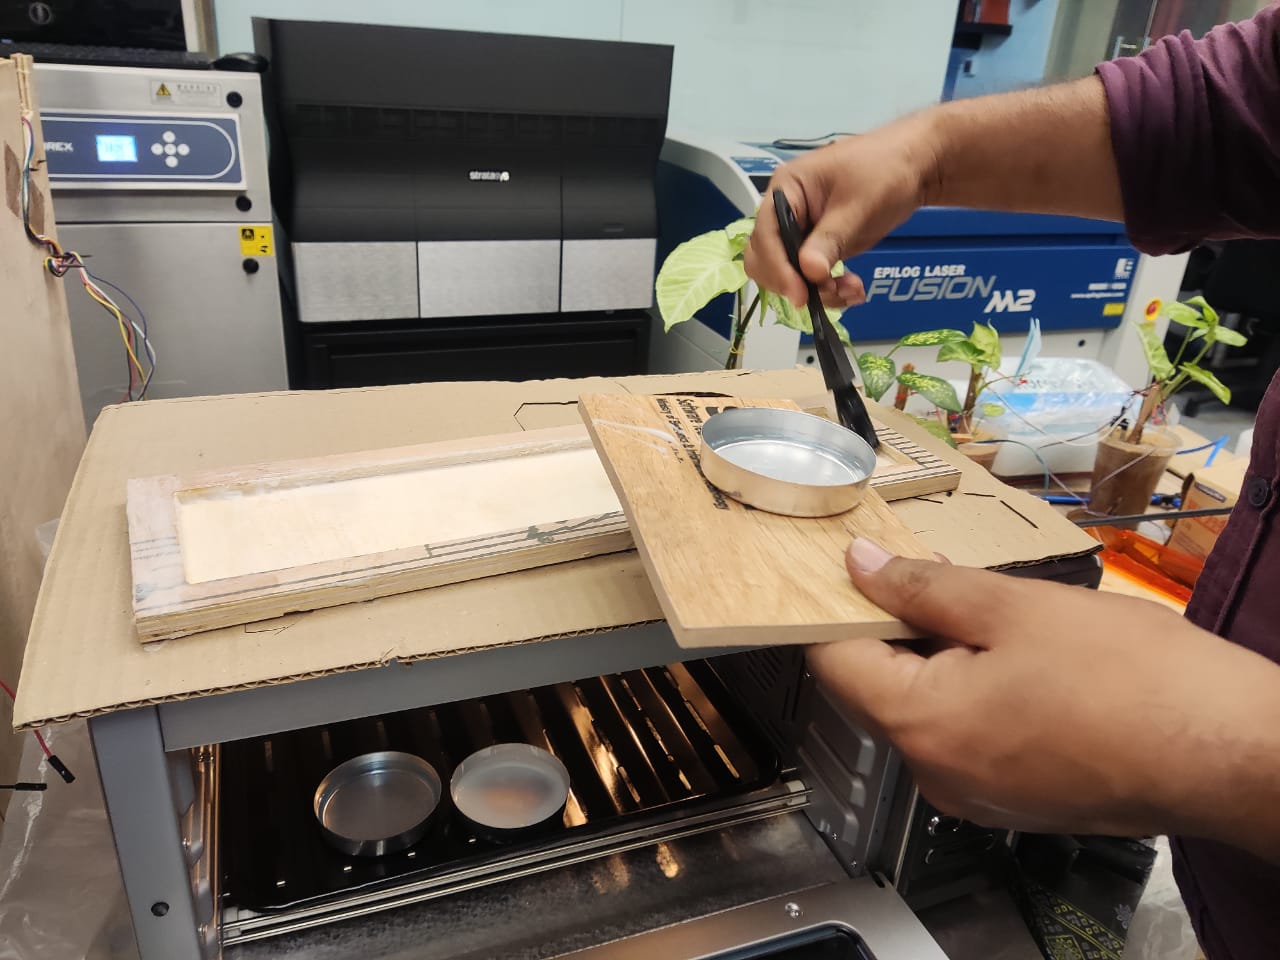
Preparation of wax
Cut the wax from wax piece in fab inventory then melt the wax in the oven and put the melted wax over the work piece with the help of brush which will help to remove the final composite easily from the work piece.
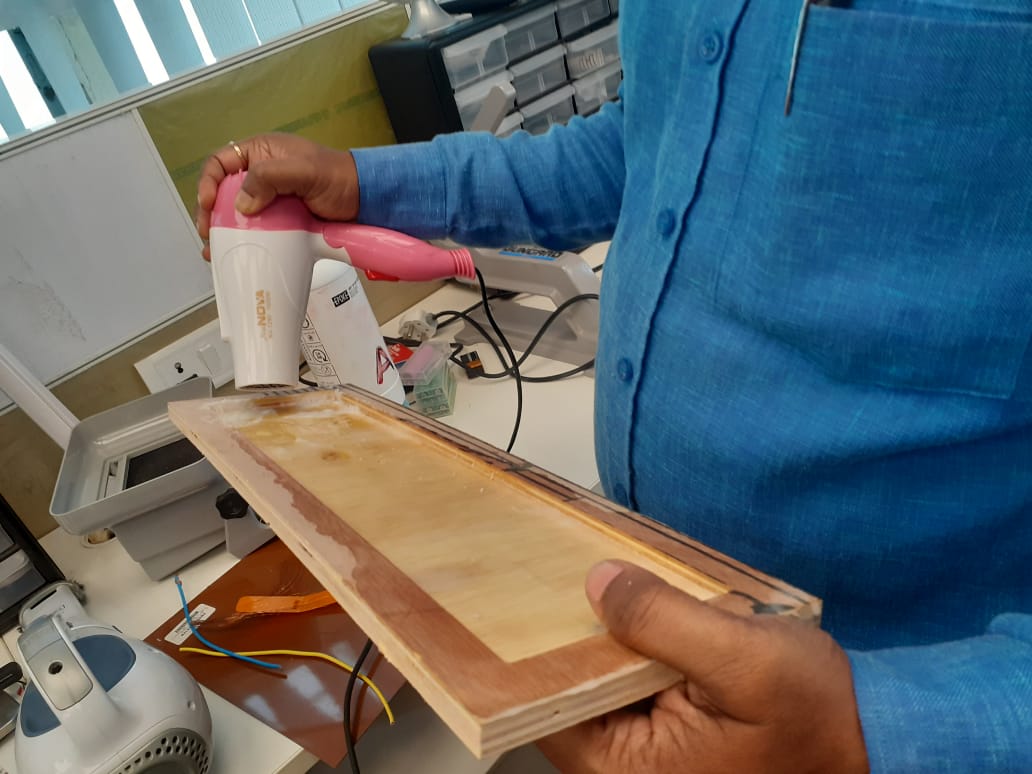
After painting the work piece with the help of melted wax ,it was unevenly painted and it was not smooth , i used the hot air gun to make the layer smooth and reach the wax at the every corner of the work piece.
Cutting of Cloth fabric,Jut piece,Polymer wool and fibre glast
Here I used the materials cloth piece, Jut piece polymer wool and fiber glast
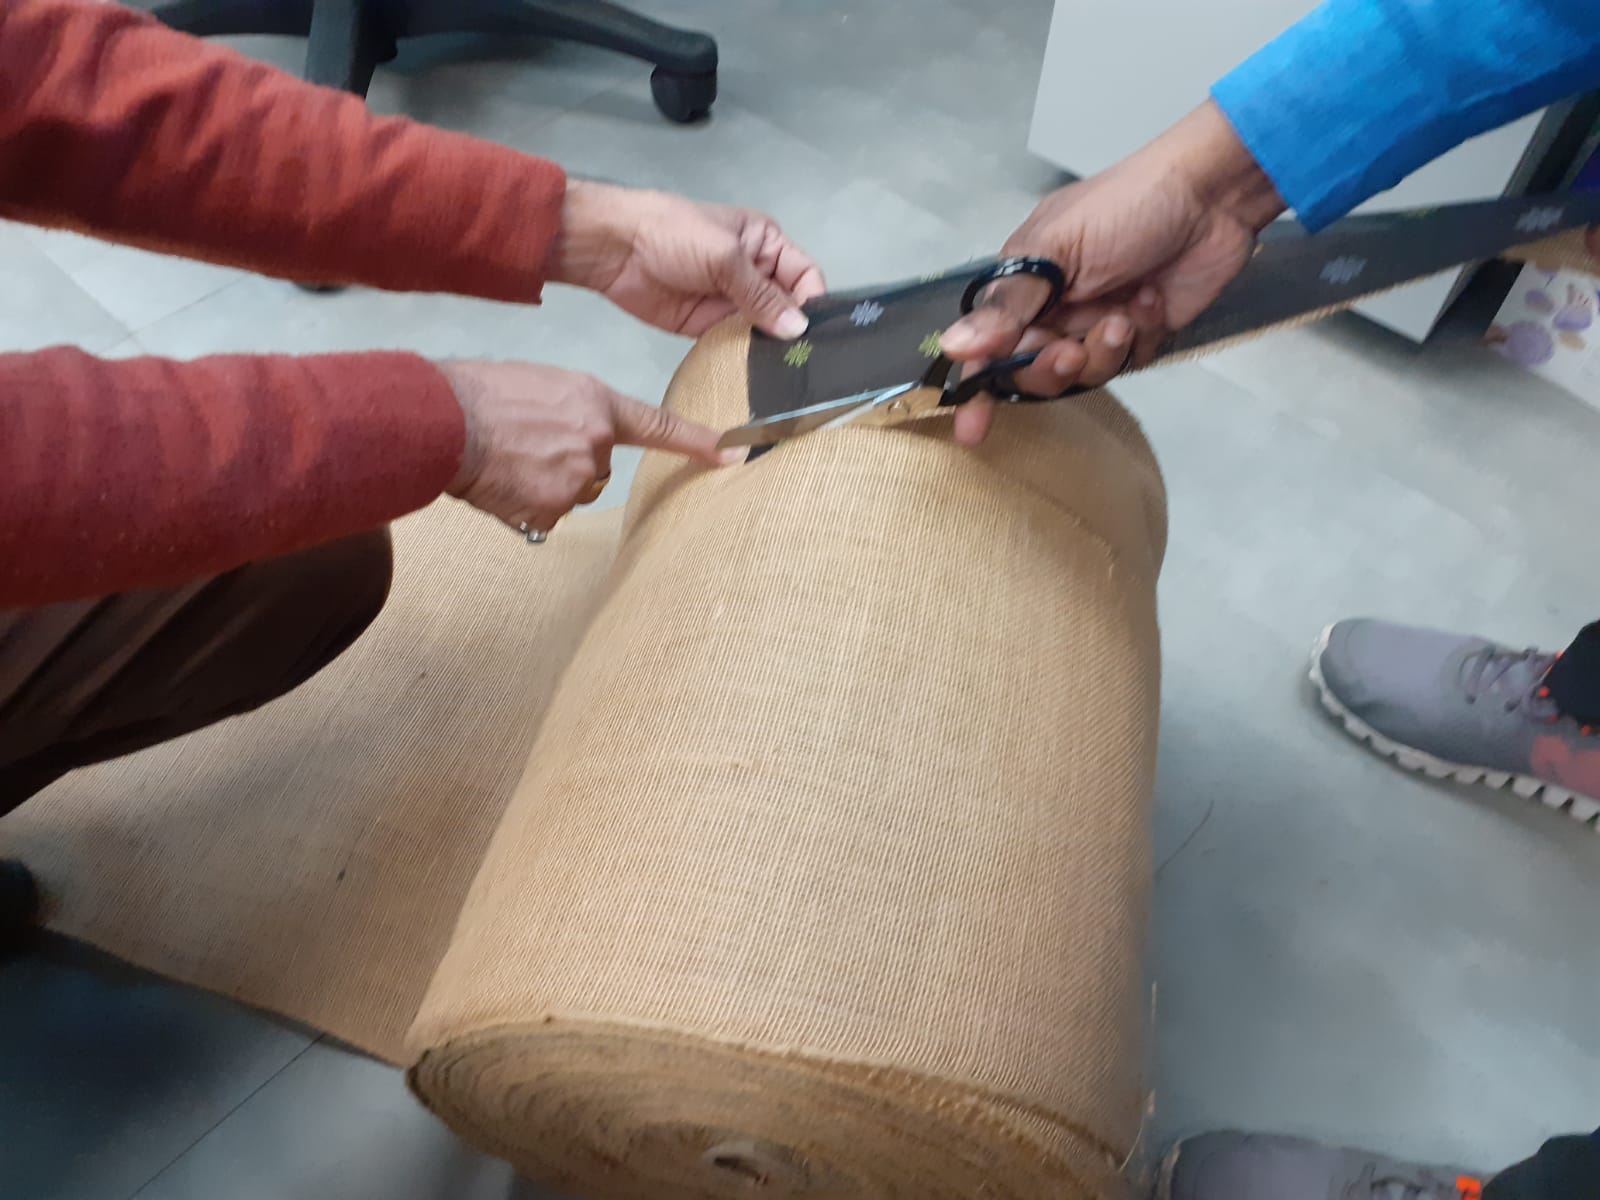
Next I layed the five layers of cloth piece then one layer of Jut piece then epoxy resin poured with distribute help of brush in work piece.fiber glast is use in top for poured out the resin and polymer wool is used to absorb the extra resin so that it may not distract the shape of the composite to be formed.
.jpeg)
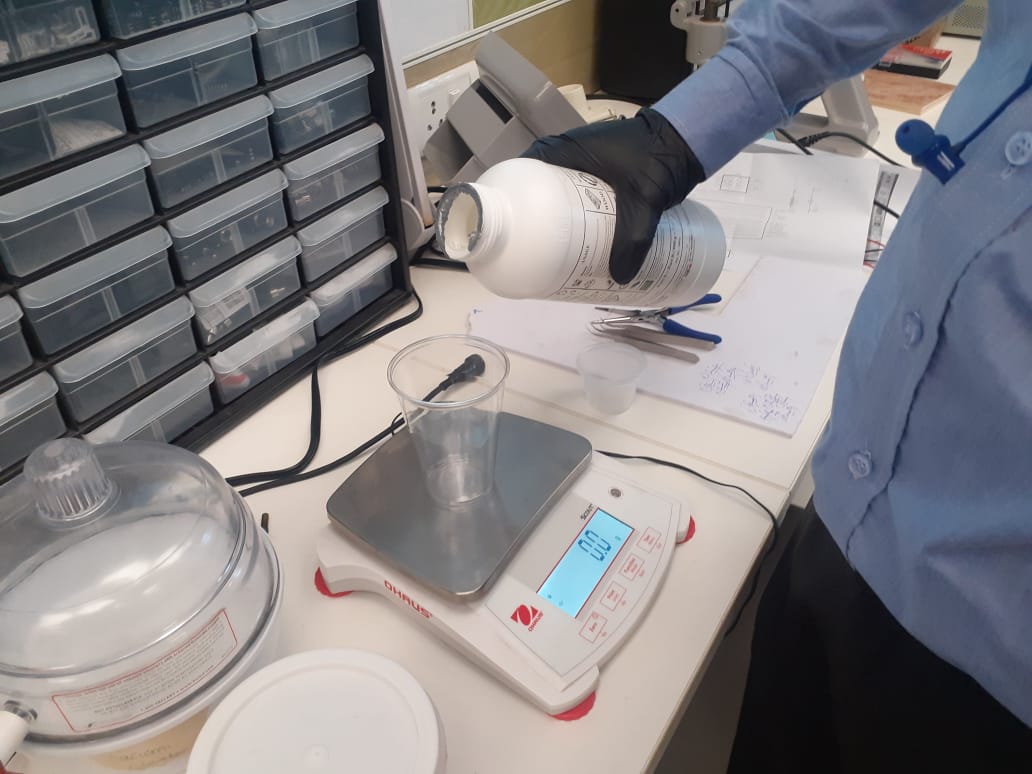
After this i mixed the hardner and the resing in the ratio of 1:3 as directed on the instruction mannual of the resins.
.jpeg)
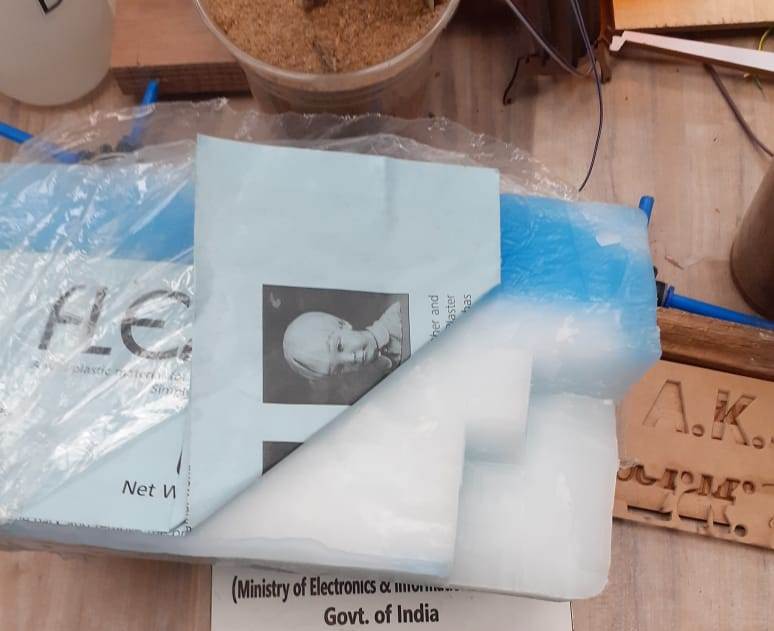
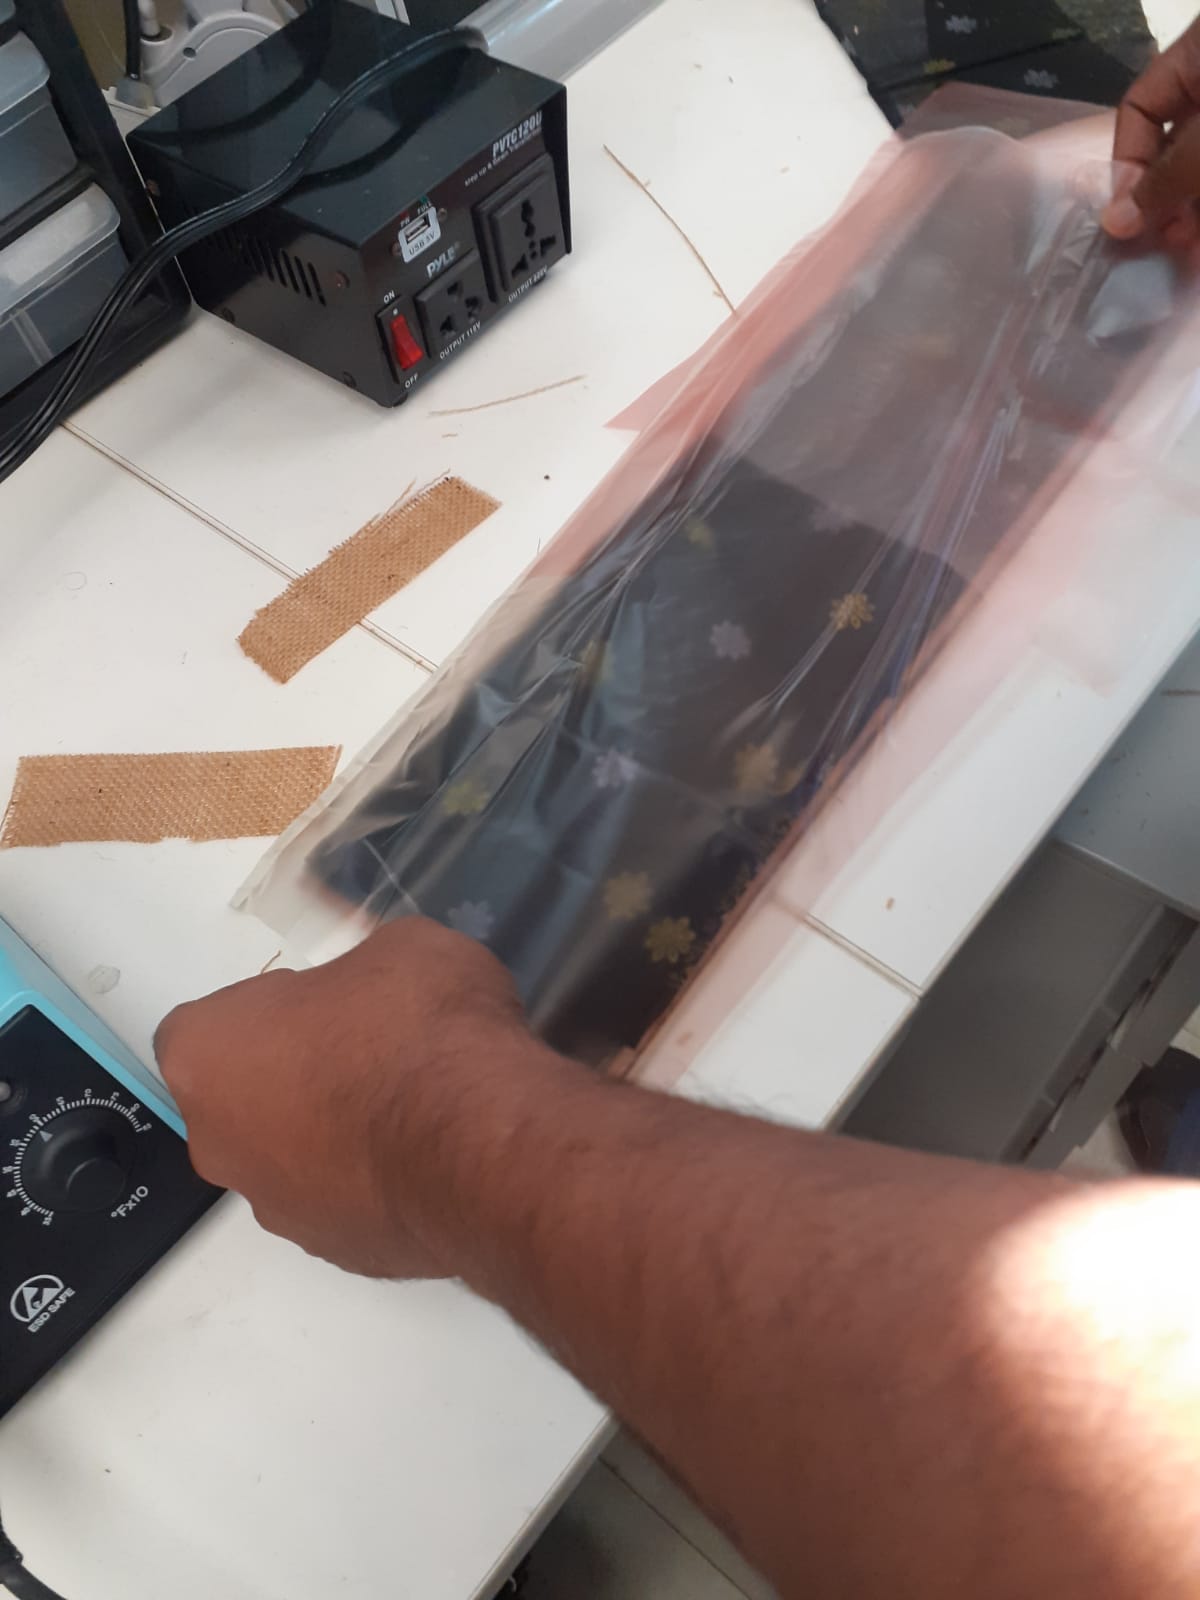
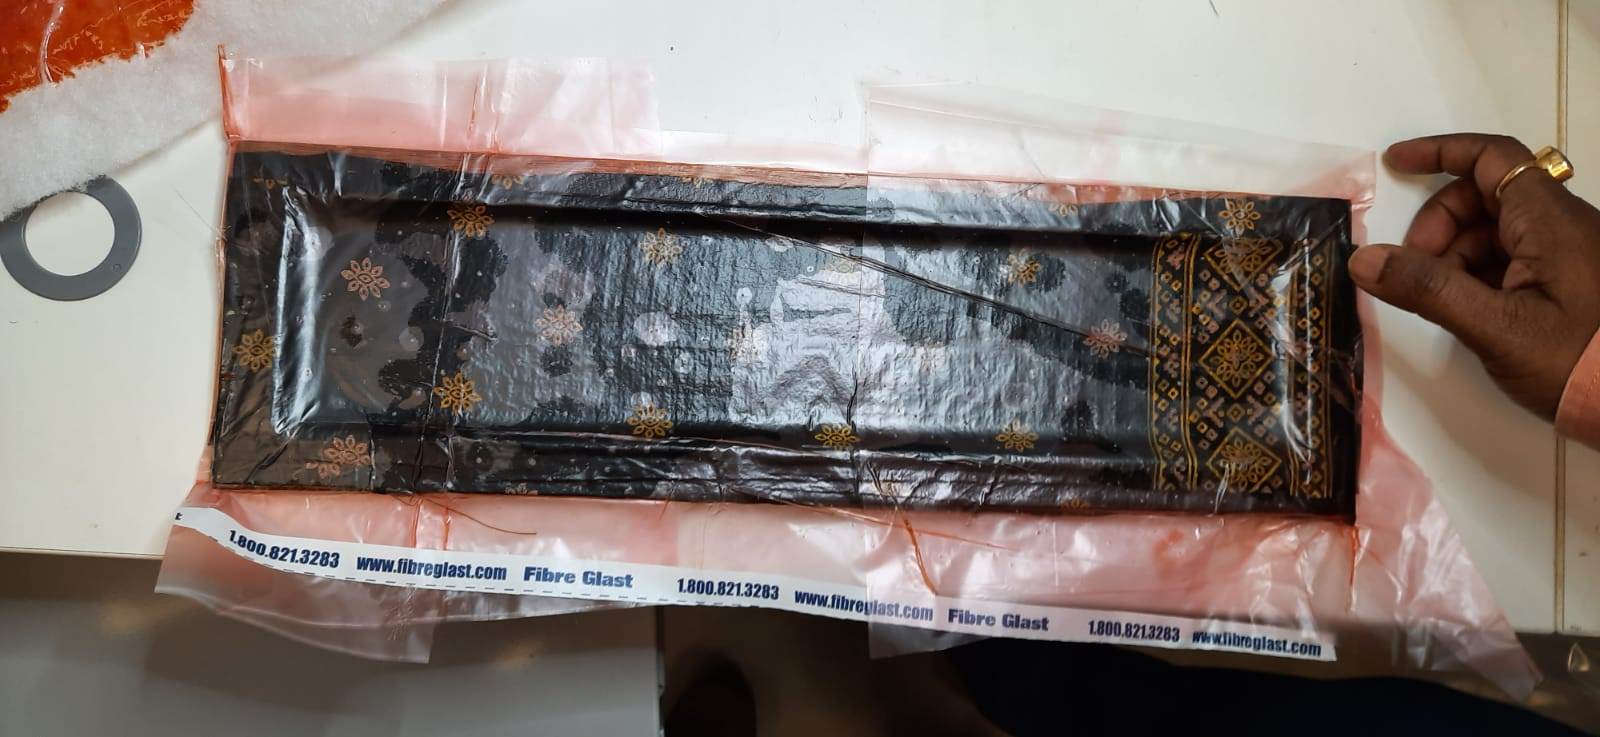
After this i putted the resin in the pocket over the layers of the all the layed fabric and the Glast and then i layed the the layer of the polymerwool top of the resin i poured.After this this composite mold was put in the polythene vaccum bag to absob the air packets left in the pocket and the extra resin may be absorbed by the polywool for making the composite string.
.jpeg)
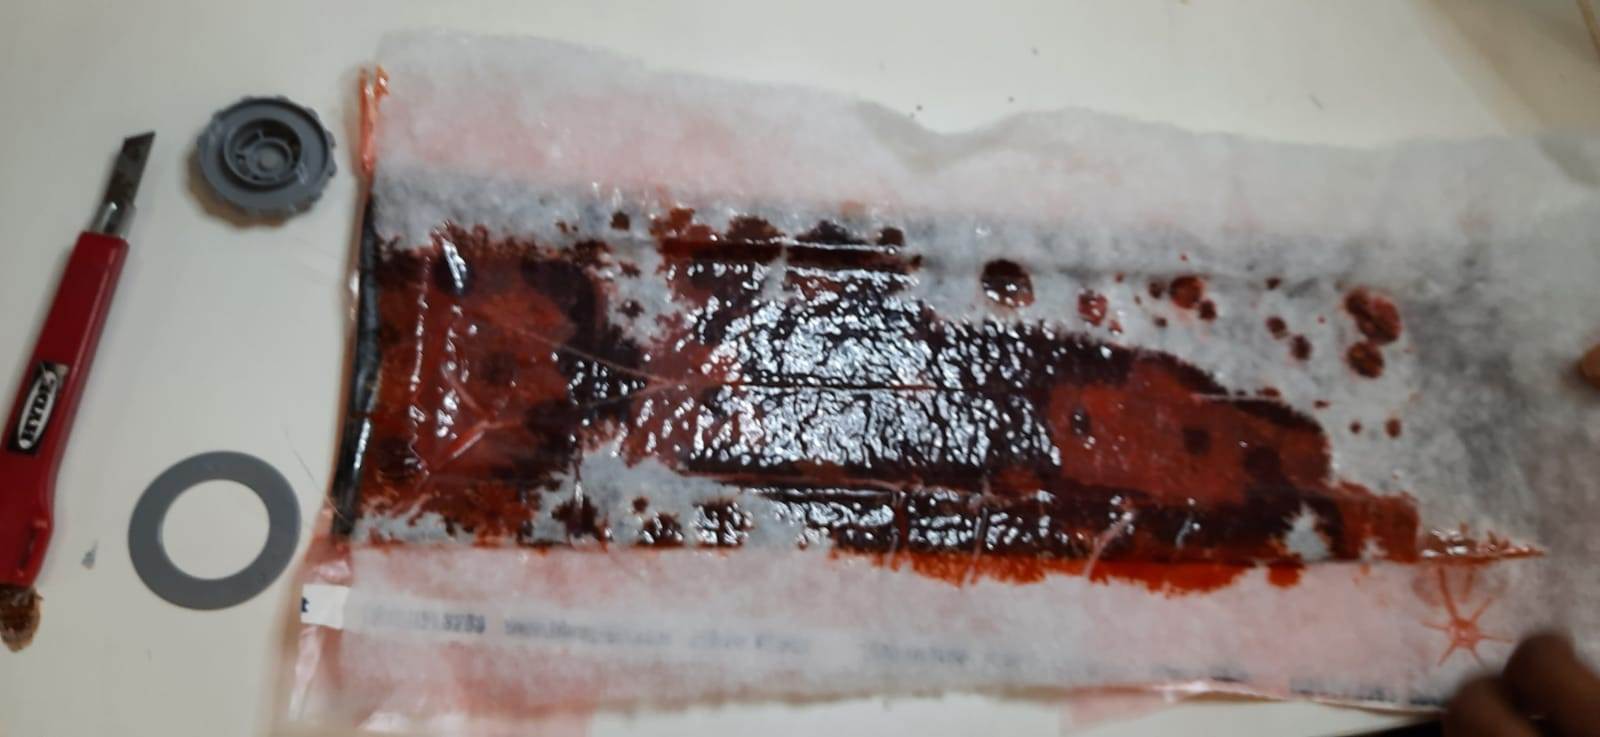
After this ,the workpiece was left over for 24 hours to be cured fully.After 24 hours the composite was removed.I faced some difficulty to remove the composite from the workpiece as the resin was stucked to tghe work piece due to no layer of wax.I also got hurted in my finger while removing it.
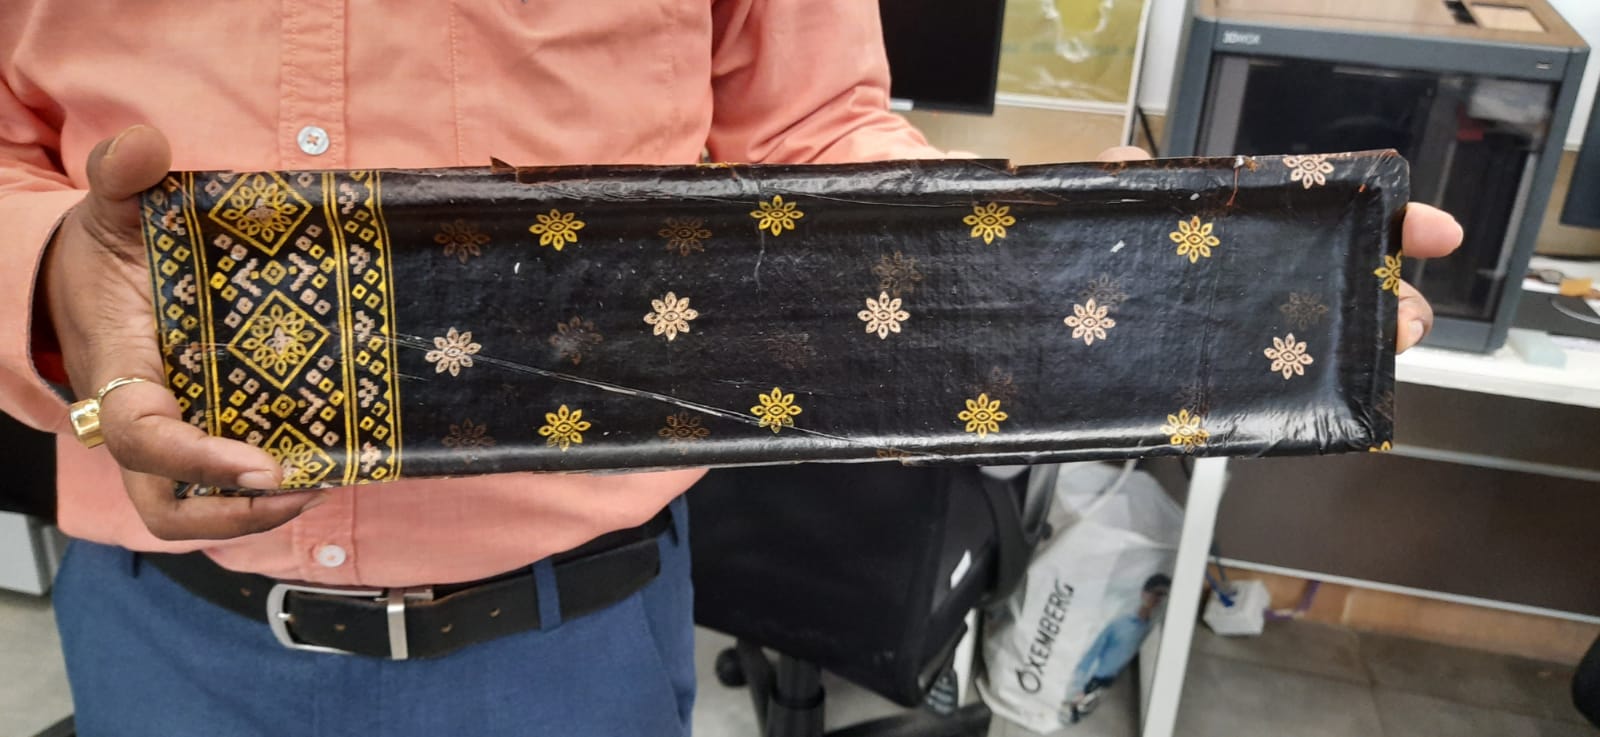
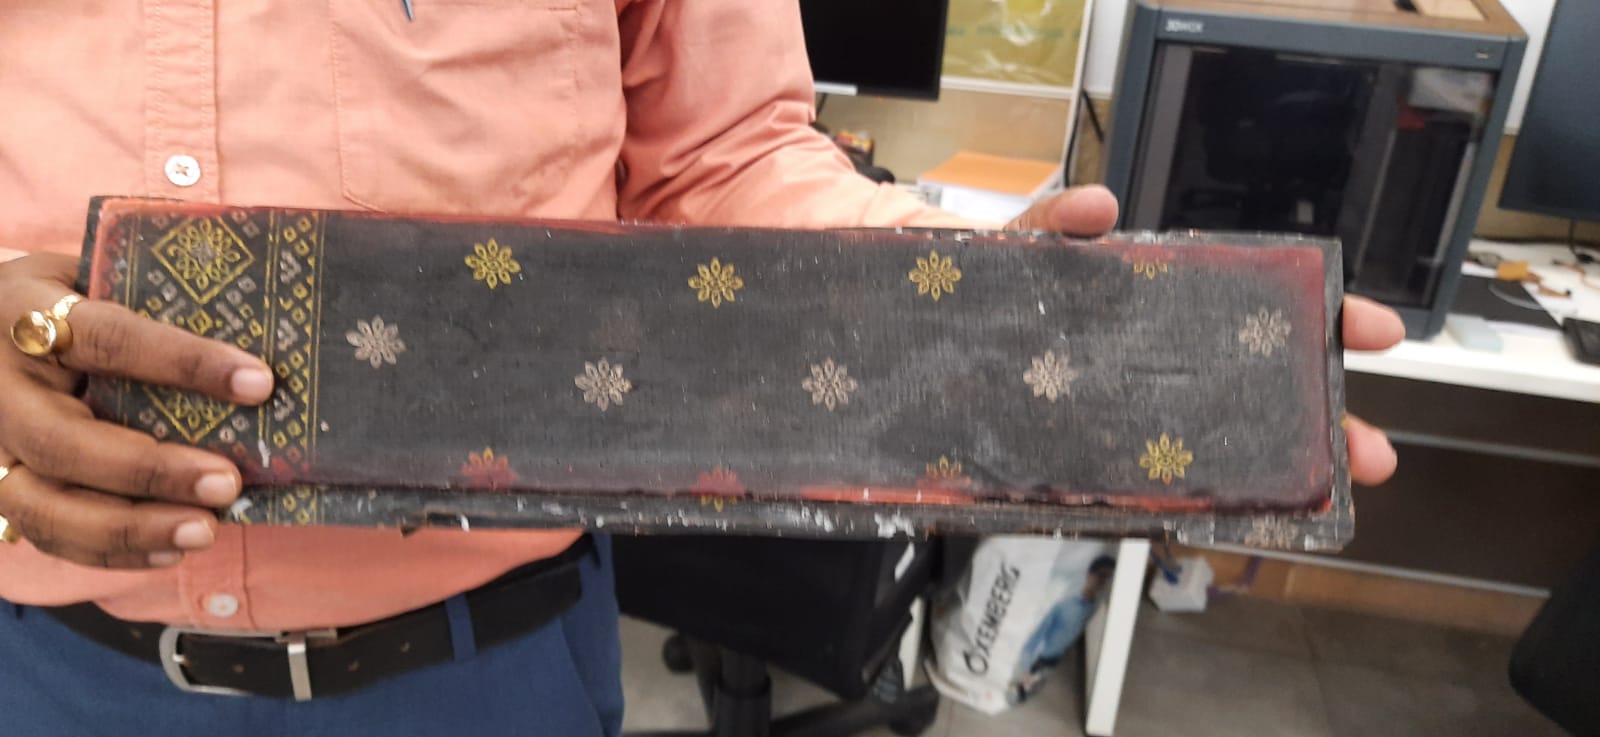
The composite was somewhat difficilt to remove from the workpice mold.A firm layer of the wax should be forme over the work pice .The composite was little sticky,it may be due to the extra resin.
The files of the excercise can be downloaded here