Moulding And Casting:-
Group Assignment
This week as group assignment i had to read the safety data sheets for each of our molding and casting materials.
I our lab we had the SILCOZEST Liquid Silicone Rubber 140.Its a two-part silicone rubber that vulcanizes at room temperature.
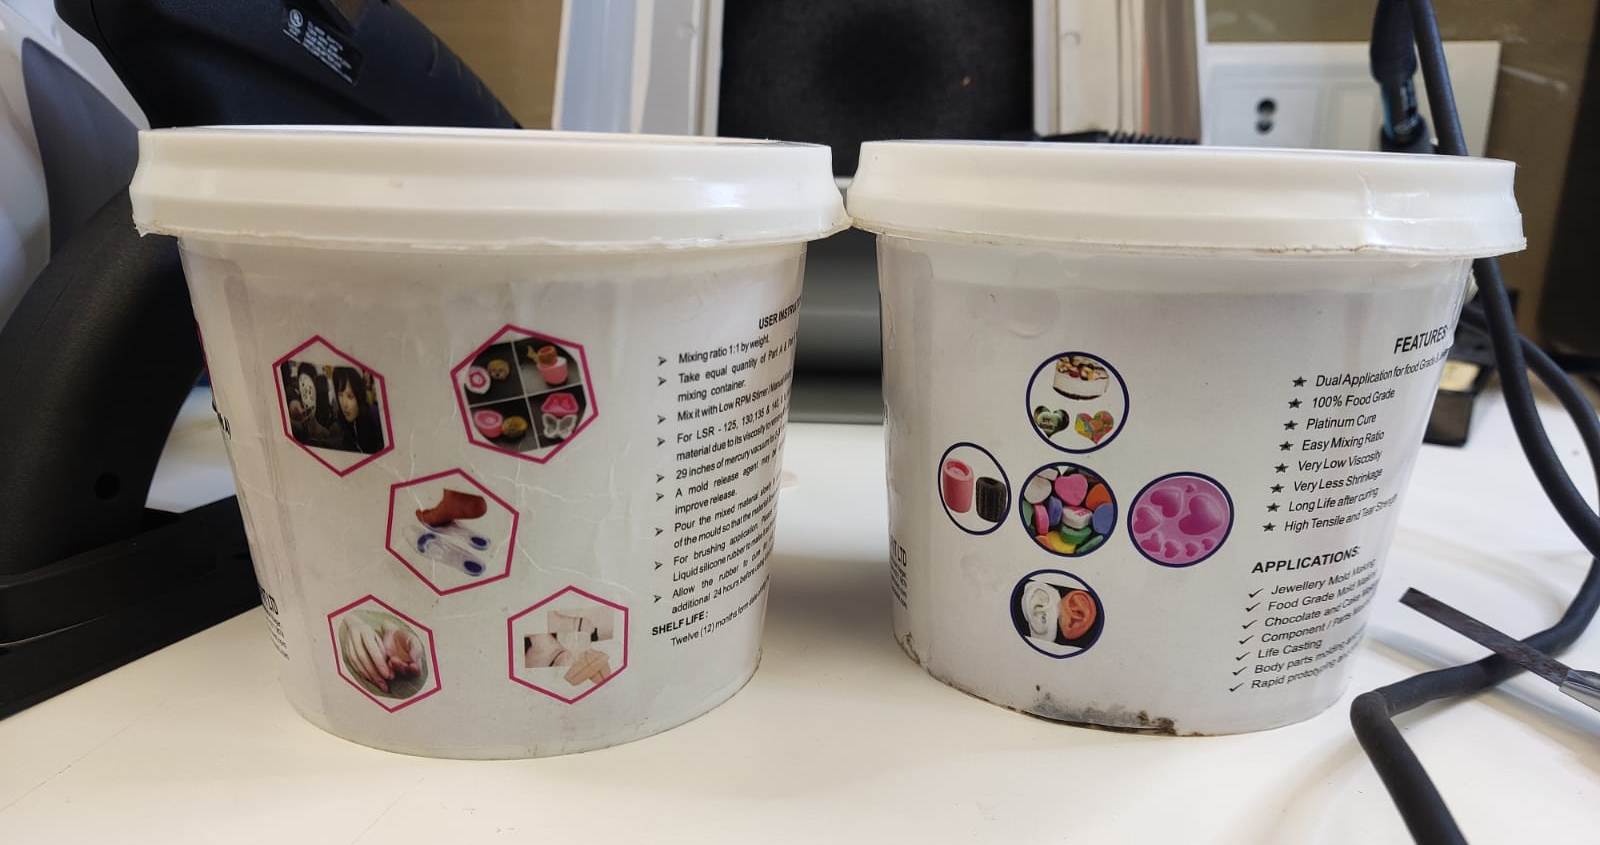
Here is the Data Sheet of SILCOZEST Liquid Silicone Rubber 140.
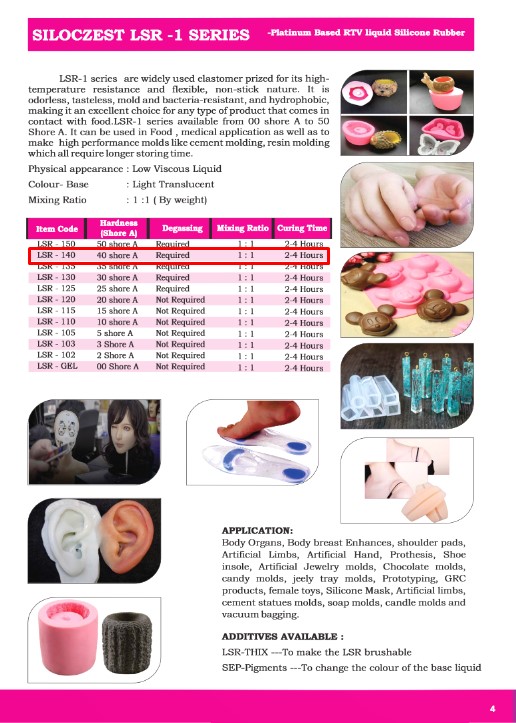
This is the Food grade Silicone Rubber that can be used for Making the chocolate mould.
Liquid Chocolate datasheet
Specifications:
Color/Appearance: Clear to slightly opaque dark brown liquid
Aroma/Flavor: Characteristic of cocoa with a pleasant taste and aroma
Specific Gravity: 0.922 – 1.019 at 25C
Brix: 17.679 – 21.421 at 20C
Refractive Index: 1.3600 – 1.3662 at 20C
Ingredient Statement
All flavor ingredients contained in this product are approved for use
in regulation of the Food and Drug Administration or are listed as
Generally Recognized as Safe on a Reliable Published Association
List.
Ingredients: Water, Ethyl Alcohol, Cocoa
Allergens: None
Kosher: Kosher Parve
GMO Status: GMO Free
Shelf Life: 6 months
Country of Origin: USA
Storage: Store tightly sealed in a cool dry place protected from direct heat
and light.
Packaging: Available in 8 oz., 16 oz., 32 oz., and 64 oz., twin neck plastic
bottles designed to eliminate additional measuring by providing a
precise pour every time.
Suggested Applications &
Usage: Can be used for a variety of applications including bakery, food &
beverage, ice cream, etc.: Start evaluation at 0.50% and adjust
accordingly
Individual Assignment
This week i had to design the mould using the 3 axis fnish cut and use it for castig the part.
This week I wanted to create the mould for the Ice Tray/Choclate mould depending on the availablity of the material.I used the fusion 360 for creating the design of the mould and

I create the block in autodesk fusion 360 of block of molding wax block size

After this in chmfered the corners.......!!
]


After This I created the sketch of type of mold want to make

After this i intruded these sketchs
\


Here i made the vertical height little inclined outsde so that the casting may come out easily and it may not stick at the corners so that it may not damage the
chocolate casting.

Here i gave the round corners to the outer edge using te fillet of 1 mm


Then here i tryied to make the different type of mold casings.


Here you can see that edges are round shaped so that the casting material may not stick to the corners and the cast may come out easily.

You can see i ahve made the cast in some what "V" type structure so that the cast may come out easily.

I Exproted the stl file of Choclate mould from Auto Desk Fusion 360 in .STL format.
After this milled the negetive mould using the SRP Player :-
I Downloaded the SRP Player from Here
Before installing the SRP Player first connect the Roland SRM -20 Milling machine to the Desktop.

After Tis i opened the SRP Player and opened the choclatemould.stl file in SRP Player.
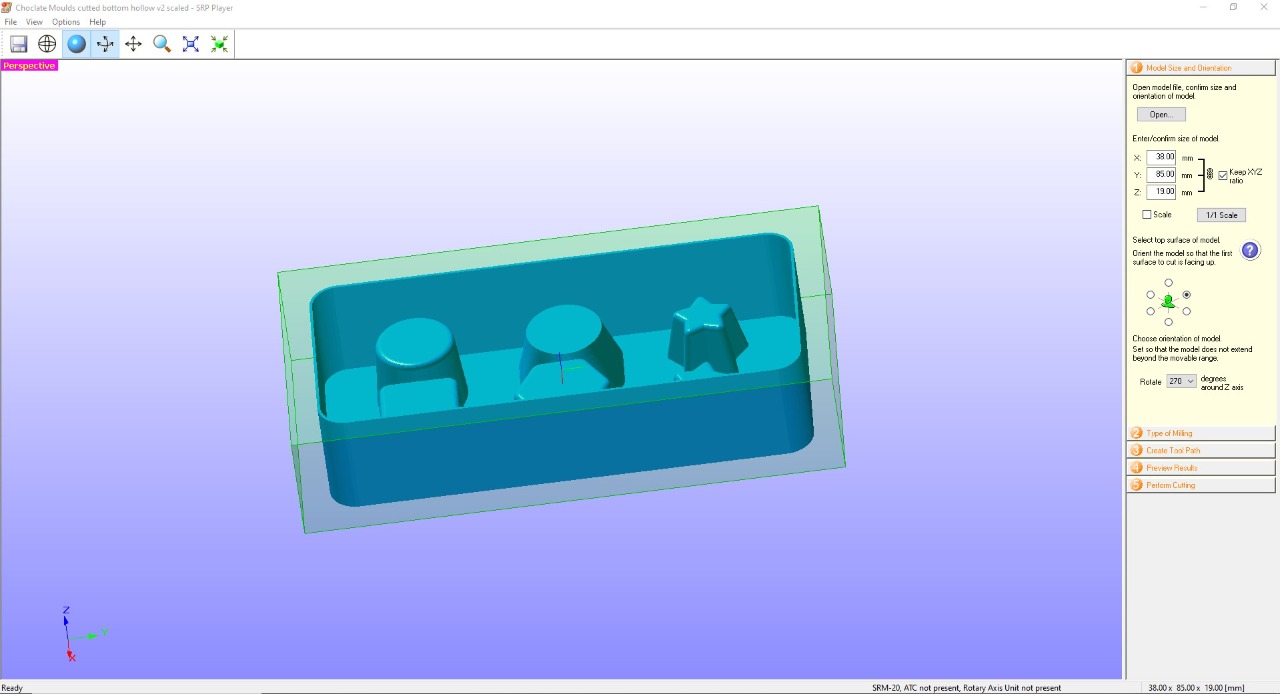
I scaled it down to the small size and set the orientation of the model which side to be milled.
.jpeg)
After this set the setting for the type of milling.Better Surface finish,Mold with many curved urface and cut top only
.jpeg)
After This i created the tool path. nad chose workpece materila as Milding wax andand gave the size of the working piece.
.jpeg)
After this clicked on the on edit
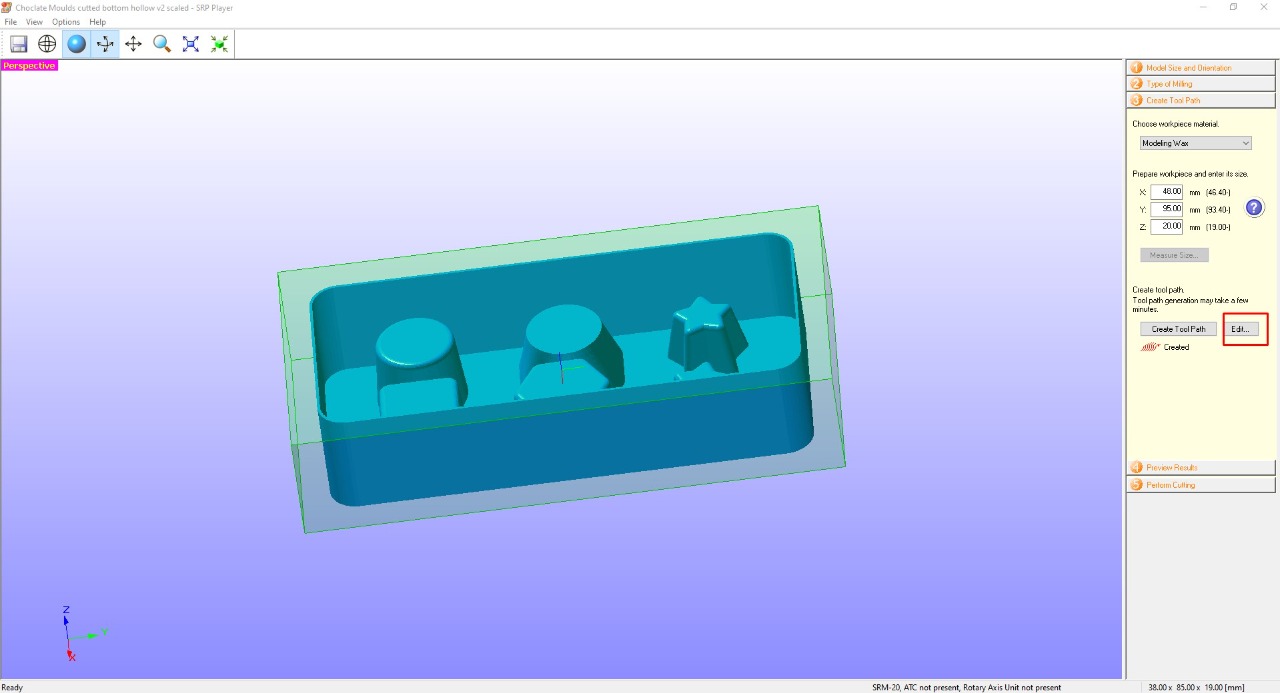
After this i made the setting for the roughing and finishing.For Roughing i cose 1/16 milling bit and for finishing i chose 1/32 milling bit.
.jpeg)
.jpeg)
applied the setting and after this i created the tool path.
.jpeg)
after this i previewed the result
.jpeg)
.jpeg)
.jpeg)
After this .jpeg)
After this i preformed cutting and clicked on the start cutting and clikcd on the check box output to file.
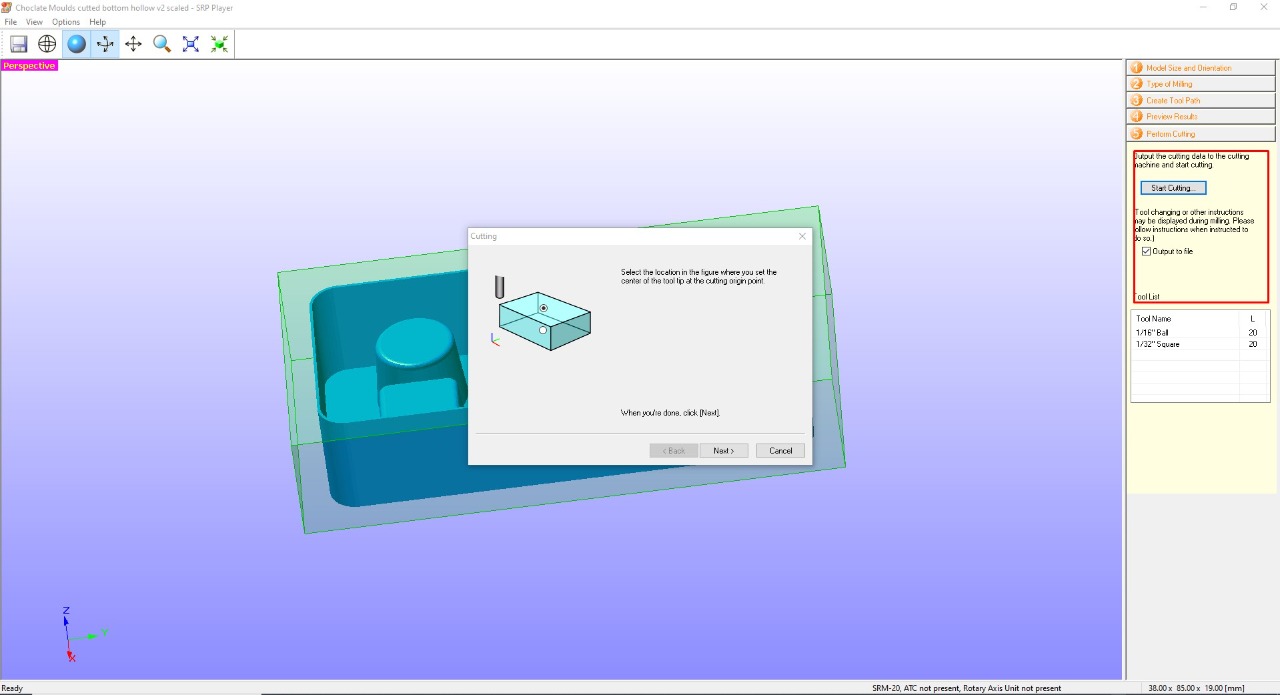
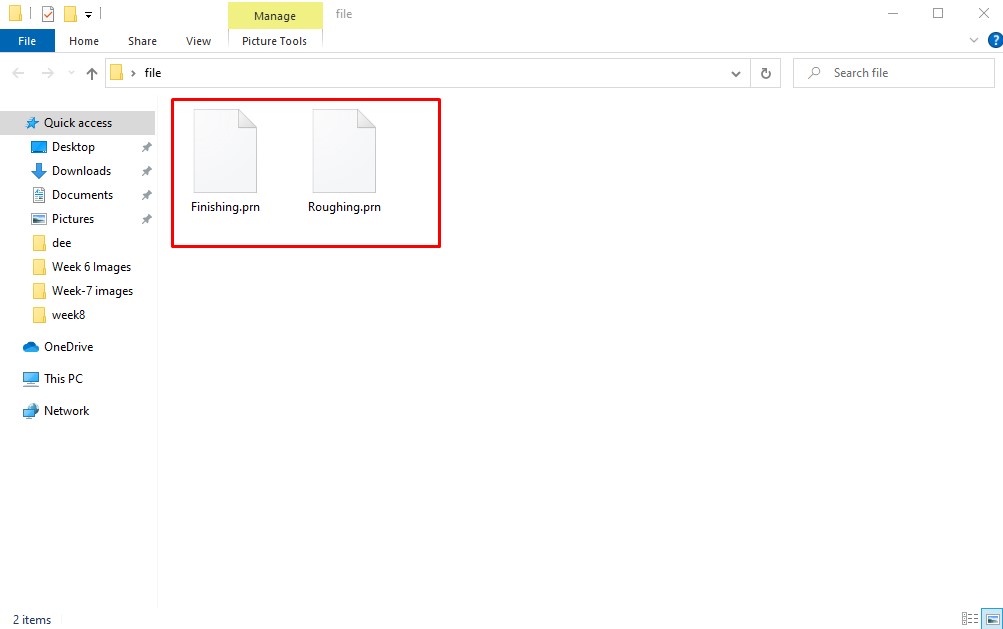
After this thwo files will be saved as Roughing.prn and Finishing.prn
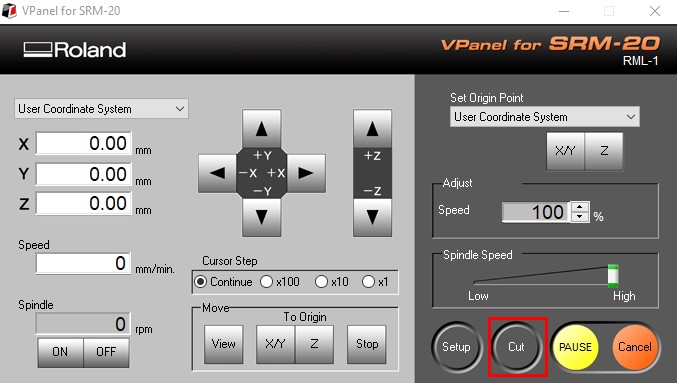
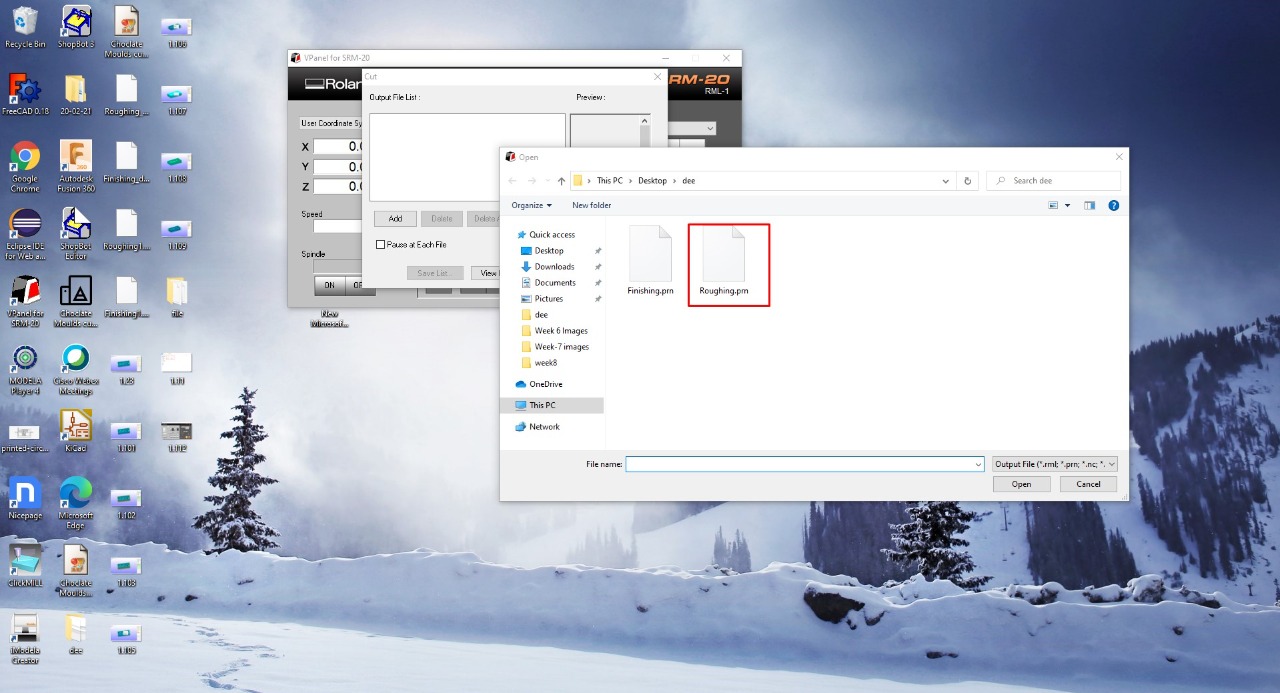
After this I opened the V panel and insrted 1/16 bit and pasted the Modelling wax on the plate and setted the origin X,Y and Z to zero as we did in the electronics prduction week.and opened the V panel and selected the Roughing file
here is the video during the milling process
after roughing the my mould came as this
here the surface is not smooth.For smoothening of the surface finishing was to be done.
.jpeg)
after this i change the bit ti 1/32 and seleted tha finishing file without distubing the X,Y and Z origin previously set. and started the machine.
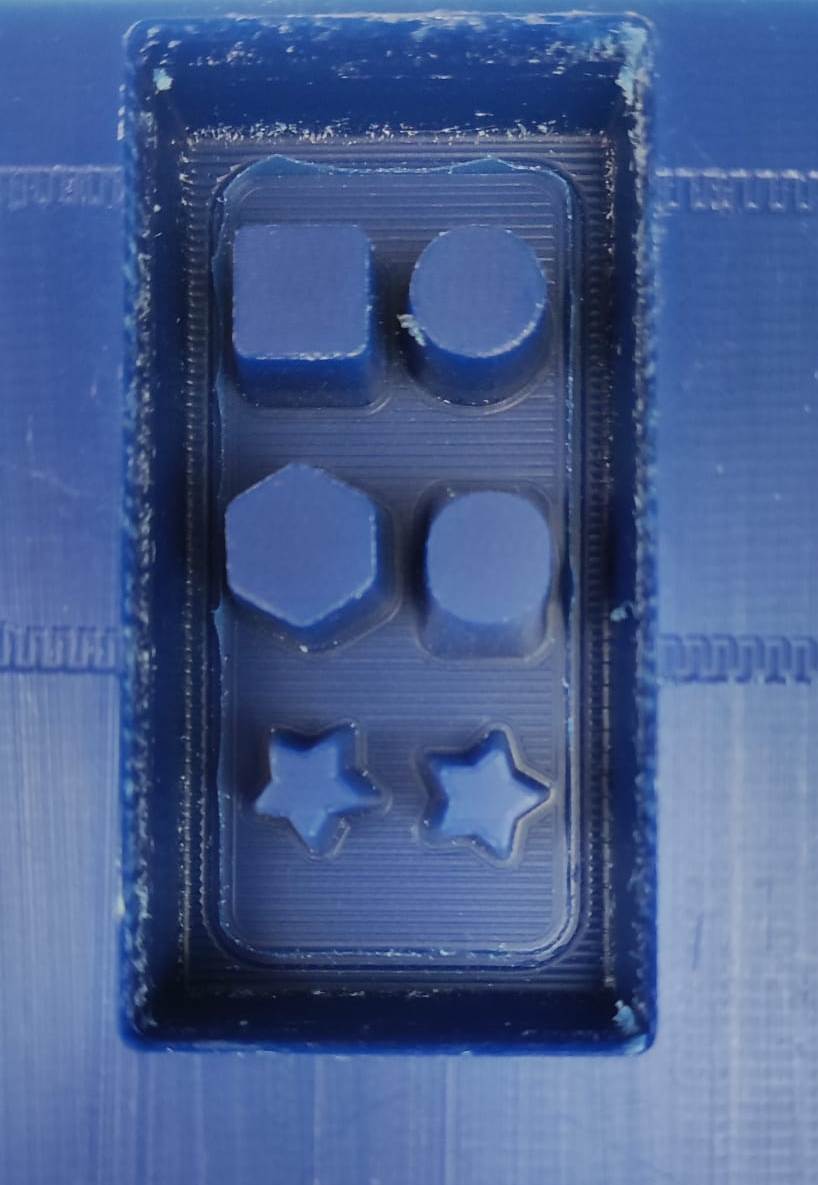
The after cleaning the mould i prerpared te solution using Food Grade silicone.
.jpeg)
I prer[pared the solution using the part A and Part B of bot the solution in the ratio 1:1 volume by7 volume.I took 40:40 ml volume of the both the solution.

.jpeg)
After mixing the bot the solution in same ratio
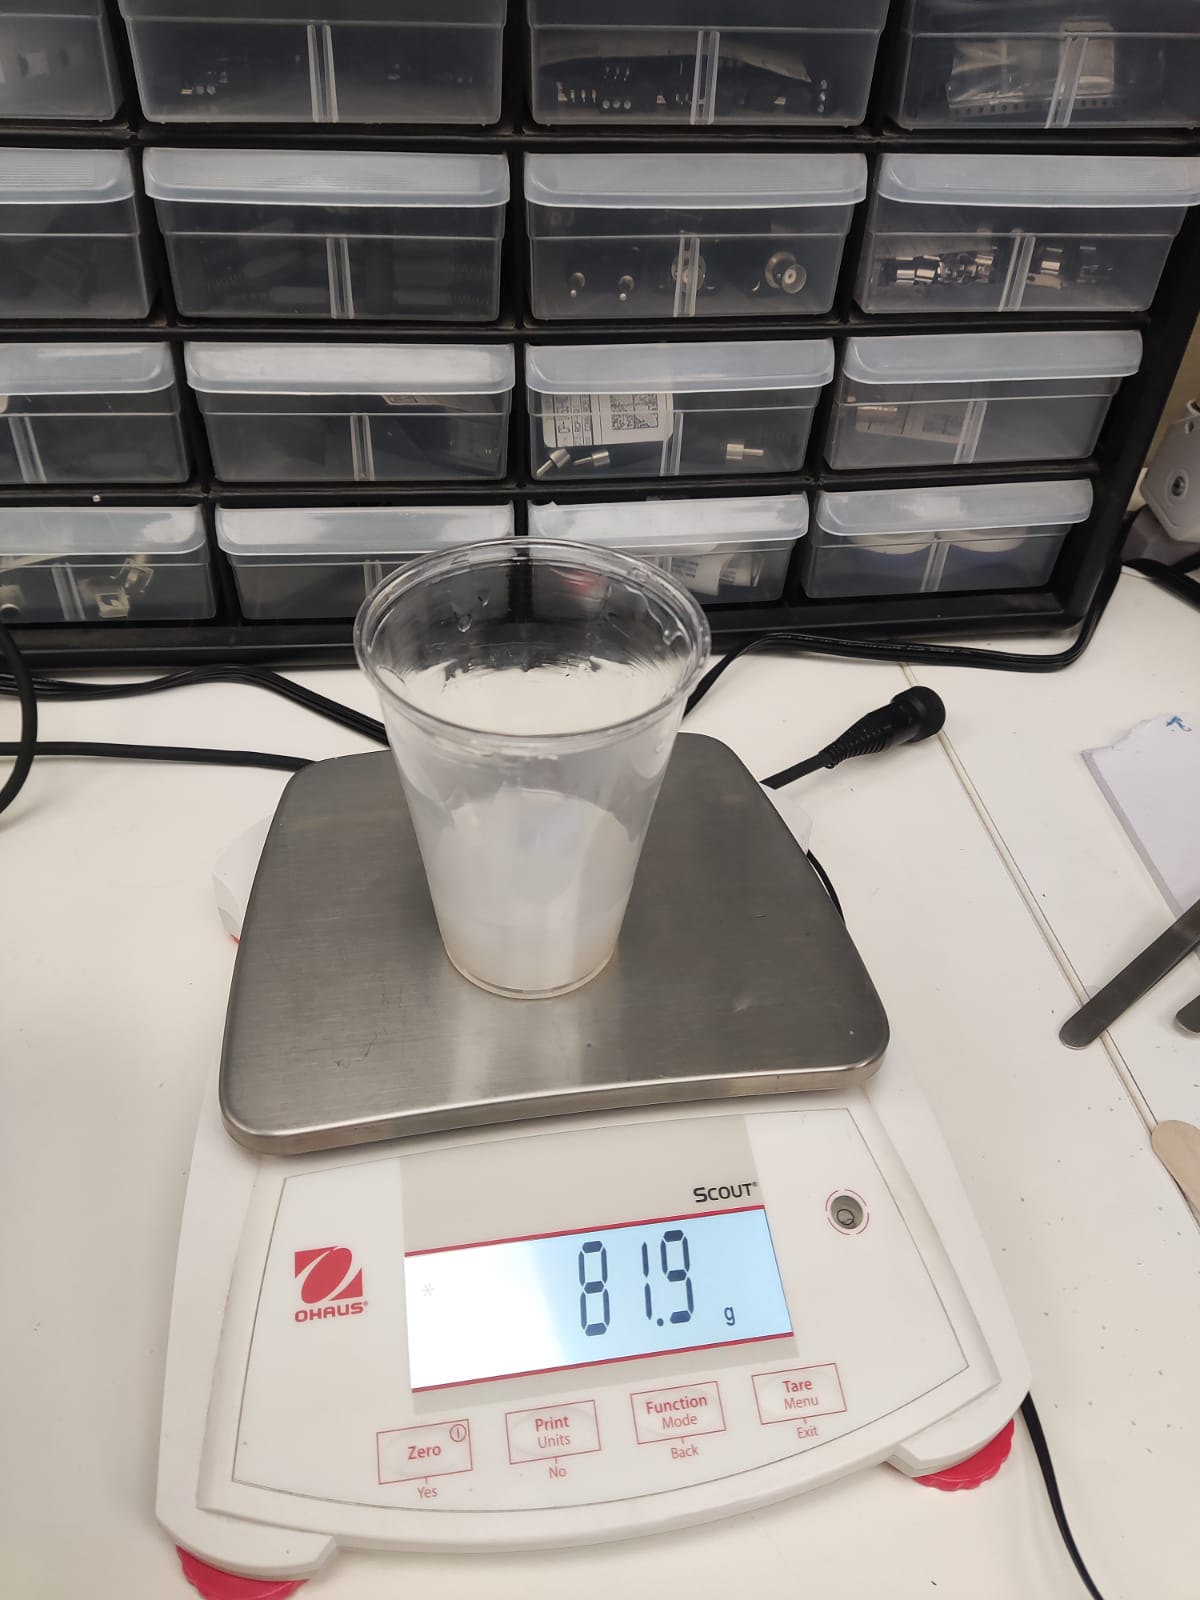
I mixxd stired both solution for 5 minutes in the glass with the help of the icream stick.During the stirring large amount of the bubbles were formed which may damage the cast during the casting.
Fo this i used the vaccum chamber.I puutted the glass filled with solution in the vaccum cahamber and gave the vaccum of.29 inches of mercury vacuum for 2-3 minutes as indicated on the container.
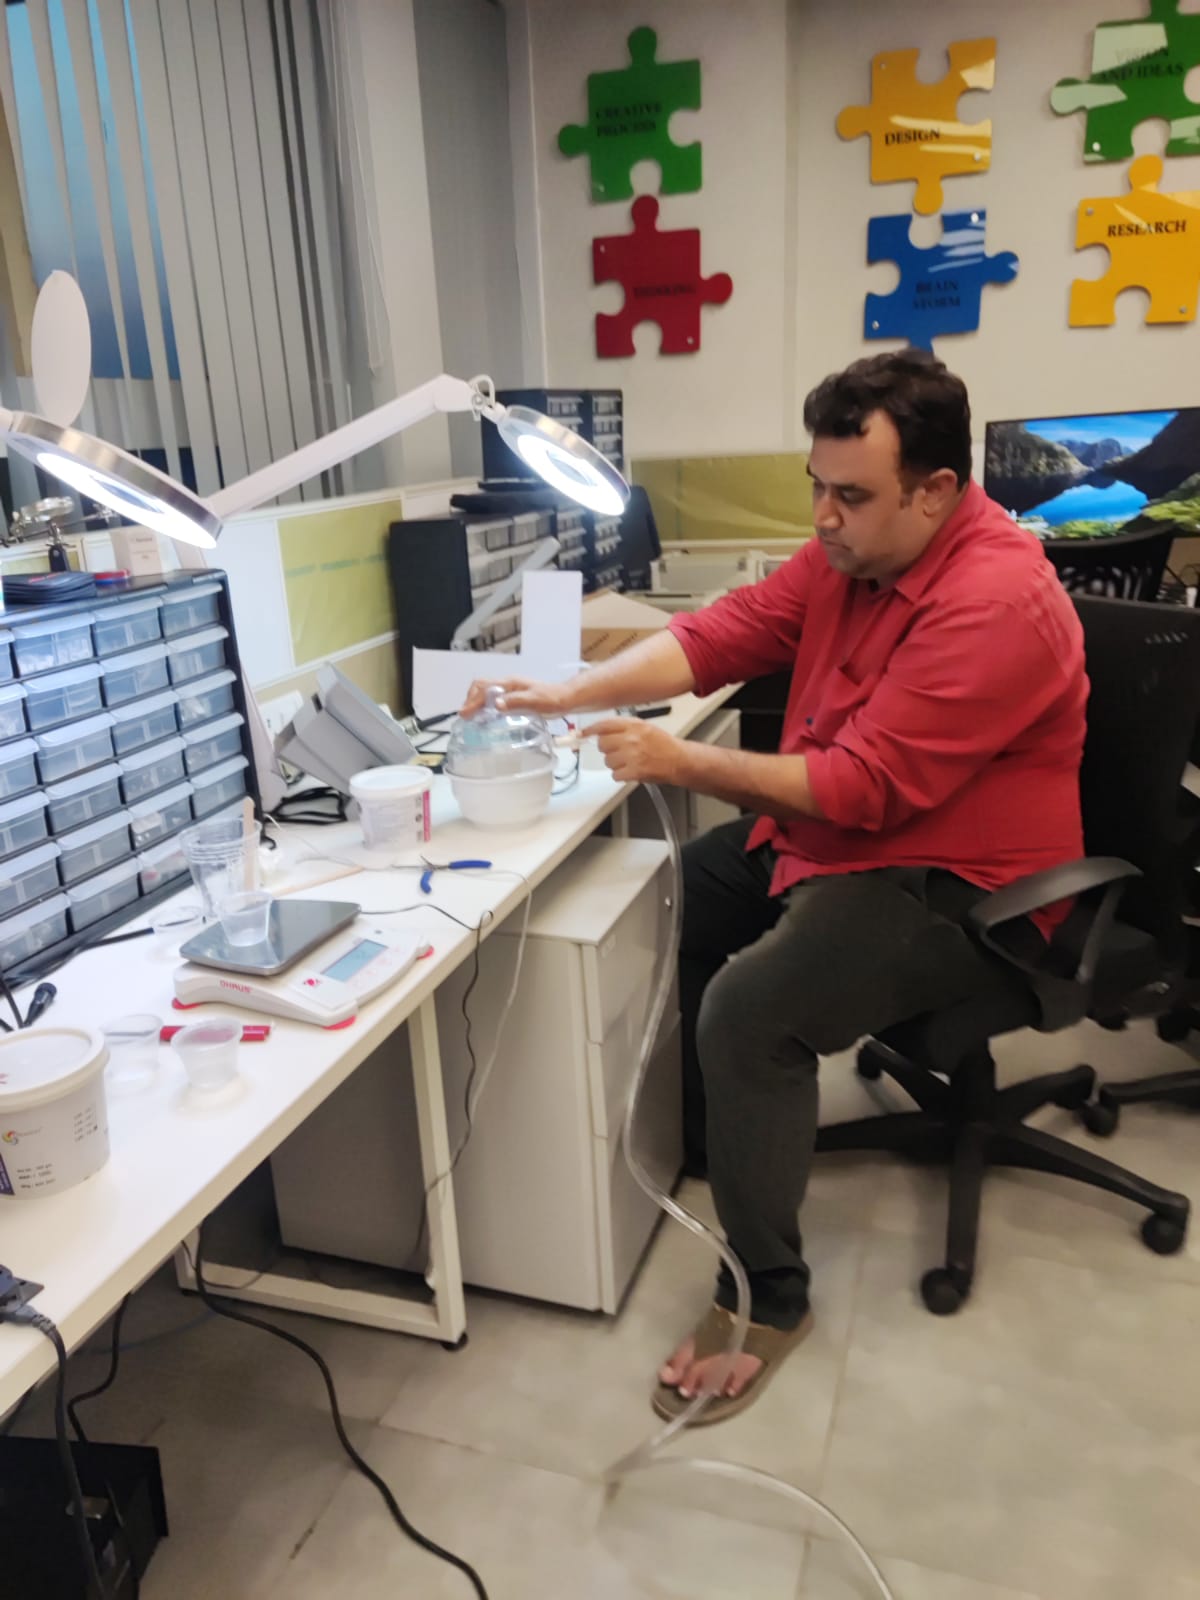
During this process most of the air bubble were released .Then i took the solution and pured in the negetive mould carefully,without leaving any air packet in the mould.
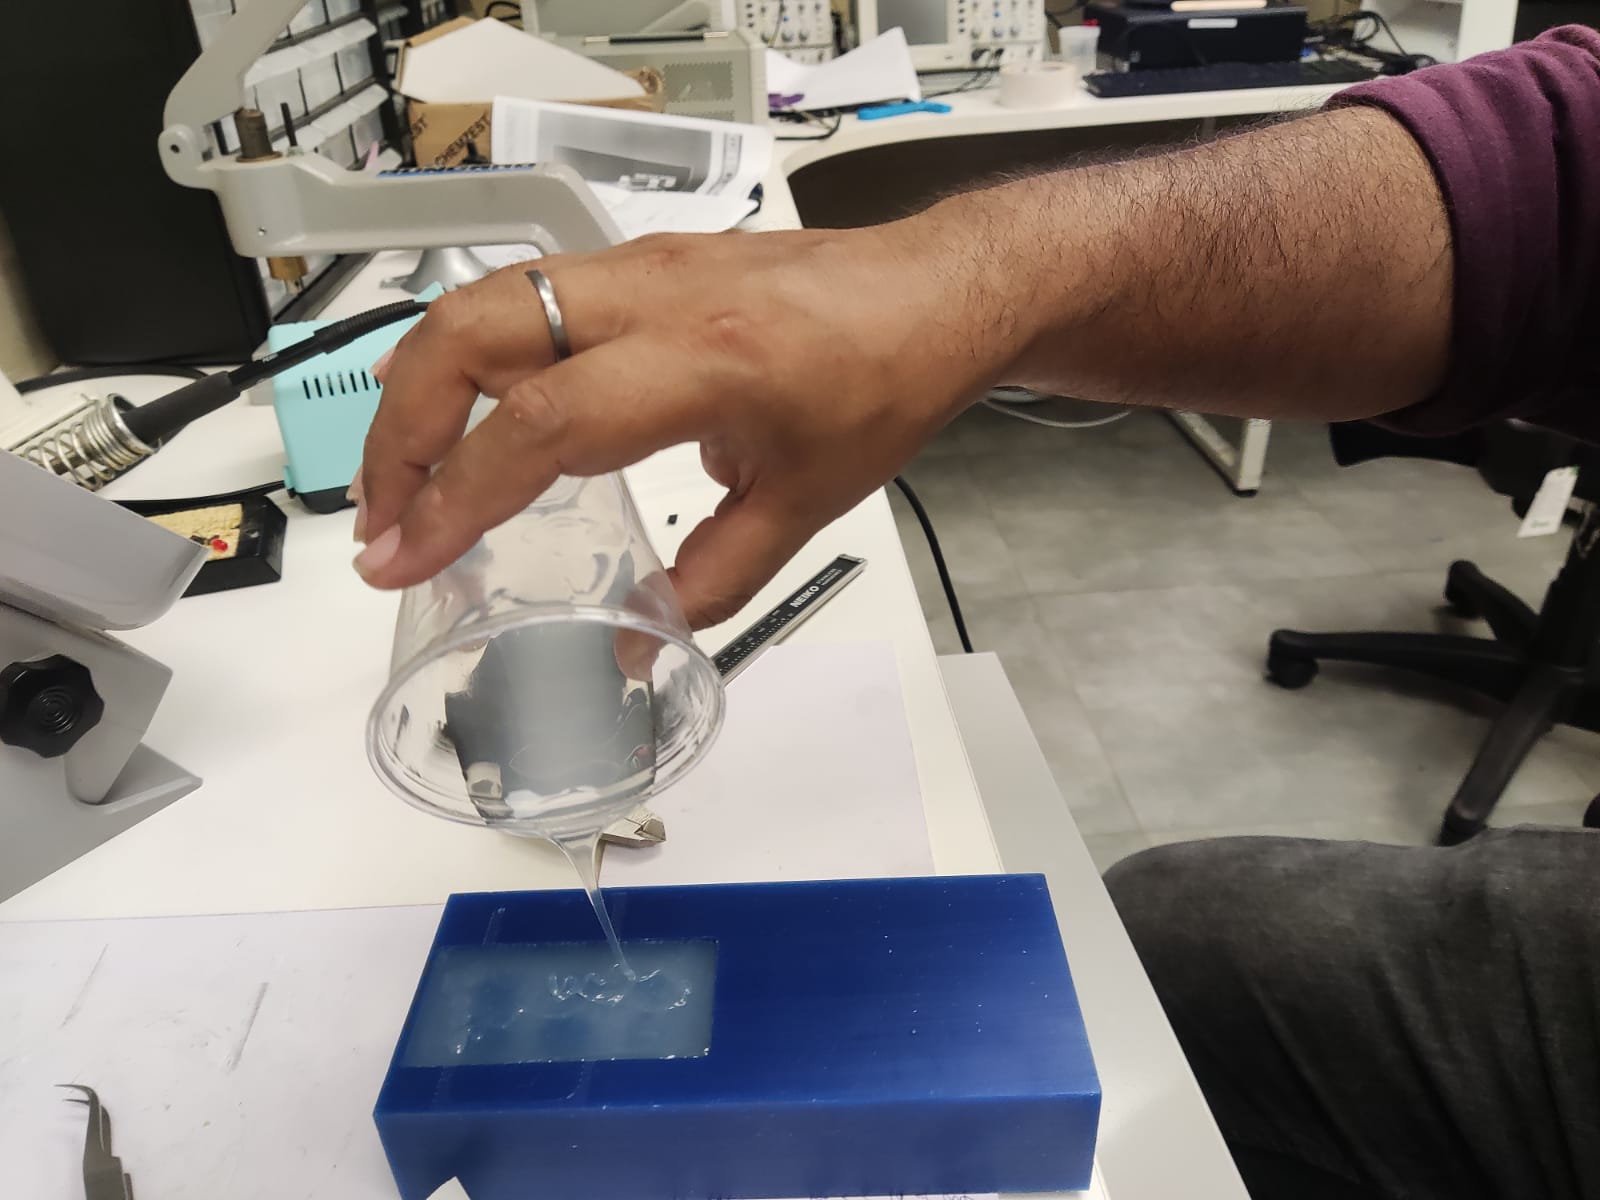
I kept for curing for atleast 3-4 hours.
.jpeg)
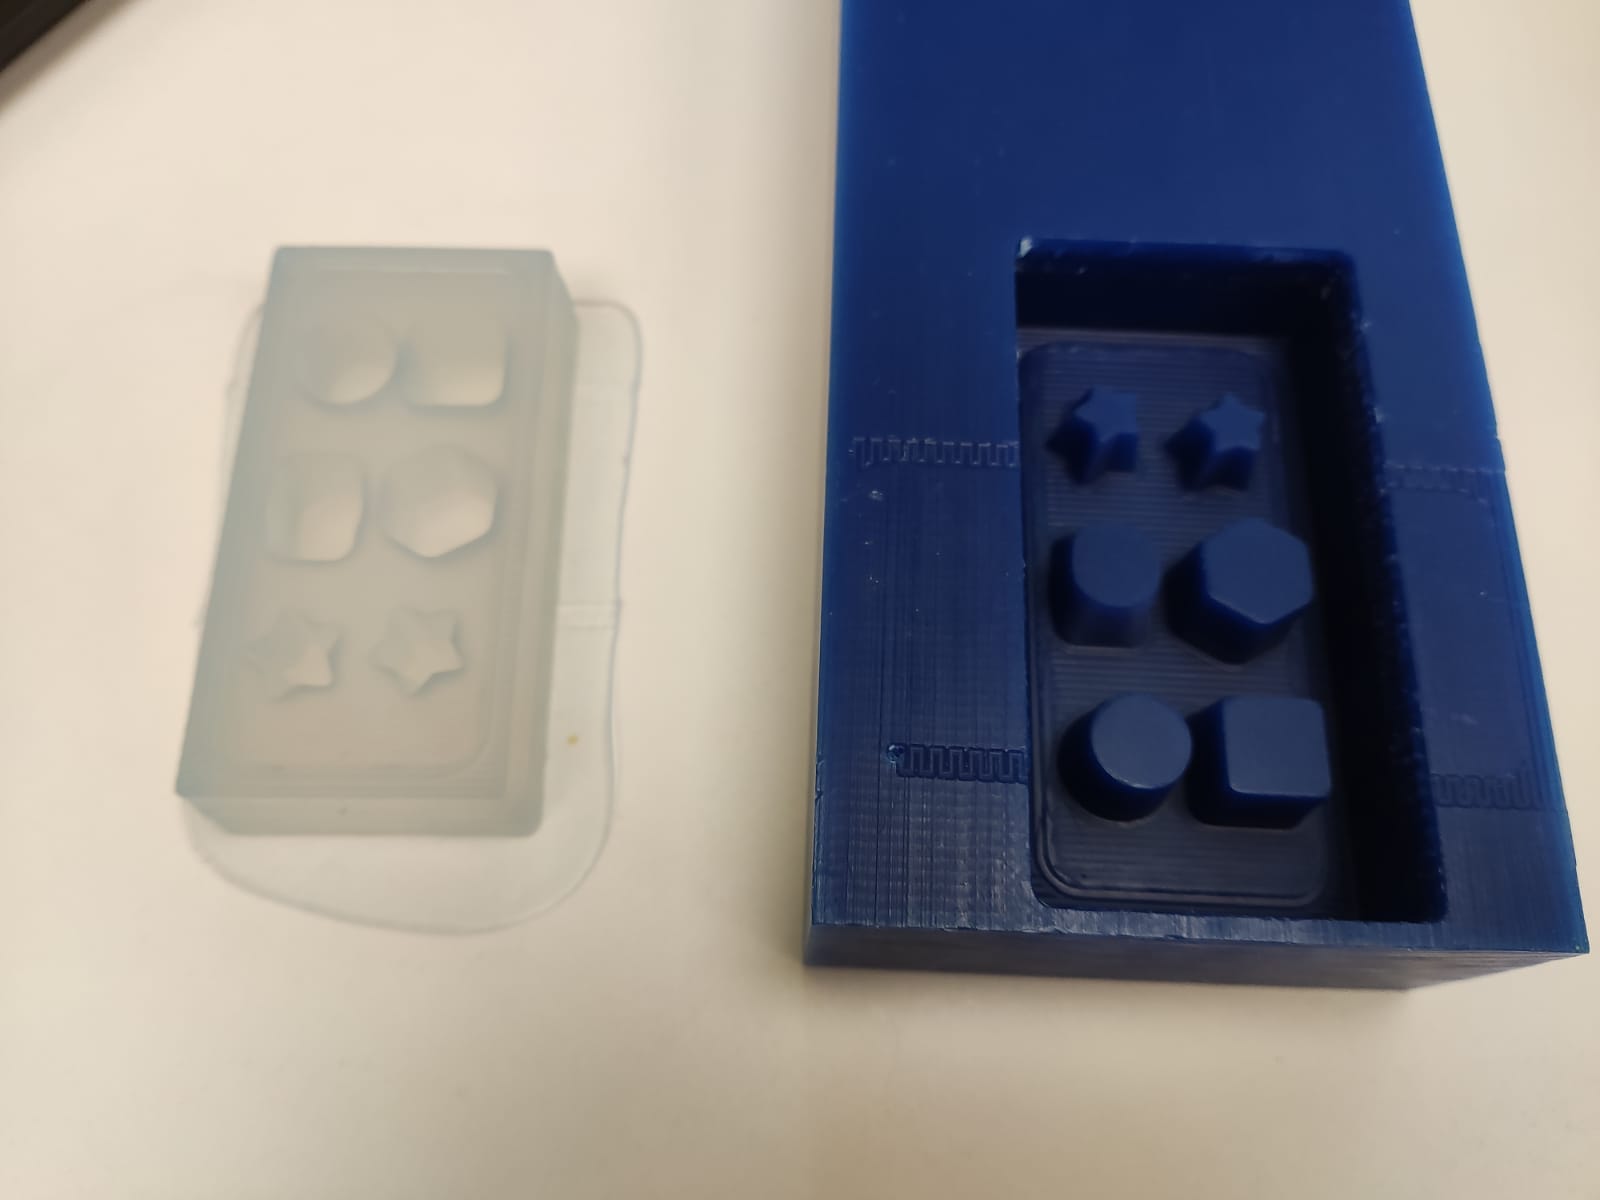
After 3-4 hours i took out the Choclate mold out carefully and it came out as shown
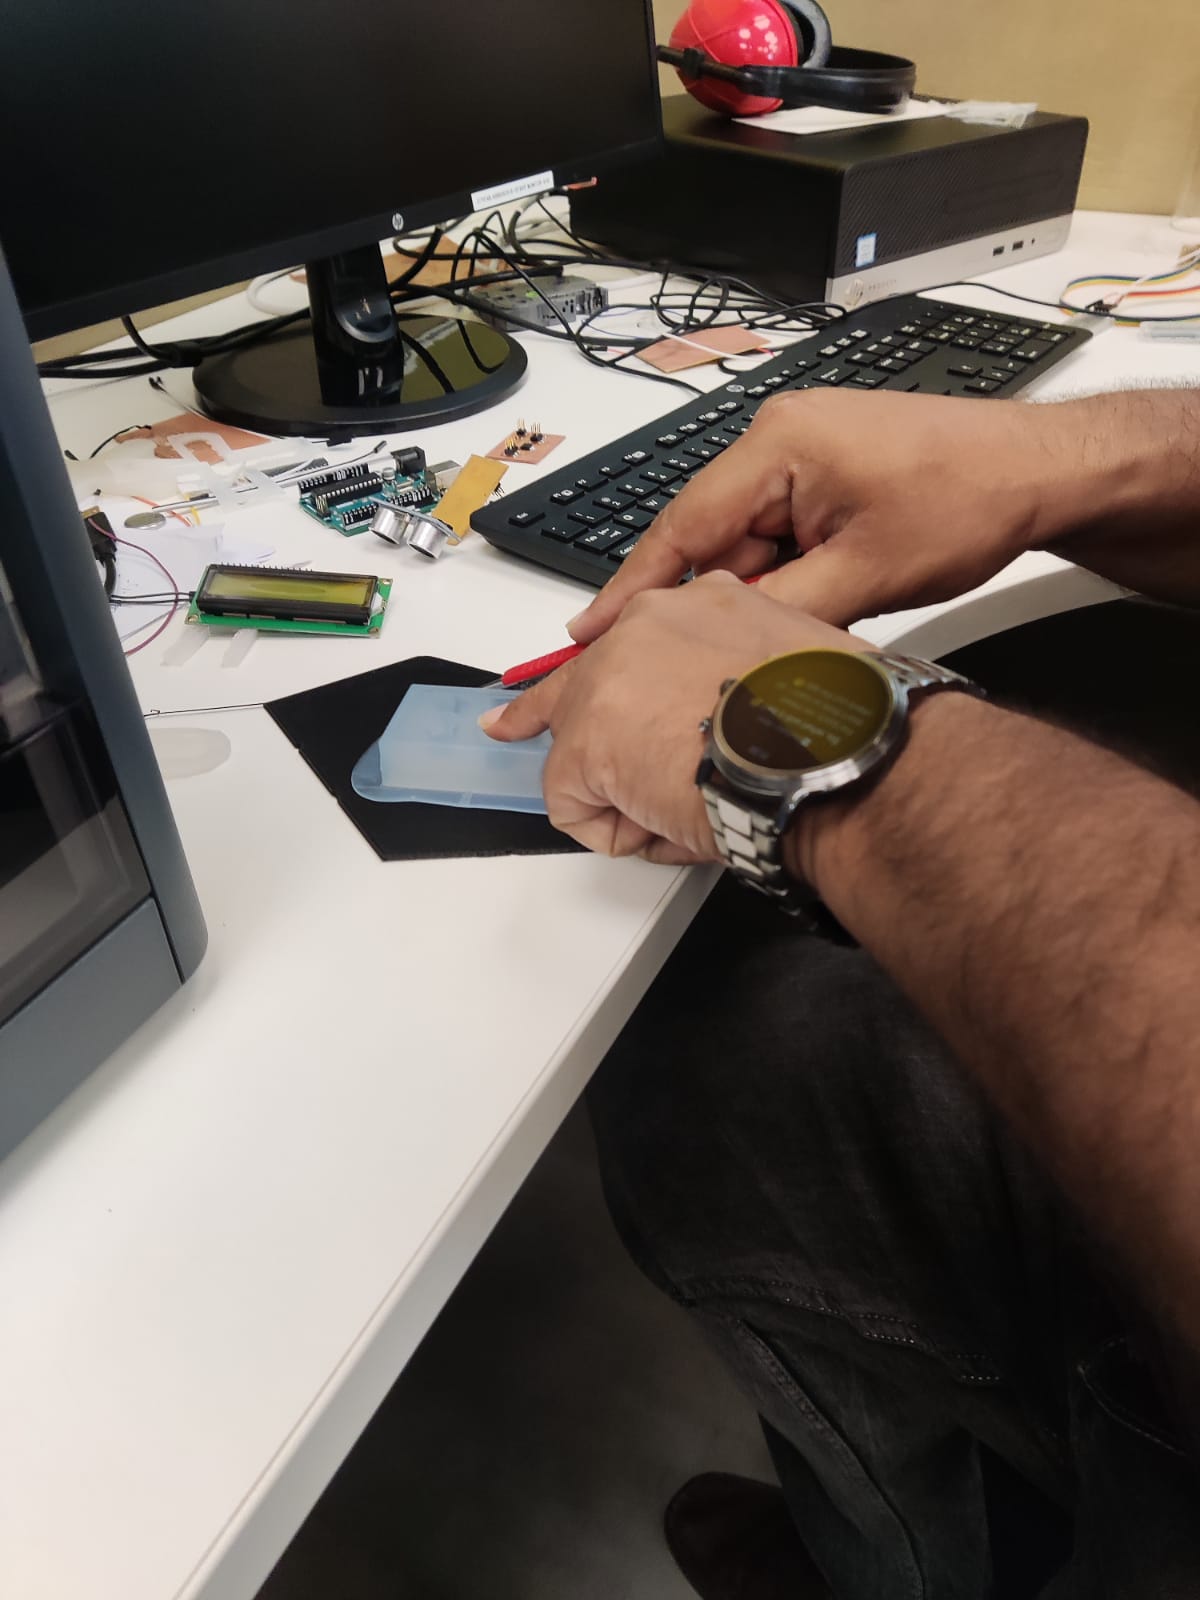
I removed the extra silicone rubber using the paper cutter
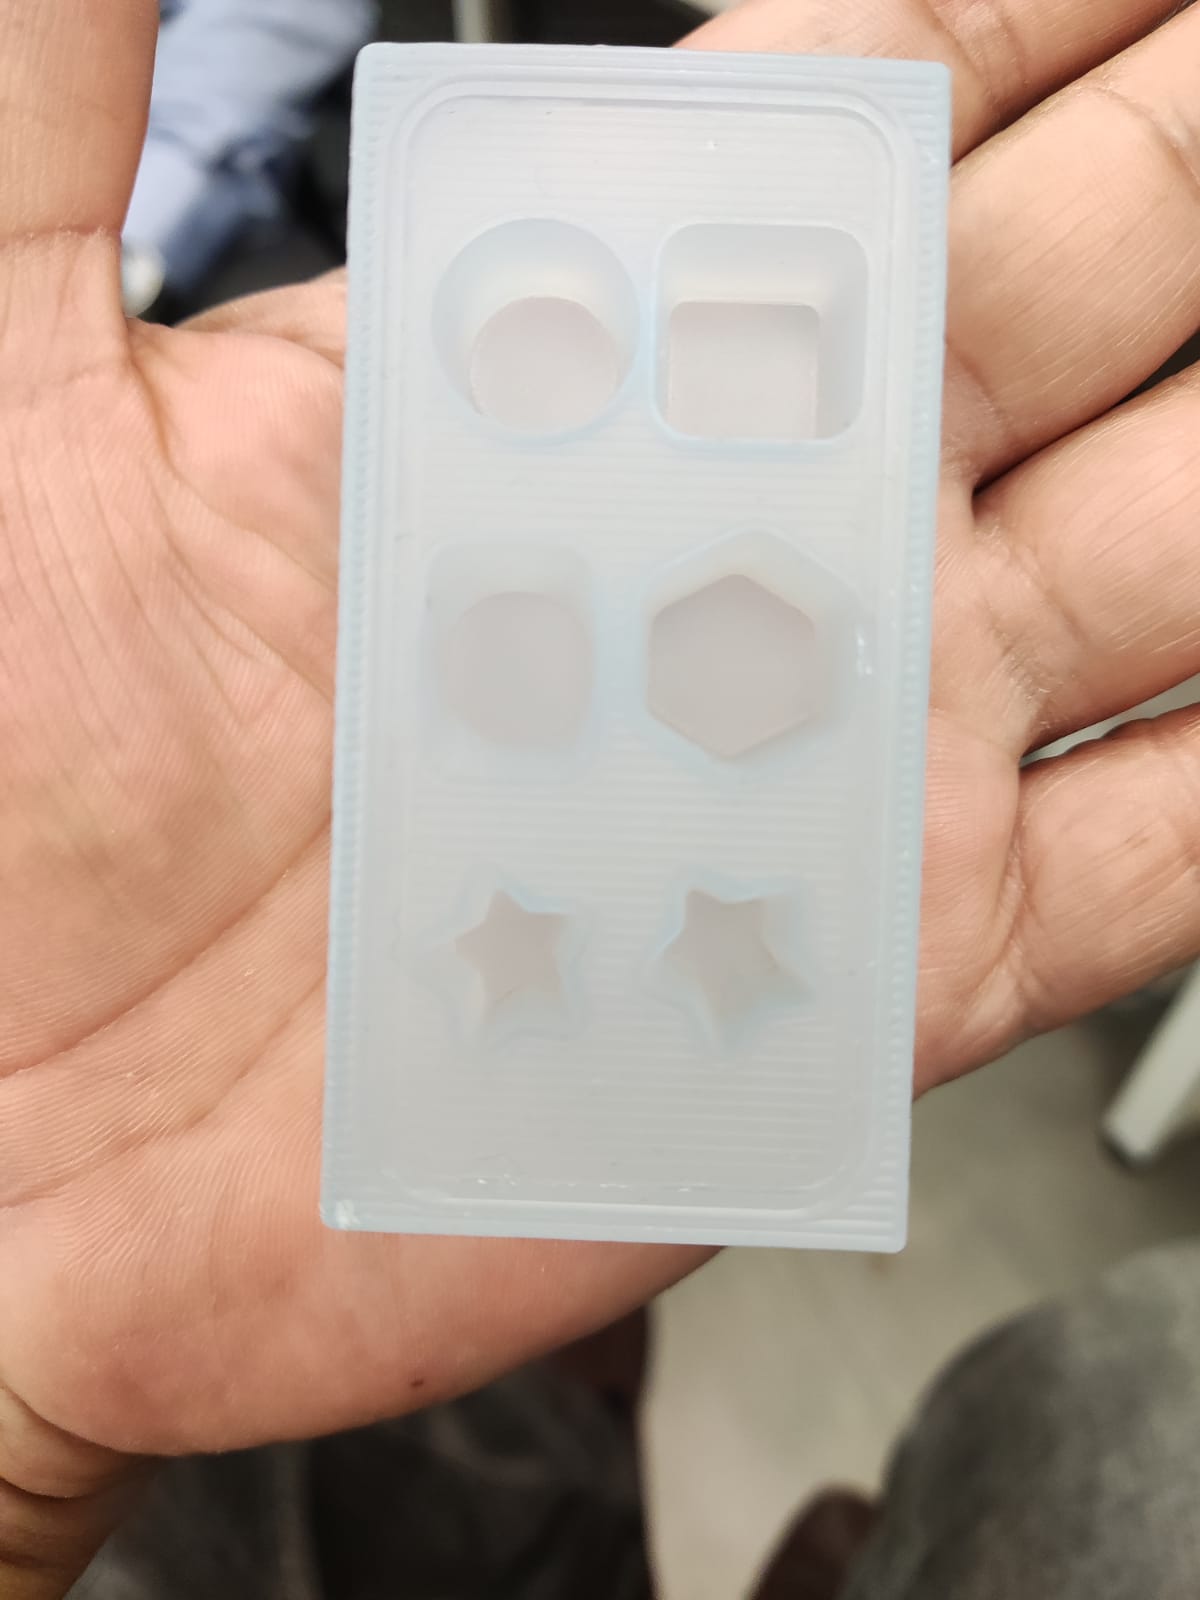
Finally here is the outome
Aince this is food grade Silicone Rubber i will take chocolate and melt it and pur it in the mould.
.jpeg)
After this the molten chocolate paste can be cast in this mold.
I Took the cadbry chocolate and broke the pieces and putted in the bowl.I heated it in the Microwave oven to create the hot paste of the chocolate.And Mixed it thoroughly.But before this i washed the Mold with Hot water to disinfect it.
.jpeg)
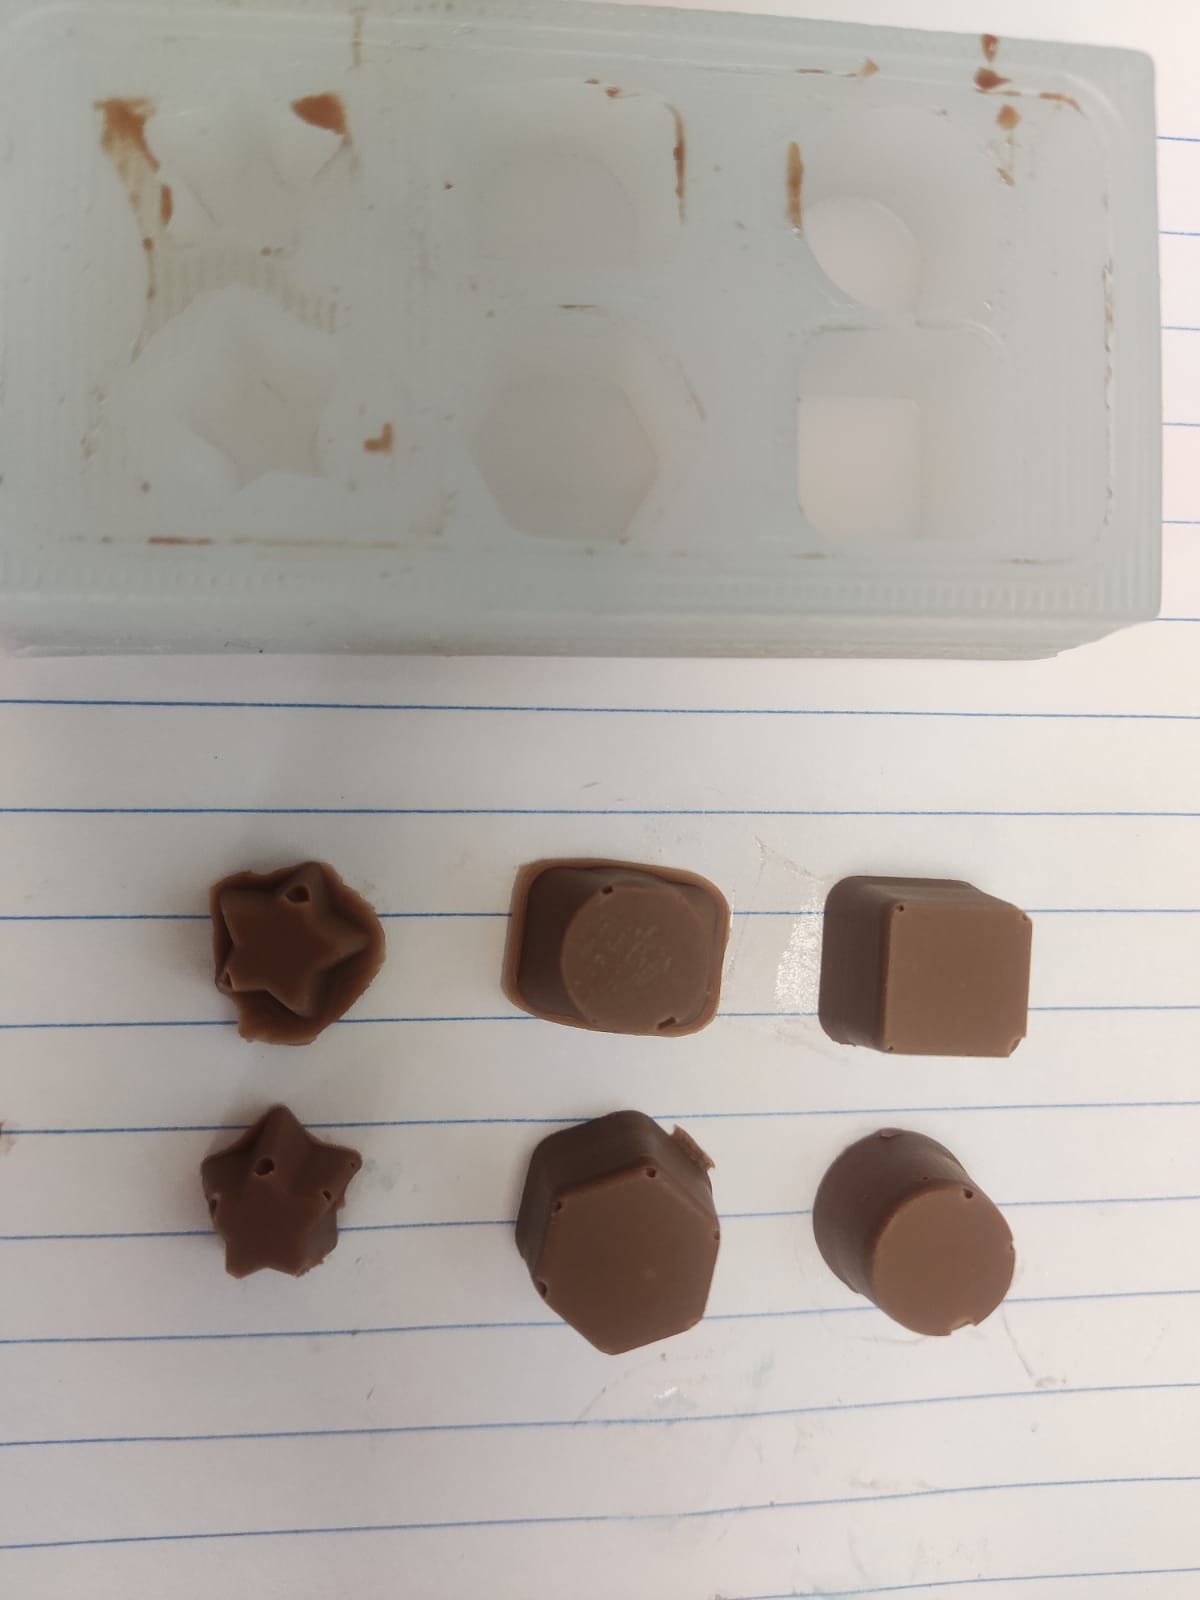
After casting i found that there were some air bubbles in the cast that was created .The shape was perfect.
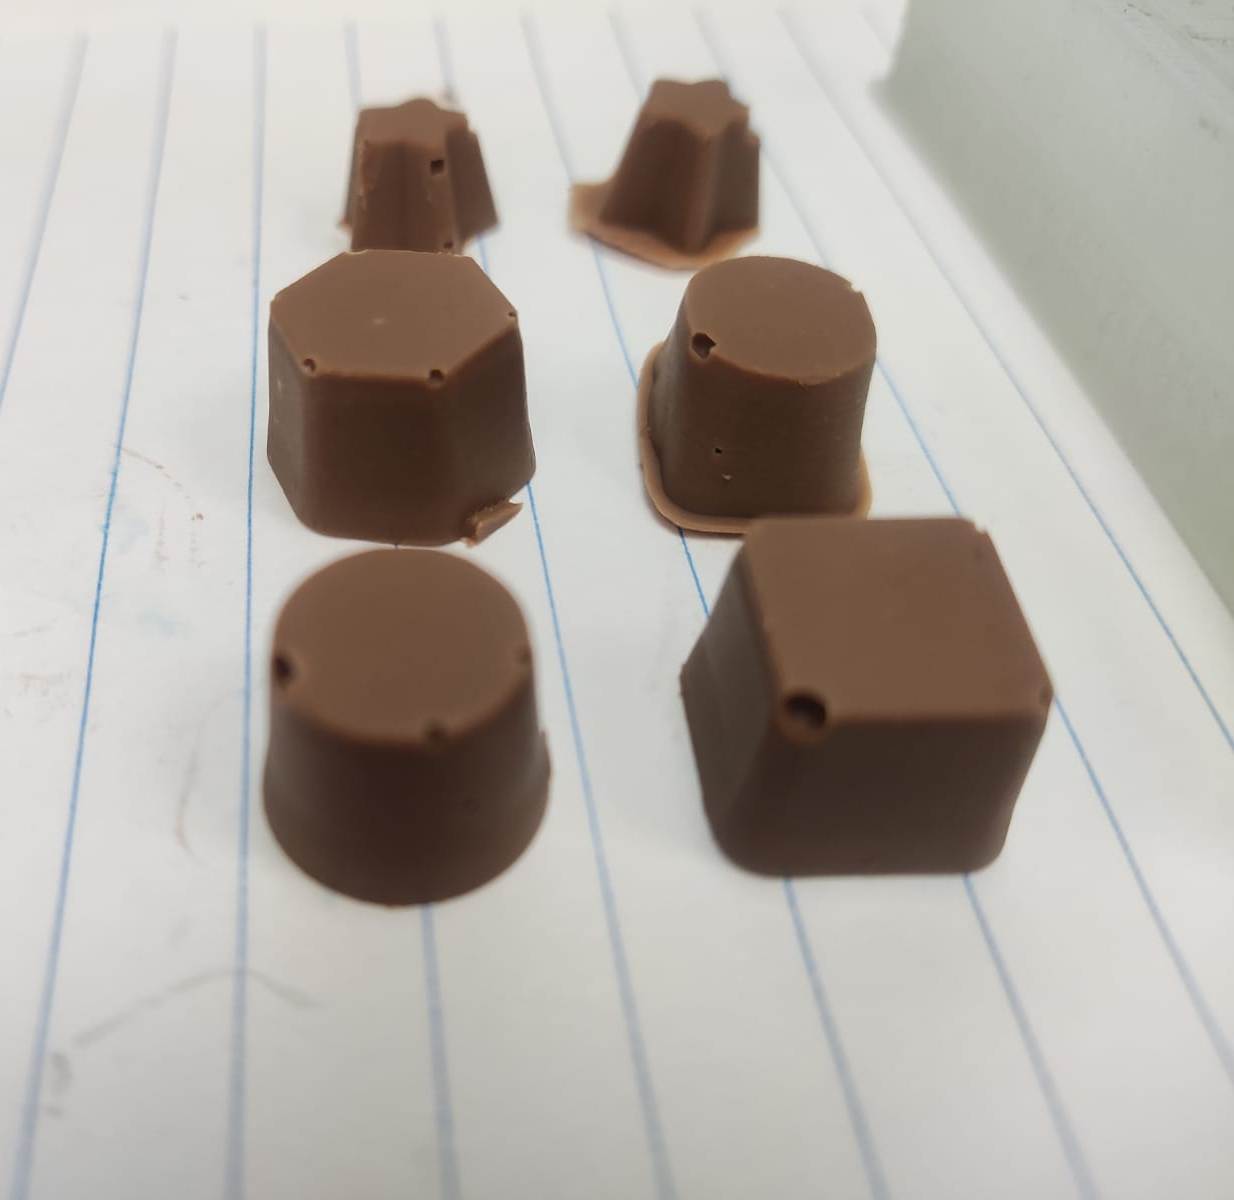
I Distributed these chocolates to my Intrusctor MR.Sheebu and Collegue Mr. Nihar.They were Happy eating it.

Files for this week can be downloaded here
