Computer Controlled Cutting :-
To cut something on the vinylcutter and design, lasercut, and document a parametric construction kit, accounting for the lasercutter kerf,which can be assembled in multiple ways,
In my lab i am having Epilog Laser Fusion M2 Co2 Laser Cutter. 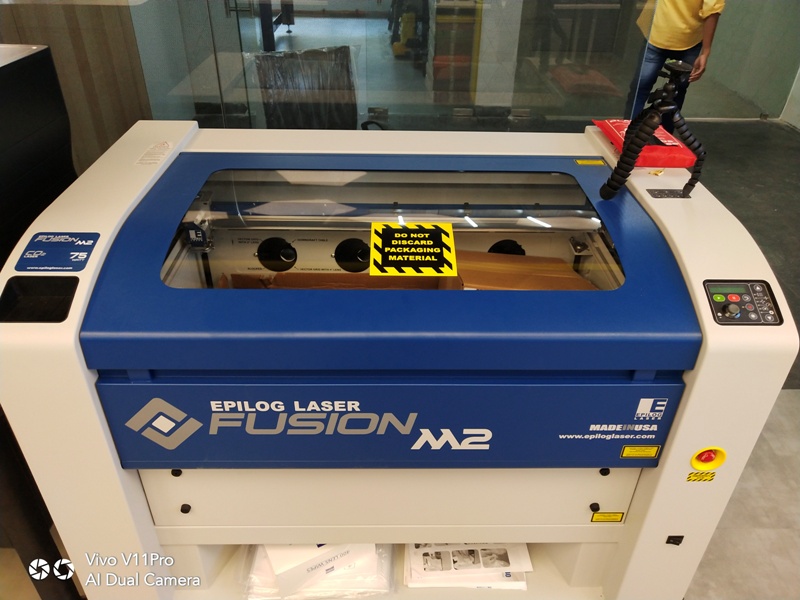
For this assignment i had to design the parametric desoign pressfit.Initially designed the normal design pressfit.I was not knowing about the parametric design.My Collegue Mr.Tapas Barik told me about the parametric design . I searched on the internet about the patrametric design.
What are the parametric design ?
This means that the geometry that you create, instead of being freely sculptable, is produced by rules and parameters. For example, a cylinder might be produced from a radius and a height. With these two parameters, the program has enough information to build the cylinder.
Designing the parametric pressfit construction kit
I design the parametric design pressfit construction kit of the following design.
For this i first designed the square of 55 mm size in freecad and then cutted the slot of 4 mm at the centre each side
and then drawn te circle of 10 mm in the centre.I Considered the kerf of 2 mm which i calculated in the group assignment.
I used the freecad software to design the pressfit.
After finishing the design i printed the file to laser cutter for the final cutting.I took the material MDF for laser cutting.I already done the Kerf test in the group assignmet.So i setted the parameter accordingly. Actual measurement in the above freecad image canbe seen after considering the kerf.
Laser Cutting of the Parametric Pressfit Construction Kit
I cutted the following design of the pressfit (MDF Board) using the parameters that i discovered in the group assignment
for the differet types of the materials.
I got the laser cut file with the following design..jpeg)
Assebling of the Parametric Pressfit Construction Kit
I assembelled Parametric Pressfit Construction Kit in multiple ways to design multiple items..jpeg)
.jpeg)
.jpeg)
The Problem I faced during the Laser cutting of the Parametric Pressfit Construction Kit
.jpeg)
During the cutting process i faced one problem.When i was doing the kerf test.The lasr cutting was not happening as the desired parameters.Intead of cutting the pressfit it was just engraving the pressfit desin on he vineelcutter board.I tried several times for doing the kerf test.I wanted to cut the following design for the kerf test.I discussed with my collegues mr.Tapas,Mr Debasis.But there was sme problem.As u can see in the image the plwood thickness ia not cutted as per my requiremnt whic i had given.
I contacted my remote instructor.Mr.Sibu.He understood the problem and provided the solution.Actually when i was printg the file to my printer Epilog Laser Fusion M2.I was setting the vector parameter in the epilog job manager and these parametr were not reaching to the laser cutter.Mr Seebu told me to set the parameters in the printer settings.
I setted the parameteras directed according to the followiing images.I got the result.Hola enjoy........!!
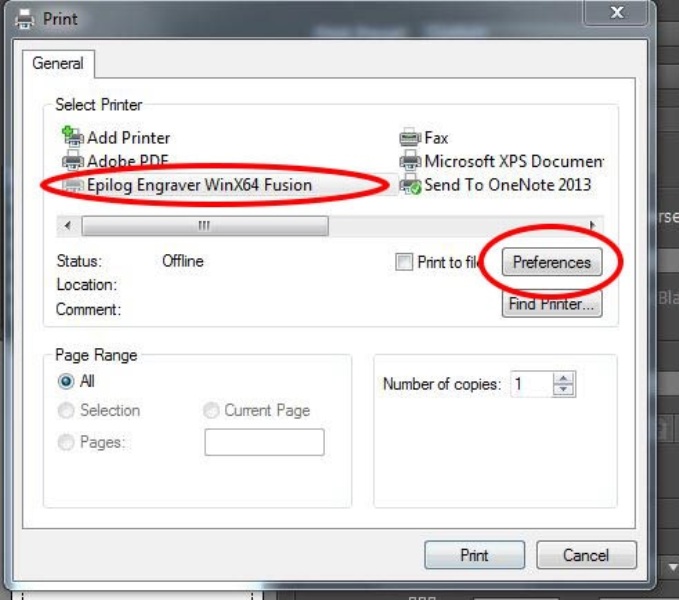
I did the kerf test for plywood and vineer board 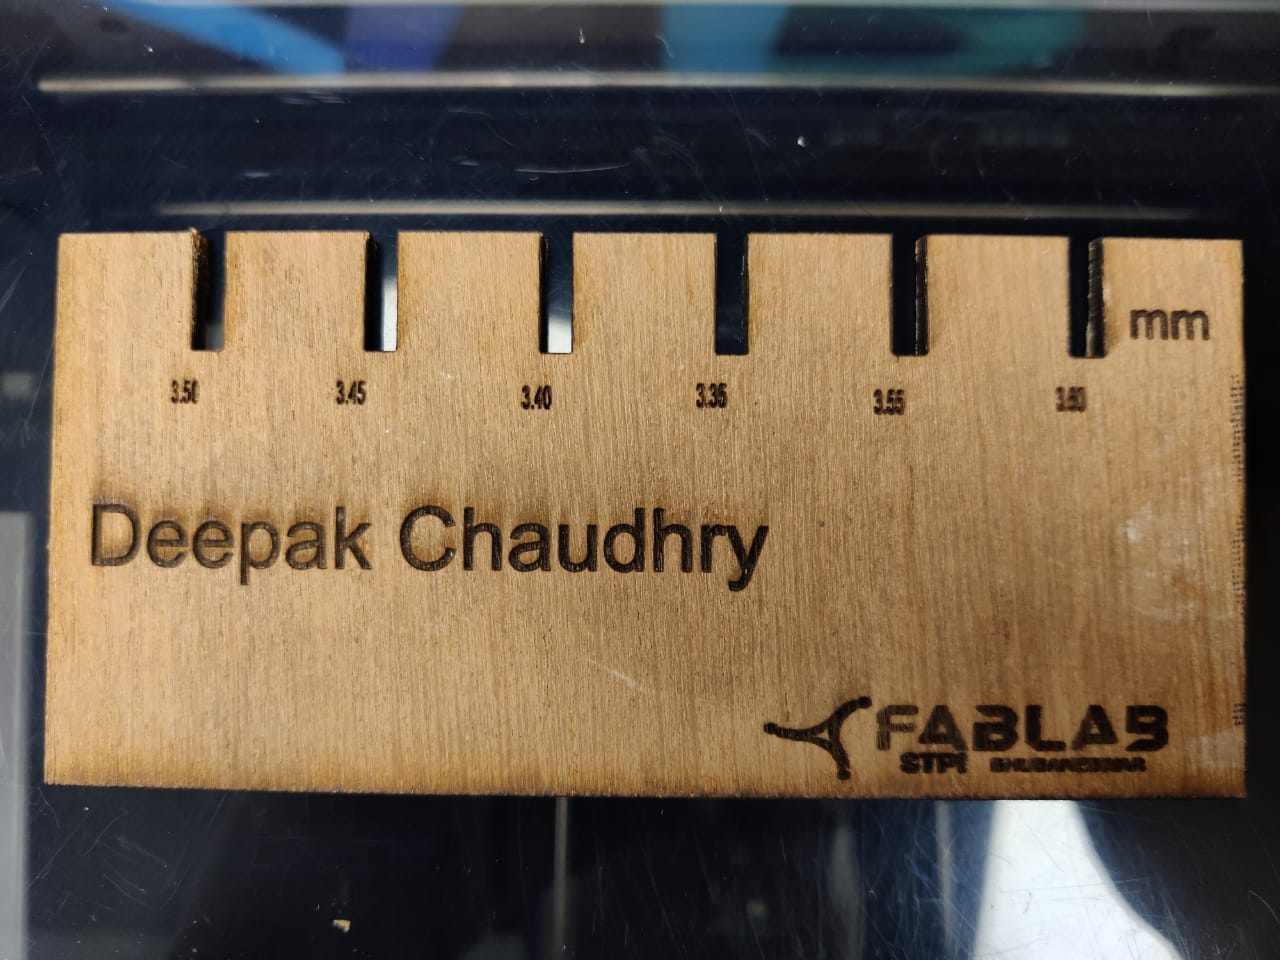
.jpeg)
I also engraved the name Of Lord Krishna on the vineer Board..jpeg)
Venyle Cutter:-
In my lab i am having Roland Cam1 GS-24
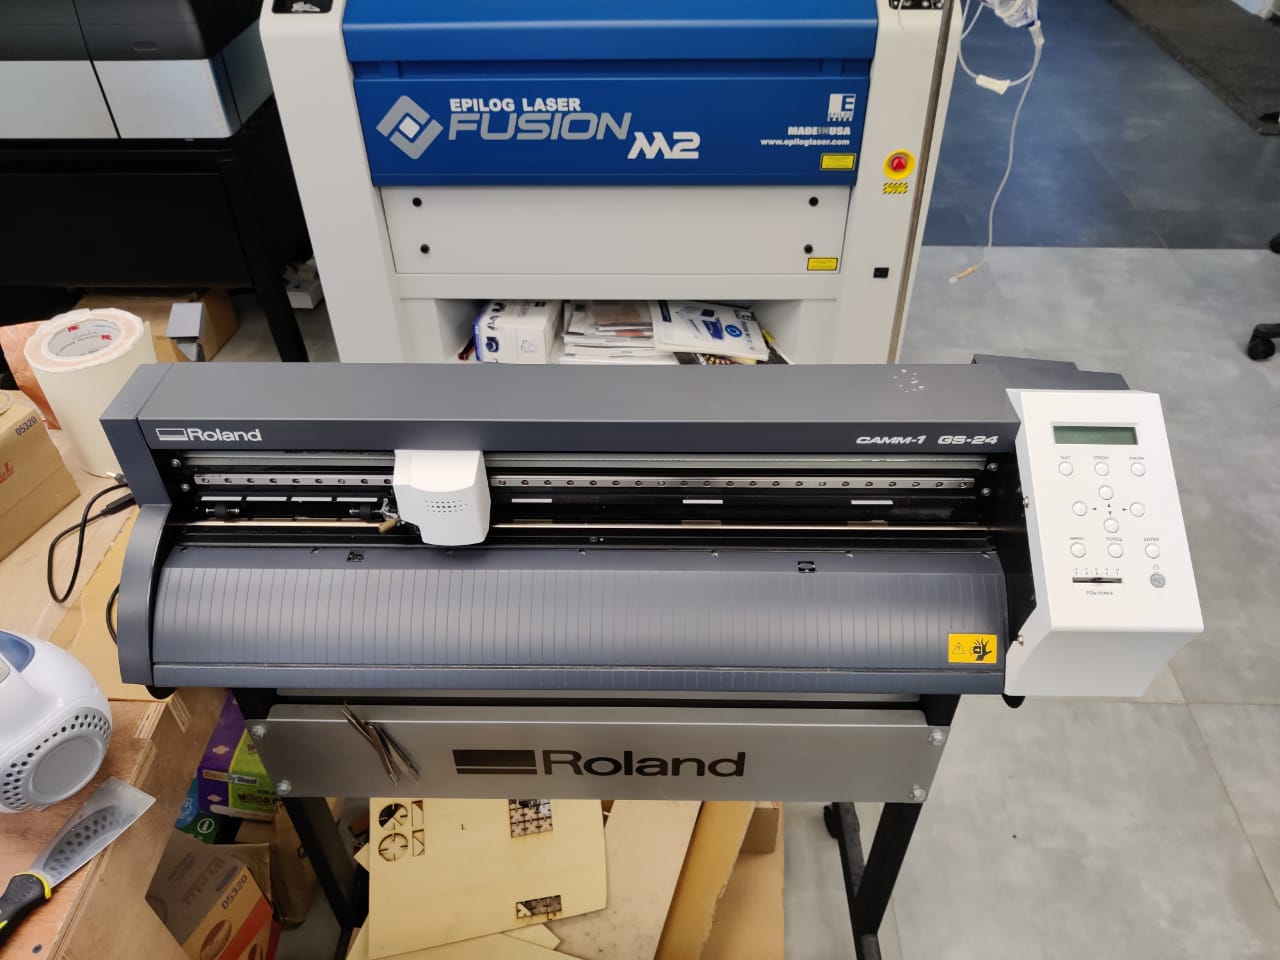
1)Hold the blade carefully and Place the blade in the blade holder so that the The Tip of the blade should be at optimum position in the blade holder.Place lace the blade holder in the blade holding assembly by tightening the blade holding Knob.Do not tighten the knob with great force.Tighten it gently.
3)Load the vinyl sheet roll by pushing it through the machine by gentle force and set the rollers at the optimum position within the marks and lock the liver
3)Now power on the machine and select the material type by up-down keys and select roll and pres enter.Now set the origin by using the up-down and right-left keys by moving the blade holding assembly and set the origin by press and holding the set button.
4)Set the force to 80 gf and press enter and press test button to cut the test image.
You can also use the www.fabmodules.org or cutstudio to cut the design.
But I used the cut studio to cut the Logo of the Indian Government Televsion Logo.
I Downloaded the png image of the logo from internet..png)
Then i opened the cut studio Then i imported the logo in PNG format


Then I created the outline as in following image.Clicked the extracted the color lines and slected the image desnsity.


Then i sent the file to the Roland Cam1 GS 24 Venyle cutter by clicking on the cutting tab and selecting the Roland Cam GS 24 as printer

I forgot to post the details about how i cutted the venyle sticker and transferred to wall to paste it to wall.I cutted another sticker to mention about the process.
Setting the parametrs to the machine 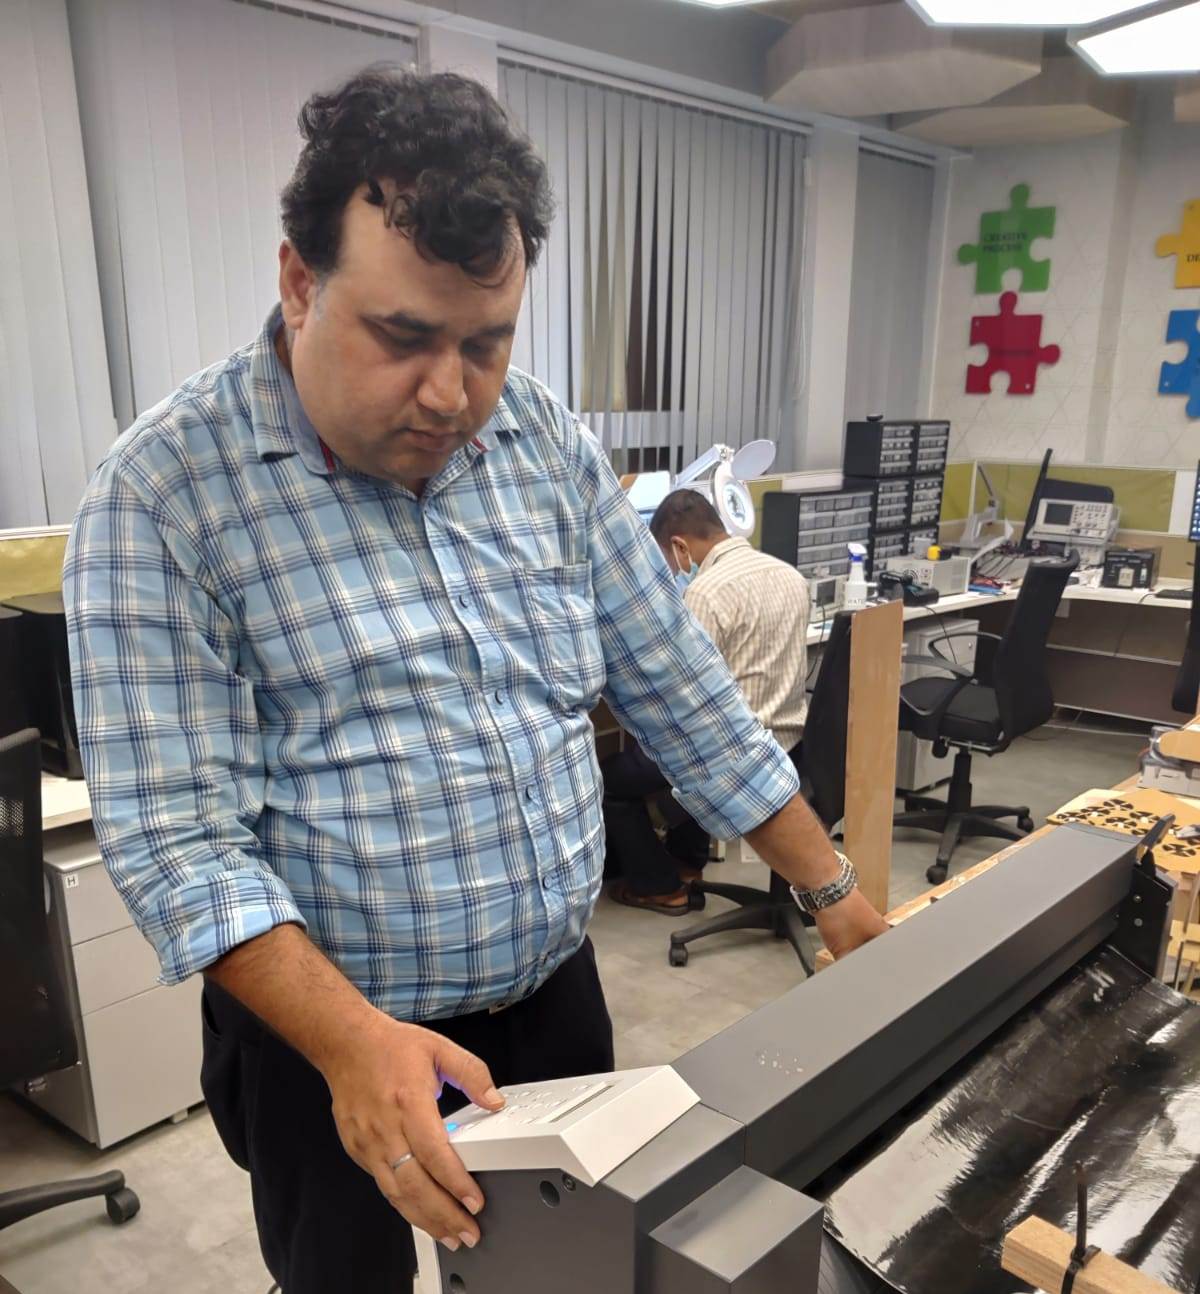
I Used the transfer tape to peel off my venyle sticker.
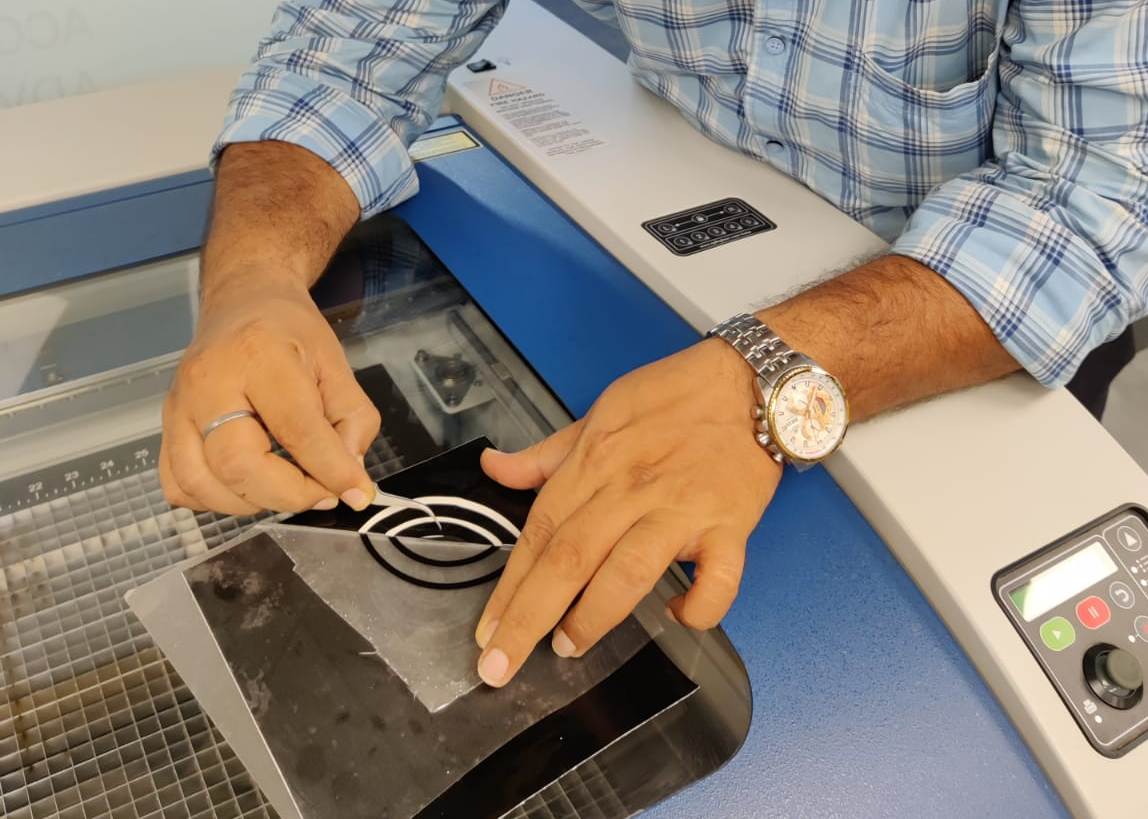
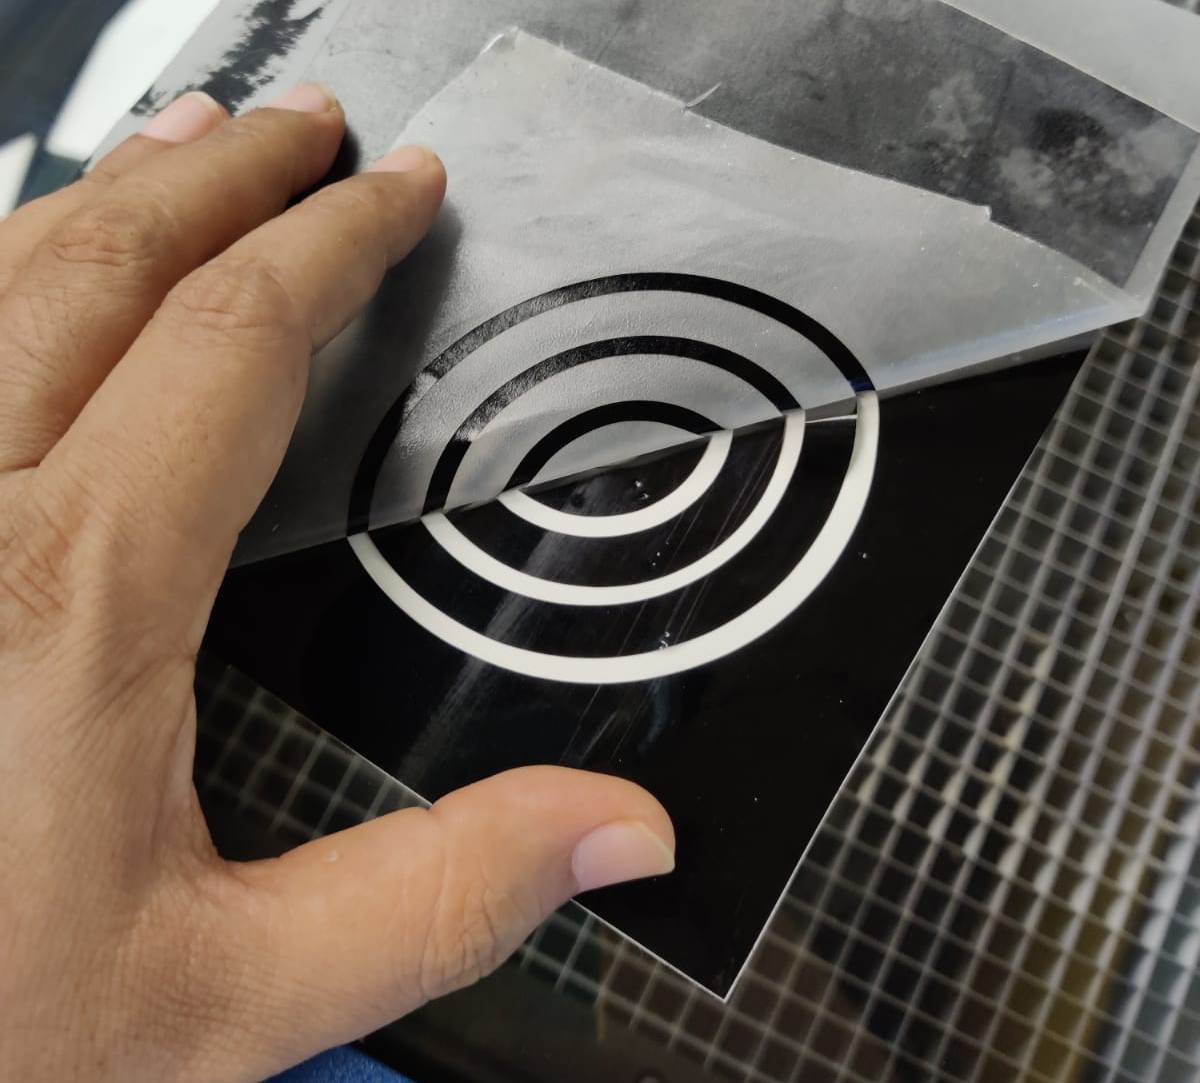
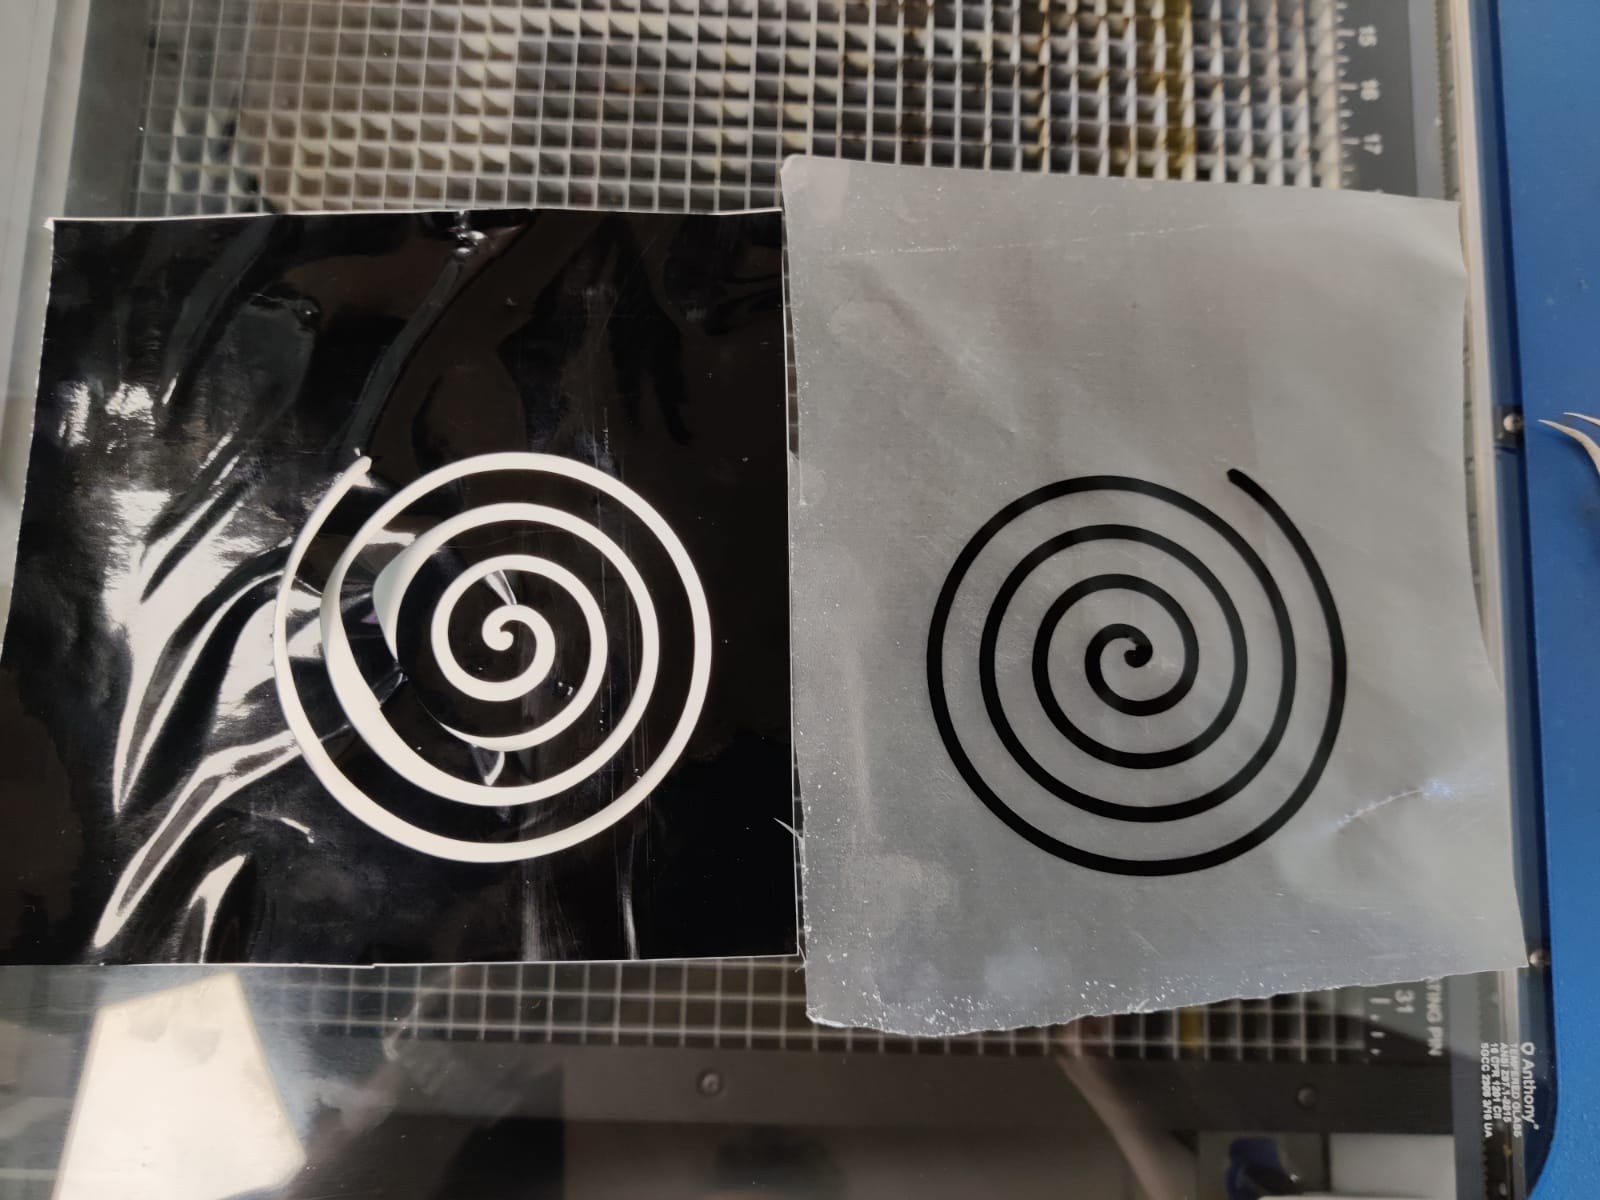
After This i pasted the venyle sticker to the desired place using the transfer tape as shown in the following image.
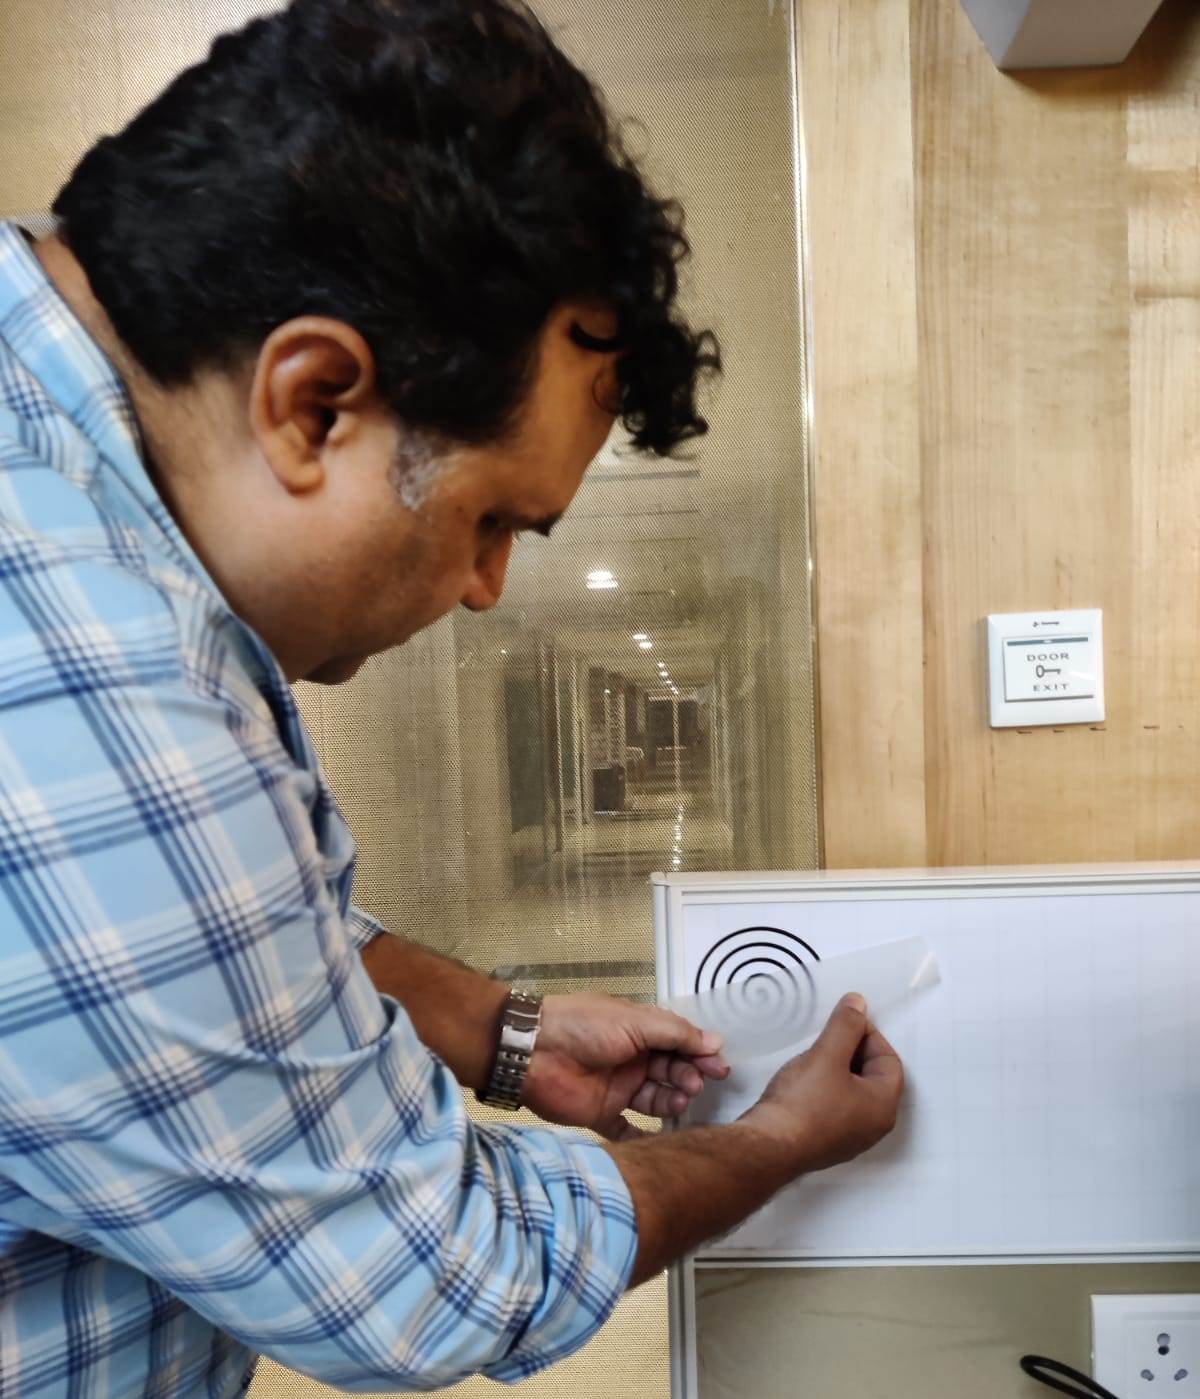
After processing the cut image through vinyl cutter use the transfer tape to paste the cut image to the srface.Similarli I did for the following venyle sticker
Here is the Heroshot of my venle cutting excercise

Download Files Of This week
