Interface and Application Programming :-
This week assignment was to write an application that interfaces a user with an input &/or output device that you made.
This week i decidec to control the LED through internet using thing speak library and Developed the android app to controll it.This small assignment can be used to controll the home appliances in by making some changes in the circuit.During the lock lock down no accessiblity to lab.I did this using the ESP 8266 Node MCU.
I followed this tutorial on instrcutables over internet to make this.
I also used the Thingspeak library to controll the led which act as the interface between the physical device and the internet.Thinspeak is an open data platform for Internet Of Things.Thing speak enables the sensors instruments and websites to send the data to the cloud which it is stored either in public or private channel.
For this I first created the account on the
Now click on the New Channel and creat the channel.Which i had already created
Save the Channel.The Thingspeak server is ready.
No we will creat the Mobile Android App using the MIT App Inventor.MIT App Inventor can be used to make app for Android only.
Open the website for creating the MIT APP Inventor.
Click on create Apps
Create the LED_ON_LED_OFF Project Name
Drag the button from left to the screen of mobile and rename it to LED ON and similarly drag another button and rename it to LED OFF

Now select the vertical arrangement from layout from left section.

Now drag connectivity as web from left.

Now click on Block on top right corner

Now Click on Button 1 from left and select

Now click on web in left and select

and join the blocks like this

Now open the thing speak channel created and click on the API keys.and copy link from the "Write a channel feed"


Now open thingspeak->click on api keys-9>copy write channel feeds url

and paste in the as in following image and chnage the value in the write channel feed at the last to 1

Now click on web right side and drag the following block and fit at the required sequence

Now create the duplicate block for button 2 by right clicking over the created block for button 1 and chnage the value in the write channel feed at the last to 0

Now click on designer and click Connect->AI companion

New Following Windows will open with the QR Code.Download the MIT Companion Code on Your mobile and scan this code

After scanning the QR code the android app i created will get installed in the mobile.

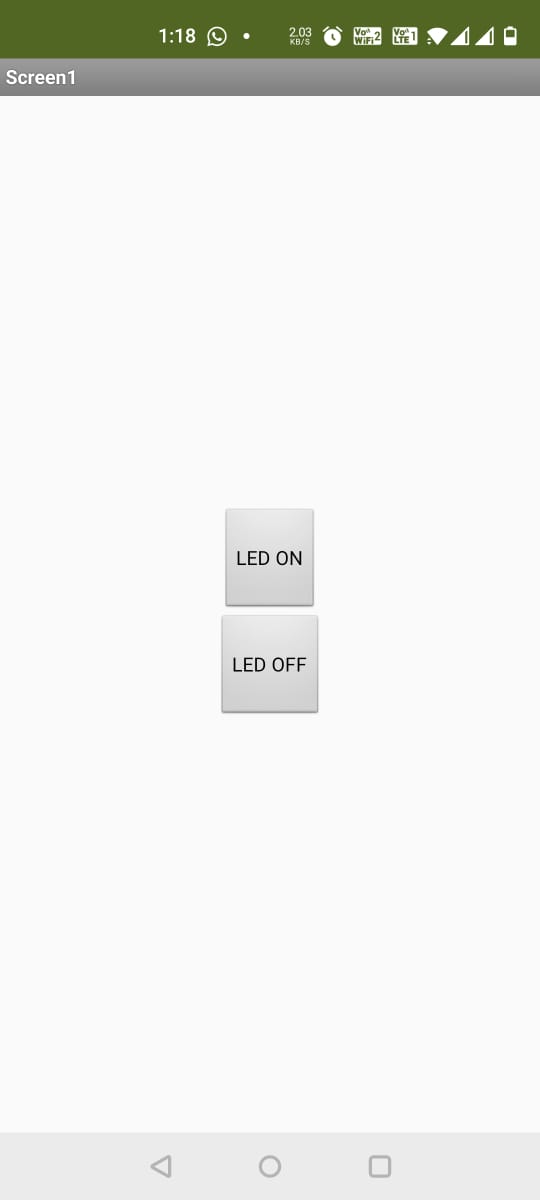
Android App installed in the moble.
Now open the ardiuno IDE and add the esp8266 node mcu board as i did in the INPUT/OUTPUT Devices week and install thingspeak library.

Now write you channel ID and READ API keys in the program from the thingspeak channels page

In My Final project iam using the ESP8266 Node MCU so i tried to connect the led to my node mcu and turn it on and of using the MIT App.
I Connected th LED to the D7 and the ground pin of the ESP 8266 Node MCU and controlled it through the MIT android app.
Here is the video of the excer cise.
Due to the covid situation i was not able to make the board so i uploaded the video with ESP 8266 Node MCU
After the opening of the Fablab I made the Connected my Attiny 44 Board with the mit app inventor.
First i developed the App on the MIT Inventor App As shown Above.

Blocks
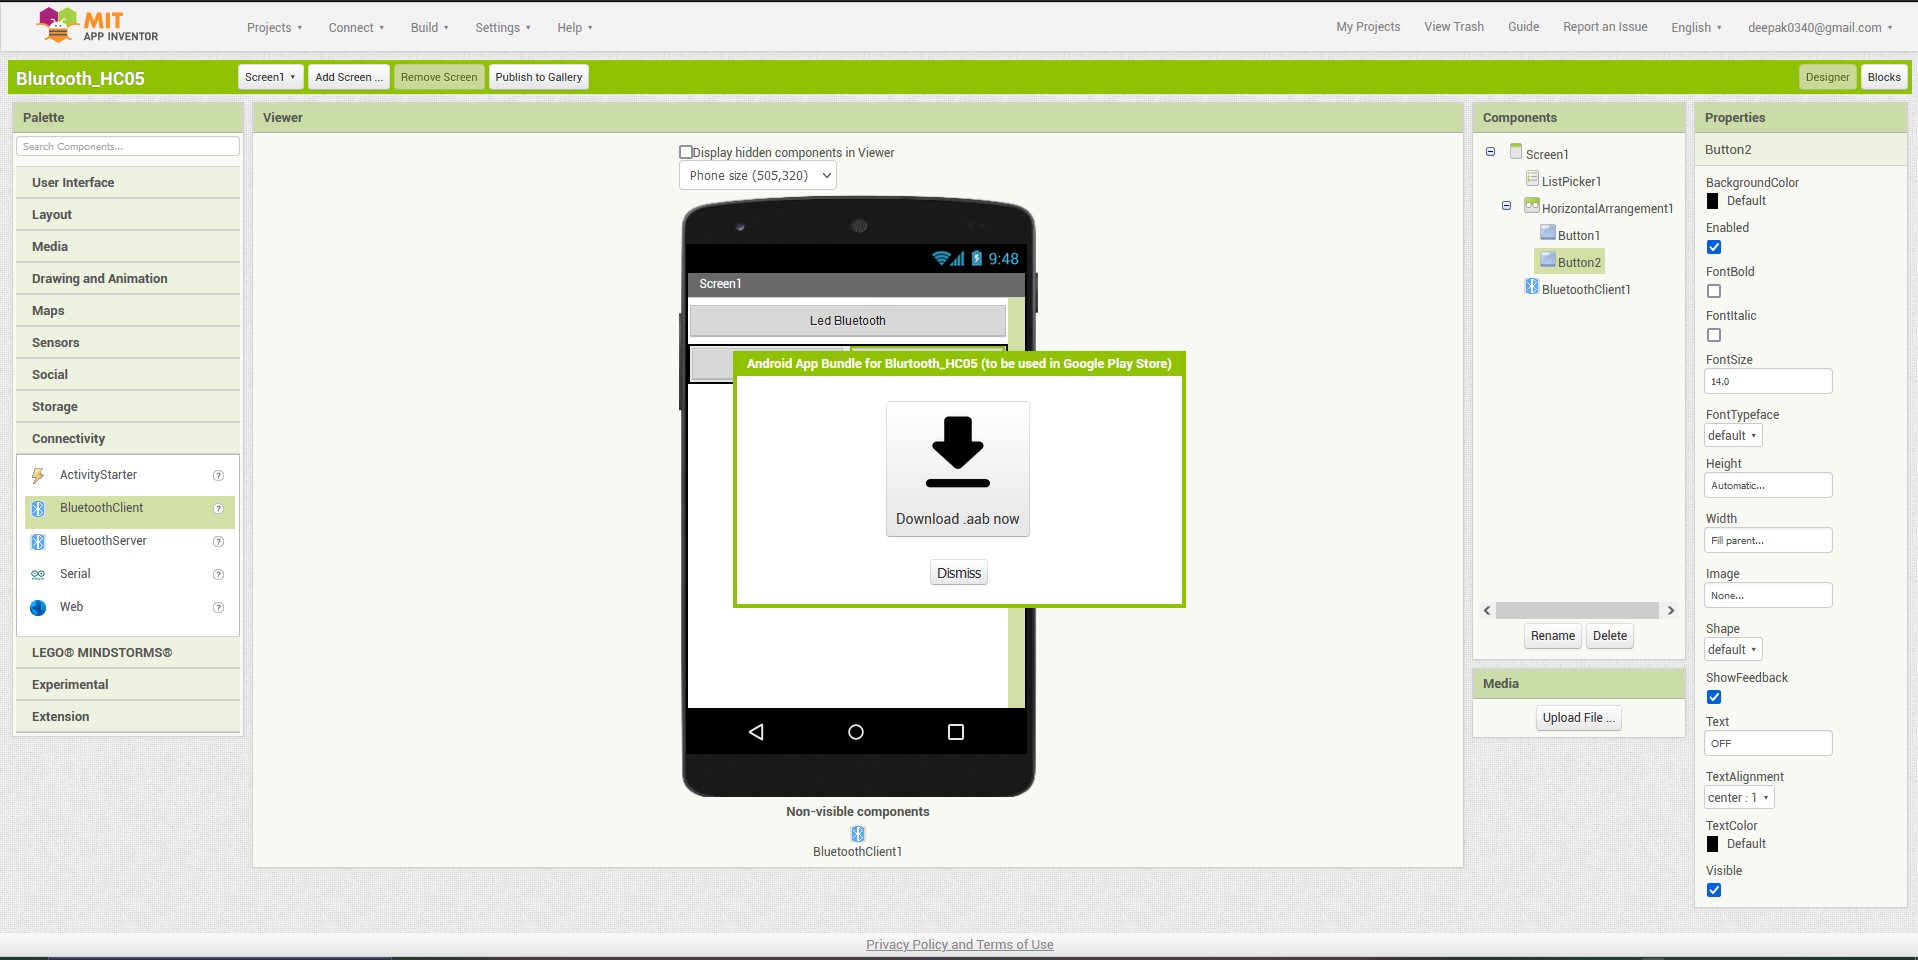

I made the following circuit and connected it as shown in the image
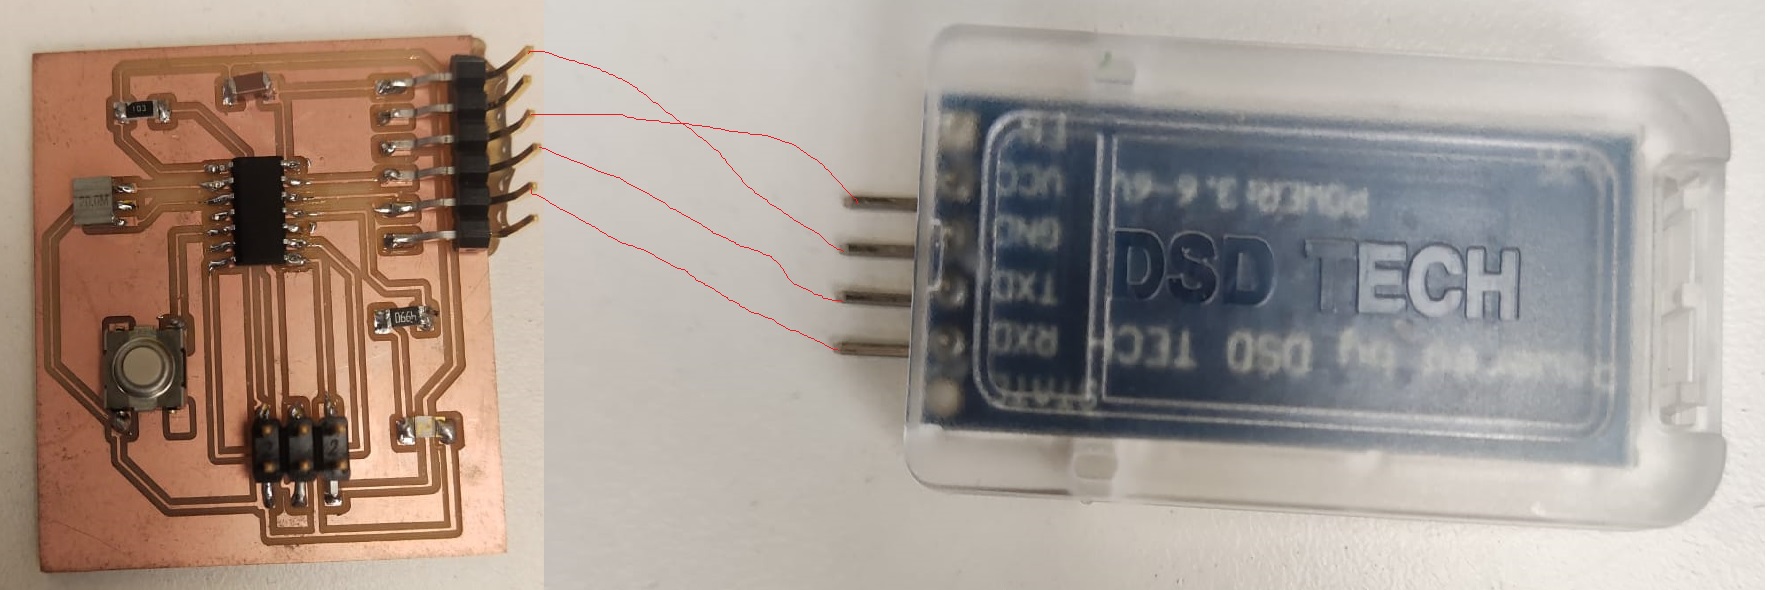
After this i downloaded the app in my mobile
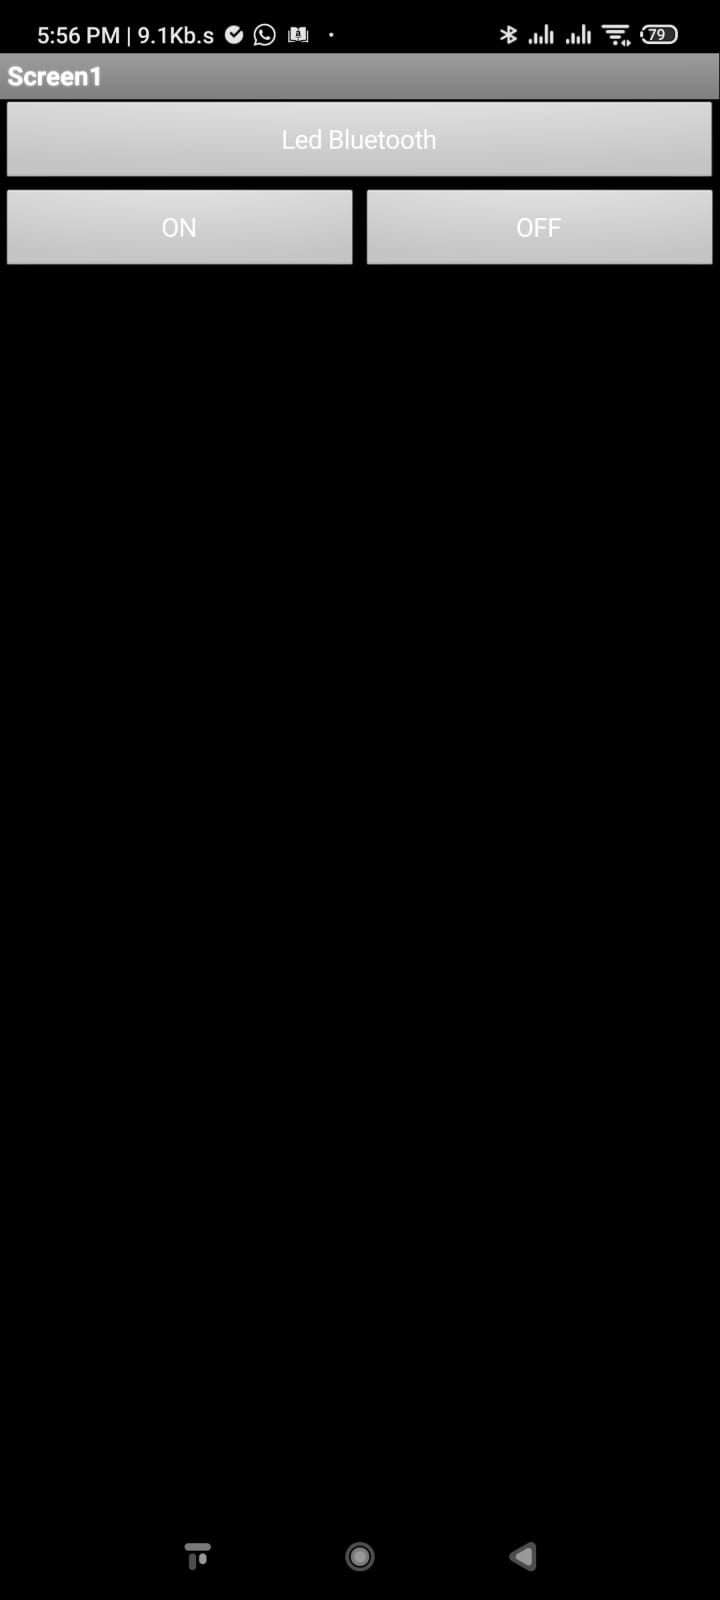
After Downloading the app into my mobile i found that the DSD Make Blutooth HC-05 is not paiirng with my device.I tried several times.
I tried changing the bluetooth-HC05 also and i also changed the mobile still it didnot connected to the Blutoot HC-05
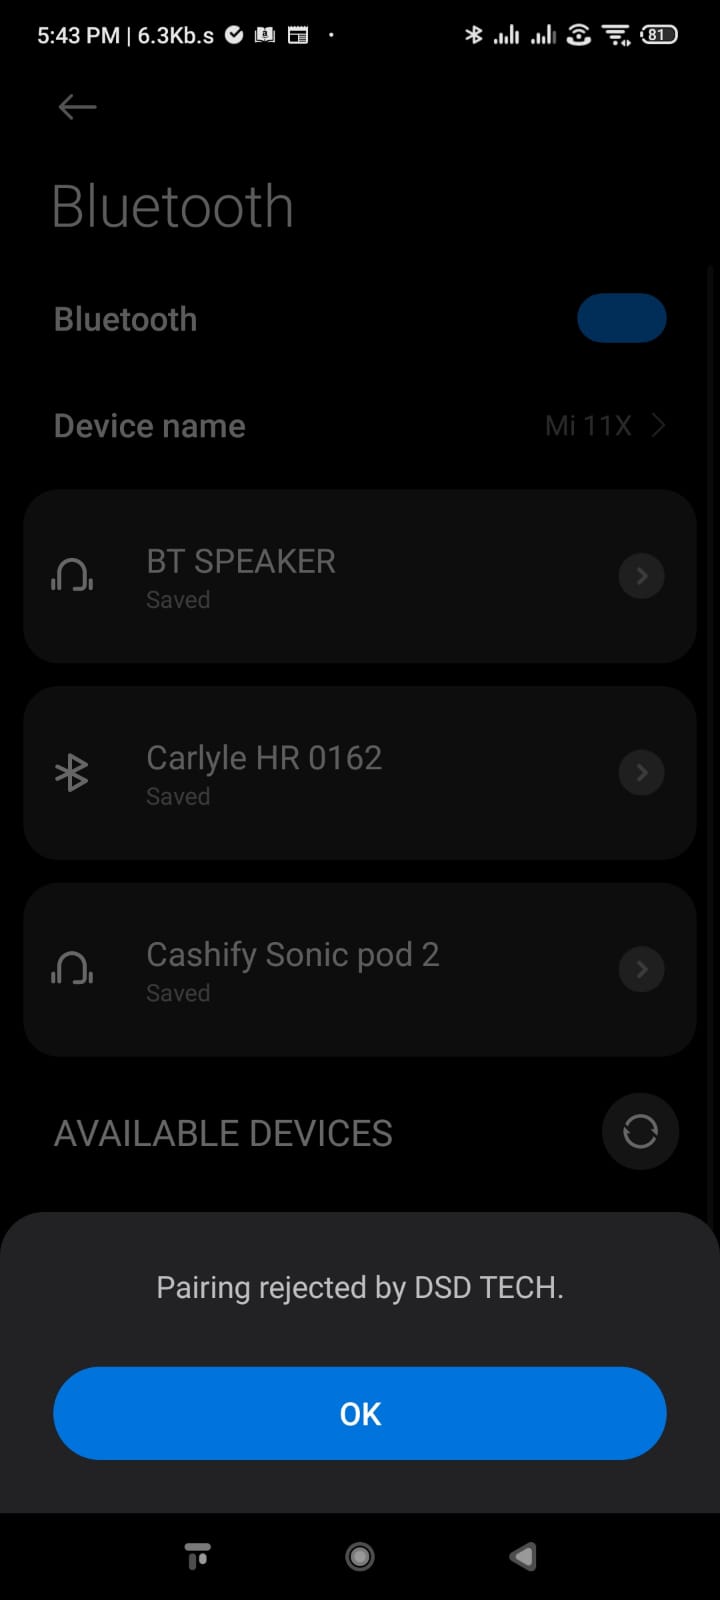
I tried it with the mobile of my collegeue Mr.Tapas then also it did not connected.
The files of this week can be downloaded here
