Computer Aided Design :-
This week assignment was model (raster, vector, 2D, 3D, render, animate, simulate, ...) a possible final project, compress your images and videos, and post it on your class page.
I was totally new to this CAD design.I heard about CAD design in my college days that Mechanical Students used to discuss.
Raster Images:-
Raster images, also known as bitmaps, are comprised of individual pixels of color. Each color pixel contributes to the overall image.Raster images might be compared to pointillist paintings, which are composed with a series of individually-colored dots of paint. Each paint dot in a pointillist painting might represent a single pixel in a raster image. When viewed as an individual dot, it’s just a color; but when viewed as a whole, the colored dots make up a vivid and detailed painting. The pixels in a raster image work in the same manner, which provides for rich details and pixel-by-pixel editing.
There are different types of raster files: JPG, GIF, and PNG
Raster images are ideal for photo editing and creating digital paintings in programs such as Photoshop and GIMP , and they can be compressed for storage and web optimized images.
How you can use a given raster image depends on its size and quality. Quality is often dictated by how many pixels are contained in an inch, expressed as pixels-per-inch or ppi; as well as the overall dimensions of the image, also expressed as pixels (for example, 5,000 pixels wide by 2,500 pixels high).
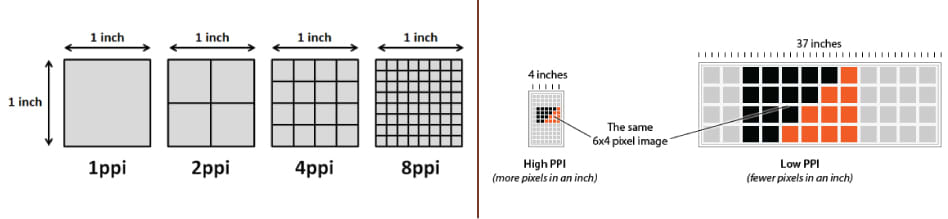
The greater the ppi and dimensional measurements, the higher the quality. Most printing projects require images to be at least 300ppi, for example.
Let’s say you’re printing a brochure, and you need a background image to span the entire unfolded interior: 8.5”x11”. Your background image should be at least 2,550 pixels wide (8.5 inches) by 3,300 pixels tall (11 inches) with a resolution of 300ppi.
Anything less, and quality will be sacrificed, as raster images cannot be scaled to larger sizes. When they are scaled, quality is lost and they become blurry, as each pixel becomes larger or photo editing software attempts to compromise by adding in colored pixels.
Vector Images:-
Vector Images are made up of paths, each with a mathematical formula (vector) that tells the path how it is shaped and what color it is bordered with or filled by.Vector Images best-suited for designs that use simple, solid colors. Vector images are comprised of shapes, and each shape has its own color; thus, vectors cannot achieve the color gradients, shadows, and shading that raster images can (it is possible to mimic them, but it requires rasterizing part of the image – which means it would not be a true vector). True vector graphics are comprised of line art, sometimes called wireframes, that are filled with color.
Because vectors can be infinitely scaled without loss of quality, they’re excellent for logos, illustrations, engravings, etchings, product artwork, signage, and embroidery. Vectors should not be used for digital paintings or photo editing; however, they’re perfect for projects such as printing stickers that do not include photos.(Source:-https://www.psprint.com)
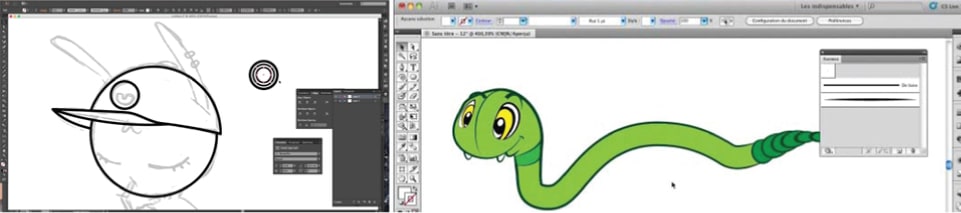
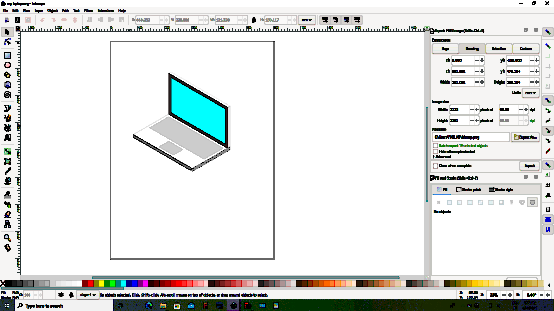
For 2d design i used inkscape.
First I sketched the design on the papaer and then i tried to design it on the ink scape. Then i tried to make the laptop on the ink scape
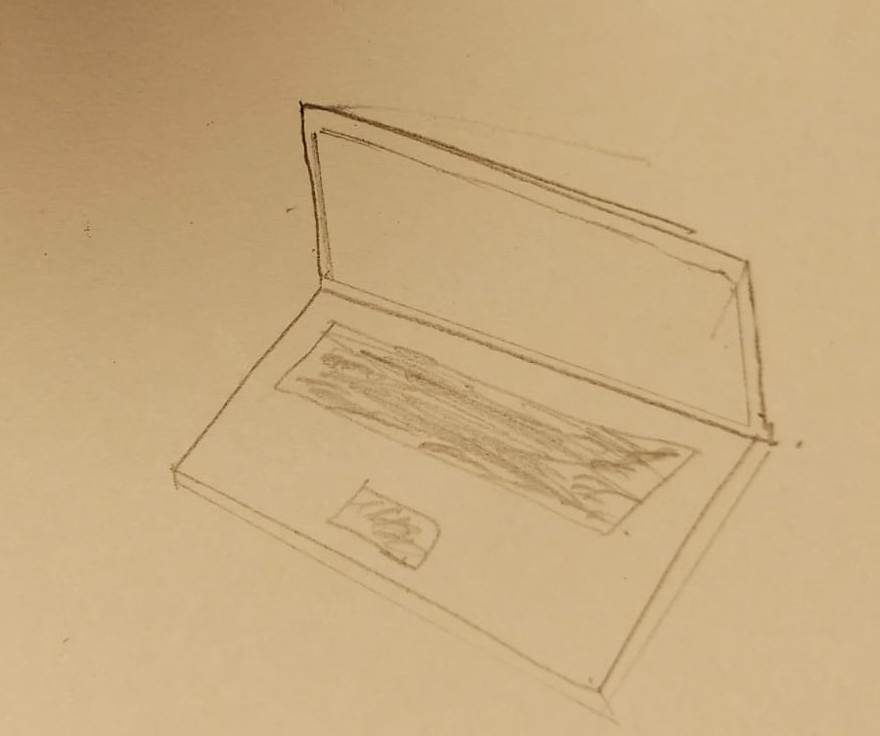
Then i tried to make the laptop design on the ink scape .It took some time to draw.I some how manged to draw the the laptop design.
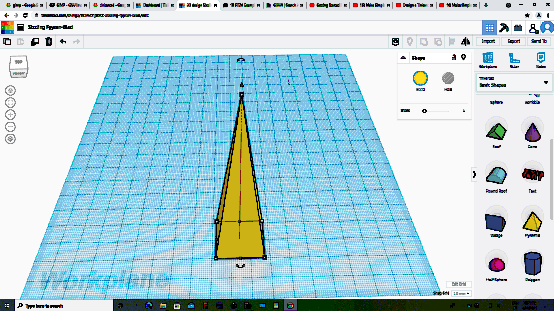
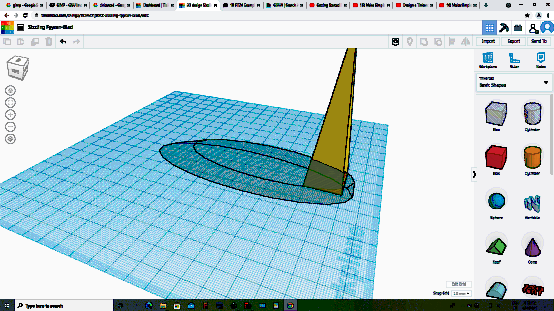
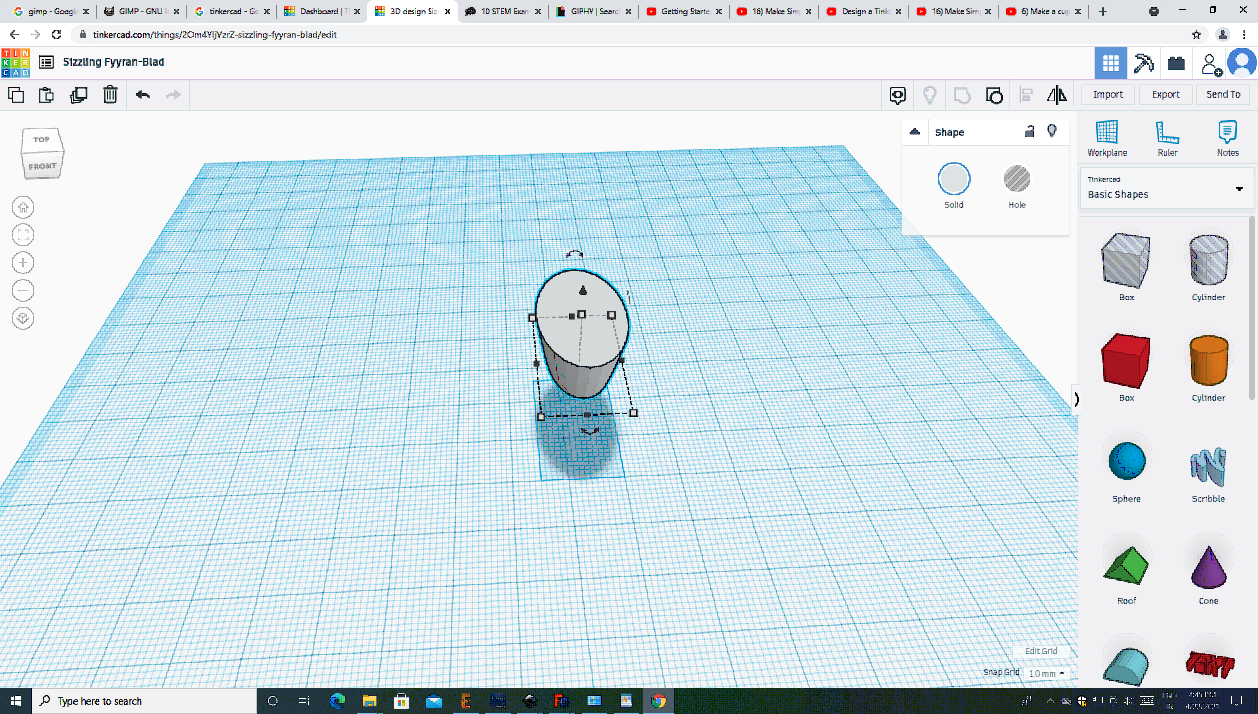
For 3d design i tried the following softwares :-
I tried my hands on the tinkercad and freec cad.I tried to draw the prism in the tinker cad.This software is very easy to draw the graphics.
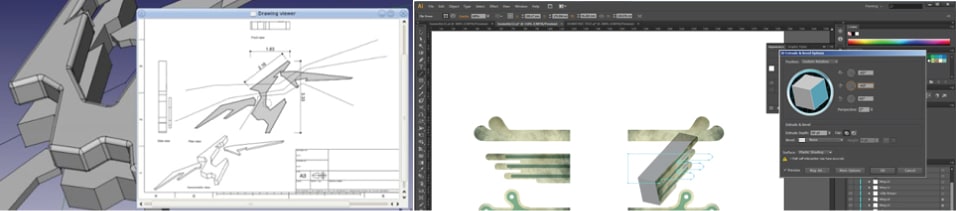
I tried my hands on fusion 360 for 3d designing.
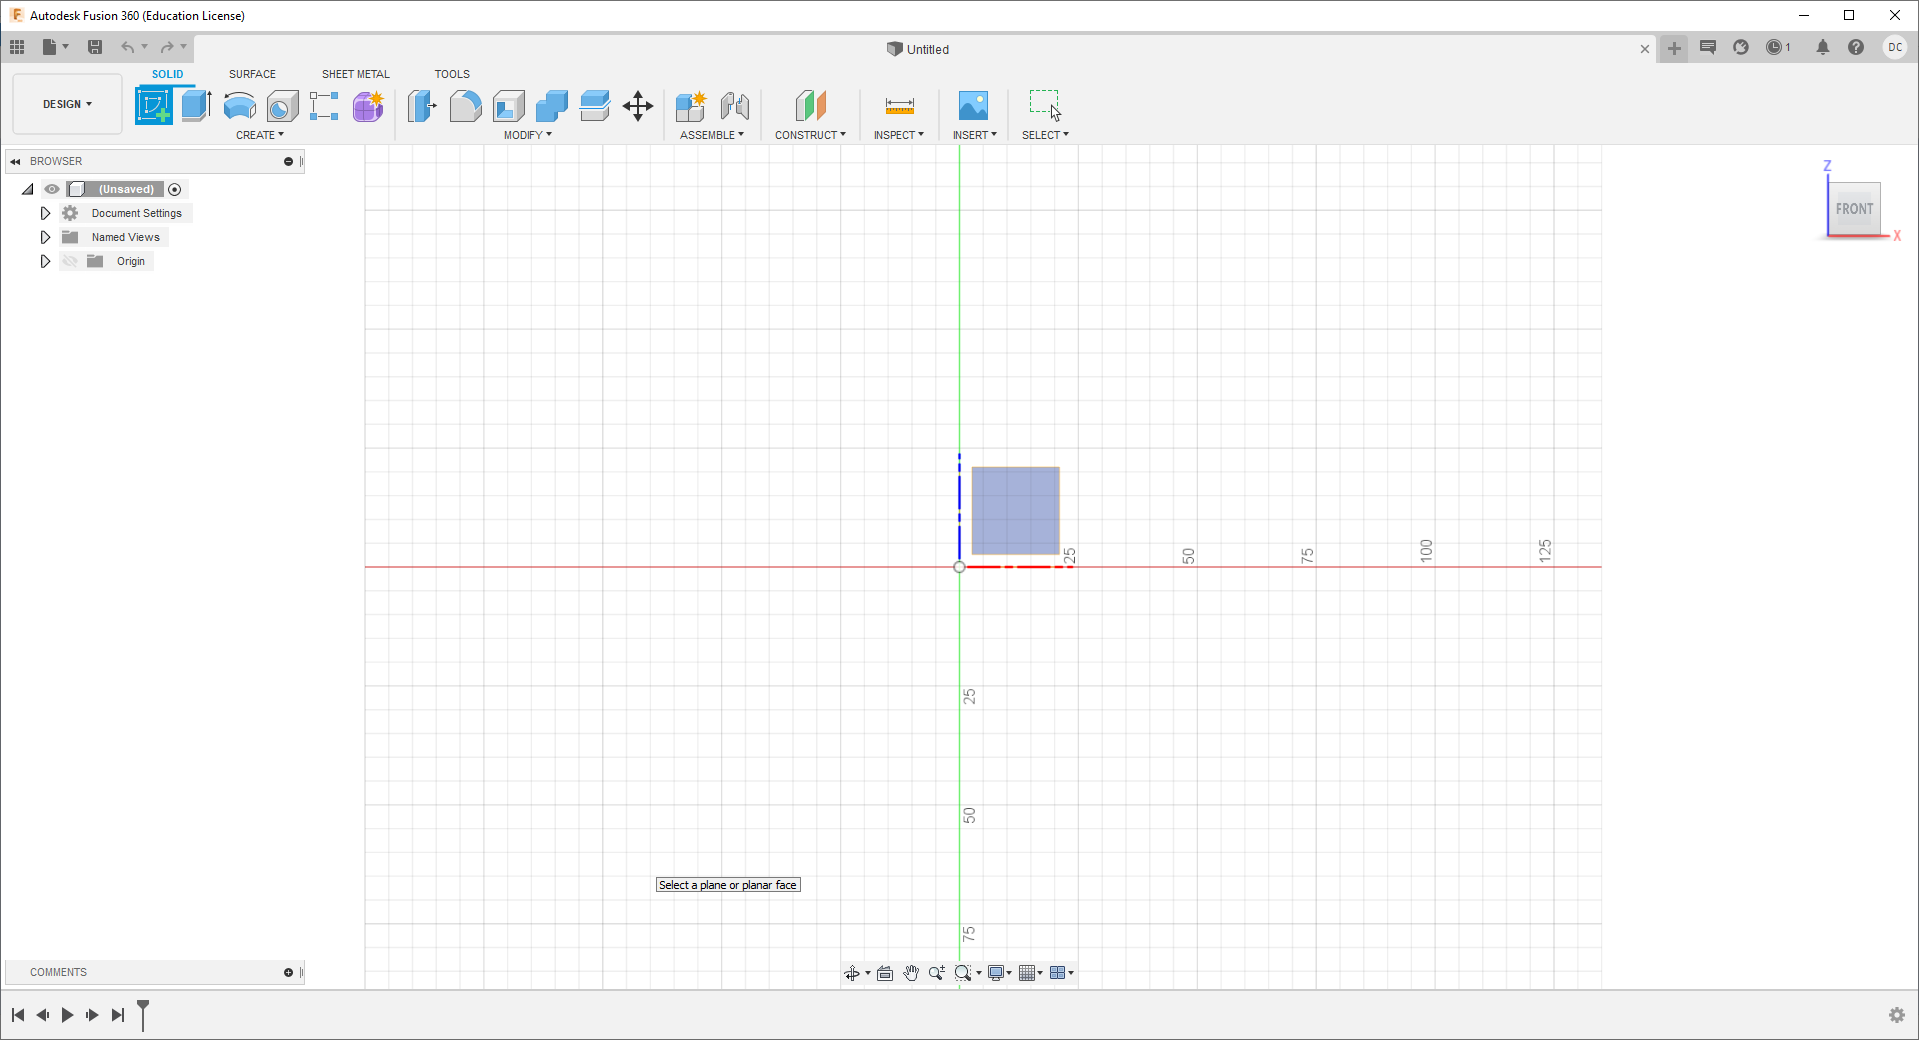
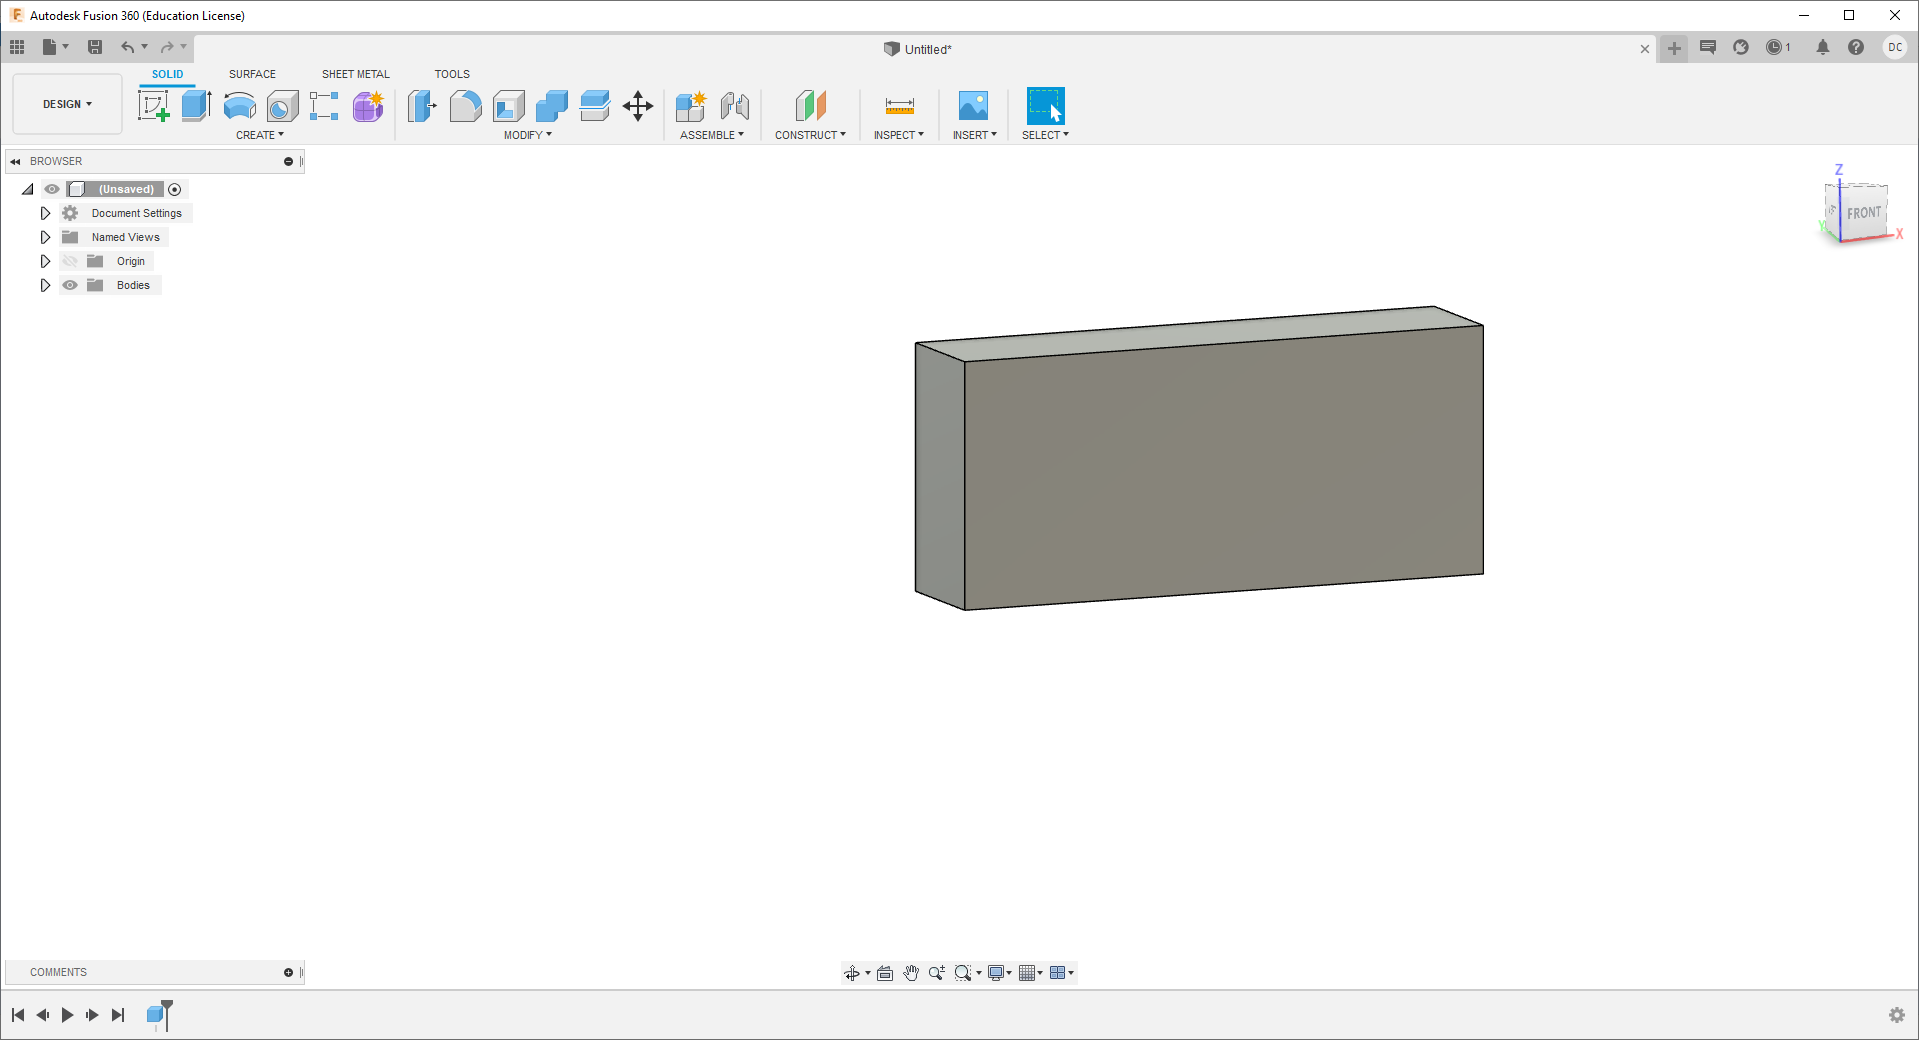
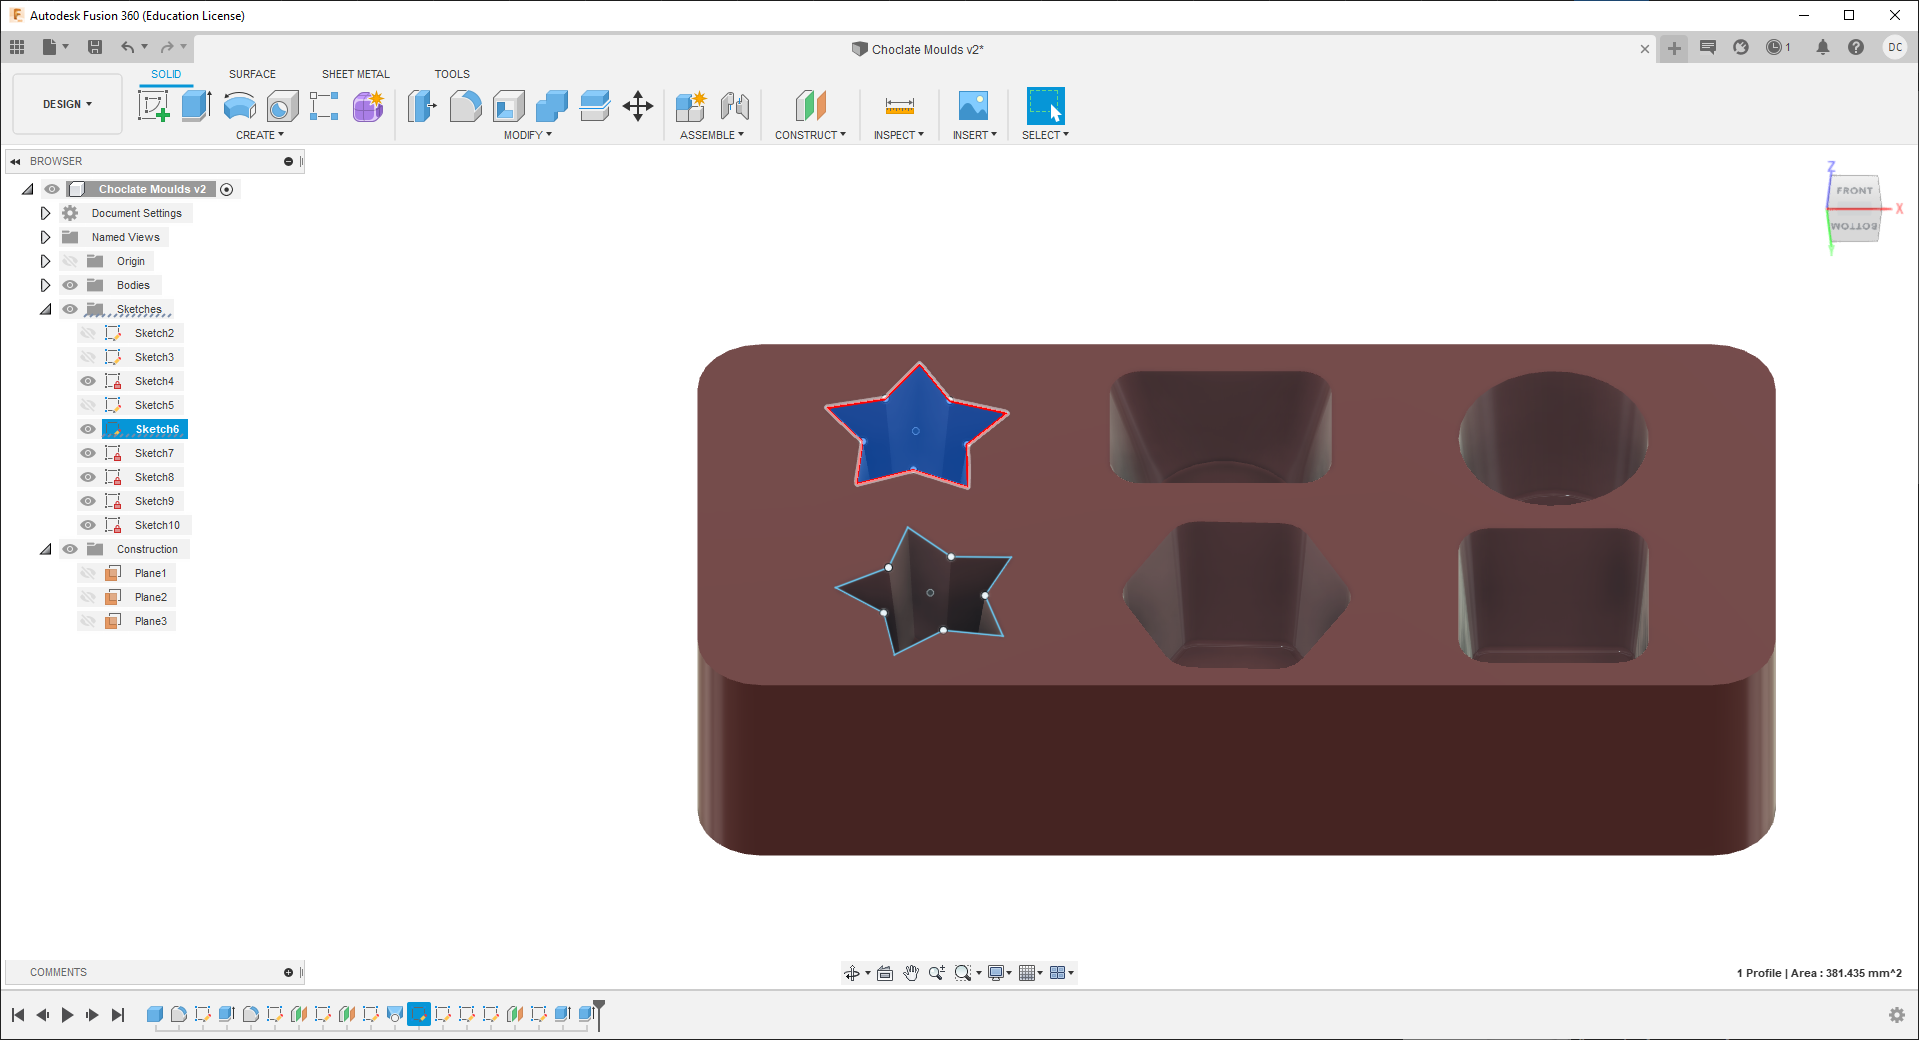
I created the Block in autodesk fusion
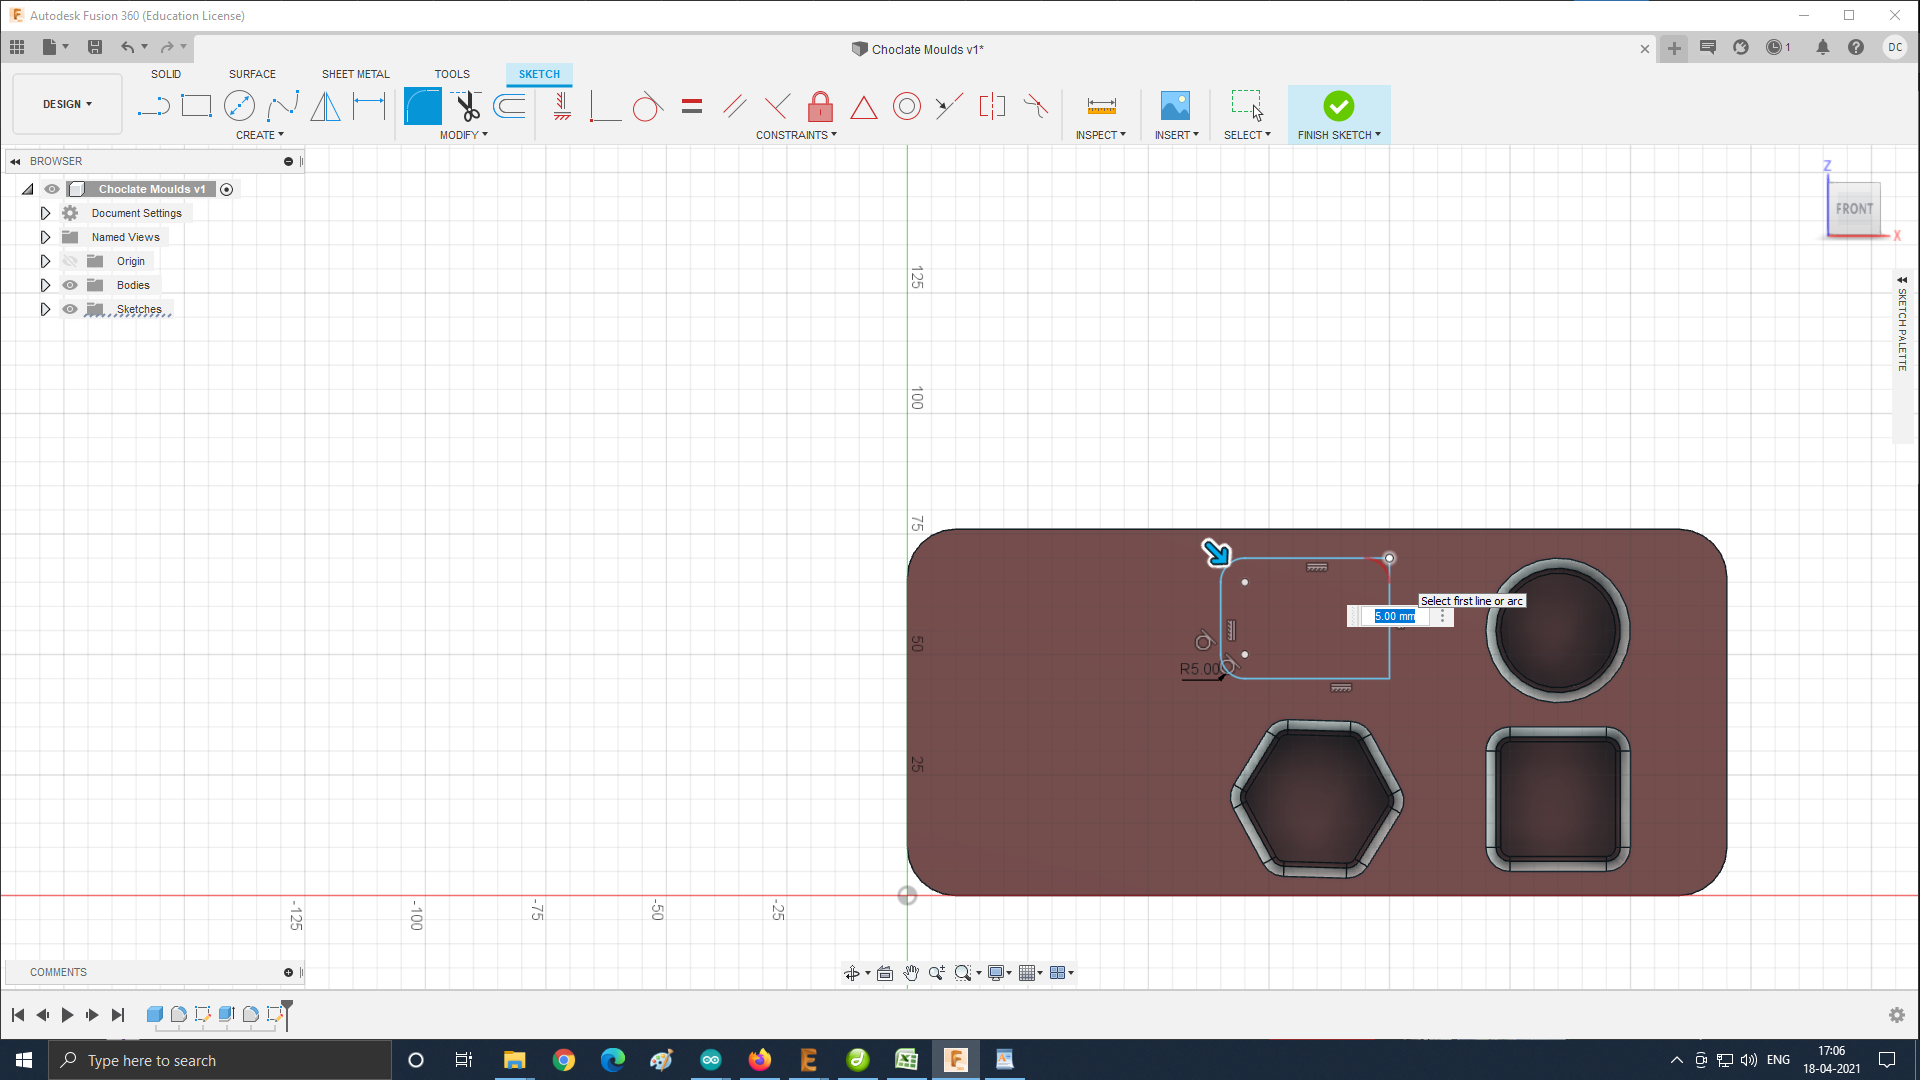
Then I drawn the circle square and the hexagon and intruded the giving negetively to create the depth in the block.
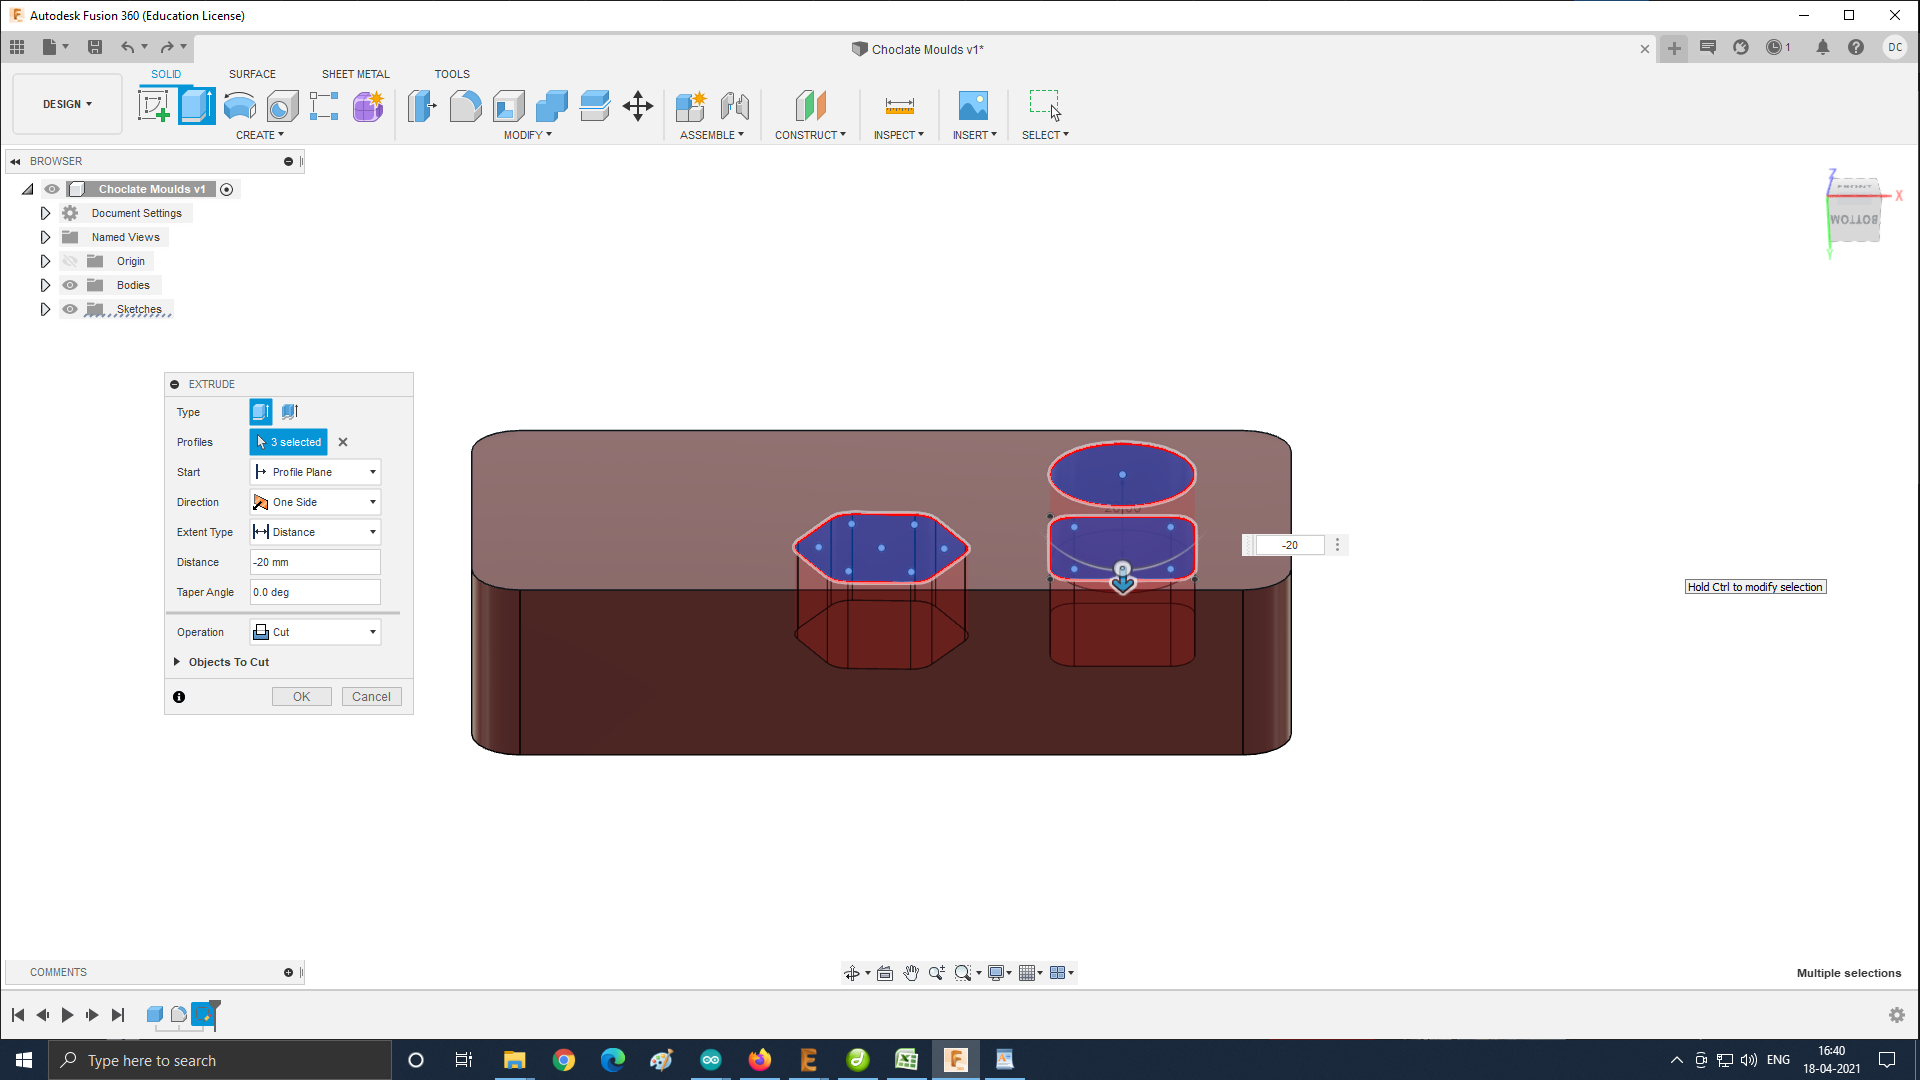
The i made the inner corners of the moulds round so that the materials in the mould do not stick.
I gave the made the depth slant so that the material of the the mould can be taken out easily without sticking to the boundaries of the mould.
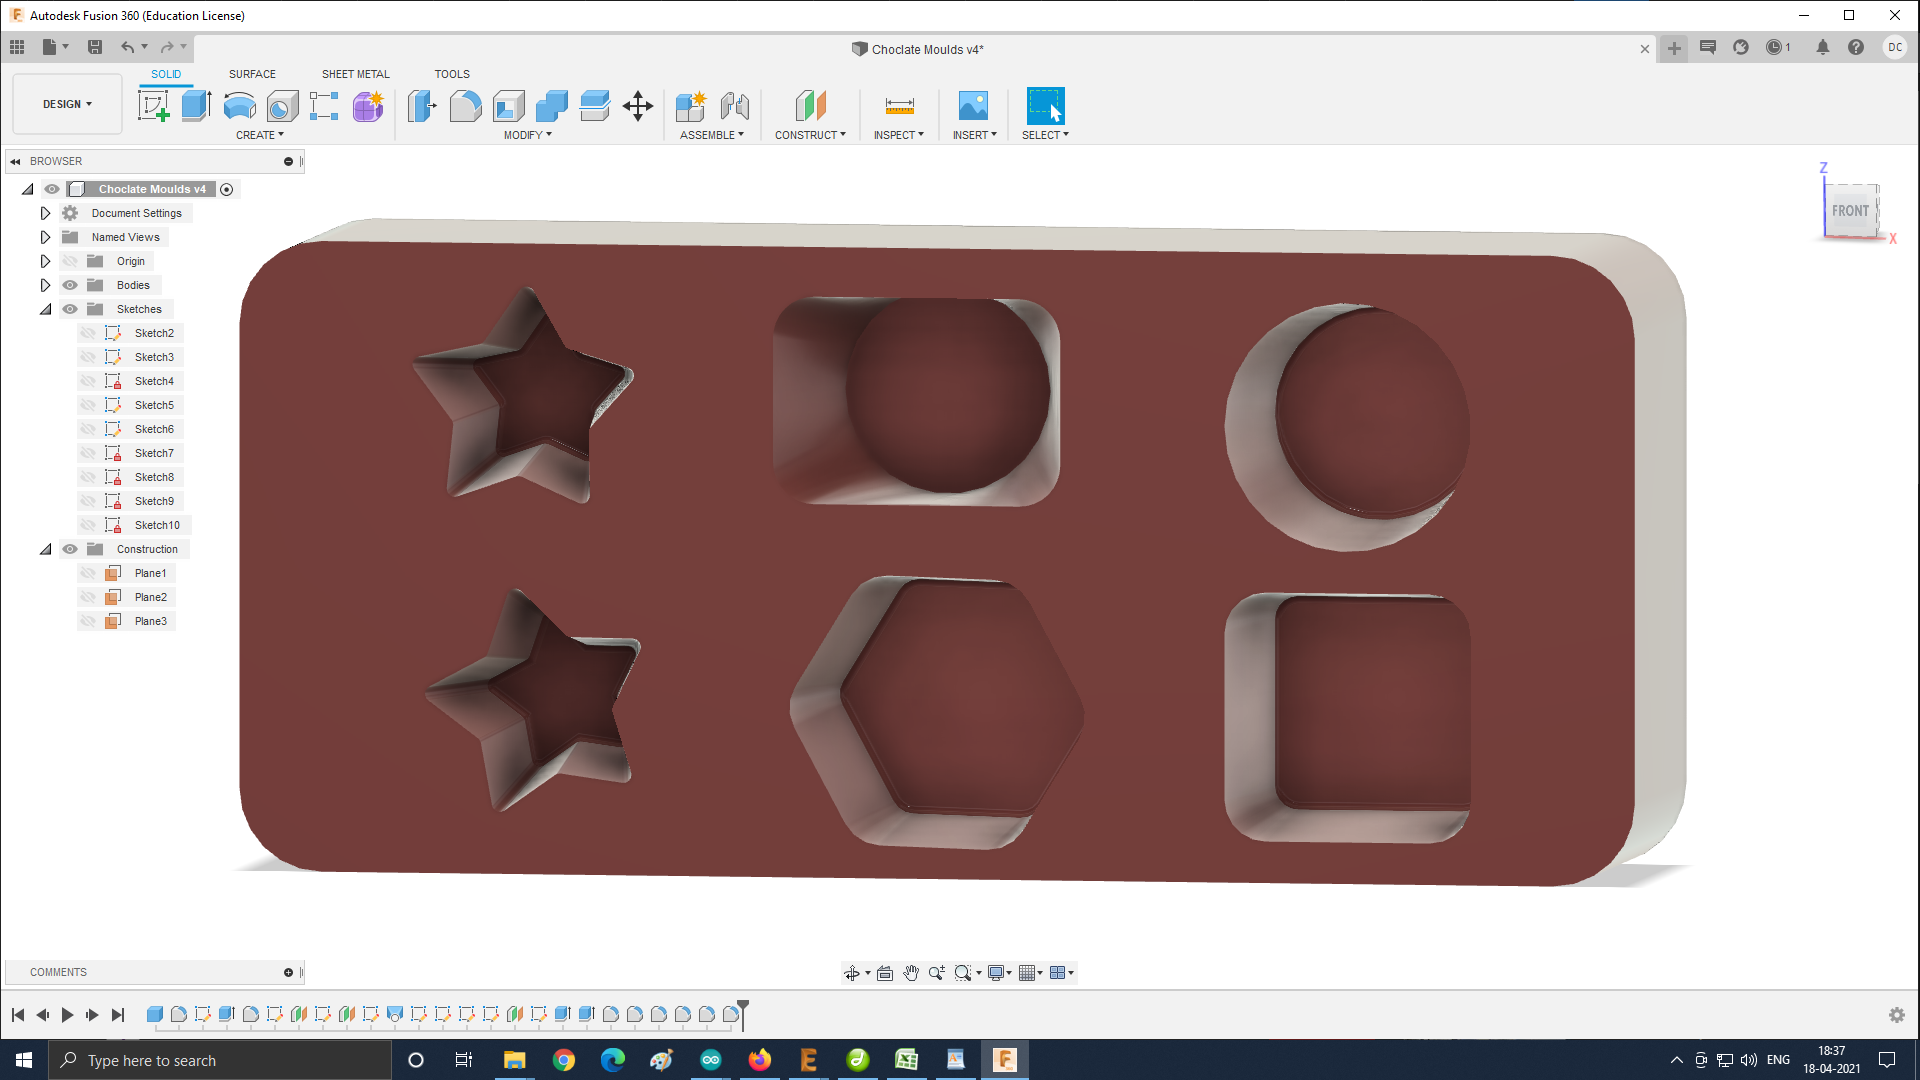
It can be seen from the below side of the the design.
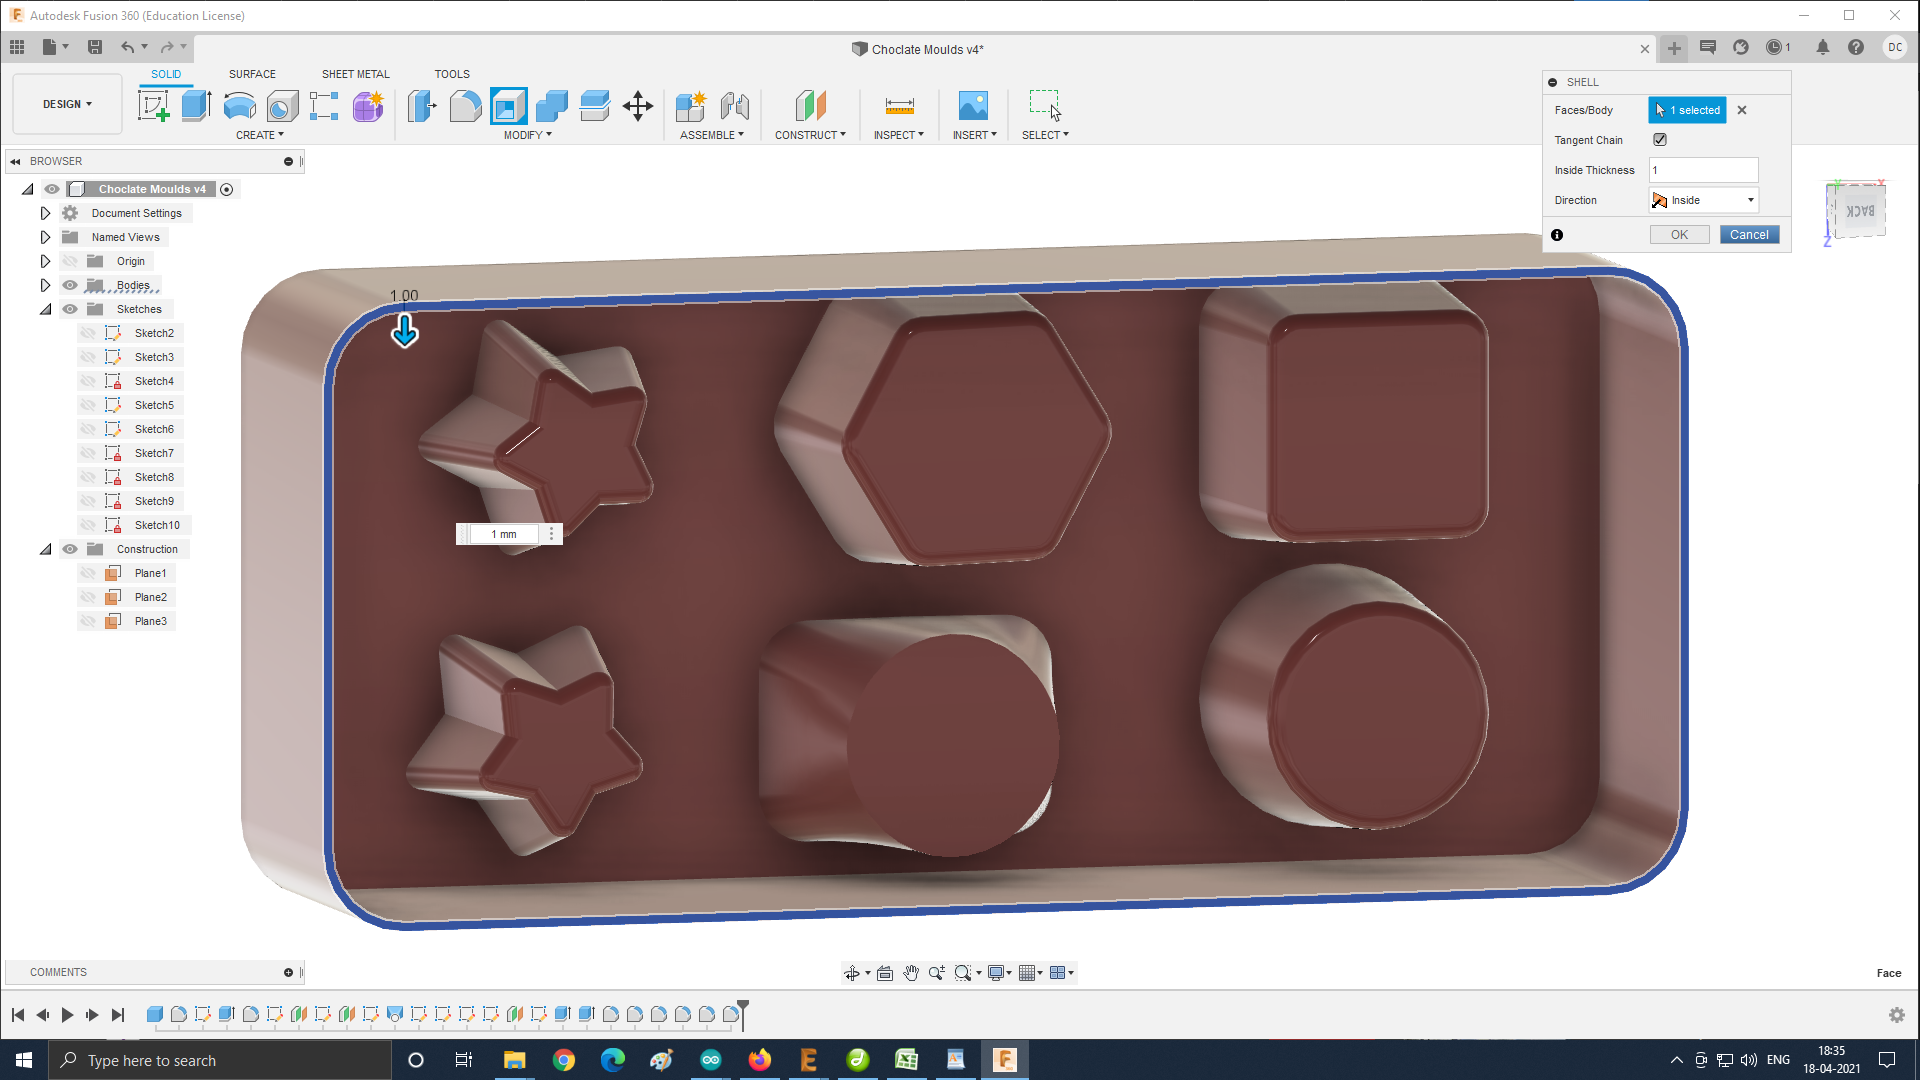
Here is the Final mould.
The fusion 360 is very handy to draw the 2d and 3d sketches thank inkscape.
I found the following infrence between Fusion 360 and Freecad:-
- FreeCAD is open source and therefore will always be completely free, whereas Fusion 360 has free licenses only for educators and students.
- FreeCAD has a steeper learning curve, whereas Fusion 360 is relatively user-friendly and intuitive.
- FreeCAD is still in development, whereas Fusion 360 is a complete product.
- FreeCAD is free to extend, whereas Fusion 360’s extensions and plugins are of an additional cost.
- FreeCAD allows you to maintain control of your files, whereas Fusion 360’s files are stored in the cloud.
Key features of Fusion 360 :-
- Overview
- Sketching
- Freeform modeling
- Surface modeling
- Parametric modeling
- Mesh modeling
- Direct modeling
- PCB Design Integration
- most importatnt thing i liked about fusion is that it is very handy and easy to under stand.
Key features of FreeCad :-
- Architecture
- Full parametric model
- Rendering
- Sketcher
- Robot simulation
- Modular architecture
- Geometry kernel
- Path mode
- Standard formats.
Learning of the assignments:-
During the Fab Acdemy training i learnt to how to use the Autodesk CAD.
Th Files for this week can be downloaded from here