Molding
For this asignment I decided to make an easy molding piece, it'll be the birthdaycake candle for my mother birthday that will be in some days.
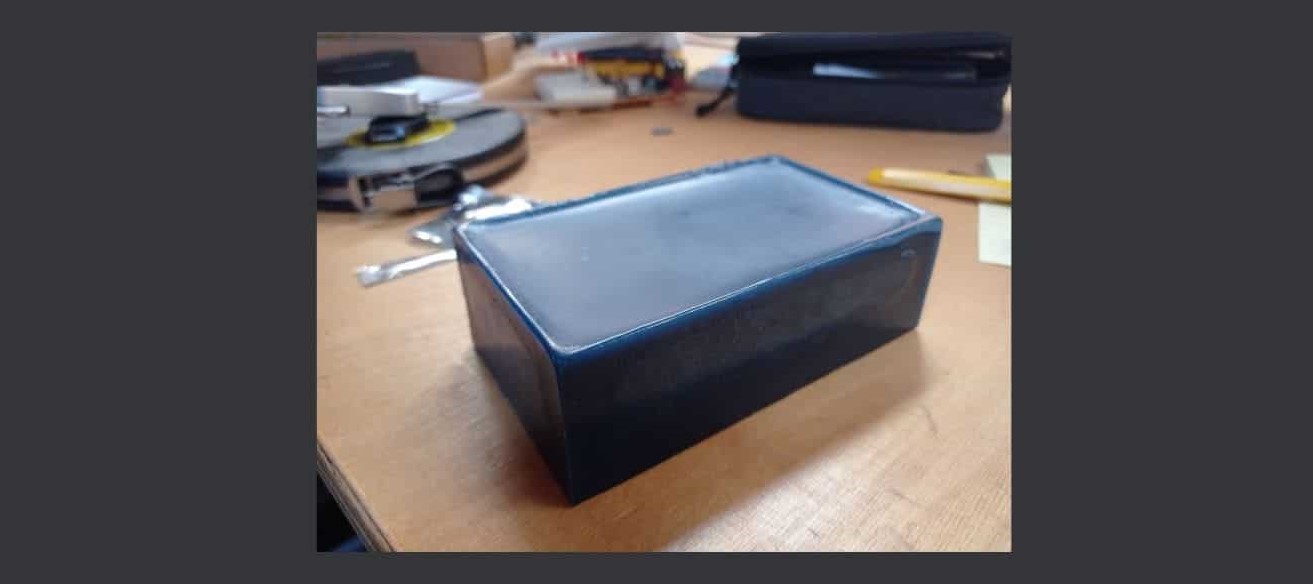
We start by taking a block of wax for molding.
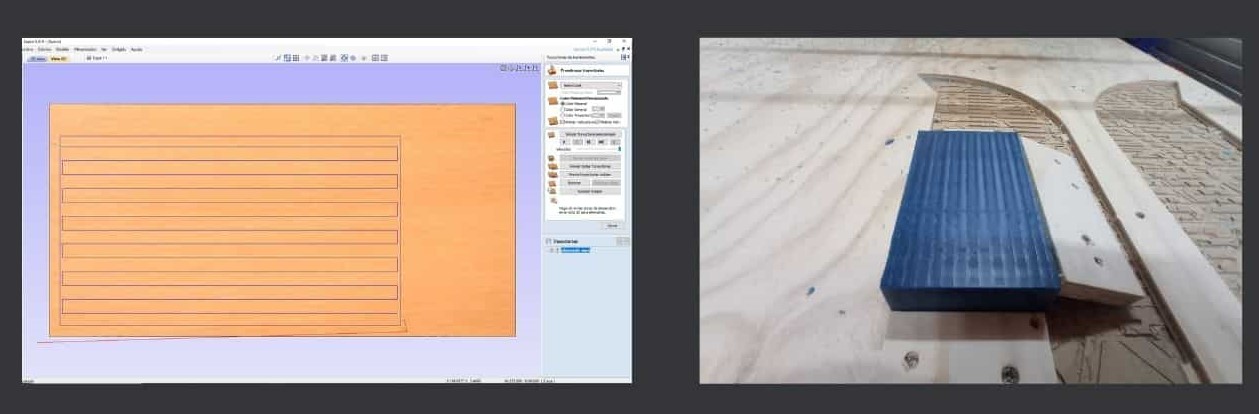
Once we have the block, as its surfaces are irregular, we have to flatten them. To do this we will use an 8mm diameter bur.
We will do the program using Aspire, following a pocket strategy that will cover more of the block surface, in order to achieve a complete flattening.
Once we have the block, as its surfaces are irregular, we have to flatten them. To do this we will use an 8mm diameter bur.
We will do the program using Aspire, following a pocket strategy that will cover more of the block surface, in order to achieve a complete flattening.
- Number of flutes: 1
- RPM: 15000
- Stepover: 75%
- profundidad de pasada: 3mm
- Feed rate: 150mm/s
We will follow the same strategy for both sides.
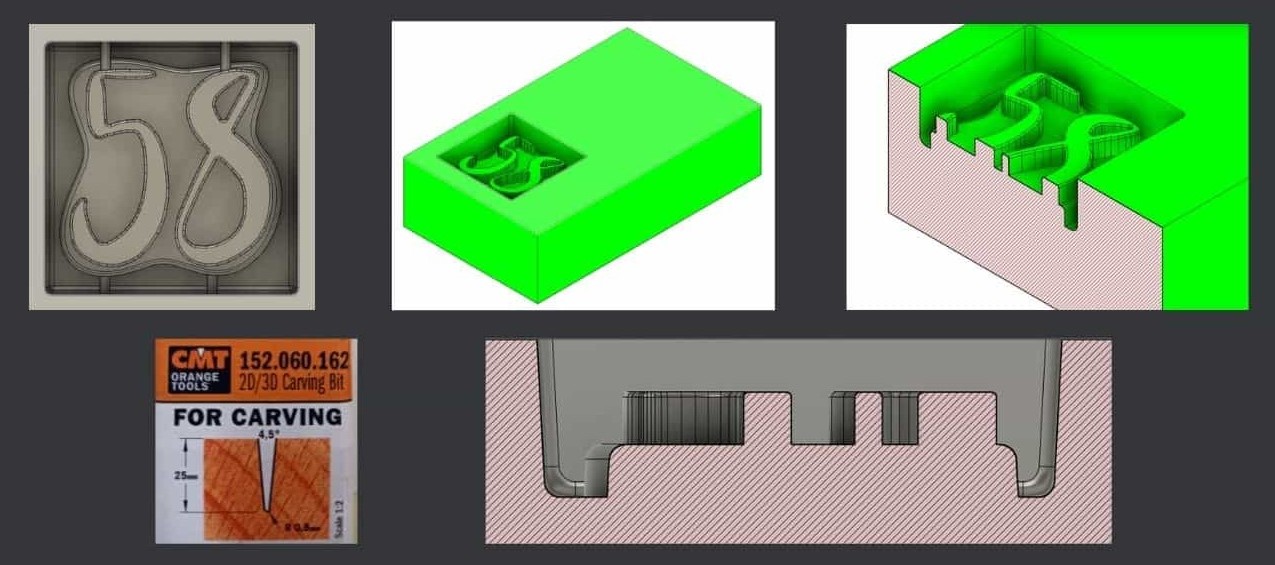
Now that we can take the correct dimensions, we will model the block with Fusion 360 and we will also model the shape from which we will take the mold.
For this, we will take into account the angle of our cutter, which on the one hand will allow us to obtain a better finish and on the other it will
allow us an easier demoulding.
We will also add 4 channels, two upper ones to put the wicks of the candle and another two lower ones to put two toothpicks that will help us to nail it in the cake.
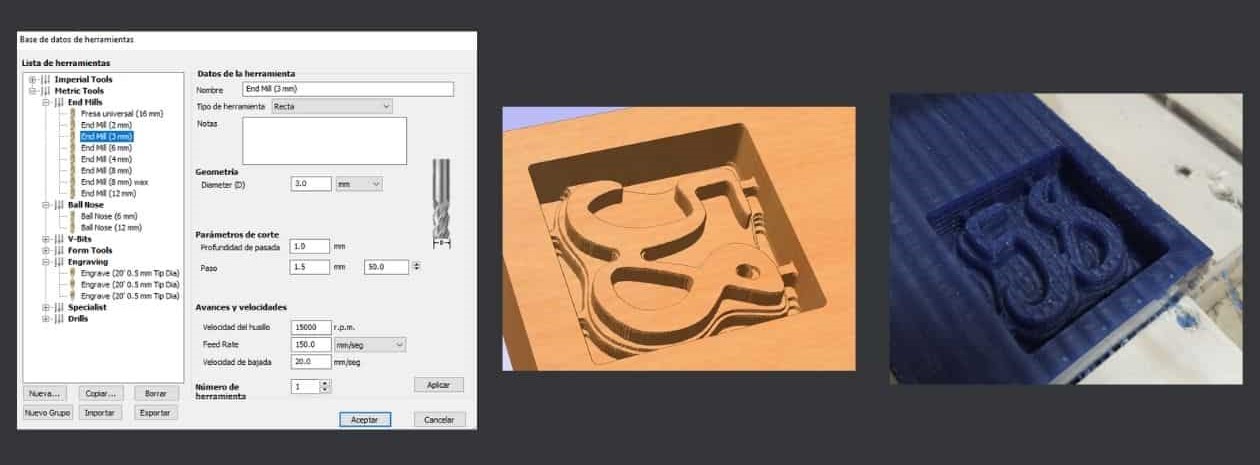
Once we have the design ready, we will export the model in STL and import it into Aspire.
At Aspire we will define the strategy to follow:
First we will program a rough cut with a 3mm diameter cutter and the following parameters:
- Number of flutes: 1 br
- RPM: 15000
- Stepover: 50%
- profundidad de pasada: 1.5mm
- Feed rate: 150mm/s
Secondly, we will program a finish cut with a conical engraving cutter that starts with a diameter of 6mm and is reduced by an angle of 4.5º to a ball of 0.8mm in
diameter and the following parameters:
- Number of flutes: 1 br
- RPM: 15000
- Stepover: 1%
- profundidad de pasada: 0.4mm
- Feed rate: 150mm/s
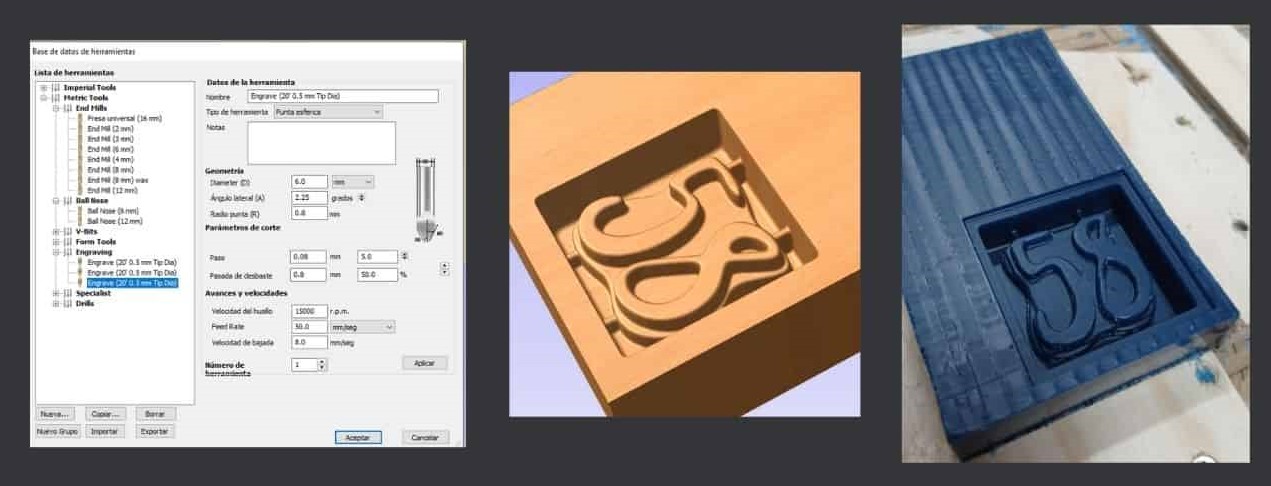
One problem that I detected was that I chose a radial advance strategy and it gave a bad finish at some points, in future occasions
I will surely use a parallel sweep strategy.

Once we have machined the part, it is time to make the silicone mold.
As I want to make a piece of chocolate and later a candle, I have decided to use a silicone suitable for food products.
I will use a EASYL 940-FDA of Feroca
That have the following Caracteristics:
- Food safe products
- Proportions: 1:1
- Working time: 30-60 min
- Cure time: 3-5 hours
- We must clean the mold with water and soap and boil it before the first time use
To know the amount of silicone we need, we will fill the hole with water and pour it into a glass, so we know the exact volume we will need.
To make the mixture, we will use a plastic cup where we will pour the two components in equal parts until we obtain the same volume as the
water and we will mix with a wooden stick for a long time.
Once we have it ready, we will pour the mixture into the machined hole.
To pour the mixture, it must be done very carefully creating a very fine thread to avoid the generation of bubbles and always starting from one of the corners.
Once the entire amount is inside, we tap the piece to make it vibrate and thus encourage the bubbles to rise to the surface.
According to the manufacturer's brand, you have to wait between 3 and 5 hours but I left it overnight and in the morning I was able to unmold it without problem.

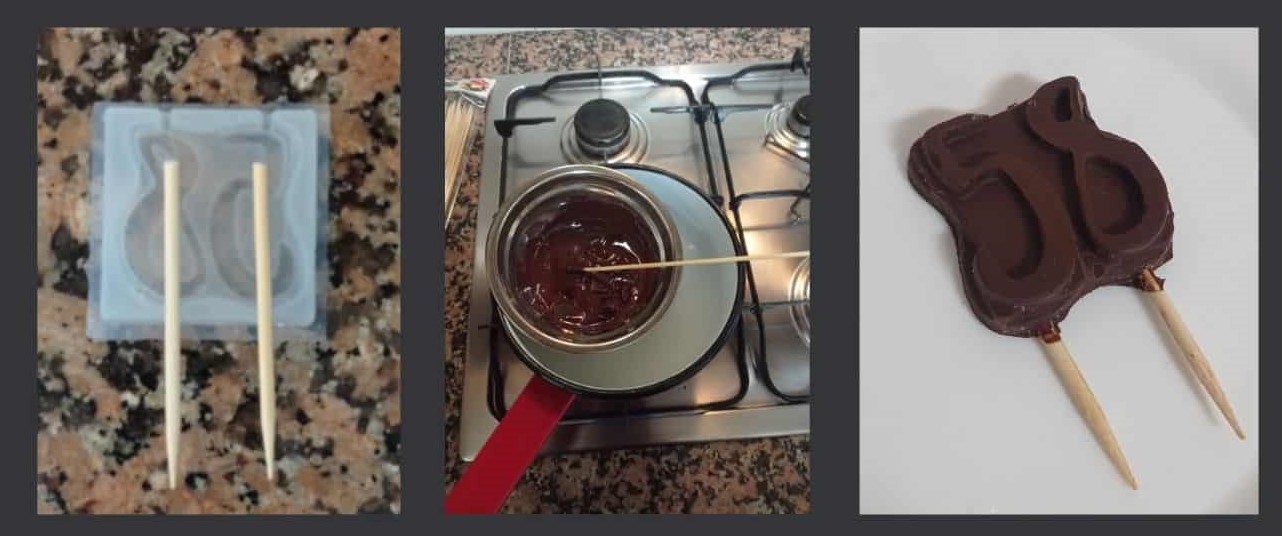
After cleaning the mold well with soap and water, drying it well and placing the chopsticks in the grooves, I melted chocolate to pour it into the mold. After a while in the freezer, I was able to unmold it without problems and here you can see the result.
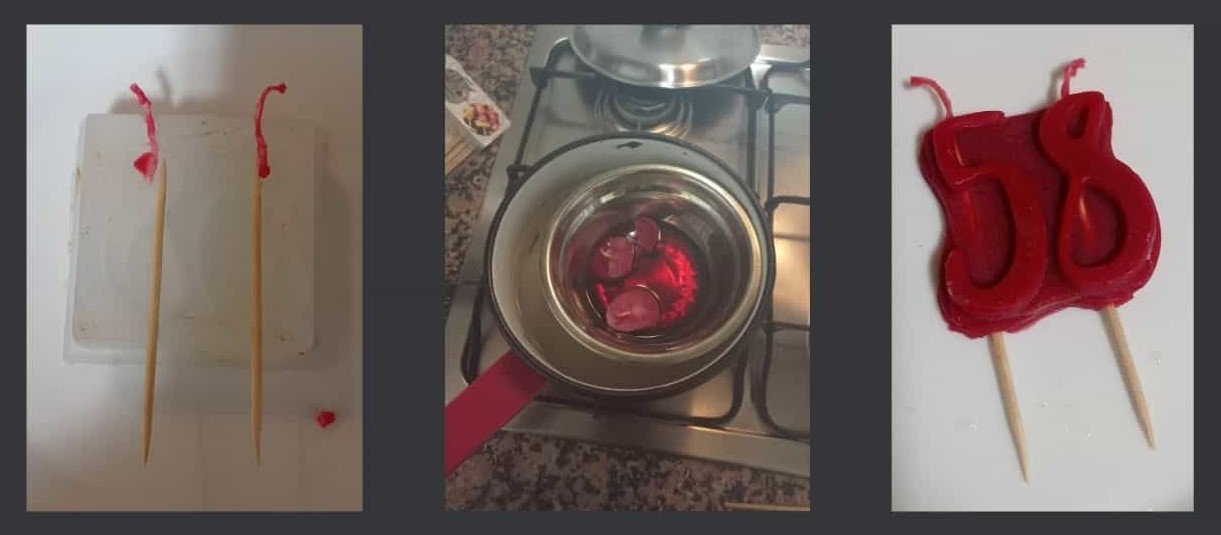
I followed the same process but with the wax, also taking advantage of the highlights.
Files
Find in the link the files of this assignment
FINAL COMENTS
THINGS TO IMPROVE.
As a point to improve, I would say that the most important thing would be to find a better finishing strategy,
since with the radial strategy several points with poor finishing were created.
I also would have liked to be able to try other types of materials. Due to lack of time, I had to focus on chocolate and wax.