WEB DESIGN
SITE structure
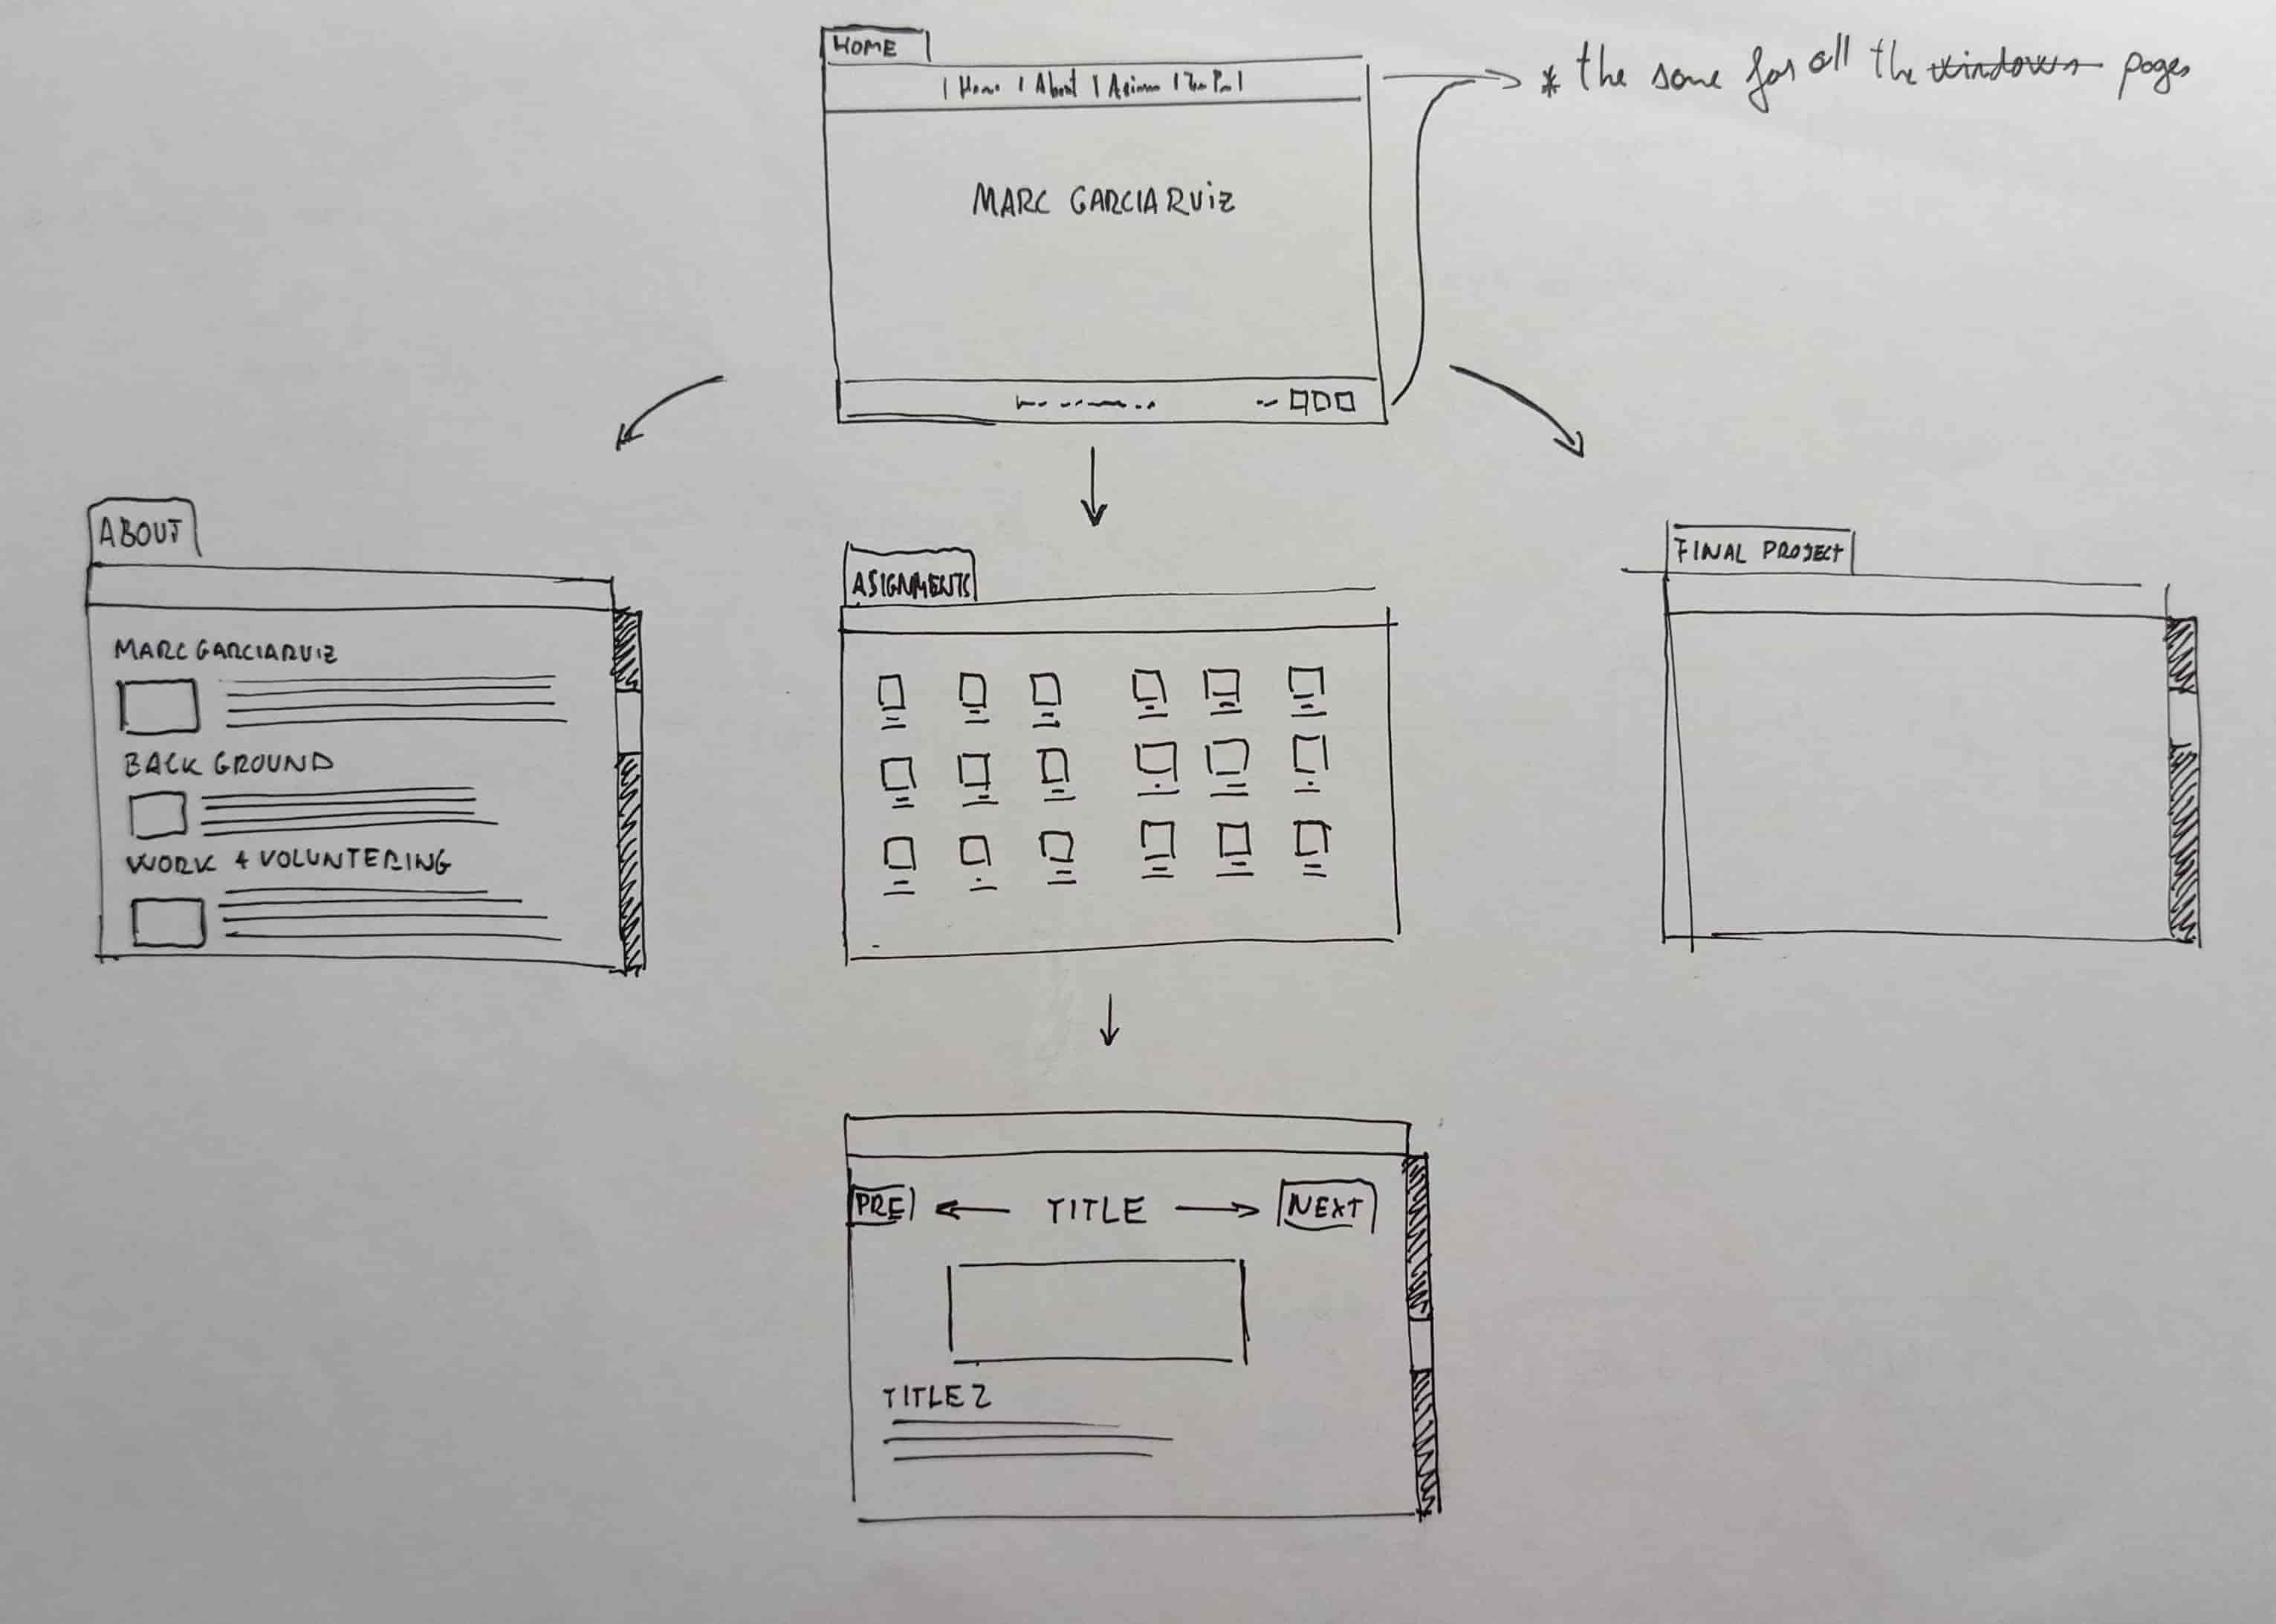
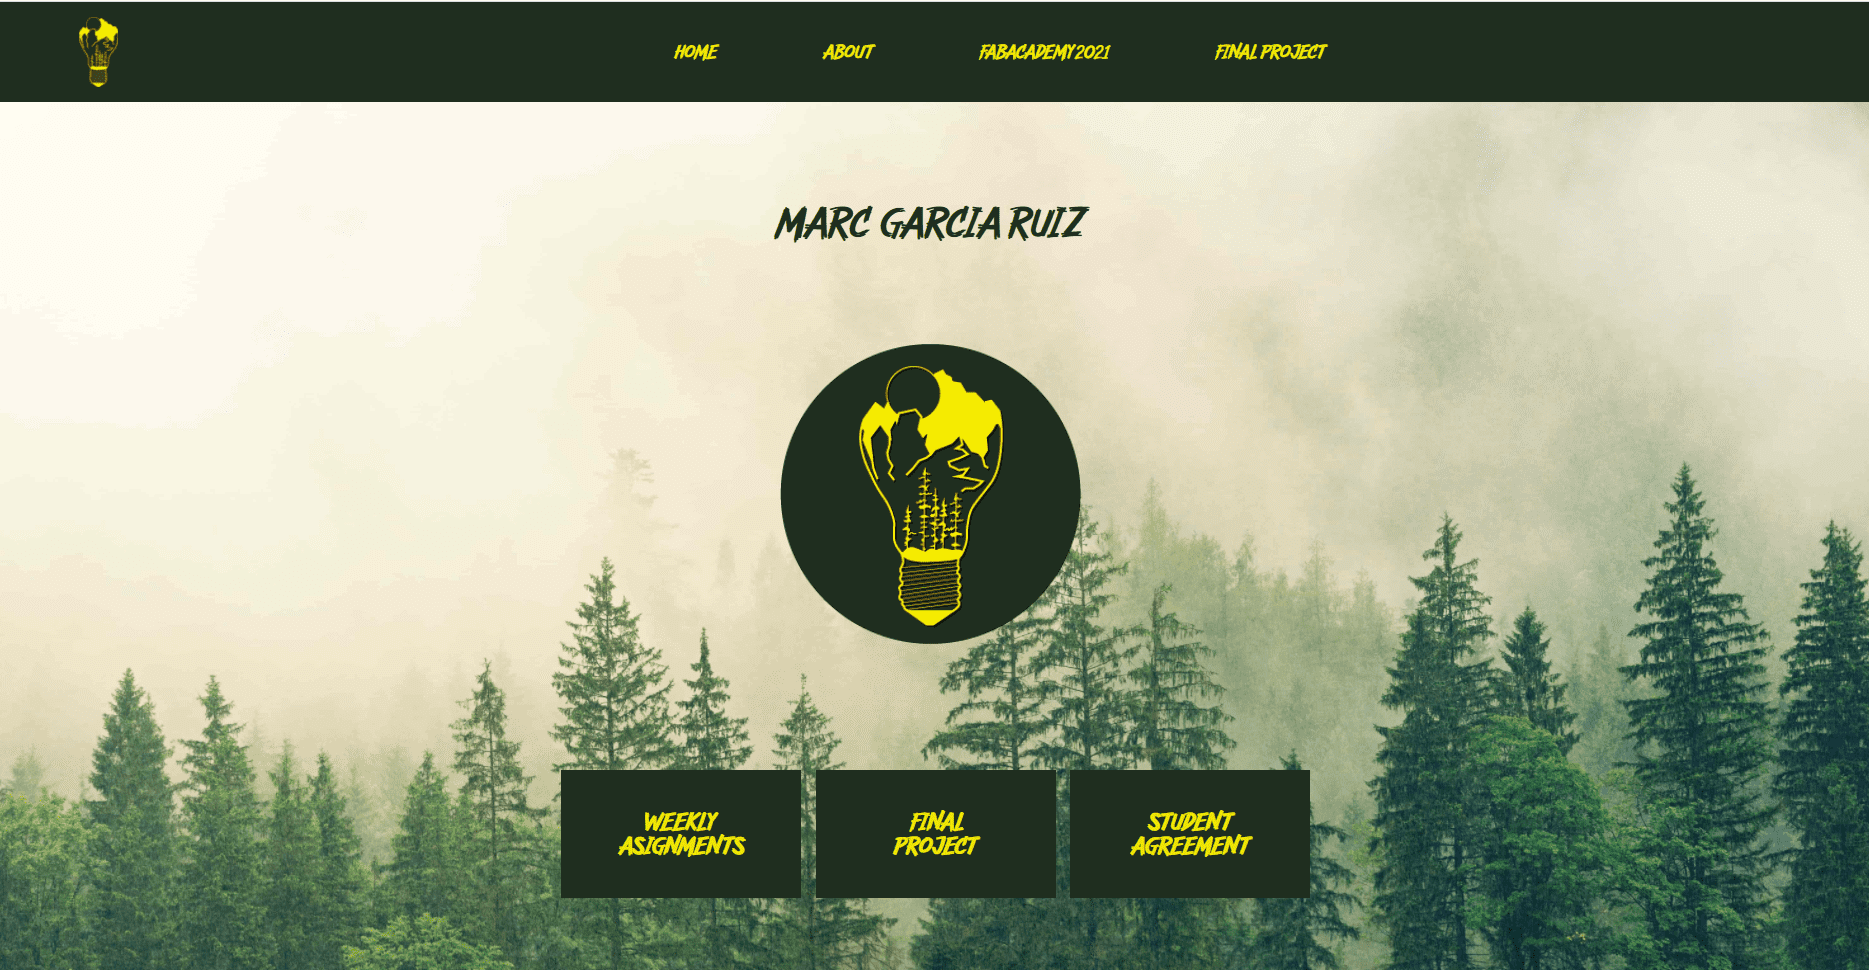
First of all, I've had to decide the structure that I wanted for my site, thinking about the layout.
I wanted to create a very simple web site, geting inspiration from some websites of Fab academy student of The previous years.
It will have the following pages:
- Index page that will wellcome the visitors and let them decide where to go.
- About page that will descrive a bit my self and my background.
- Student Agreement
- Assignments a menu page that will let the visitors decide which assignment they want to see.
- Assignment different pages where I will upload all the documentation of each week.
- Final Project a page where I will upload the documentation of the final Project.
code
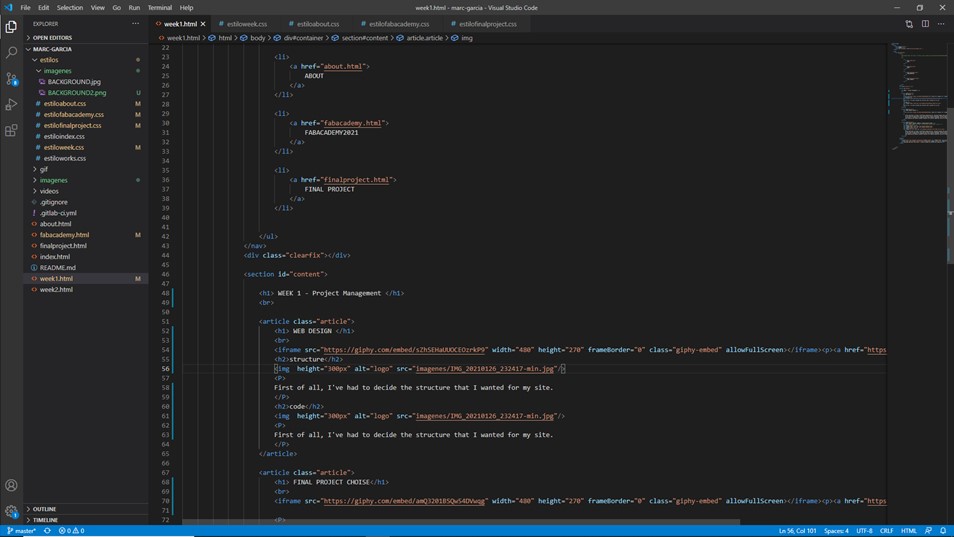
Secondly, I've had to build this structure in code.
I've worked directly with HTML and CSS, not using any kind of template
I've never worked with Html before, and this is the reason why I wanted to learn how to work with it, instead of using a static site generator.
Therefore I've had to learn a lot by myself looking for information on the internet.
Following this tutorials helped me a lot to start building my site and understanding how HTML works:
https://www.youtube.com/watch?v=mNbnV3aN3KA&ab_channel=VictorRoblesWEB
This tutorial guides you step by step building a very simple html. web page, how to create the head, the body, the footer, the menu bar, etc. and if you understand
it like modules, then you will be able to create your own HTML web page, increasing the complexity.
Following this tutorials helped me a lot to start building my site and understanding how CSS works:
https://www.youtube.com/watch?v=3yM5uXp-T_0&t=573s&ab_channel=VictorRoblesWEB
After start creating my web pages following the previous tutorial, I continued with this second one that guides you step by step to use CSS. to make your webpage
Stetically better, how to set the margins, the fonts, the colours, etc. makeing you able to control the whole aspect of your website.
LOCAL REPOSITORY
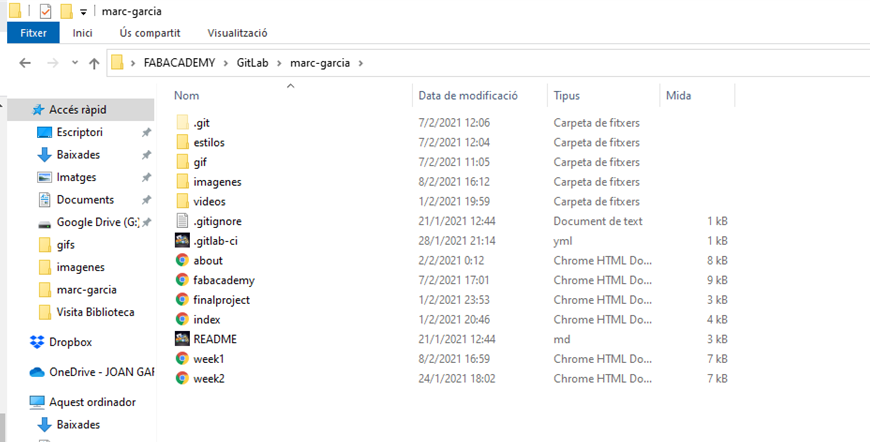
After creating the main HTML and CSS files, I needed a local repository to place them and all the graphic content. I've started working in a local repository to be sure that every thing was ok and it let me make test.
GIT LAB REPOSITORY
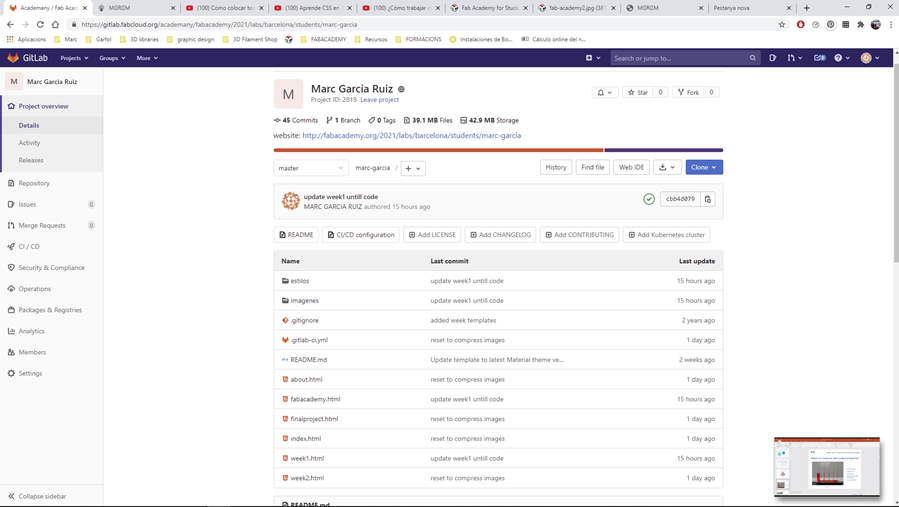
Once I've had the main structure of my site and I was sure that every thing was ok, I've had to connect my local repository on my Git Lab Repository.
To do that, I've followed the following Steps that I learnded from the documentation of some students of previous years:
1- Clone the Remote Repository, creating a new local repository in my computer. unhideing the git folder
2- Create a user.
3- Generate SHH key.
4- Replace the preset files of the remote repository with the html. files that I've had created previously in my local repository.
5- Go to your local repository using the terminal.

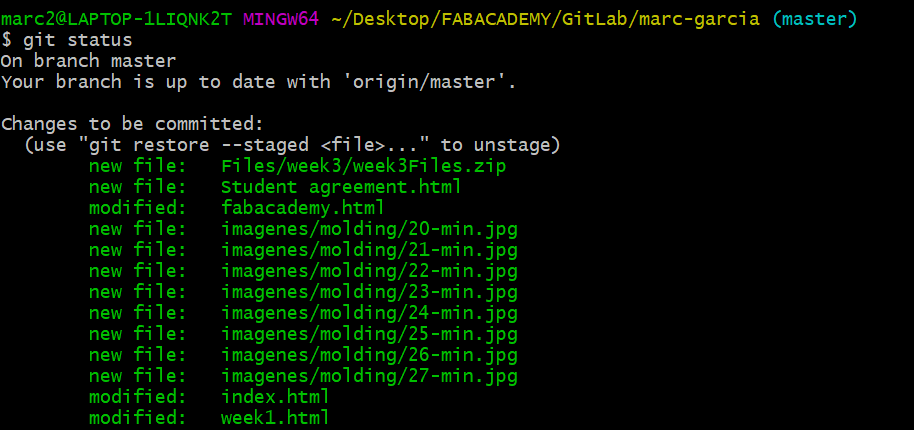
6- Check the status to know which files have changed (git status).
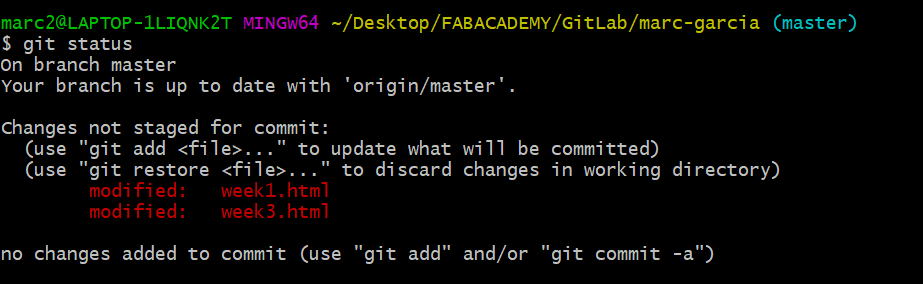
7- Add changes. (git add .).

8- Check the status again to check the add . comand (git status).
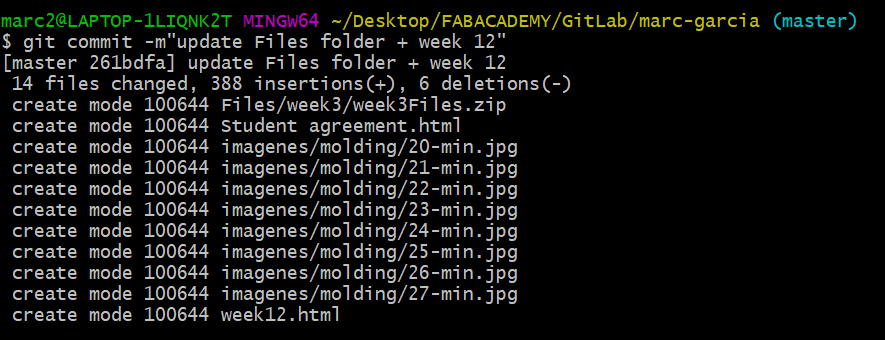
9- Commit (commit -m " ... ").
10- Push ( git push).
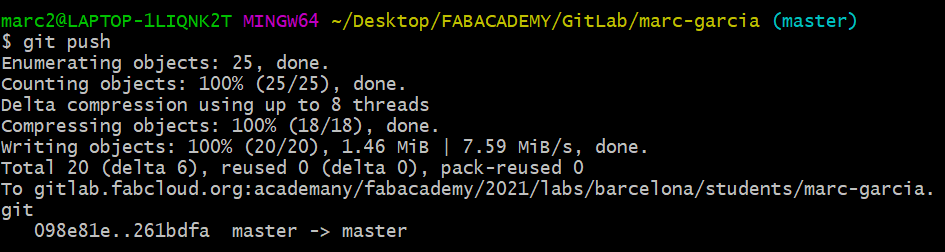
11- Check that everything has updated correctly.
MISTAKES
During all this process of learning by doing, I've been making mistakes and finding solutions constantly.
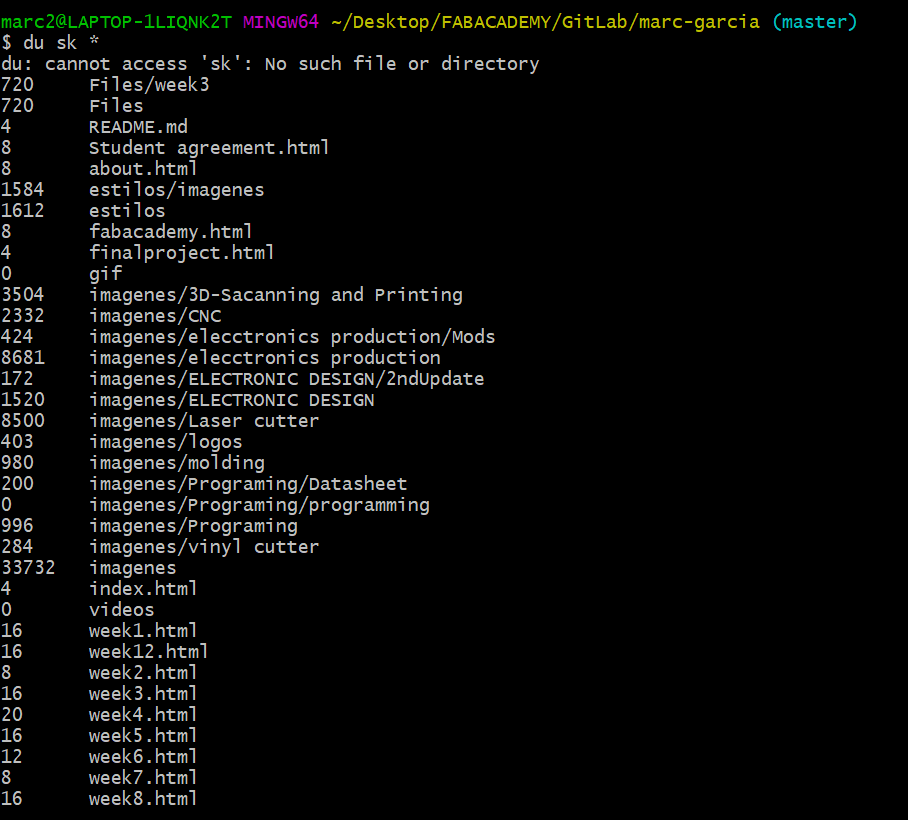
One of the main mistakes, was to not check the weight of the files and folders that I was using at the beginning.
This issue made me fail during the pushing process several times, I realised that the videos, gifs, images... where the heviests files, then to solve the problems
I decided to do two thing:
- Compress the images before import them in to the repository to reduce their weight
- Upload the videos and gifs in Vimeo, then they will be stored in Vimeo servers.
- Also, I've learned a good tip from one of my Fab mates Gerardo, he told me that I should use the command
(du sk *) before adding to check the weight of the files it will prevent any isue douring pushing.