14. Networking and communications
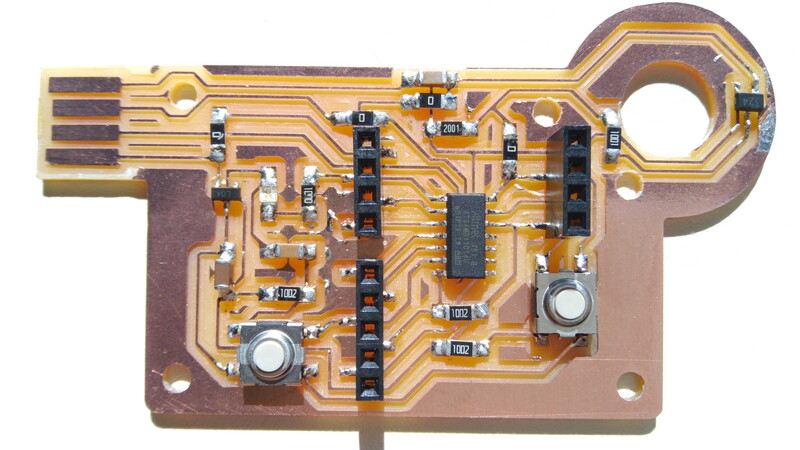
This week the group assignment was to send a message between two projects. For this we used Elina’s board and Theo’s board. For the communication voice we decided to use the Tx/Rx voice. We were then able to send messages between the two boards. In the rest of this documentation we will show you how to send a message between two SAMD11Cs using Tx/Rx voice.

Elina took a picture in a same time with her phone
Here is the picture from the other screen.

Wiring
Concerning the connection, it is quite simple. It is enough to connect the Tx terminal of the SAMD11C of Elina to the Rx pin of the board of Theo. Inversely for the Rx terminal. Also connect the GNDs together so that the electrons can flow. Then you just need to power the two boards. For that we used the USB port present on our computers and on our boards.

The code
For the code part we used Quentin‘s code on his page. Here is the code
void setup() {
   SerialUSB.begin(0);
   Serial1.begin(115200, SERIAL_8E2);
}

void loop() {
   if (SerialUSB.available()) {
      Serial1.write((char) SerialUSB.read());
   }
   if (Serial1.available()) {
      SerialUSB.write((char) Serial1.read());
   }
}
Communication
Once we have downloaded the code on our respective boards we could send messages. To do so, you just have to open the serial monitor on the Arduino application and write the message you want to send. Here is the message that Elina sent to Theo.

This group assingment helped us to discover the difference between Serial1 and Serial2. The board of Theo was plugged on RX1 and TX1, the pins 30 and 31 from the SAMD11C, the board of Elina was plugged on the pins RX2 and TX2, which are the pins 4 and 5. In that way we saw that to make the communciation between our 2 boards, Elina needed to use Serial2, and Theo Serial1.
Here is the code flashed on Elina’s board.
void setup() {
   SerialUSB.begin(0);
   Serial2.begin(115200, SERIAL_8E2);
}

void loop() {
   if (SerialUSB.available()) {
      Serial2.write((char) SerialUSB.read());
   }
   if (Serial2.available()) {
      SerialUSB.write((char) Serial2.read());
   }
}
i2C
I have asked Theo to use i2c protocol to communicate our boards.


code:
Antonio’s board:
//This code uses:
// LiquidCrystal_I2C and Wire library.
// Pins 14 and 15 as SDA and SCL.
// This code is the teacher in the "teacher/student" i2c configuration. It sends messages to device 4 and 17.
// Autor: Antonio de Jesus Anaya Hernandez
// Fab-Academy: 2021 Agrilab
// Country: France
// Taken parts from Wire M/S receiver
// by Nicholas Zambetti <http://www.zambetti.com>


#include <Wire.h>
#include <LiquidCrystal_I2C.h>
LiquidCrystal_I2C lcd(0x27,20,4);

void setup()
{
  Serial.begin(9600);
  Wire.begin(); // join i2c bus (address optional for master)
  lcd.init();
  lcd.setCursor(1,1);
  lcd.clear();
  lcd.print("Students board:");
  lcd.backlight();
}

byte x = 0;
byte y = 255;

void loop()
{
  Wire.begin();
  Wire.beginTransmission(4); // transmit to device #4
  Wire.write("x is ");        // sends five bytes
  Wire.write(x);              // sends one byte
  x++;
  Wire.endTransmission();    // stop transmitting
  delay(500);
}
Theo’s board:
//This code uses:
// LiquidCrystal_I2C and Wire library.
// Pins 14 and 15 as SDA and SCL.
// This code is the teacher in the "teacher/student" i2c configuration. It sends messages to device 4 and 17.
// Autor: Antonio de Jesus Anaya Hernandez
// Fab-Academy: 2021 Agrilab
// Country: France
// Taken parts from Wire M/S receiver
// by Nicholas Zambetti <http://www.zambetti.com>


#include <Wire.h>
#include <LiquidCrystal_I2C.h>
LiquidCrystal_I2C lcd(0x27,20,4);


void setup()
{
  Wire.begin(4);                // join i2c bus with address #4
  Wire.onReceive(receiveEvent); // register event
  Serial.begin(9600);           // start serial for output
}

void loop()
{
  delay(100);
}

// function that executes whenever data is received from master
// this function is registered as an event, see setup()
void receiveEvent(int howMany)
{
  while(1 < Wire.available()) // loop through all but the last
  {
    char c = Wire.read(); // receive byte as a character
    Serial.print(c);         // print the character
  }
  int x = Wire.read();    // receive byte as an integer
  Serial.println(x);         // print the integer

  lcd.setCursor(1,2);
  lcd.clear();
  lcd.print(x);