DESIGN PART
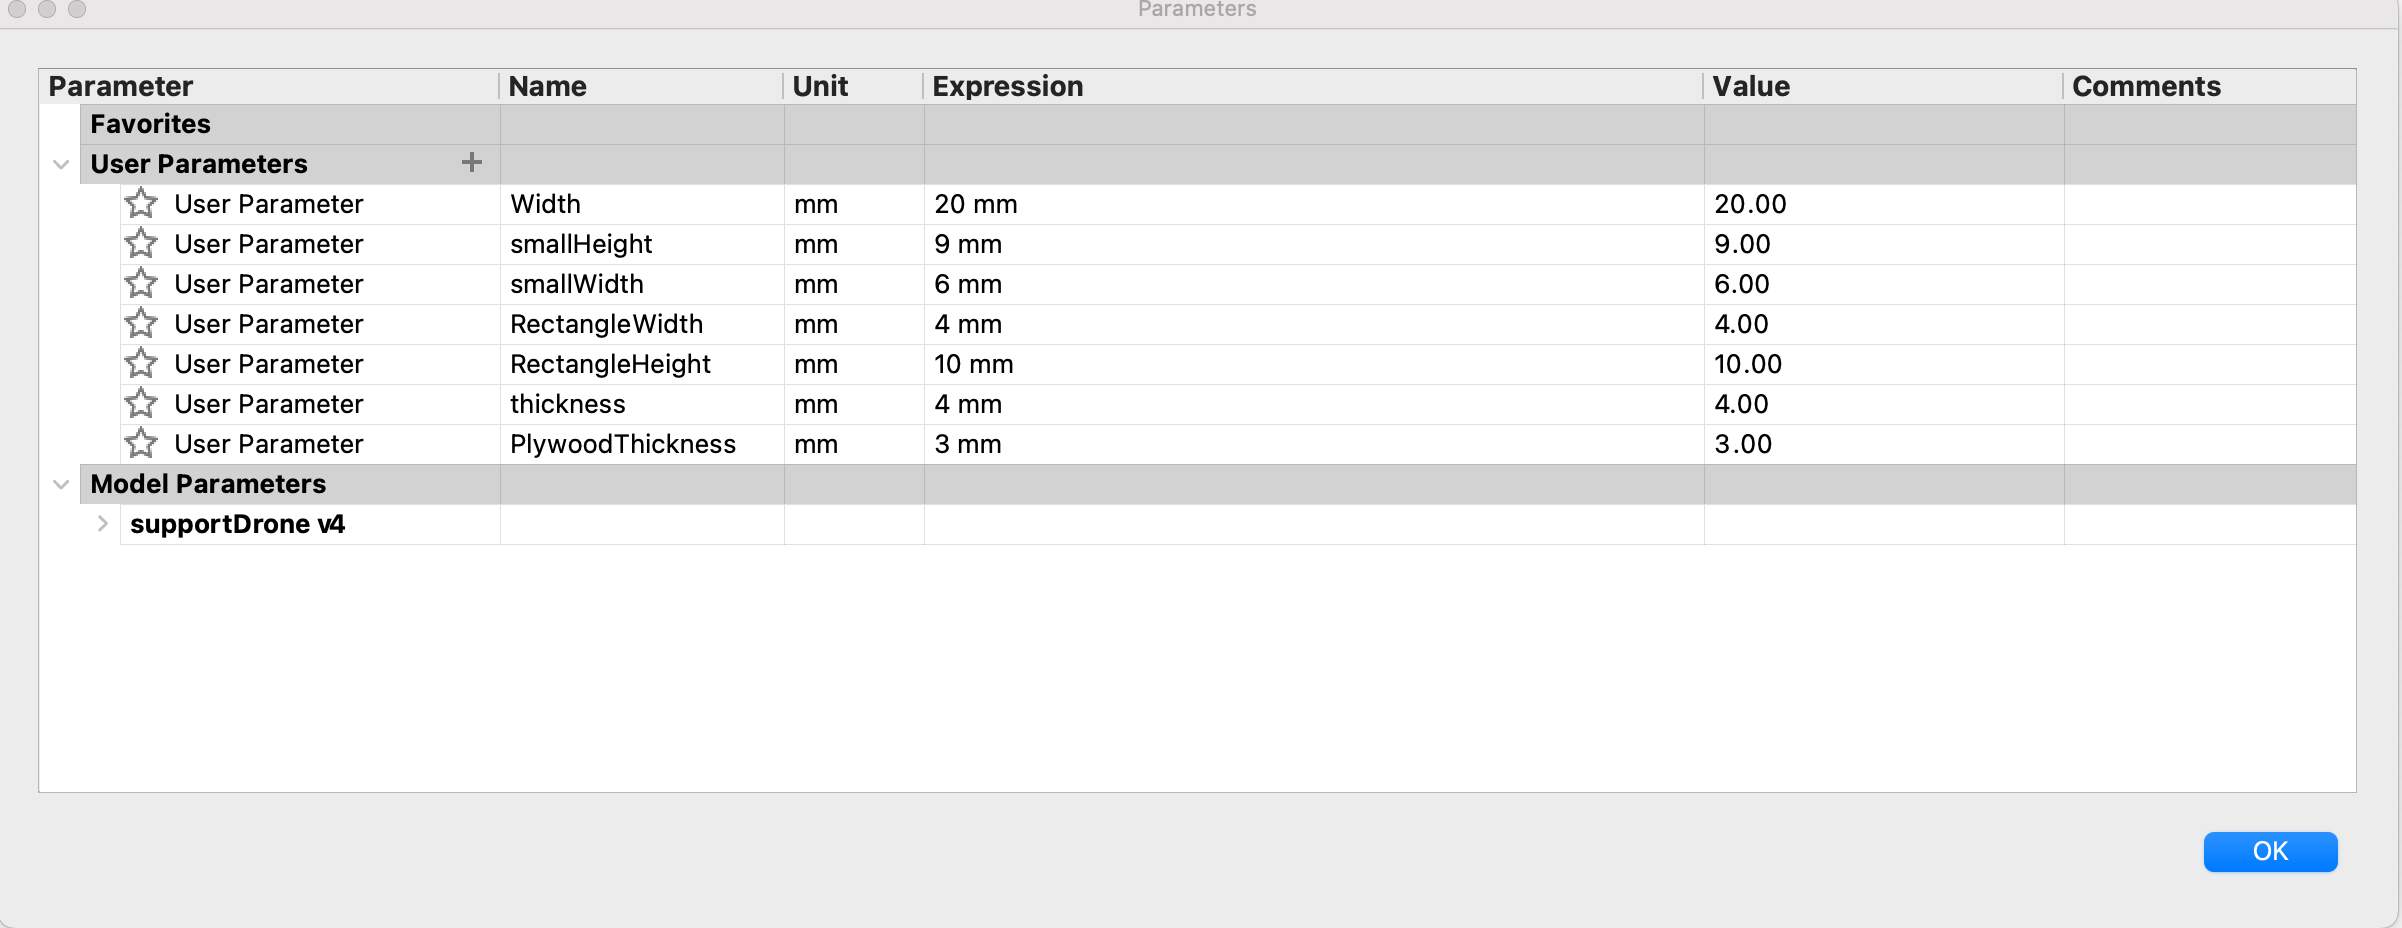
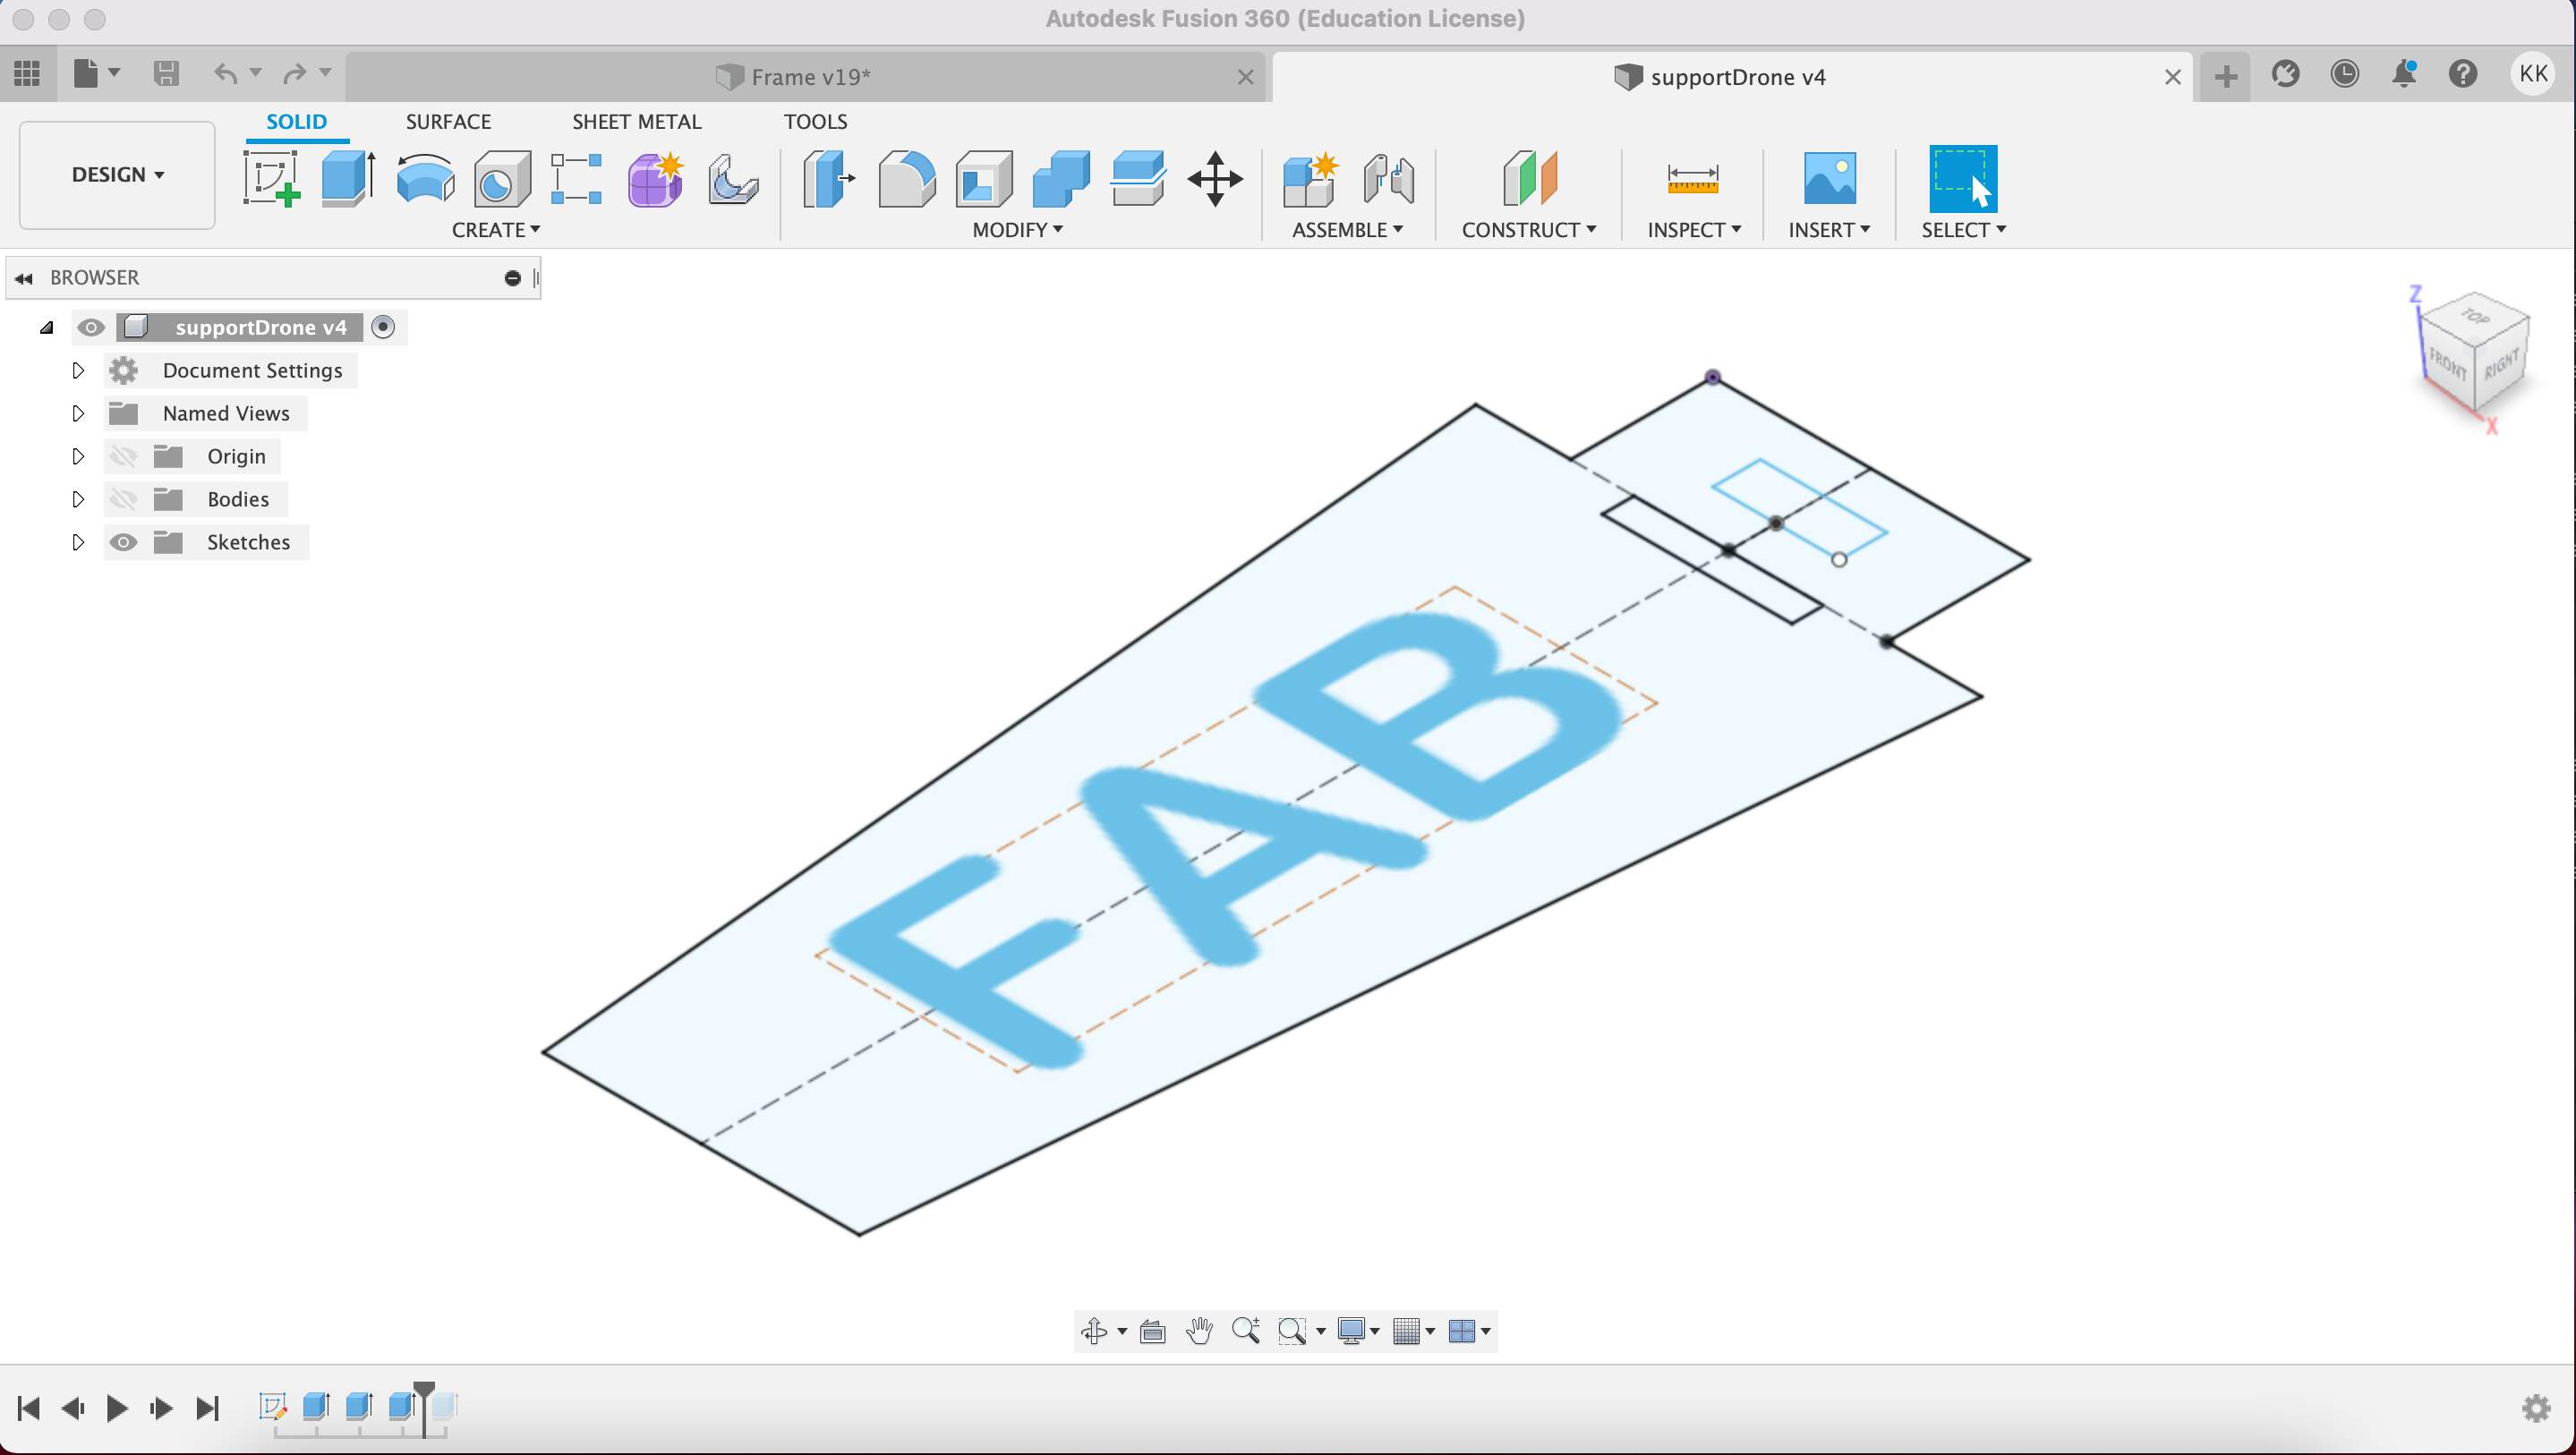
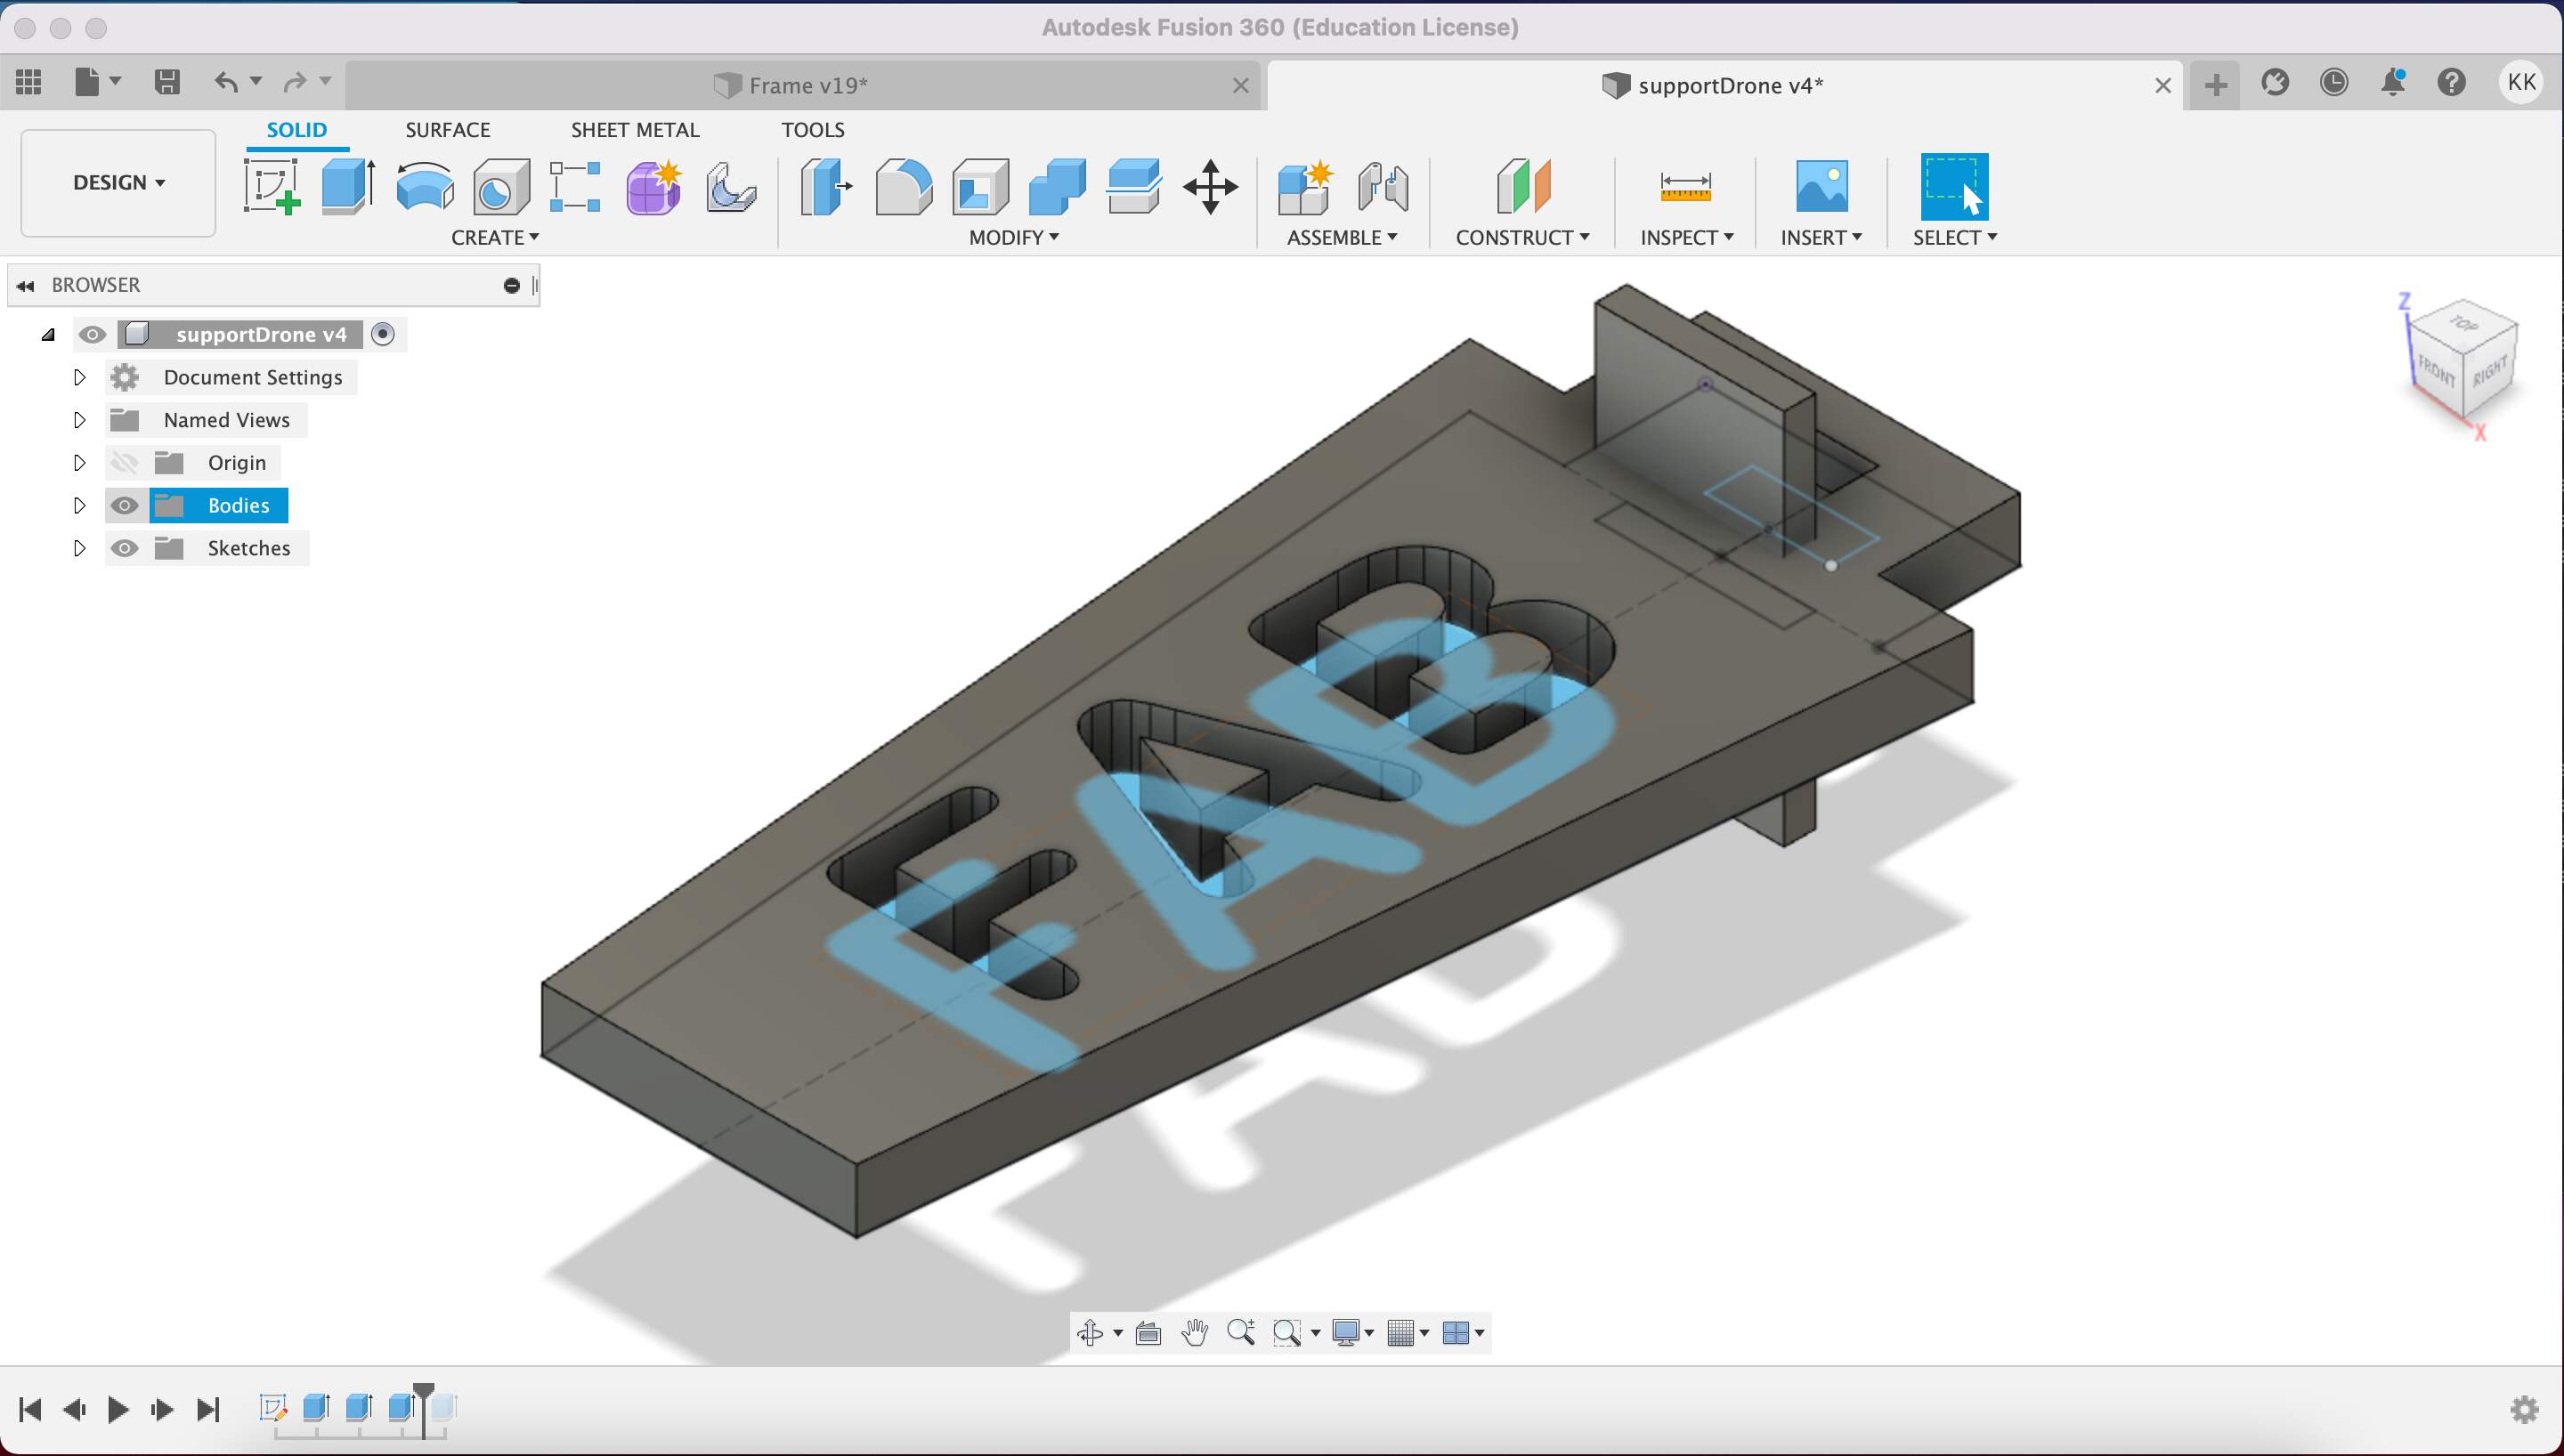
- For a more comfortable life in case of changes, I created parameters for the creation of model. To integrate text, I used the Text function and then the Extrude like a Cut function.
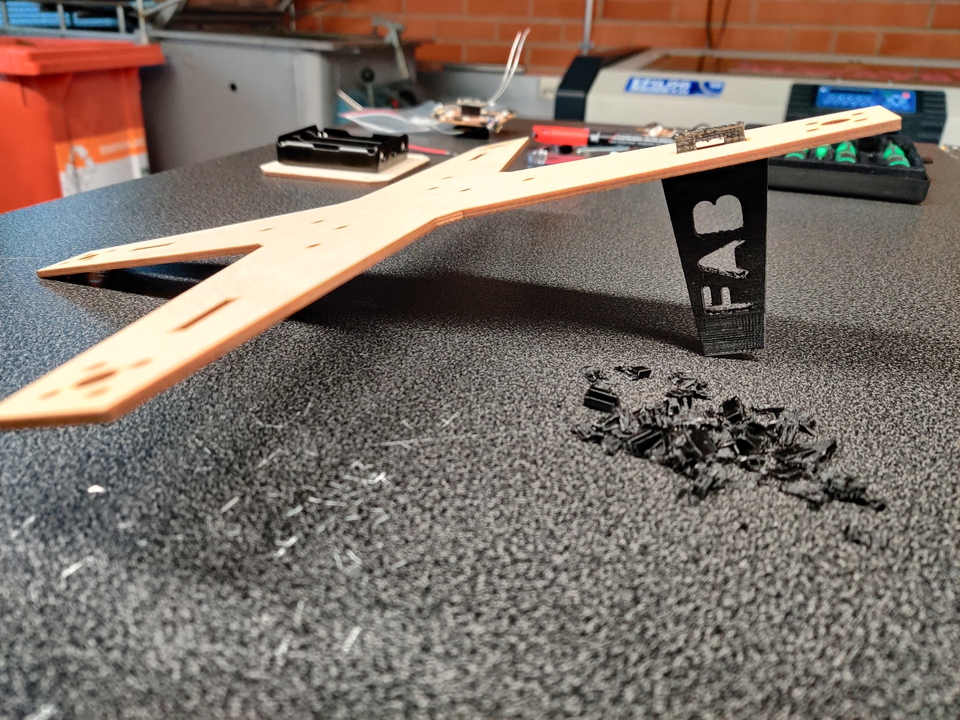
PLA PRINTING
- Using Ultimaker extended 2+ I made an example of landing gears. Conclusions obtained - the time spent does not correspond to the quality. In addition, support removal is also time consuming and messy.
LASER CUTTING
- I tried to cut a previously created pattern with a laser cutter. Although the results can be obtained incomparably faster than in 3D printing technology, there were other problems - due to kerf, it did not stay firmly in the drone frame. I also had a logic error - unlike the 3D model, the connection part intended for mounting in the laser cutter was cut. Logically, right? For this reason, I manually converted the CorelDraw file associated with the laser cutter.
SLA PRINTING
- For a more visually appealing effect and the idea that a slightly more flexible material can come in handy when the drone lands, as well as the fact that after using PLA 3D printing, I wasn't too happy about the visual appearance.
- As always, working with SLA printing in post-processing is a bit of a messy process that ends with placing objects under UV lamp. I held the objects for more than two hours, periodically turning them in different directions, but the result was still as if it had not dried. And then student Wu Ruo-Xuan came with his great advice, which he learned during his final work - to cook objects at 60 degrees for 10 minutes. I tried and the result was very good, moreover, unlike other times when the supporting parts had to be cut off, after this process they easily came off without any tools.