Vinyl Cutting
More versatile than you think!
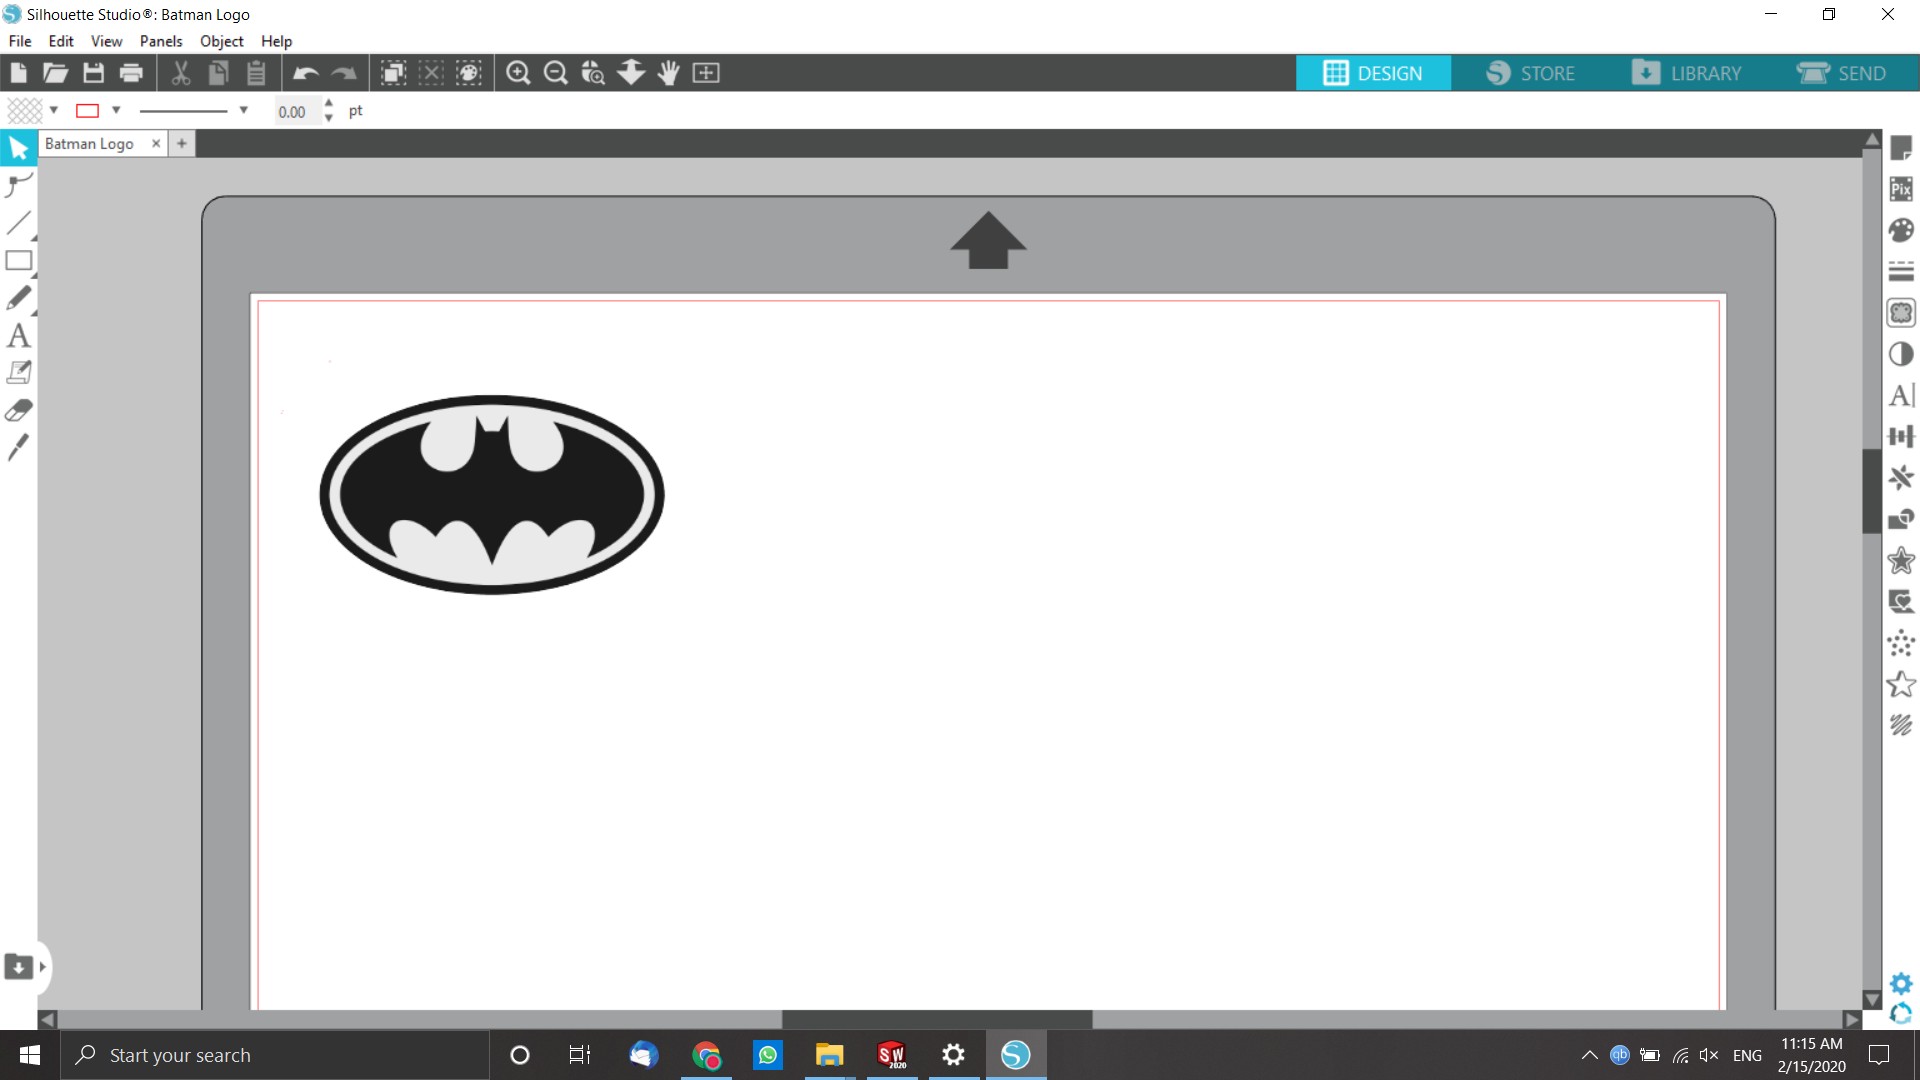
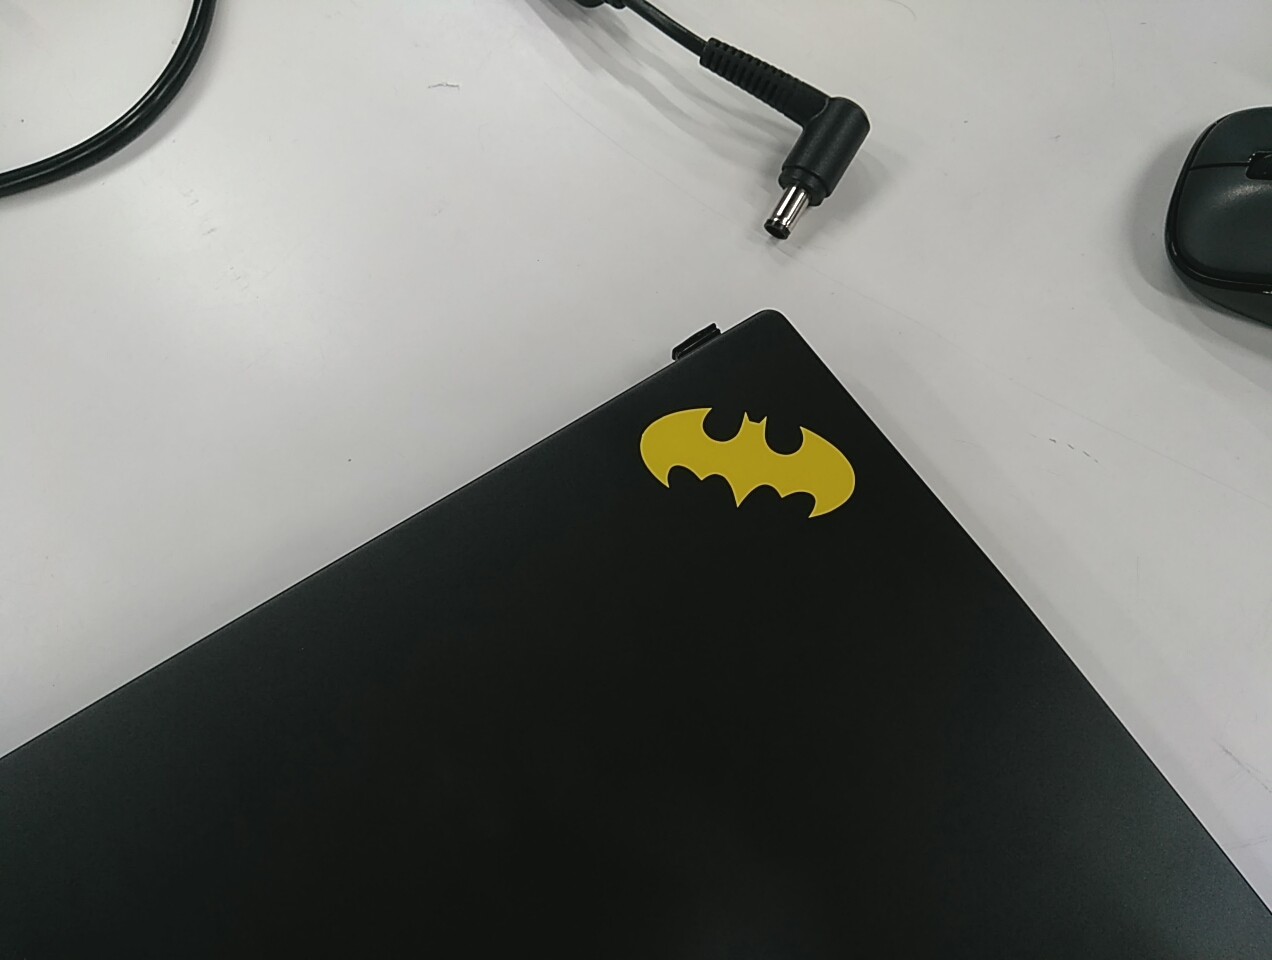
At first, I had to decide what do I want to cut, so I thought, what is better than a batman logo? :D
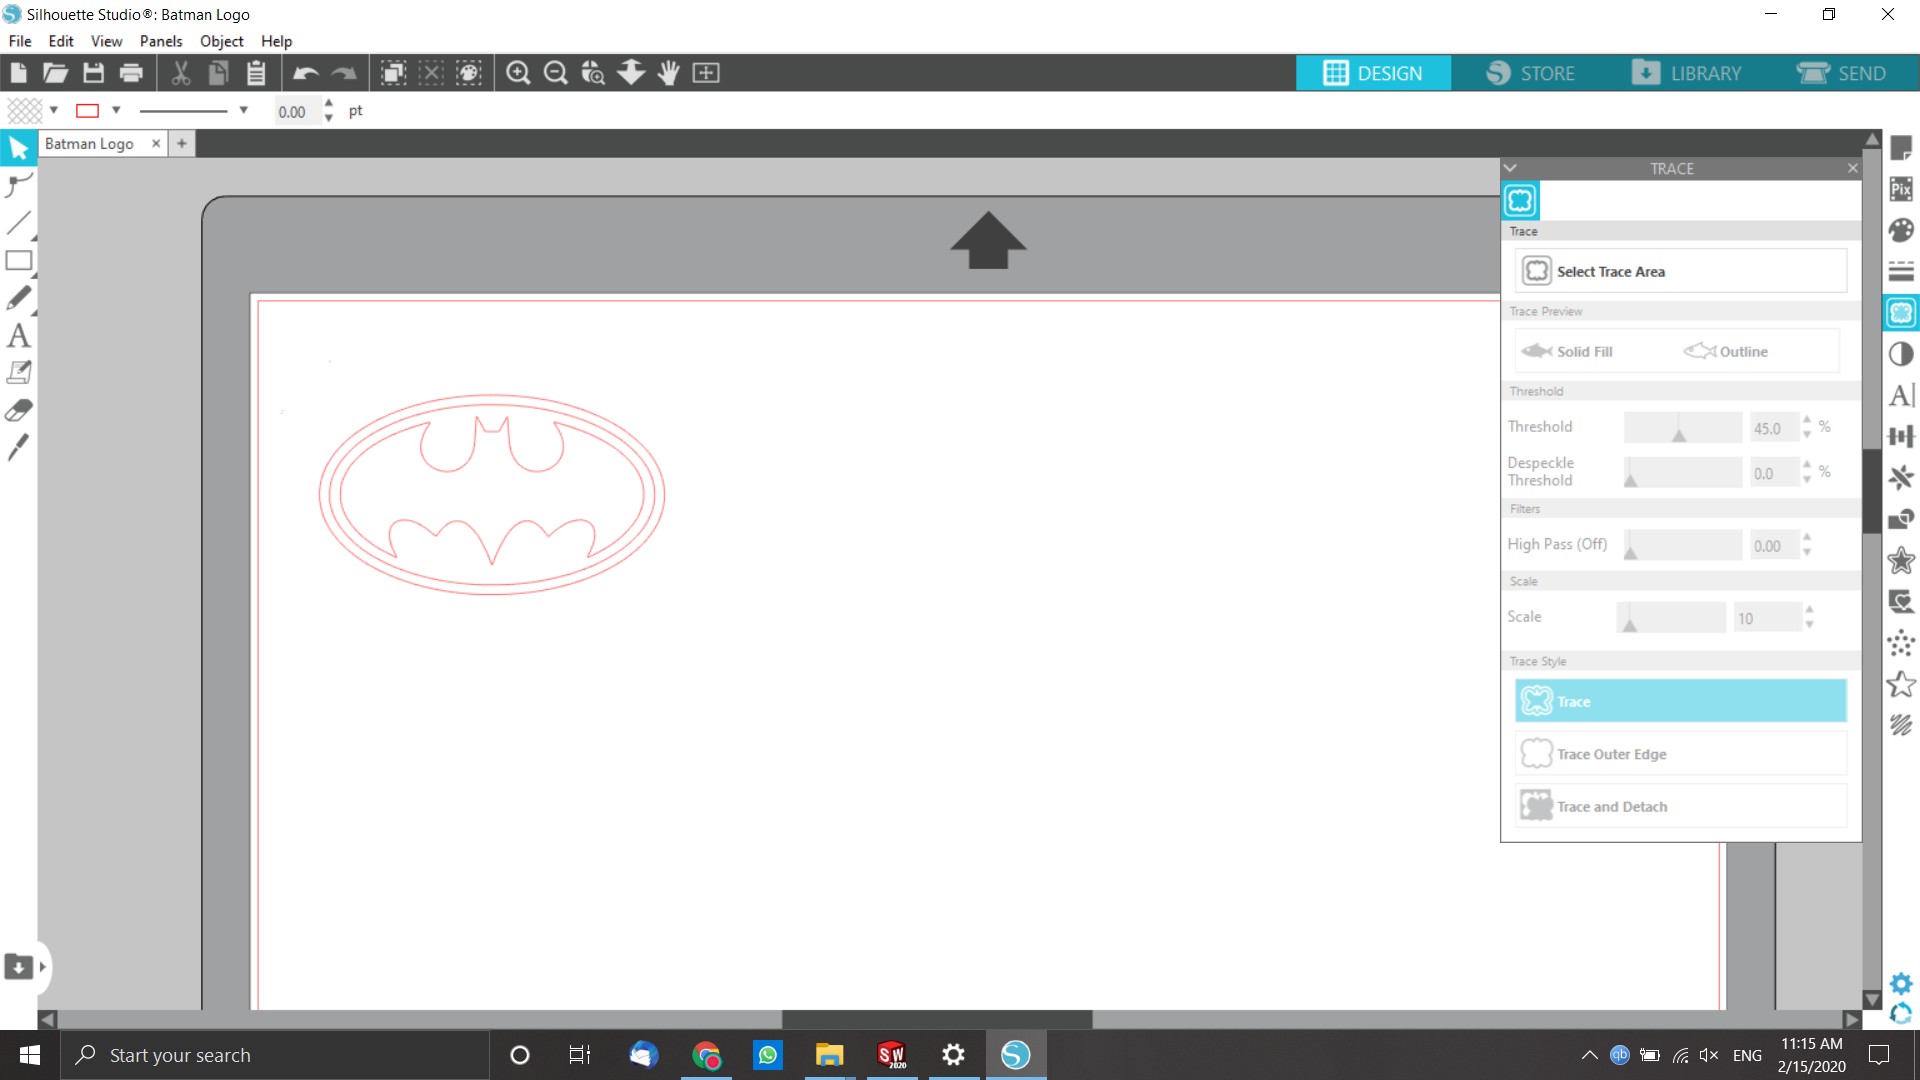
So, I started by downloading the logo from google, and added it to Silhouette Studio, which already has an automatic tracing option
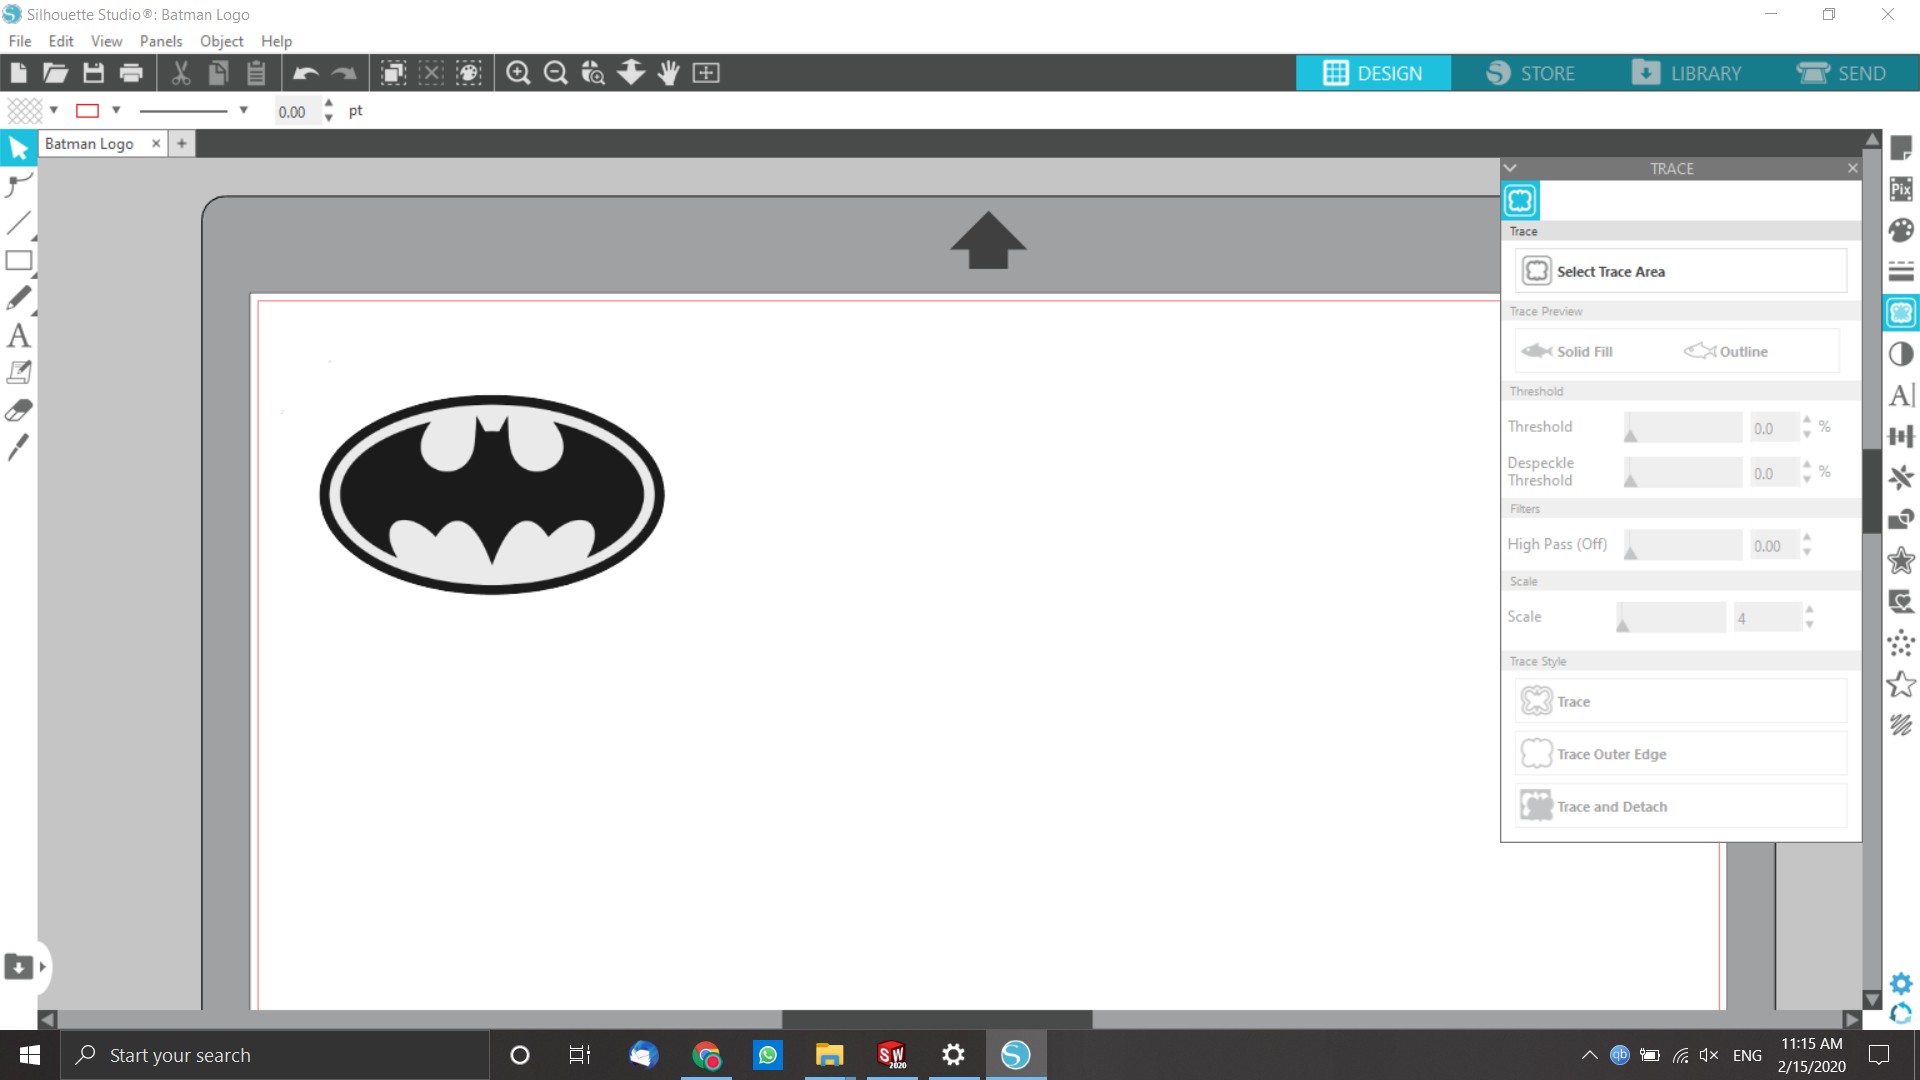
After that I used the tracing option from the right panel
and then I moved the image so that I can see the traced output
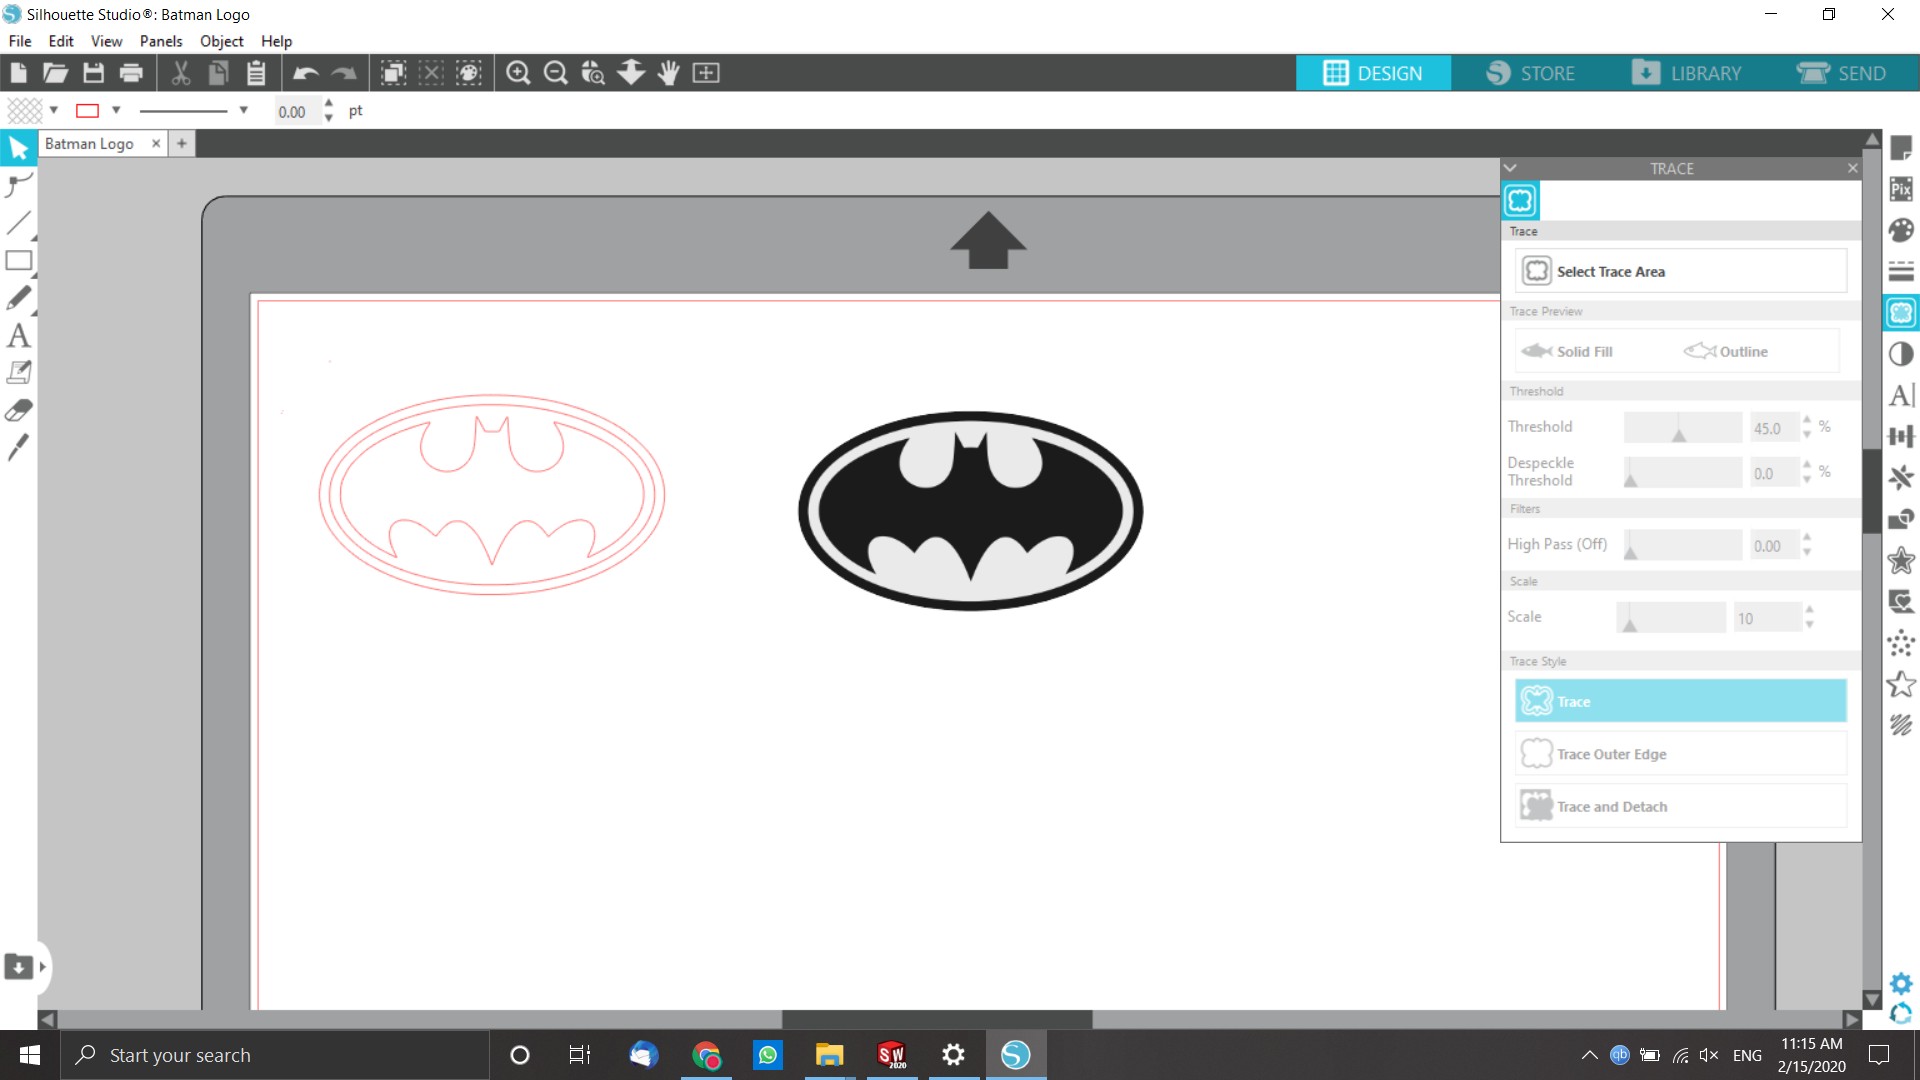
It was good enough. Therefore I deleted the image, and saved the file.
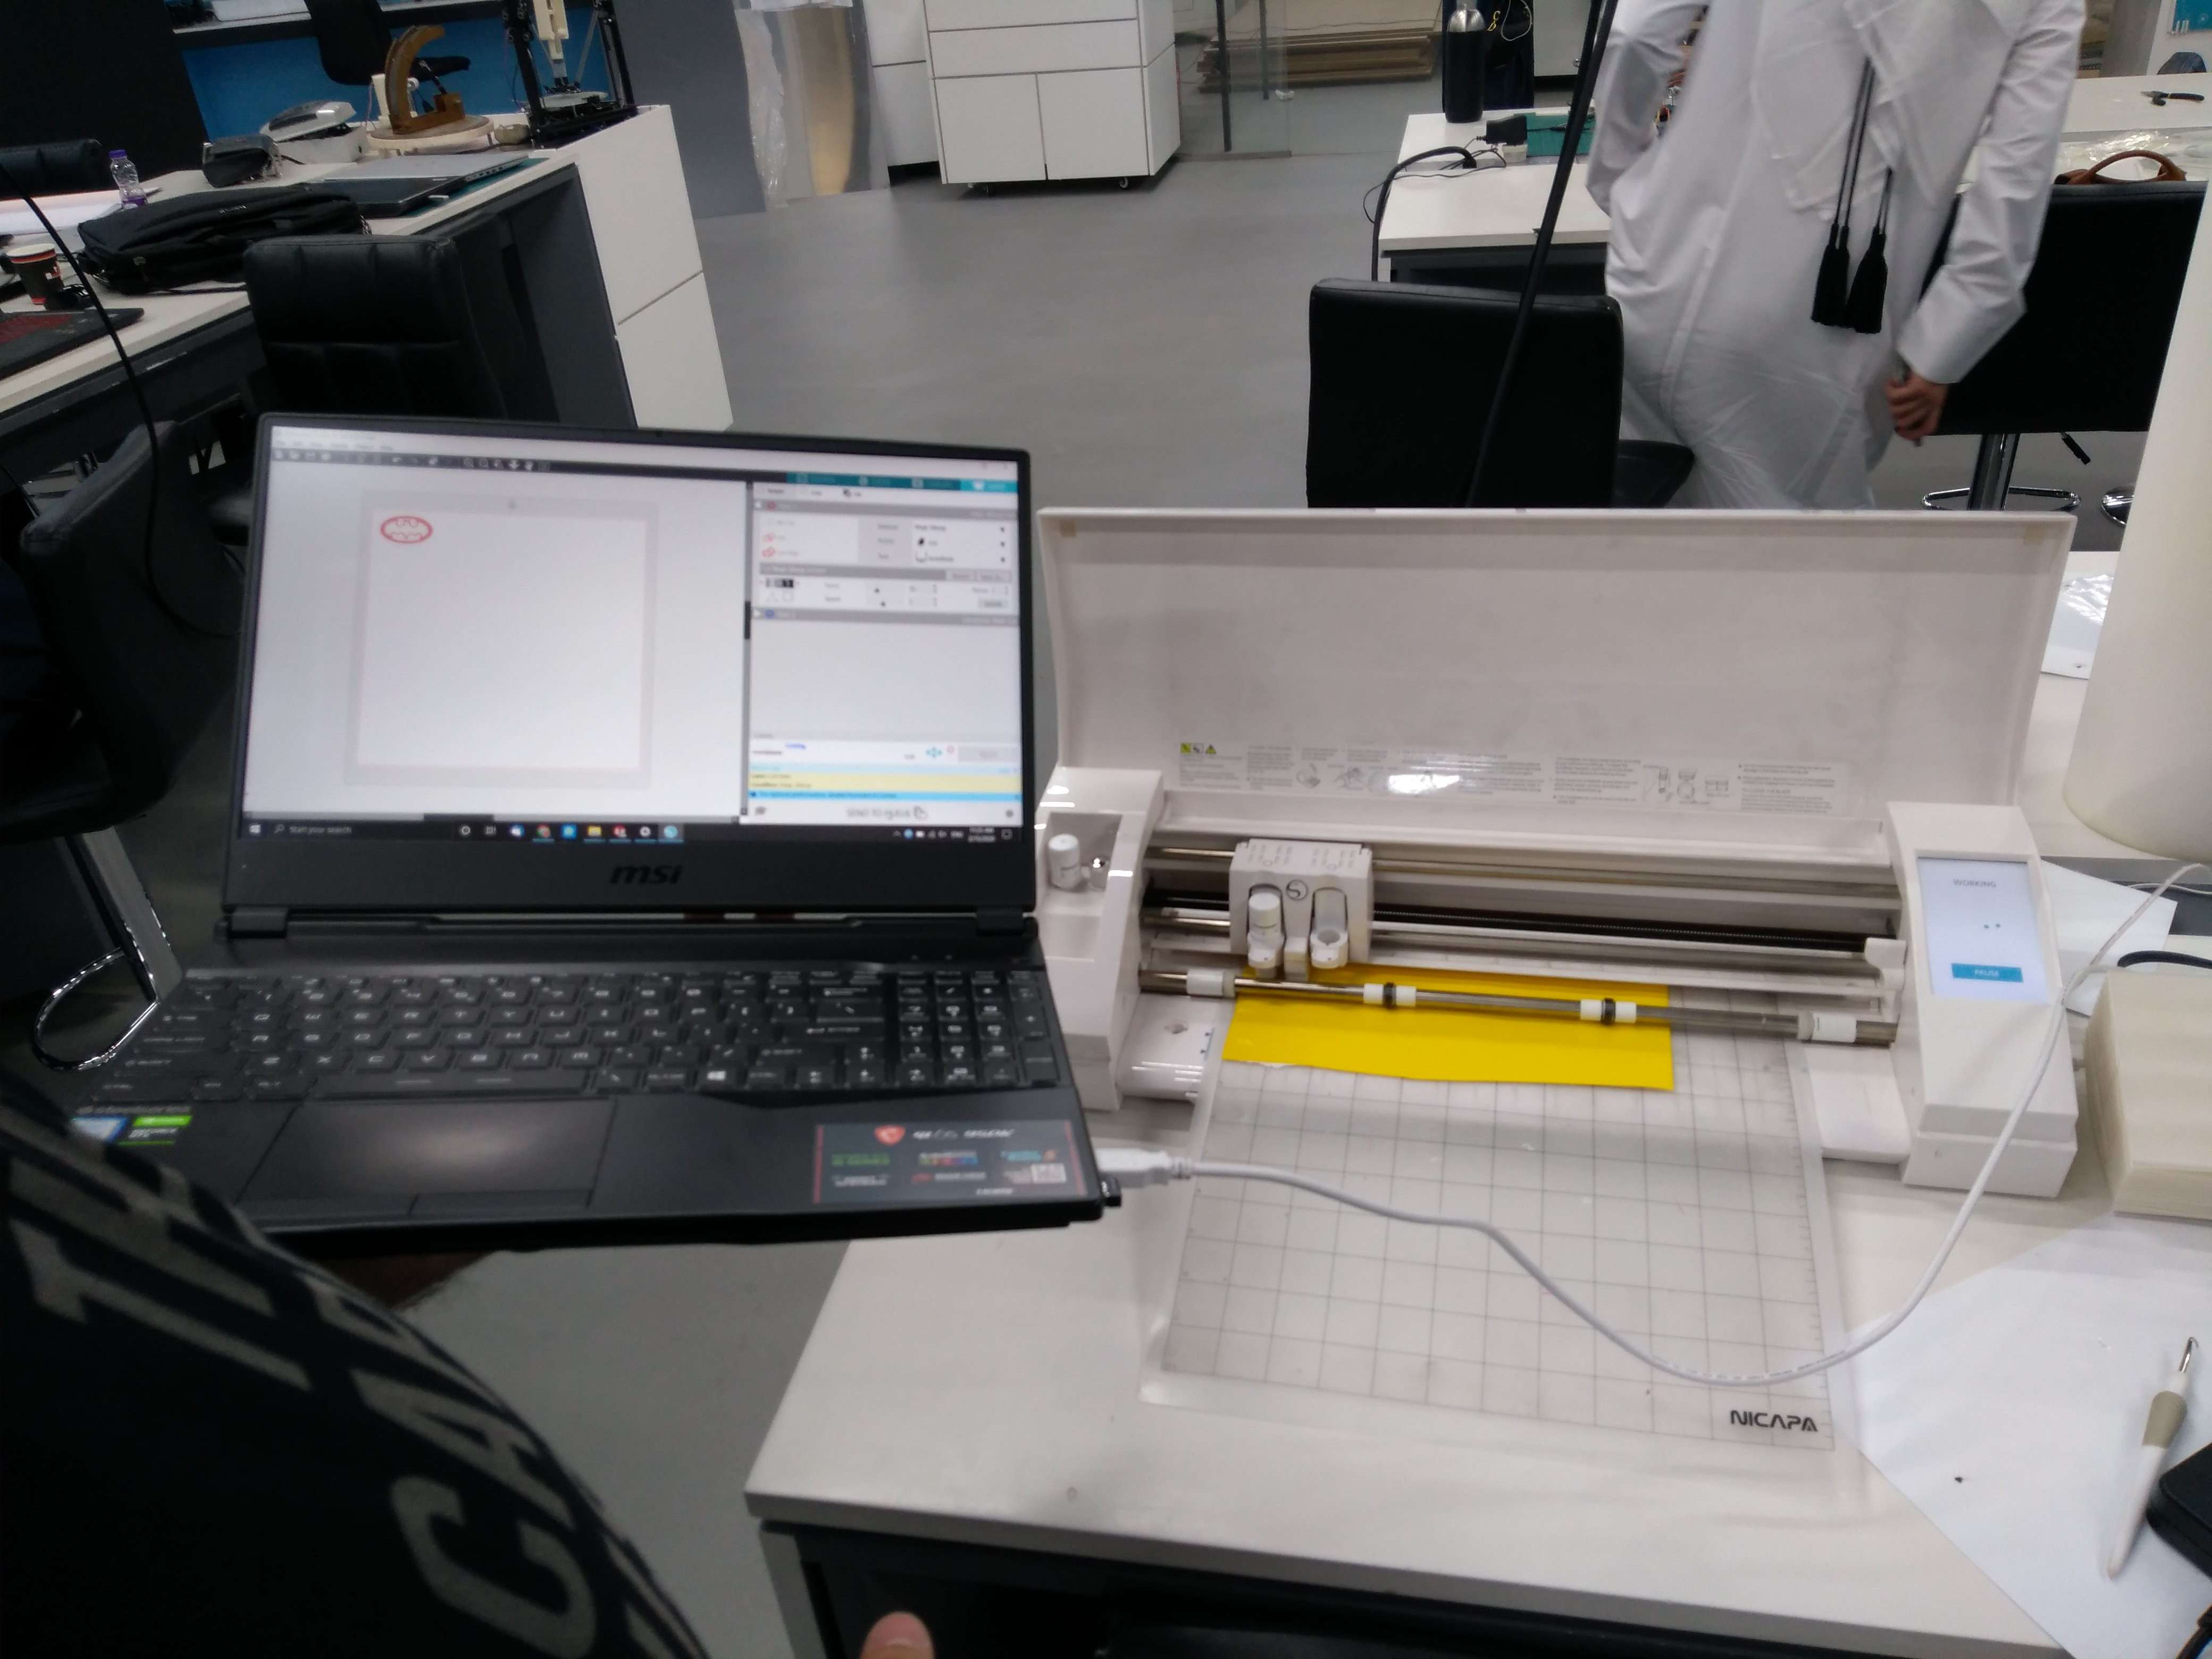
Now, to setup the vinyl cutter, I cut a piece of vinyl, placed it on the machine's template and put it in the machine
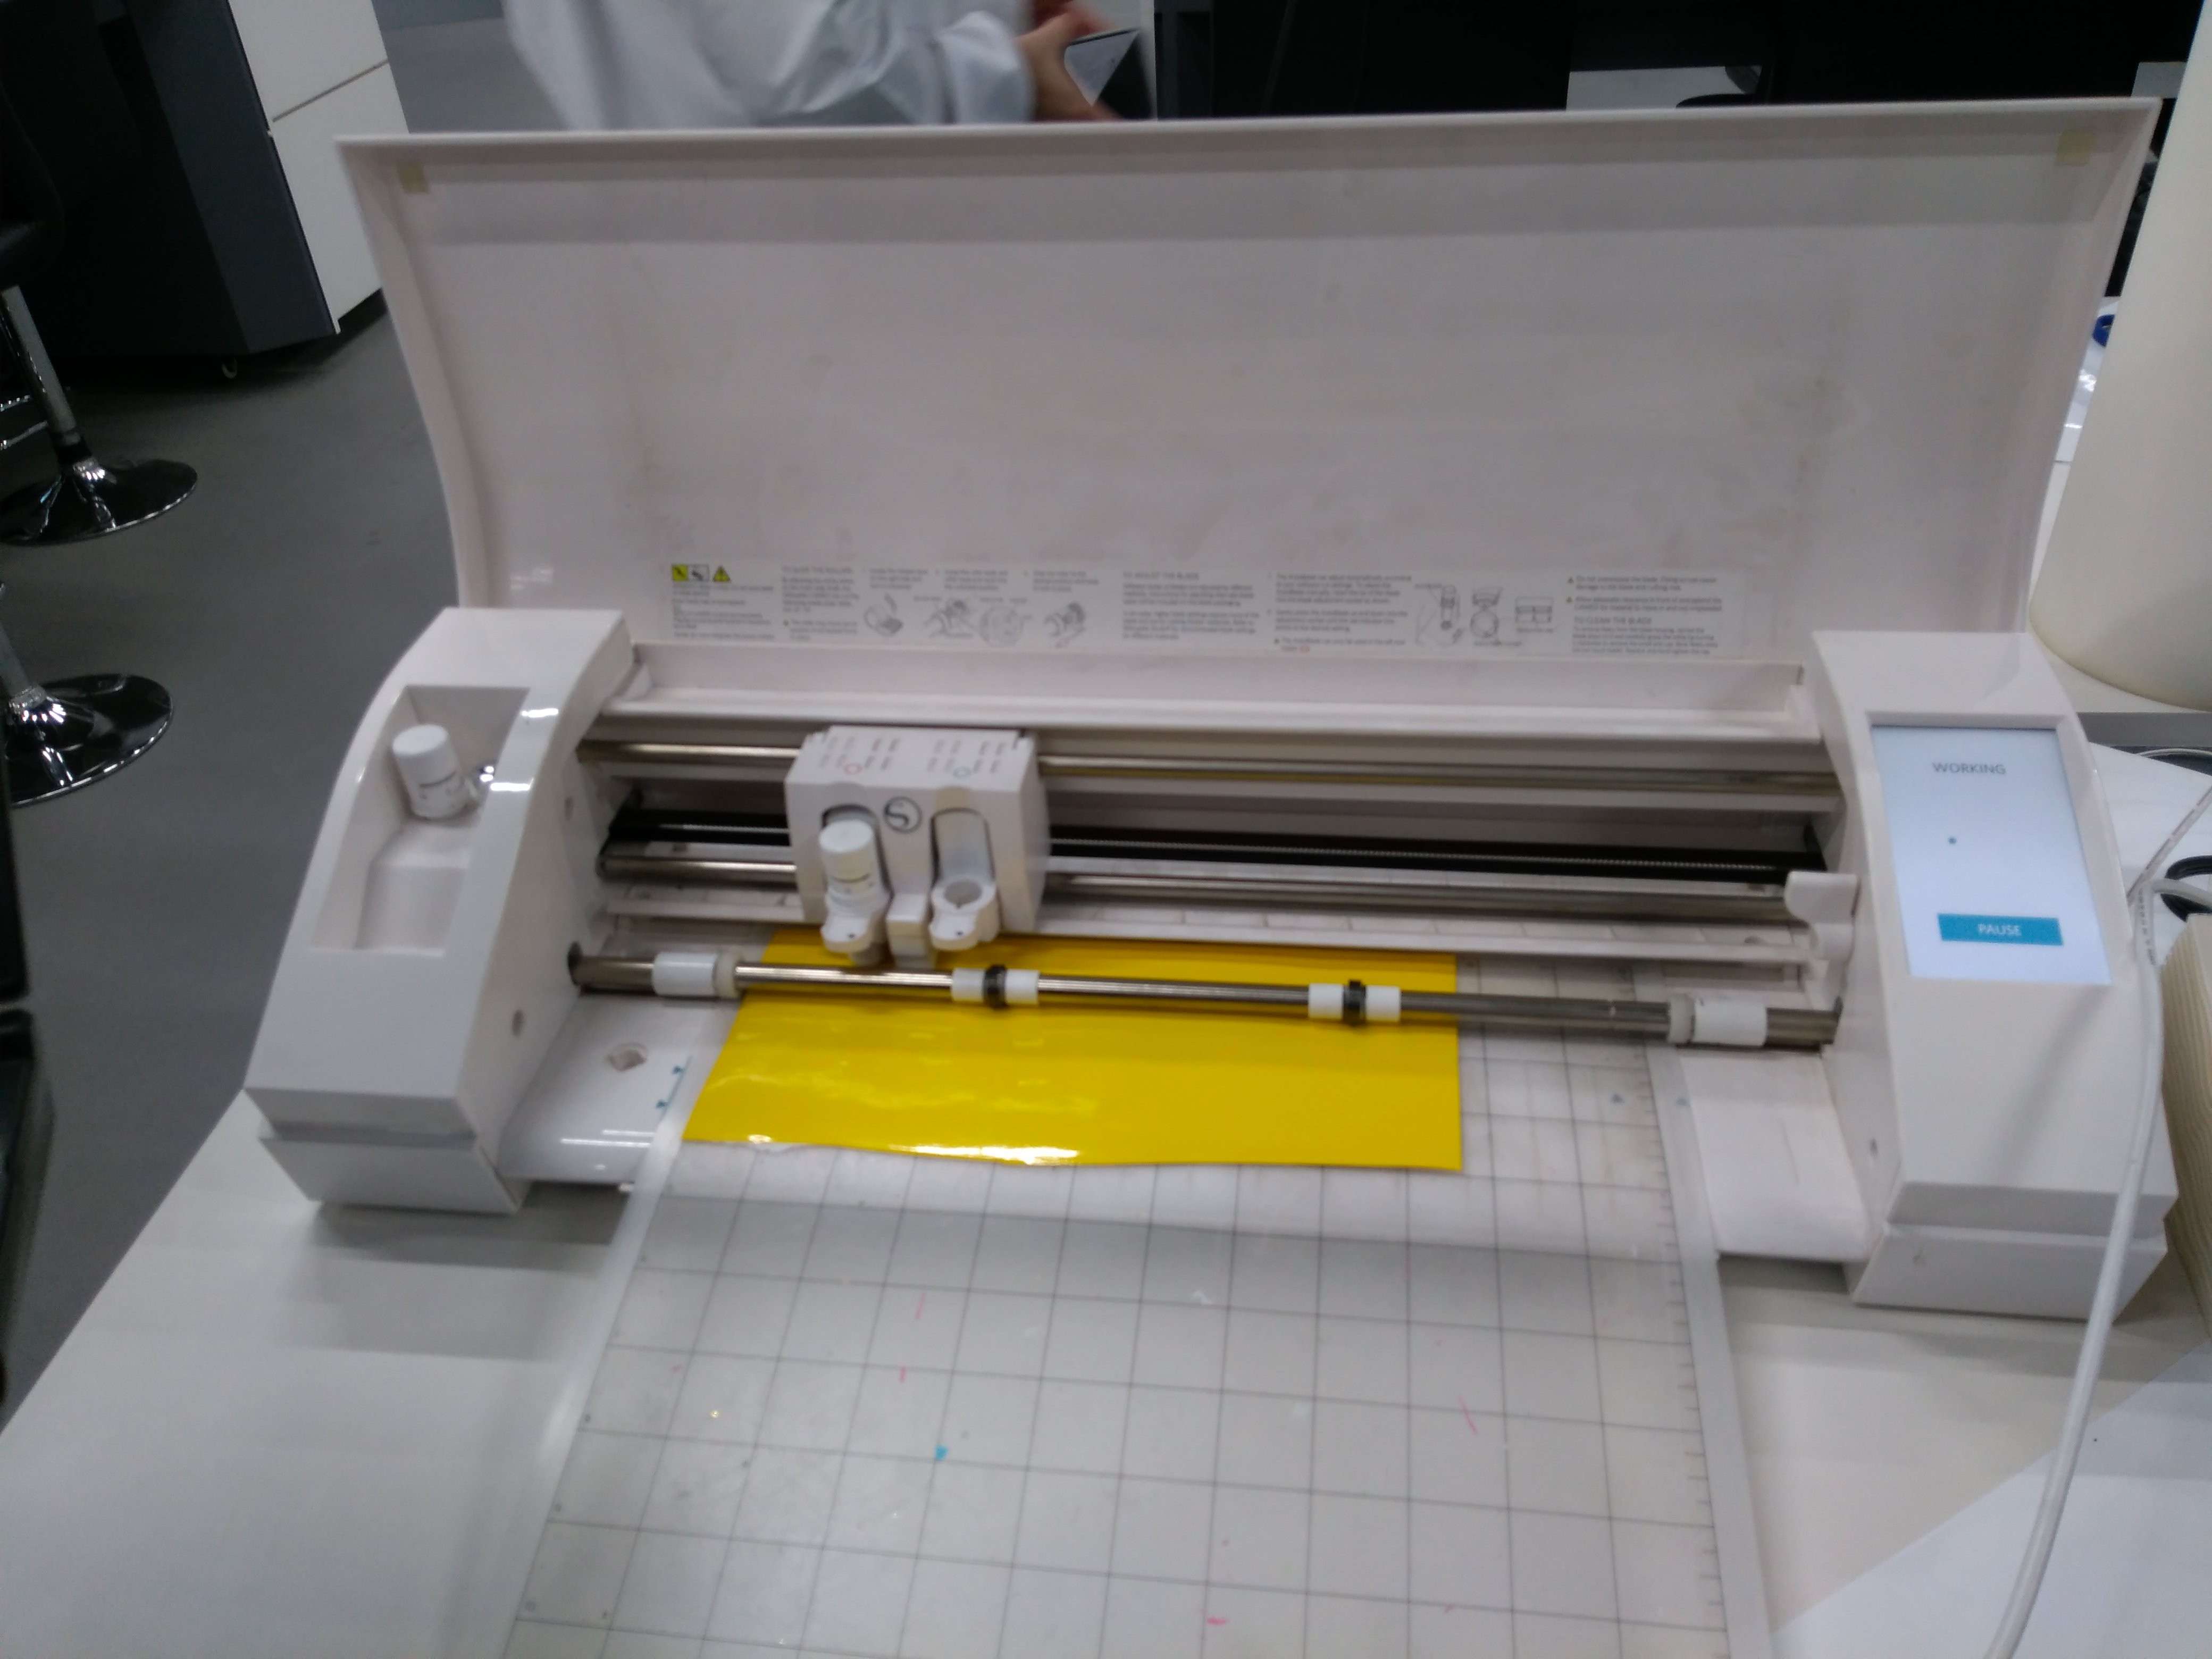
After that, I started cutting:
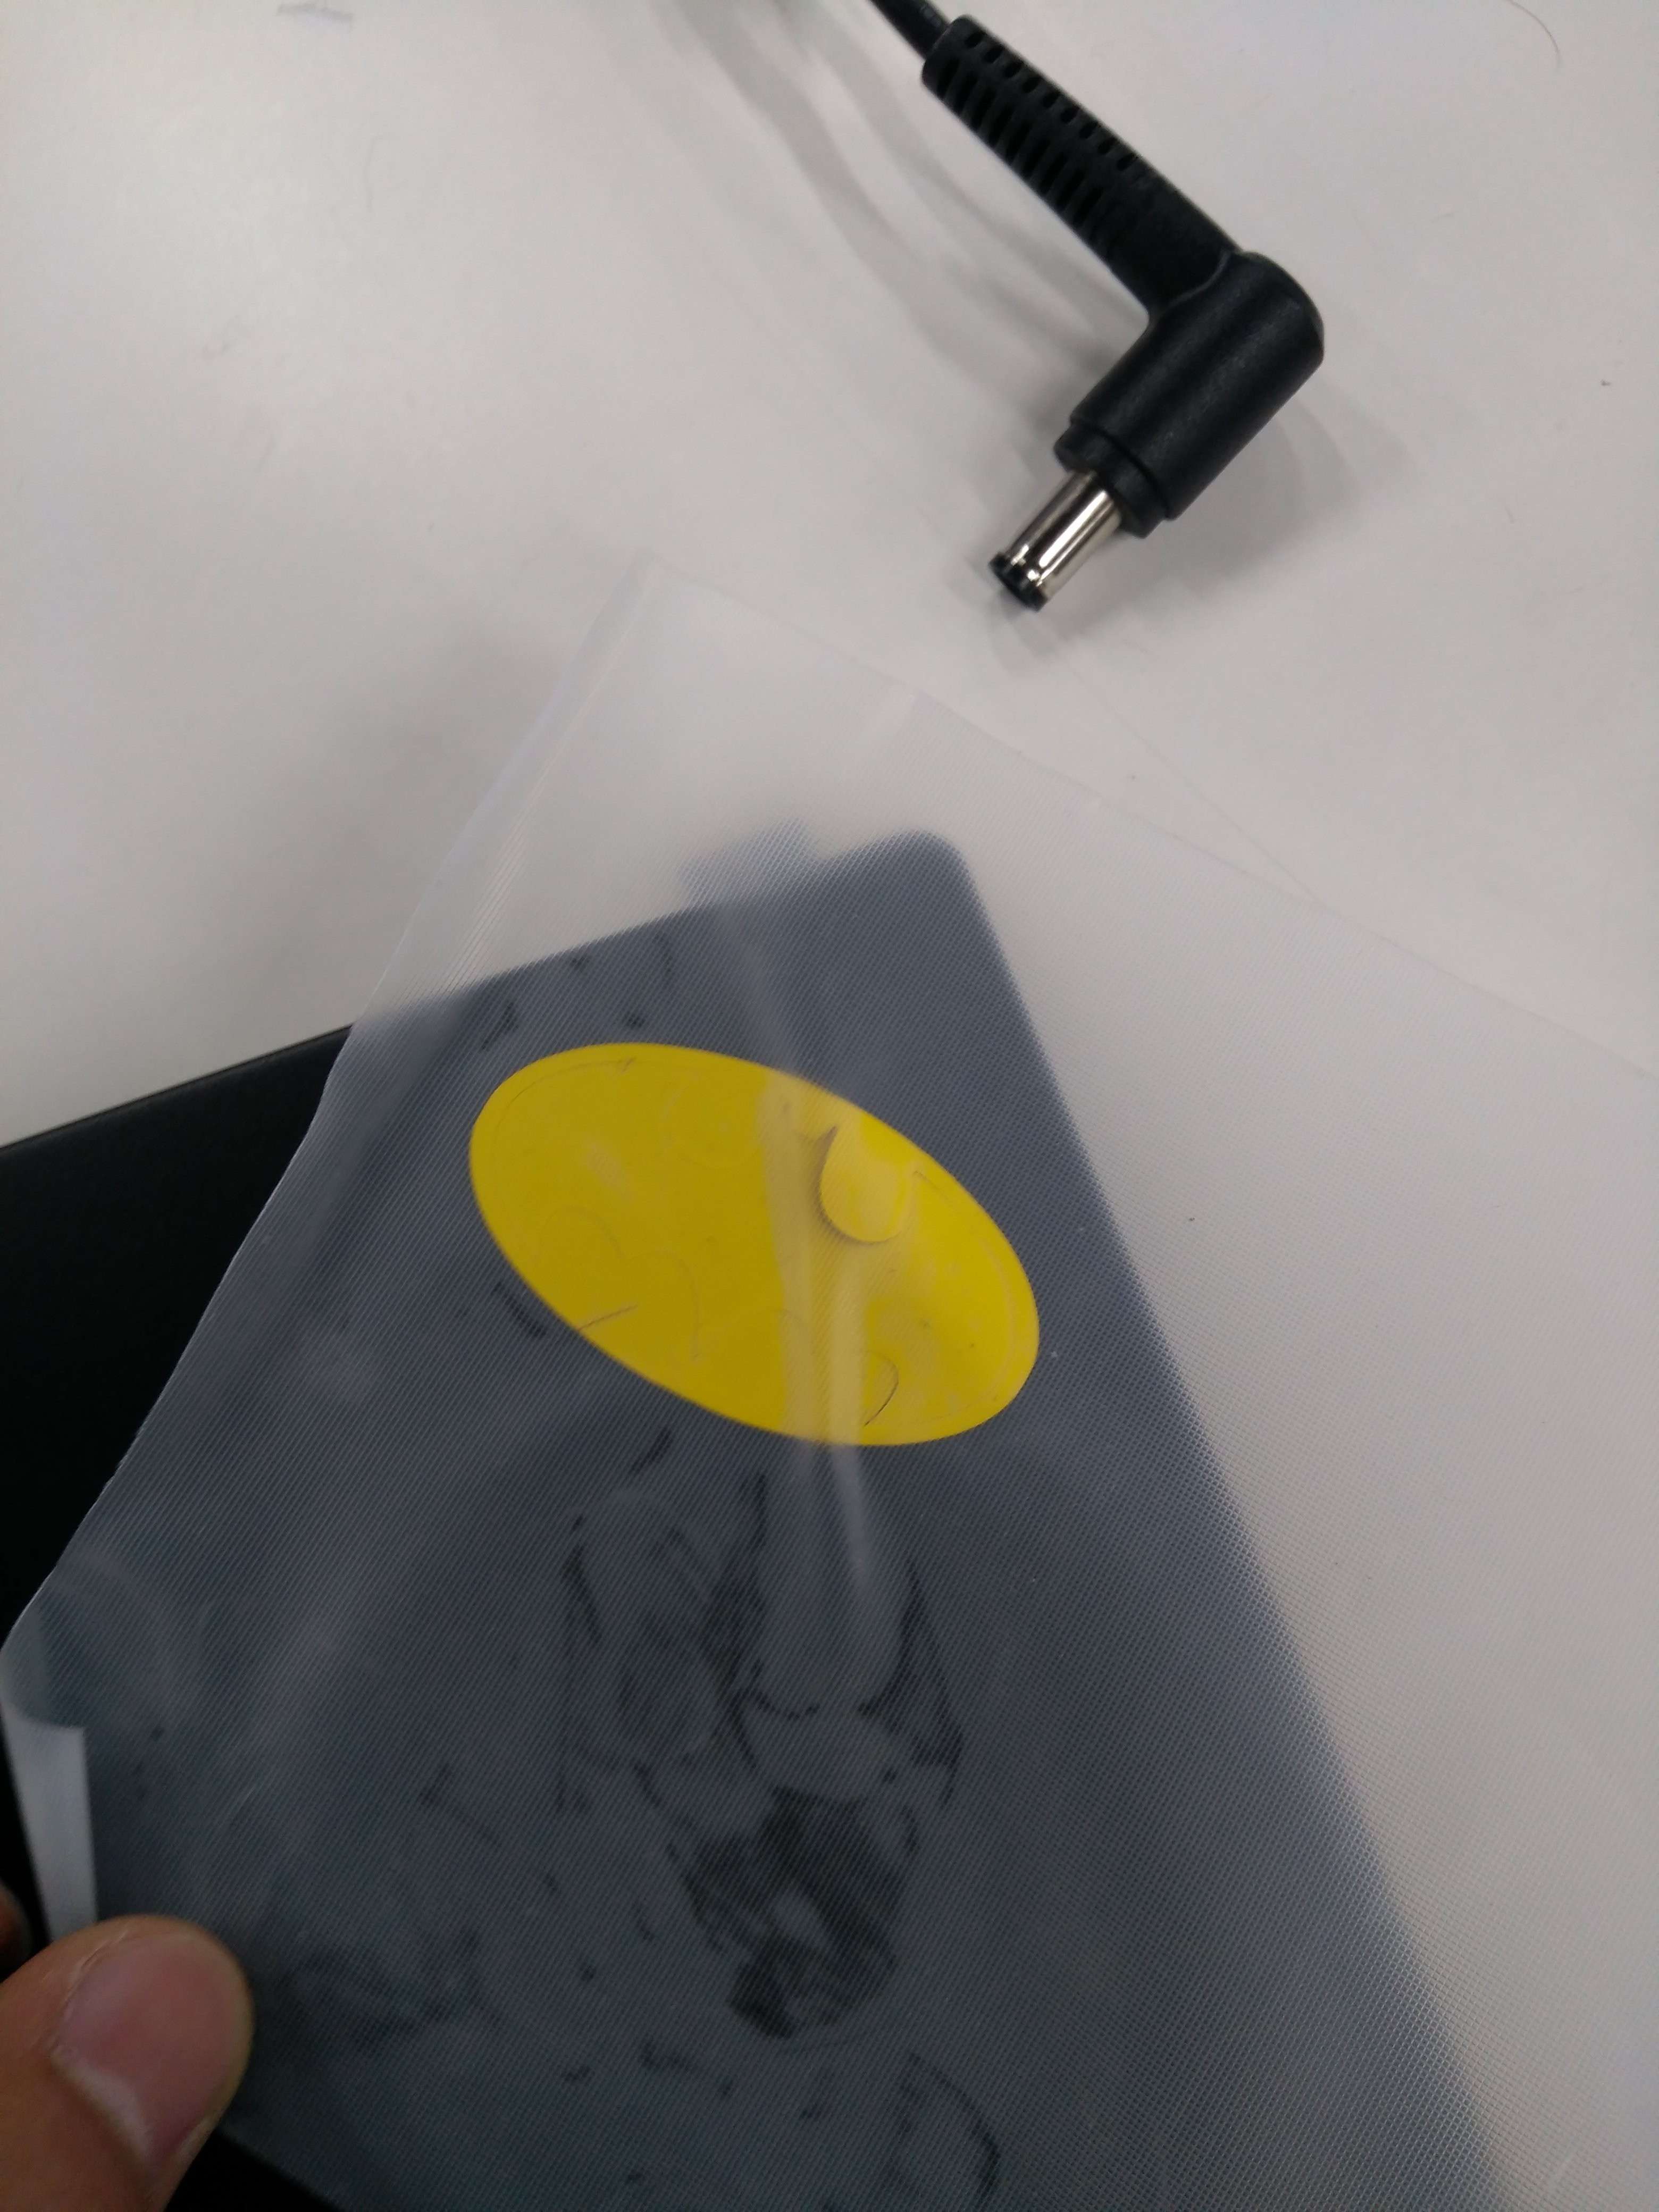
After the cutting finished, I needed to transfer the logo onto my laptop, so I used sticky paper, where I sticked the sticker and put it on my laptop afterwards.
Laser Cutting
Kerf measurement
What is Kerf?
Kerf is how much the laser cutter burns more than what was programmed to.
How can we mesure kerf?
It can be simply measured by cutting a piece with known dimensions, where the kerf would be the difference between the designed cut and the actual cut.
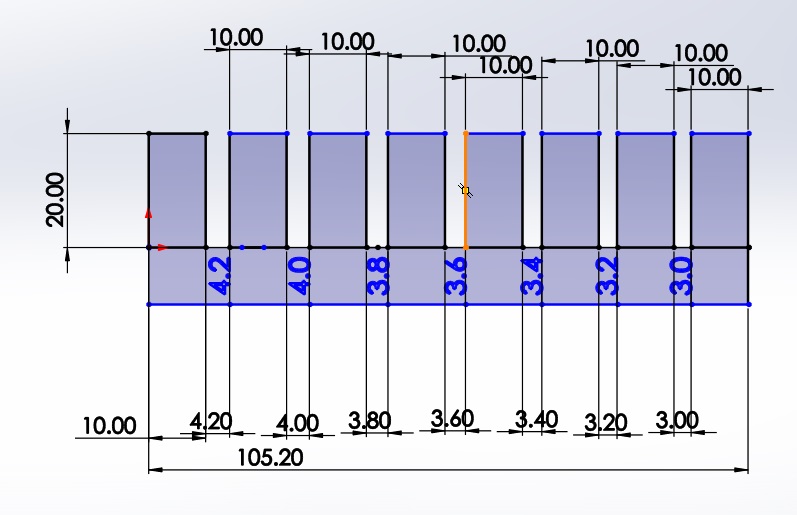
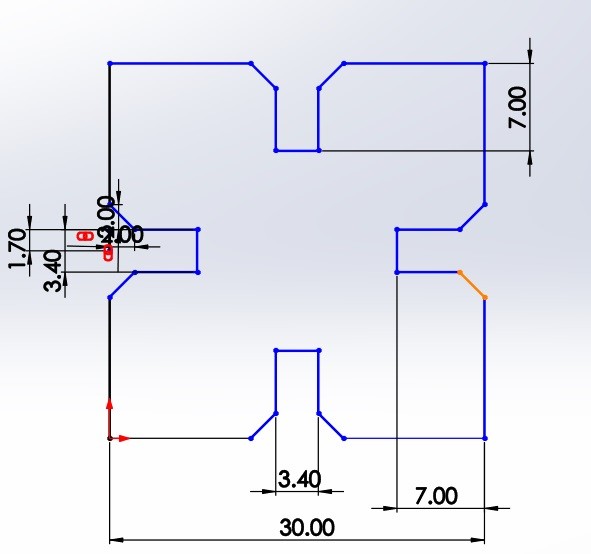
In this weeks's assignment, we had to measure the kerf for our laser cutting machine. Therefore, we designed the following file using Solidworks to be cut in cardboard.
After that, we saved the file into a dxf format so that we can use it on the software for the laser cutter.
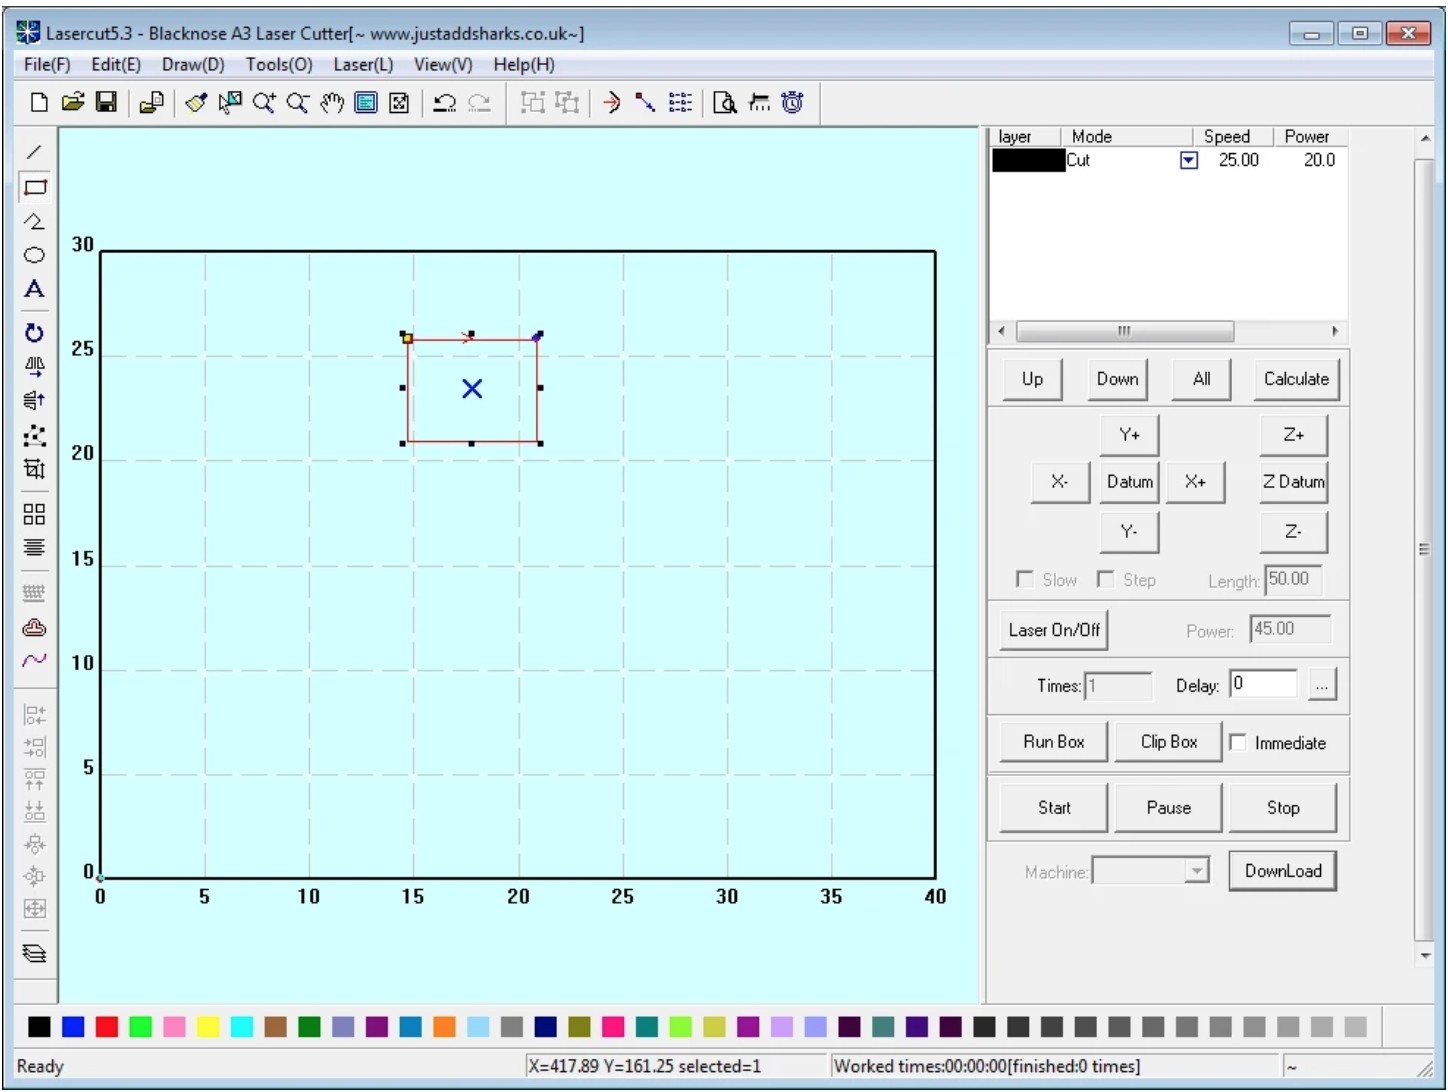
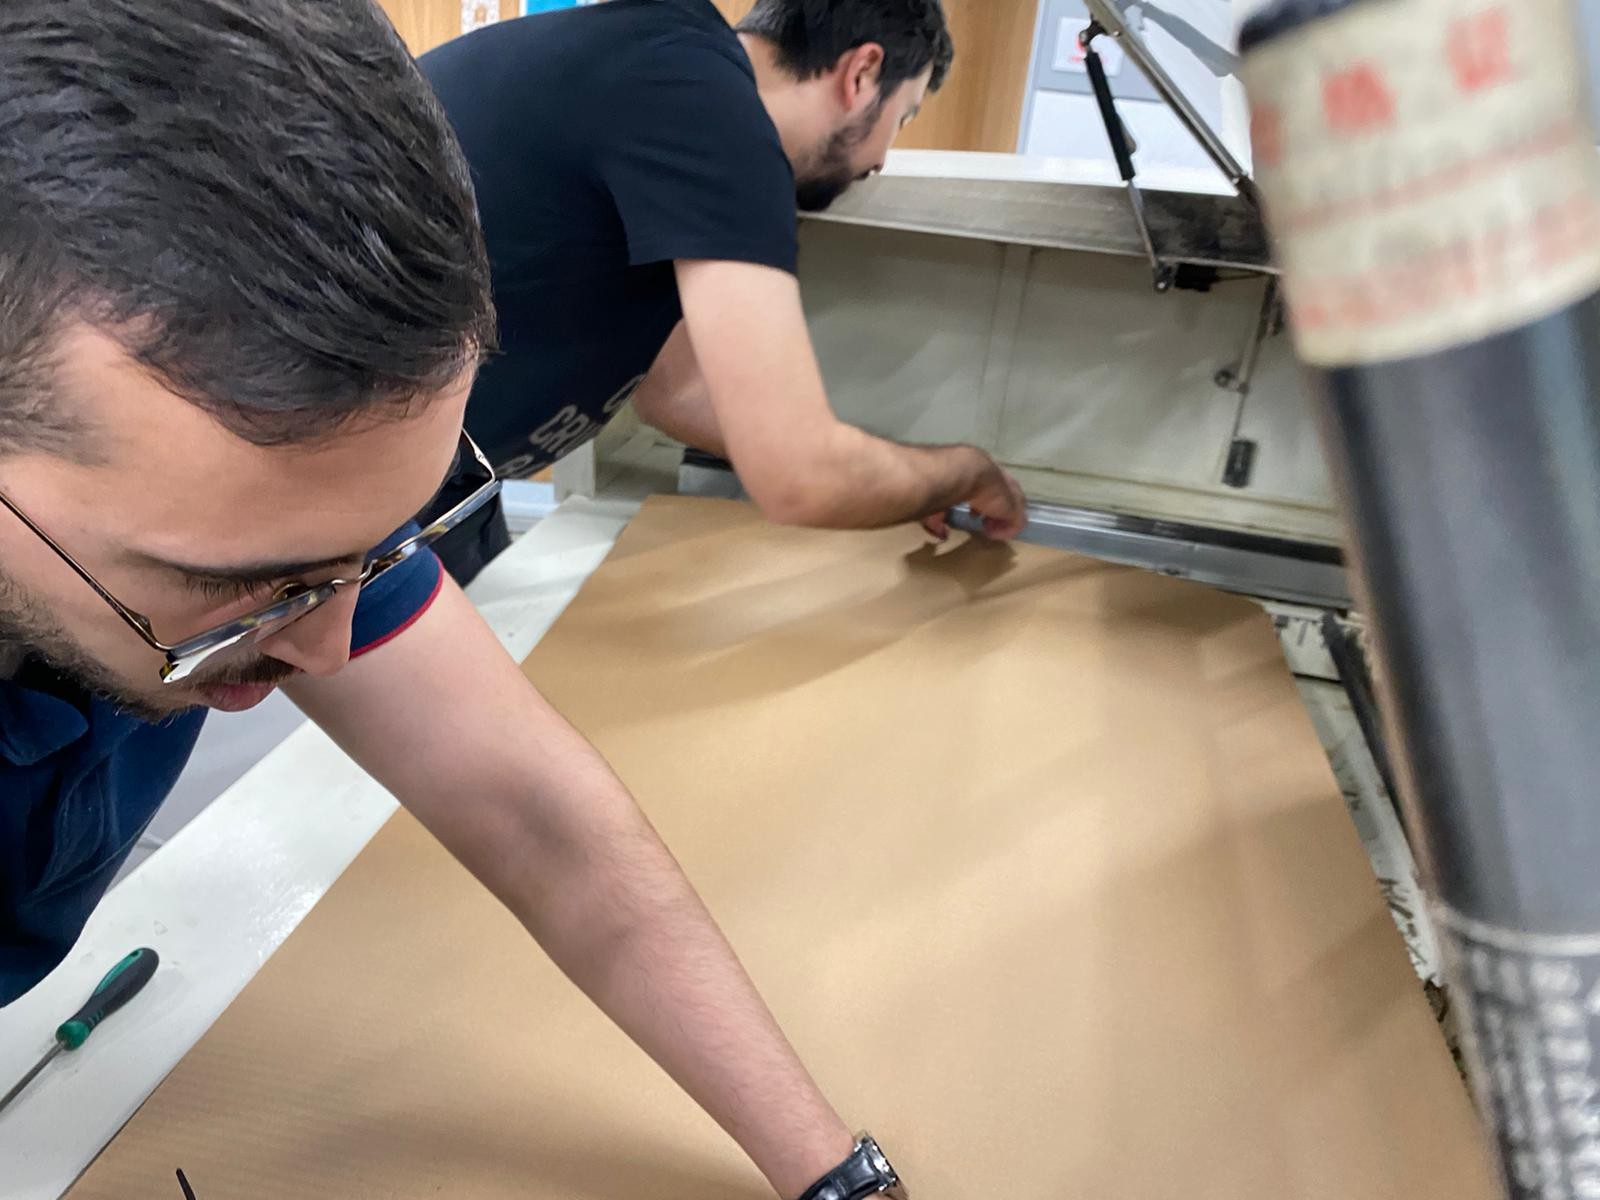
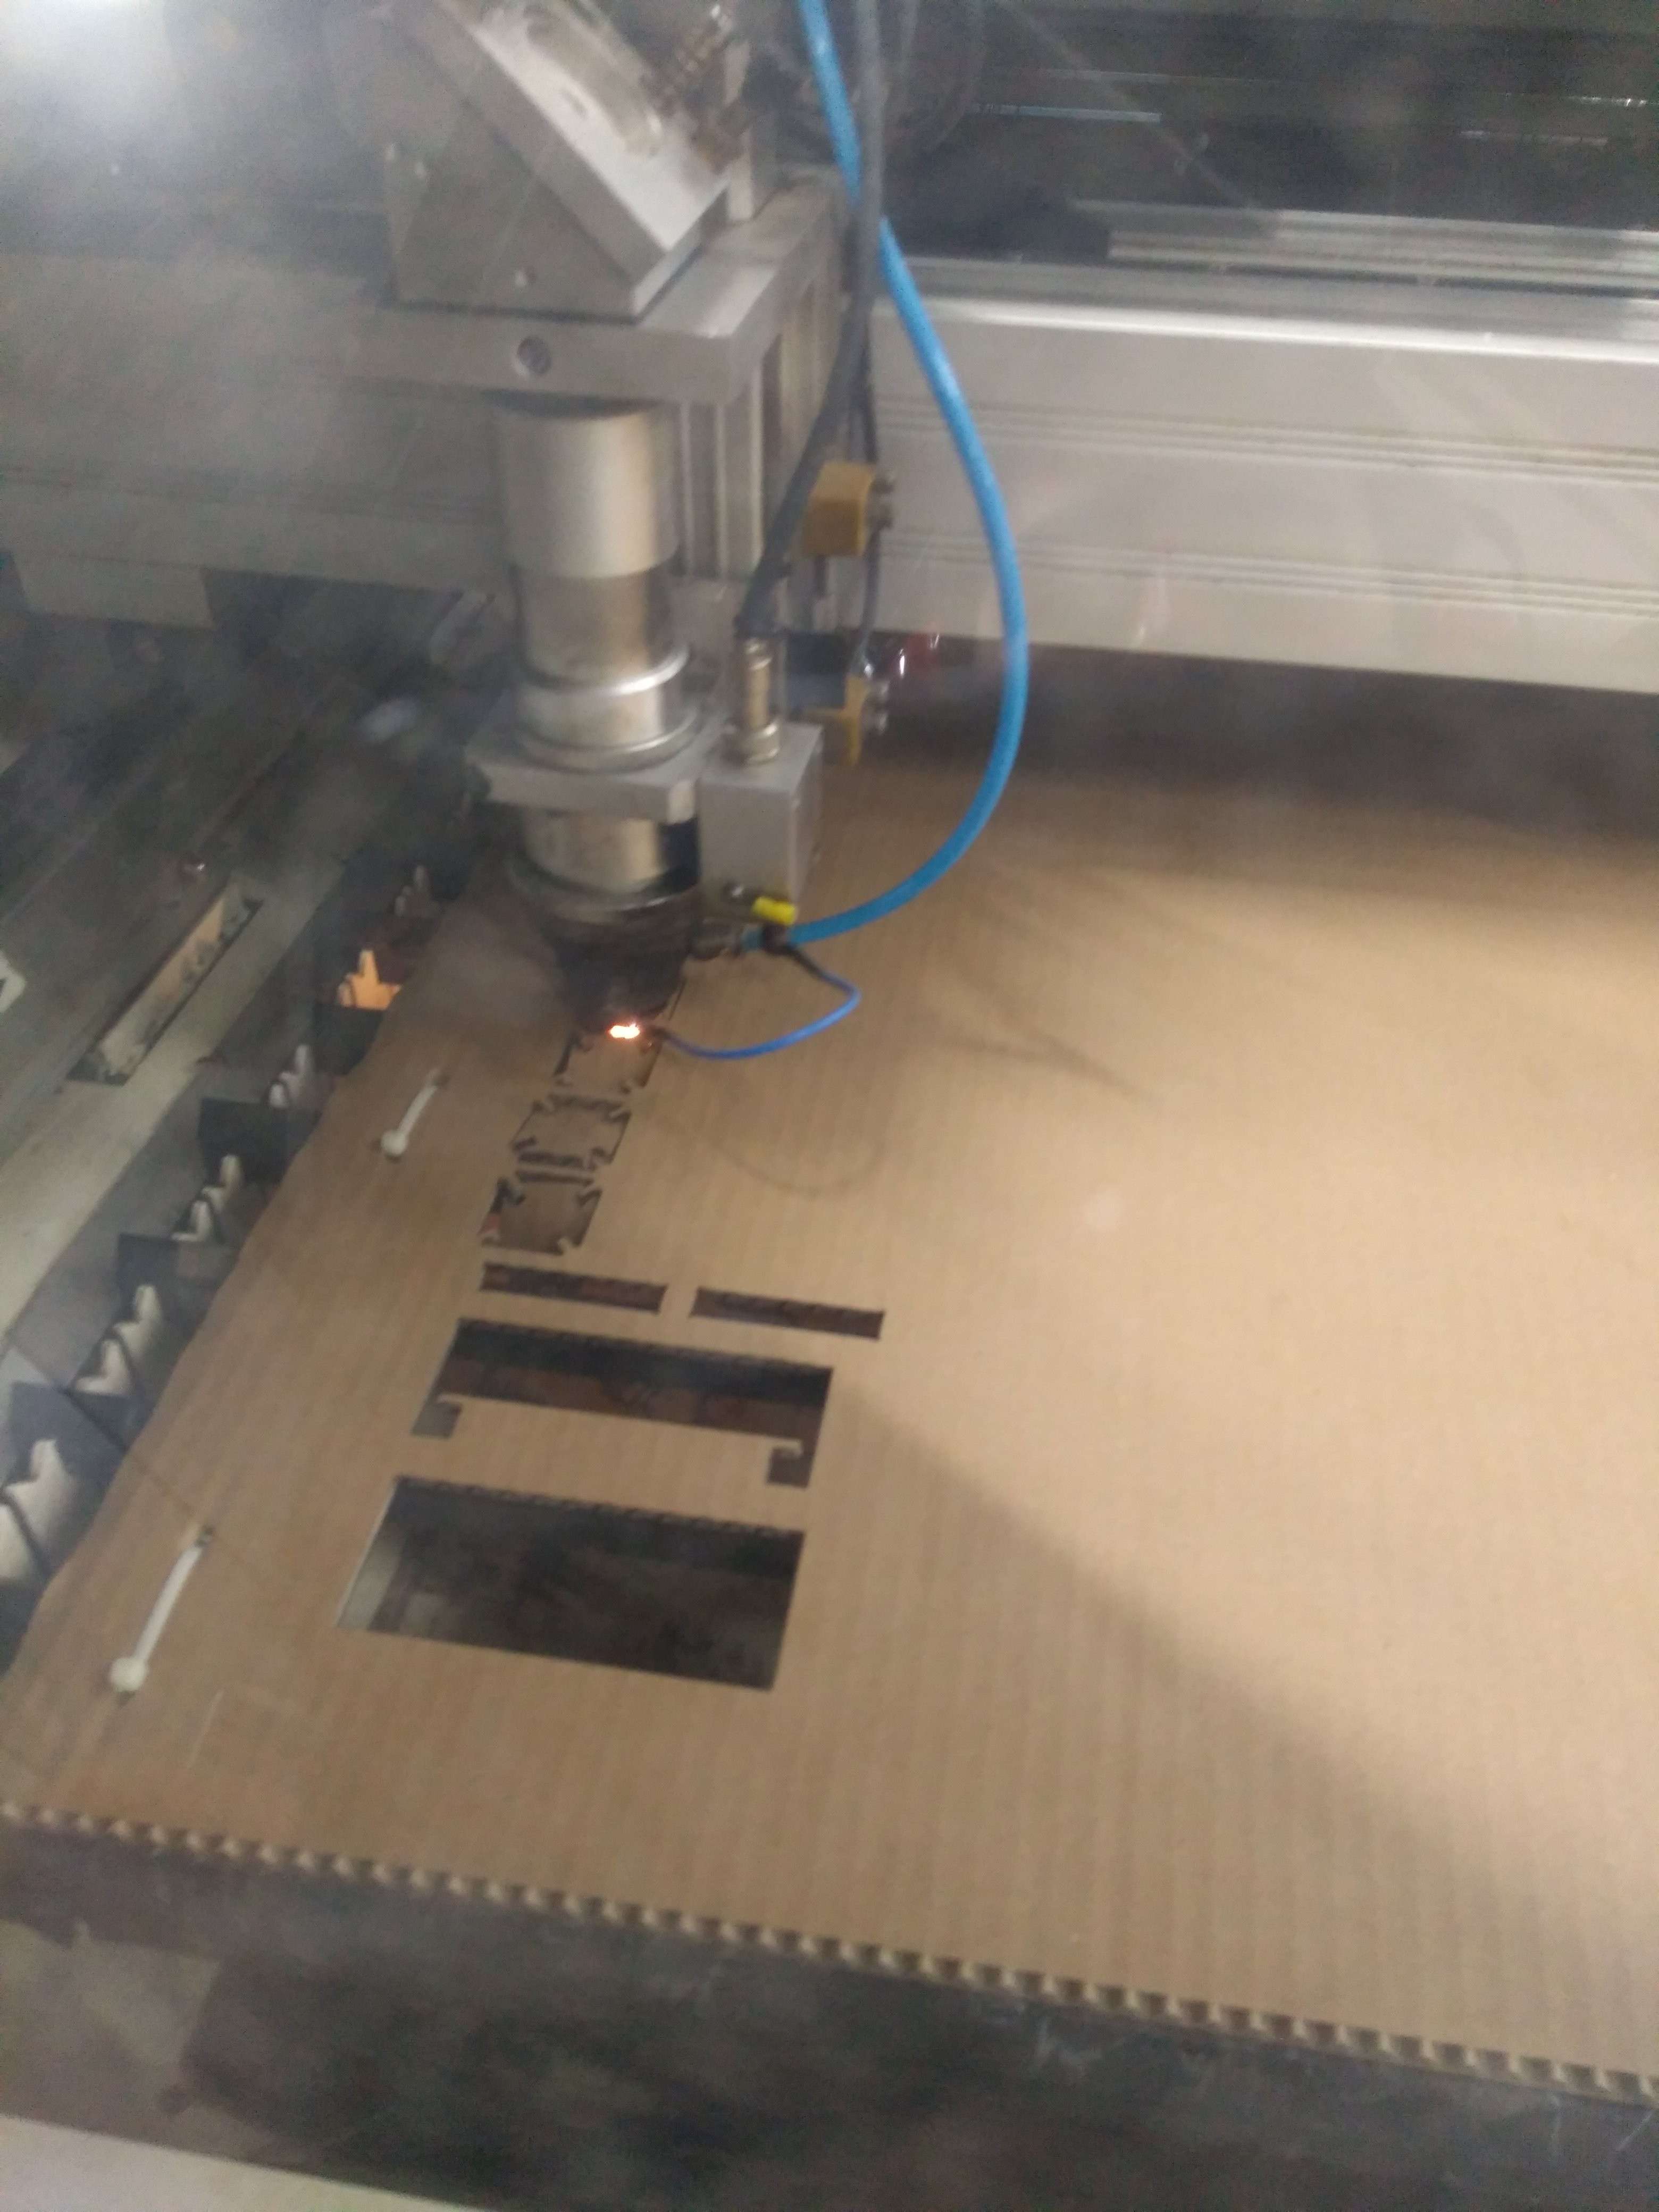
In order to operate the machine correctly, there are multiple steps to be done. First, make sure that the ventilation is on.
Second, make sure that the bed is in place, without any arching or flexing.
Third, In order to make sure that the area to be cut is well placed earlier in the software, make sure to run the "test" function on the machine where it goes on the edges of the area to be cut.
Once everything is in place and double checked, check for the nearest fire extinguisher, and make sure to know how to operate it in case of an emergency. Only then you may start cutting while keeping the laser cutter in sight AT ALL TIMES in case of any emergency.
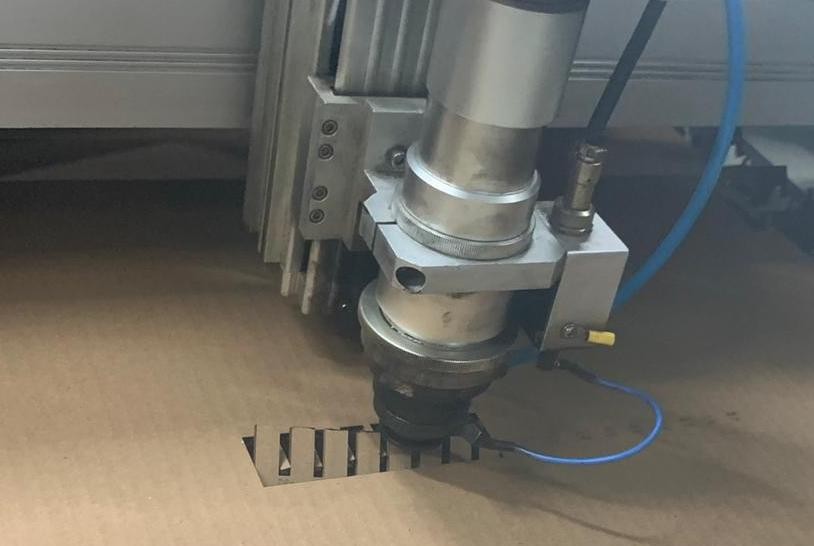
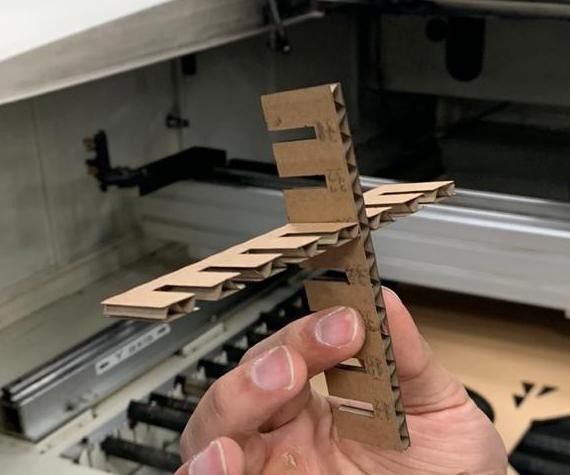
After everything finished, we tested the fit between the two pieces, and calculated the kerf by the following (kerf = thickness of the material - "cut gap")
4.2mm - 3.4mm = 0.8mm
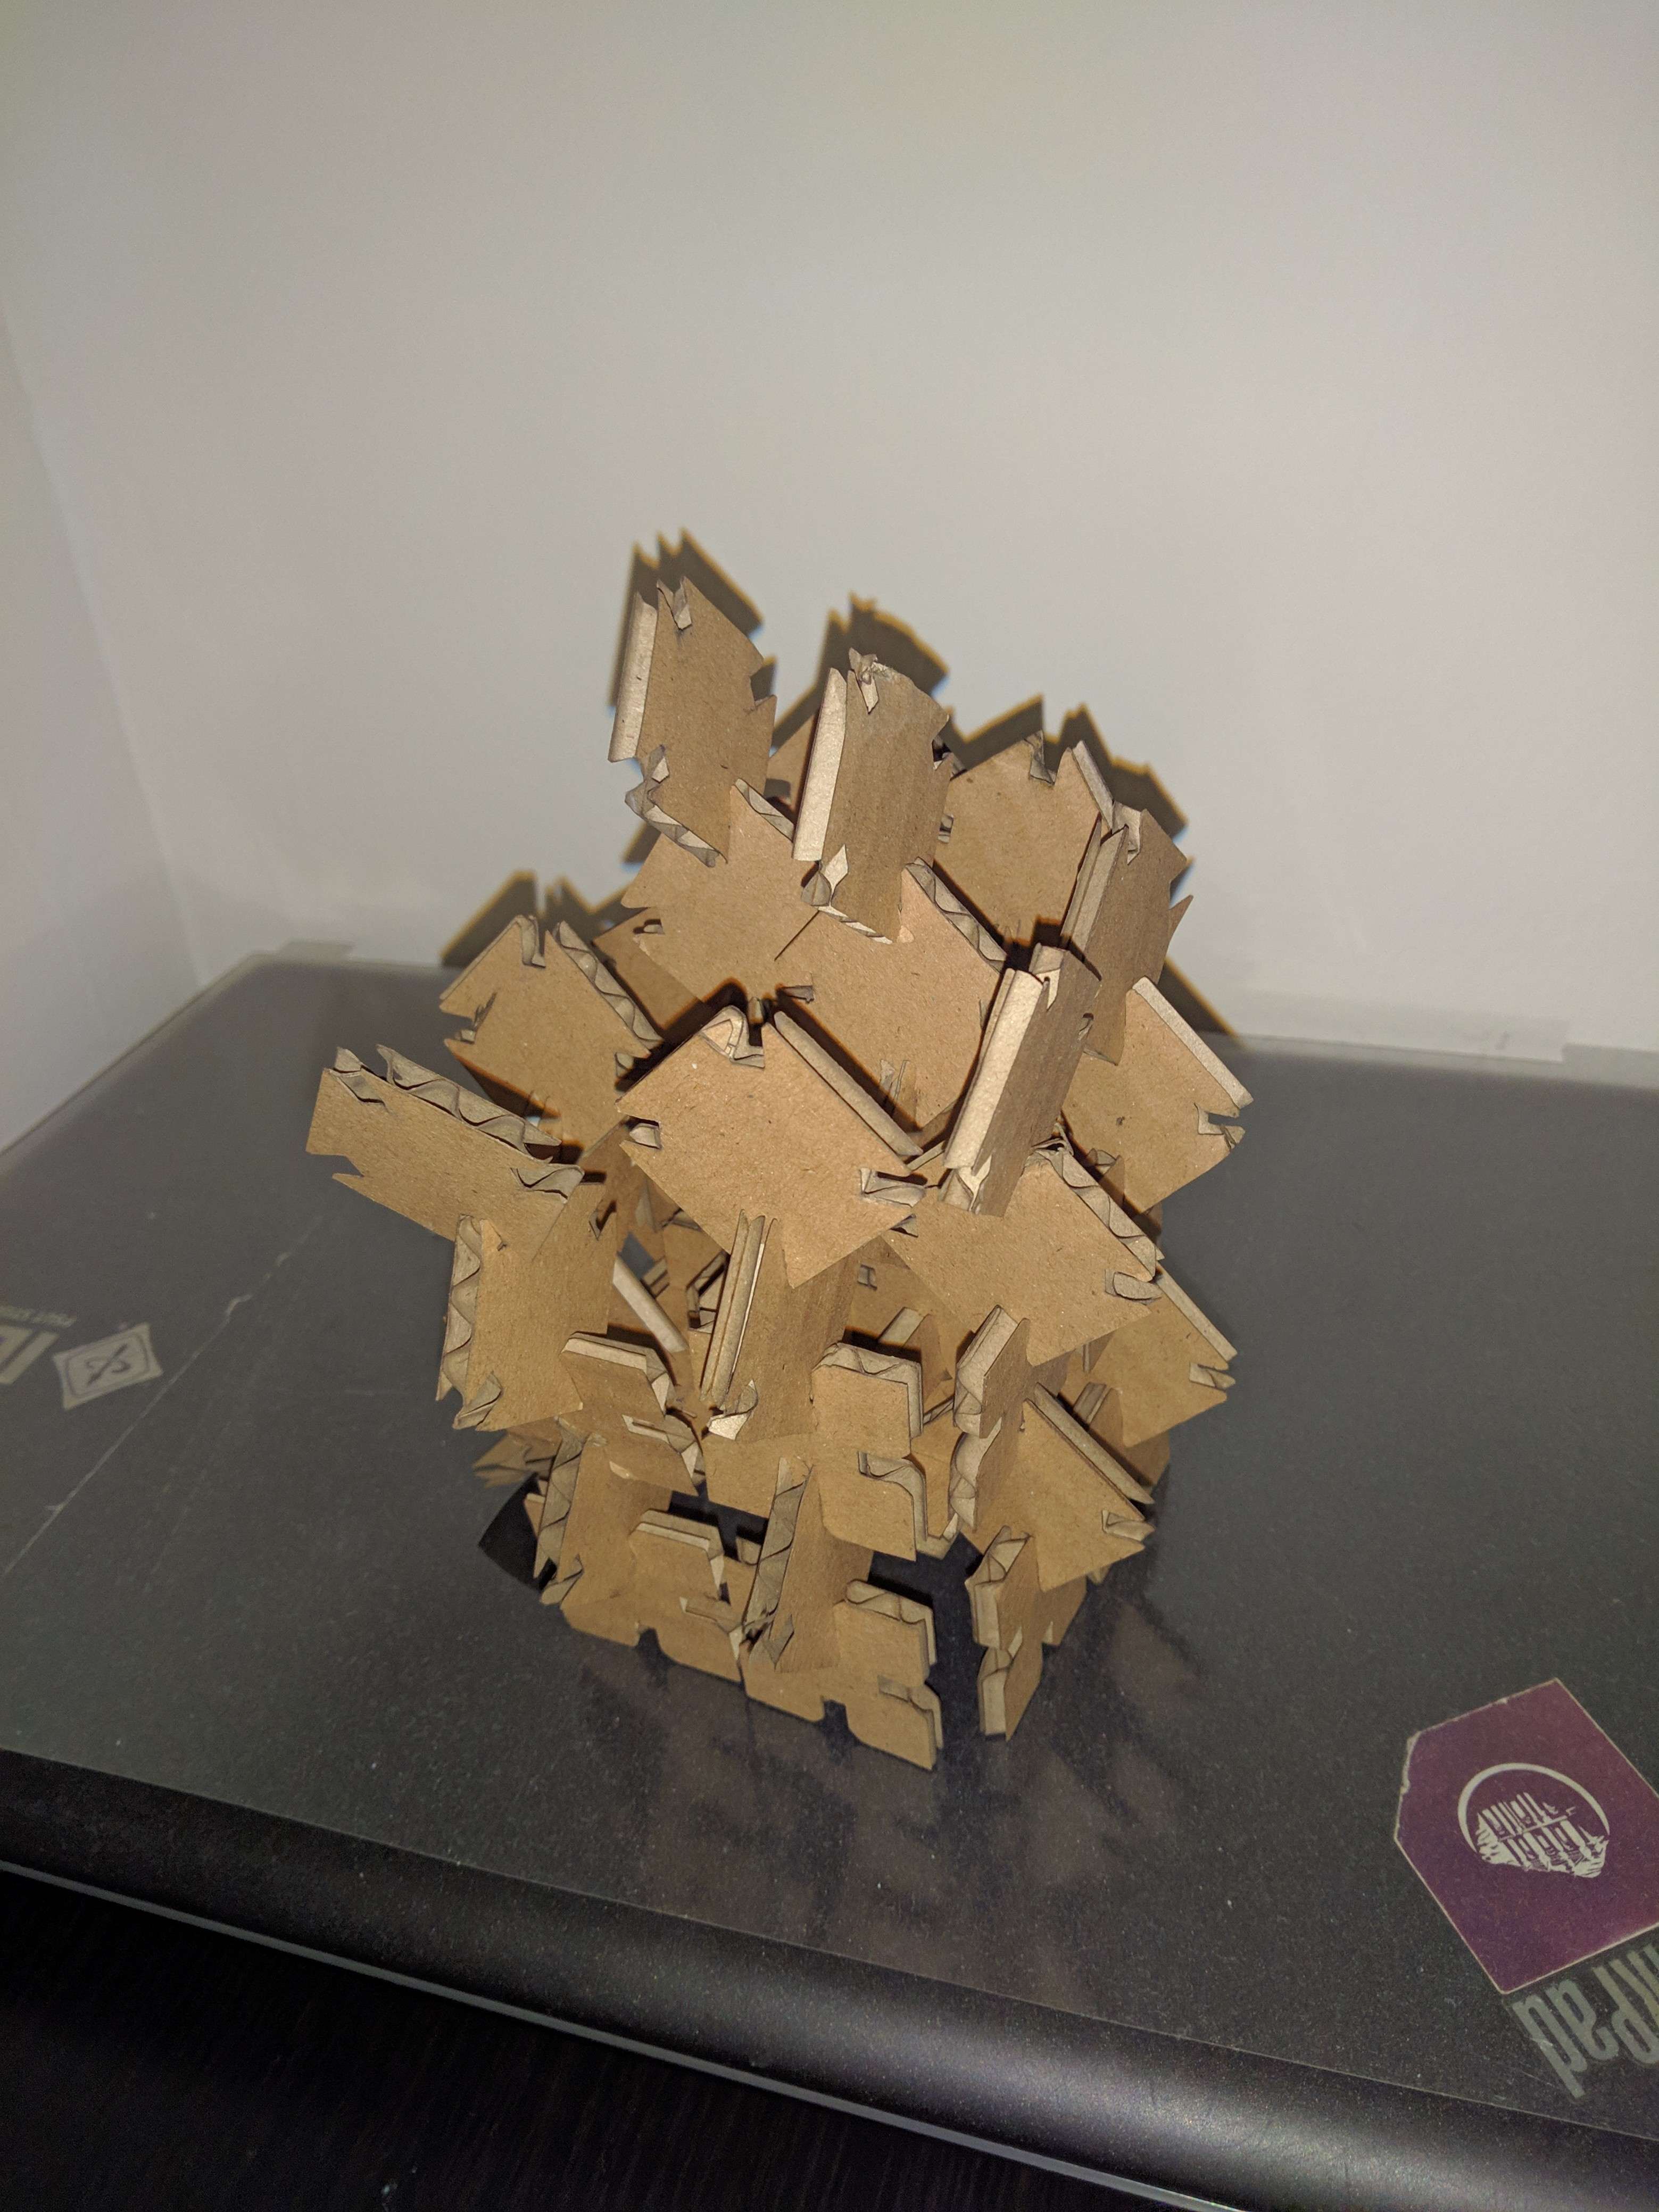
Making a constructions kit
Now that we have measured the kerf of the machine when cutting cardboard, we can design while taking into consideration the kerf.I have always liked constructions kits, I still own one that I got as a gift 18 years ago :)
I have designed two pieces that can fit into each other on Solidworks.
Here is the first one:

And here is the second one:
I did the previous steps that we did for measuring the kerf, and proceeded to print it.
The printing process:
The final product: