3D Modeling
But why?
Well, 3D modeling is essential to most people, it allows them to visualize, edit, and share their ideas with a better representation. It is easy and saves time in prototyping.How to start?
Step 1:
Download and install any CAM software, whichever you prefer. I will use Solidworks for this tutorial as I found it easy to use and has some neat shortcuts.Step 2:
Create a new design (File - New - Part)Step 3:
Now the modeling actually begins. At first, You have to decide where to start sketching. Since I wanted to draw a shisha, which is symmetrical around itself, I can sketch half of the side view, and revolve it around itself.Step 4:
On the top right, click on sketch to start drawing. Note that it is best practice to start the sketch at the origin point.
Step 5:
You can use the tools from the toolbar to help you sketch whatever you want. Just click on it and immedietly draw the desired shape.Step 6:
Note that for everything in the sketch has to be "Fully defined", especially if the sketch is for a part to be manufactured. To define a relation, hold shift and choose two Lines/Curves and select a relation from the left to be added between them. Another way of defining a relation is by using the smart dimension tool to determine the length of a line and fix it to that value.Step 7:
Now that we have finished drawing the side view (actually half of it). We will revolve the sketch 360 degrees.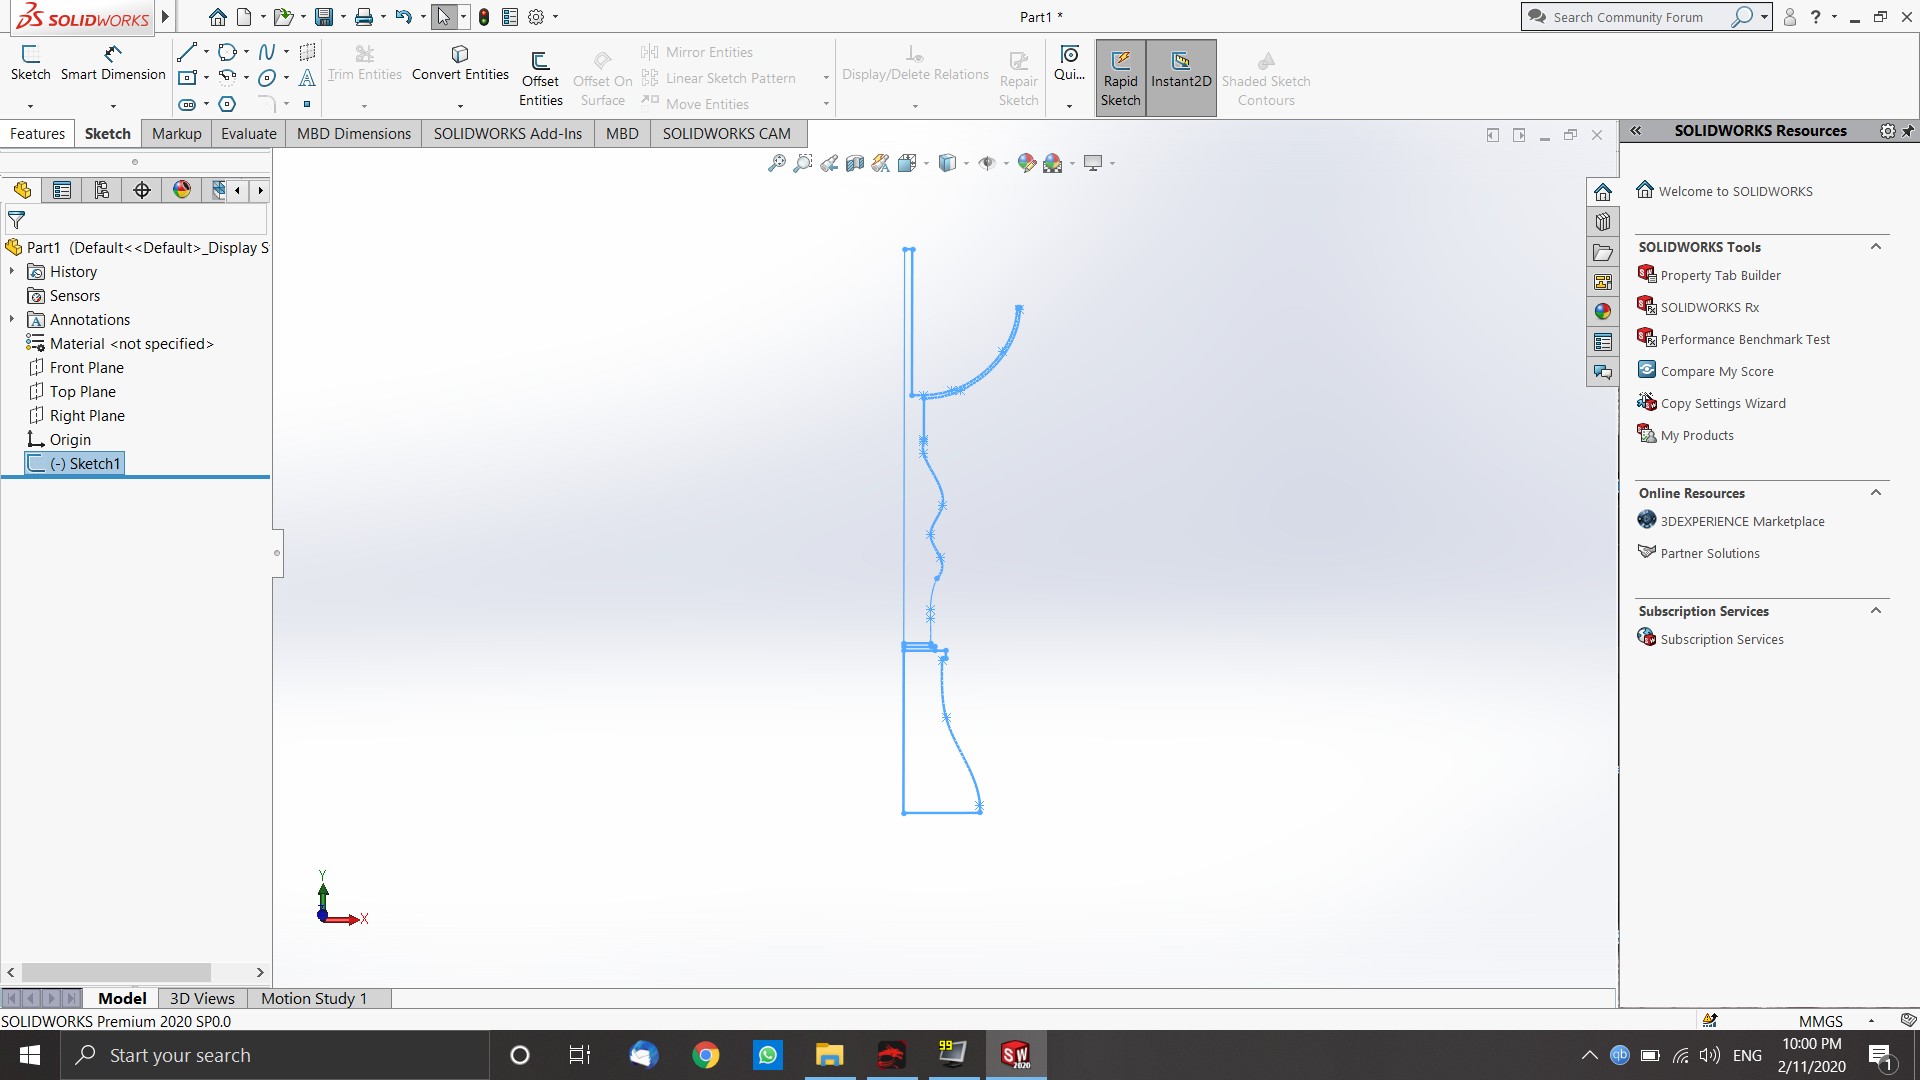
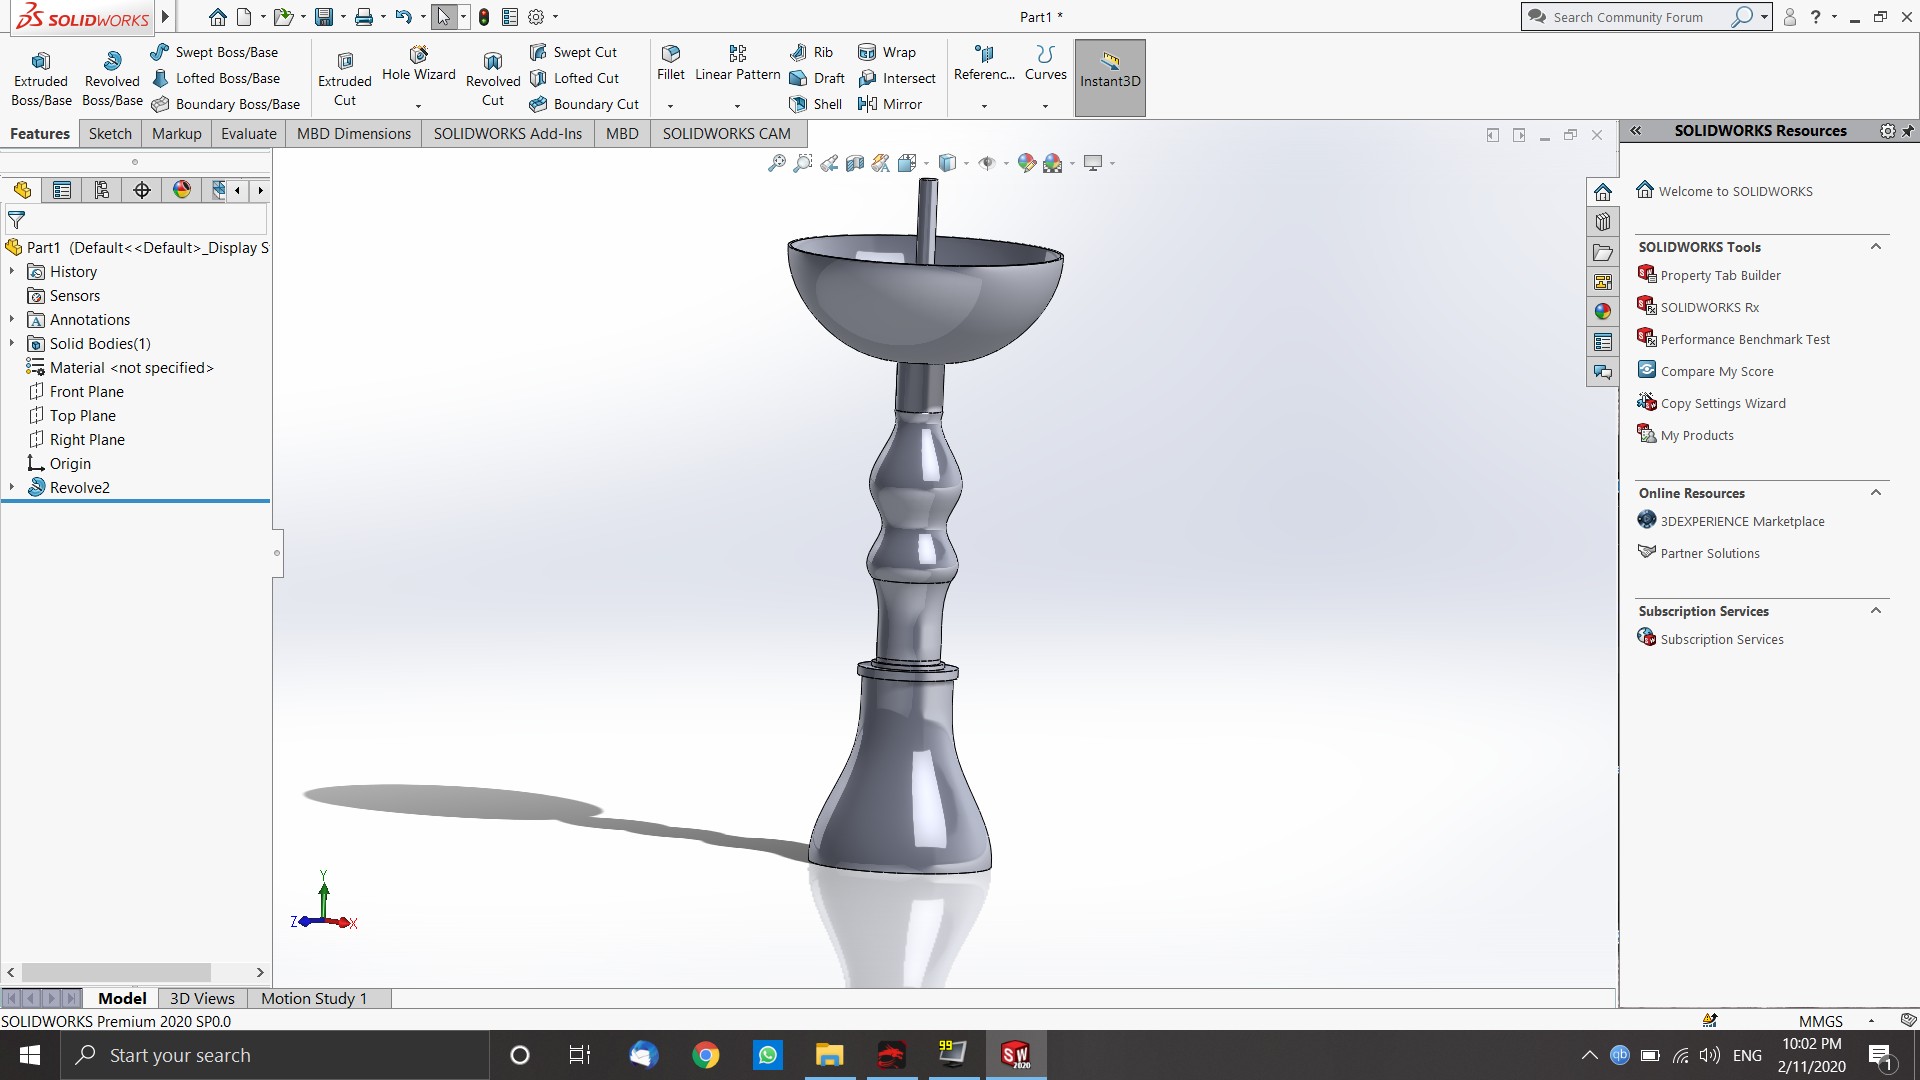
Step 8:
Once we turn the sketch from a 2D to 3D, it will exit the sketching plane, so that we can draw on other planes.Now we will select the plane we want to draw on (in this case, the top of the pipe), and click on sketch from the toolbar.
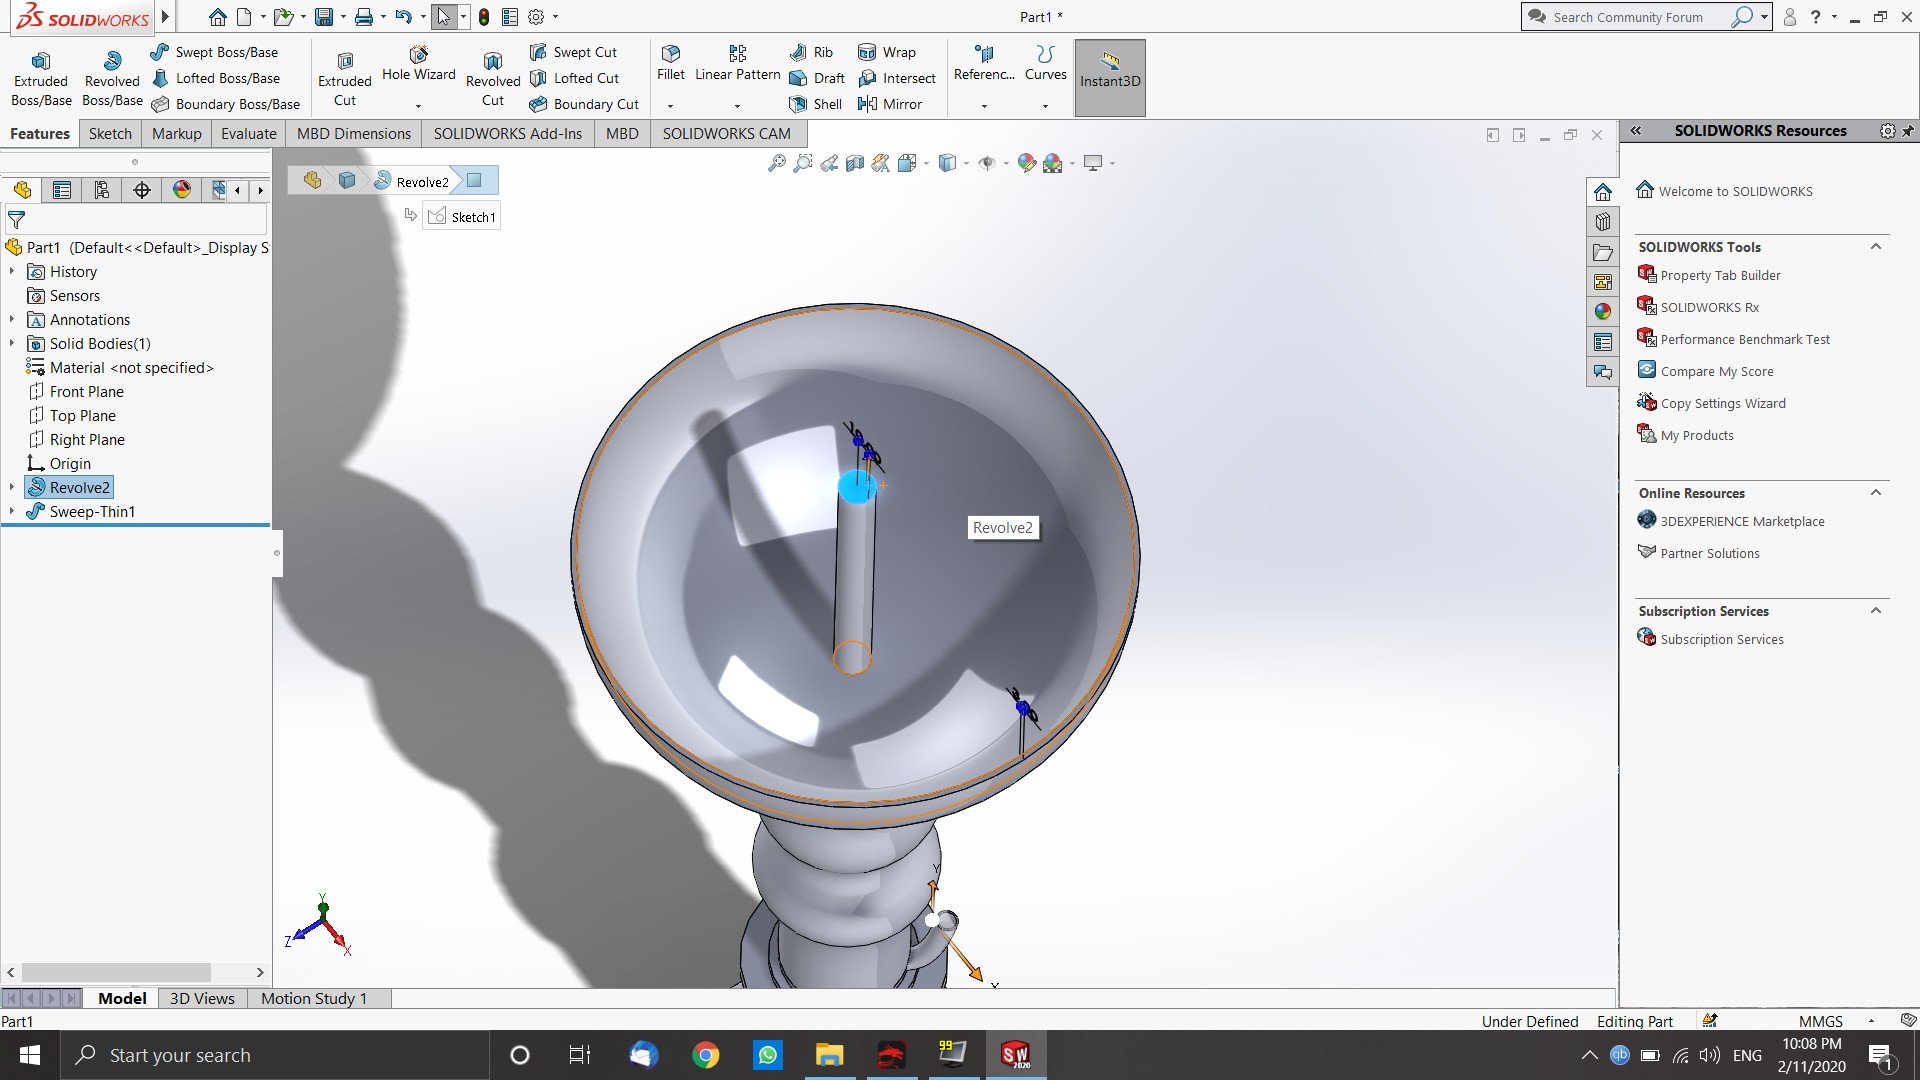
Step 9:
To creat a hole, we will draw a circle, and then choose "Extruded Cut" instead of Revolve.Step 10:
I almost forgot, we need to add a small pipe for the hose, we will do that by selecting "3D sketch" and sketching a curve to resemble its path.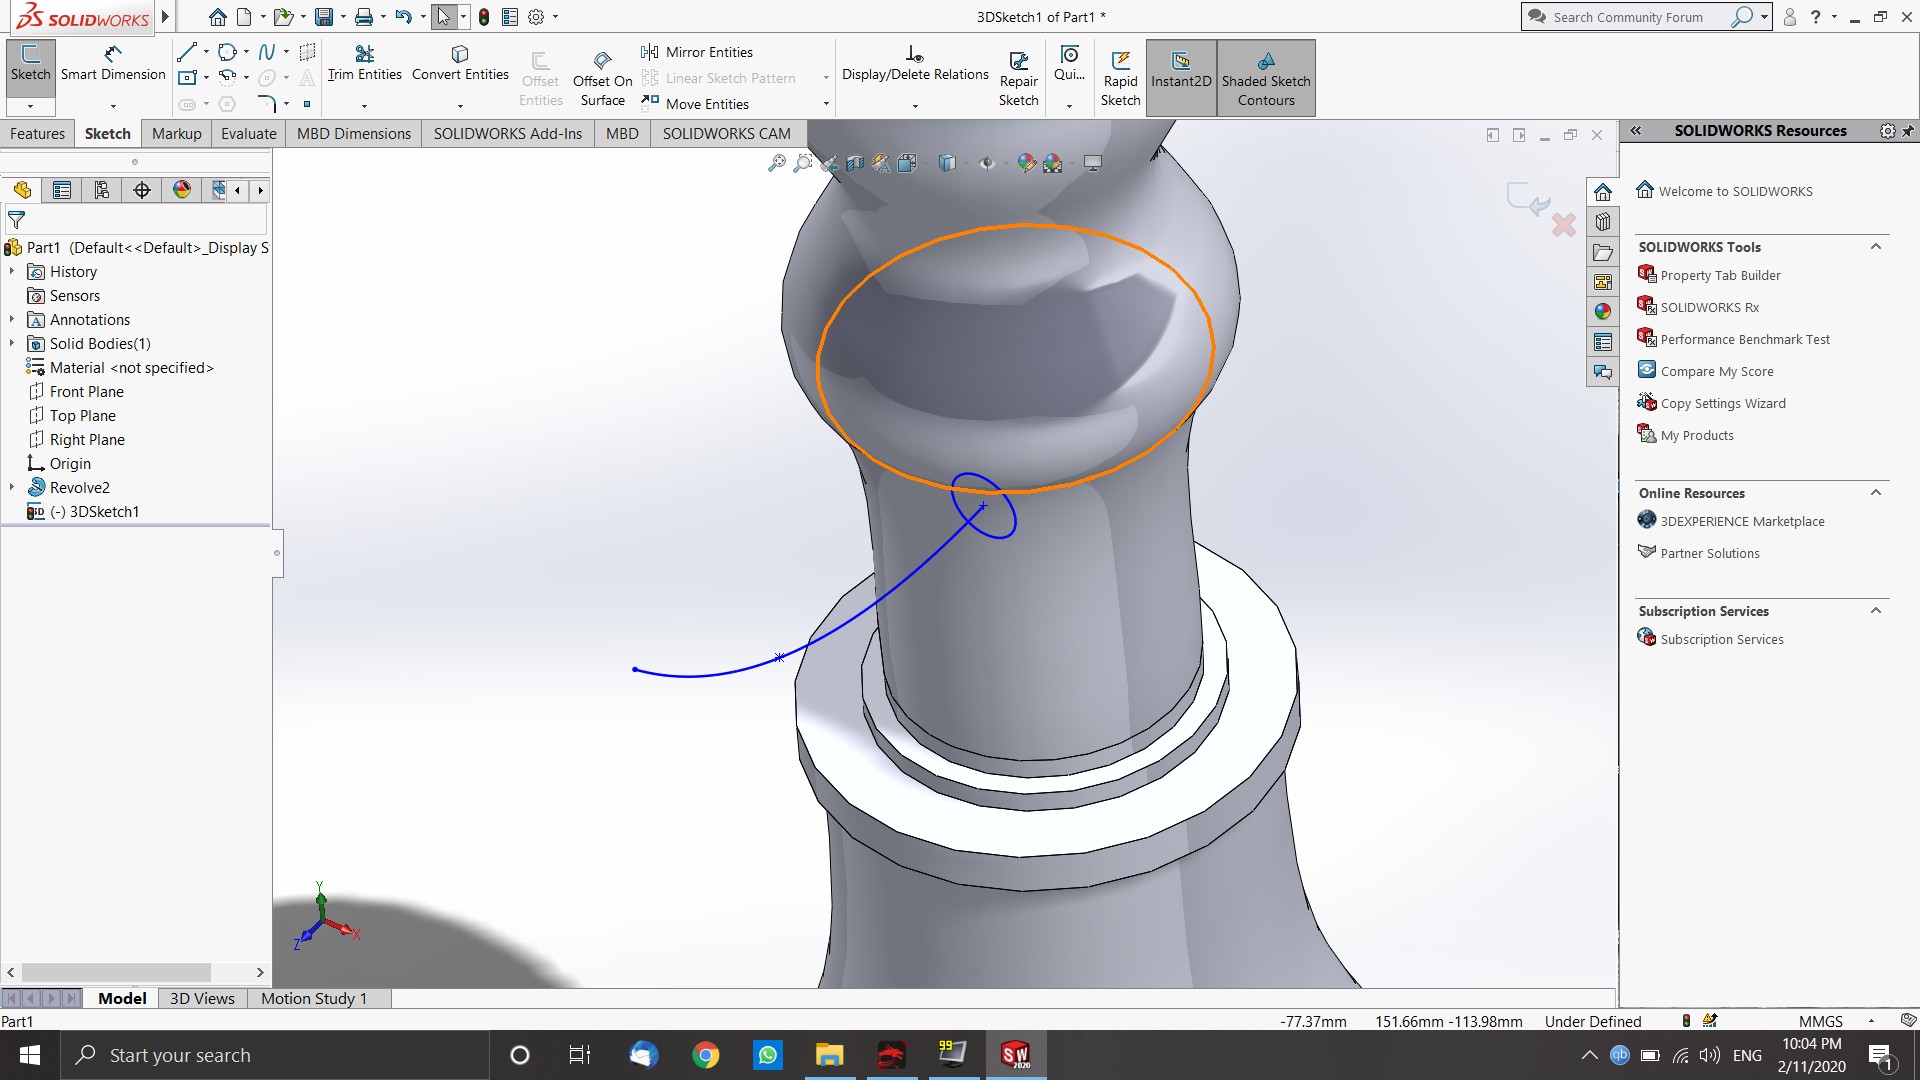
Step 11:
After that, choose "Swept Boss-Base" and choose "circular profile" and place a tick on "thin feature", thin feature allows to create a wall instead of a solid extrusion.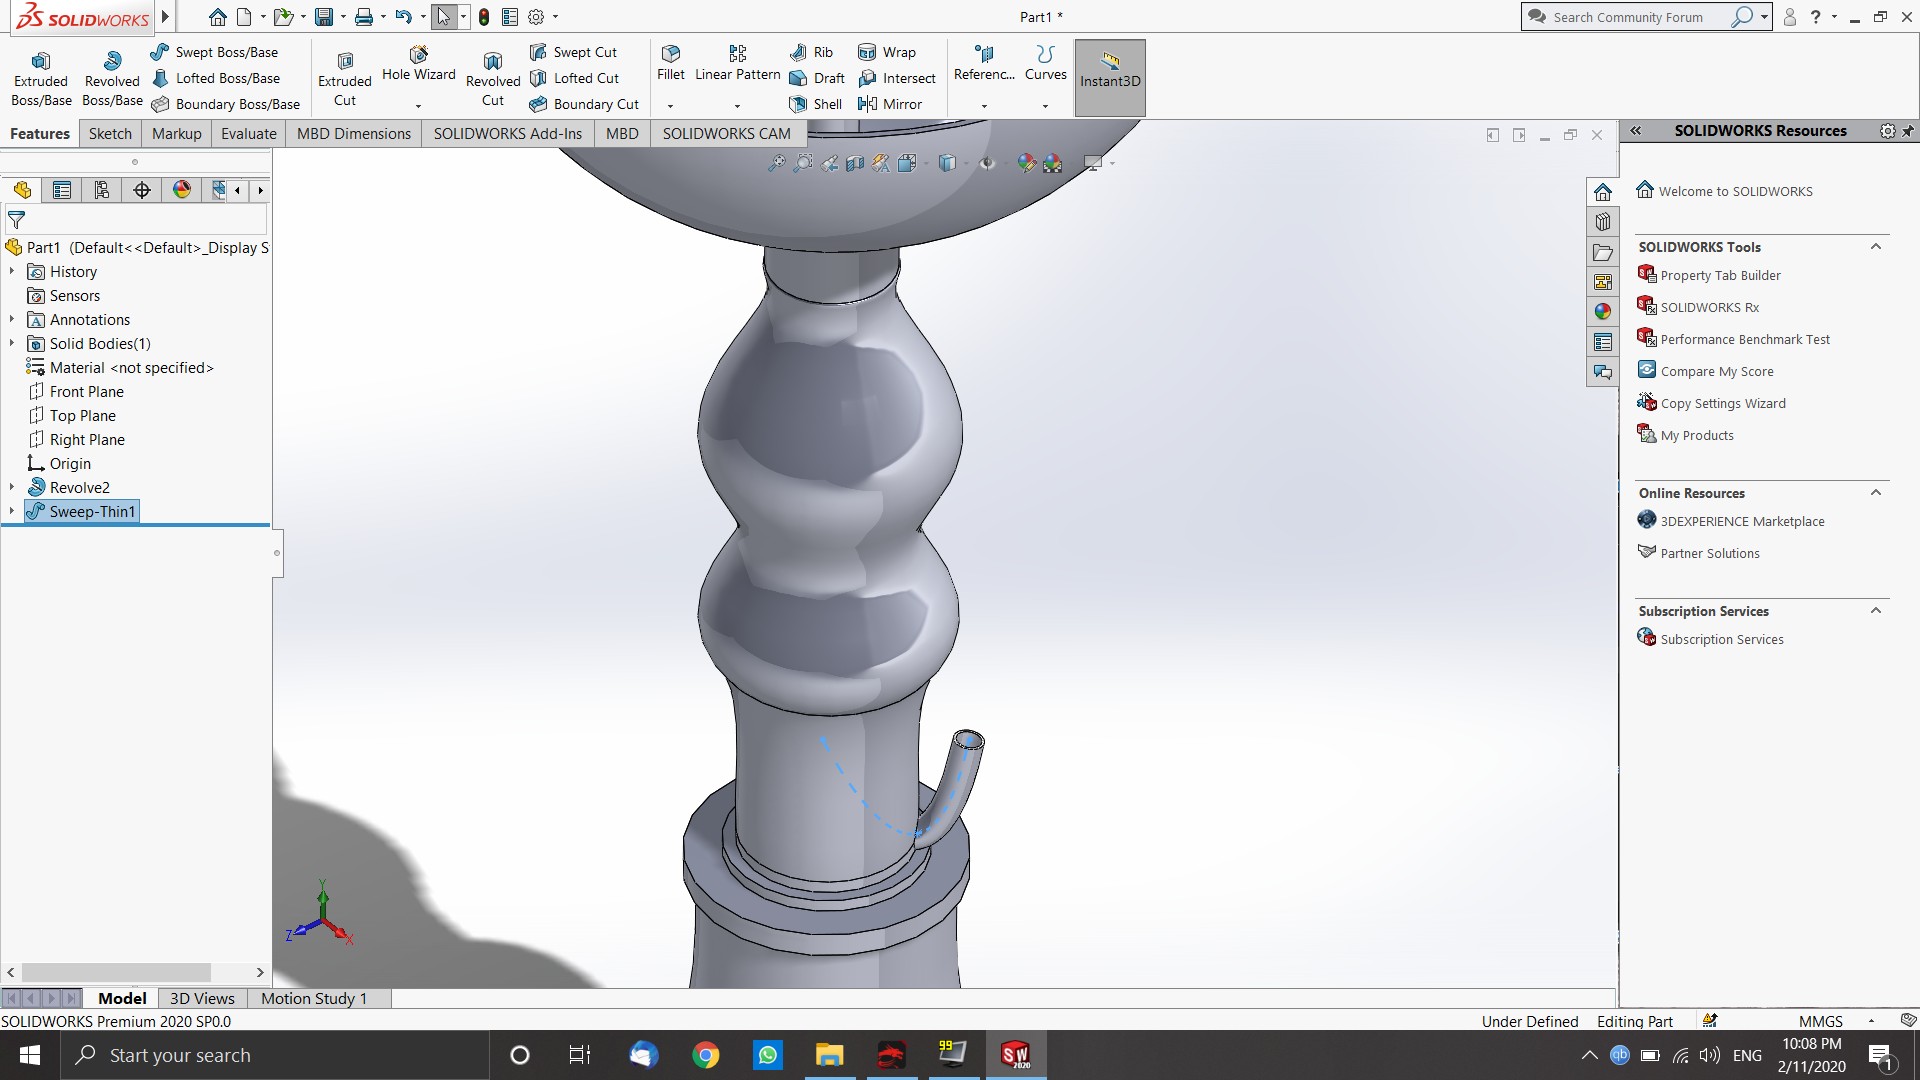
Step 12:
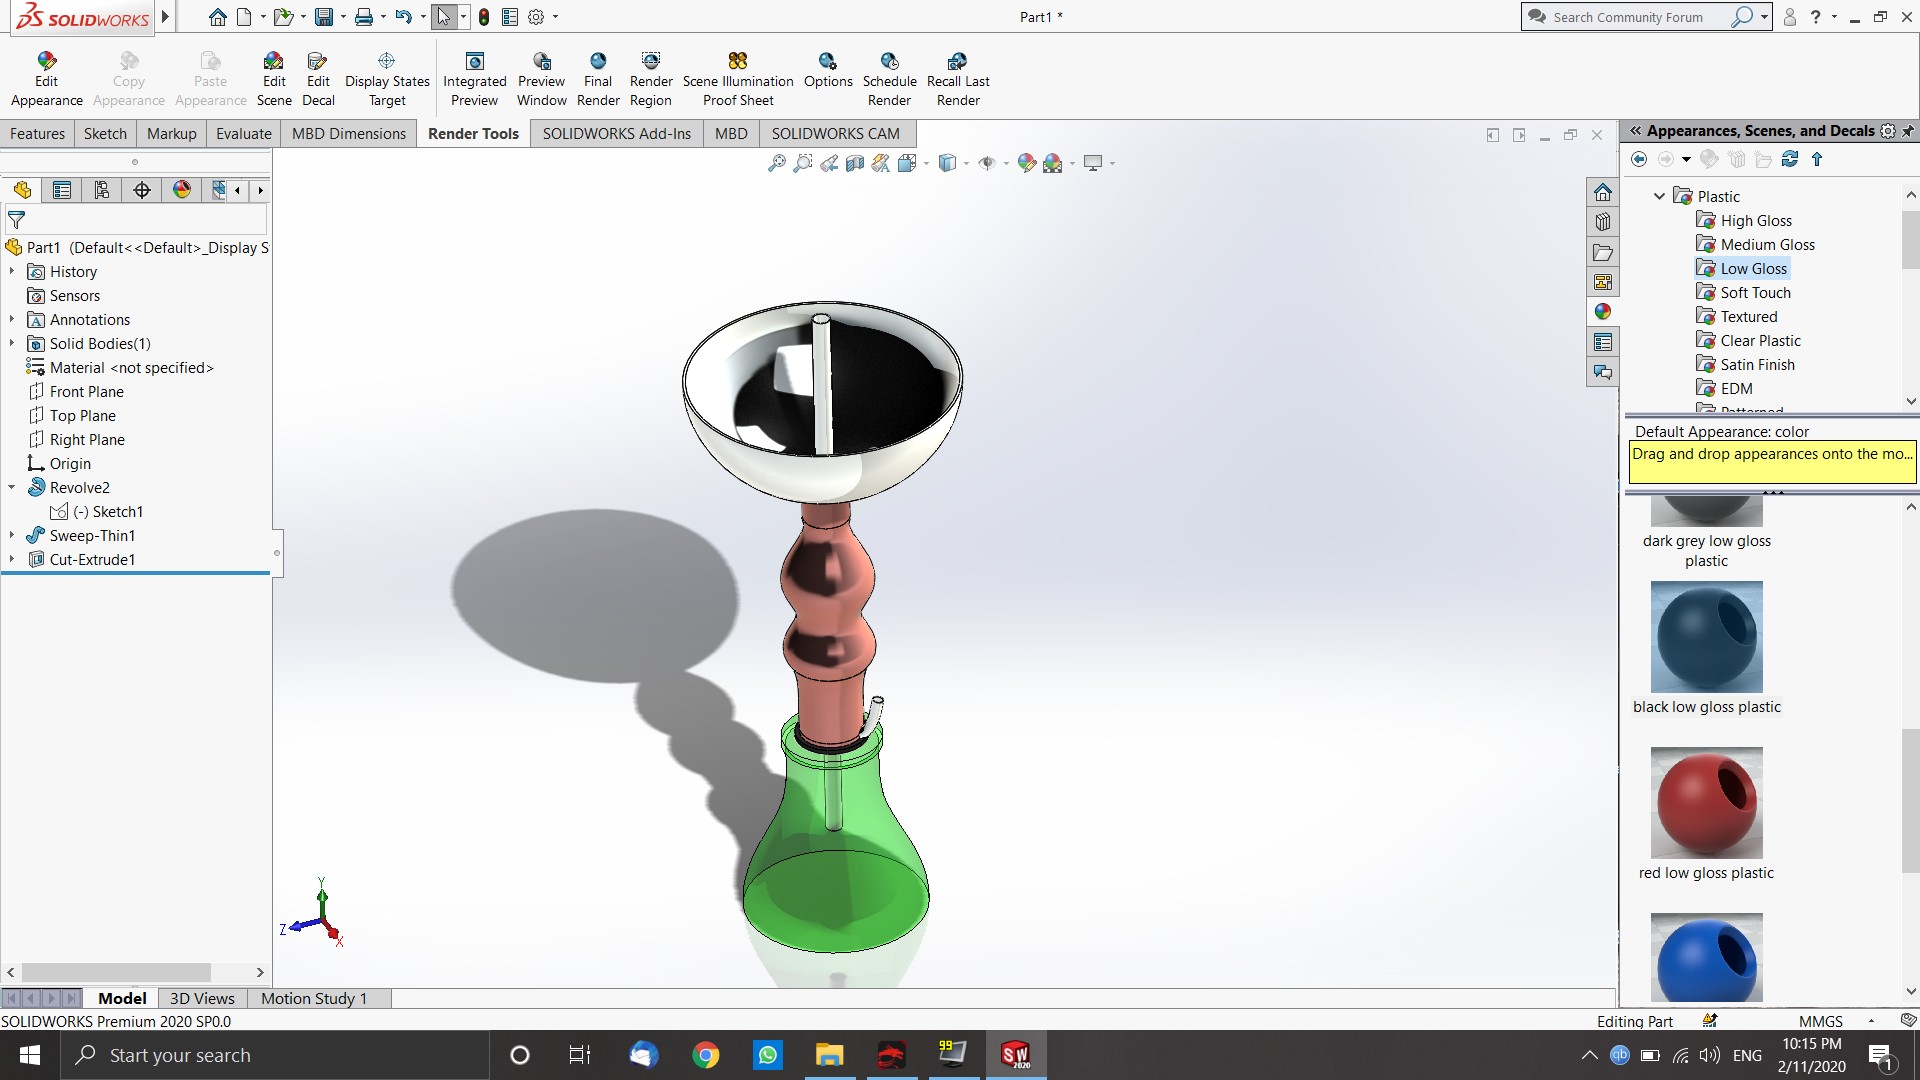
Now the model is almost done, all we have to do is to select the materials for out desing and render it to get a good image for itStep 13:
Materials can be selected from "Appearances", just hold shift and choose the surfaces with the same material, then choose the material, right click and apply the assign the material to the surface
Step 14
Select Photoview 360 from the Solidworks Add-Ins tab, and a new tab will appear with the name "Render tools"
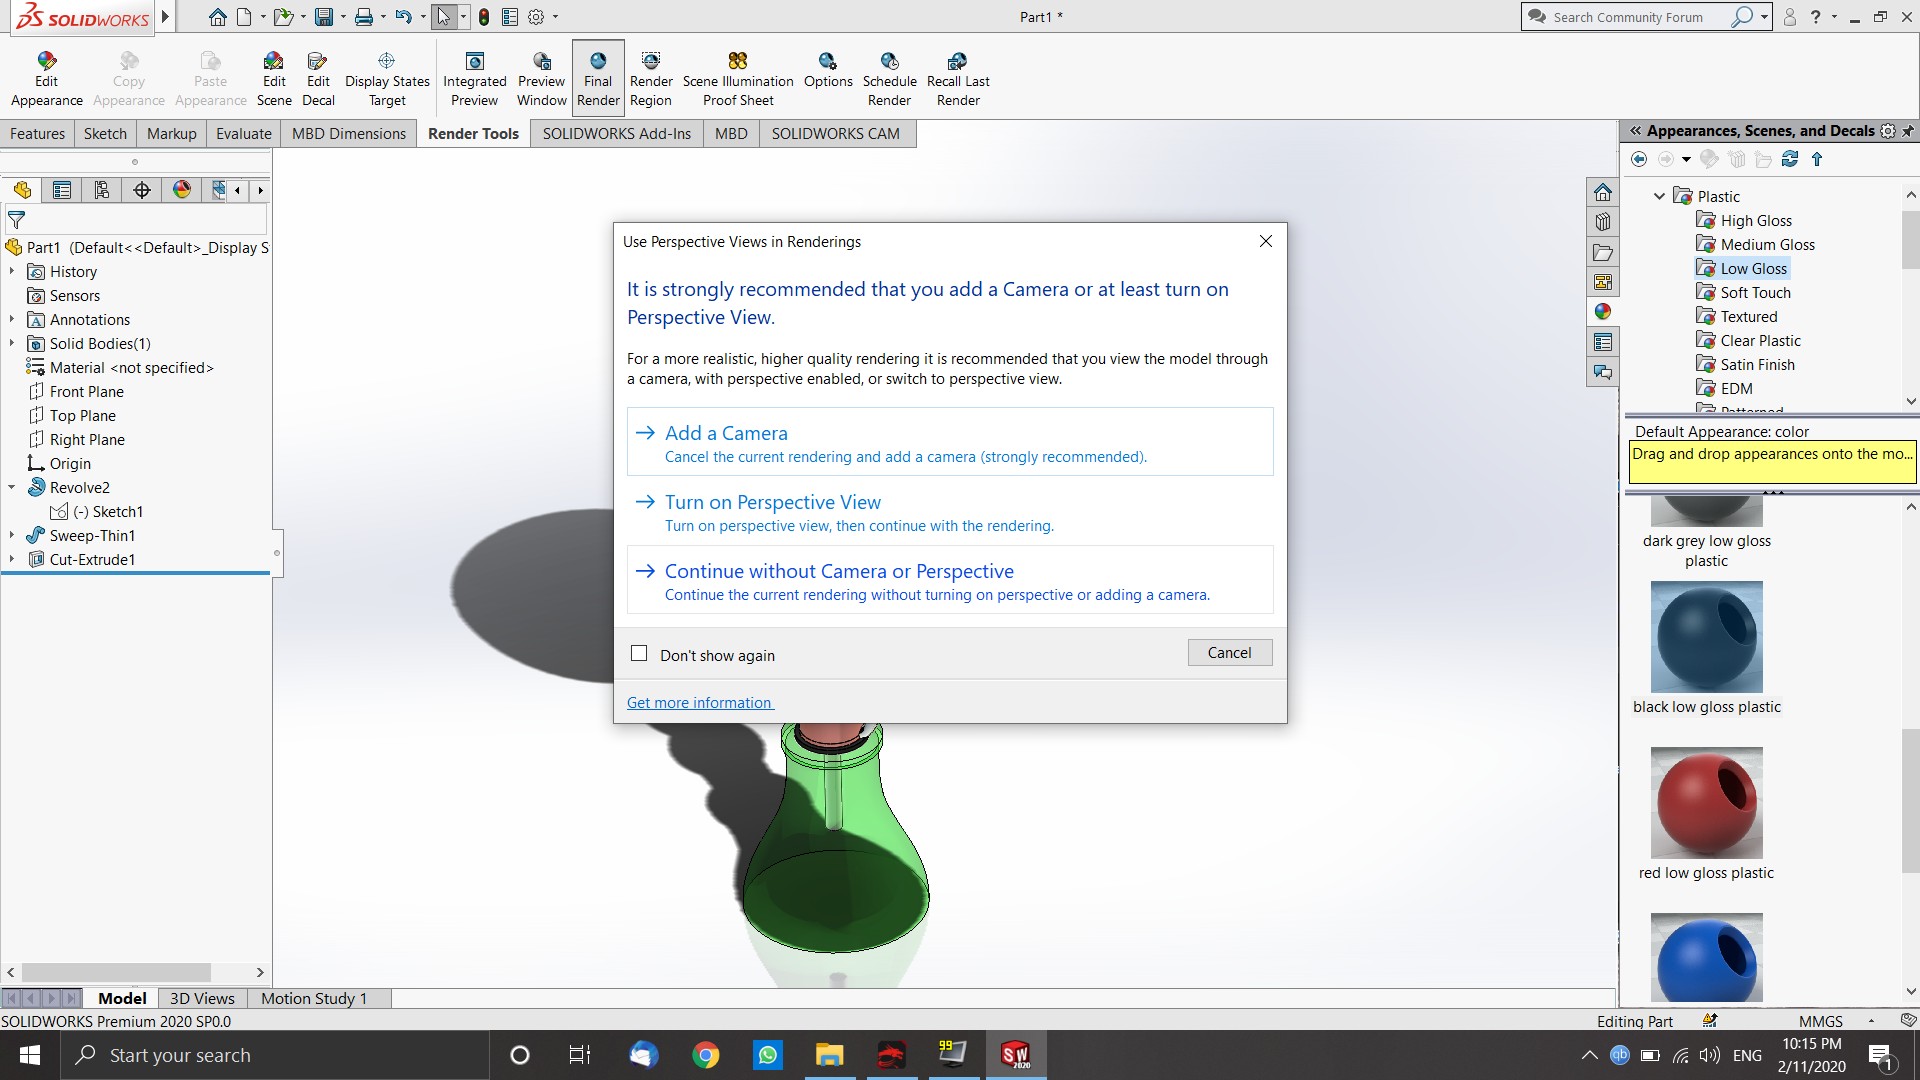
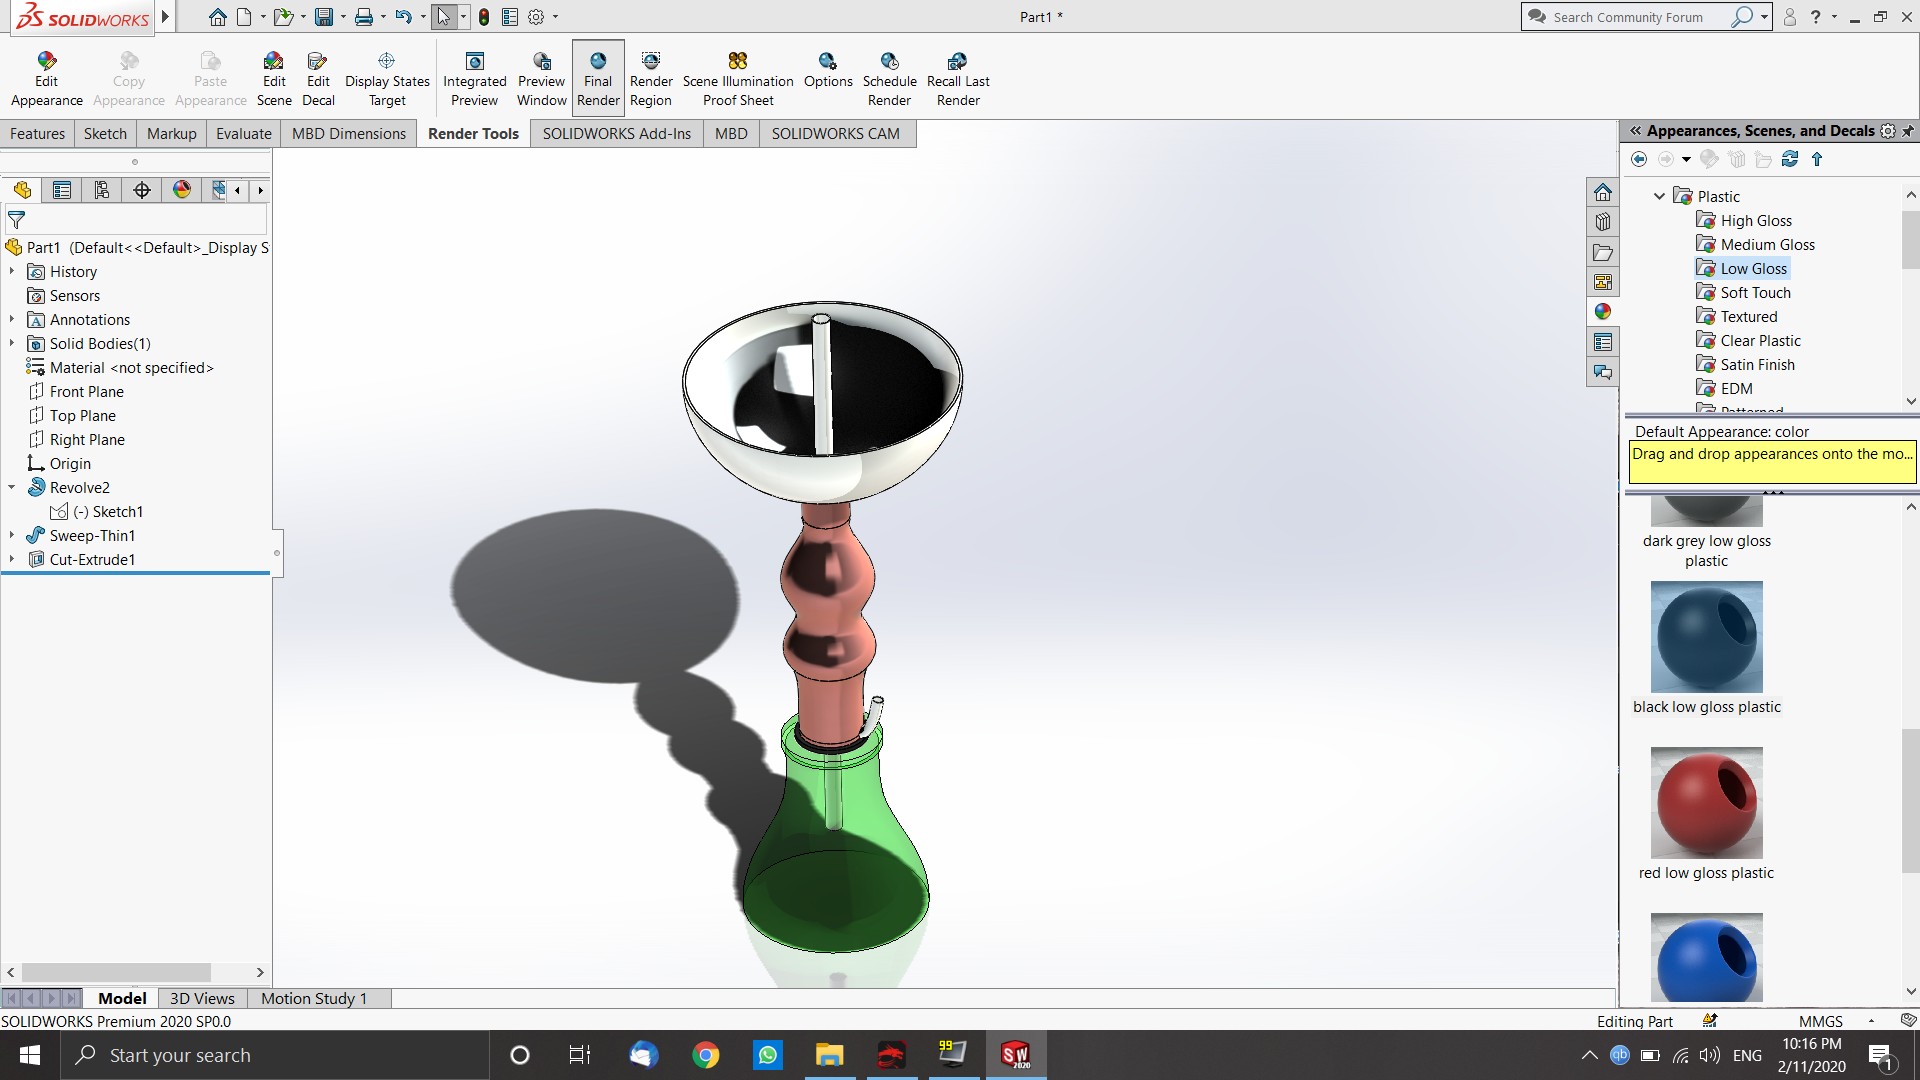
Step 15:
From the render tools tab, you can select cameras, control the lighting, and pretty much everything. Now, We will use "prespective view" to get image. So pan the view to a good angle and click on Final render. Note that rendering is very demanding on the CPU and GPU, so it will vary a lot depending on the specs of your device.blue-container
Ta daaaa.
2D Modeling
For the 2D modeling, I randomly saw sunglasses and thought to make one on Solidworks. So, I sketched the following drawing.

After that, I accused the 2D drawing by Solidworks' tool that converts the model into a technical 2D drawing, and it is as follows:

back
2D Modeling
After that, I accused the 2D drawing by Solidworks' tool that converts the model into a technical 2D drawing, and it is as follows:
back


