Git Tutorial:
What is Git?
It is a version control software that allows the users either within a group or alone to monitor and track changes made in the source code.How to install Git?
Step 1:
Download Git from their website by clicking here and choosing the correct OS.Step 2:
Install Git(Keep the default settings unless you know what you are doing)
Step 3:
Create a new folder and open itThis will be your directory that you will use for your project. All the files will be downloaded here and when modifying them, they will be uploaded from here
Step 4:
Once in the directory, right click anywhere and choose "Open Git Bash", this will open a window as shown below
Step 5:
Copy the following command into your preferred text editor, and replace "your_username_here" with your gitlab username, (keep the quotation marks)git config --global user.name "your_username_here"

and after modifying it, copy it and paste it into the git bash window and hit enter
Step 6:
Copy the following command into your preferred text editor, and replace "your_email_here" with your gitlab email, (keep the quotation marks)git config --global user.email "your_email_here"

and after modifying it, copy it and paste it into the git bash window and hit enter
Step 7:
Copy the following command into your preferred text editor, and replace "text_editor" with your favorite text editor, (keep the quotation marks) (note that you can skip this step if you are using windows)git config --global core.editor nano

and after modifying it, copy it and paste it into the git bash window and hit enter
Step 8:
Now, we need to create an SSH key (you can learn more about by hereTo do that, copy the following command and paste it into your bash window after replacing "your_email_here" with your email and keeping the quotations.
ssh-keygen -t rsa -C "your_email_here"

A prompt will ask to choose the file name, leave it blank and hit enter.
After that, it will ask for a passphrase, this is optional, but recommended for an extra layer of security.
Step 9:
Now, you need to get the "public key" for the key you just generated. To do that, copy the following command and paste it into the Git Bash Window.cat ~/.ssh/id_rsa.pub >> public_key.txt

Now, open the folder of your project (the one created earlier), you will find a new file called "public_key.txt", open it, select everything, and copy it.
Step 10:
Now, open your gitlab account, and go to settings by hovering over your icon on the top right. After that, go to SSH Keys, and paste your public key that you just copied, and save.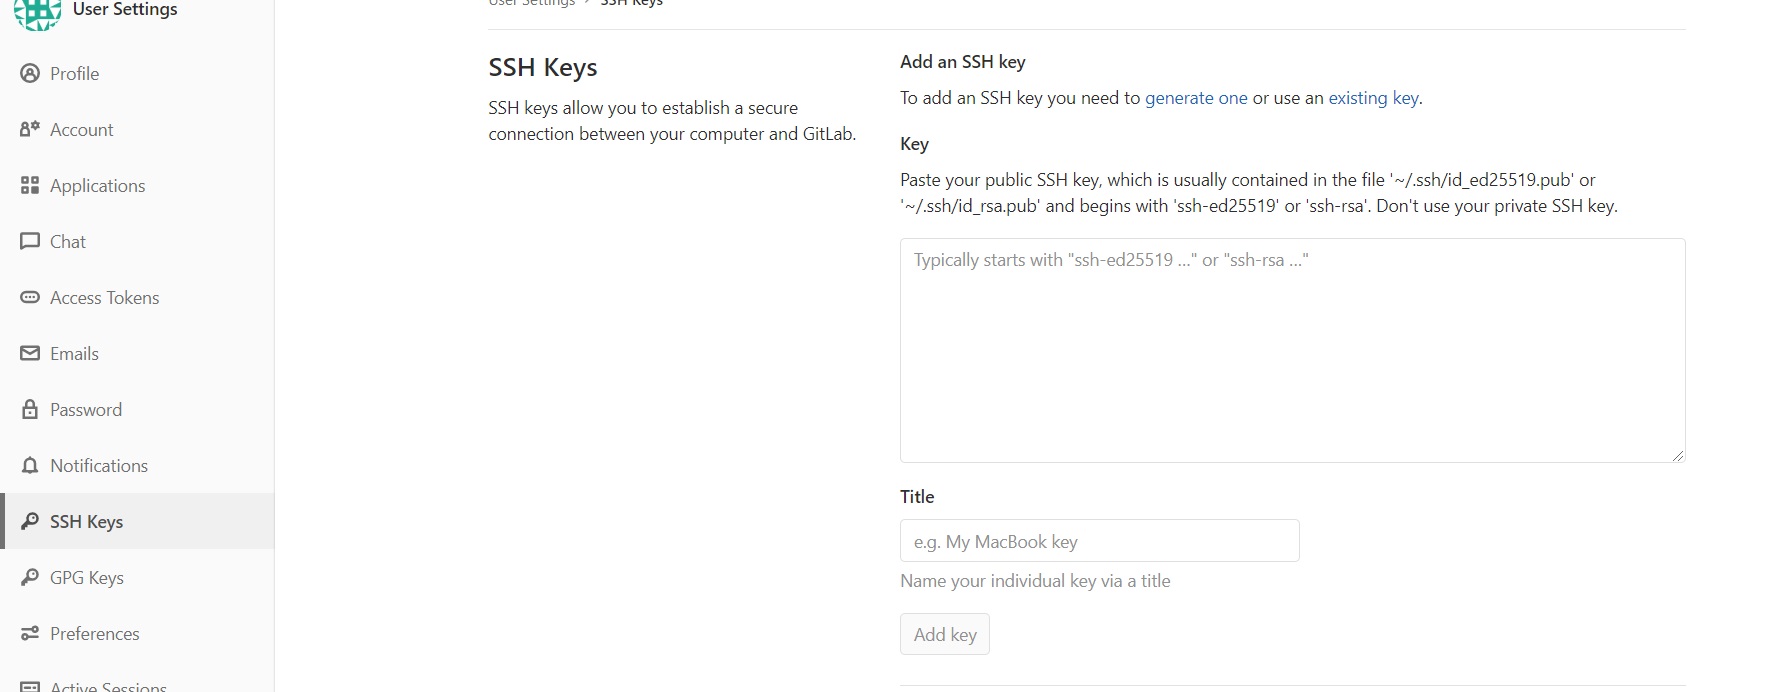
Step 11:
Now, on gitlab, navigate to your project, click on clone, and copy the "Clone with SSH" textbox. Then, open your Git Bash window, type "git clone" (without the quotation marks) and paste the link we just copied from gitlab, and hit Enter. Files are now being downloaded from the gitlab sever into the folder you created.blue-container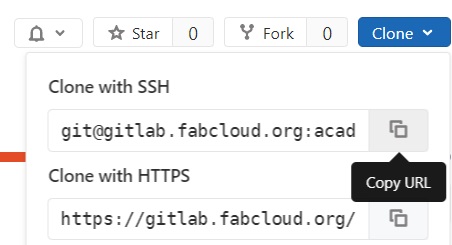
Step 12:
This is an important step, you have to delete the file "public_key.txt" while holding shift, this will ensure that the file is permenantly deleted and not in the recycle bin.blue-containerStep 13:
Now, you have to inform git about the files that you will be working on, this can be easily done by pasting the following command into the git bash window.git add -A

Step 14:
Now you can modify the files you and create a website to your liking in the working directory.After you are ready to "push" the files onto the server, you have to declare the changes (this will be helpful esecially if you did a mistake) by typing into your git bash window the following command:
git commit -m ""

and you have to enter the comments about the modifications made to the files in between the quotation marks.blue-container
Step 15:
Type into the git bash window the following command to start uploading the files to the server.git push


