Week 2- Project Management
Tasks for this week:
- Build a personal site describing you and your final project.
- Work through a Git tutorial.
- Upload the personal site to the class archive.
Part 1- Project Management
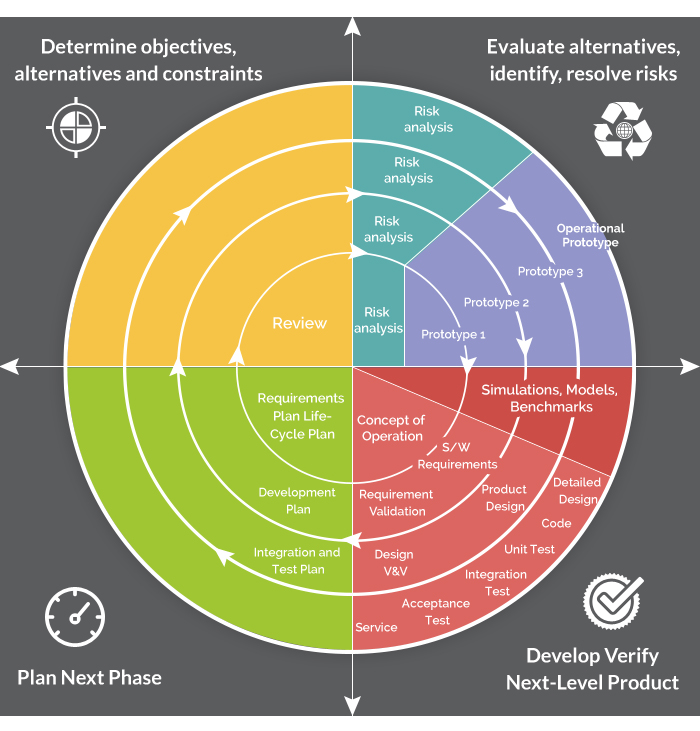
The first part of this week's course focused on project management techniques. The first principle we were taught was triage. It is the concept where all the tasks are ranked in order of priority, then completing only the most relevant and urgent tasks within the time constraints. Considering the fast-paced nature of the FabAcademy programme, I am almost certain to apply this technique over the course of the next 20 weeks, and especially during the final project development period. The second important principle we learnt was spiral development. The key is continual development; it is intended to help manage risks. You should not define the entire system in detail at first; only define the highest- priority features. This type of development relies on developing prototypes and then giving them back to the user for trial. With this feedback the next prototype is created. Define and implement this, then get feedback from users / customers. With this knowledge, you should then go back to define and implement more features in smaller chunks, until an acceptable system is delivered. The advantages of using the spiral model are varied: its design flexibility allows changes to be implemented at several stages of the project; the process of building up large systems in small segments makes it easier to do cost calculations; and the client, who will be involved in the development of each segment, retains control over the direction and implementation of the project. Especially considering that the final project must incorporate a standard requirement of techniques we will obtain in the coming weeks, I can definitely see myself implementing this project management principle.
Part 2- Git
This week is also dedicated to creating our website that we will have to document weekly with the progress and results from our assignments. We will be using Git for version control and Gitlab for hosting. According to the requirements of FabAcademy, the website should be located on the official server fabacademy.org. The registration link was sent by FabAcademy to my email. After I clicked the link, my account was created and activated. With the active account on GitLab, I could begin developing my website.
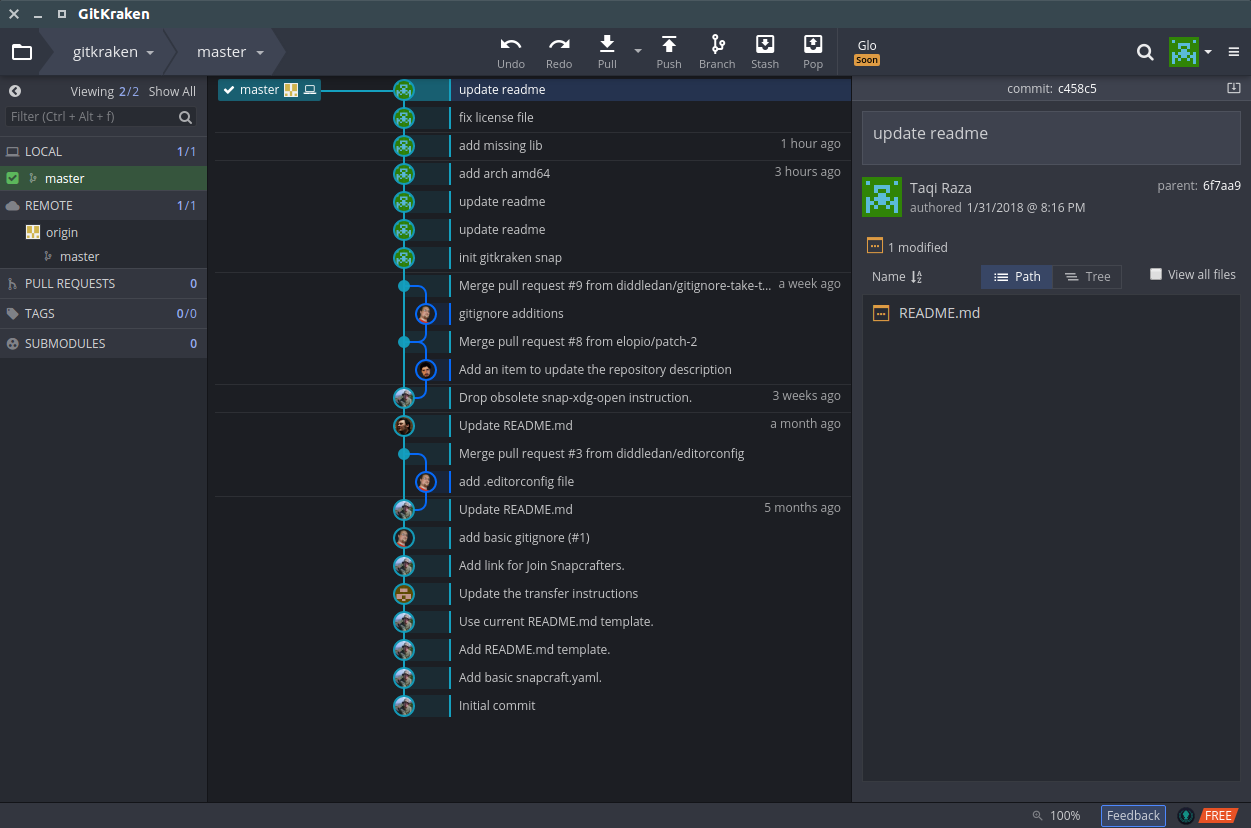
The next step was an installation of the Git Bash (Windows). The software was downloaded on the official website. Git is a free and open source distributed version control system designed to handle everything from small to very large projects with speed and efficiency. The main purpose of the Git system is to track the changes in different versions of the applications and documents for developers (hence version control). A repository can be a place where multiple databases or files are located for distribution over a network, or a repository can be a location that is directly accessible to the user without having to travel across a network. Gitbash is like using Terminal, which is an interface in which you can type and execute text based commands. Git Bash works similarly to CommandPrompt on Windows but to run specifically Git commands. Whilst it is recommended to use the simple terminal, I only used it for the tutorial. Afterwards, I switched to a GUI (Graphical User Interface), which really simplified things.
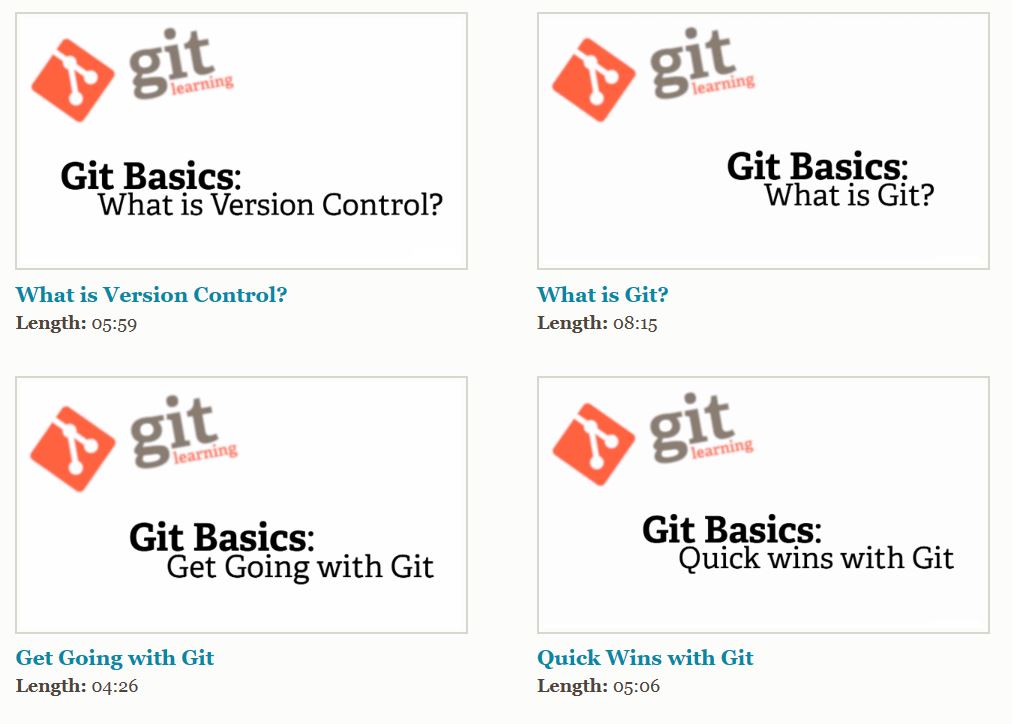
Understanding Gitlab initially was quite challenging. I was completely new to the concept of version control, so to develop a better understanding, I watched the 2018 and 2019 recitations on version control by Fiore Basile, which was greatly beneficial and something I highly recommend doing beforehand. I watched the official tutorial videos on Git, read through their official tutorials, progressed through the Git-It tutorials and watched a few tutorial videos on Youtube.
The basic command I have learnt are:
- git config ---configure the username and e-mail of the user with Git
- git init ---Initialize the local git repository
- git add ---Add files to index
- git status ---Check the status of working tree
- git committ ---Committ changes in the index
- git pull ---Download the latest version from the repository
- git push ---Upload files to repository from local computer
- git diff ---View the changes made compared to previous version
- git log ---View the history of versions
- git clone ---Clone the repository onto the local computer
- ls ---list all files
- mkdir ---make directory
- cd ---change directory
- git mv ---move a file
The next step from here was to generate the SSH key to connect my local computer with the server. The communication between GitLab and my PC should be secured. Therefore, it is necessary to use the SSH protocol that helps GitLab establish an encrypted connection with two sides and avoid anyone else from affecting the website. I followed this official tutorial by Gitlab.
And this is where it gets interesting- I encountered my first problem (yay!) . Basically, I felt like everything was going well, and I was at the last step to push some files from my computer to my repository. Suddenly: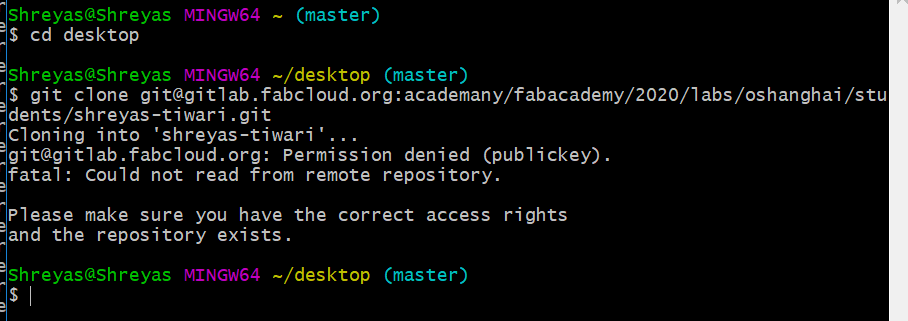
It appeared that I was facing an authentication problem, where I was not getting permission to conenct with my repository. I repeated steps, made amends to try and clone my repository, but to no avail. I then approached the help of my classmates. They offered many methods of troubleshooting the problem. Firstly, I realized that I was accidently trying to use my Desktop as my repository, instead of choosing it as the directory where the repository will be cloned. With new hope from this tiny yet significant amendment, I tried the cloning process again. Only for the same result. 🙄
After the [$ ssh -T git@gitlab] troubleshooting method, I suspected that there was an issue with my ssh key. With the help of my instructor Saverio, we followed a tutorial to generate another RSA key instead of a ED25519 key. After following every step religiously, and with the added step of crossing my fingers, another ssh key was successfully generated. Which further allowed me to clone my repository onto my PC. Job done, onto web development.

Part 3- Webpage Development
The first thing I did was understand the basics of HTML. I used this brilliant tutorial to learn HTML and CSS, and further made a practice site. Once that was out of the way, I could begin with my personal site for fabacademy. The first thing I decided was that I won't use Markdown, even though it makes web development so much easier- I wanted to challenge myself and learn HTML and CSS completely. So, the first thing I did was view some student websites from prior years to get an understanding of the layout of the page. Some of my inspirations for making this site:
I then went and searched for some good templates that I would later modify to my preferences. I ended up choosing Dimension for the home page, and Phantom for the Assignments page.
I chose the Sublime Text 3 Editor for this task. There are a number of open source code editors you can choose, such as Visual Studio Code, Brackets and Atom, but it all comes down to personal preference.
 As I already had the code for the template, it was only a matter of modifying and adjusting the code to relevance to my project, and I did not encounter too many challenges in this process. However, there was one part where I did find my first problem in making the site. . Seeing that I was using two seperate templates, I had only made my life more difficult when I had to integrate one into another (linking assignments page to home page). A hundred variations to the code were made, some showing that the file does not exist, others messing up the format of the second template. Eventually, I stumbled upon the solution: keeping the second index.html file in a seperate folder (so it maintains its format), and linking it through a folder method as shown below.

Finally, I had completed my website and was very pleased with the end result. My next step from here was to type what you are currently reading.
Part 4- Pushing to Archive, Version Control
Once you start building your site you will have to push the changes to your repository to upload them and refresh your site. Every time you are about to push changes, you must ensure that your local copy is up to date with the online repository. The standard procedure for doing this:
git status git pull origin master git add -A git commit -m "Reason" git push
I followed all the steps listed above, and successfully managed to push all the files for my website to the archive. However, on GitLab, I was unable to access the folder and its files. When pushing to GitLab, I did get this warning:
 Notice how the icon for this directory is different to the normal file type:

After much troubleshooting, I decided to delete the Website folder that contained all my files, and moved all the files into the repository to be pushed. This worked!
Finally, the last step was to delete the .gitlab-ci.yml file for Markdown, and I replaced it with the HTML version file, which has now allowed you to access this site. Finally, this week's work done!
