

Week 15 Molding and Casting
This week we are going to learn one of most important technology in industry, using molding and casting we can get cheap and high quality products.
Weekly Assignment
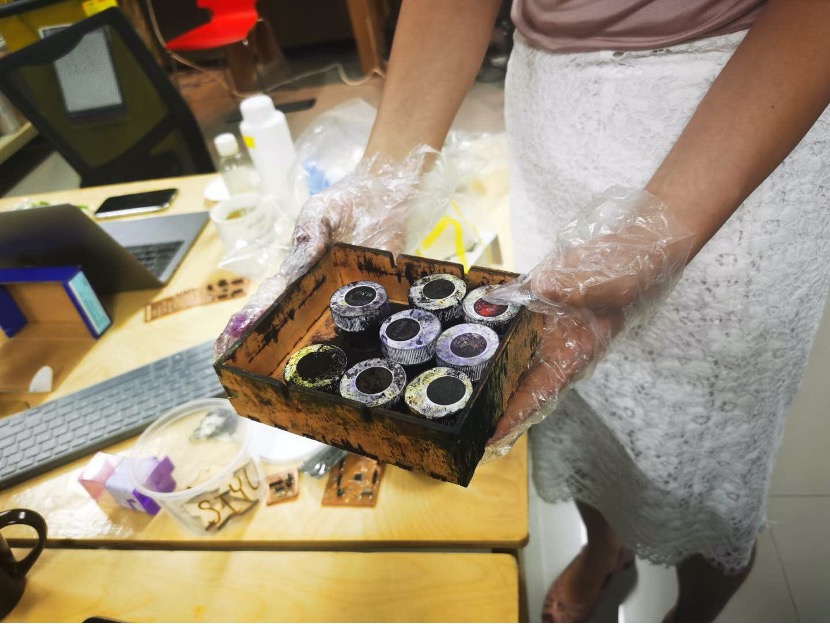
- Group assignment: review the safety data sheets for each of your molding and casting materials, then make and compare test casts with each of them
- Individual assignment: design a mold around the stock and tooling that you’ll be using, mill it (rough cut + (at least) three-axis finish cut), and use it to cast parts.
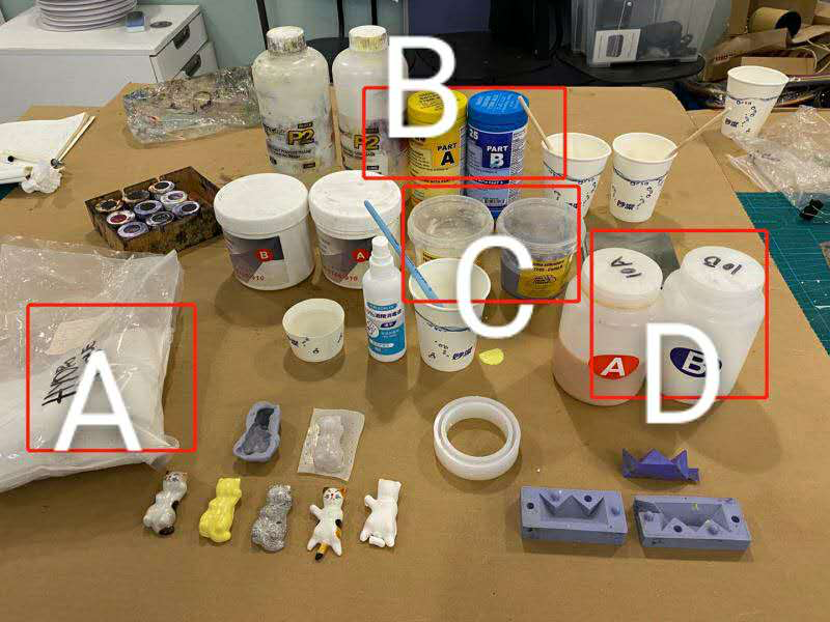
Group Assignment: Materiels Datasheets
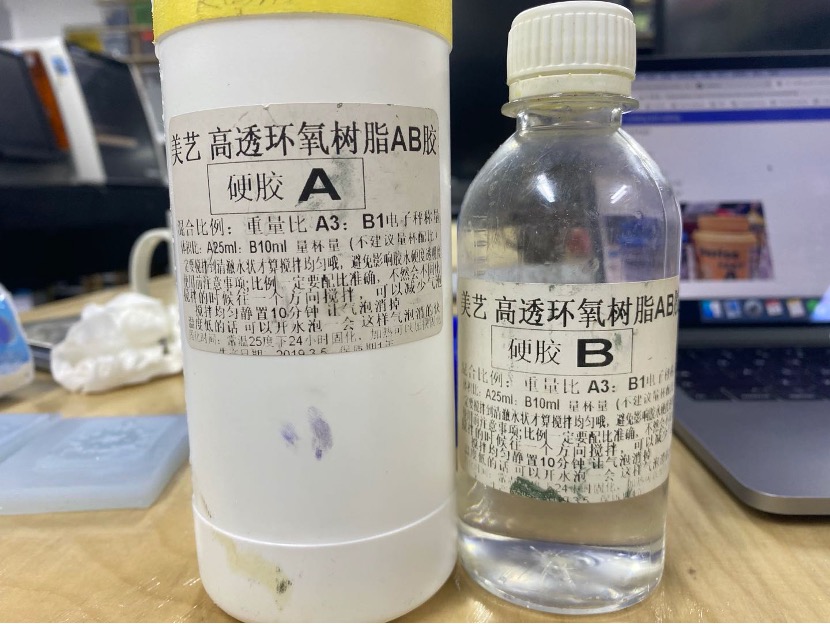
Xencast P2 Fast Cast Polyurethane Casting Resin
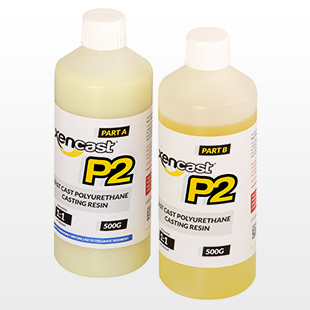
- Click here to MSDS/TDS
- Appearance: liquid
- Color: Various/Transparent;
- Pot life : stay still 10mins after mix together ;
- Cure time: 24 hours in 25 degree;
- Mix Ratio By Volume: A25ml, B 10ml;
- Mix Ratio By Weight: A3 : B1
- Hazard statements : Causes serious eye irritation.
- Precautionary statements : 1 Prevention: Wash skin thoroughly after handling; Wear protective gloves/ eye protection/ face protection. 2 Response:IF IN EYES: Rinse cautiously with water for several minutes. Remove contact lenses, if present and easy to do. Continue rinsing. If eye irritation persists: Get medical advice/ attention.
- Click here for more information.
- Volume mix ratio:1:1
- Pot life: 15mins
- Cure time: 75mins
- Click here for more infor
- Hand Mix Vicat Set, Target: 24 – 30 minutes
- Machine Mix Vicat Set, Target : 10 – 15 minutes
- Demolding Time: 15 – 25 minutes after set
- Measure the size of wax cube.
- Cut out two cube from it.
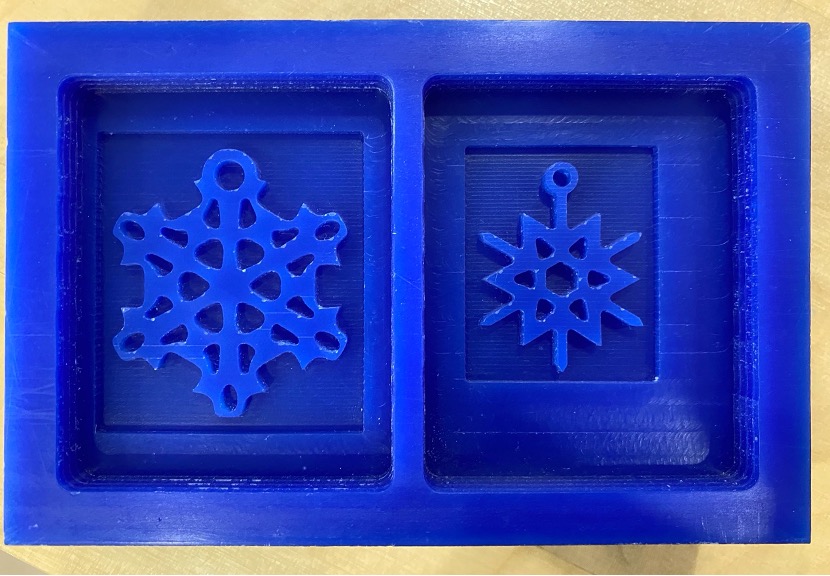
- Draw snowflakes, and extrude.
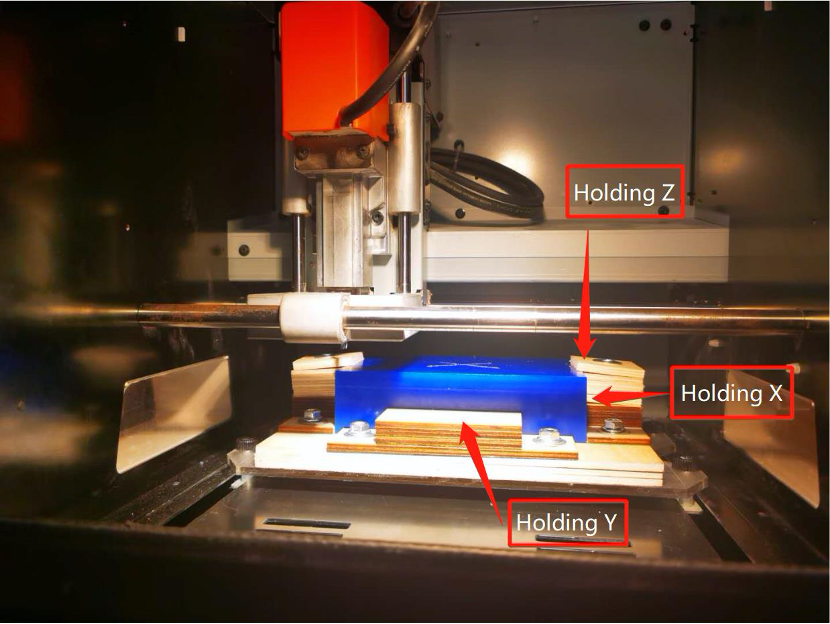
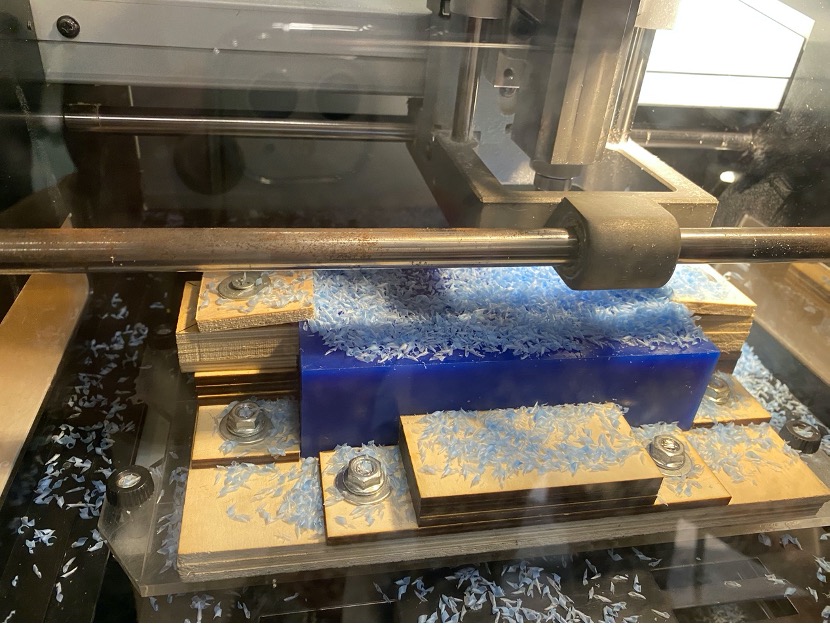
- Milling the mold: Save stl file in fusion and use Roland SRM-20 for milling the wax cube.
- Setting of Roland SRM-20:
- Modeling Form (No margin);
- Flat: “4mm Square”
- Scan Lines: “X+Y”
- Cutting Parameters: * Feed rate: 900 mm/min * Spindle: 9000 rpm; * Cutting in Amount: 2.40 mm; * Path interval: 3.00 mm; * Finish margin: 0.20 mm;
- Finishing Setting: Modeling Form (No margin);
- Flat: “2mm Square”
- Scan Lines: “X+Y”
- Cutting Parameters: * Feed rate: 900 mm/min * Spindle: 1000 rpm; * Path interval: 0.5 mm; * Finish margin: 0.00 mm;
Meiyi Resin

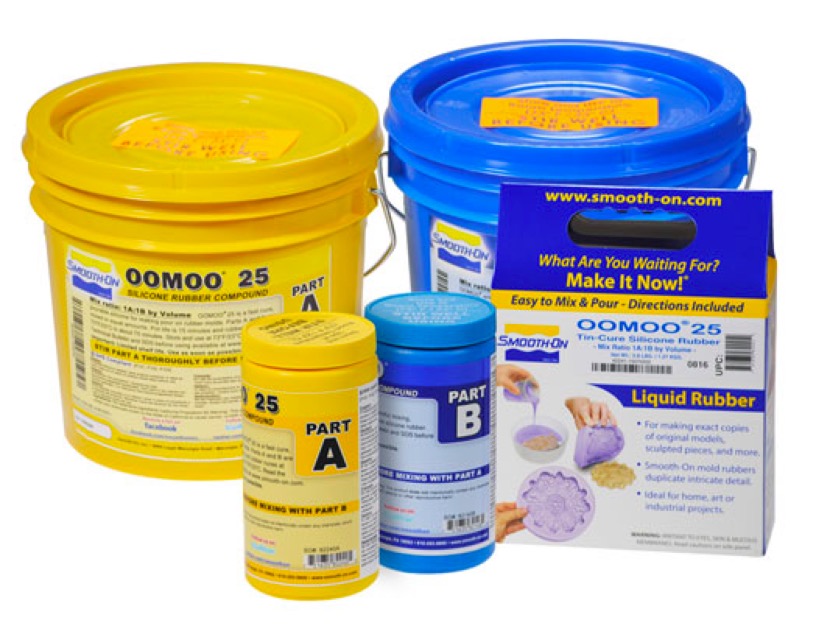
Silicone OOMOO-25
Drystone

Low Melt Fusible Bismuth

A metal that melts to a very low temperature, only 100 Celcius degrees, so it's super easy to heat with any home-made device and do some crazy tests. We used it as a casting material.
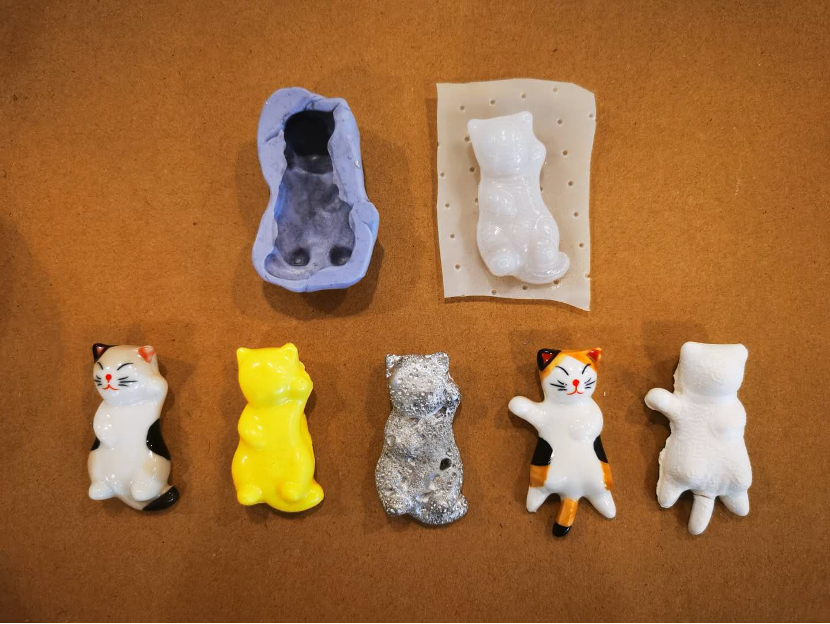
Compare and contrast those materiels:
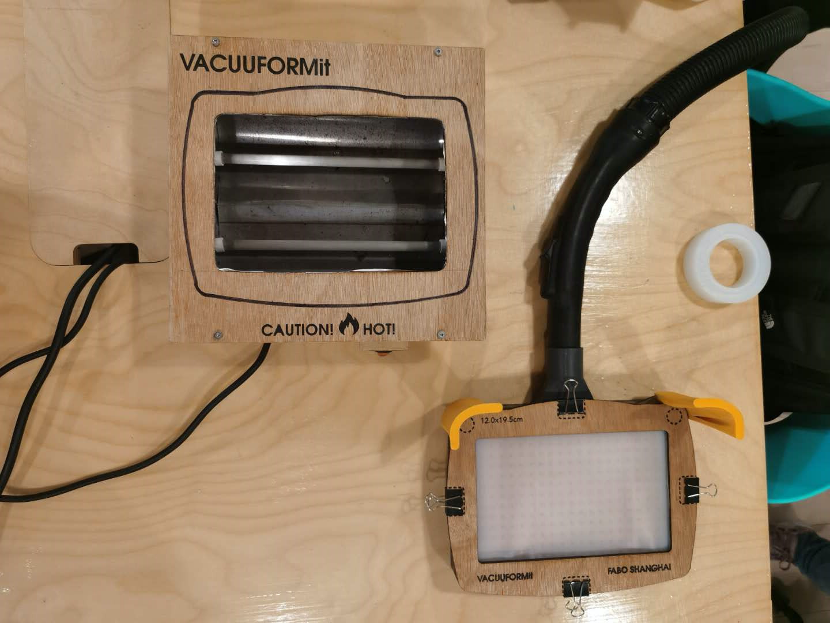
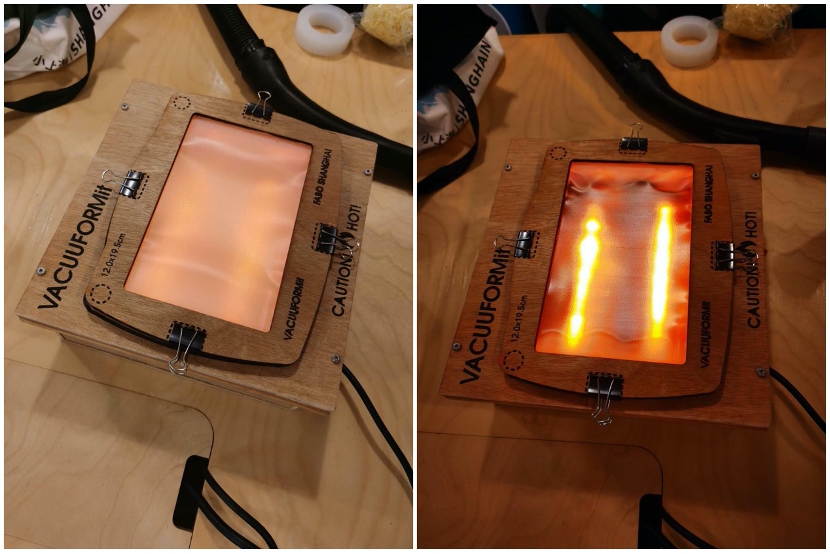
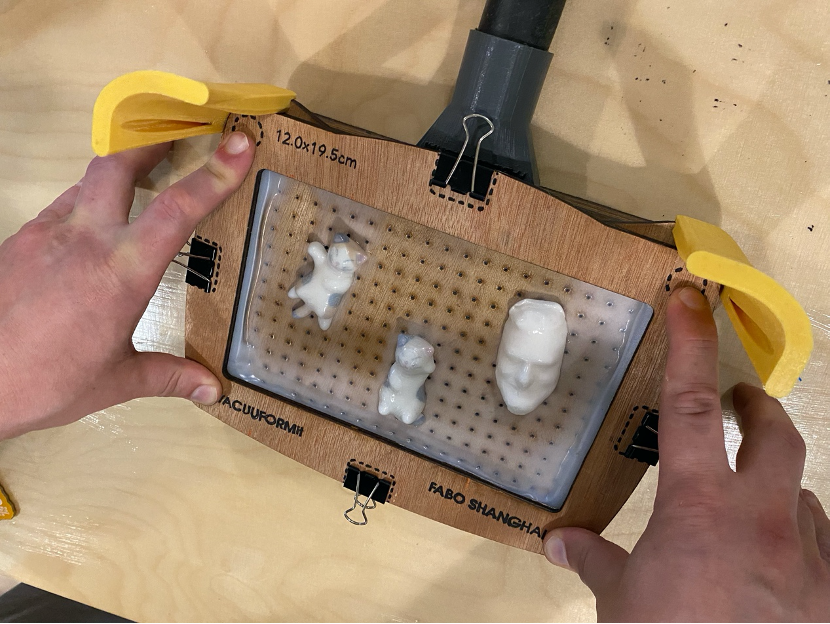
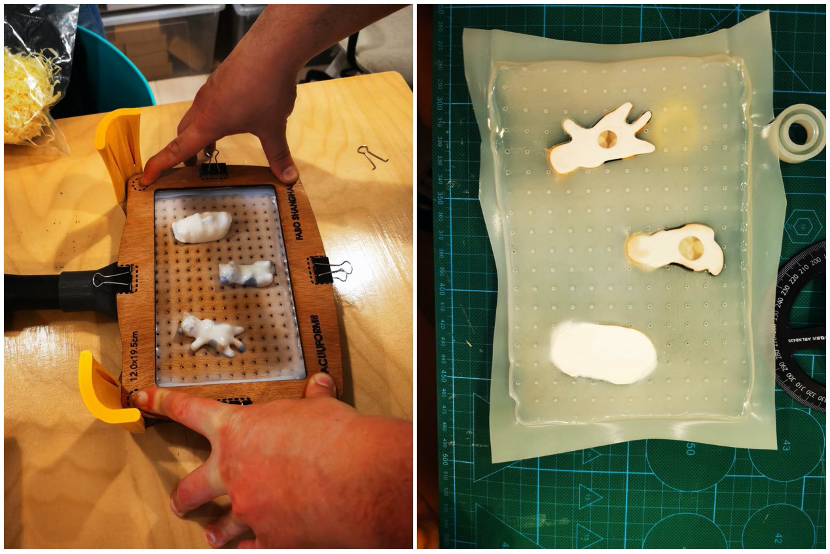
Vacuum mold making machine
This vacuumformit is made by instructor saverio, when you put an object on it, there is a heater at bottom , it will heat up plastic and then vacuum can suck air up, so you got a plastic shape of your object.

Individual Assignment:
Design mold in fusion360
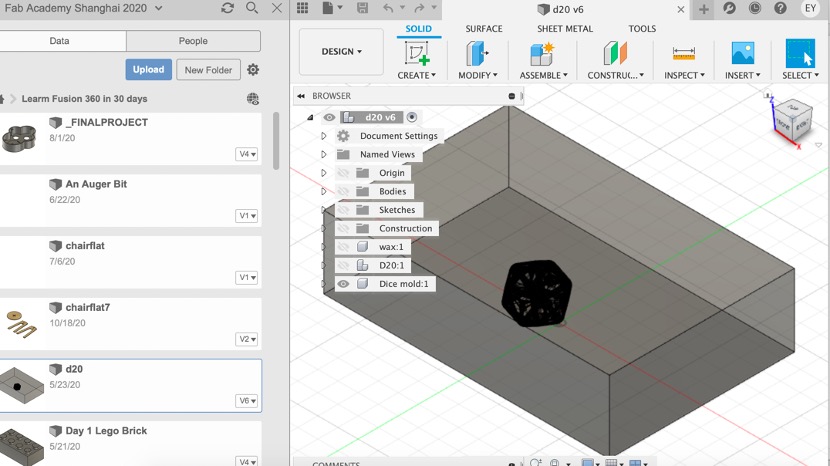
My first idea is to make a dice that have 20 faces, for board game. Then I realize it has too many details can not be done in mold.
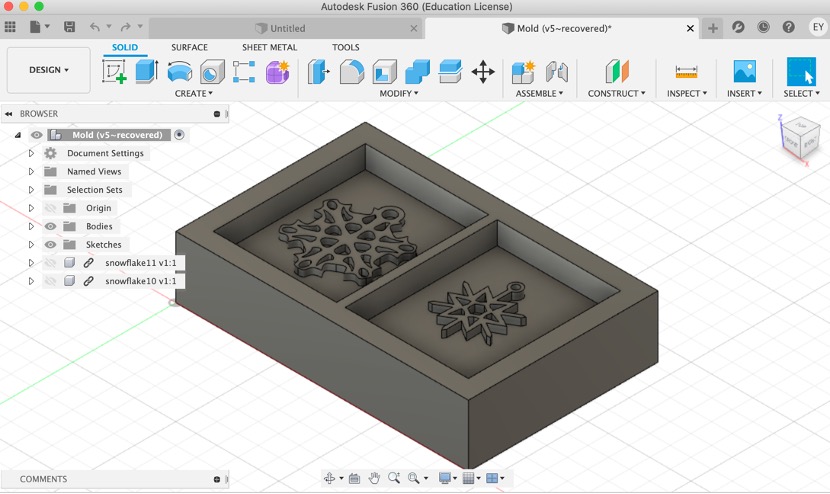
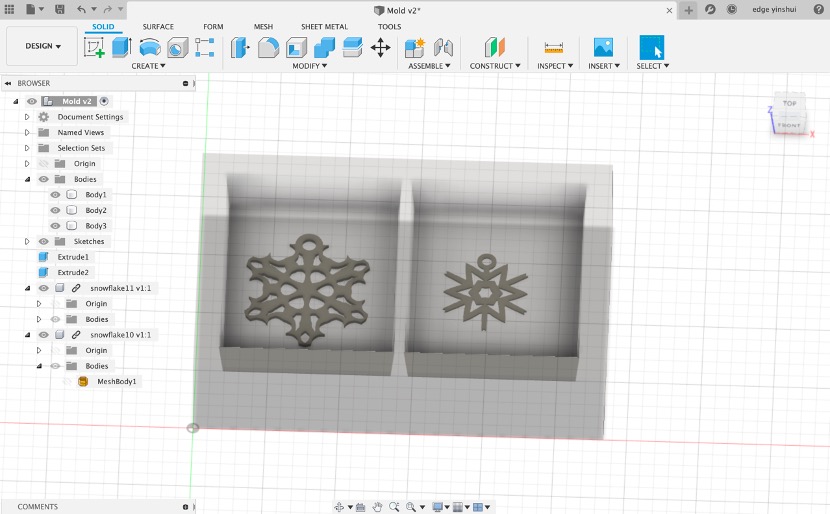
I deicide to make some snowflake earrings by molding and casting. Here is the process of how to design a one piece mold.
Our instructor Saverio made a base for wax cube. So it can be stable when end mill is milling.
We set roughing mode to make it fast , finishing mode to have more detail of milling. We also keep the waste wax for more use.


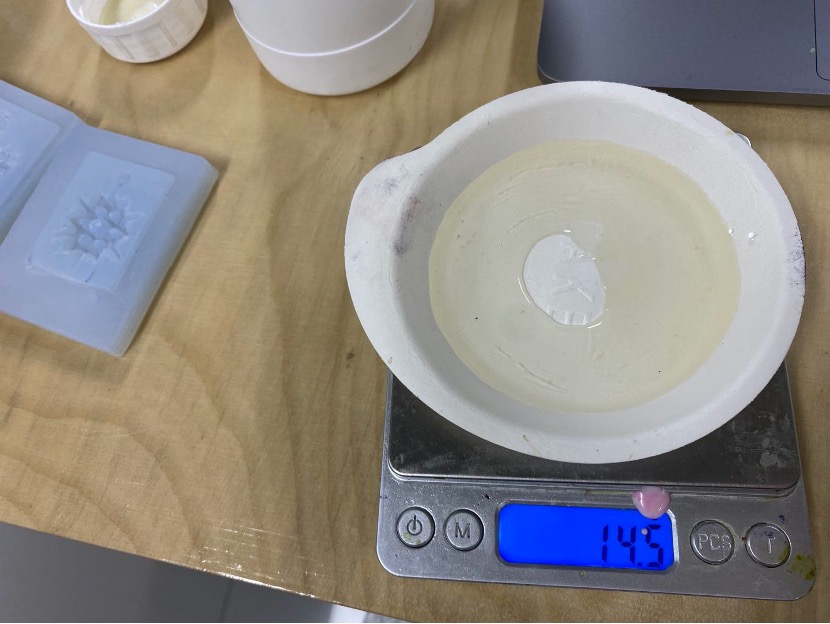
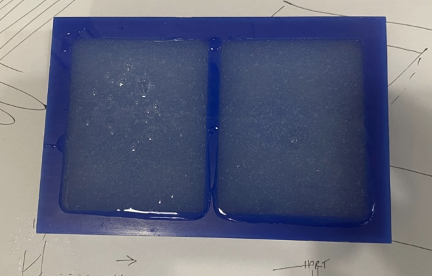
Casting:
I used silicone rubber to make my mold, mix ration is 1A :1B. It took about 12 hours to get dry. The next day when I take it out its still a bit wet, and I put some baby power in it and hope it will have a smooth surface, then I realize I should not do that, baby power stick on the surface so there were a little bit rubber stick on wax ,which make the mold have weird shape.
It’s not a good idea to explore by imagination at first time we do something. We should learn how to do it properly then maybe second time we can try something crazy. lol.
Add a bit white color in my earings.
I put the wax on table hardly several times to make less bubbles.
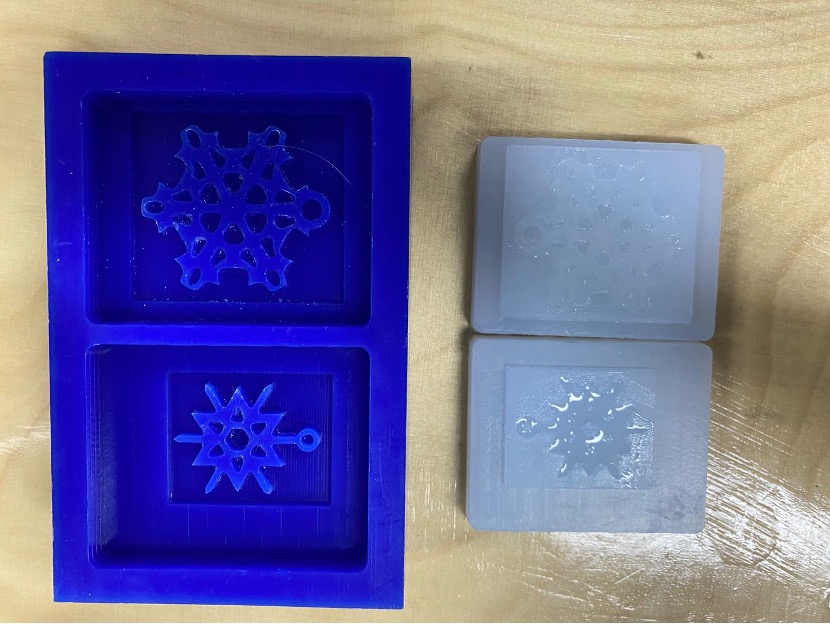
After one day I have these nice earings.
