

Week 3 Computer-aided Design
Weekly Assignment
- Evaluate and select 2D and 3D software - Demonstrate and describe processes used in modelling with 2D and 3D software
- Model (raster, vector, 2D, 3D, render, animate, simulate, …) a possible final project, and post it on your class page. Show how you did it with words/images/screenshots - Included your original design files
My advice here is picking these tools like dating, there is no right date, everybody has different preferences, they have different characters, you should try each of them, see what works for you, see what you are comfortable with. “ ——Neil
Well,Neil will have problems if he works for Chinese university and say that to students. Cause Women in China had been educated the best life is only fall in love with one man and stay together until the end of life. If you date or sleep with many people you are not precious any more. Lol. Not every woman believes that those day though.
1. My Design Backgrounds:
I have 0 experience in design. I used to work for Fablab O Shanghai which almost every colleagues of mine is a designer. So this week is a start for me to learn some design.
I learned a little bit about Illustrator before, that’s all my back ground about design software. So, when the first time I listen to Neil’s class, I was so lost. Then I learned fusion 360 with my fab academy classmates and my amazing instructor Saverio, After that, I start to understand a little bit more from Neil’s class when I watch it second time. I realize this week is just a start of design software learning. I need to build as many as model to get familiar with all these tools and the concept of design. Here are what I tried so far.
I want to know more about 3D Different style of modeling. So I search on YouTube and write notes about it.
20+ Styles of 3D Modeling in 20 MinutesTutorial Highlights
- Sculpting
- Sculpting : Shaping your digital lump of clay in a free-form way using various 3D brushes.
- Sculpting with dynamic topology 动态拓扑雕刻
- Sculpting with mask
- Subd Modeling: Subdivision modeling is characterized by manipulating the low poly cage that gets subdivided into the high poly final mesh.
- Boolean Operations: Logical operations of adding, subtracting and intersecting two objects to create the third object as a result.
- Metaballs: Metaballs are objects that interact to produce a liquid-like surface.
- Drawing 2D Shapes in Orthographic Projection: drawing two-dimensional shapes using vertices, edges and faces
- Shape Extraction : Extracting an area of the mesh or using an object as a scaffolding to build a new surface.
- Spline Modifiers
- Spline Modifiers – Fill:Turning bezier curves into renderable objects by giving some thickness to them.
- Spline Modifiers – Screw: Revolving a spline to create a 3D surface.
- Spline Modifiers – Curve: Using a spline to deform a mesh.
- Spline Modifiers – Skin:Skinning splines while retaining the skeleton.
- NURBS: Non-Uniform Rational Basis Splines (or NURBS) is a mathematical model for representing 3D shapes. Unlike the meshes that are made of vertices, edges and polygons, NURBS are fully parametric and are defined by splines and points.
- Spline Surfaces: Using splines as the boundary loops of a flowing surface (see the Grid Fill tool for example).
- Vector Graphics to 3D: This is a hybrid workflow which involves converting 2D vector graphics into 3D splines.
- Shadowbox: The quirky Zbrush tool is able to create all kinds of primitives based on the projection of shadows toward a central volume.
- Displacement: Displacing geometry based on 2D texture maps.
- Kitbash: Kitbashing is a practice of assembling 3D models out of premade kits.
- Photogrammetry: Synthesizing 3D form based on photos using special software like RealityCapture or PhotoScan.
- Particles: Surprise! The interaction of particles, forces and metaballs can produce amazing 3D models.
- Particles: Scattering particles over the surface of a distribution object.
- CAD: Computer-aided design, parametric tools and analytic surfaces.
- Camera Calibration and Poly Modeling: A cool workflow based on camera calibration tools like BLAM.
- Physics Simulation:Simulating cloth, rigidbody or softbody physics then collapsing it to a 3D mesh.
- Physics Simulation: Breaking an object into volumetric pieces, applying the rigidbody physics and baking the result.
- Physics Simulation: Fluid simulation is a cool way of modeling the fluid surfaces
- Math Functions: Pretty much every object in the universe (even a donut) can be described using the language of math. If you want to give it a shot in Blender, activate the ADD Mesh: Extra Objects add-on.
- Parametric Modeling: Parametric modeling means that instead of creating your 3D model by hand you define a set of parameters. Imagine creating a tree by defining its height, age, pruning, branching and so on.
- Generative Modeling: Grammar-based structures are the structures generated from a set of rules.
- Organic Growth Algorithms: A broad range of parametric tools from the Ivy add-on in Blender that simulates the procedural growth of Ivy to the diffusion reactions and more.
- Fractals: A fractal is a geometrical figure each part of which has the same statistical character as the whole. Can be generated in apps like Mandelbulber then converted to 3D meshes.
- Dynamic Paint: The Blender tool that utilizes the canvas-object interaction to drive the displacement or texture effect.
- Voxels: A voxel is a volumetric cell in 3D grid. You can create and represent 3D surfaces with the help of these three-dimensional units.
- Marching Cubes: The algorithm that can be used to polygonise scalar fields (like MRI scans).
- Modeling/Sculpting in VR: Modeling… but in virtual reality.
- Artificial Intelligence: Converting an input of some kind into a 3D model output. Magic, in other words.
After watching this video, I am being fully motivated by learning design software. I have to say those tools will help designer to create something out of their imagination. I am a STEAM education teacher; I am always thinking about how to develop student’s creativity. I have been inspired by this video that giving students a lot of tools is one of the most important way to help them become creative.
Evaluate the 2D and 3D software
2D Design
- Illustrator: First,I tried a simple tutorial and drew a picture below.
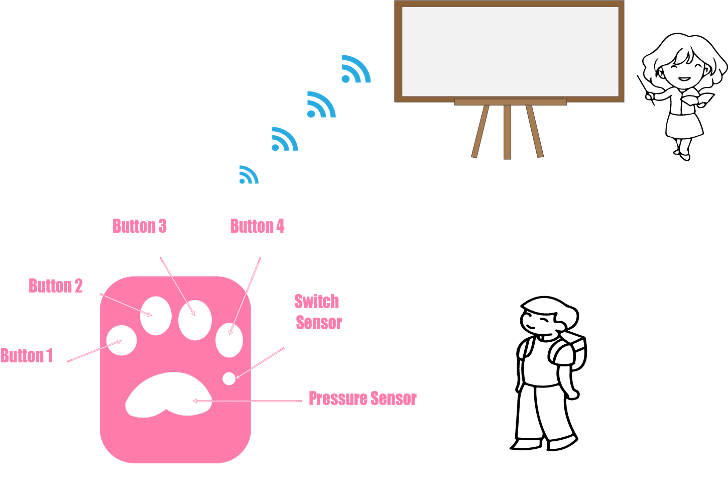
- Then I tried to draw my final project wiht illustrator.
Notes I took
3D Design
- Fusion 360
- Rhino
Fuison 360: For a fusion 360, I learned from YouTube video tutorials "Learn Autodesk Fusion 360 in 30 Days for Complete Beginners!
Here are projects I made and notes I took:
- HOW and WHY to Fully Constrain Your Sketches
- Dimension tricks
- Fully constrain sketched
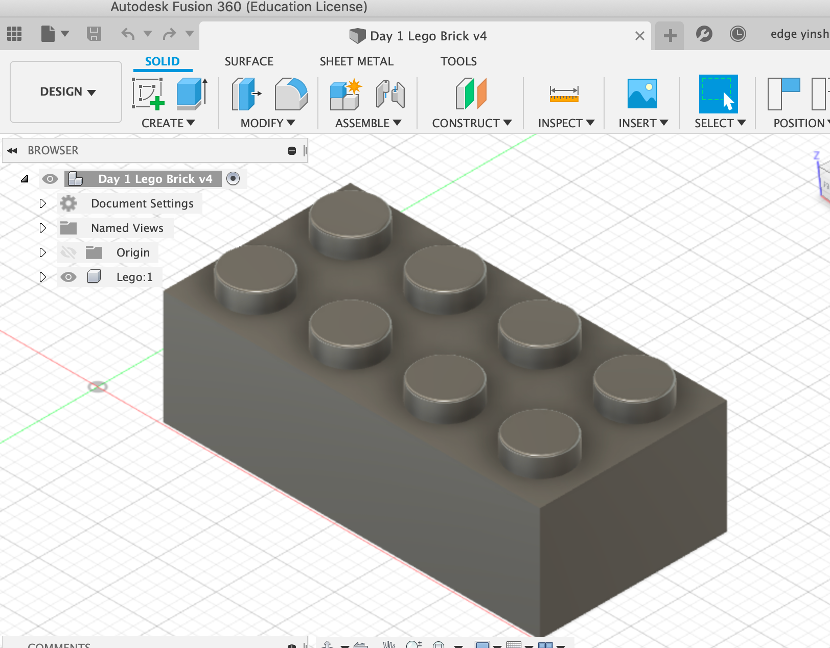
- Day 1 Lego Brick
- 2D sketch
- Extrude
- Shell
- Rectangular Pattern
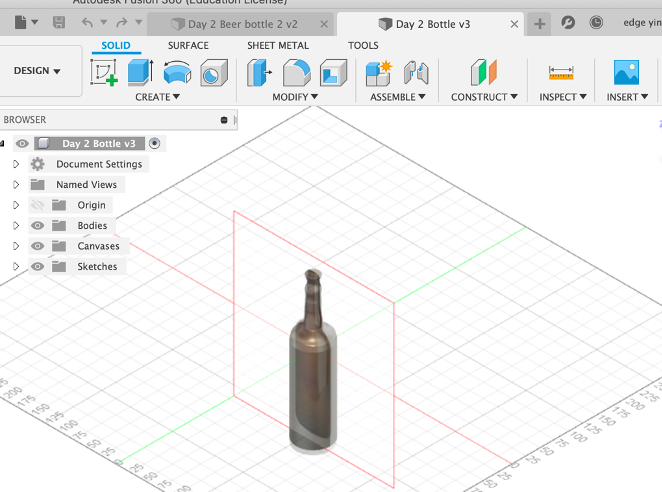
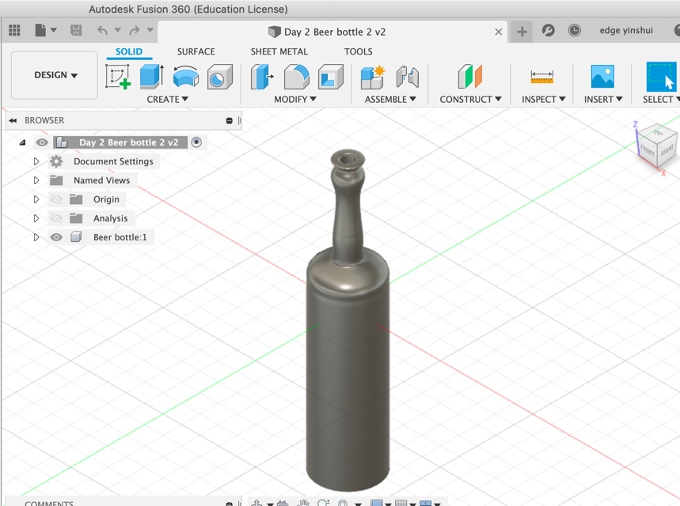
- Day 2 Beer bottle: V1 and V2
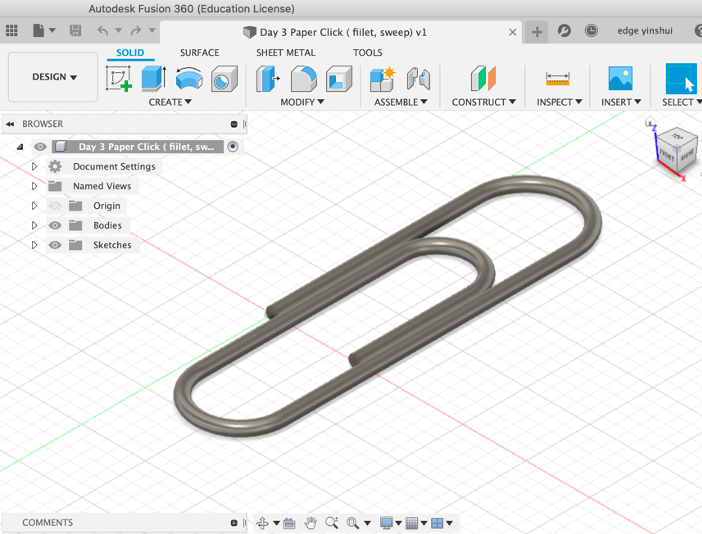
- Day 3 Paper Click
- Line Command
- Sketch Fillets
- Create A Sweep
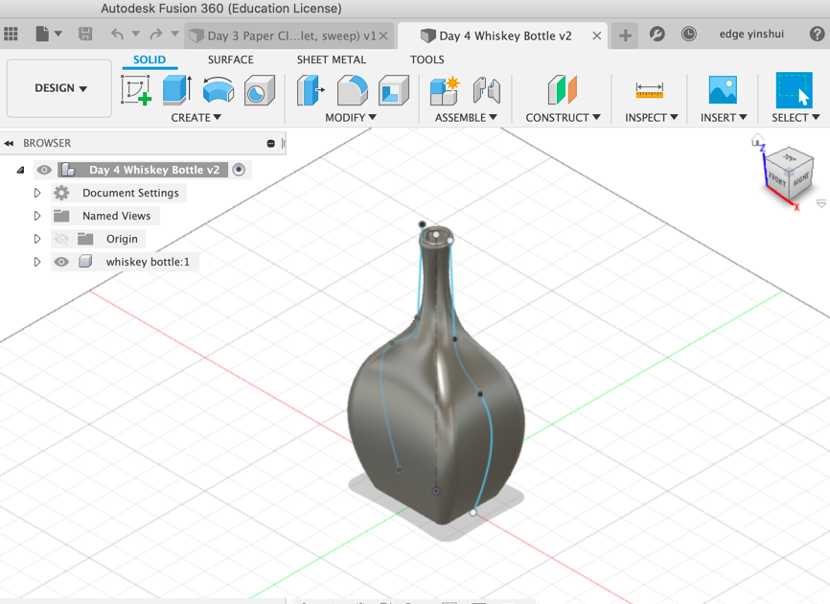
- Day 4 Whiskey Bottle
- Create Offset Planes
- Loft feature
- Create Threads
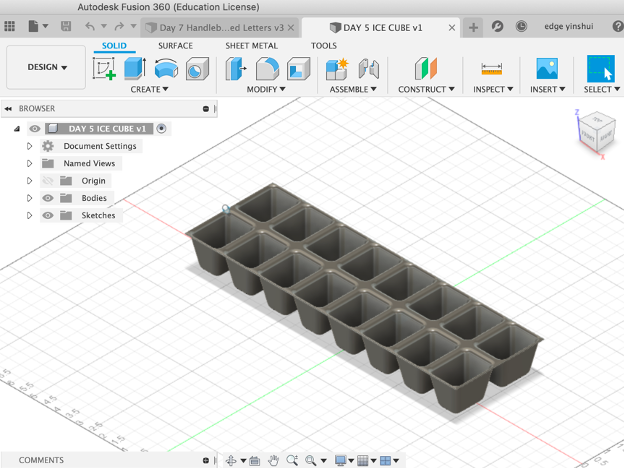
- Day 5 Ice Cube Tray
- Sketch Dimension
- Extrude Cut
- Rectangular Pattern Feature
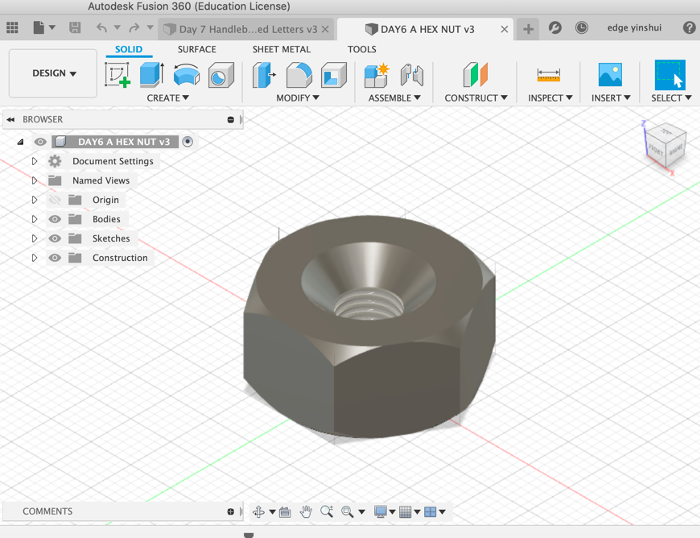
- Day 6 3D Model a Hex Nut
- Ploygon Sketch
- Mirror Feature
- Create Midplane
- Hole Feature
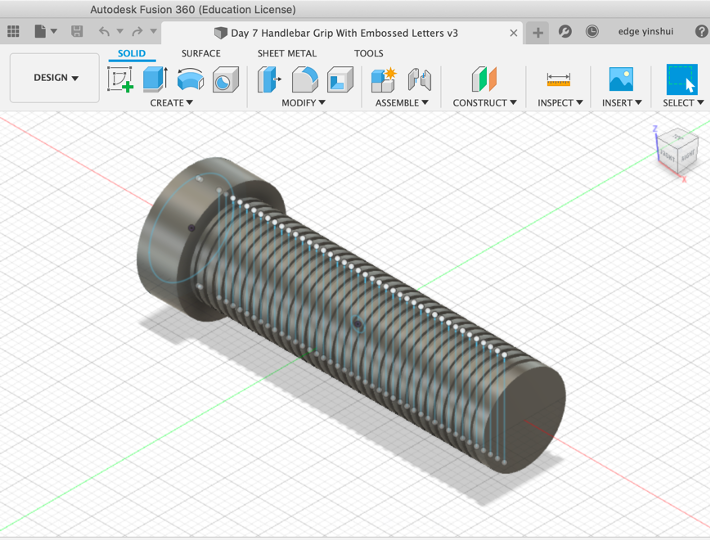
- Day 7 Handlebar Grip Embossed Letters
- Press Pull
- Creat Text
- New Body
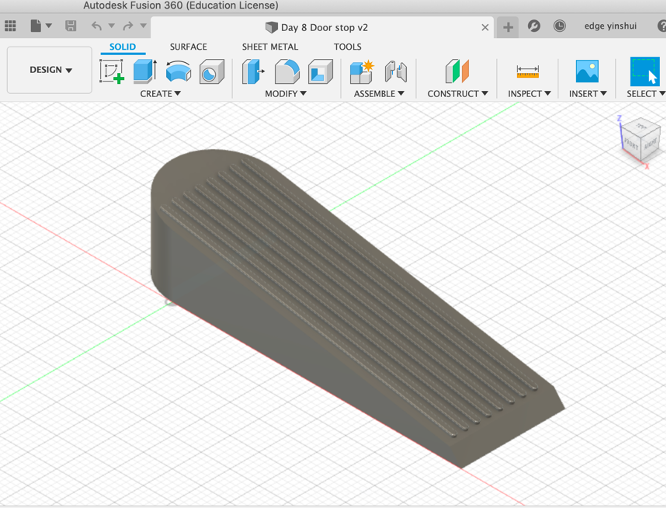
- Day 8 Door Stop
- Box Feature
- Cylinder Feature
- Chamfer Tool
- 2 Tangent Circle
- Construction Lines
- Draft Feature "Sometime you extrude failed because 2D shape is not a close shape."
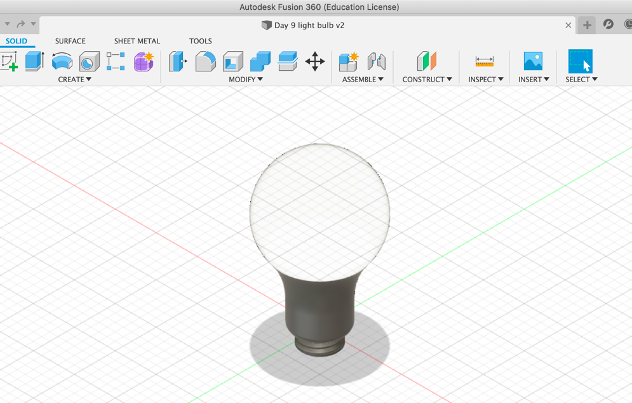
- Day 9 Light Bulb
- Sphere Feature
- Thread Tool
- Chamfer Tool
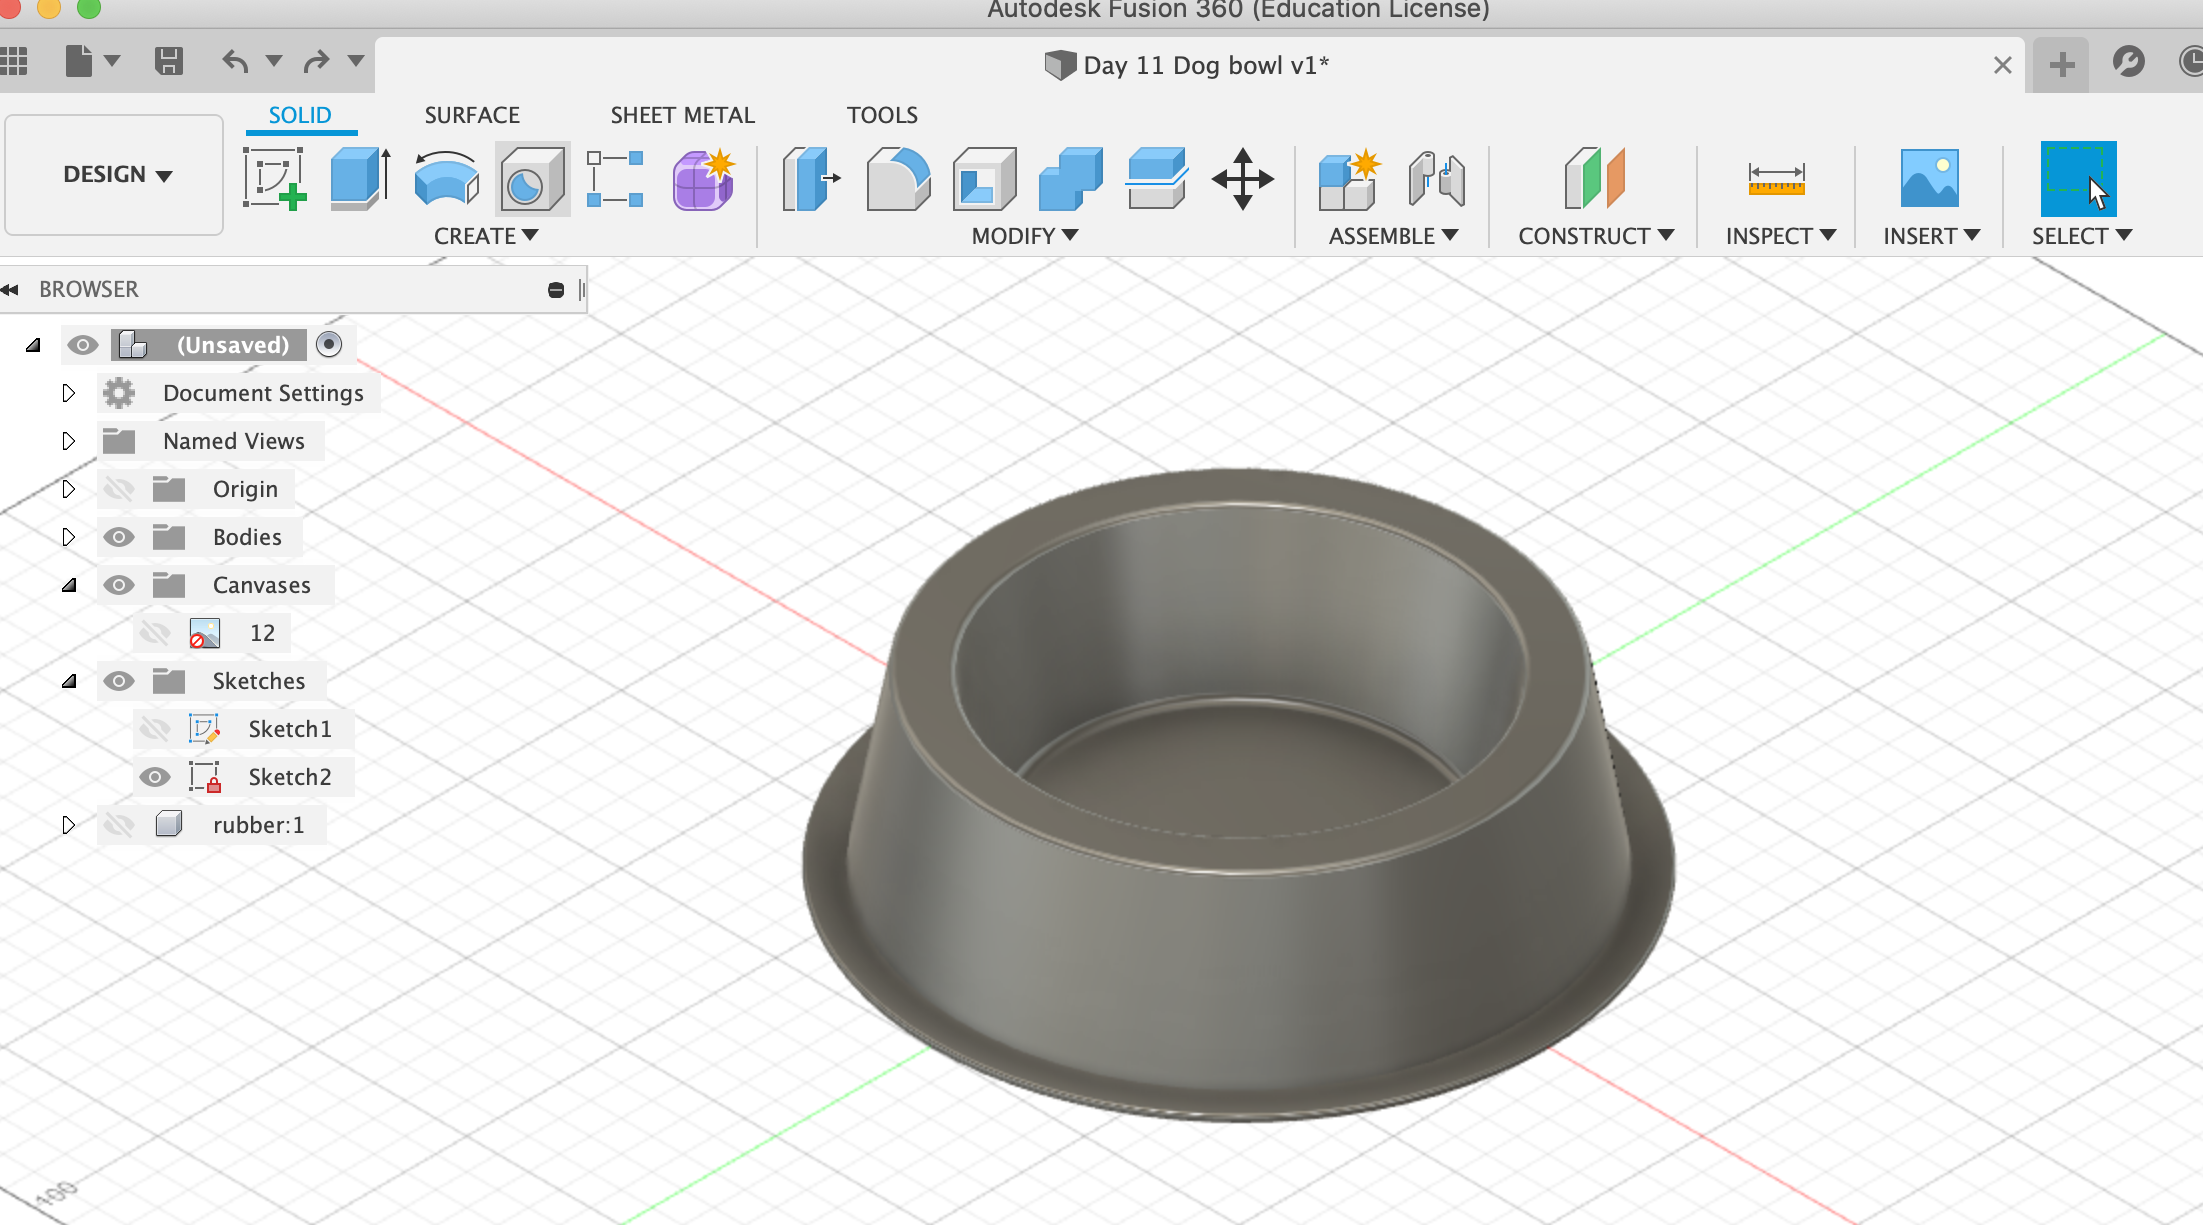
- Day 11 A Dog Bowl
- Set Constraints
- Fix/Unfix Sketch Lines
- Section Analysis
- Offset and Thicken ( Patch Workspace)
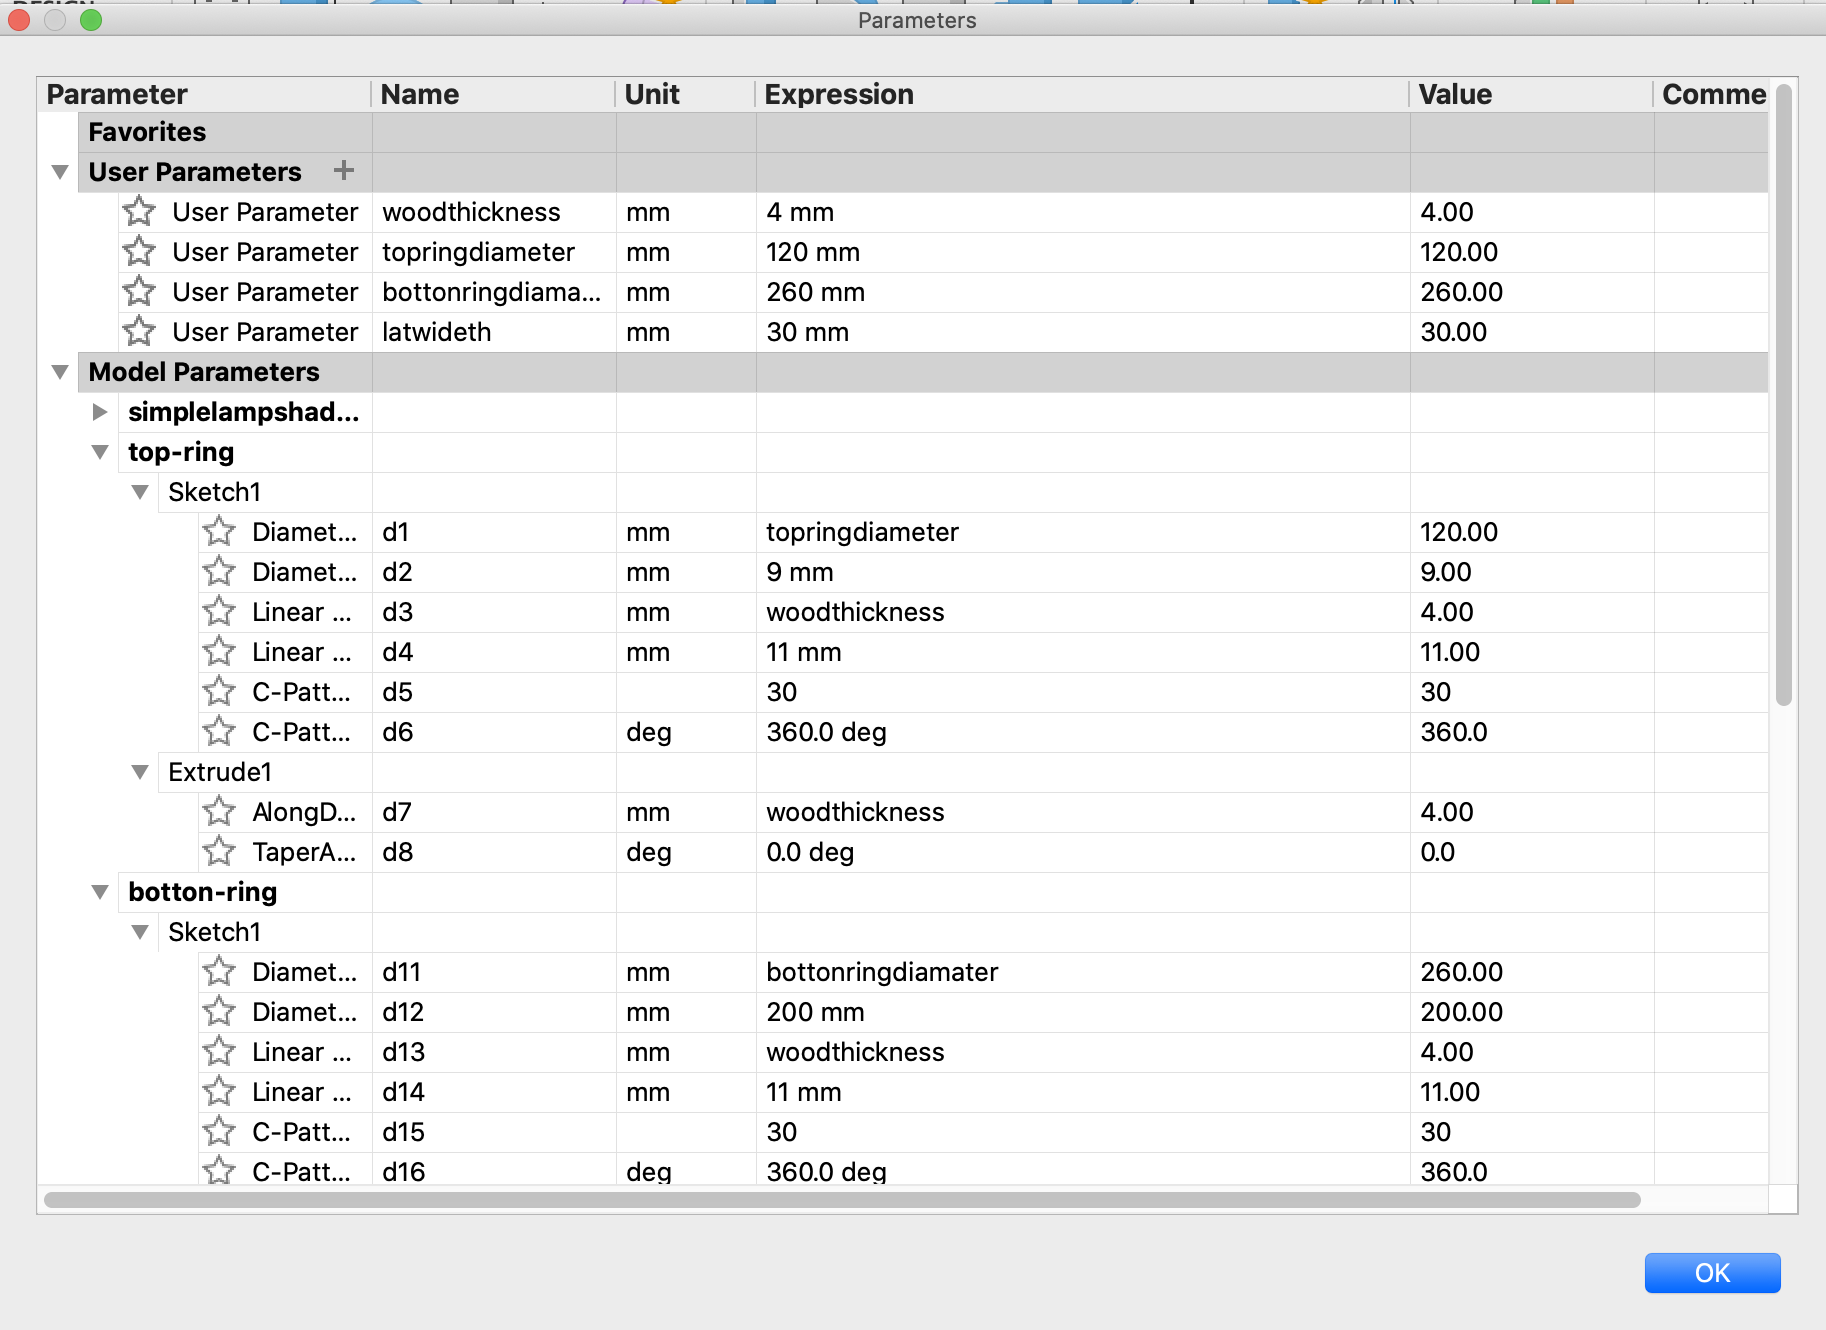
Paremetric Design lampshade with Fusion
With paremetric design I can change materiel thickness and the size of lampshade to fit in different space.
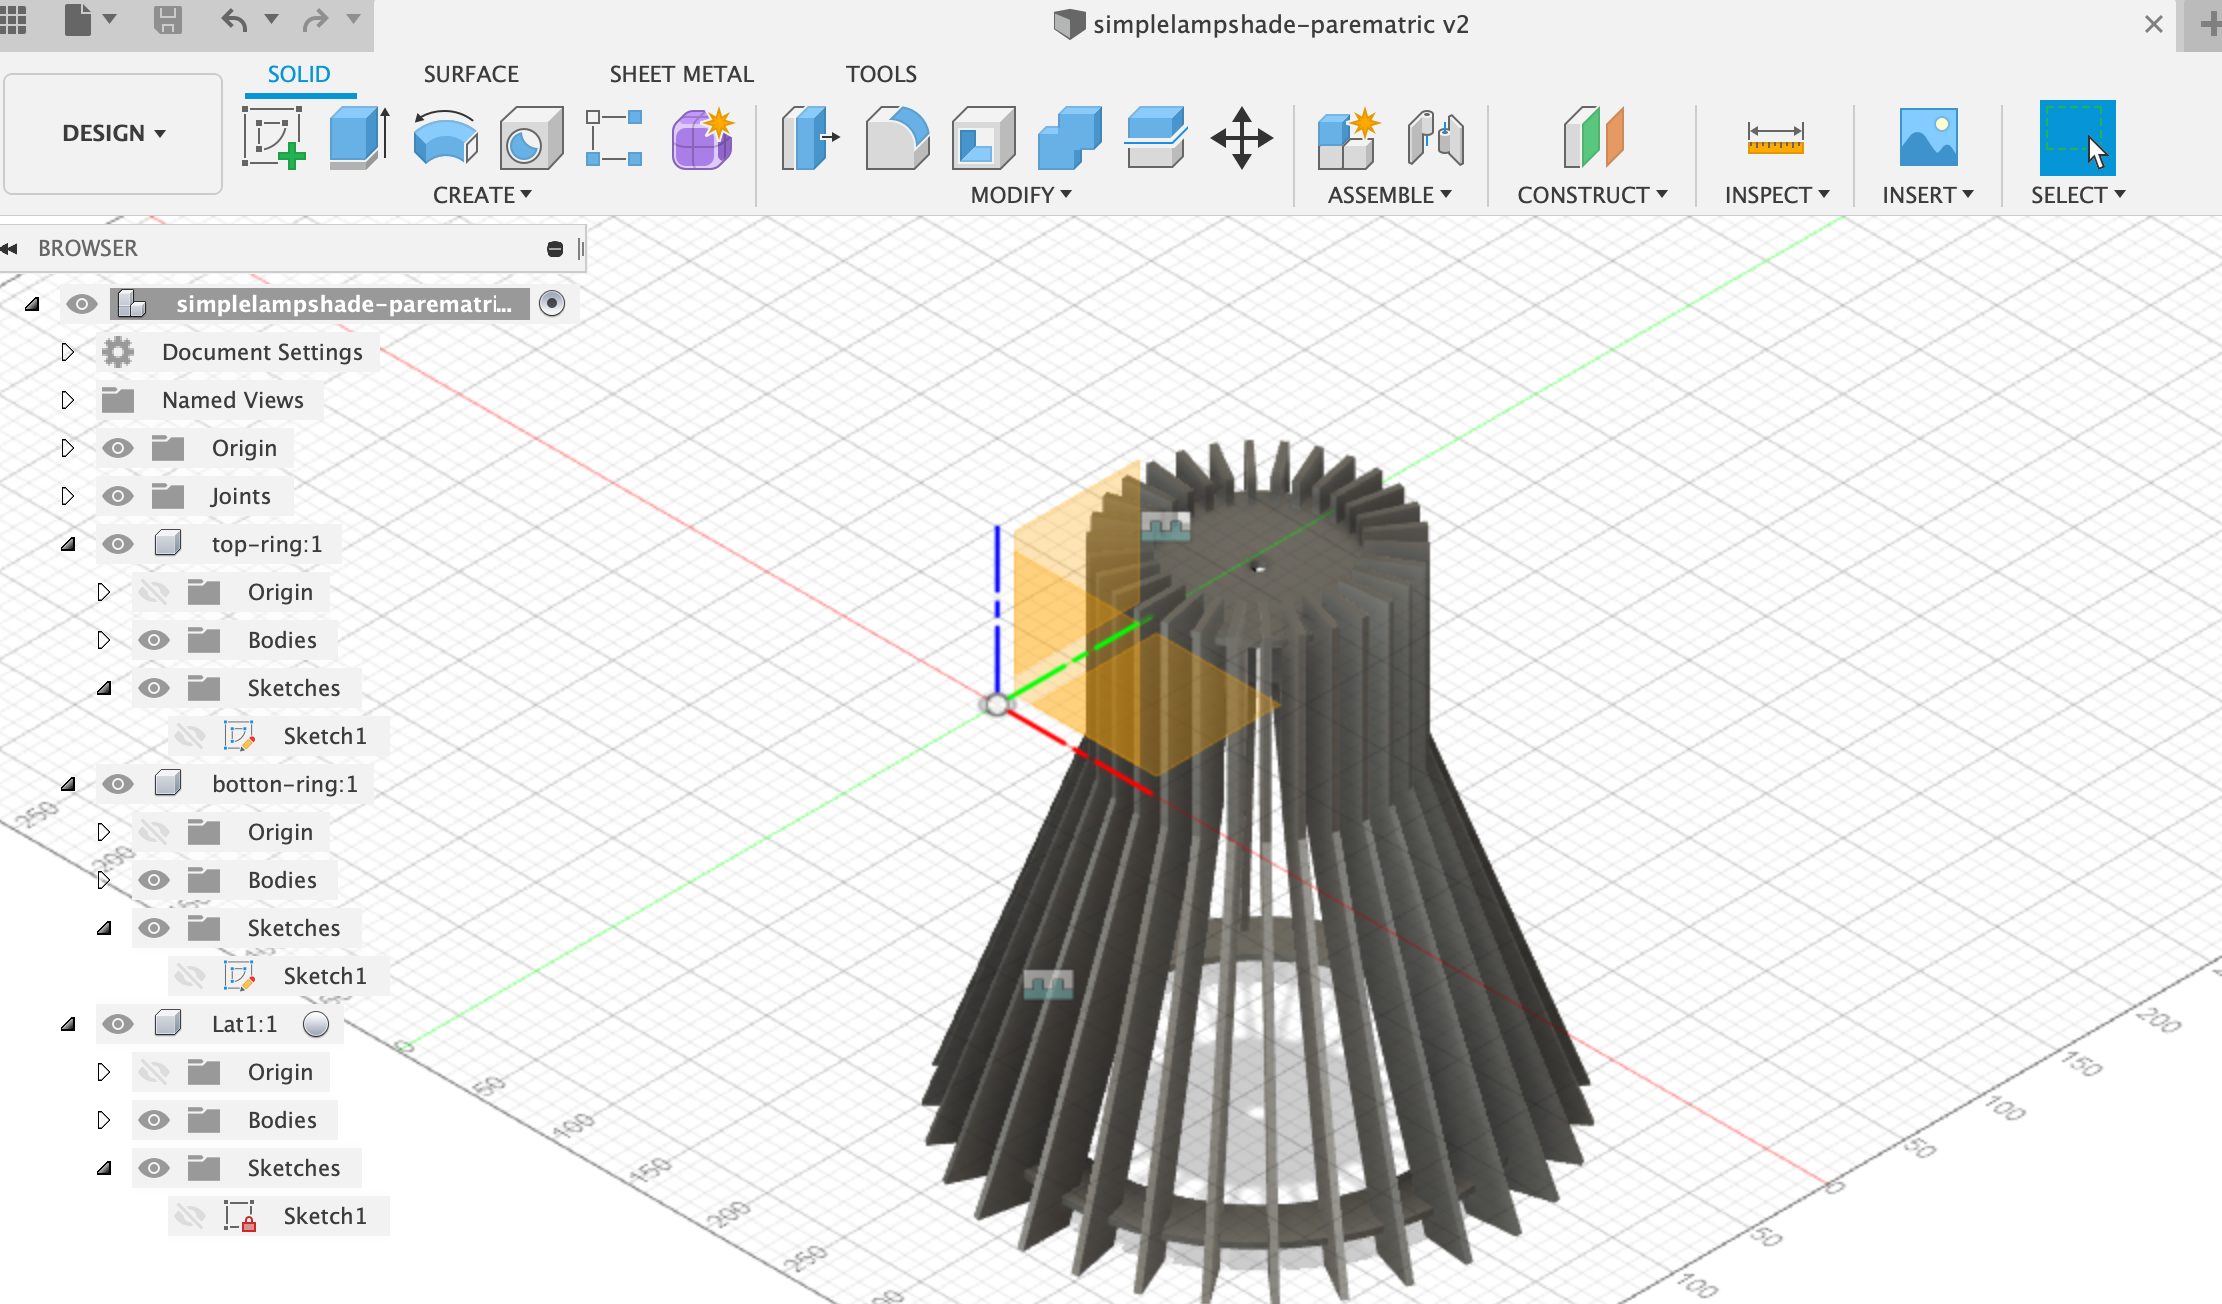
* Here is the download link of paremetric lampshade of lampshade
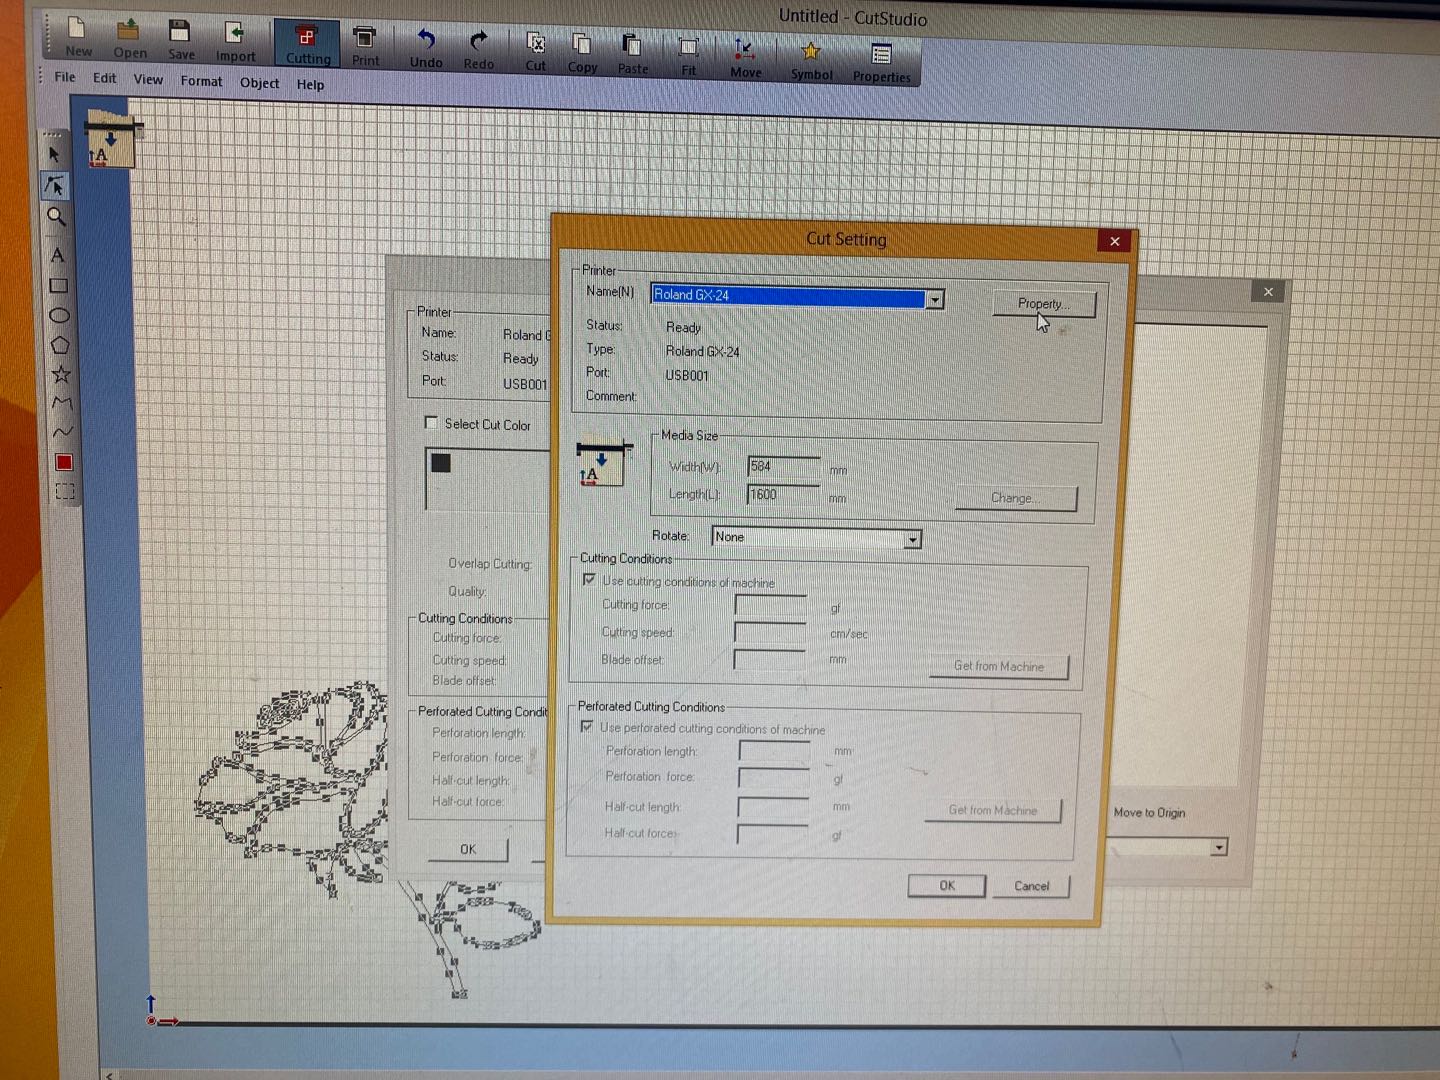
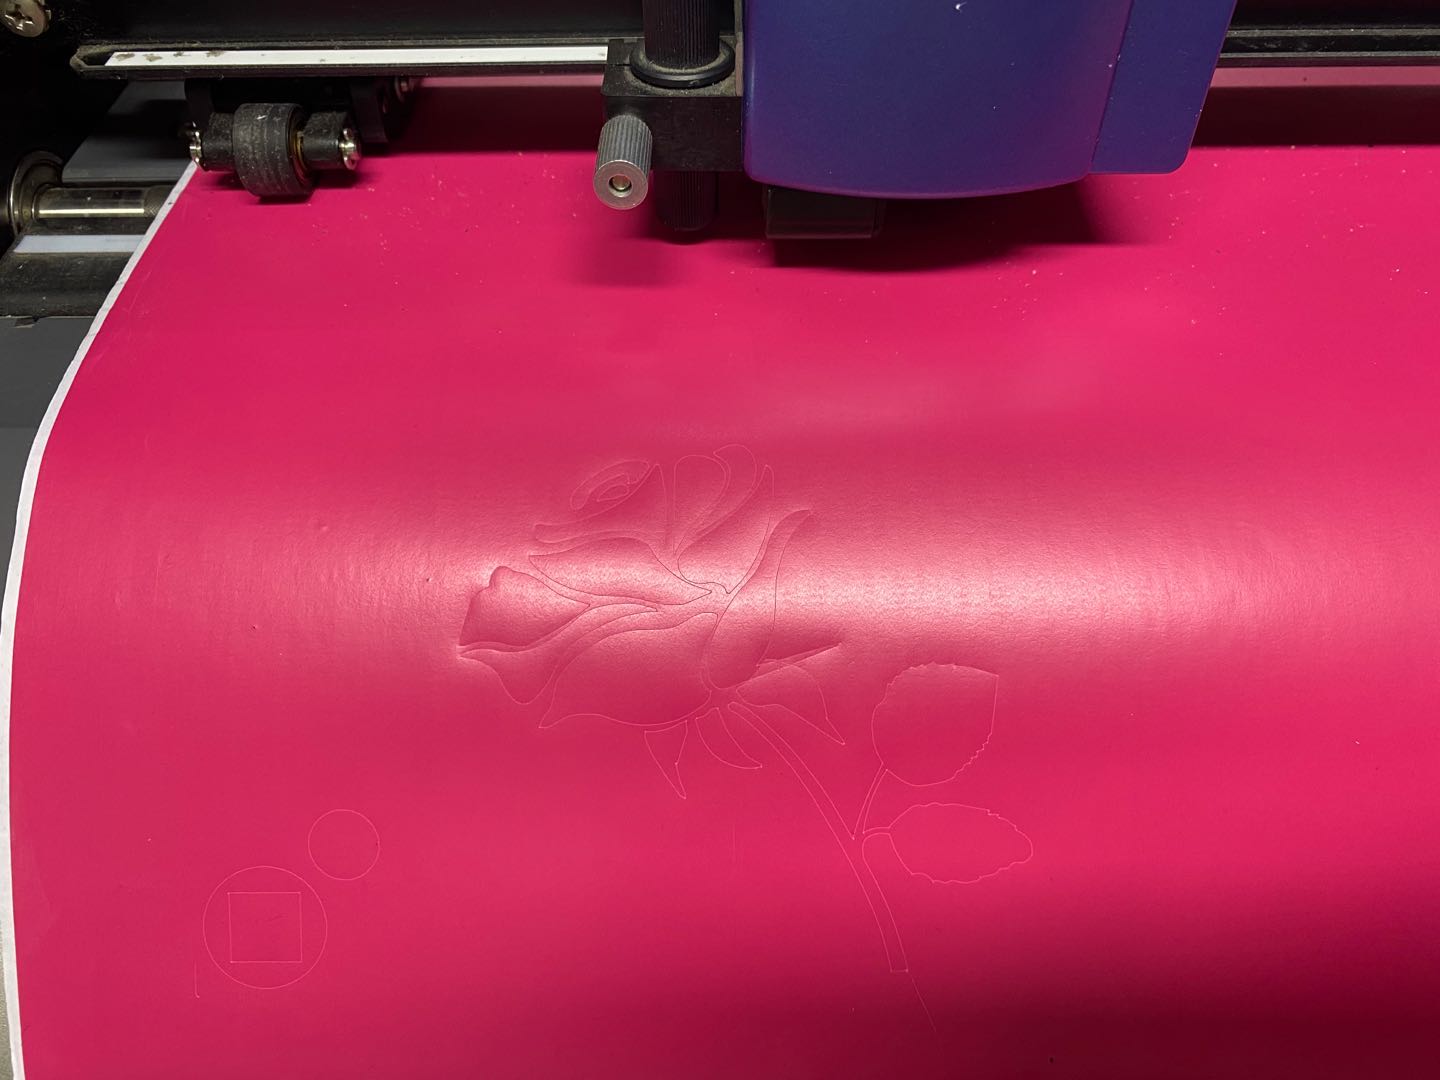
Vinylcutter design
For vinylcutter I decide to cut some folower stickers for sewing meachine. I found a rose picture online and use Cut studio to creat path for machine.
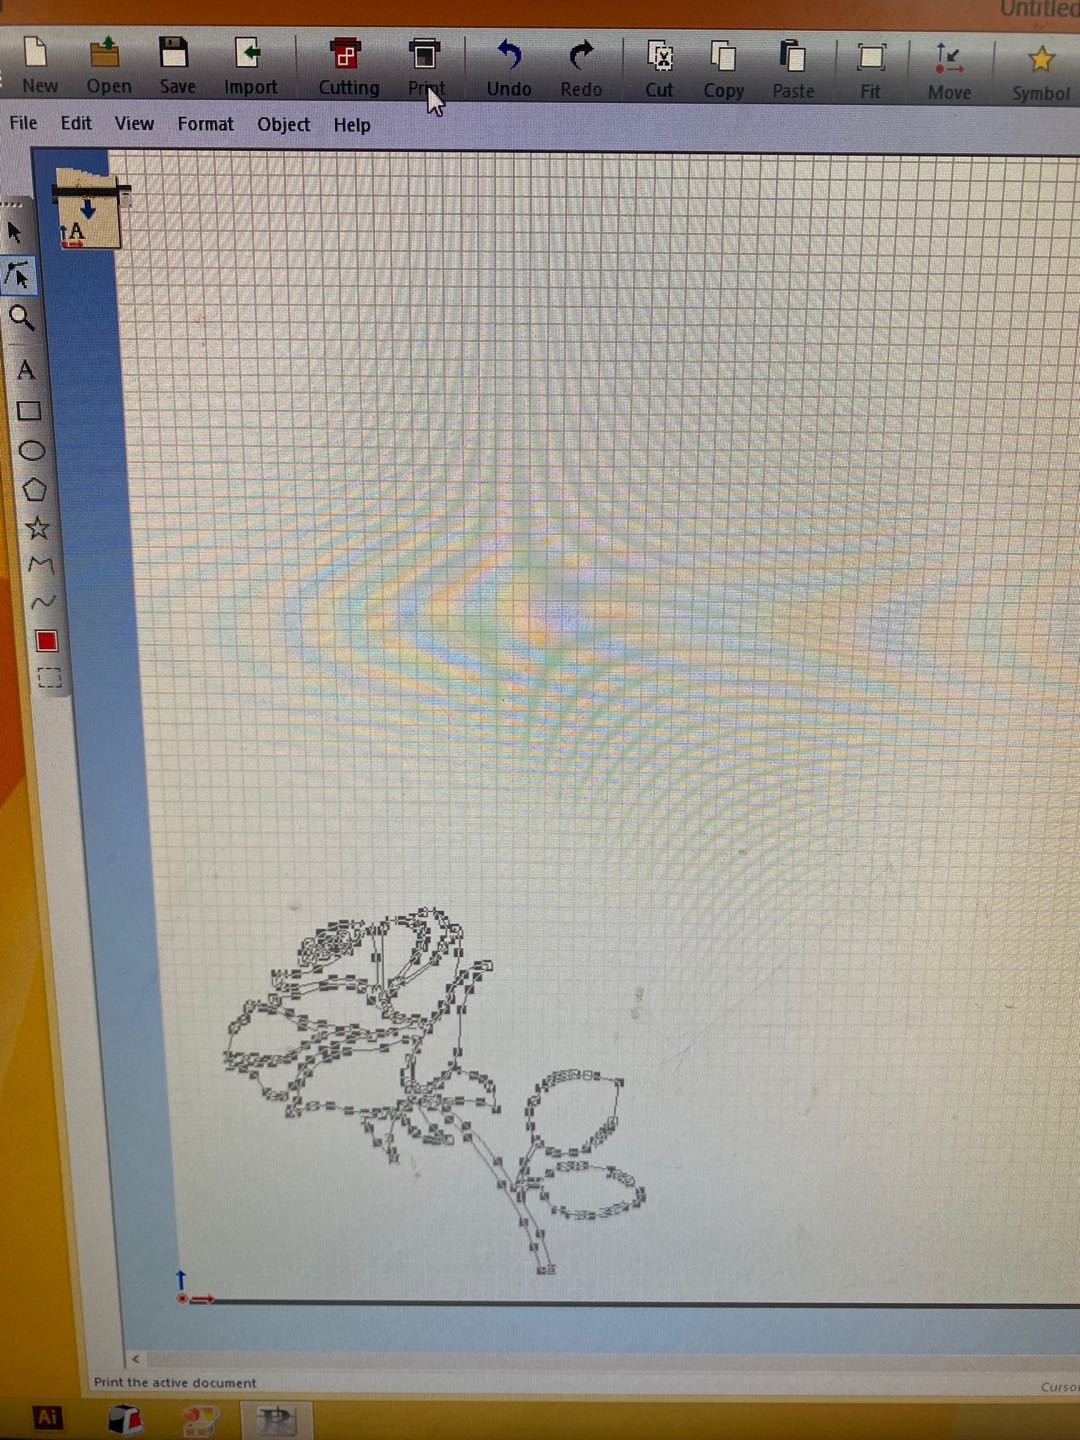
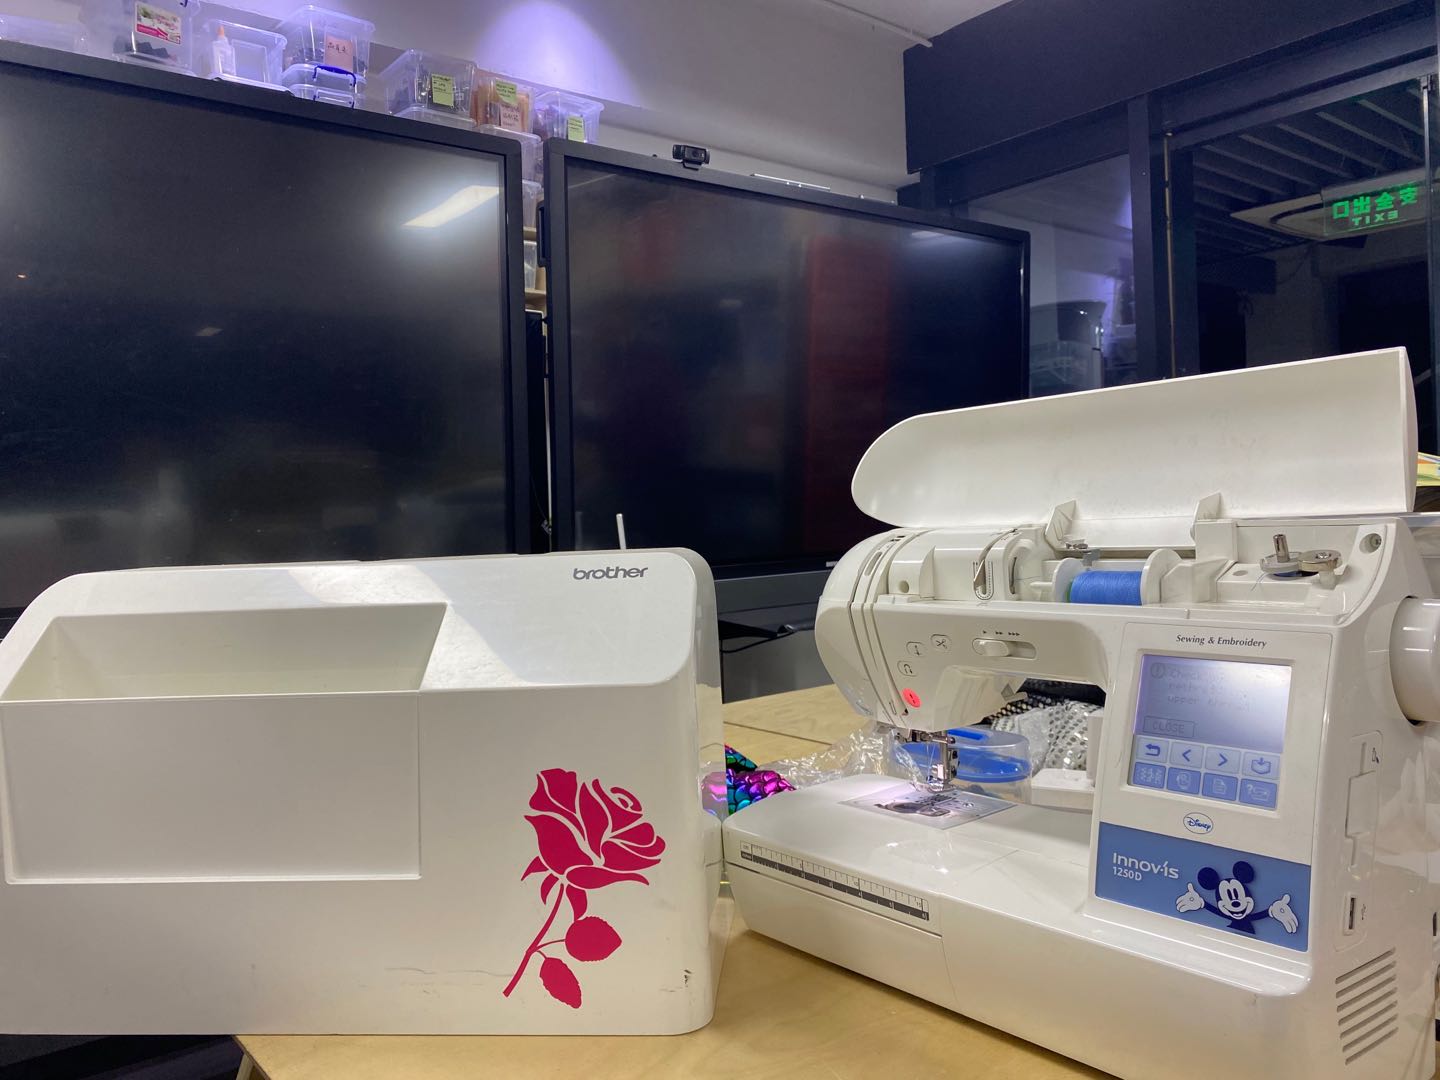
I use tape to transfer this cut on sewing machine.It looks like granny's sew machine now.
My final project
First I drew it in illustrator