Machine Design
Me, Rajesh and Filippo worked in the stepper motor automation in parallel to the costruction of the mechanical system for the realization of the firegun.
Bipolar Stepper motor costruction
Datasheet
I made the stepper motor boards and automation with our tutor Antonio.
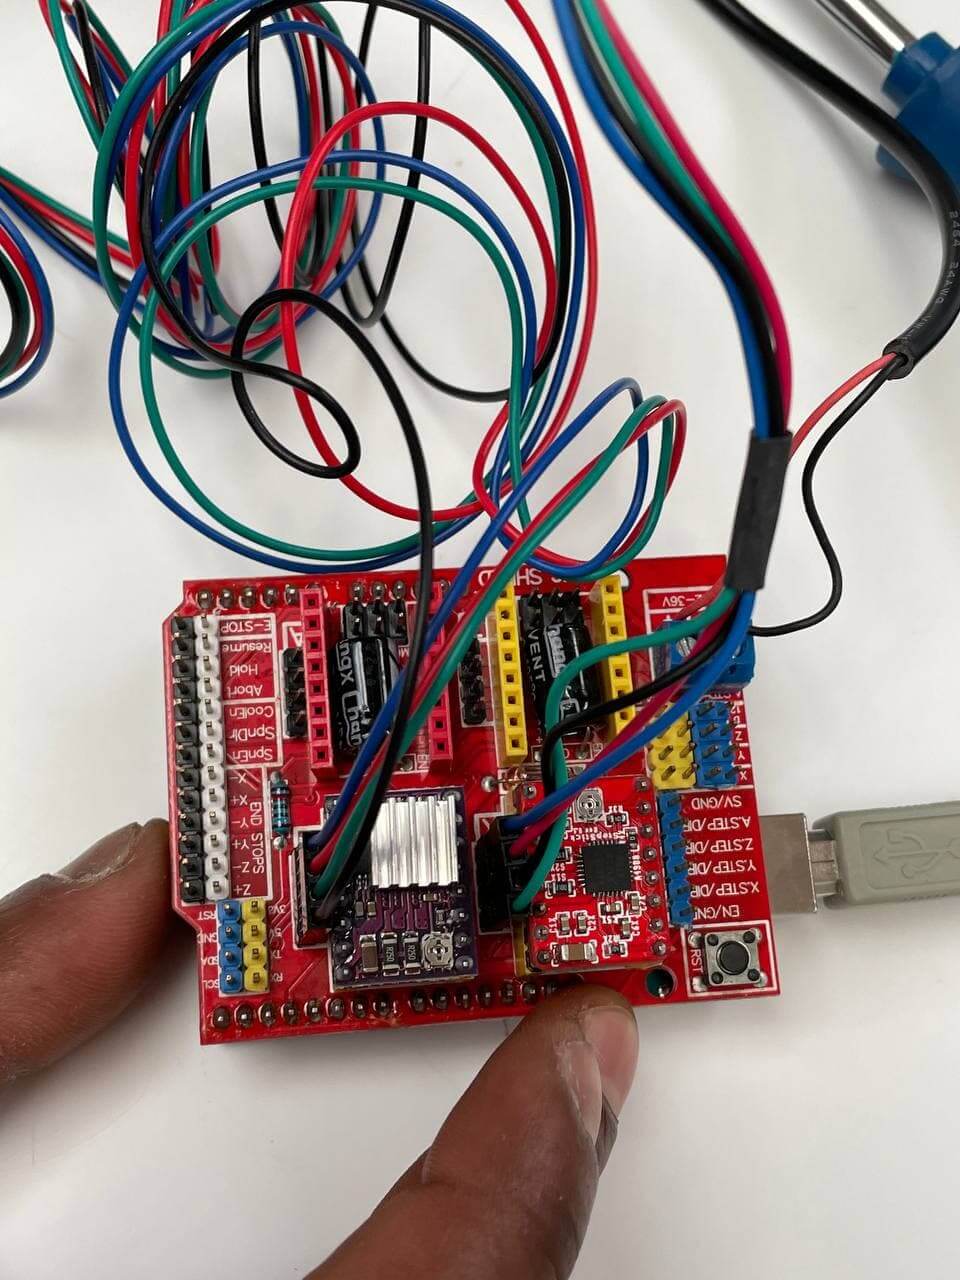
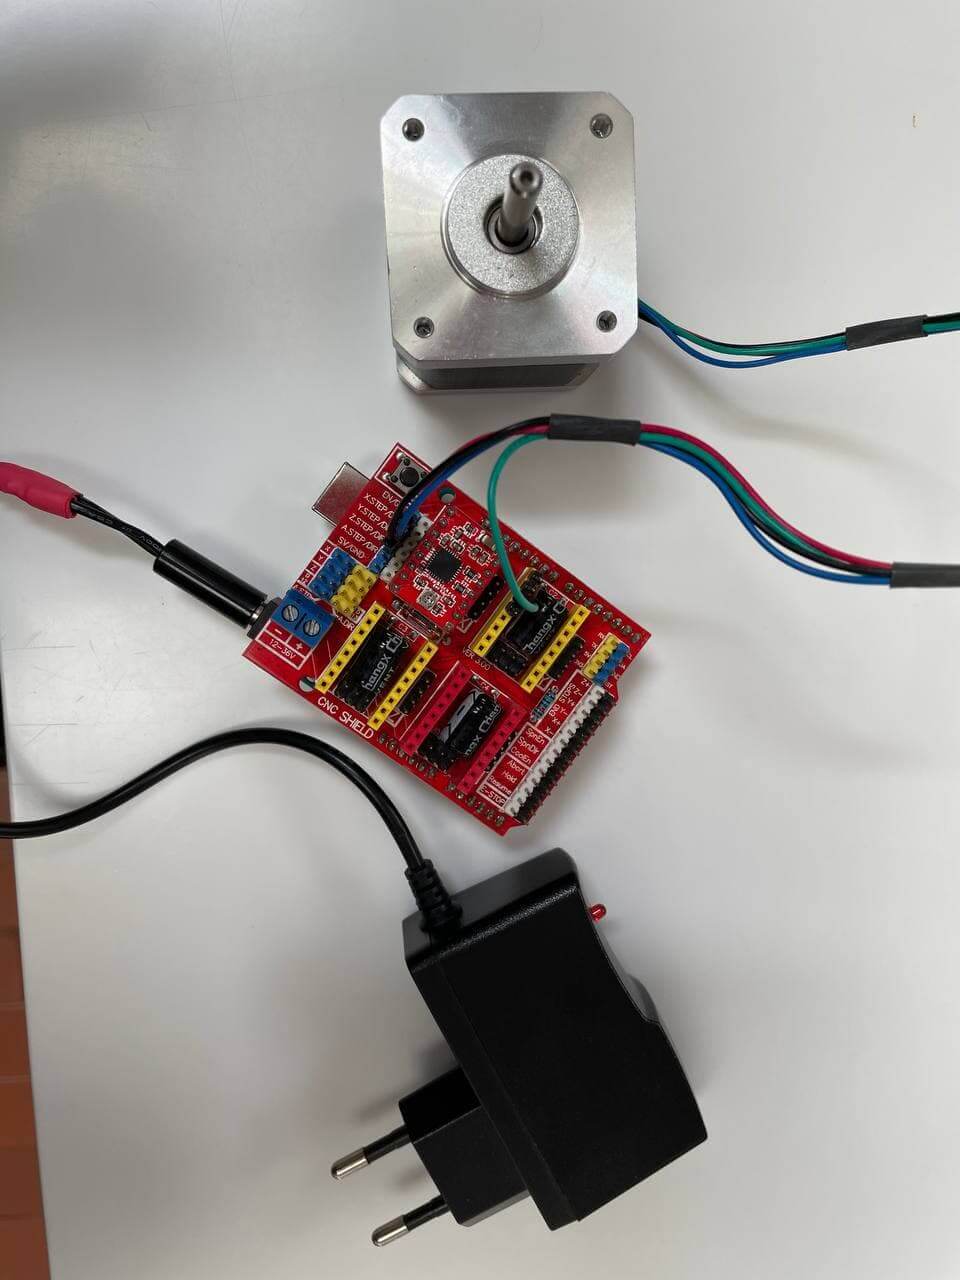
To actuate a stepper motor we need to connect an Arduino UNO to a shield. On the shield we're going to connect a diver. The driver allows the shield to host a stepper component on the board.
In order to understand how to connect the parts we looked for the datasheet of the steppermodel looking for: the serial number of the component (42BYGHM809) + datasheet.

Board
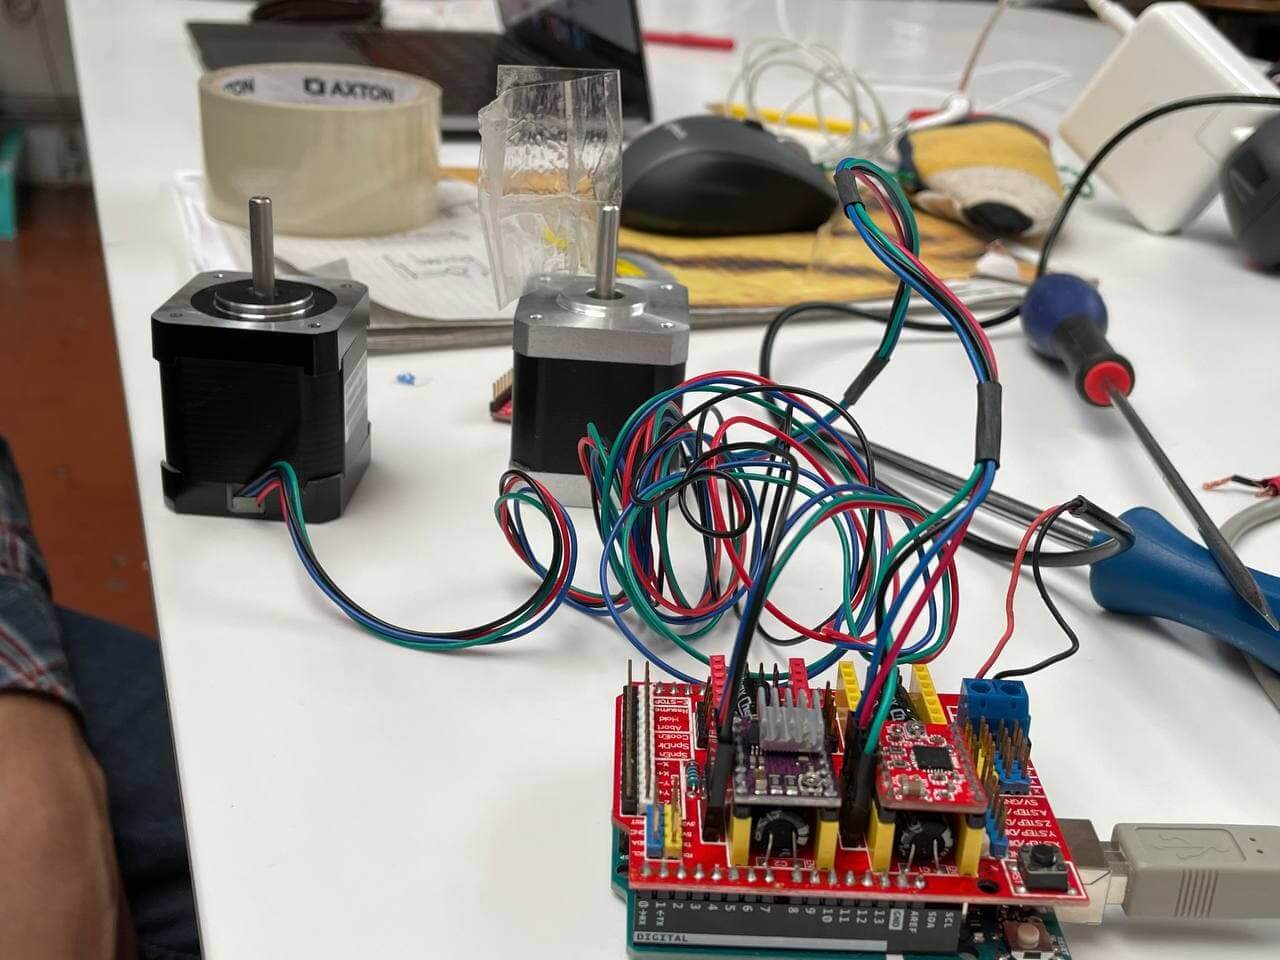
We connected the Arduino, the shield and the driver to the motor stepper.
In order to connect the board to the electrical source I cut a cable and connected it to the +- of the shield.
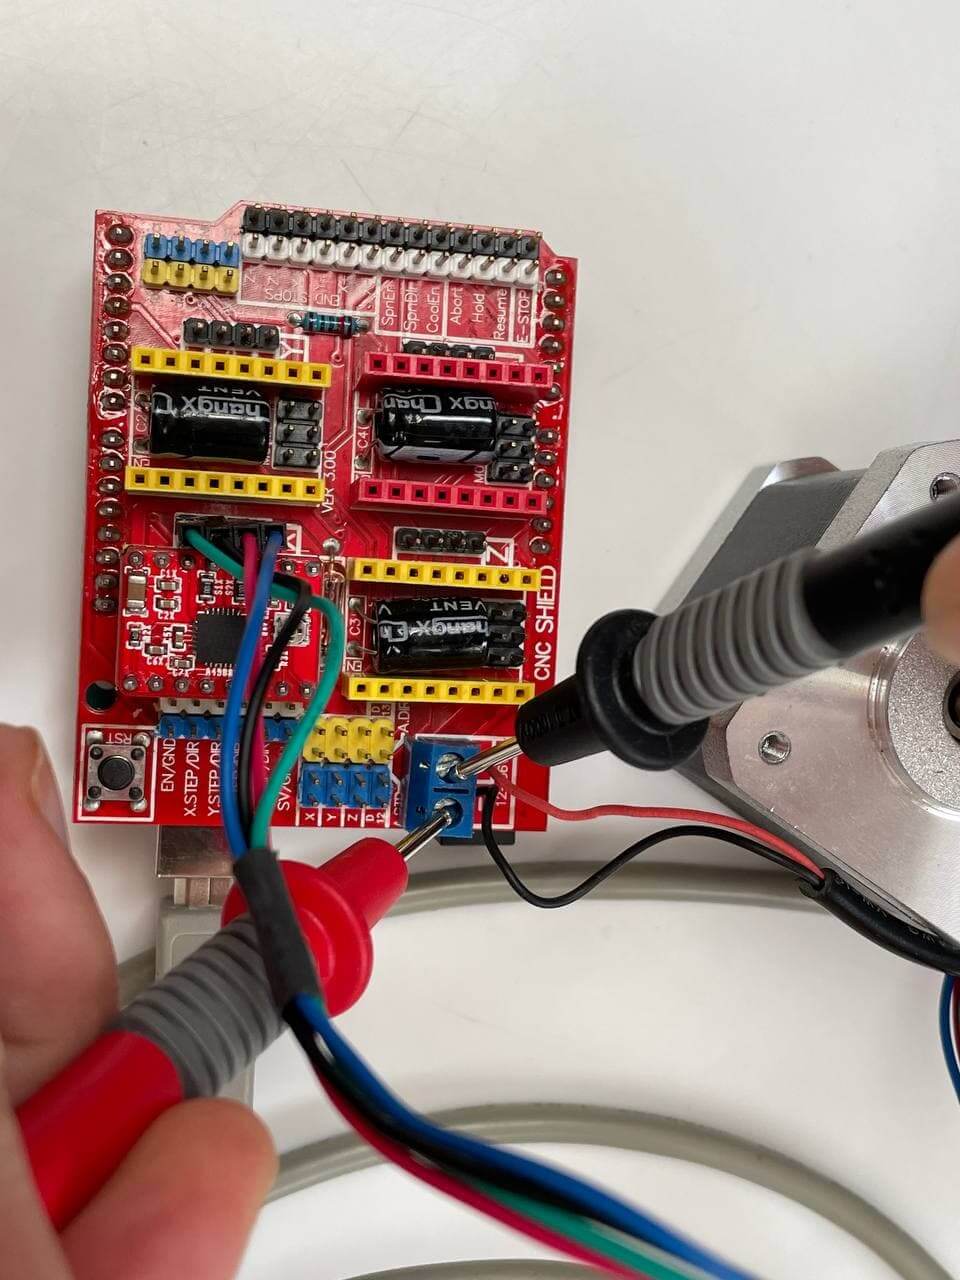
We did a check of the functions of the board activation with a multimeter, connecting the red to the + and the black to the -.
The check succedeed with 12V result.
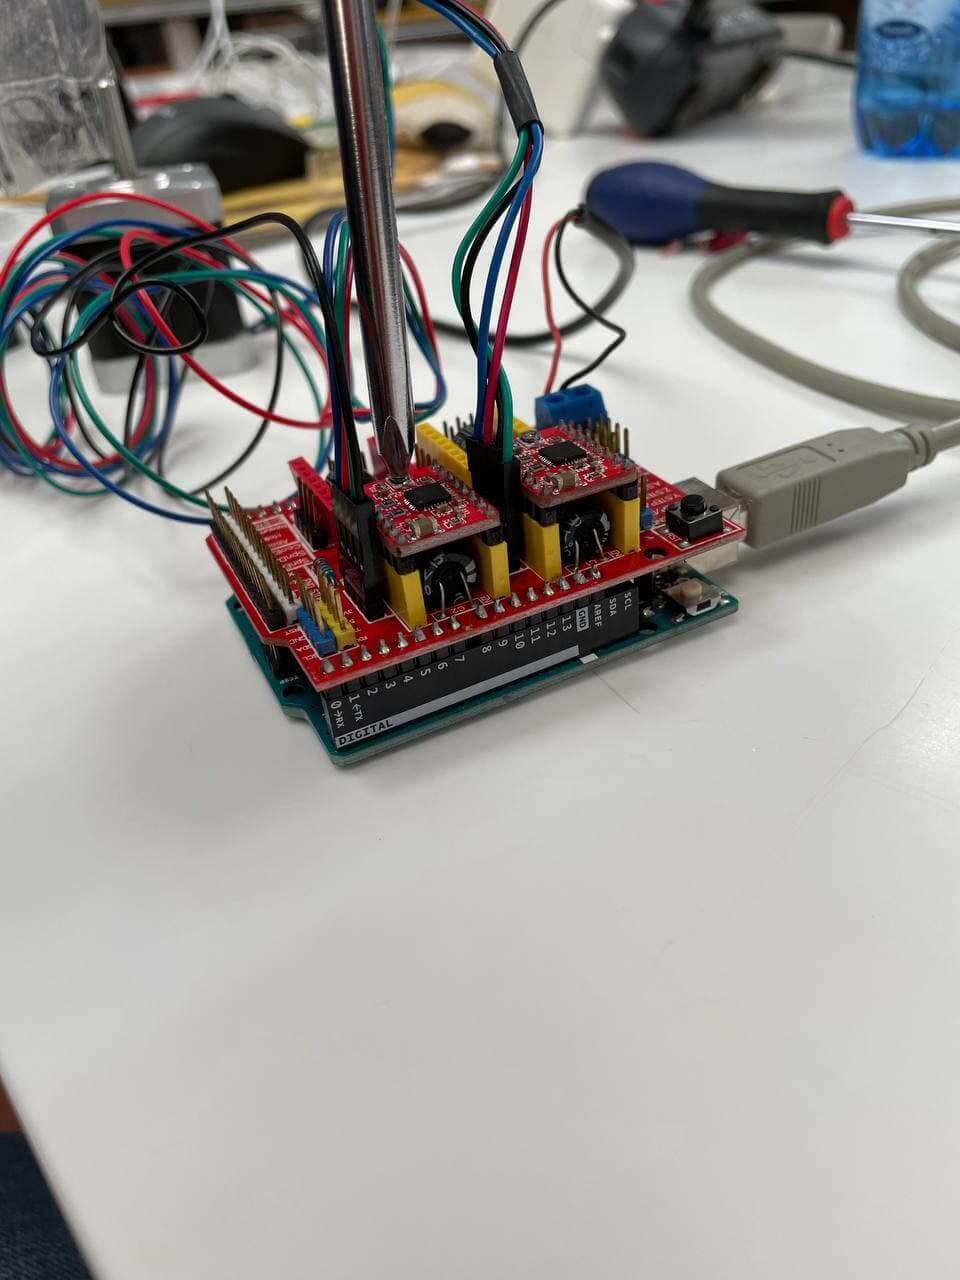
In order to regulate the electrical current that comes to the stepper-motor we have to change the gittering, with the gittering screw on the driver.
The symptom of a badly regualted gittering, for example, is that the stepper motor would shake.
Arduino
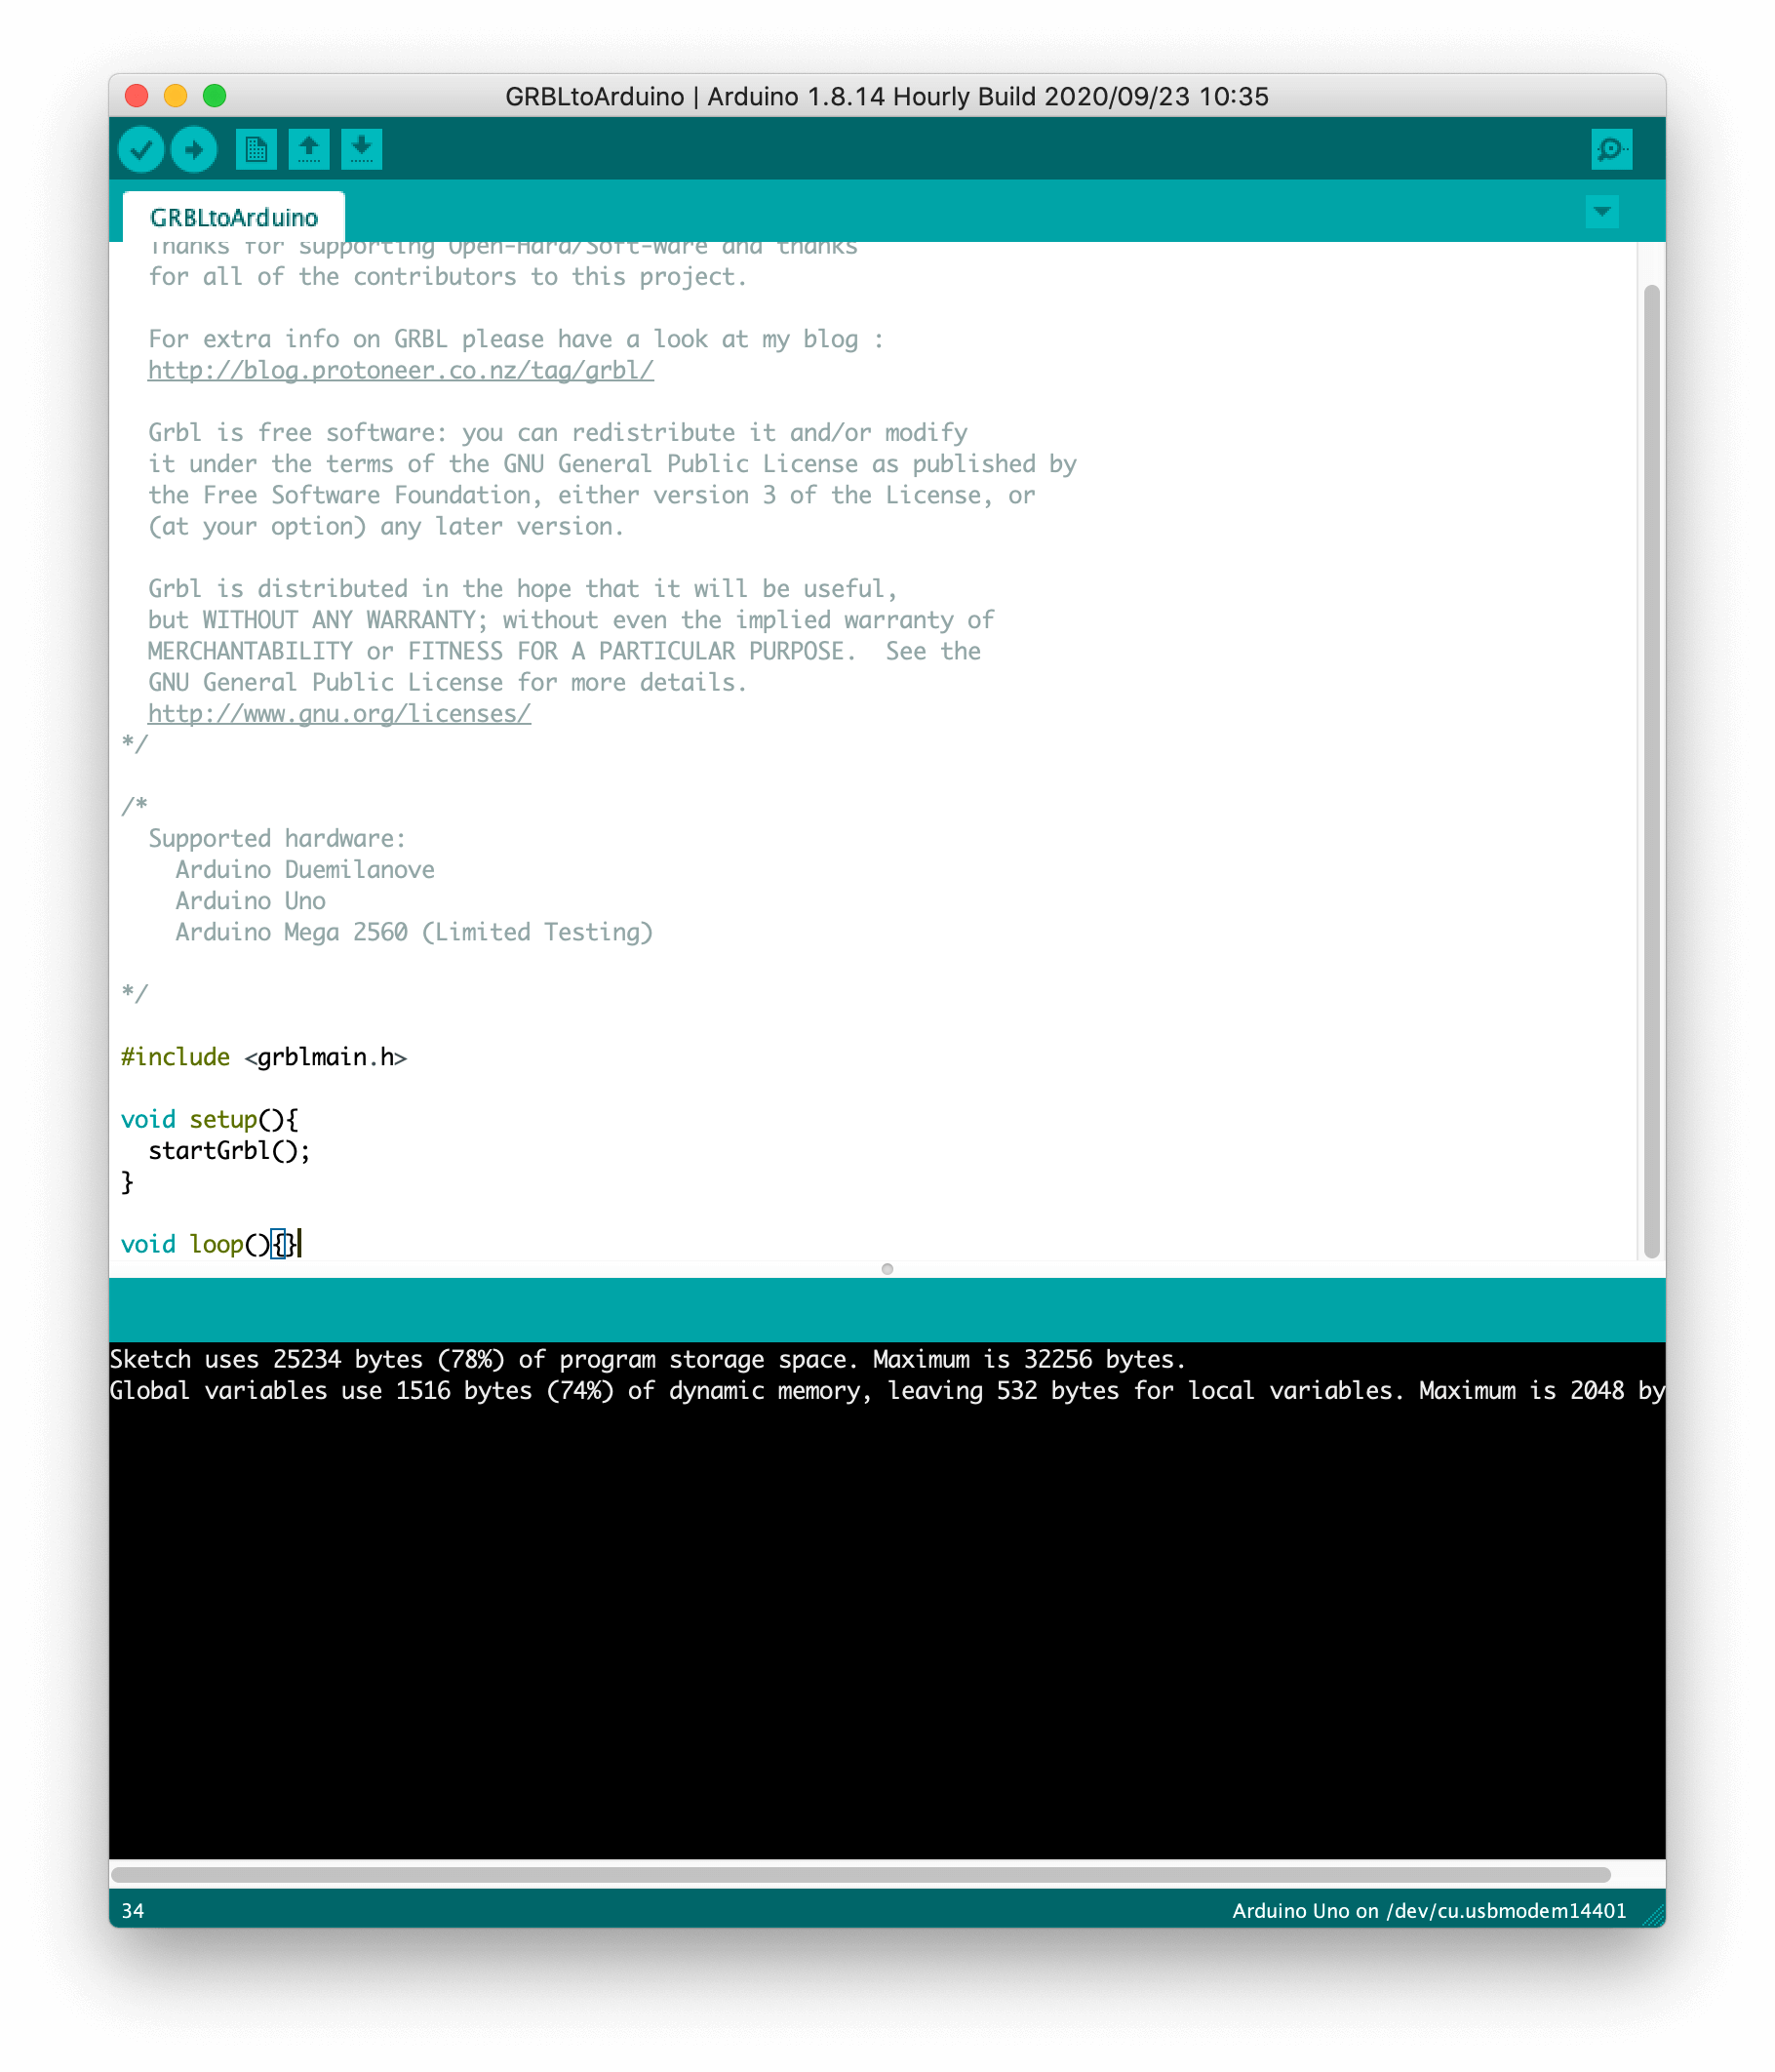
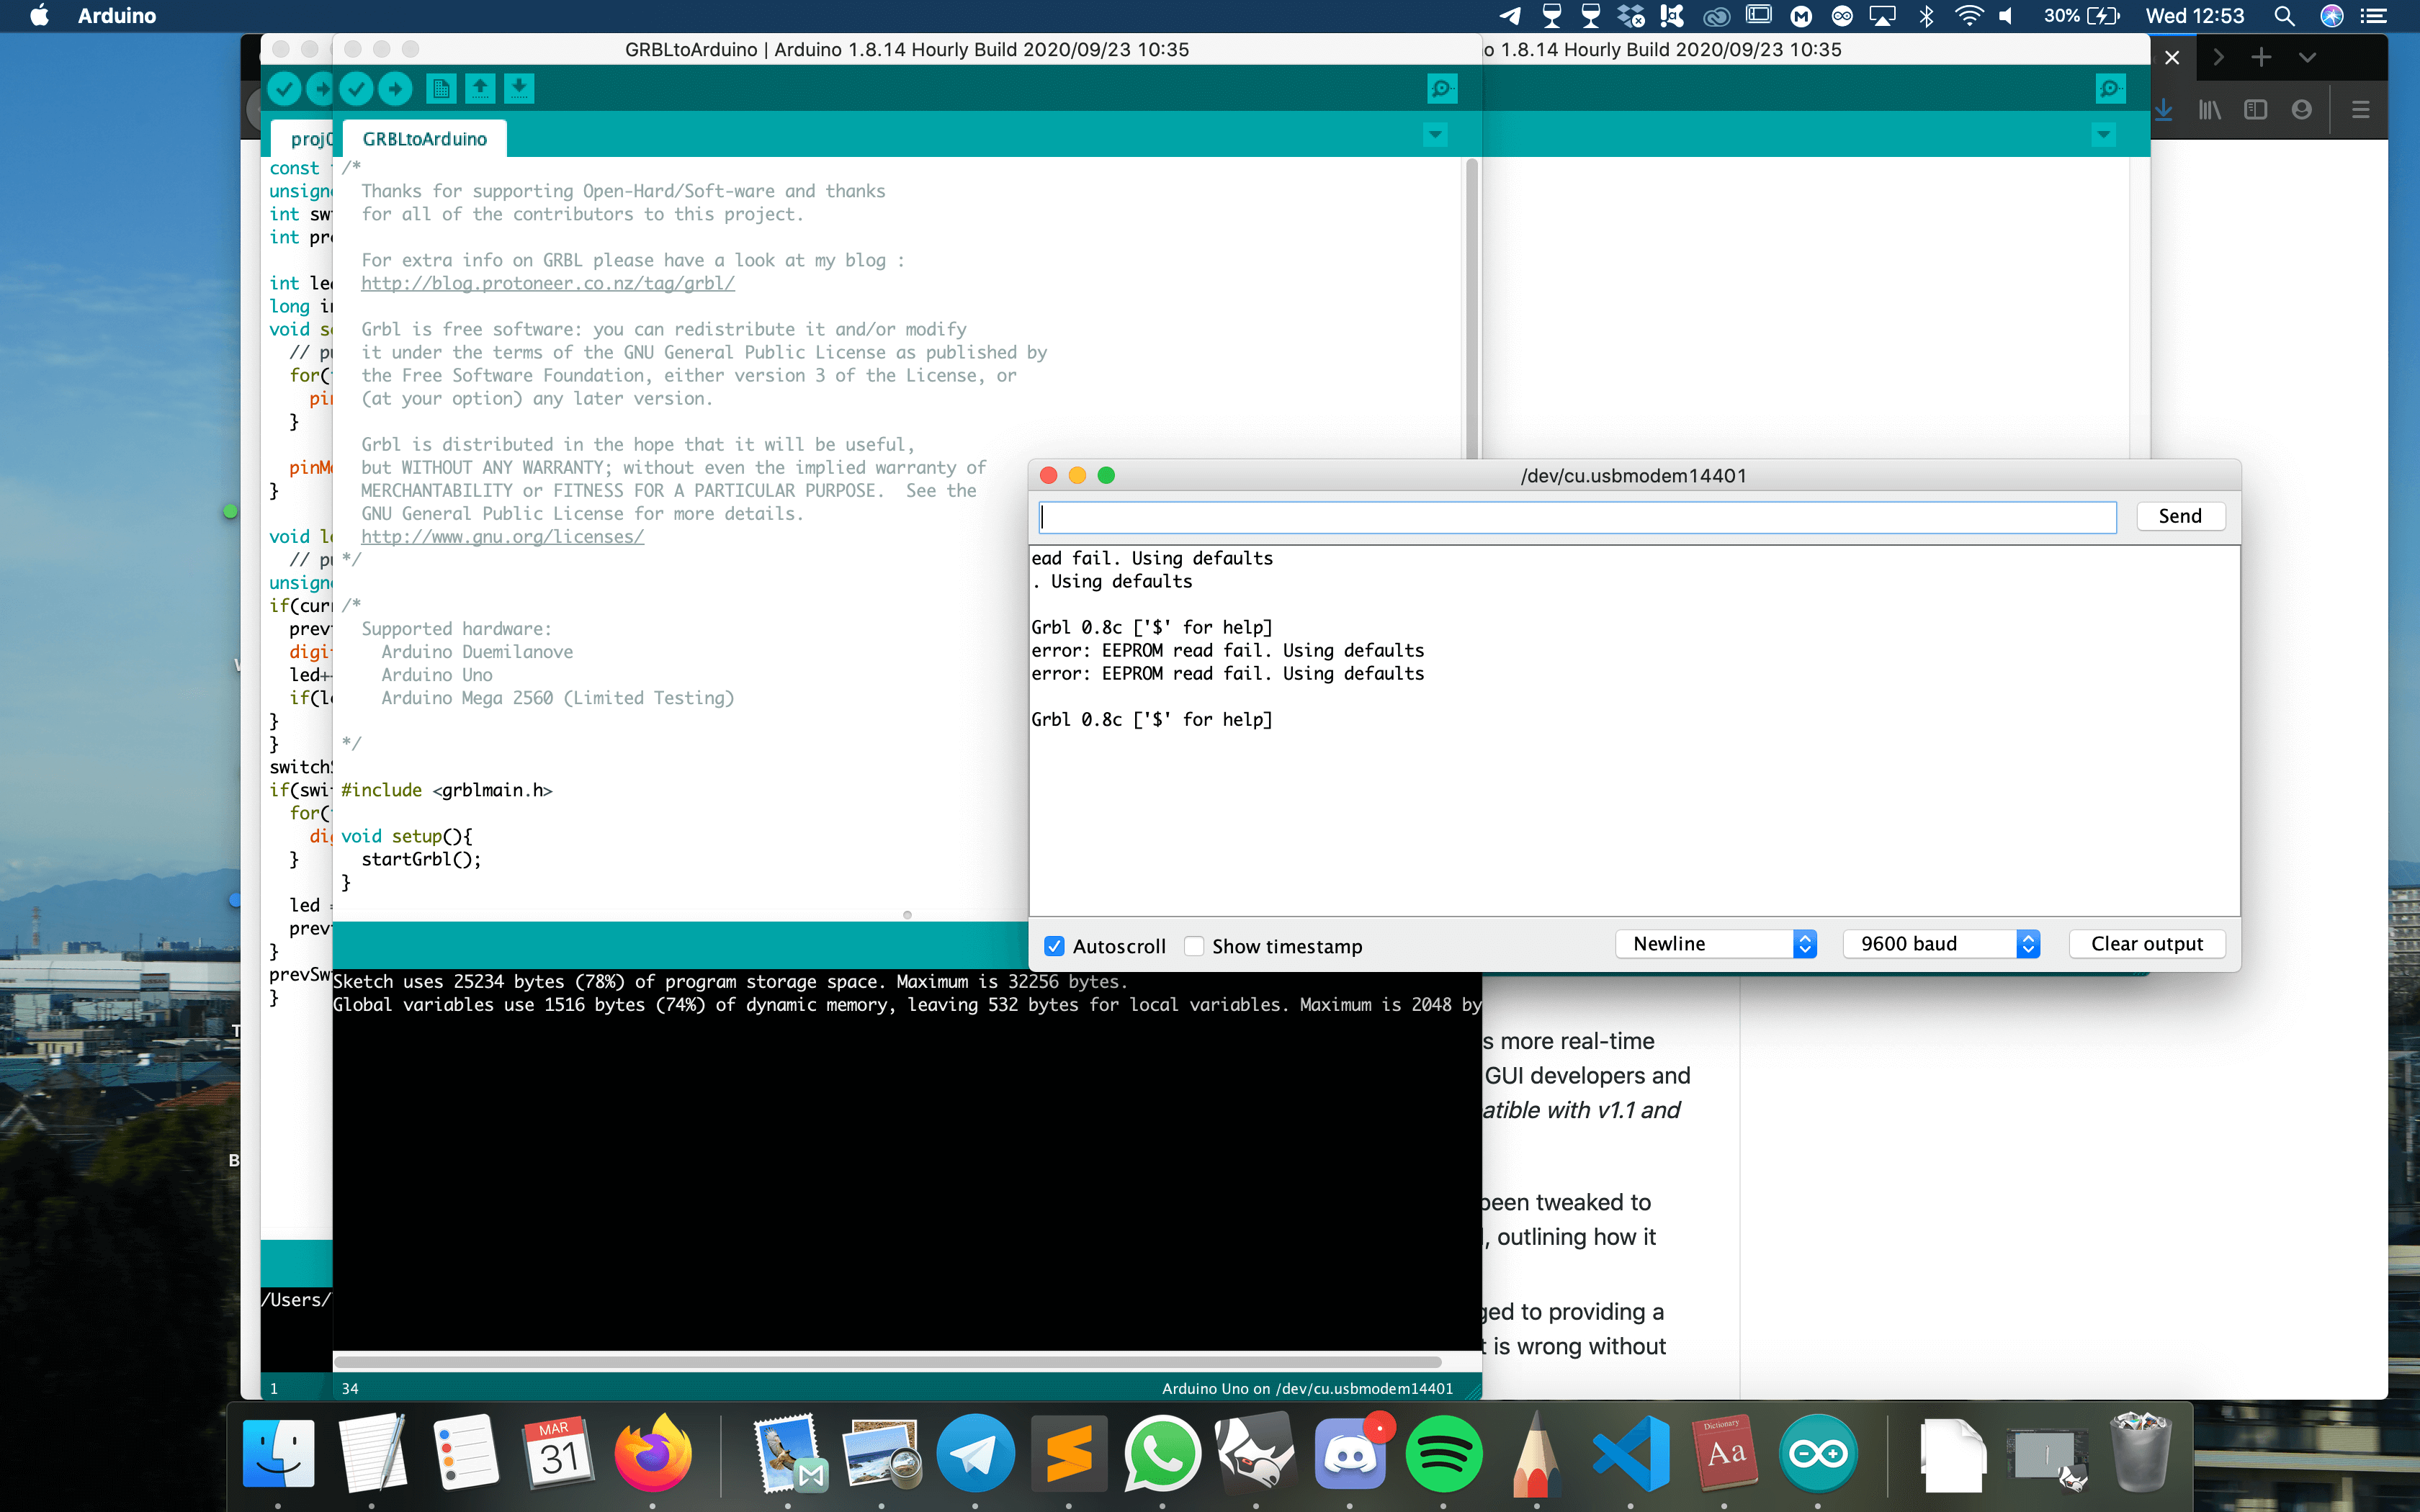
Then we installed theGRBL, a firmware to be installed on Arduino. The library allows the Arduino to activate the stepper motor with a gcode.
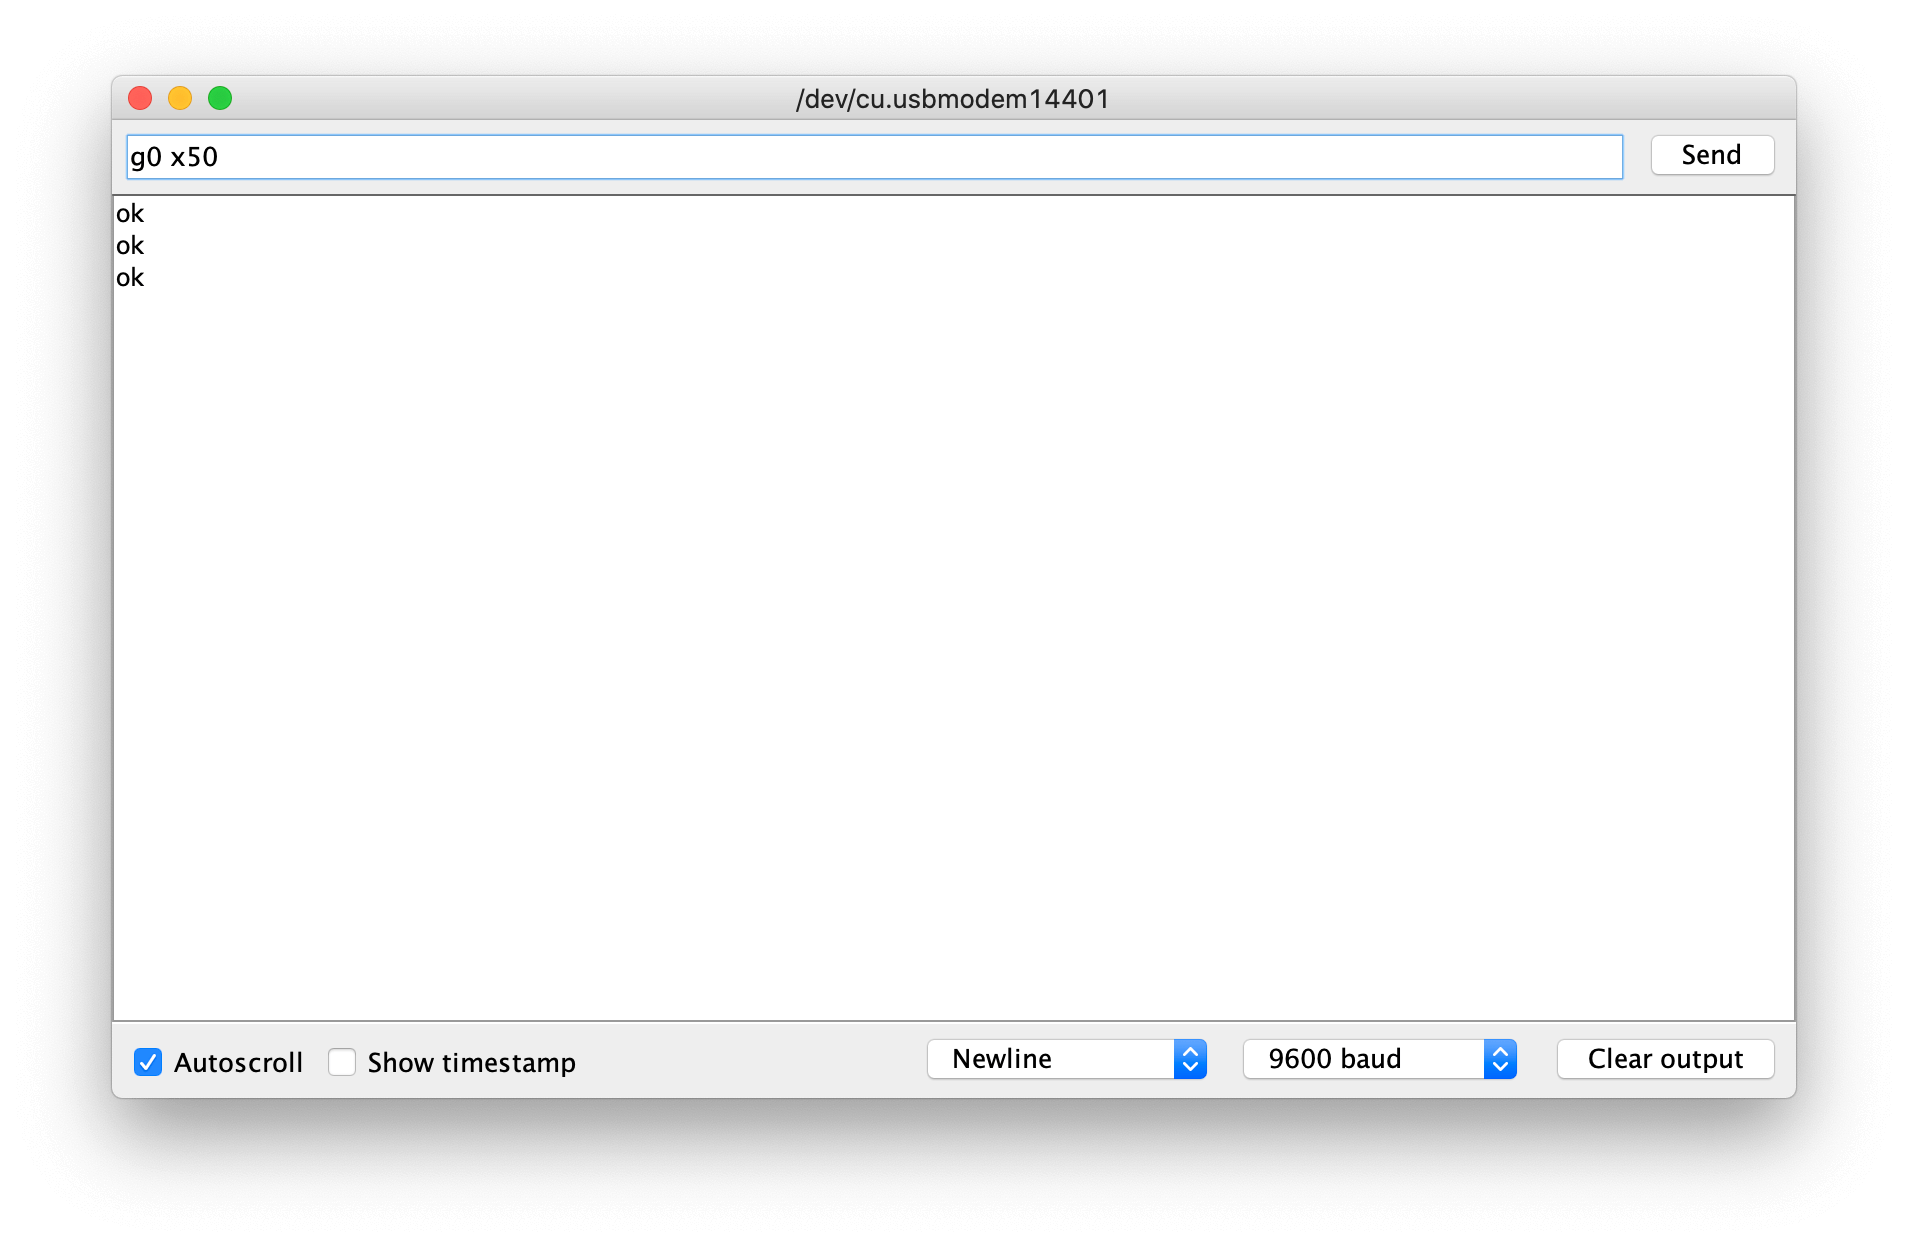
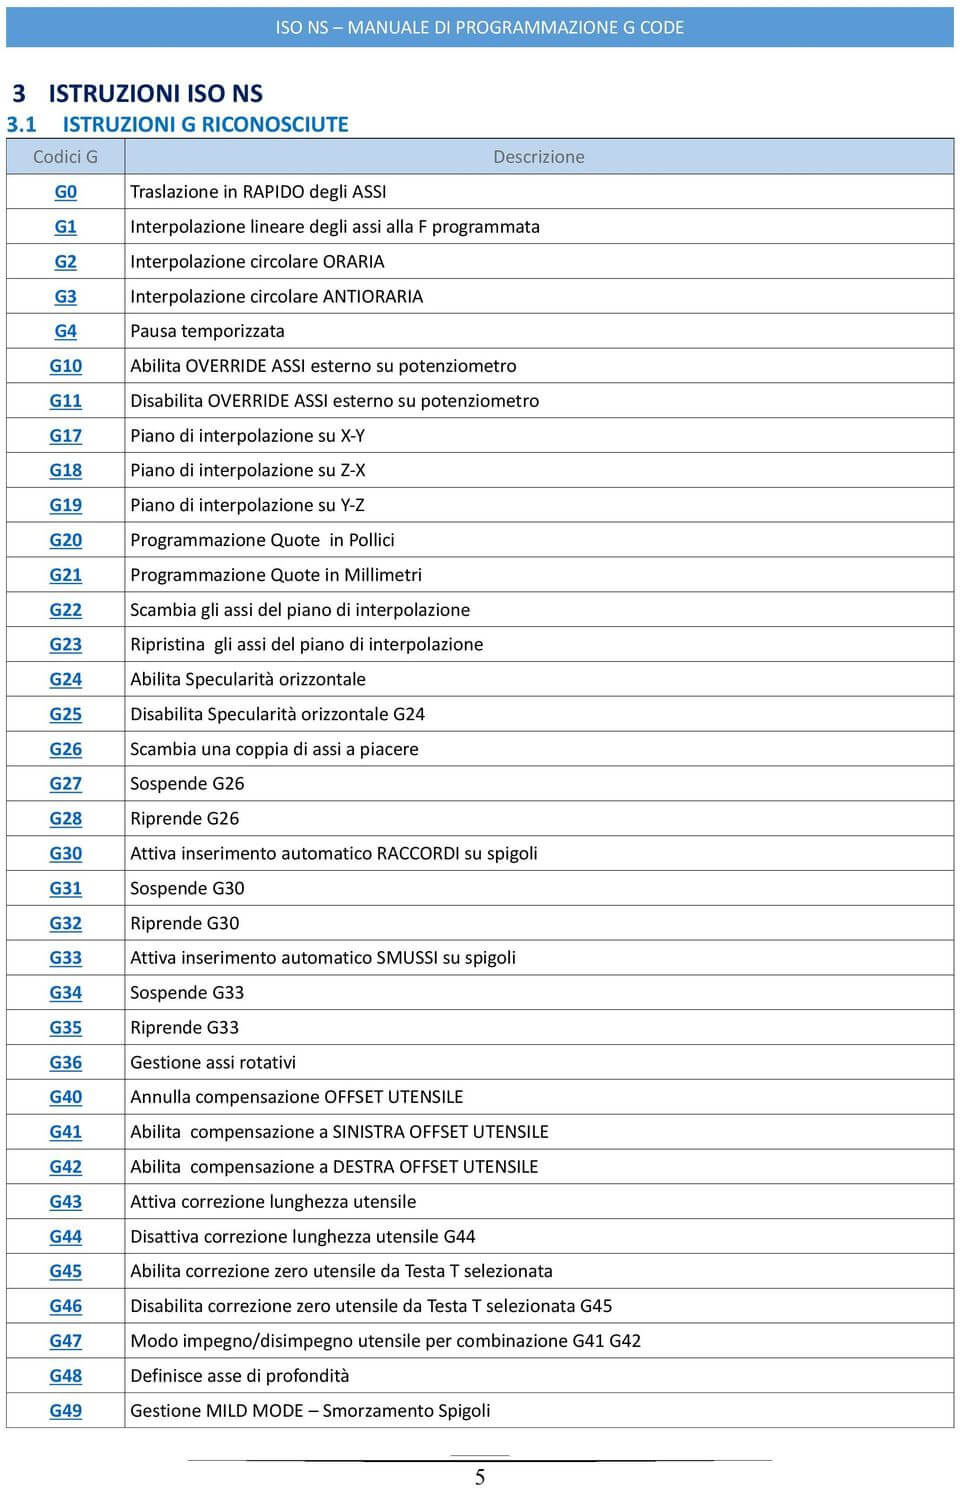
Gcode
The movement of the stepper motor is set with gcode: G0 X100.
The first G parameter is an absolute movement, while G1 would stand for a relative movement.
The second X parameter stand for the coordinates of the arrival point on the axis, meaning that the number of rounds of the steppers is determined by a distance parameter.
We mounted the mechanisms so that the arm would swing through the axis.