Computer-Aided Design
Assignment
- Model (raster, vector, 2D, 3D, render, animate, simulate, ...) a possible final project, compress your images and videos, and post it on your class page
2D
The role of communication
The logo has to be considered as an important piece of my project strategy. I want it to be a symbol for instant recognition.
I am not a graphic designer but I will give it a try.
Some starting points:
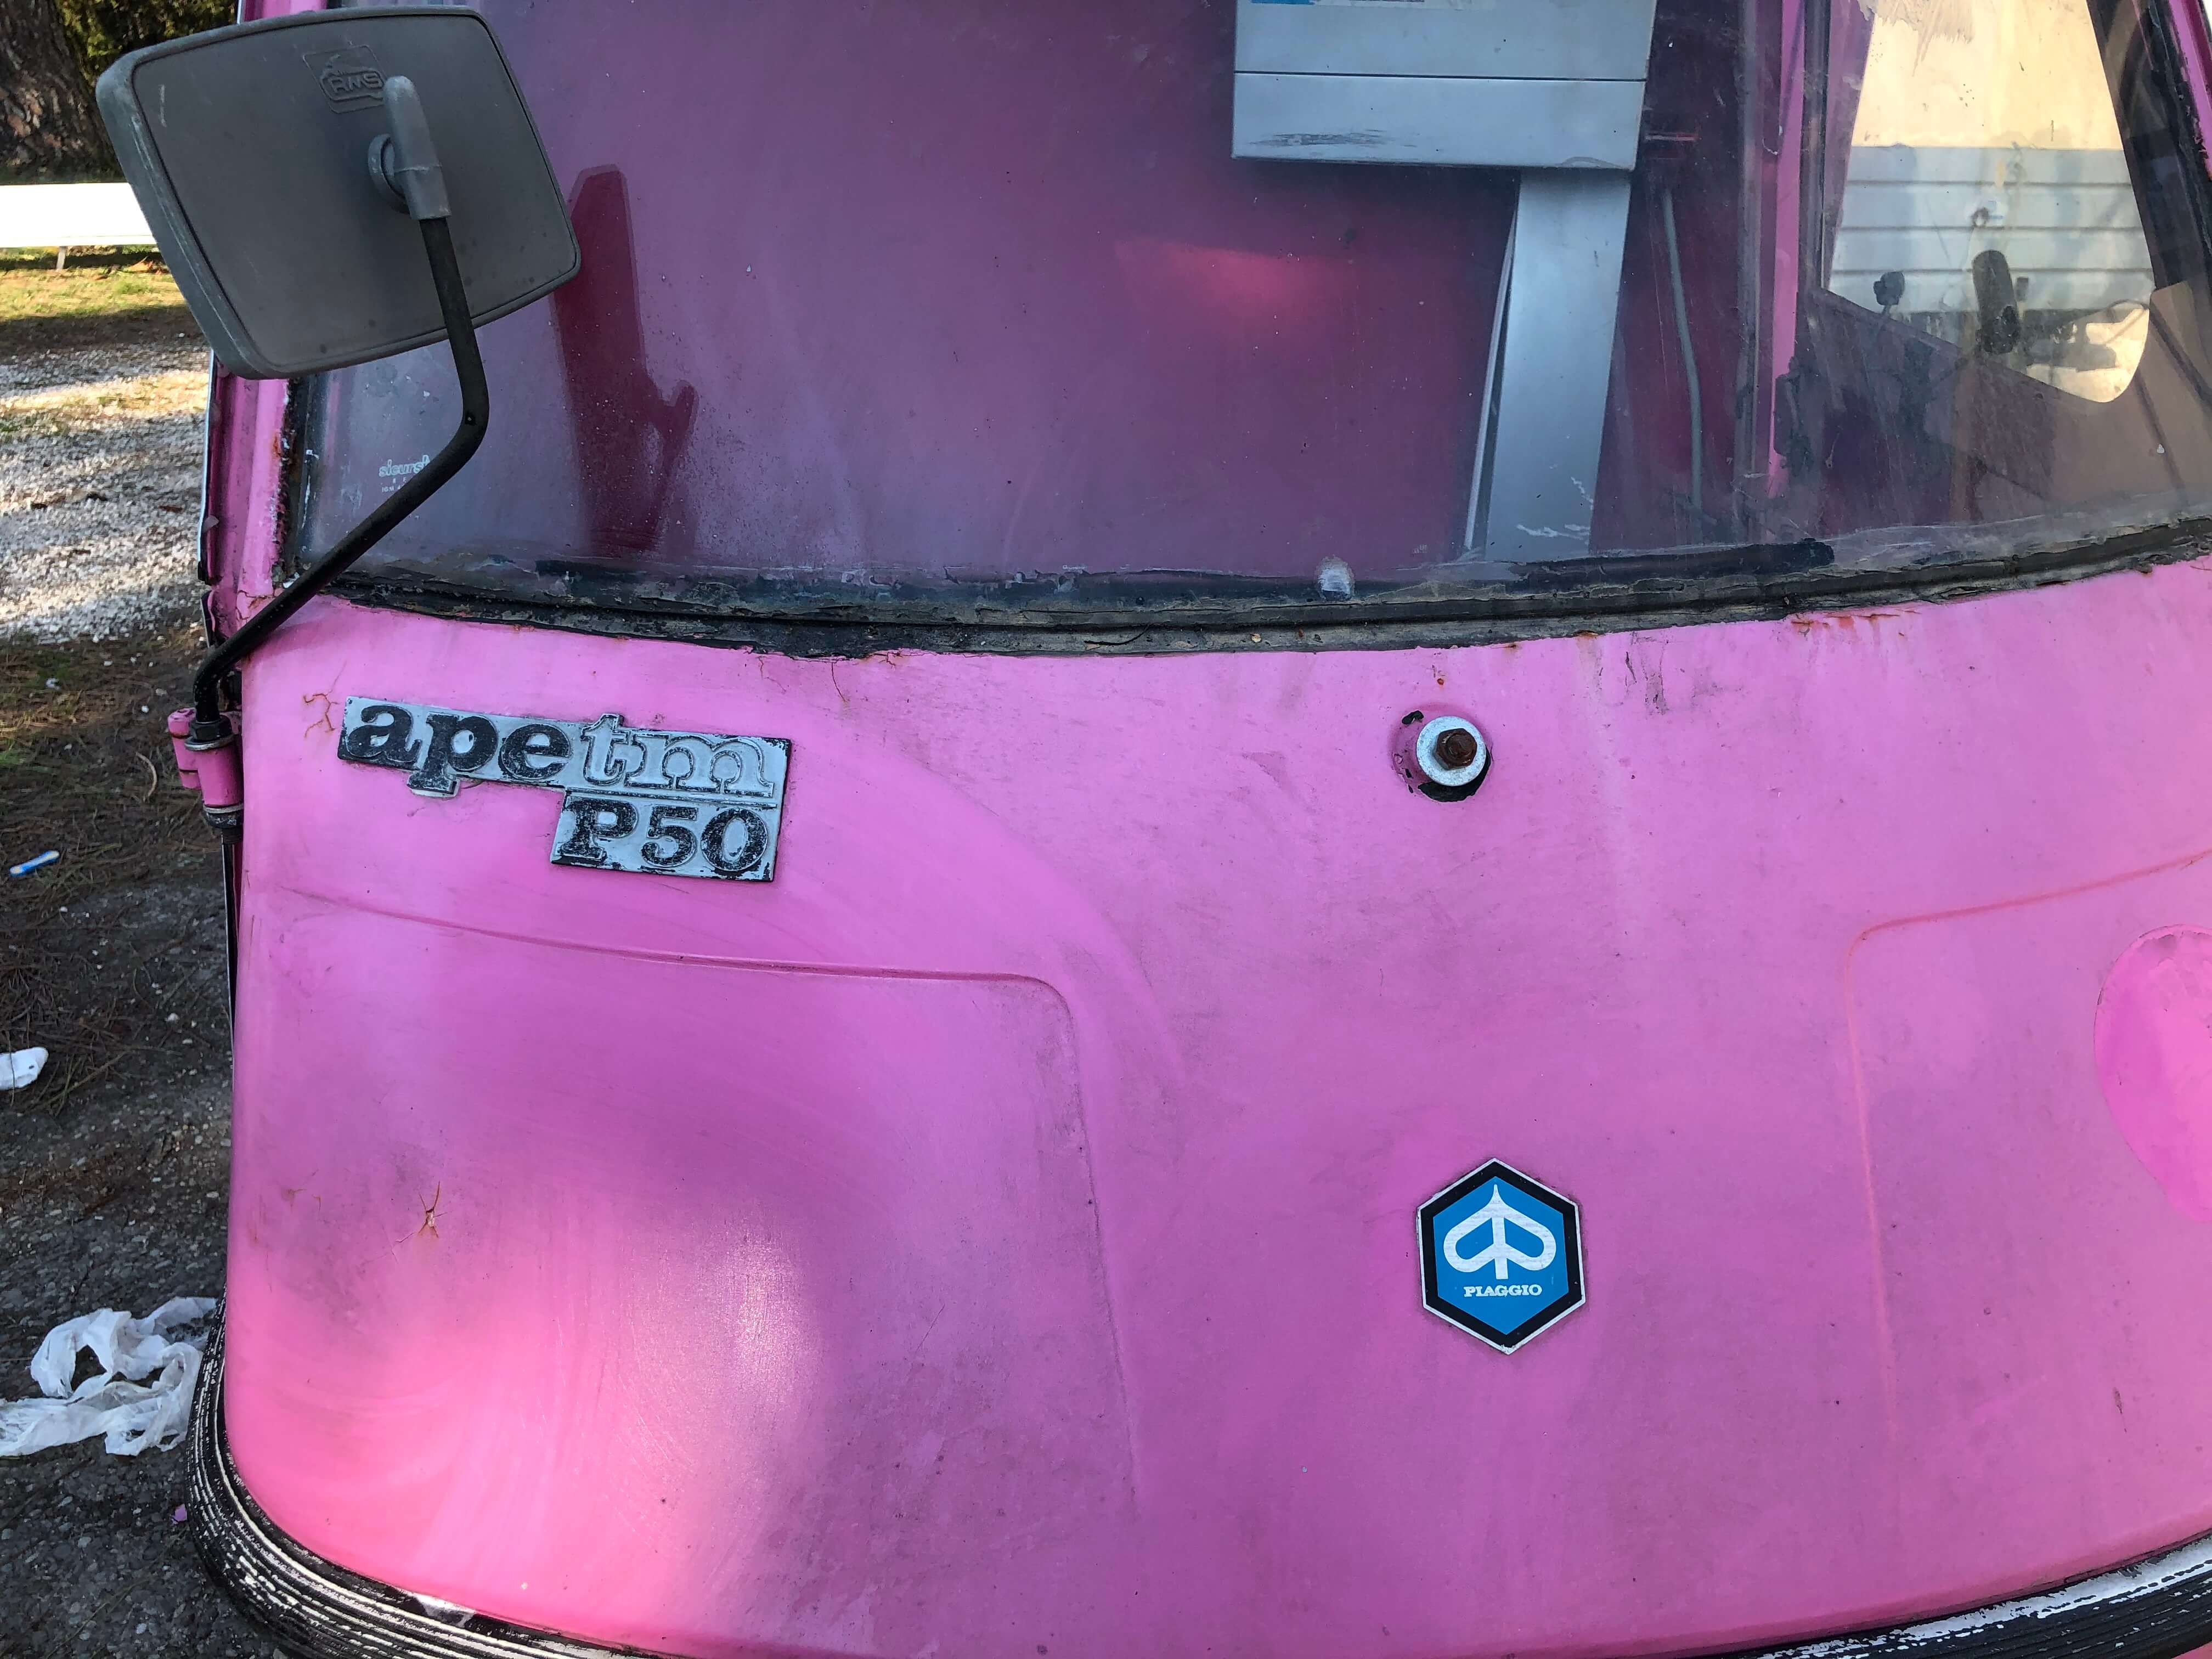
- Since my Apecar is pink, it will recall the color;
- The shape of the Piaggio logo is an hexagon so I want it to be part pf my logo too;
- I want it to be clean and simple.
Here my little pink inspiration:
I've always used the Adobe suite but I wanted to try inkscaope as well. I had some trouble downloading it but at the end I fixed it.
Btw at the end I decided to use anyway my "old" softwares: photoshop and illustrator.
So after some Illustrator attemps, here we go!
This is my first logo per my ApeLab


Not bad! For now I like it. I will still consider it a working logo but it works so far :)
Here the vector file
3D
Moving the first steps into Fusion360
I decided also to try some 3D softwares. This field is completely new for me. I tried to download Rhino, Blender, Meshmixer, FreeCad, Fusion360 and it took me quite some time to figure out which software I prefer.And...the winner was Fusion360. I spent a few afternoons watching the tutorials in Autodesk page There are many tutorials and exercises to do and learn more about the program and I fully recommend them.
After a call with the group from Opendot this was my first result:
A gear that looks like a flower ;)
So I decided to try again and since I am an ice cream lover I found the right tutorial: it's time for popsicles!
My 3D Popsicle
The iter: basic sketch, which is then extruded and lastly modified as needed.First tip: the shortcuts
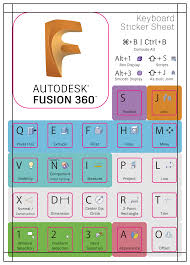
1. Create a Sketch
Sketches are exactly what they sound like: lines and curves on a 2D plane. To create one, click on the “Create Sketch” button on the toolbar, and select which plane you would like to draw on. The view will switch from a 3D to 2D perspective.
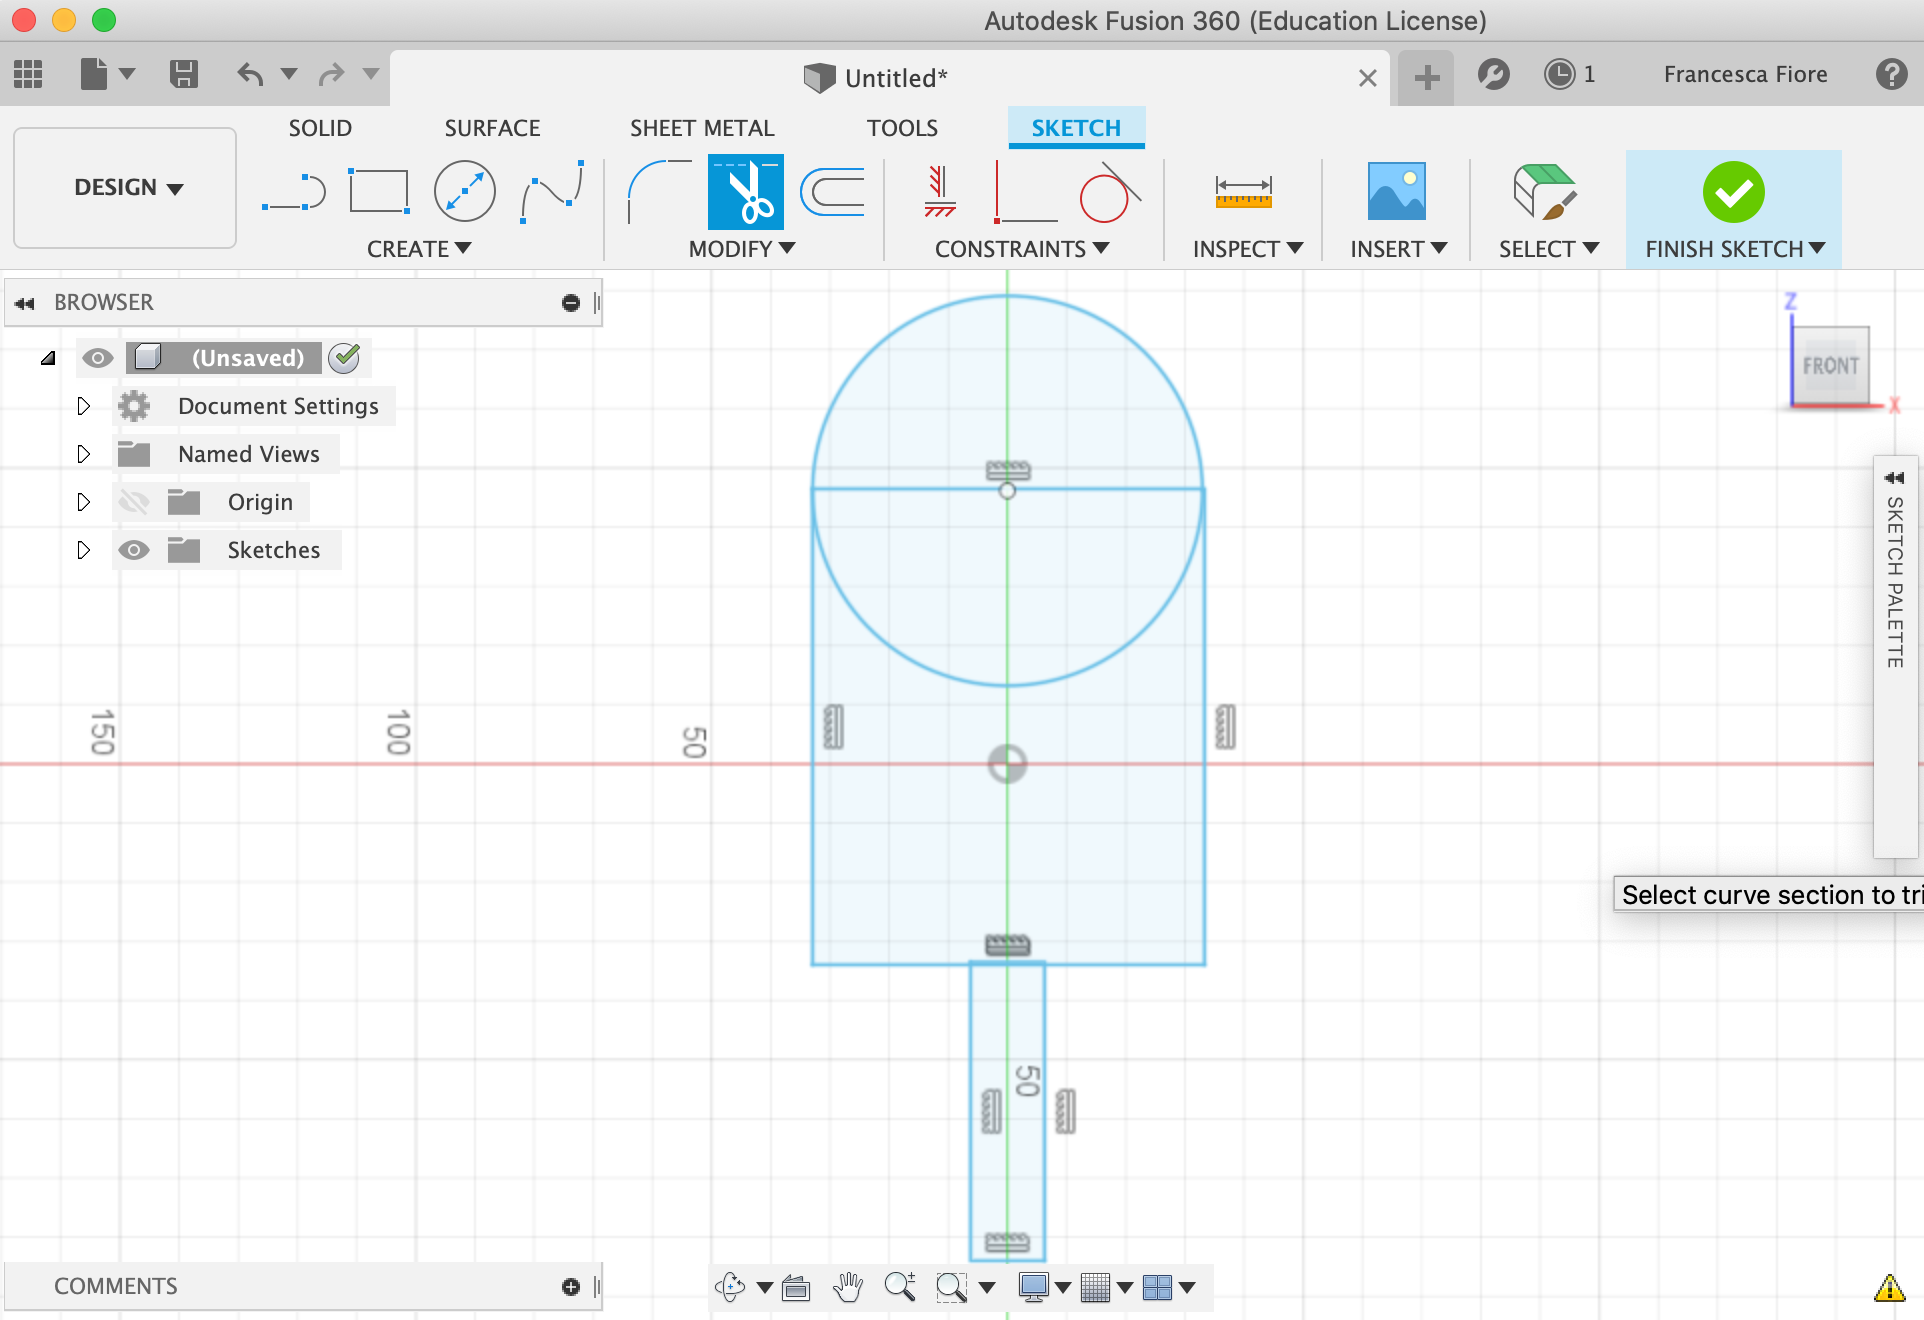
Draw the basic popsicle shape with two rectangles and a circle. I selected both shapes from the sketch dropdown or using the ‘R’ and ‘C’ hotkeys, respectively.
Note1 to myself: Fusion 360 is sketch dimensioning (arrows with numbers). Create a dimension by selecting “Sketch Dimensions” or by pressing ‘D’, and then select the line you want to dimension. Double-click on any dimension to resize it. This makes it super easy to specify the exact height of your sketches as well as to go back and change them later if necessary.
Note2 to myself: Remember to click “Stop Sketch” on the far right of the toolbar to exit sketch mode.
2. Extrude Your 2D Shapes
To begin the operation, press the “Extrude” button on the toolbar (or ‘E’ on your keyboard).
Select which profiles to extrude. Let’s start with the main popsicle part, excluding the stick.
Note1 to myself: To select more than one profile, just hold the shift key while selecting. Use the arrows or the menu to specify how far to extrude (here 15 mm).
.
Note2 to myself: After the 3rd or 4th time you try, Francesca, if you can’t see your sketch anymore, it’s probably hidden. Just unhide it in the browser on the left. You don't need to redo everything all over again -.-'.
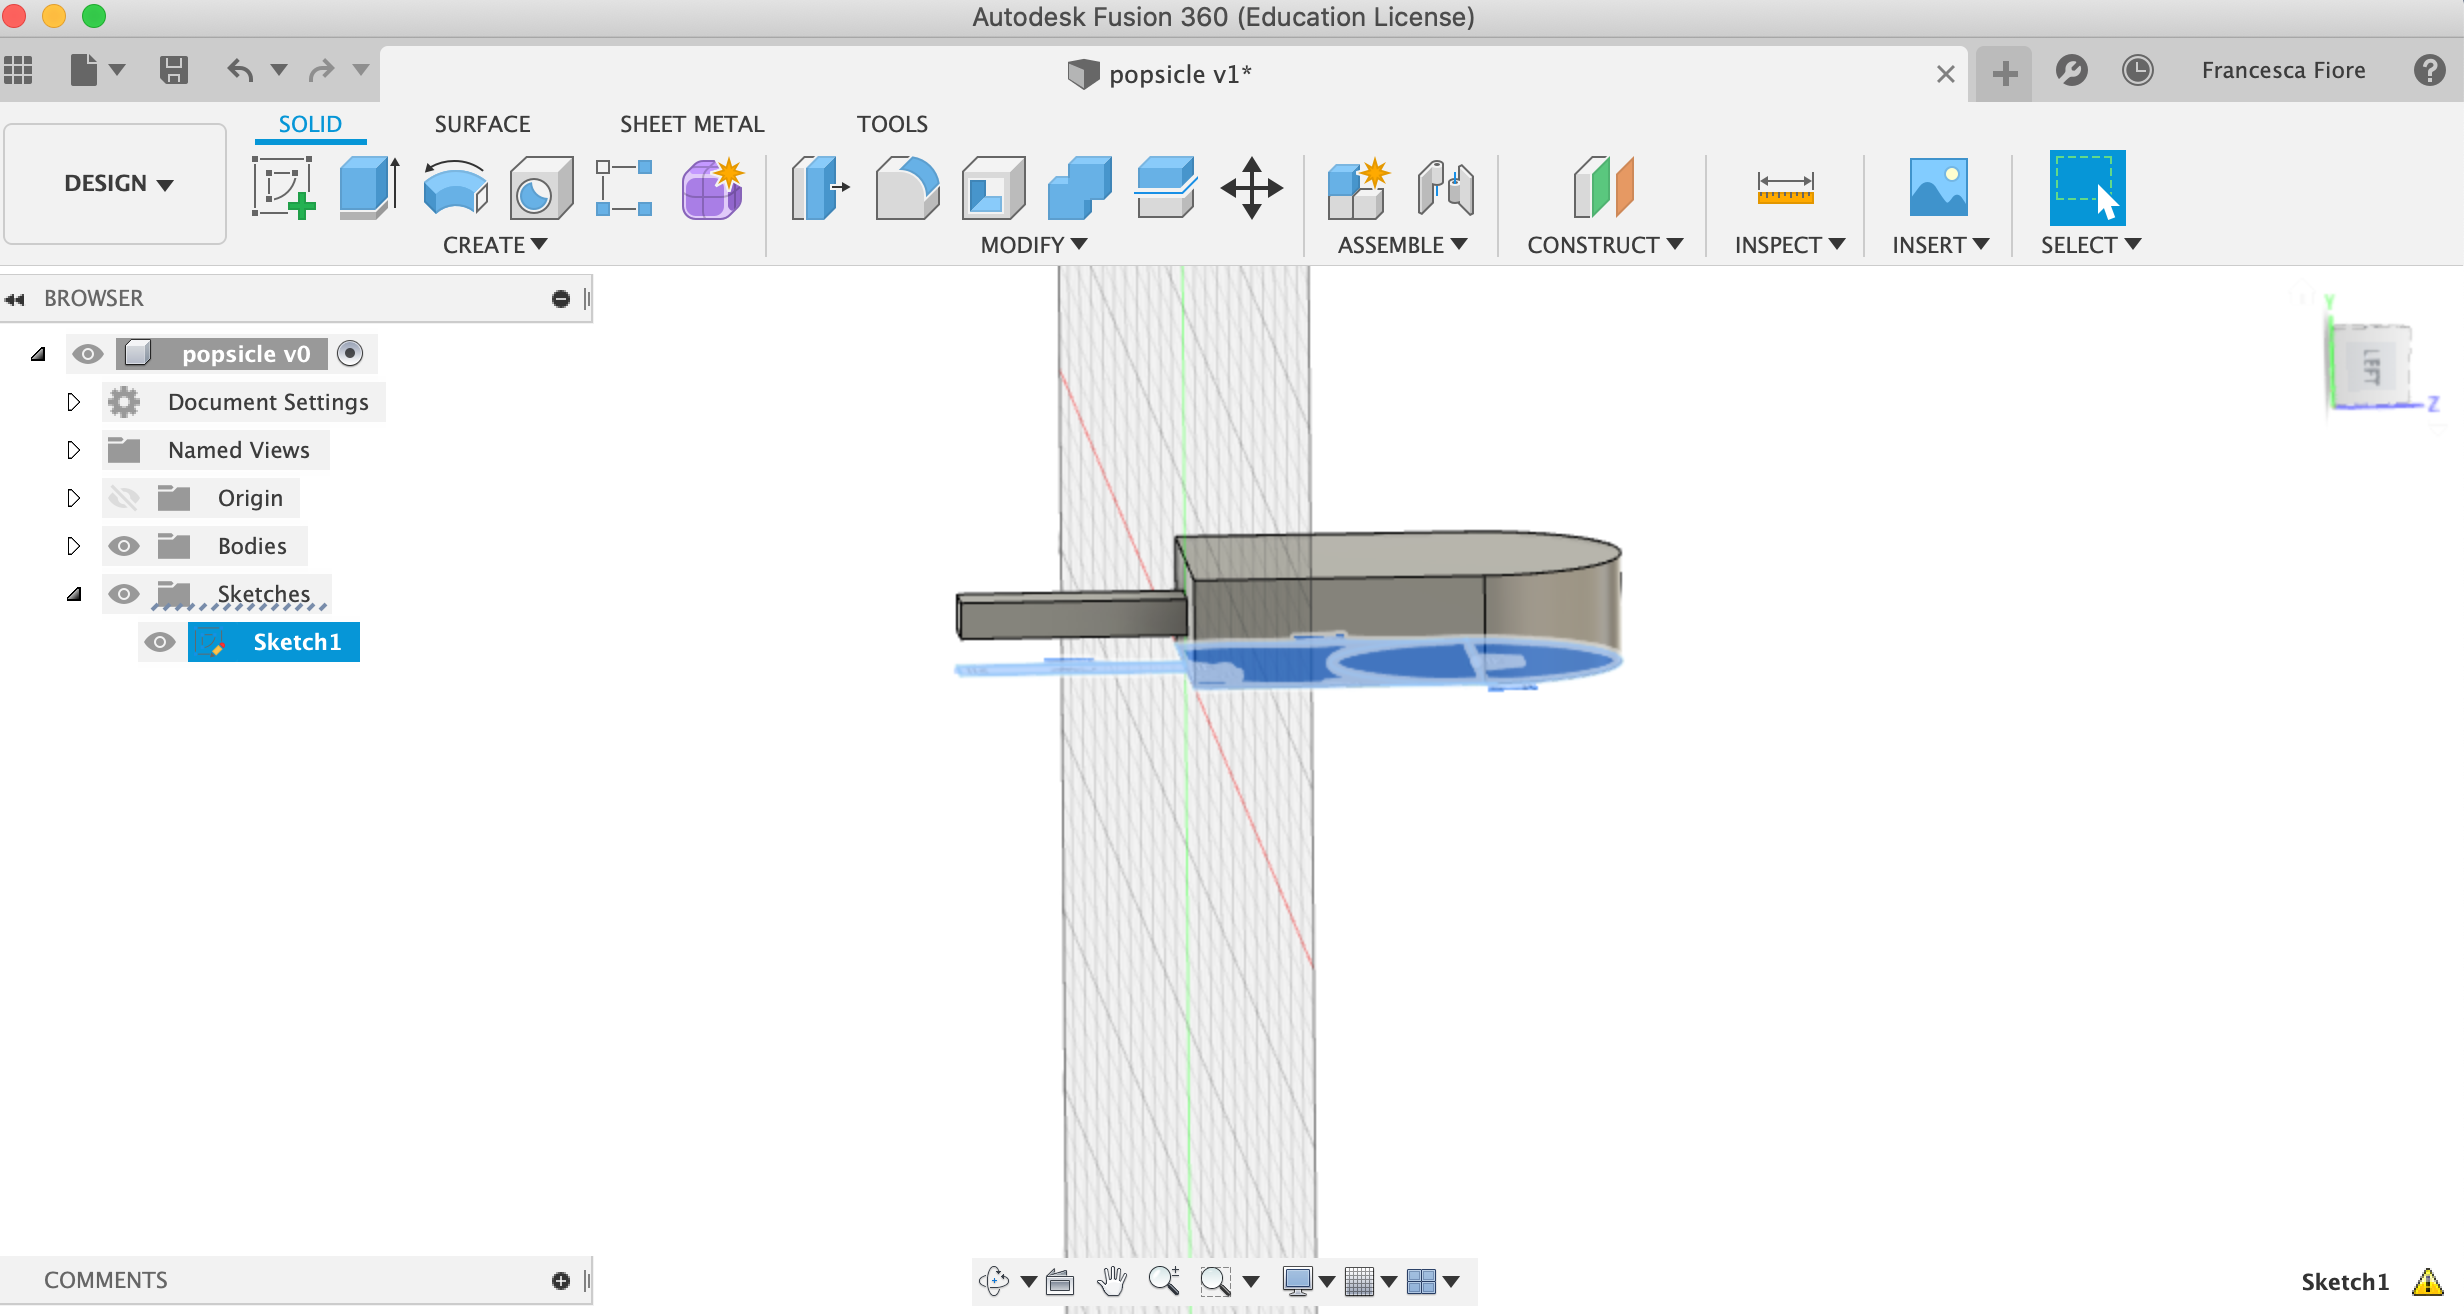
So now I need to inflate our popsicle stick. Extrude it the same way, but this time selecting the only the stick part. This part need to stick out from the center of the popsicle.
Note3 to myself: Instead of extruding from the profile plane, I’ll offset it by 5 mm. Also join it to the main popsicle body so that they’re a single element.
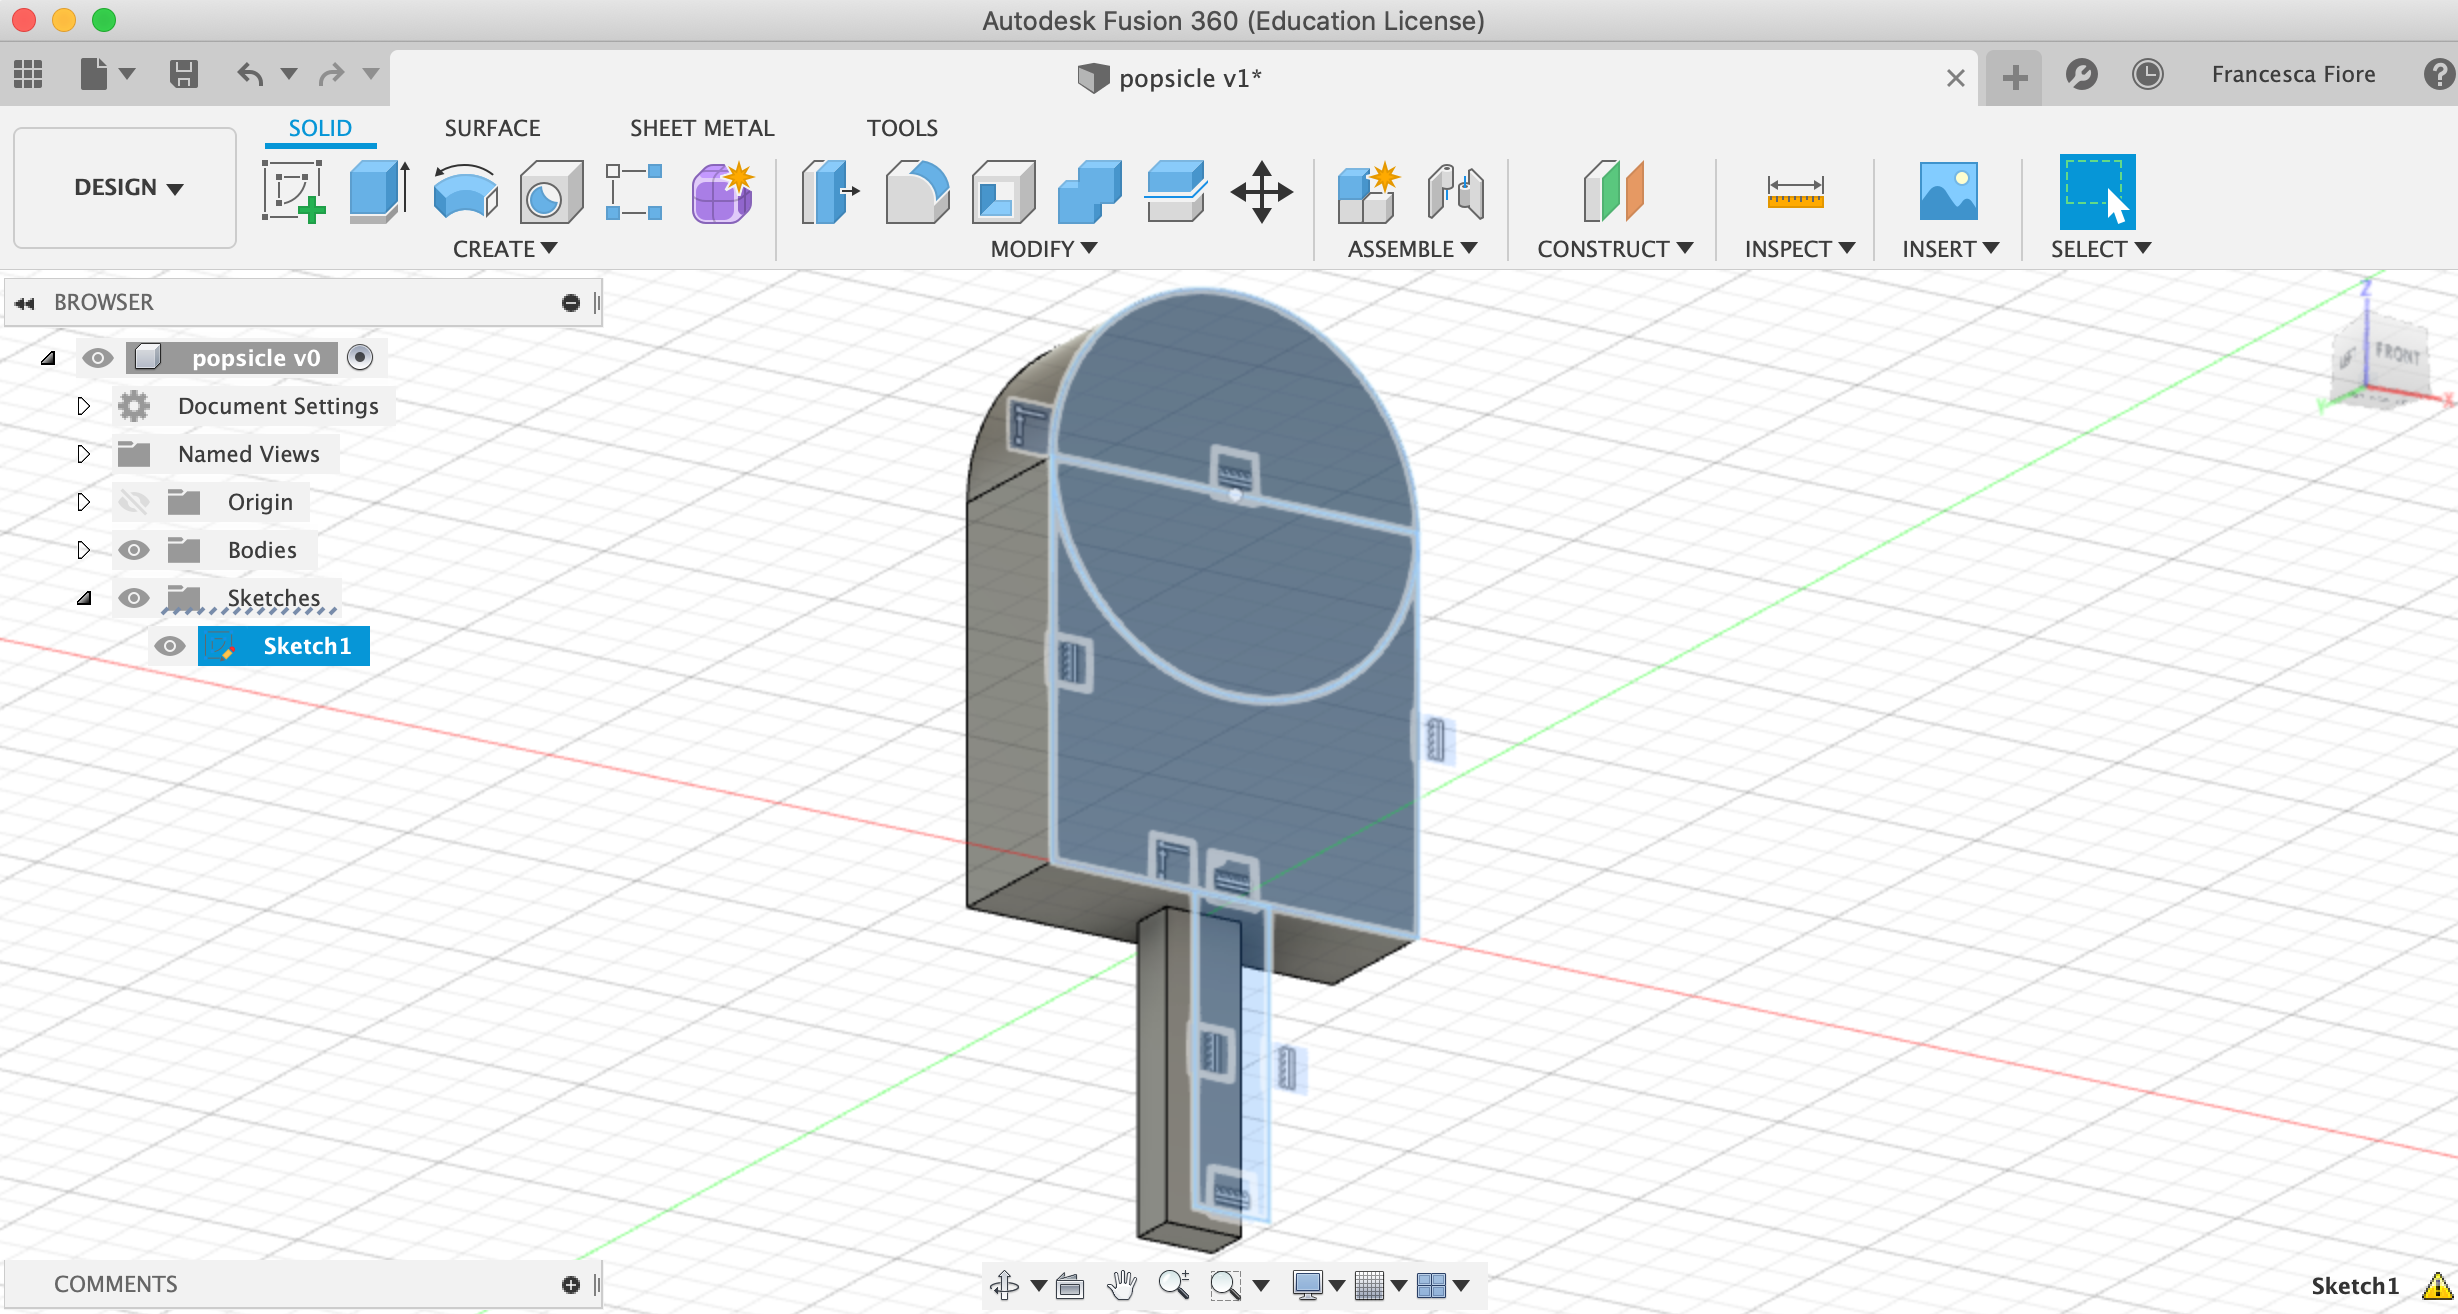
3. Add Some Finishing Touches
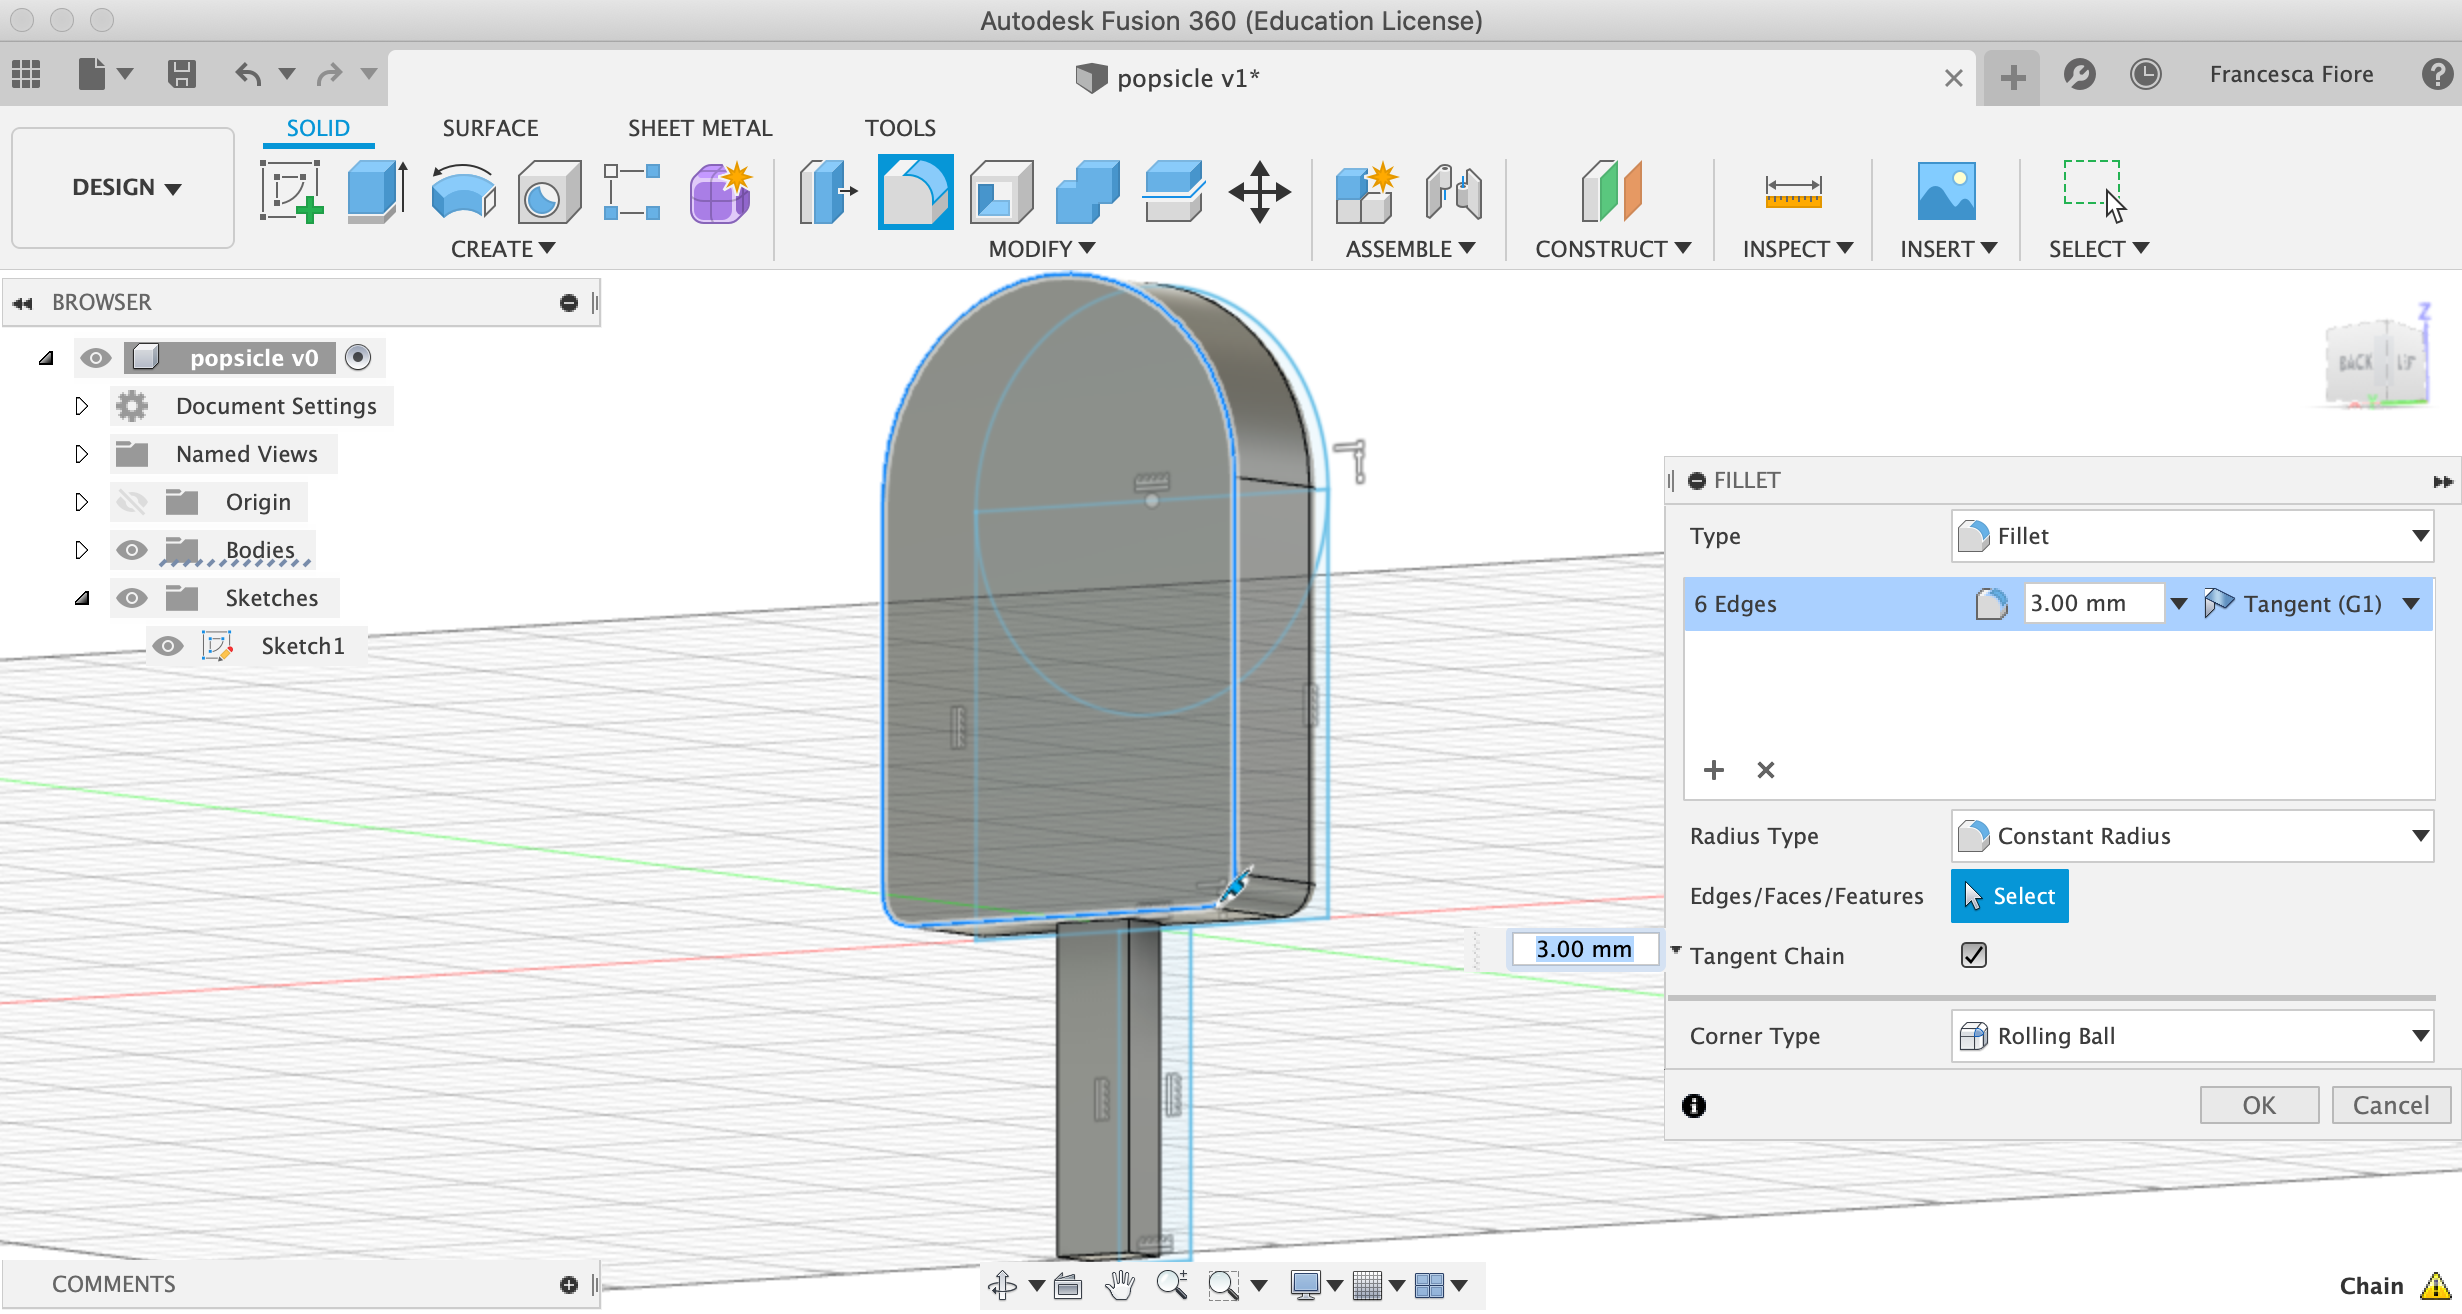
To achieve a more natural, curved look, I can use the “Fillet” command, which is under the “Modify” drop-down menu. (Or hit ‘F’.) This will apply a curve of specified radius to the edges we select.
Fillet the top and bottom edges (6, in total) of the popsicle by 3 mm, as shown in the picture.
4. Save and Export Your Popsicle
Remember to save the project with Ctrl+s.
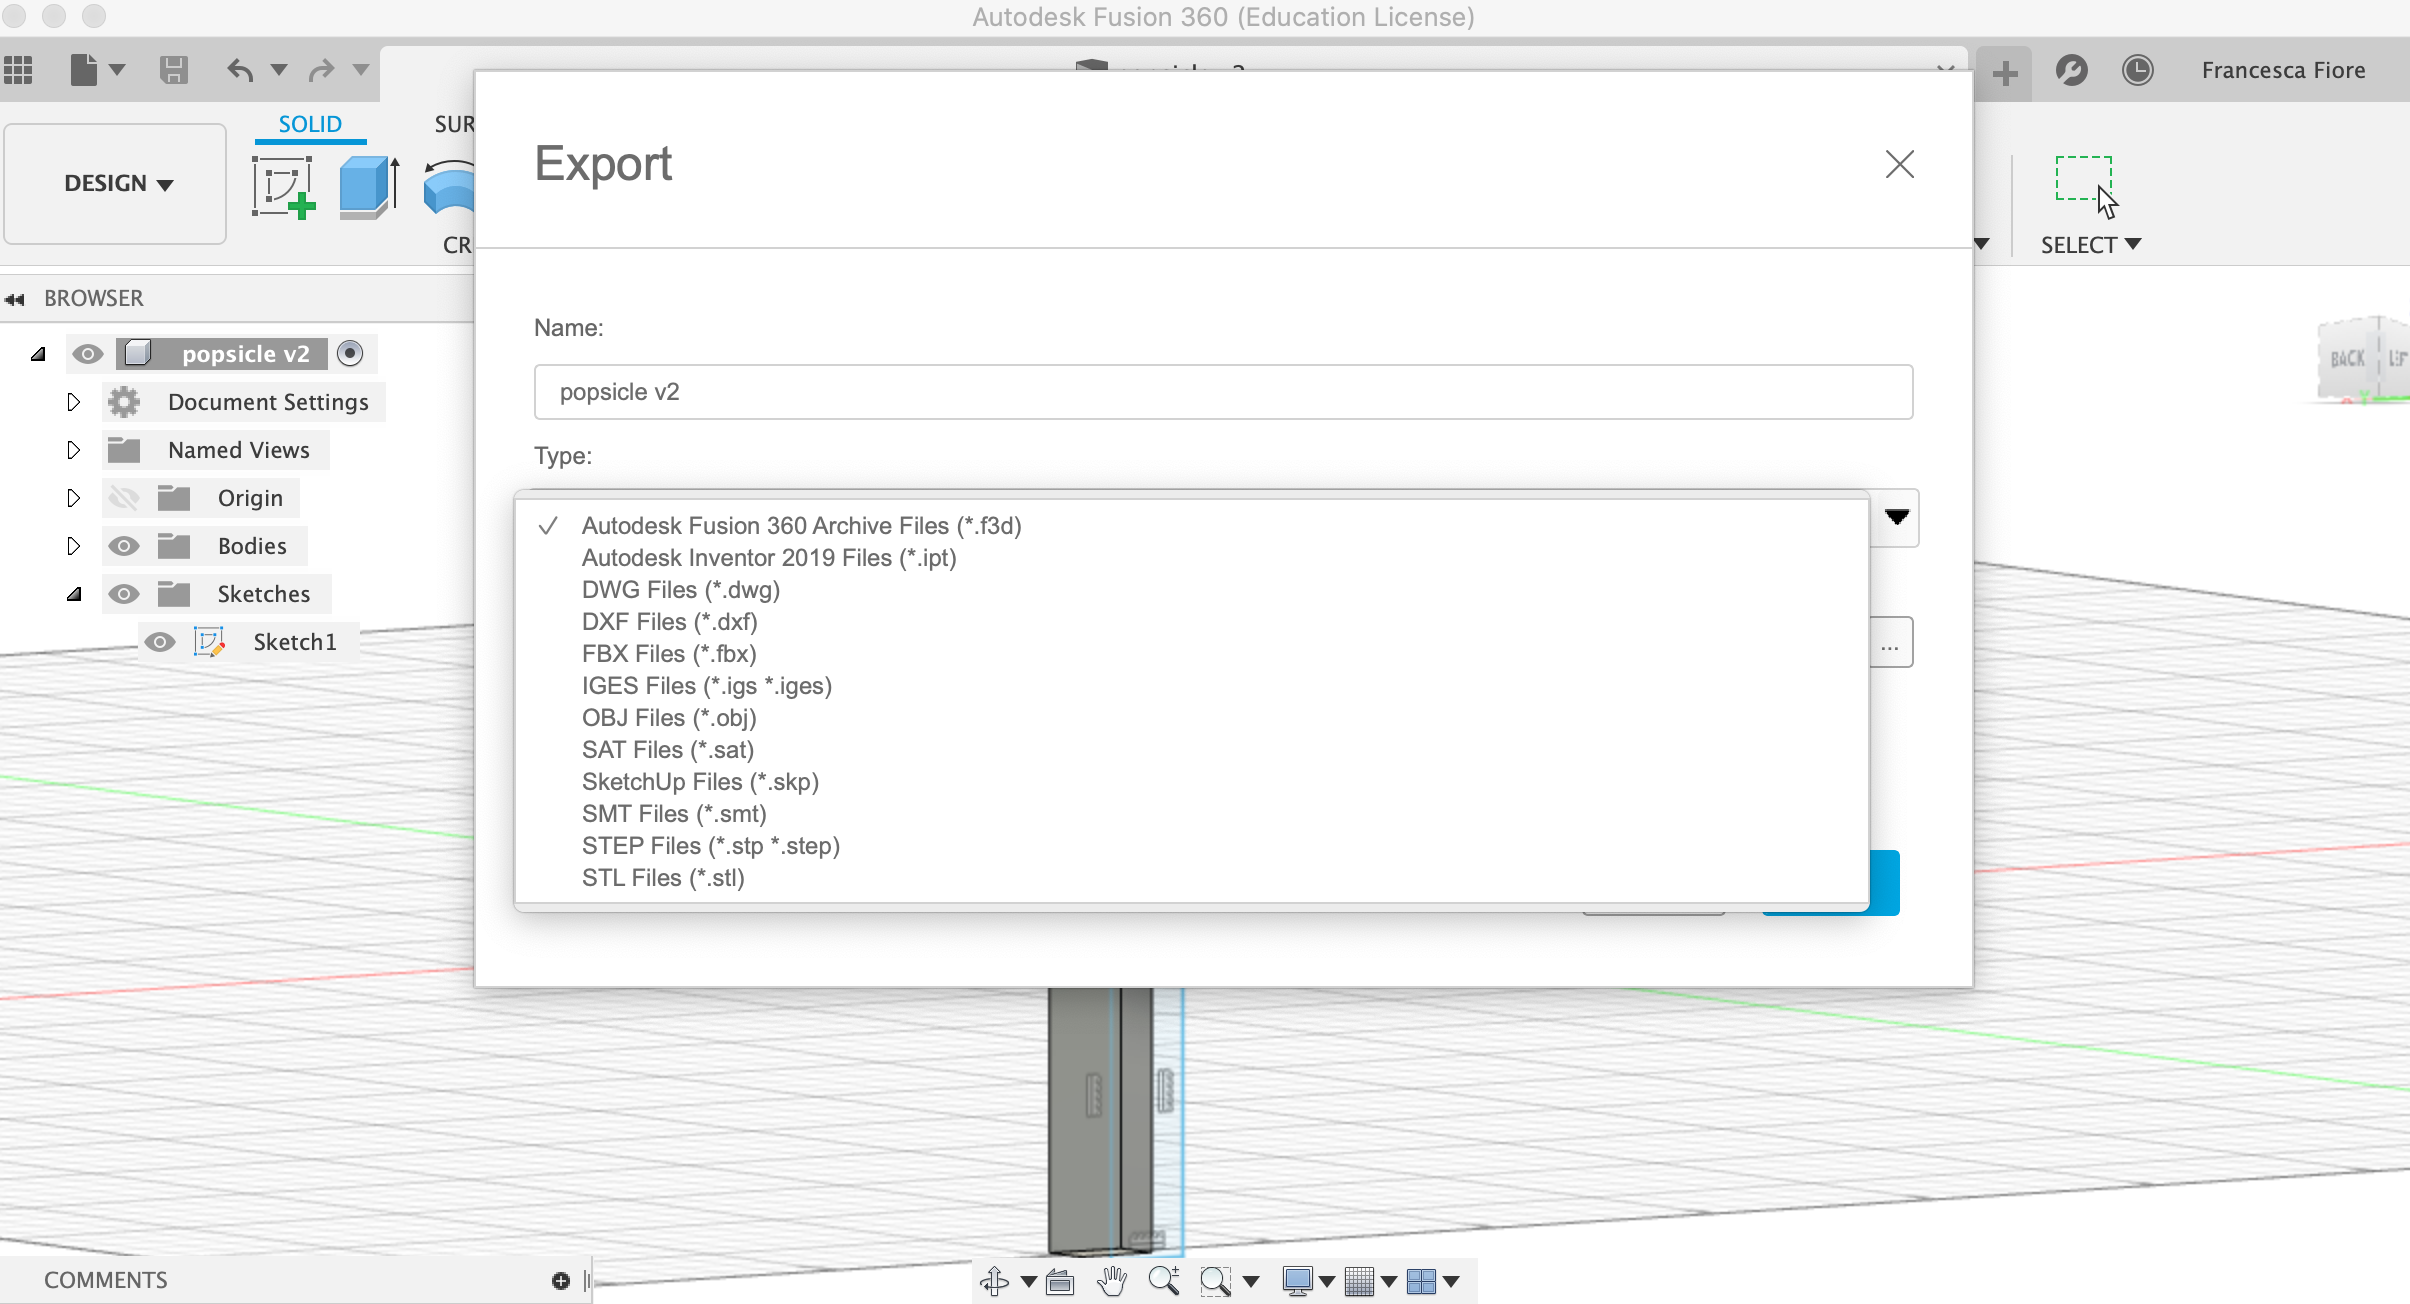
Want to 3D print it? Get your popsicle component in STL format for 3D printing, just right-click on the component and select “Save as STL” or go into File > Export > STL file.
Thank you All3DP for the tips and support!