Computer-Controlled Cutting
1 - Nice to meet you, JADE.(Group Assignement)
2 - I like your Silhouette (Vinyl-Cutter)
3 - Go Cut some Stuff (Press-Fit Kit)
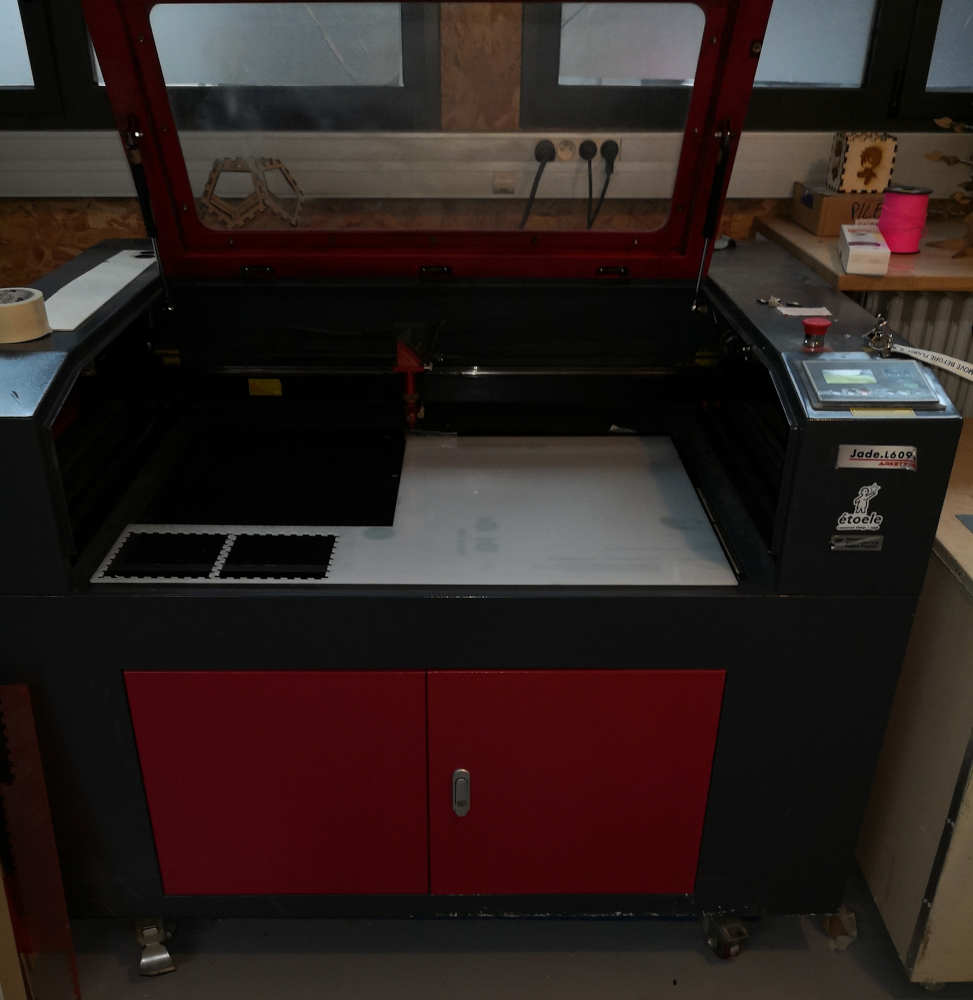

Fisrt Computer Controled Machine i use in the Fabacademy curse is Jade, a pretty LaserCutter from Arketype a French CNC & Laser Cutter Manufacturer.
She have a 600*900 mm Workspace & a 120 Watt CO2 laser, coupled with a air purifier systeme.
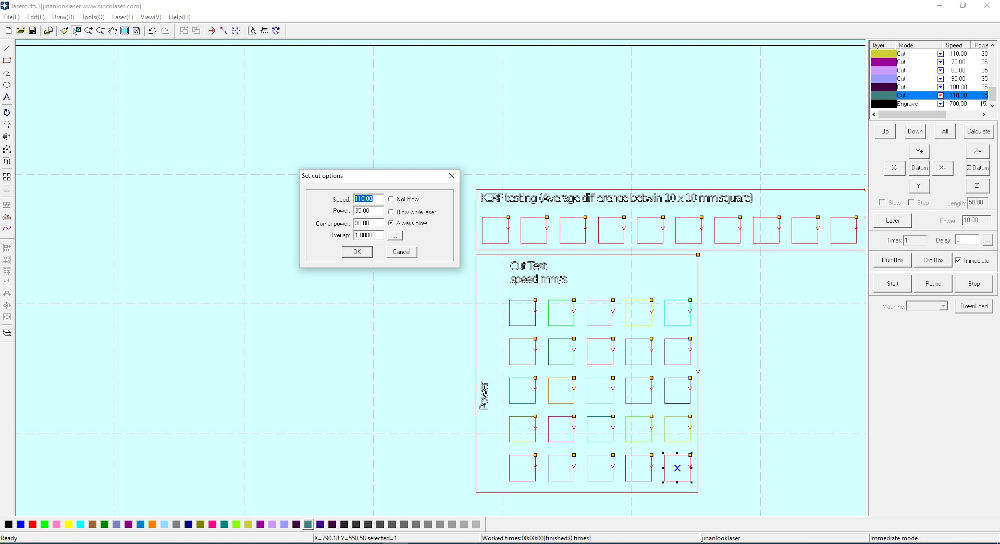
To controll "Jade" we use "LaserCut" Software, this one give us the capacity of rules all the Cut setting.
- Kind of work (Grave,Cut...)
- Power (% of the Laser Max Watt)
- Corner power (The Laser head have to reduce the speed for changing directions, for this we have to reduce the power.)
- Speed (In mm/s)
For the Kerf & first Setting test we start with the "pure Scientist setup shared Sheet" of the LAB. (Could be improve i think but that work ^^).
We cut a Kerf & a Cutting test in 3mm cardboard & 3mm Plywood.

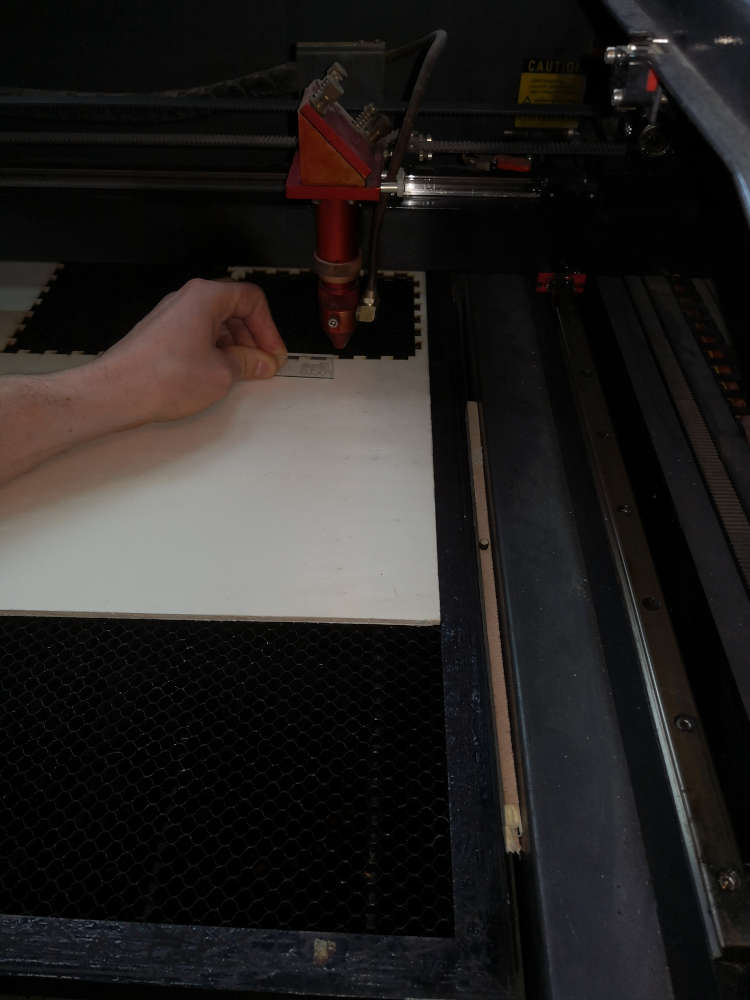
Stay FOCUS.
Before Start the Cut, we have set the Focus of the LaserBeam.
For this step we use a Small plexy tool & moving the "Jade" Table (Z AXIS) up and down for the perfect setup.


Remember for myself: Changing material = changing setting ^^
Passing from cardoard to plywood for the test but i forget to change the setting......
it's not make the cut....


Go to mesure the Laser cutter Kerf.
KERF is the space leaving by the tool after a Cutting, for mesure this we do a 10 times 10*10mm square cut and mesure the diference betwin the expected and the reality.
In the same time we doing a Cut-Test card for see the differnece betwin deiffernt power & speed setting.


| Material | Mesures | Average |
|---|---|---|
| Cardboard 3mm | 10.19 / 10.20 / 10.20 / 10.16 / 10.13 / 10.17 / 10.22 / 10.45 / 10.54 / 10.25 | 10.251 |
| Plywood 3.5mm | 9.95 / 9.98 / 9.92 / 9.90 / 9.91 / 9.97 / 9.96 / 9.93 / 9.96 / 9.95 | 9.943 |
| 10.097 | ||
The average Kerf is 0.097mm.
(In practices the Kerf of "Jade" is perfect for joint clearance.)
After a lot of different work on the lasercuter for cut or engrave on different material i learn a lot on the meaning of the different setting you could use. (or not)
For make a good & clean cut you have to find for each material the balance between speed & power:
- Too Slow = could burn
- Too qwick = don't make the work (or just engrave, could be worth if you want it)
- Too much power = could burn or at less make you a not precise cut (large kerf...)
- Not enought power = don't make the work (or just engrave, could be worth if you want it)
You have to check this setting every times you change the material you use or the thickness of it.