Assignment
Week16: Wildcard week
Assignment
- assignment
- Design and produce something with a digital fabrication process (incorporating computer-aided design and manufacturing) not covered in another assignment, documenting the requirements that your assignment meets, and including everything necessary to reproduce it. Possibilities include (but are not limited to):
Table of content
My Work
Requirement
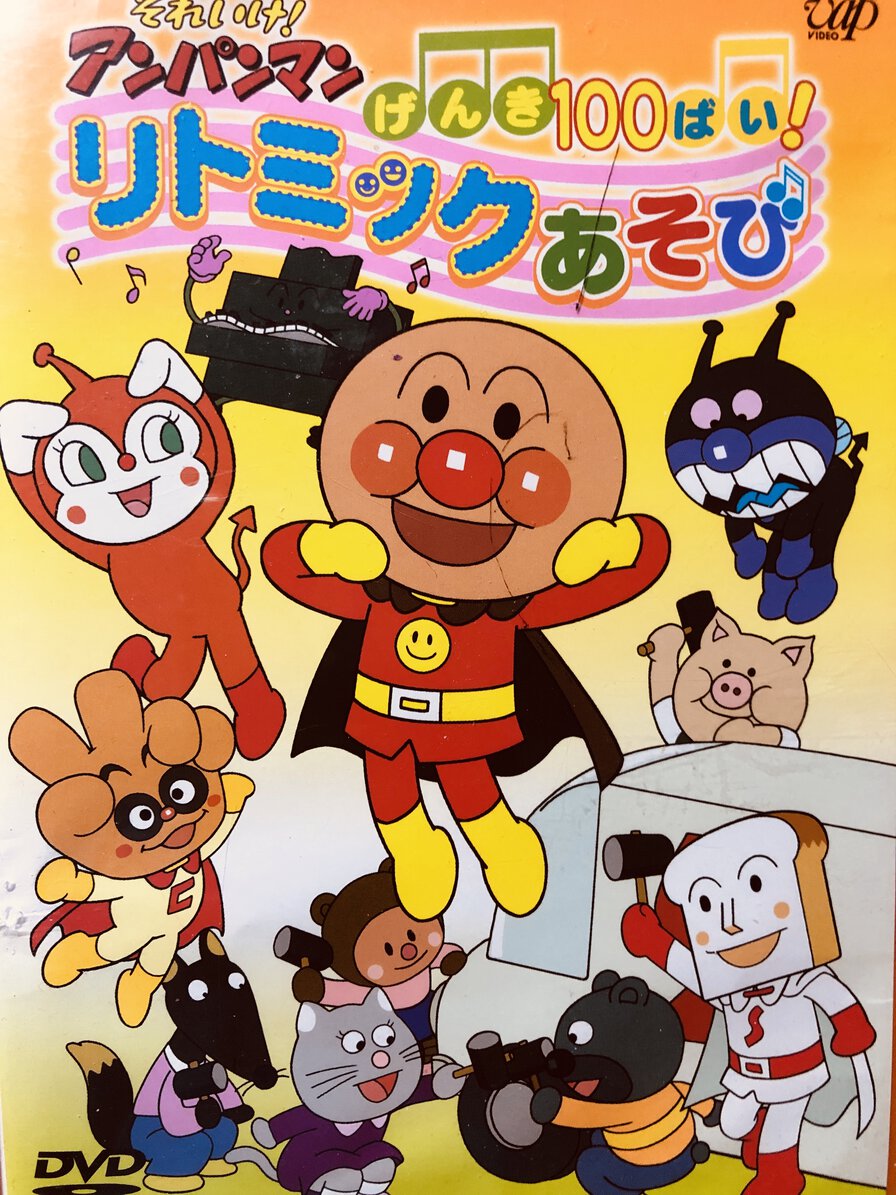
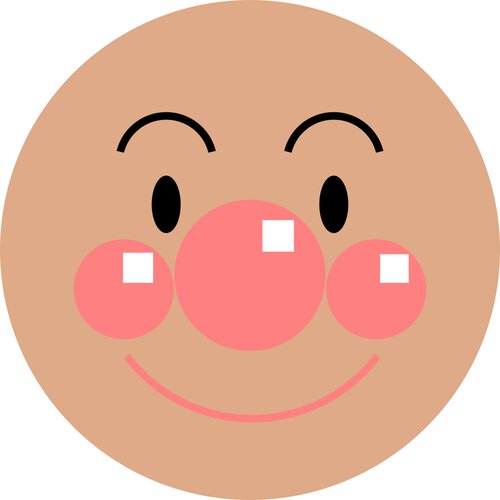
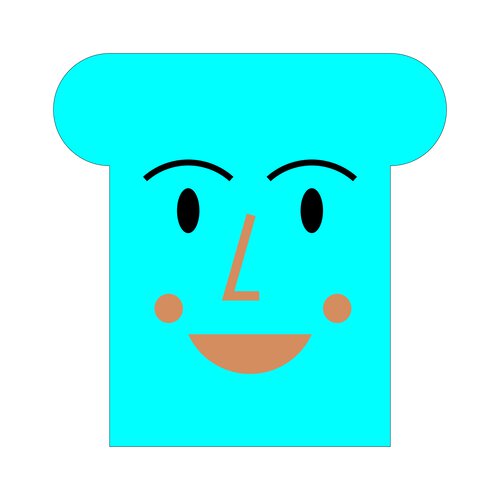
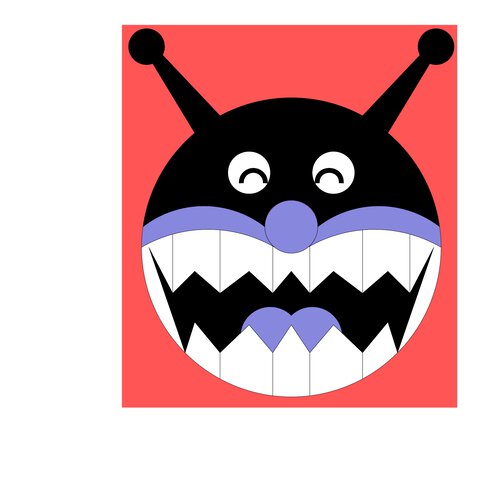
I want to make patches(wappen in Germany) with faces of Anpanman, Shokupanman and Baikinman, who is the most famous hero charactor from アンパンマン(Anpanman), a picture book and animation in Japan. I want to make it for my 2 years and 4 years old daughters as they love it.
Design
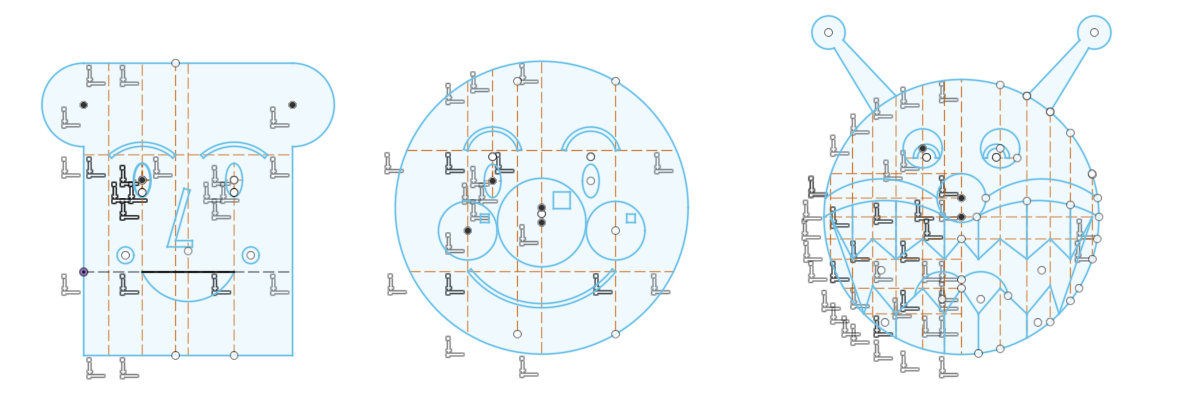
I created a 2D design of them by Fusion 360 sketches as it's easy for me to make by sketch function with parametric design.

For getting svg file by shaper utility, I make it to 3D design by extrusion.


These bitmap has too low resolution (dpi) to be converted into sewing data in JANOME 刺繍PRO(Embroidery PRO), a software of sewing machince.
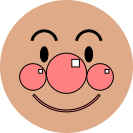
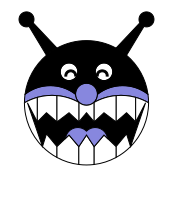
Also, sewing machine requires explicit border between element (e.g. outline of face and background). So I needed to increase dpi to 800 and fill color in background area like following examples. Note that I changed the size and format of picture(bmp to jpg) by restriction of this webpage repository to commit in total.
On "刺繍PRO NEXT" in windows 10 machine at Fablab Kannai, I created sewing path to load on JANOME Hyper Craft 900.
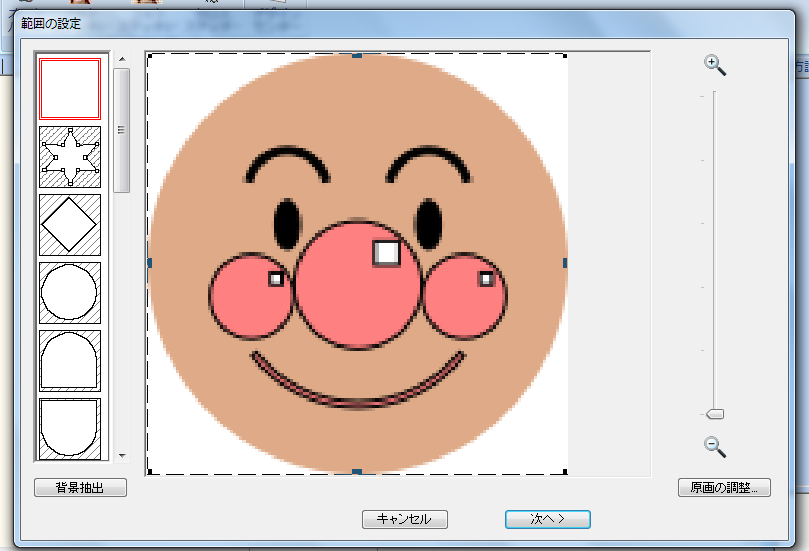
Specify area
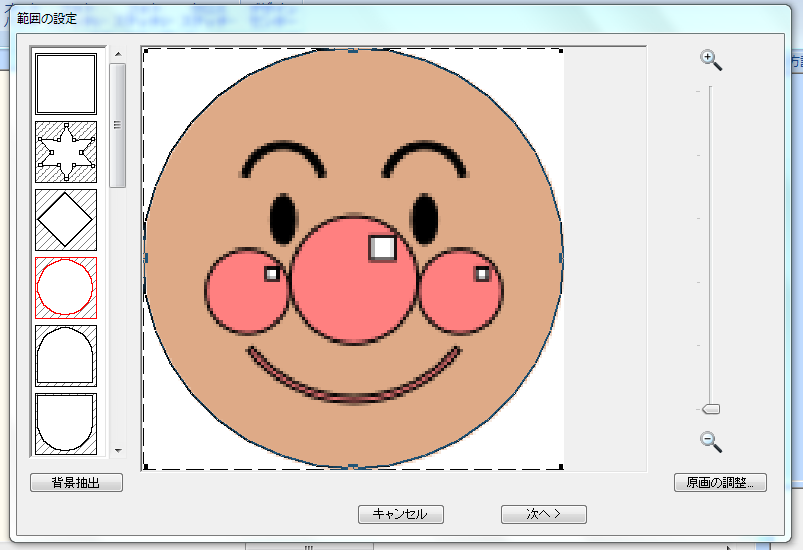
Specify area by circle
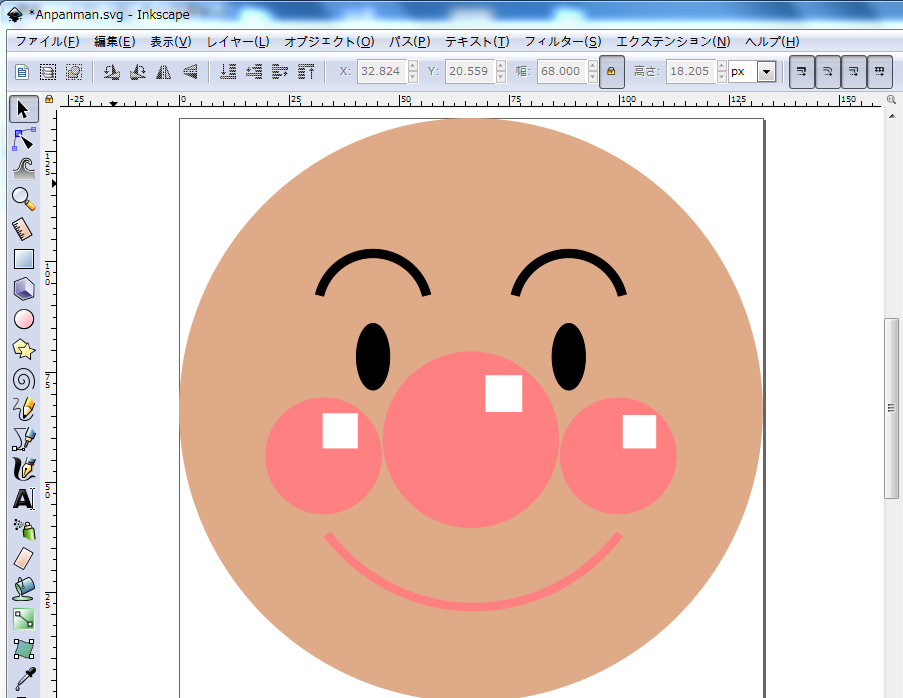
It was difficult to capture image by above bitmap file as it includes too narrow line or squares. I created the design with more wider shapes as this image.
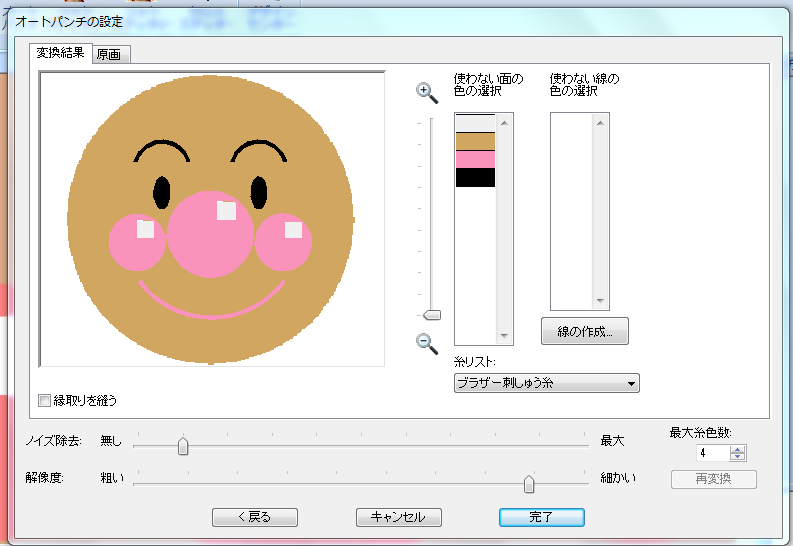
Set colors to 4. At this point, it's okay to distinguish shapes by any colors. Actual color is selected on setting threads.
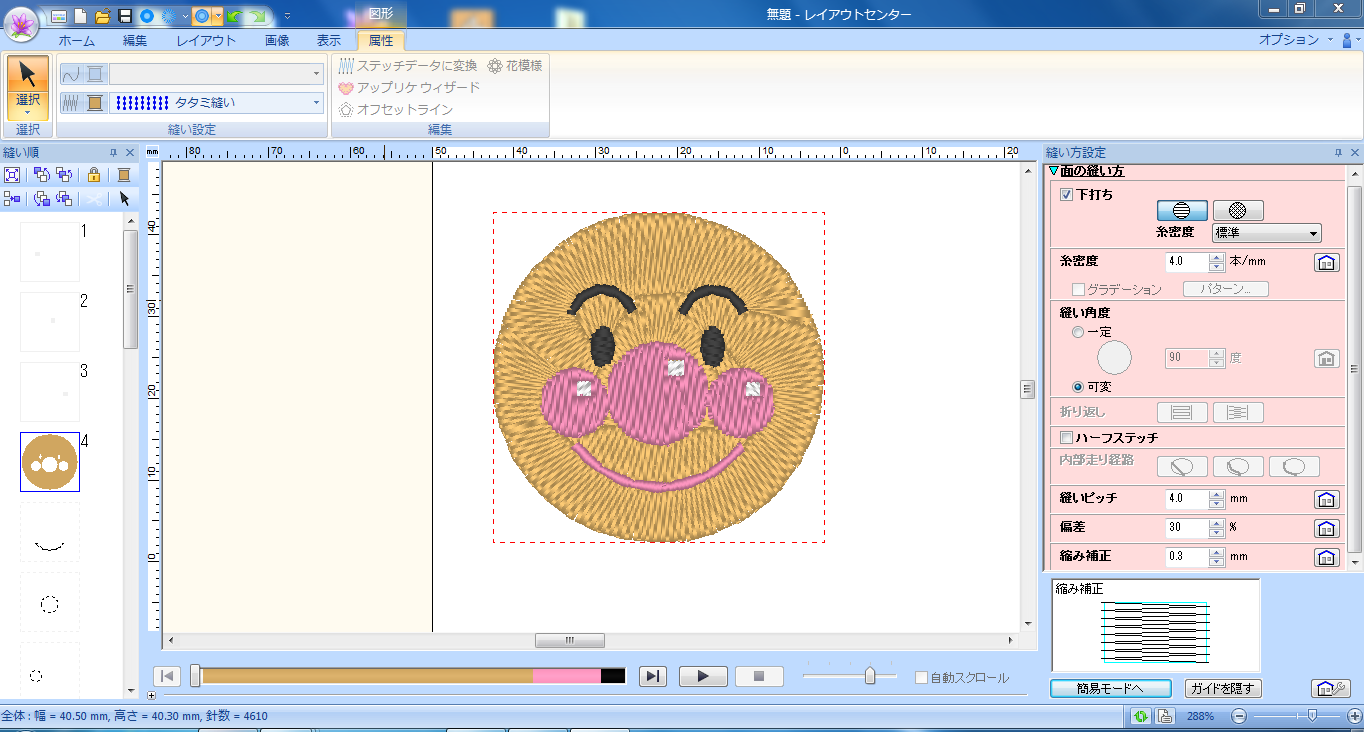
On software, I could select the sewing pattern.
This looks wryly face?
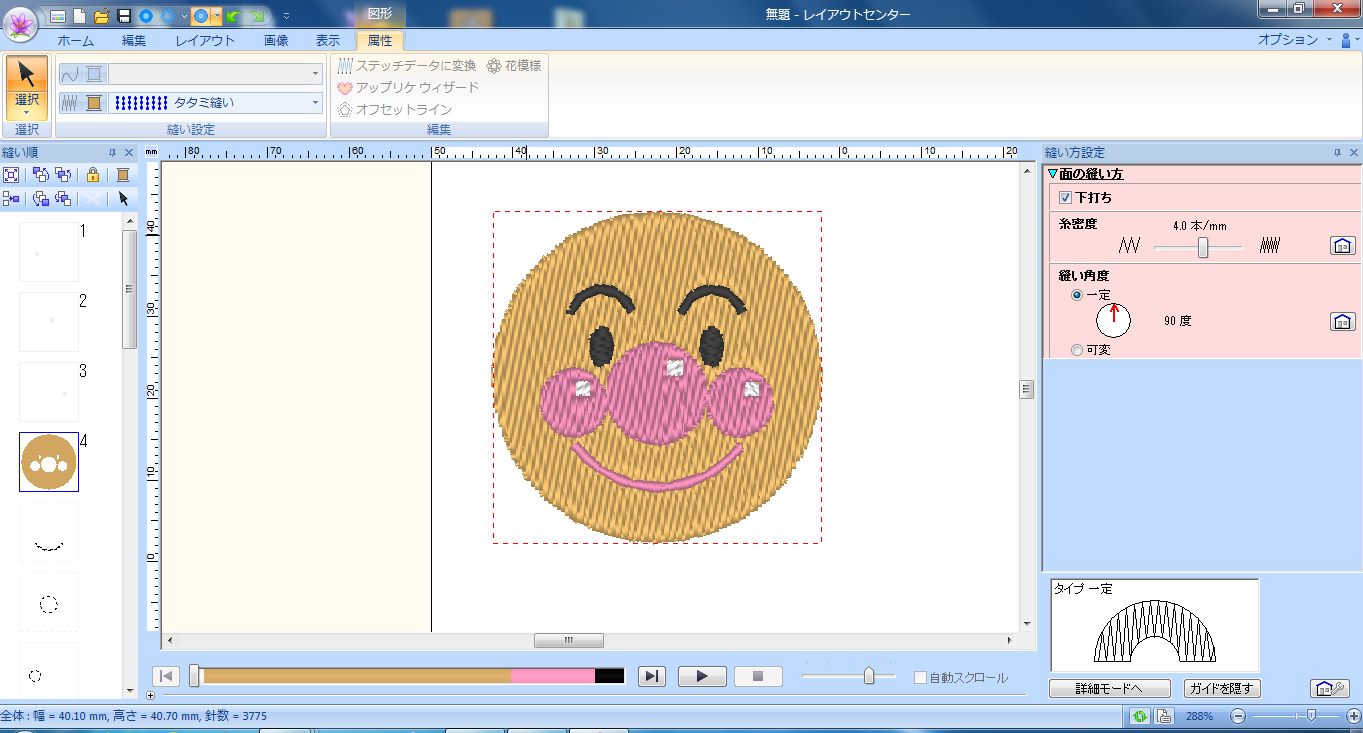
I selected simple tatami stitch(畳縫い).
刺繍PRO Next support for sewing simulation
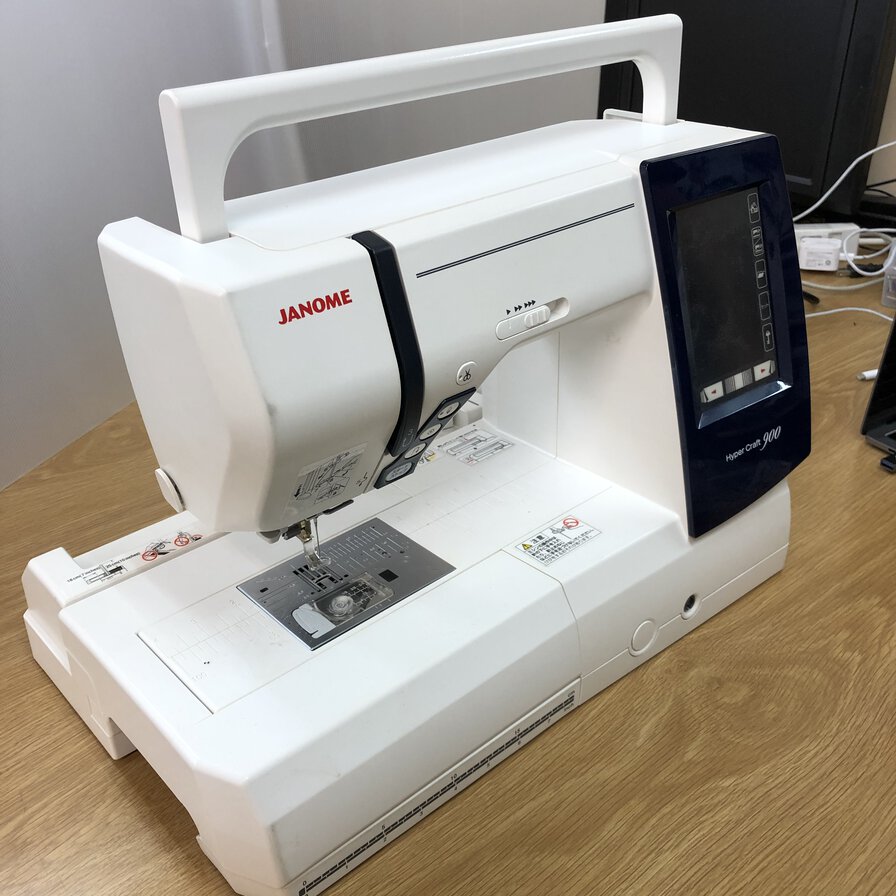
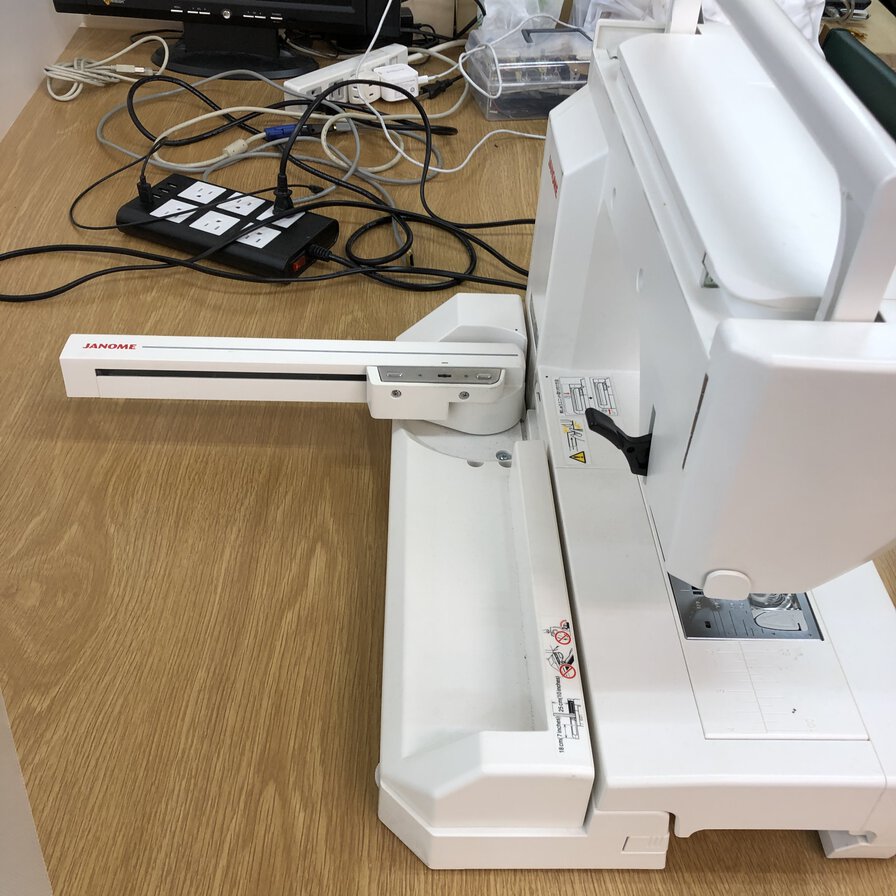
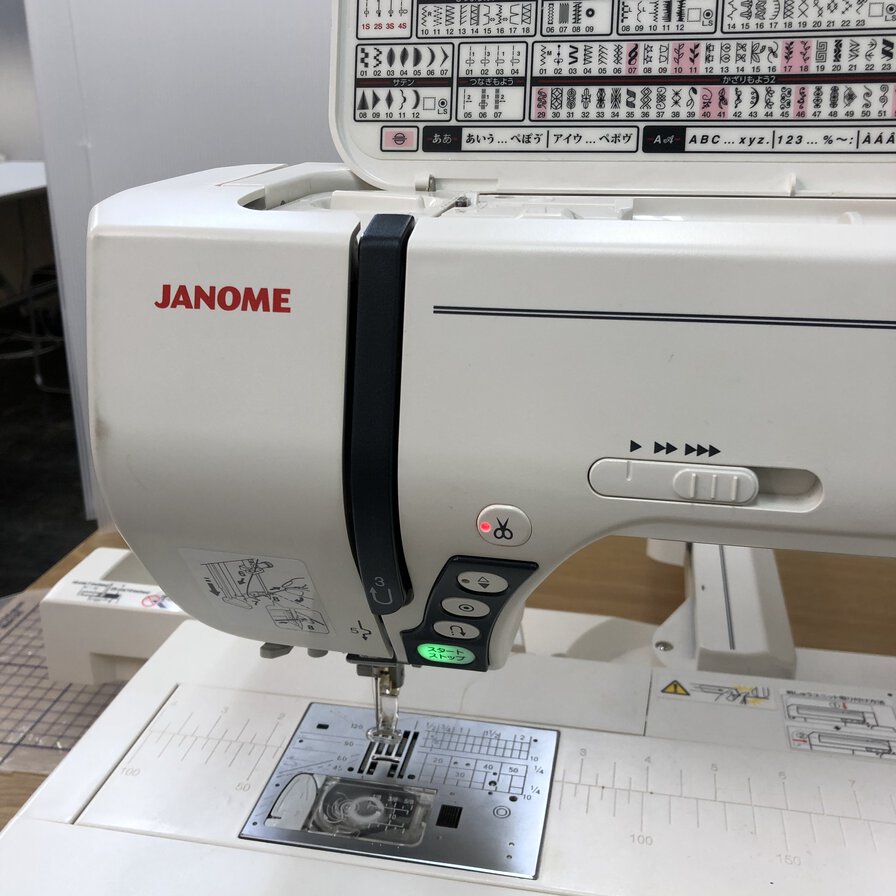
Set up sewing machine
I used machines and software at Fablab Kannai
- Machine
- Software
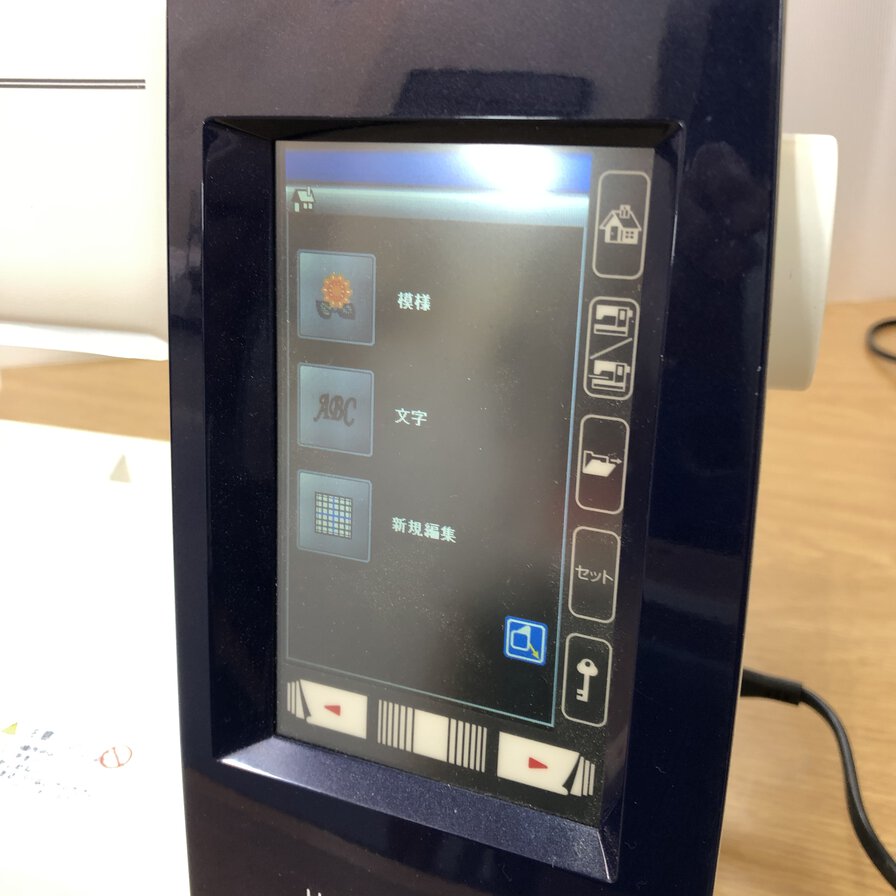
Selected "新規編集(edit new data)" and selected a file that I made by software of "刺繍NEXT PRO".
A folder named "Embf" is created in USB memory when switching on JANOME Hyper Craft 900 with attaching USB key. It's necessary to put the exported data from software to the "Embf" folder.
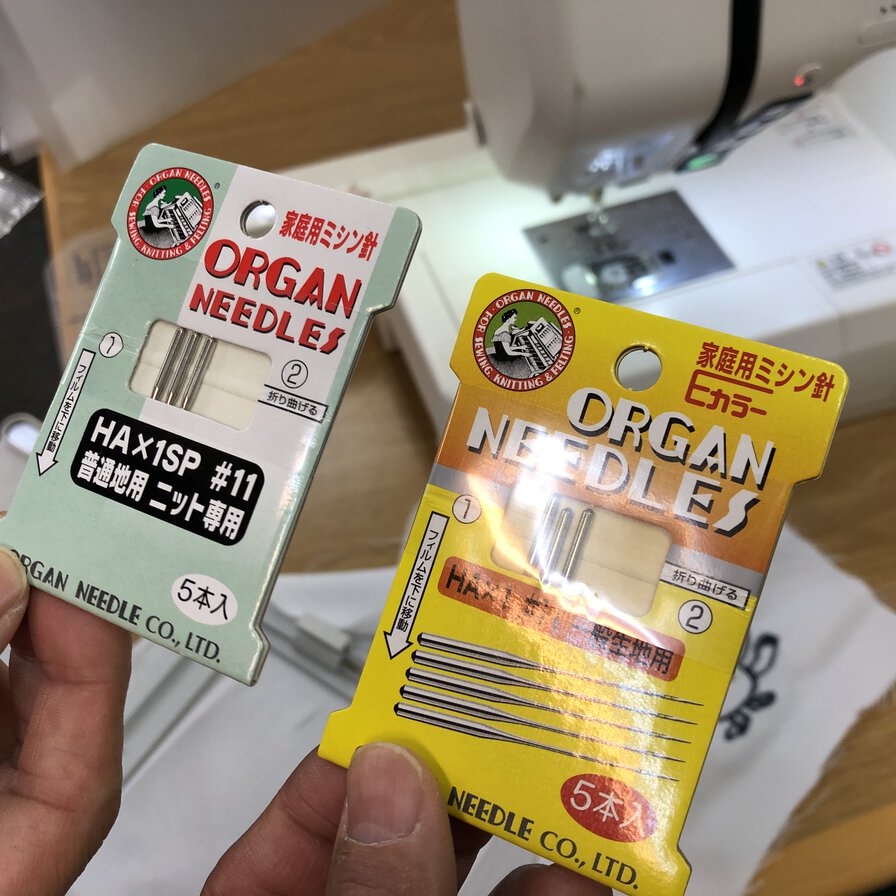
I used a sewing machine needle of "HA x 1 #11 for general cloth"
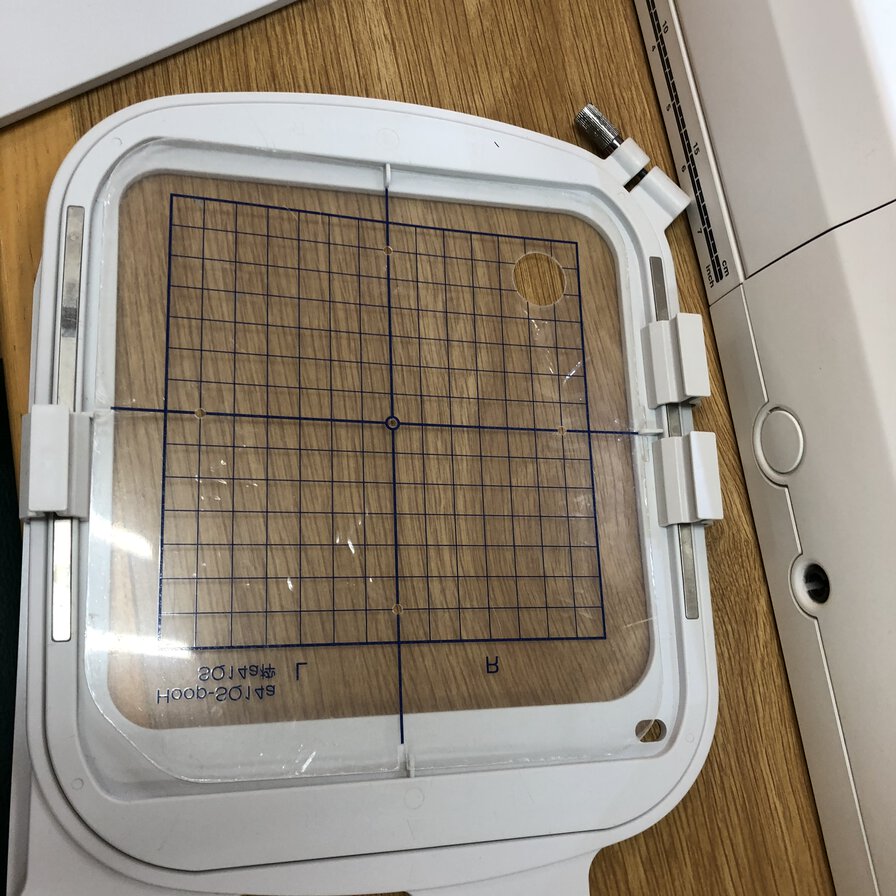
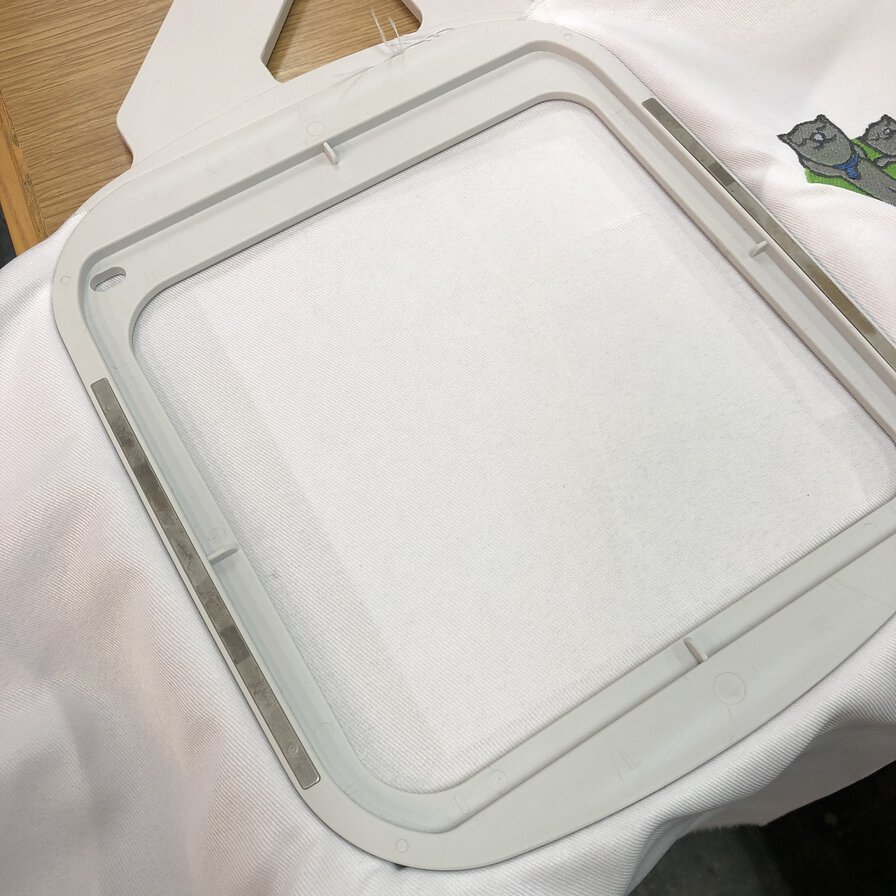
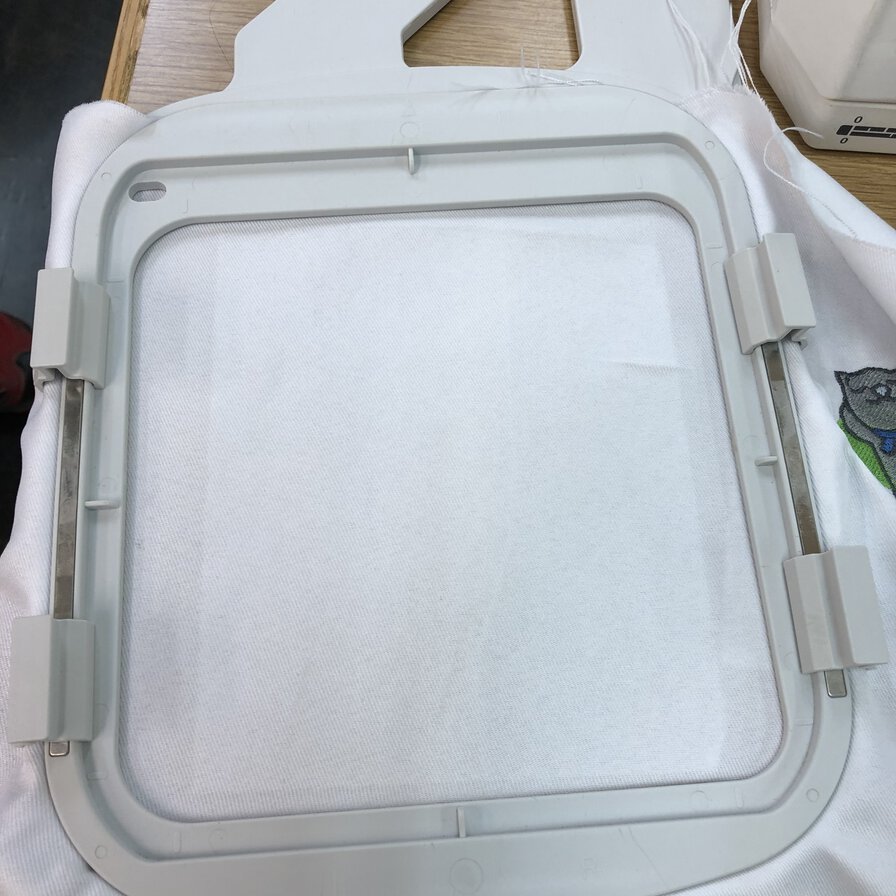
I used attachment by 14 cm x 14 cm scale
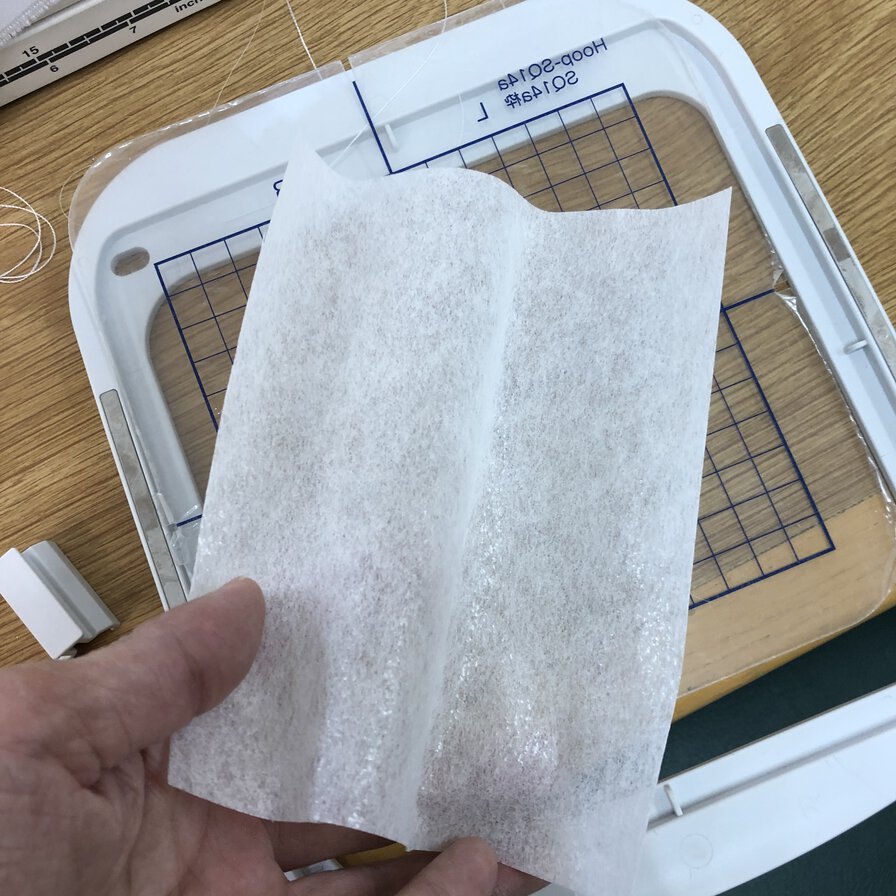
For making the polyester fabric tight on sewing, I attached a backing material for embroidery by Brother(刺しゅう用接着芯) by electric iron. Polyester itself is heat cuttable (I cut out the patche outline by heat mark cutter at following process)
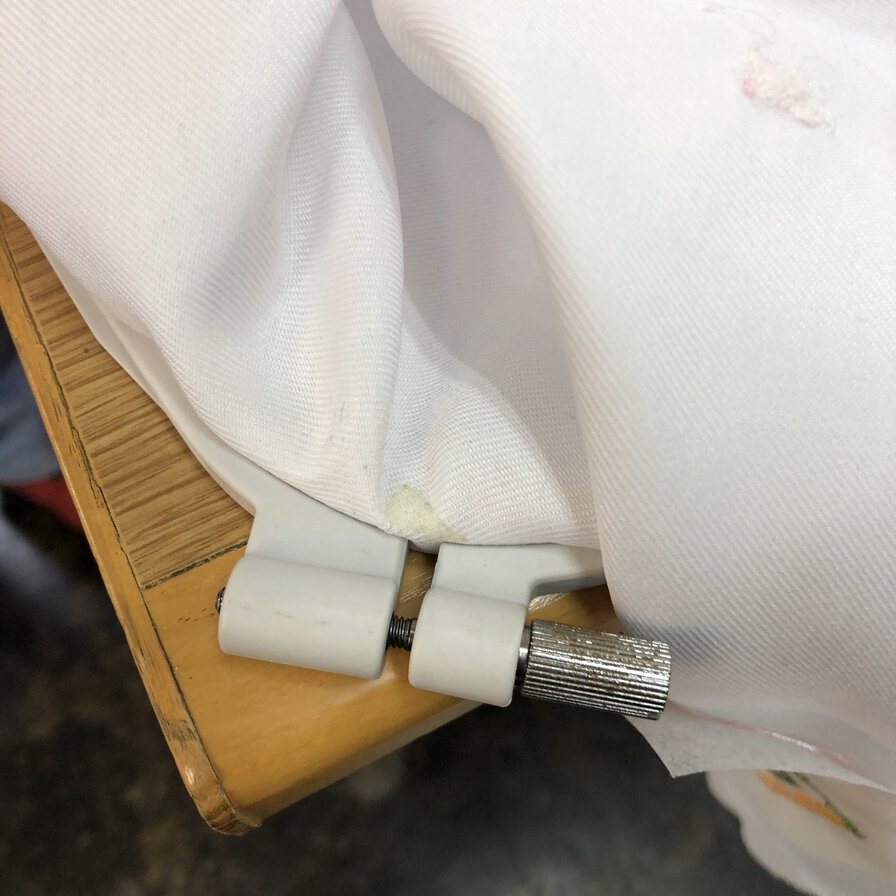
Then fix the fabric tightly on frame.
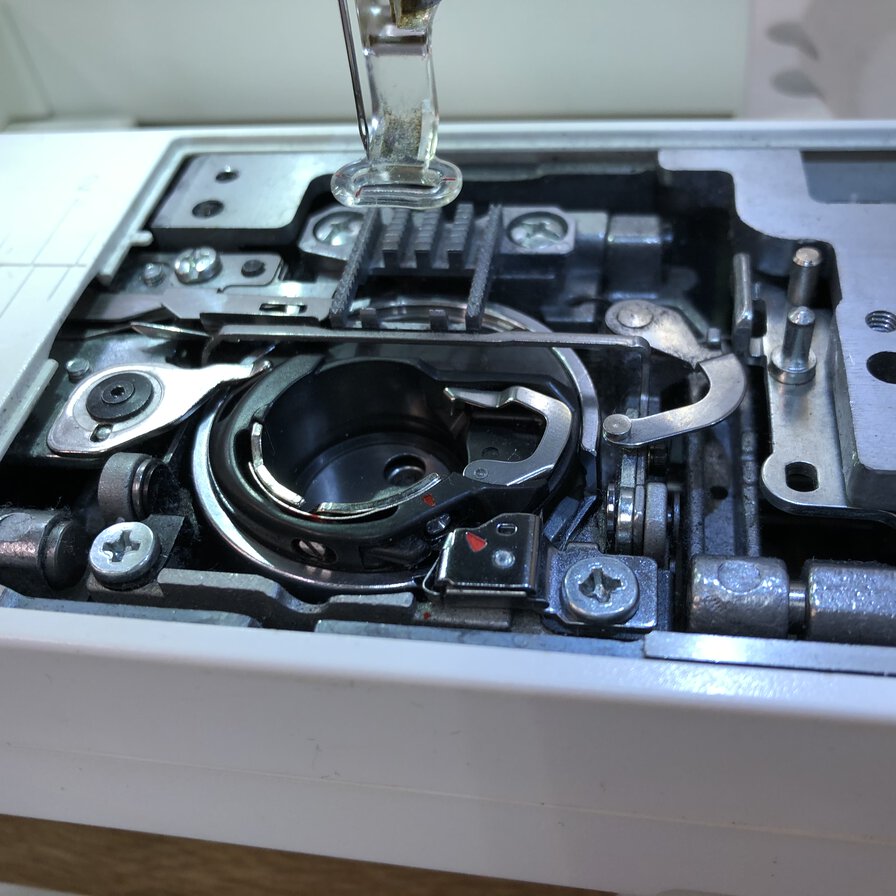
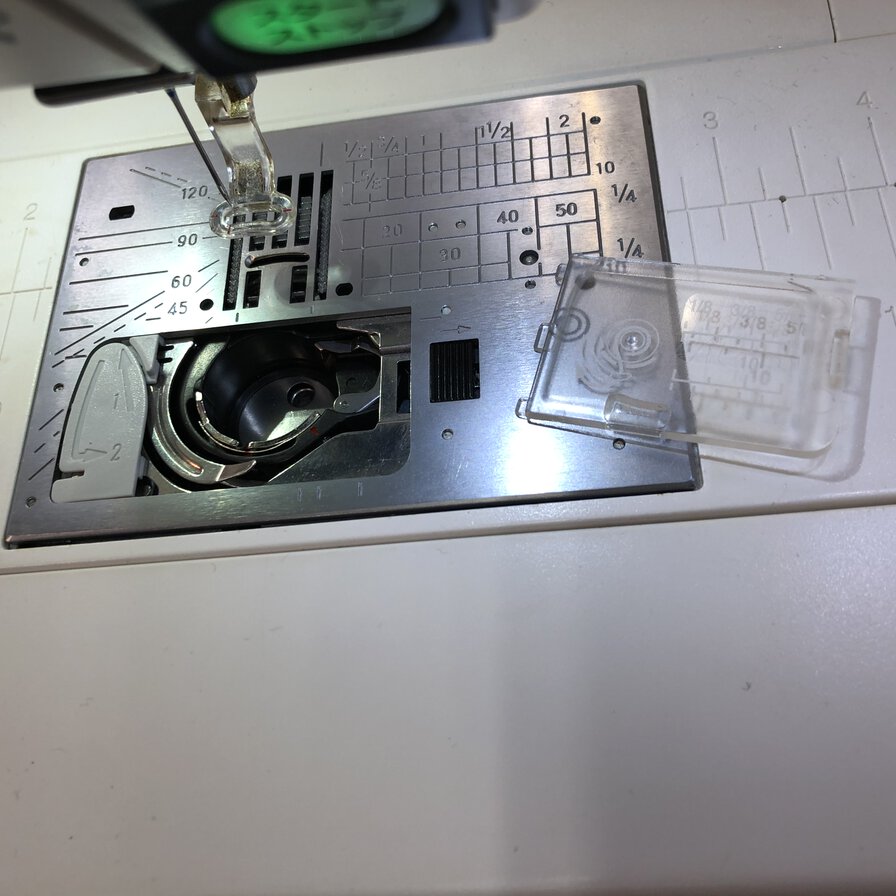
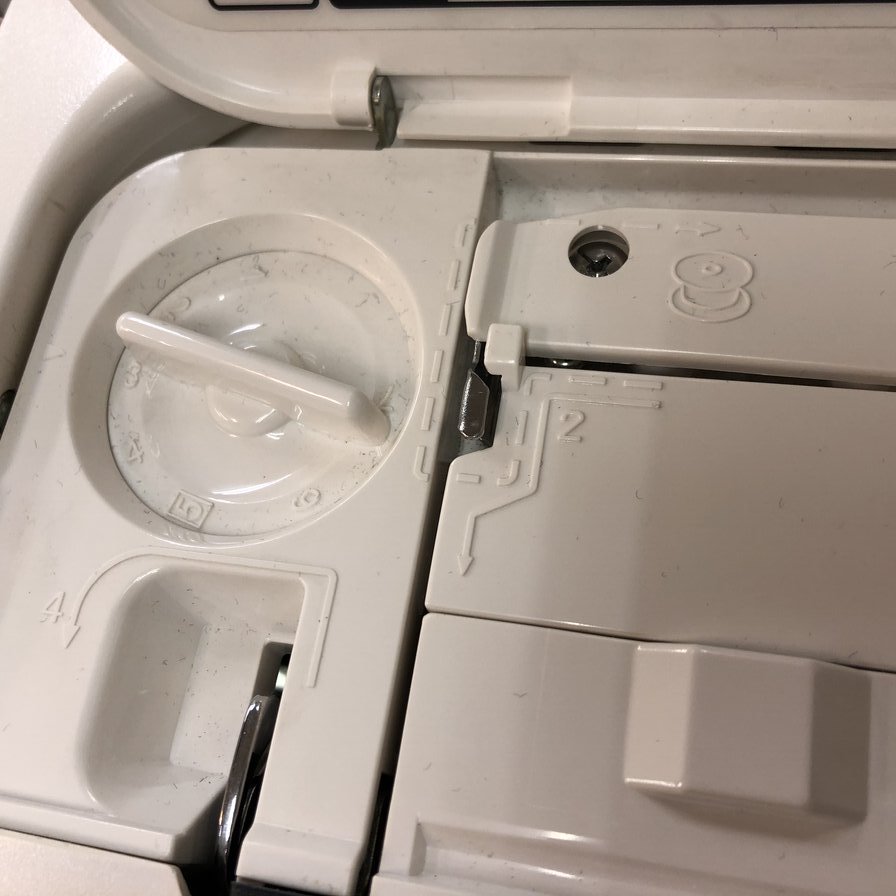
Set bobbin thread
Set needle thread roll opening the top cover.
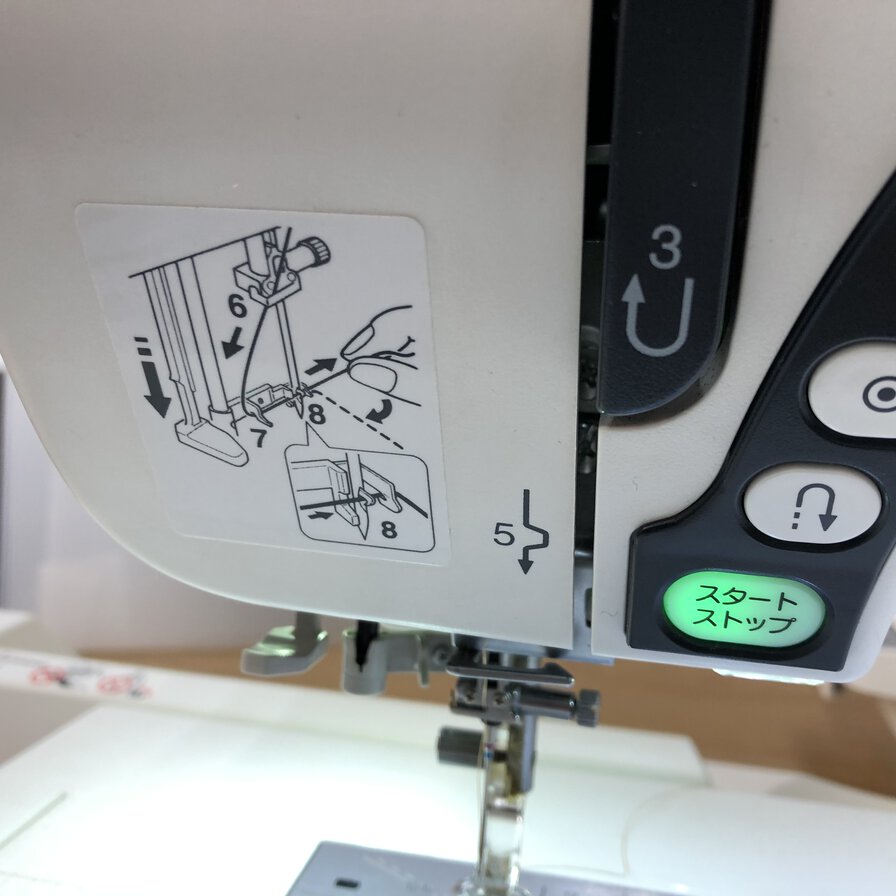
Thread a path line of machine and needle by reading instruction in sewing machine cafefully.
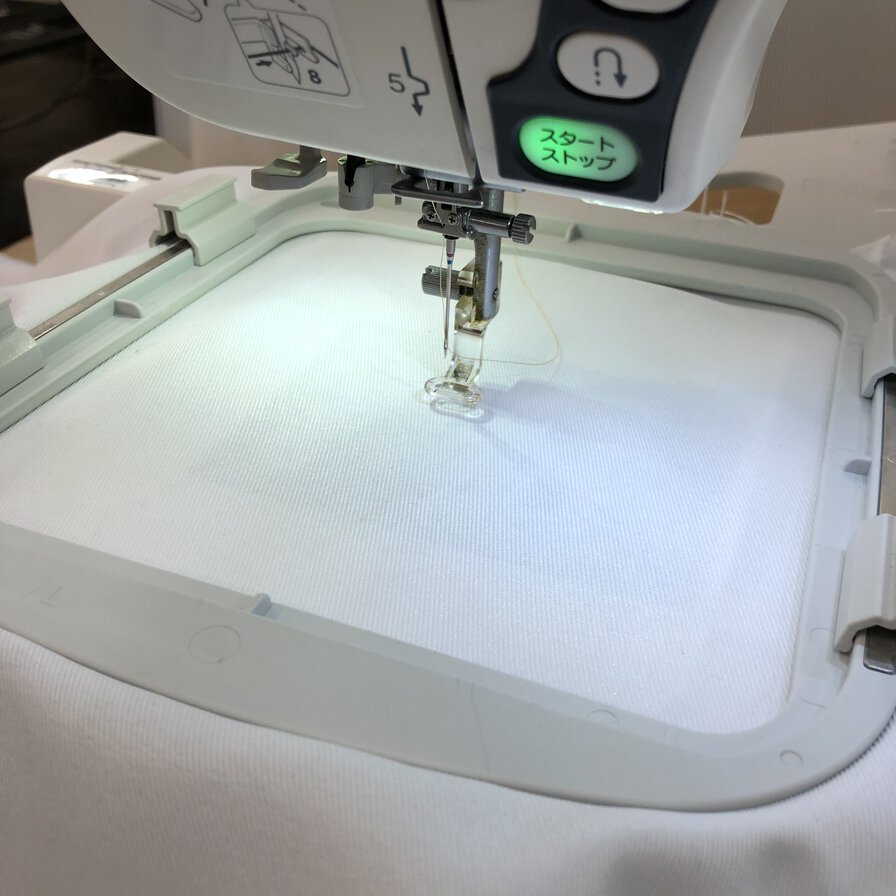
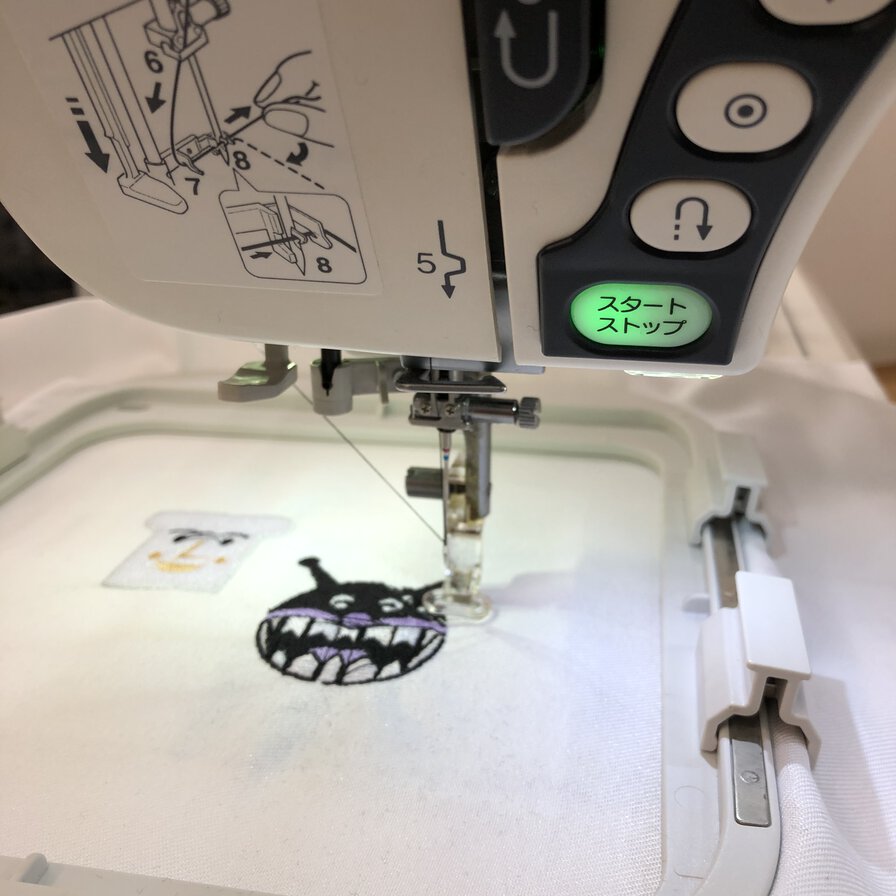
Pulldown the stopper, it's ready to start sewing.
Make
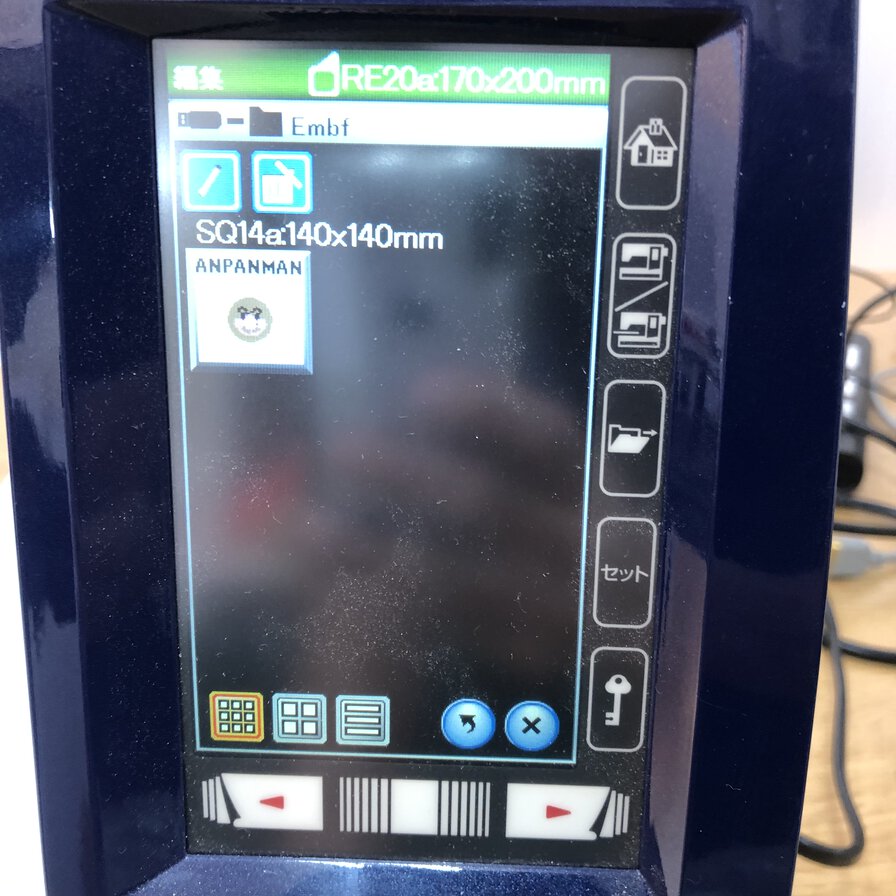
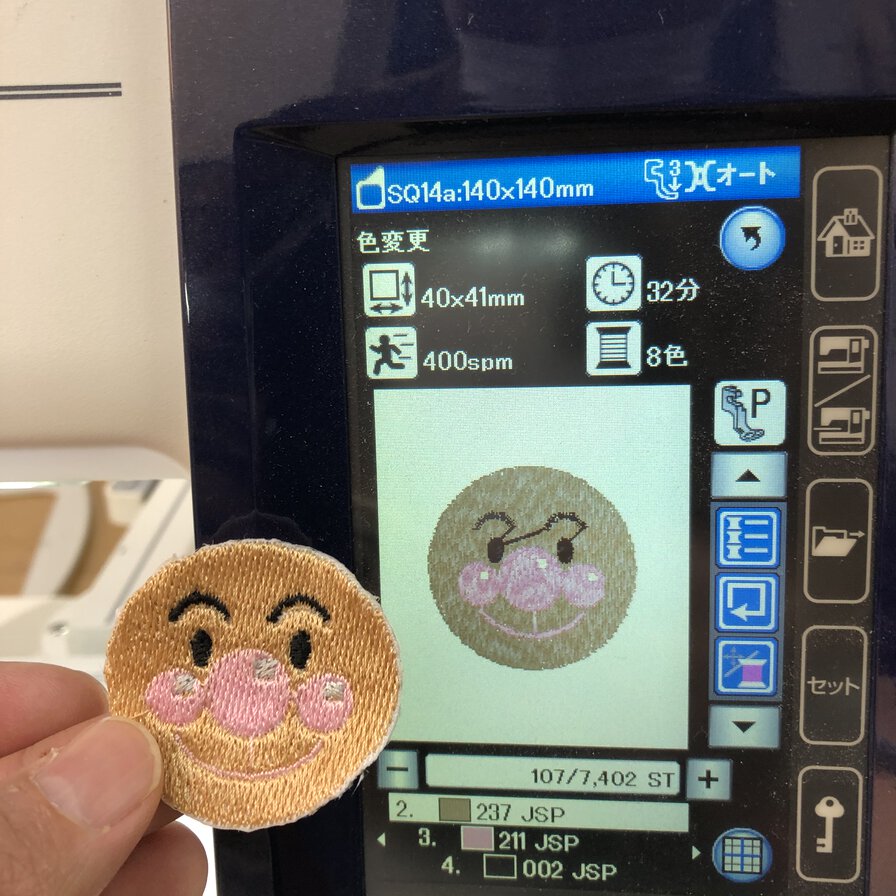
I made 3 heros face by loading bmp file to JANOME Hyper Craft 900.
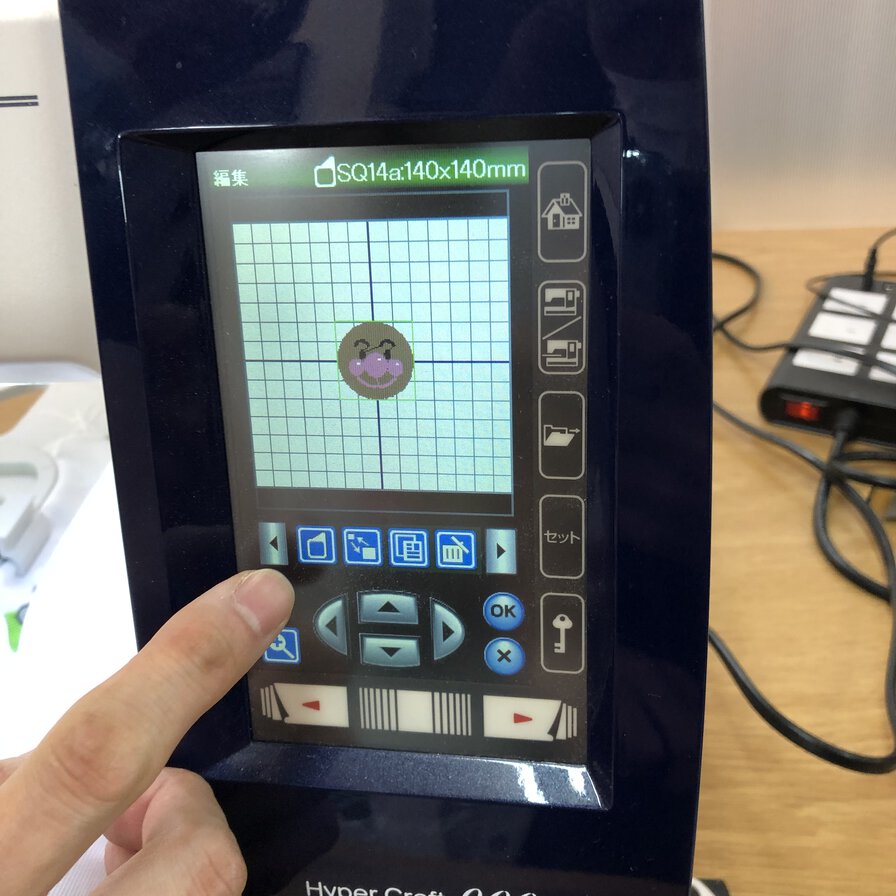
Select 140mm x 140mm sized area
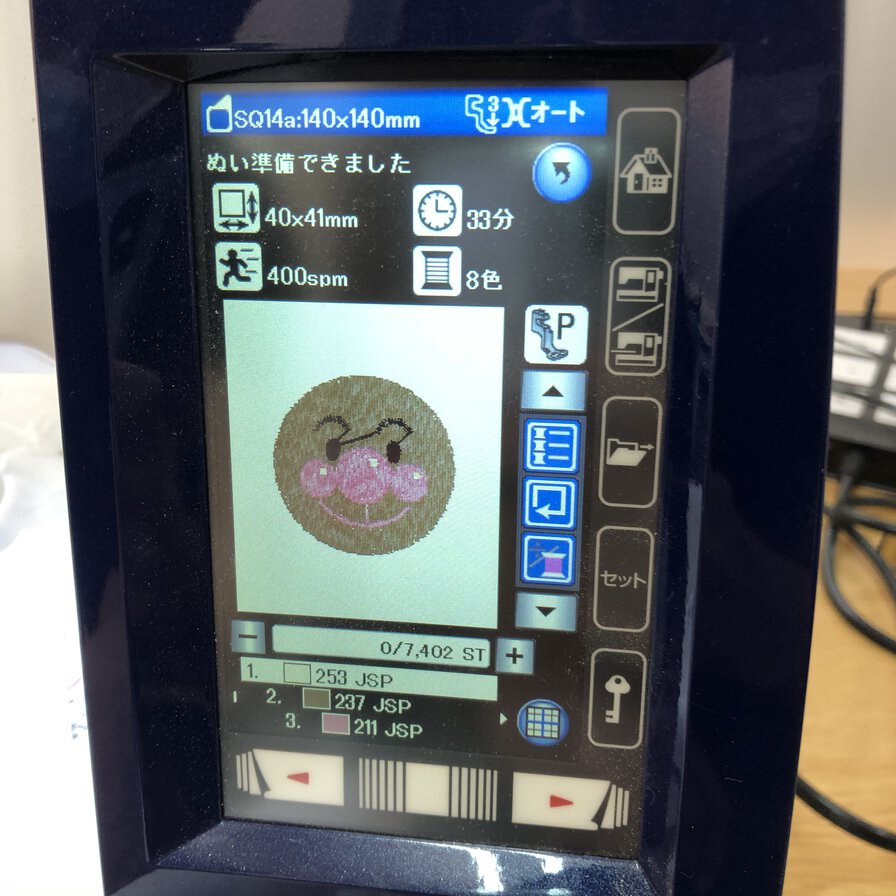
In this case, the machine will sew for each thread color of 1. white > 2. brown > 3. pink > 4. black by 7,402 stitch in total
Screen indicates 8 colors, but it was enough to finish sewing in 4 colors. The rest 4 colors is duplicated colors and stitch, that was no problem to ignore. It might be caused by original image design. When I sewed the other charactors, the duplication did not happen.
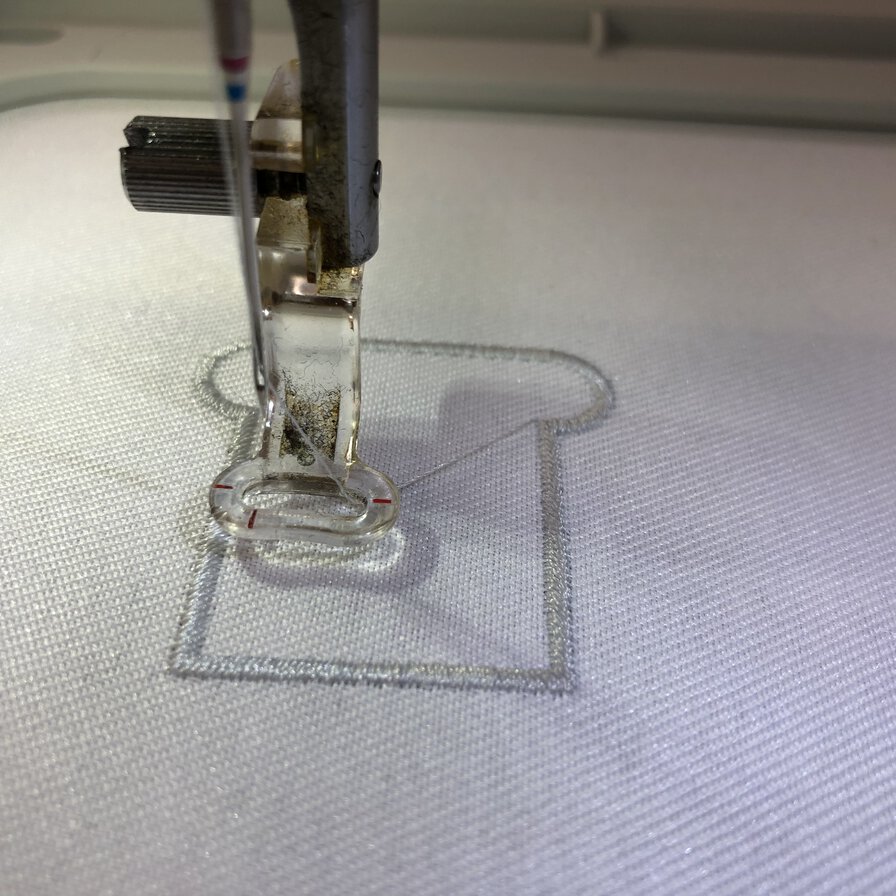
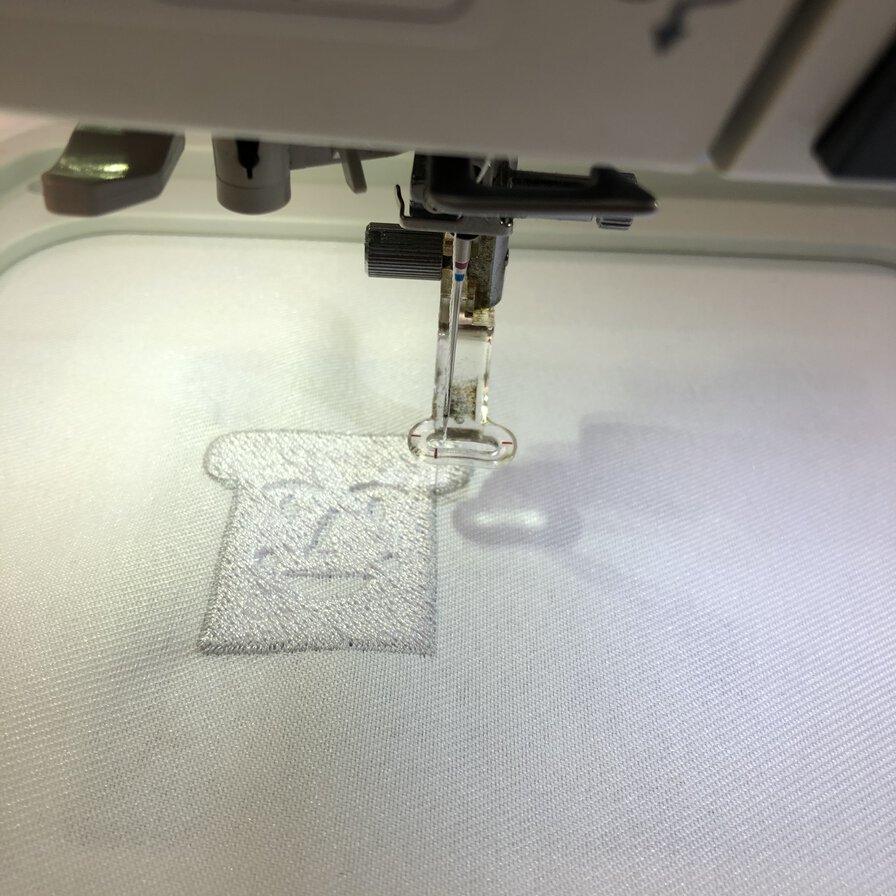
For avoiding misaligned sewing in white color (that is caused because the cloth is shrinked when sewing large area), I firstly sewed white part (facial shine on cheek and nose) by brown color, then sewed again the same part by white color after sewing whole of face color in brown.
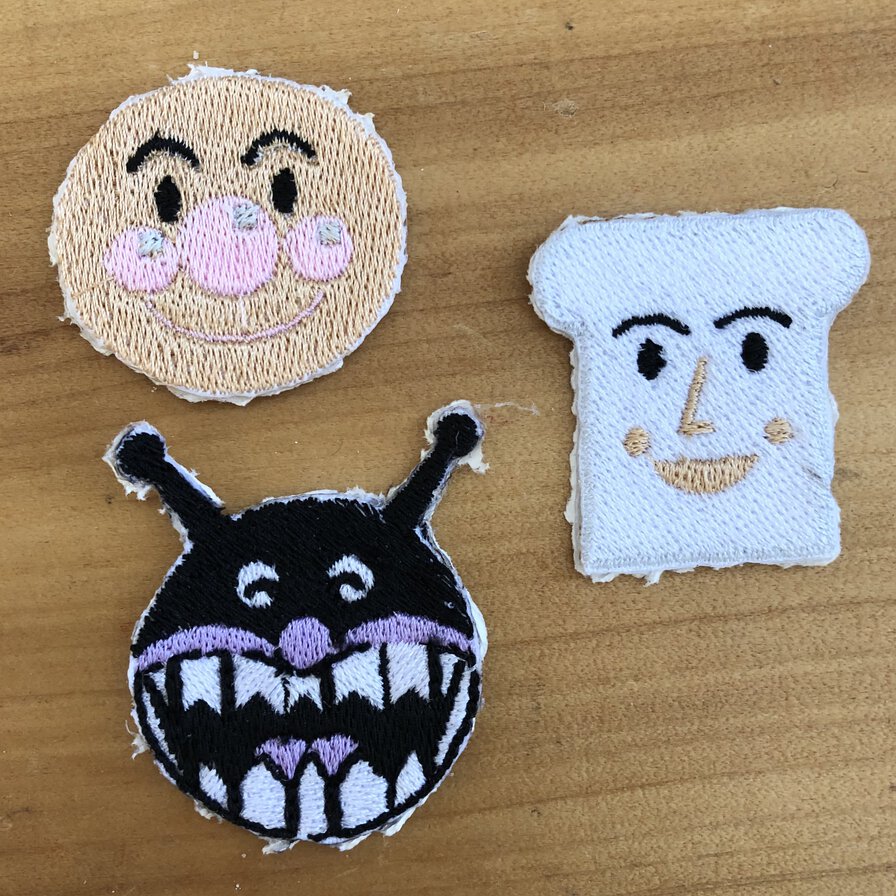
After competion to sew 4 colors' thread, I cut out the charator's face from fabric by mark cutter(soldering iron with sharpen neil)
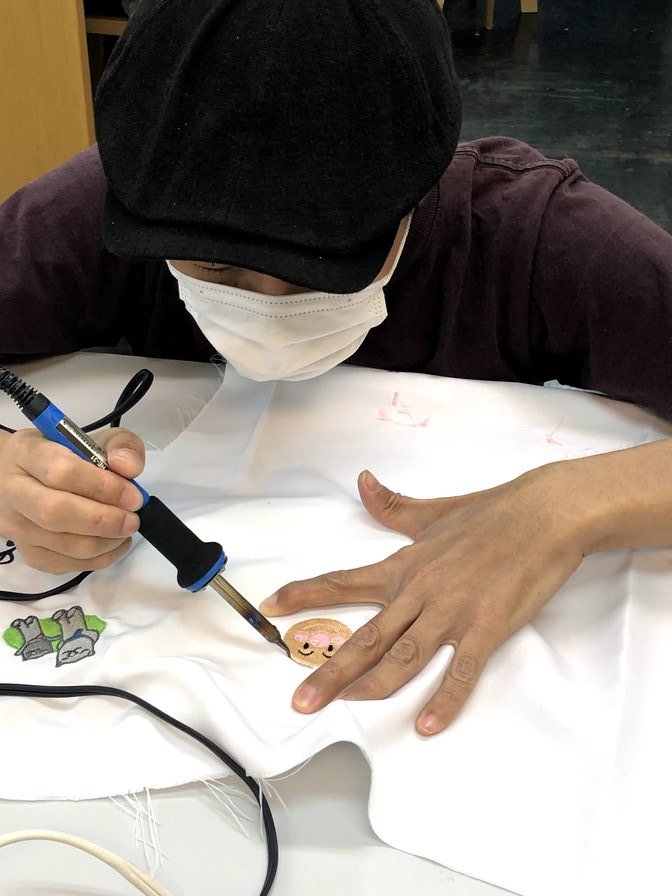
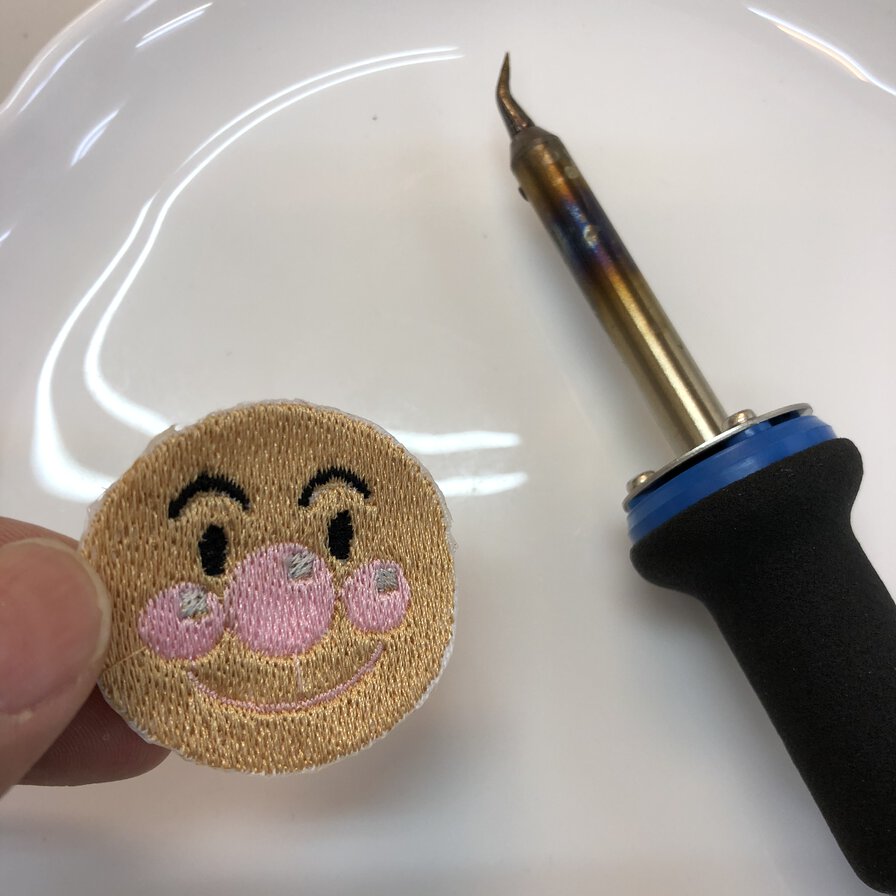
Cut threads that bridged separated parts. Actual fabrication looks fine :)
For shokupanman, I added the border of face by satin stitch in light silver thread. It's goods to make the edge of patch strong
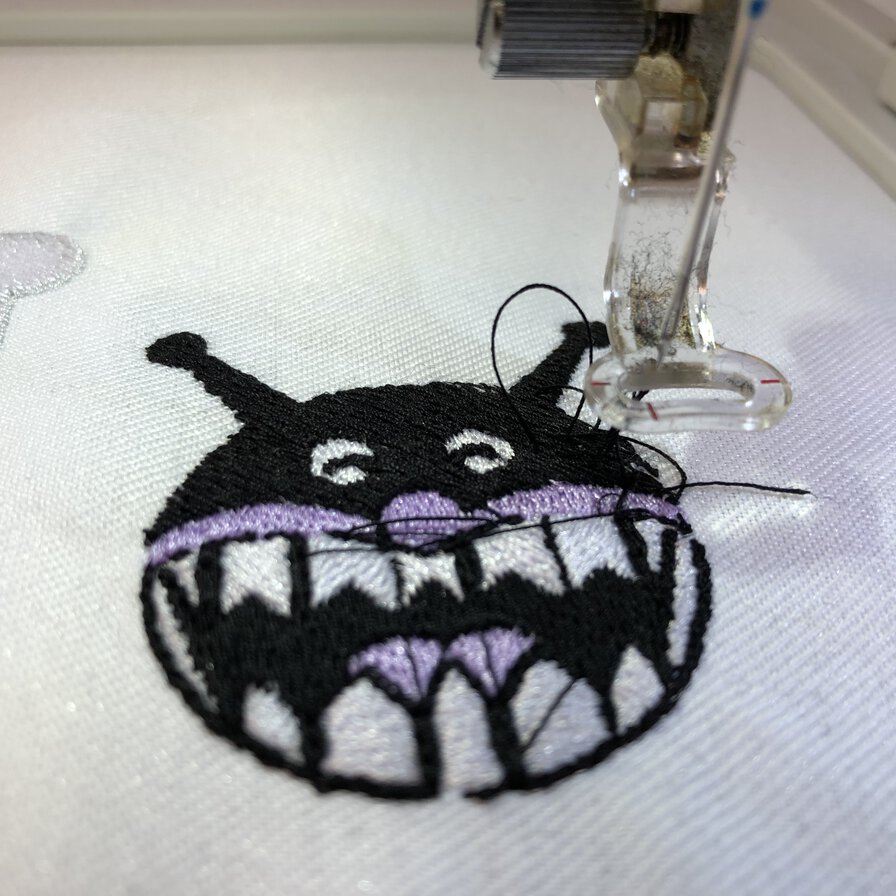
It might be better to sew the black part first, then add white part(the sewing order was opposite to that) as the black part is strongly appeal the space between teeth of Baikinman
When I sewed Baikinman's face, a black thread was tangled at the edge of face. In this case, I play back the steps of stitch to the starting point of tangled, then replayed sewing at the same position.
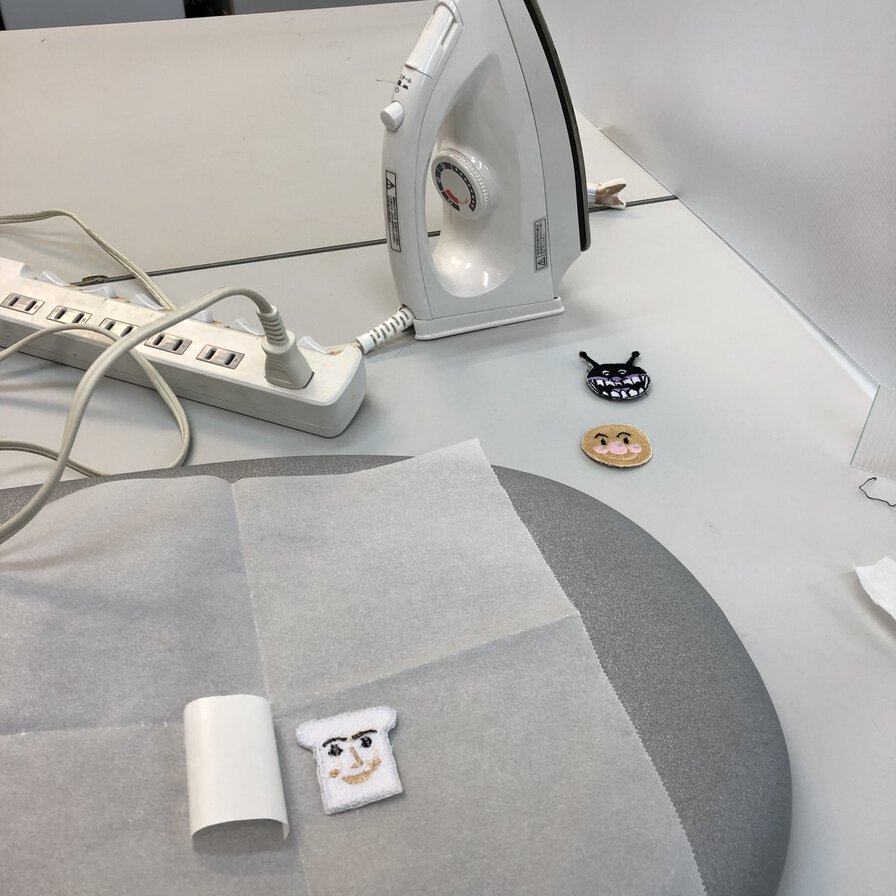
After completed to cutting out patches from cloth, I put "heat seal"(エセラン・エルファン) by electric iron for each patch. Following the guidance by distributer:
- Attach the hot adhesive film side to the back of the dough. Iron or otherwise apply weight pressure for 10 seconds on medium (about 140 degrees).
- Let it cool
- Peal off the release paper
- Cut the heat seal around the badge with the heat adhesive film.
When attaching to bags, clothes, etc, iron it in about 150 degrees and apply pressure (weight) for 30 seconds to adhere. Press from the front and back.
In detail, please see the guidance by distributer.
Lessons Learned
- More physical work, more intersting to me. It was very intersting for making things by sewing.
- For making sewing path, it's good to design parts and border by explicit lines and colors.
- It's important to understand physical materials and color to be appealed when deign the image.
Files
2D/3D design : f3d
References
- JANOME Hyper Craft 900
- JANOME Hyper Craft - Manual
- 刺しゅうPRO NEXT
- 刺しゅうPRO NEXT - Manual
- Heat seal(エセラン・エルファン)
- Mark cutter(soldering iron, マークカッター)
- awesome-fabacademy
- Ink/Stitch Open source Inkscape plugin for digital embroidery
- SophieSew Free embroidery design software
- Sew easy in New York
- Get the Colman Patch-Pro Kit and start making custom patches right away.