
3D Scanning and Printing
Group Assignment
- test the design rules for your 3D printer(s)
3D Printers in Fablab Kannai
Test Data
I want to make a tiny whistle that has undercut and nested composition (a ball is inside it). I found a sample model in thingiverse and tried to simplify the model with measuring dimensions in my individual work.
For having the composition of overhang, I wanted to test:
Test Print
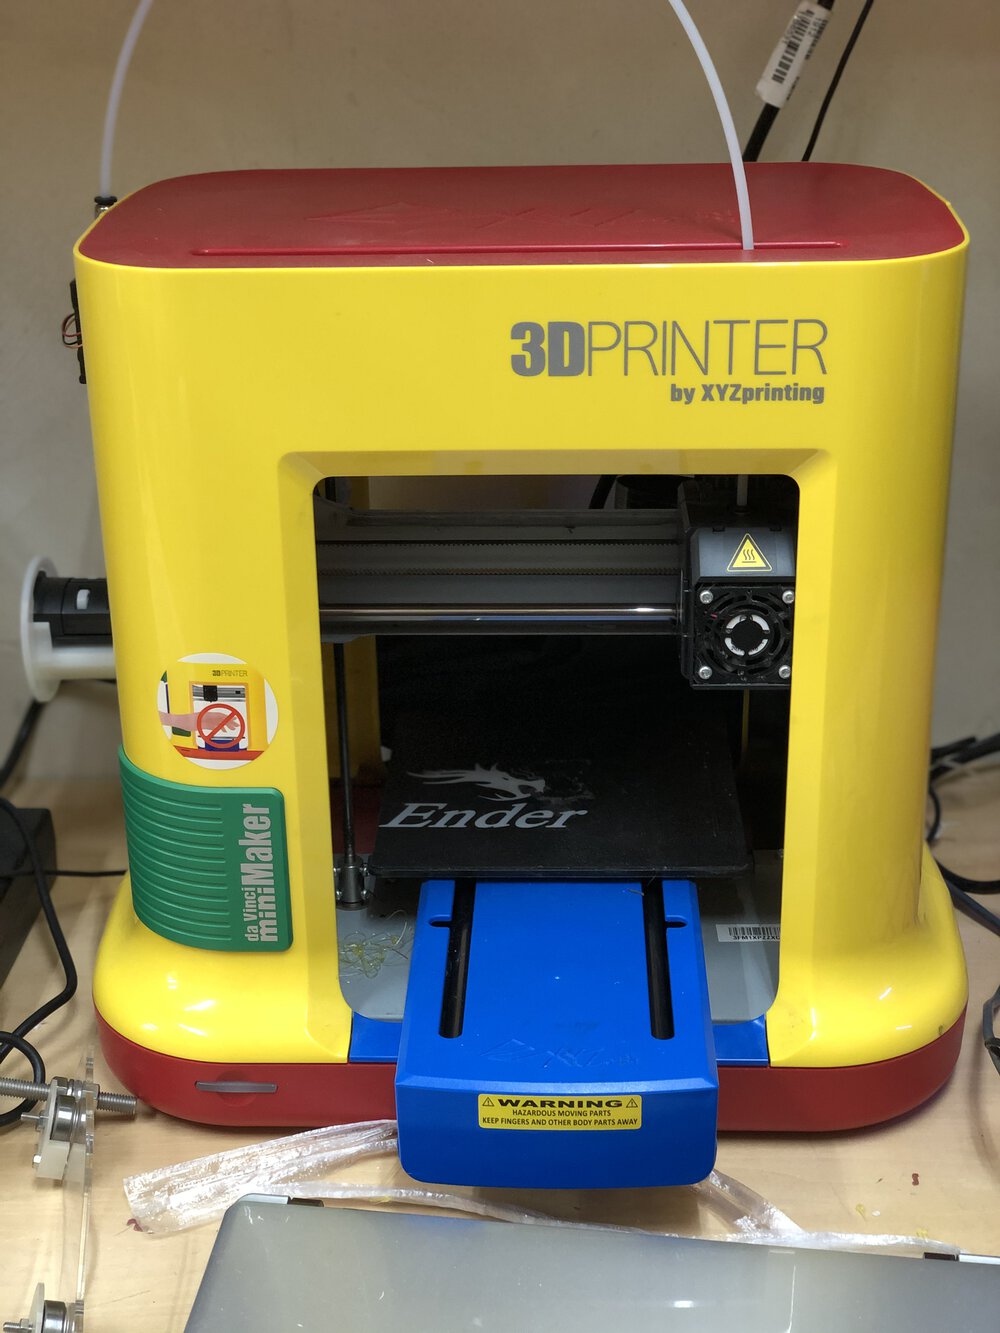
I decided to use MakerBot as my instructor, Tamiya-san, adviced me that the accuracy is greater than davincihi that I've used.(Afterward, I also used up2 Plus and ABS)
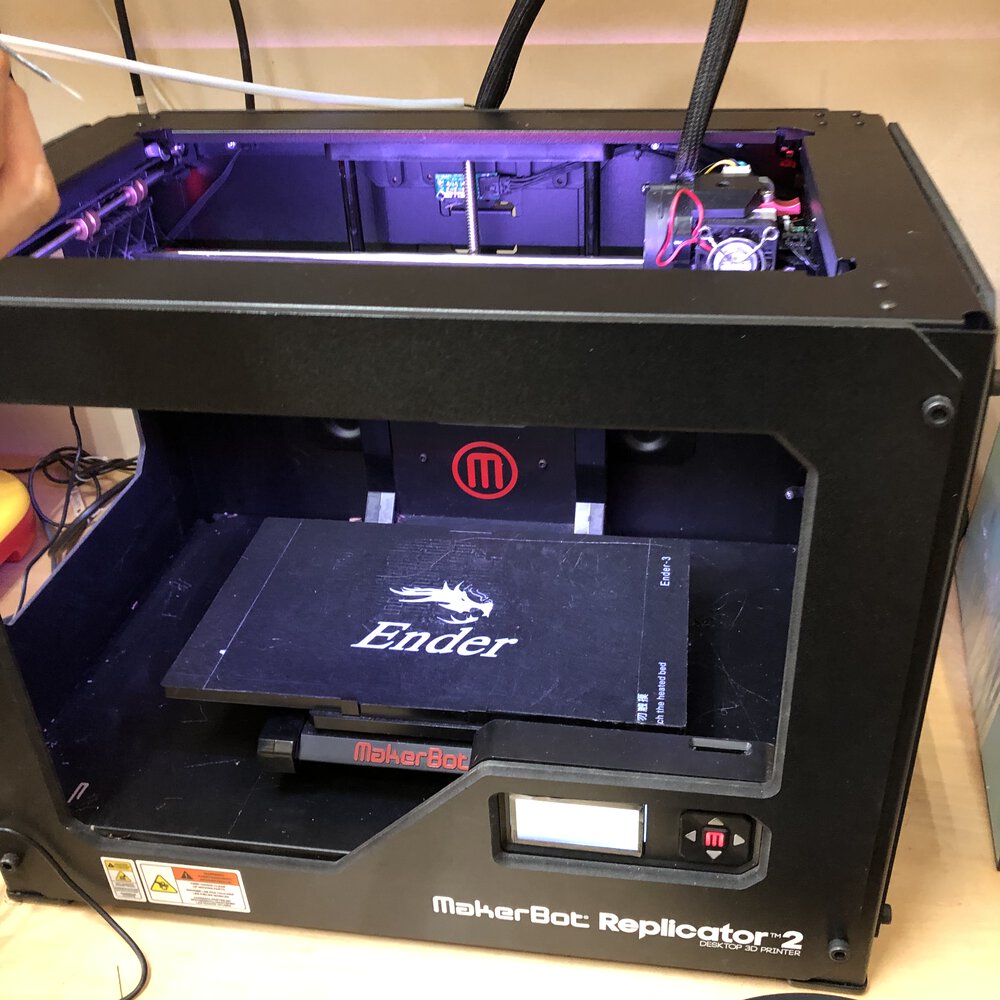
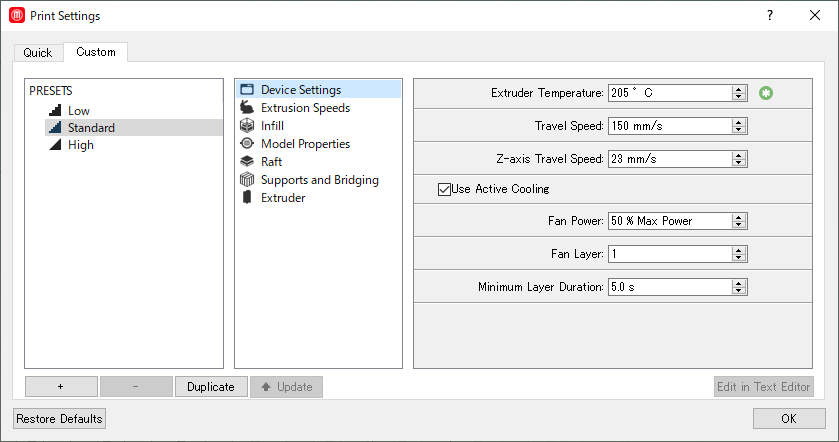
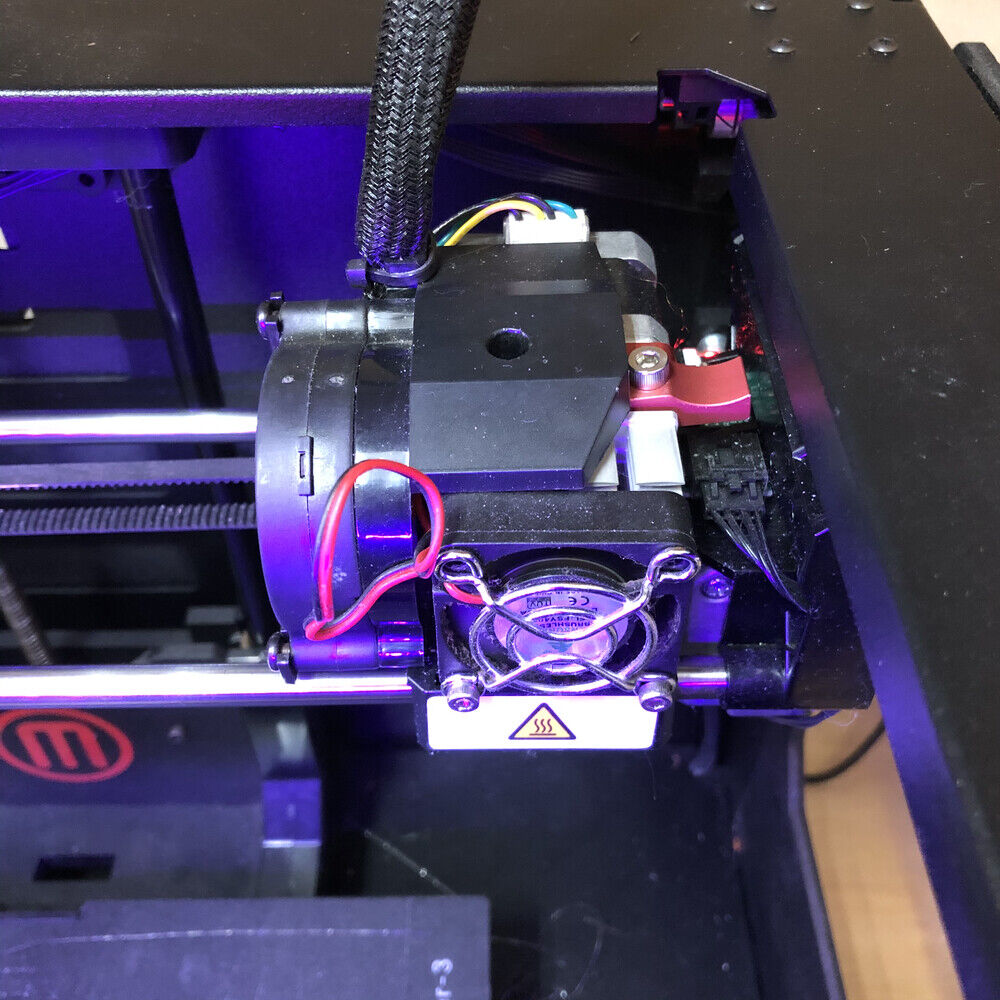
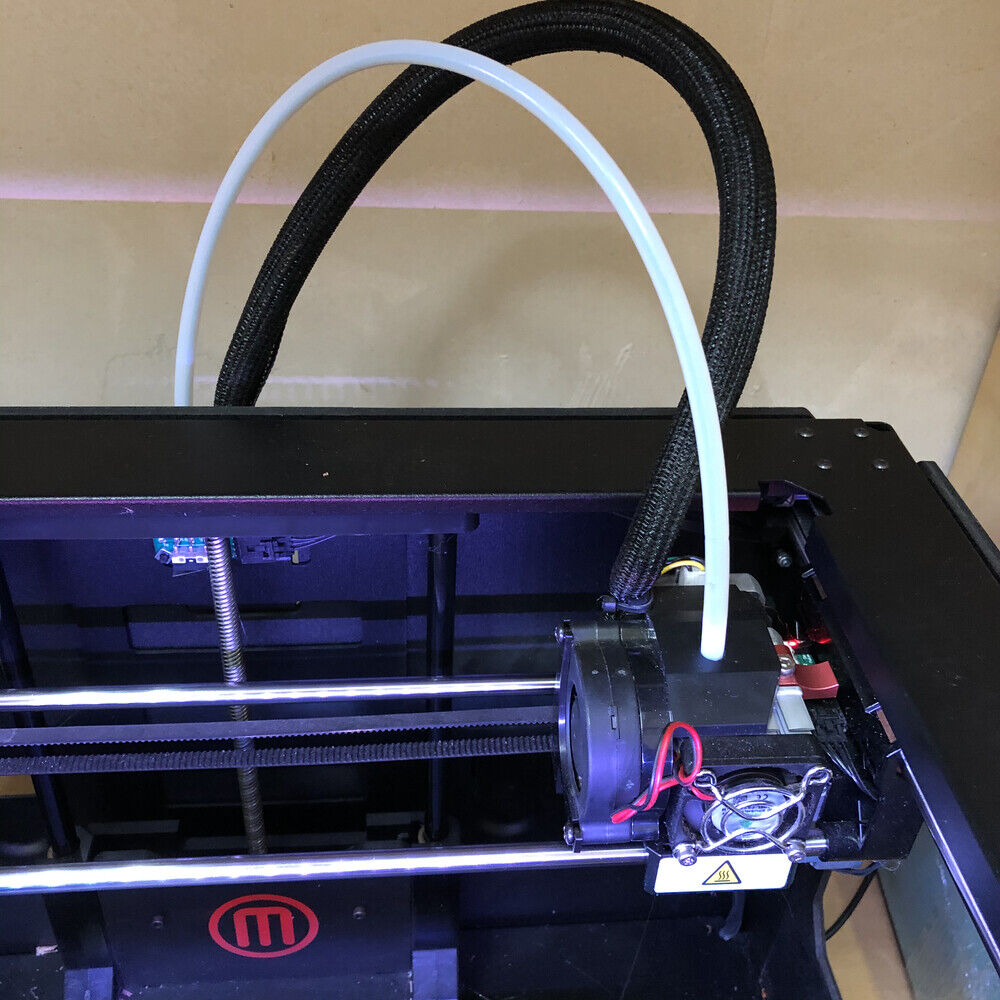
Maker Bot
3. Checked printer setting
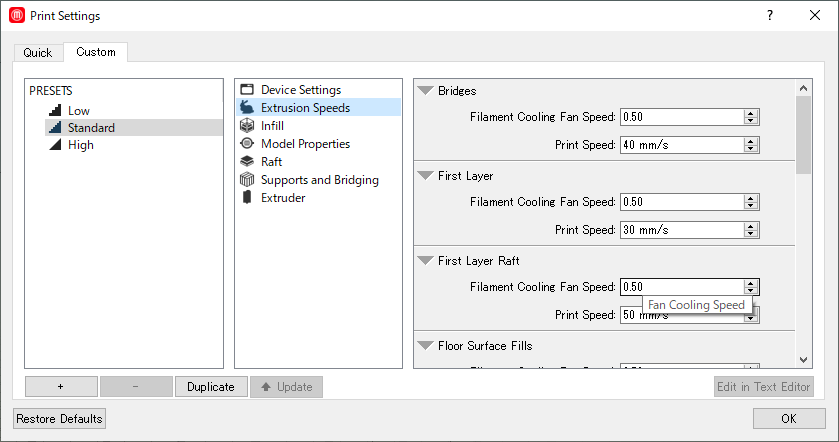
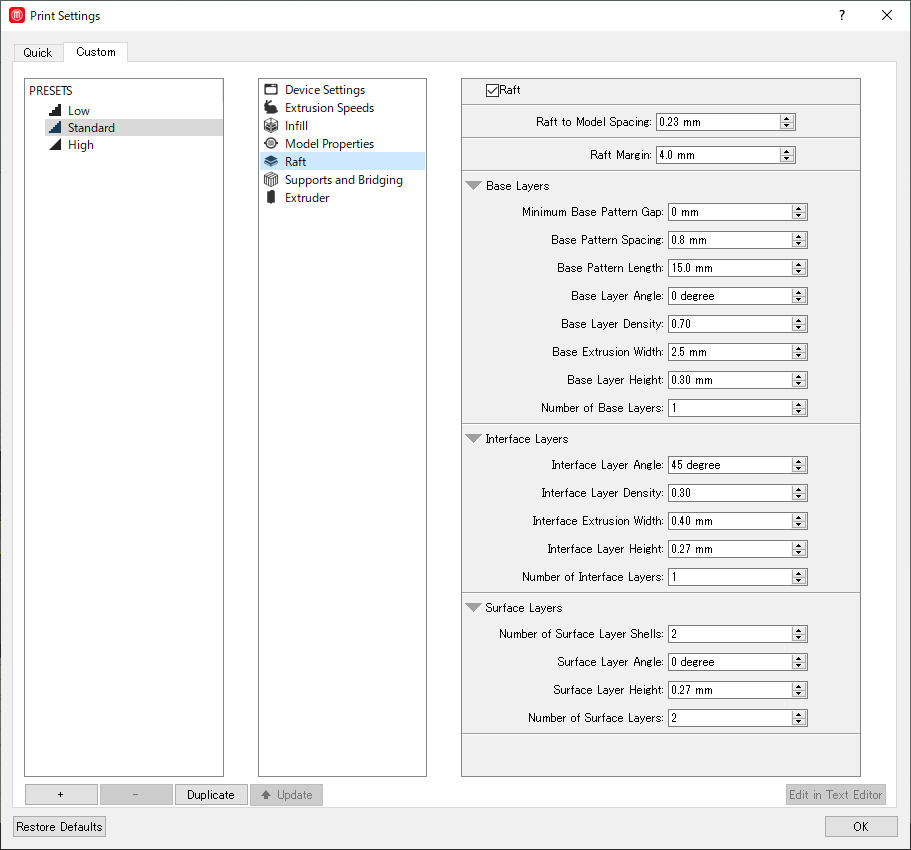
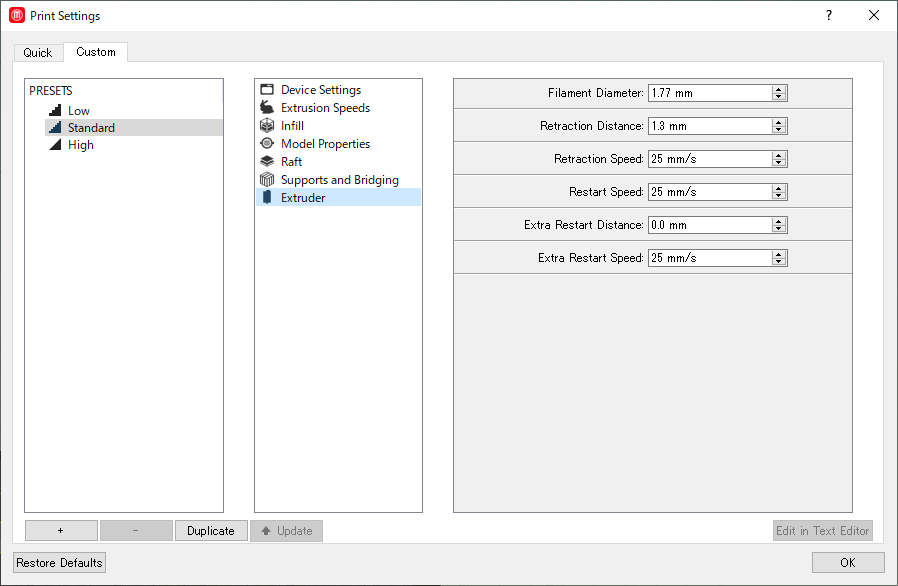
Setting of Maker Bot ("Standard" preset)| Main Parameter | Value |
|---|---|
| Material | PLA |
| extruder temperature | 205℃ |
| Travel Speed | 150 mm/s |
| Z-axis Travel Speed | 23 mm/s |
| Extrusion Speeds(Bridges) | 40 mm/s |
| Extrusion Speeds(First layer) | 30 mm/s |
| Infill Density | 30% |
| Layer Height | 0.30mm |
| Number of Shells | two |
| Roof and Floor Thickness | 0.80mm |
| Raft to Model Spacing | 0.23mm |
| Raft Margin | 4.0mm |
| Support | off |
| Filament Diameter | 1.77mm |


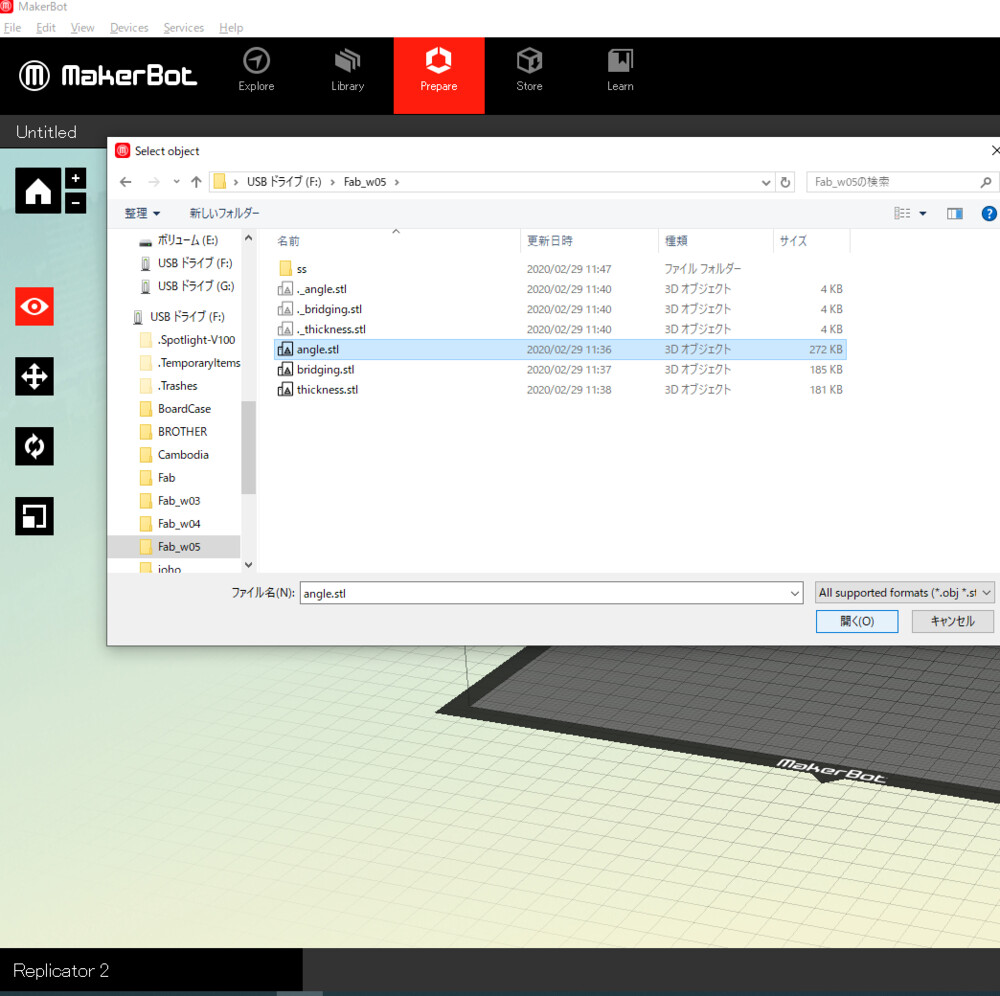
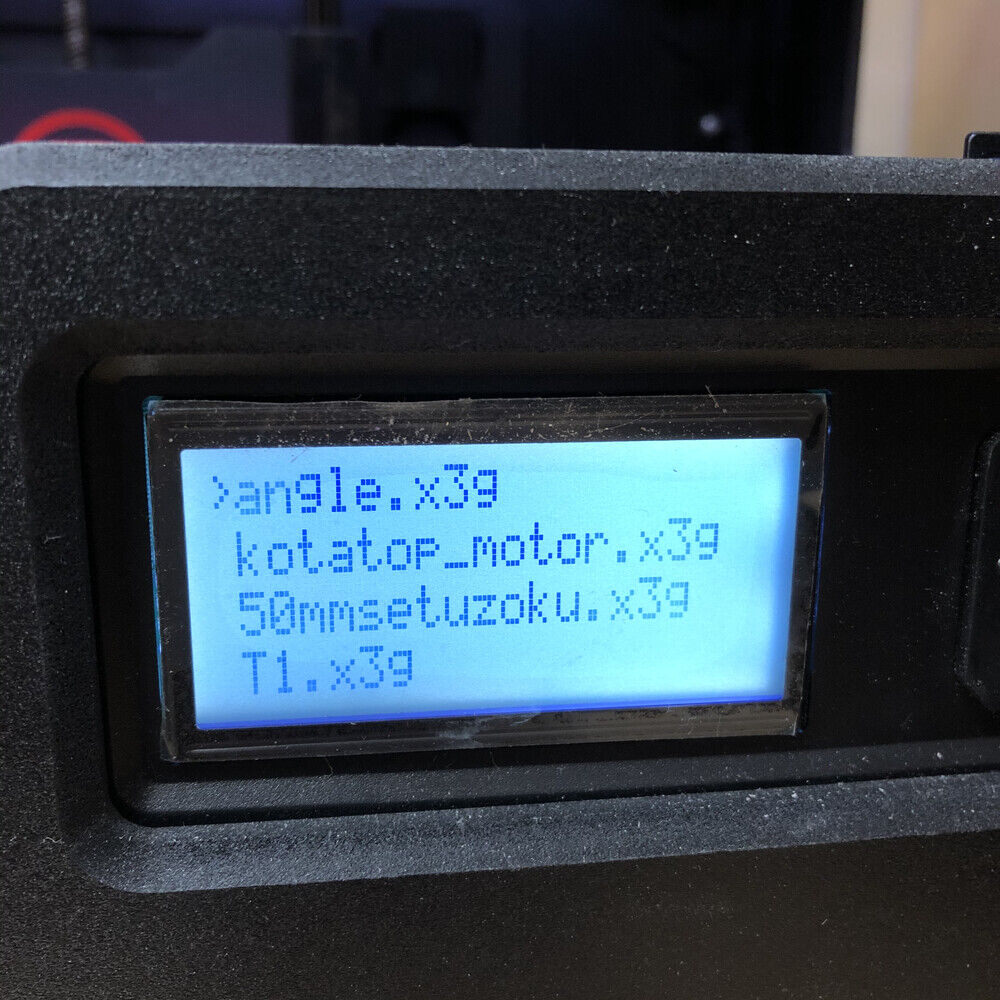
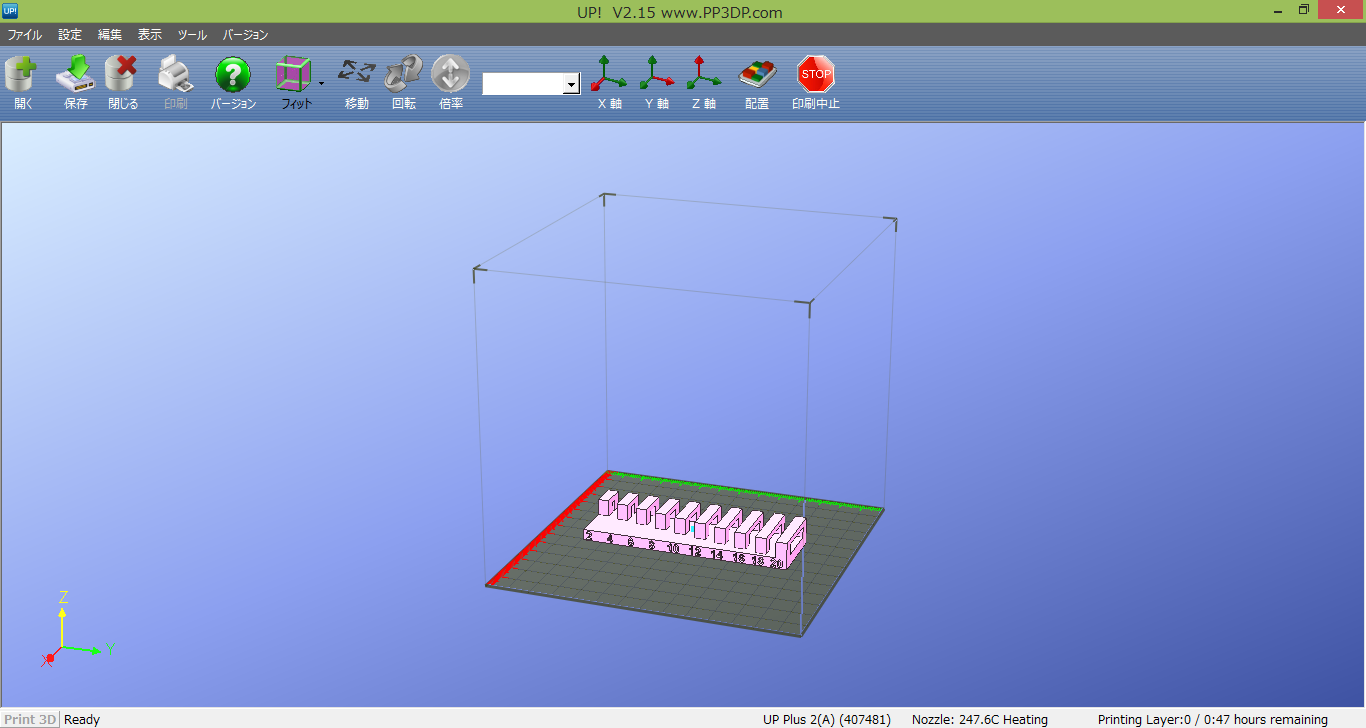
4. Make sliced data (The data format made by MakerBot slicer is "xsg")
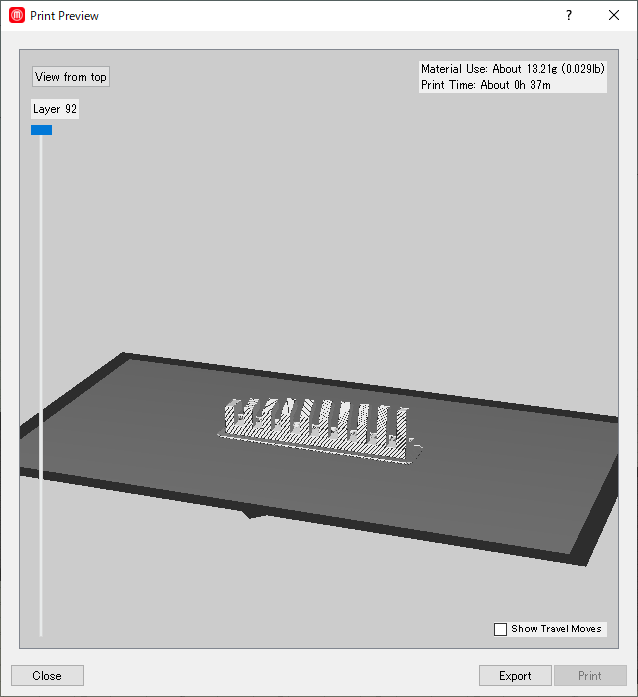
Sliced data of "Angle" by Maker Bot.
You can see sliced layer at preview screen.
Sliced data of "Bridging" by Maker Bot.
Sliced data of "Thickness" by Maker Bot.
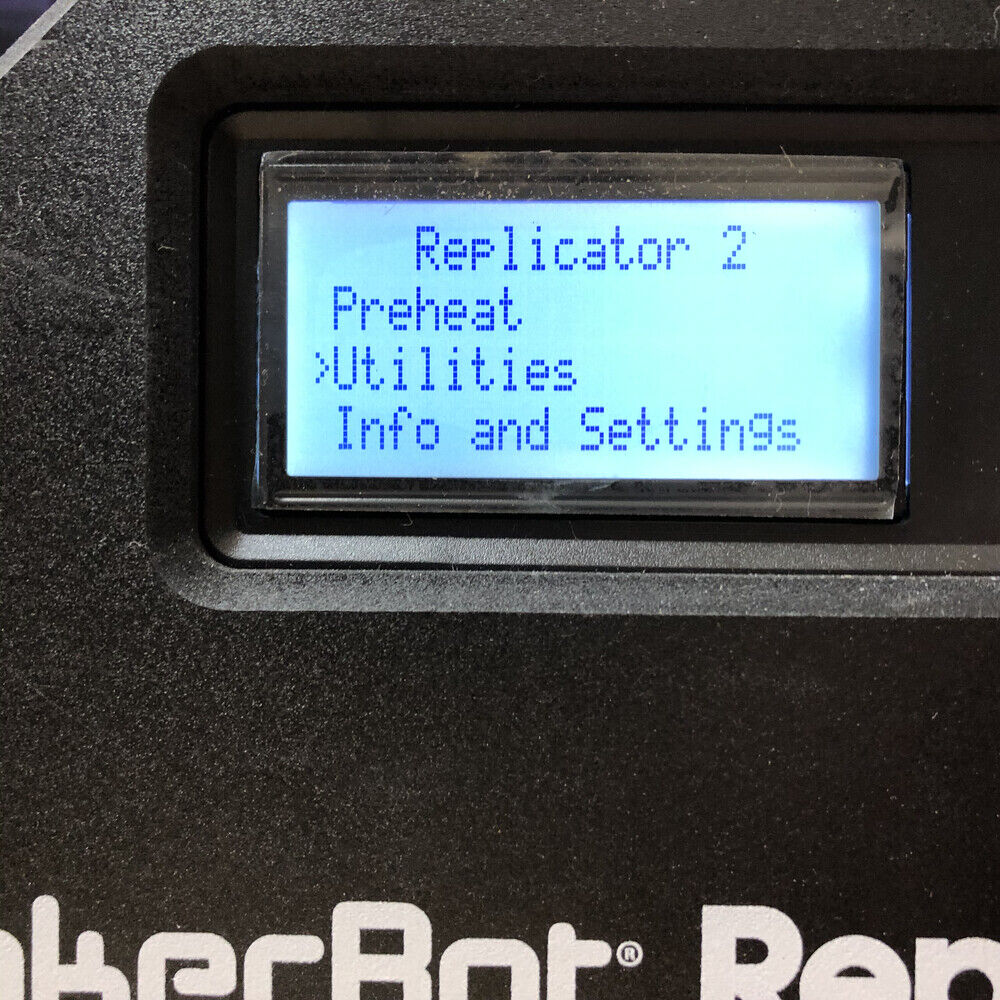
1) At Maker Bot Replicator 2, set "Utilities"
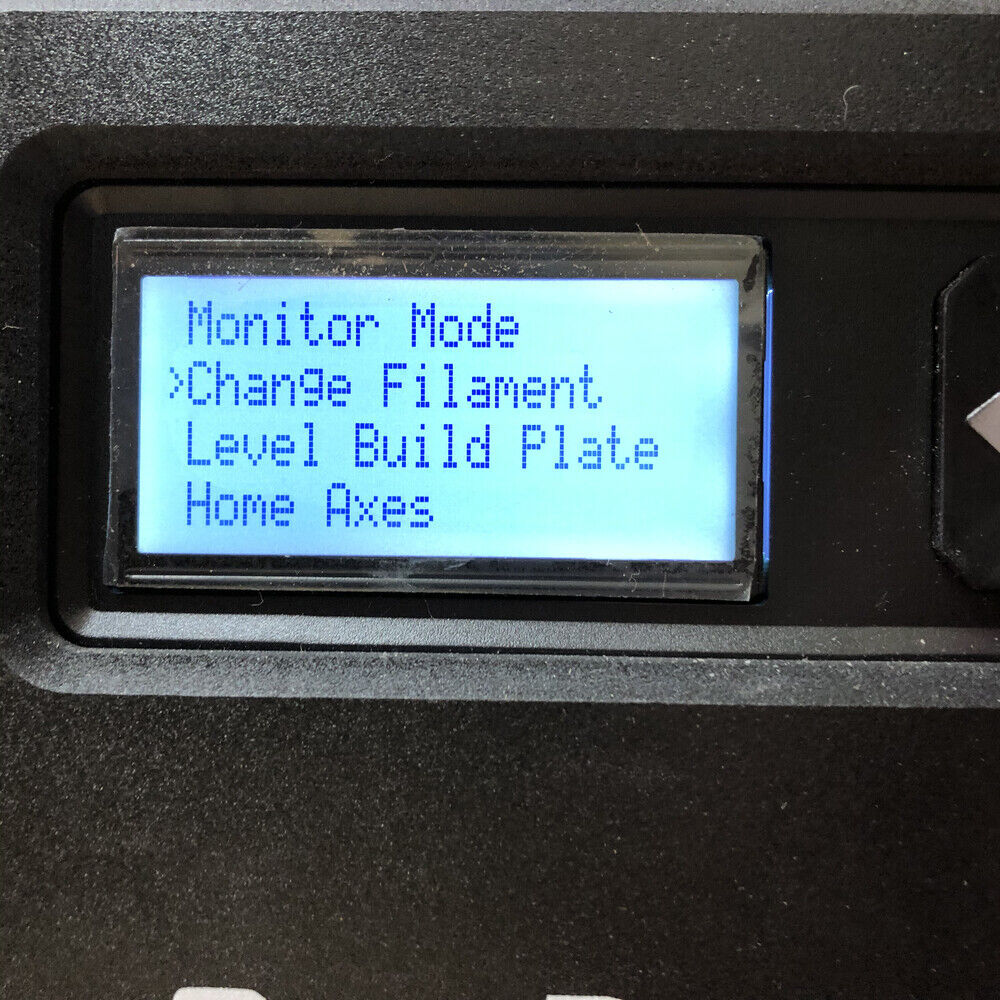
2) Change Filament
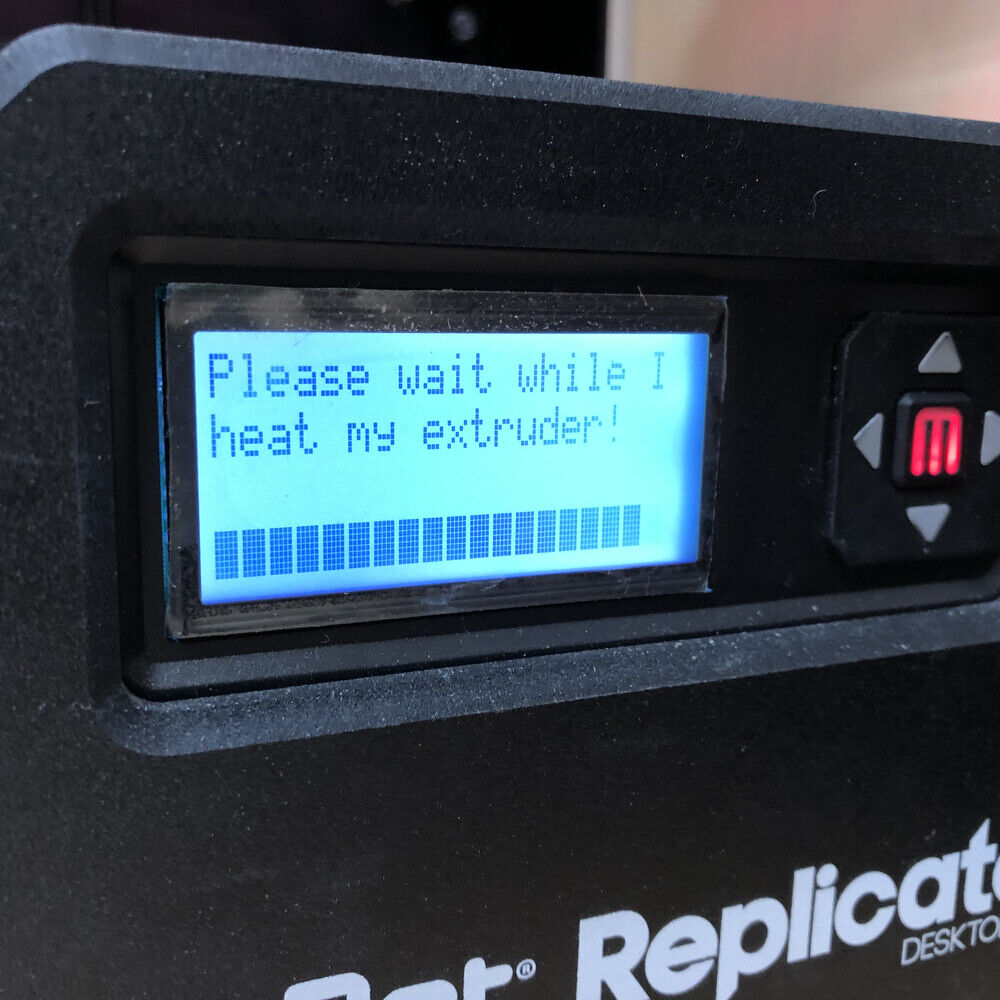
3) Heat extruder
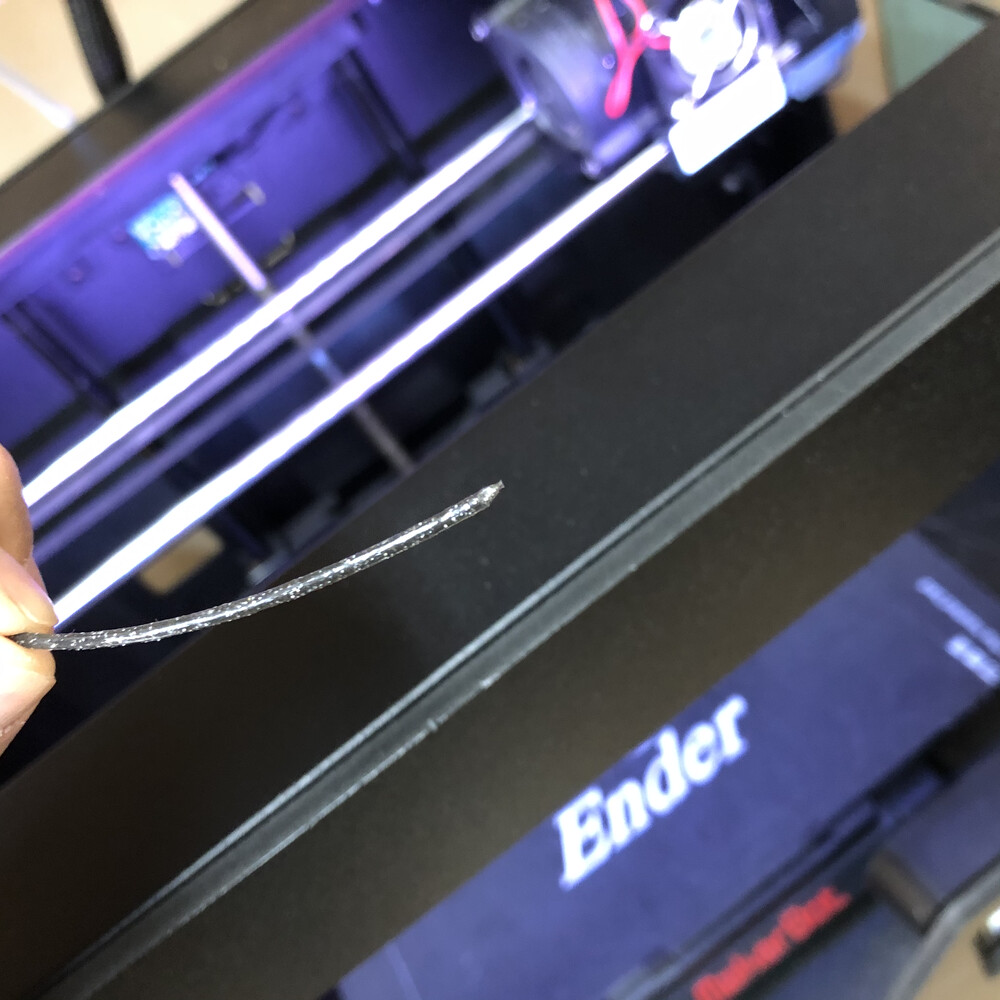
4) Cut filament diagonally
5) Insert filament into extruder
6) cover over filament
7) Check filament comes out from extruder
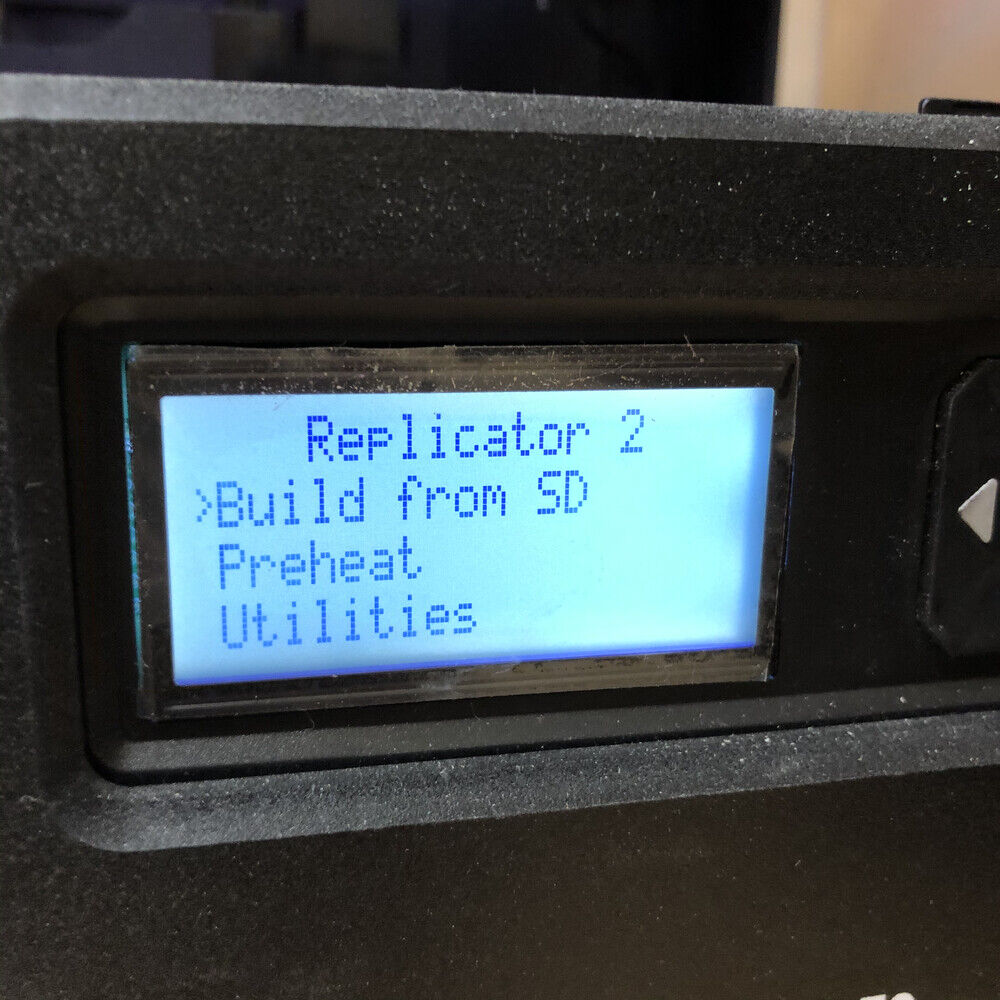
8) Select build from SD
9) Select the file to print
Firstly, I was successful to print out "Angle" from Maker Bot. (Evaluation is later on)
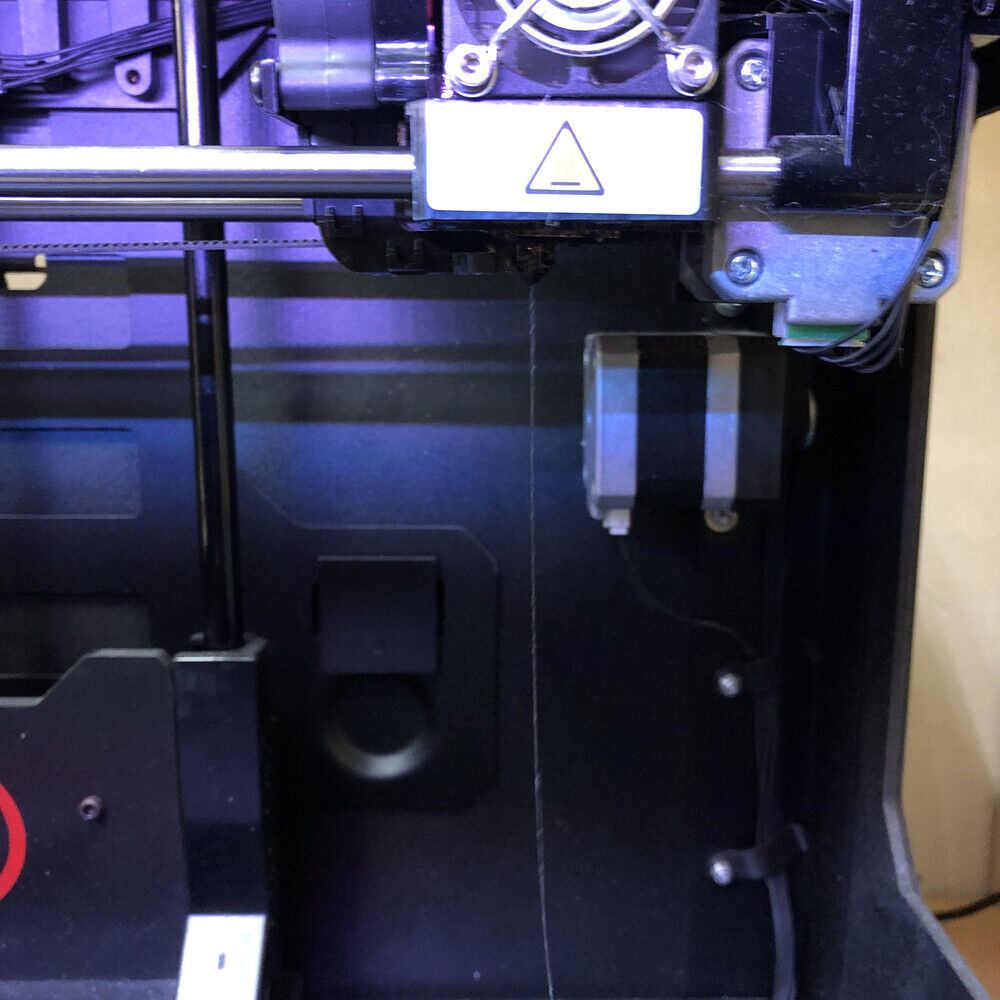
Next, I tried to print out the other data of "bridging". However, after that, Maker Bot did not work. Sufficient amount of filament did not come out from extruder .

Tamiya-san and I tackled to this. Check the extruder, cleaned that, changed filament and decomposed that .However, it did not work. So, I changed 3D printer into UP Plus2.
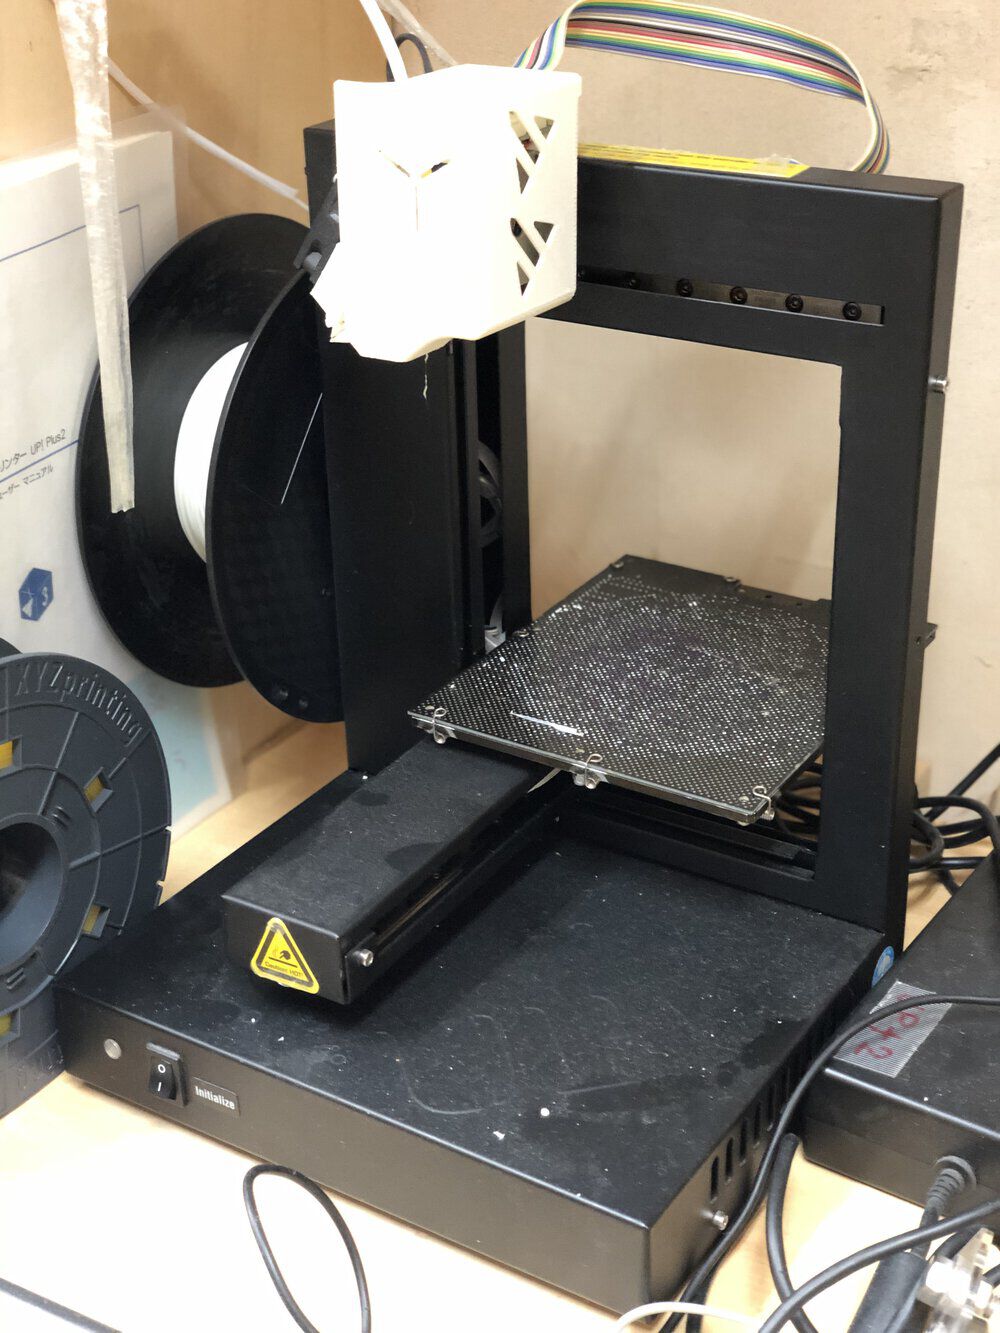
Up Plus 2
In Fablab Kannai, the windows 8 client that is connected directly to Up Plus 2 3D printer device has a slicer software.
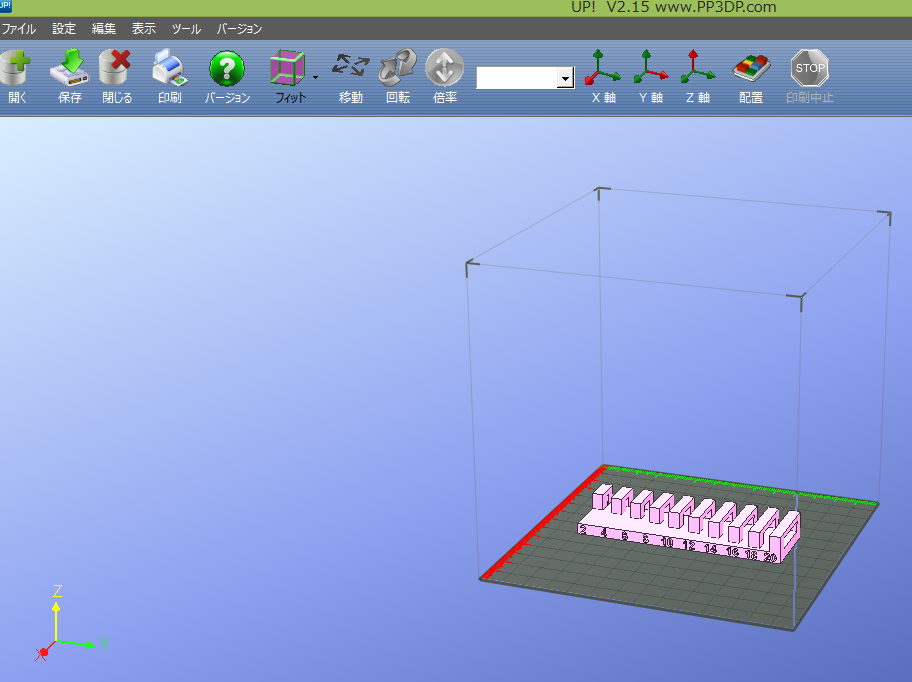
1. Open stl file of "bridging"

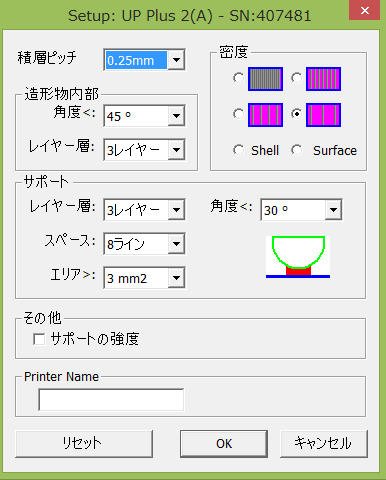
2. Checked printer setting
Comparing to Maker Bot, the setting is not so detailed.
| Main Parameter | Value |
|---|---|
| Material | ABS |
| extruder(nozzle) temperature | 247.6℃ |
| Lamination pitch | 0.25 mm |
| Infill Density | low |
| Number of Shells | three |
| Height of Nozzle | 135.3 |
| Support layer | 3 |
| Support area | 3mm2 |
3. Setup Printer and 3D print
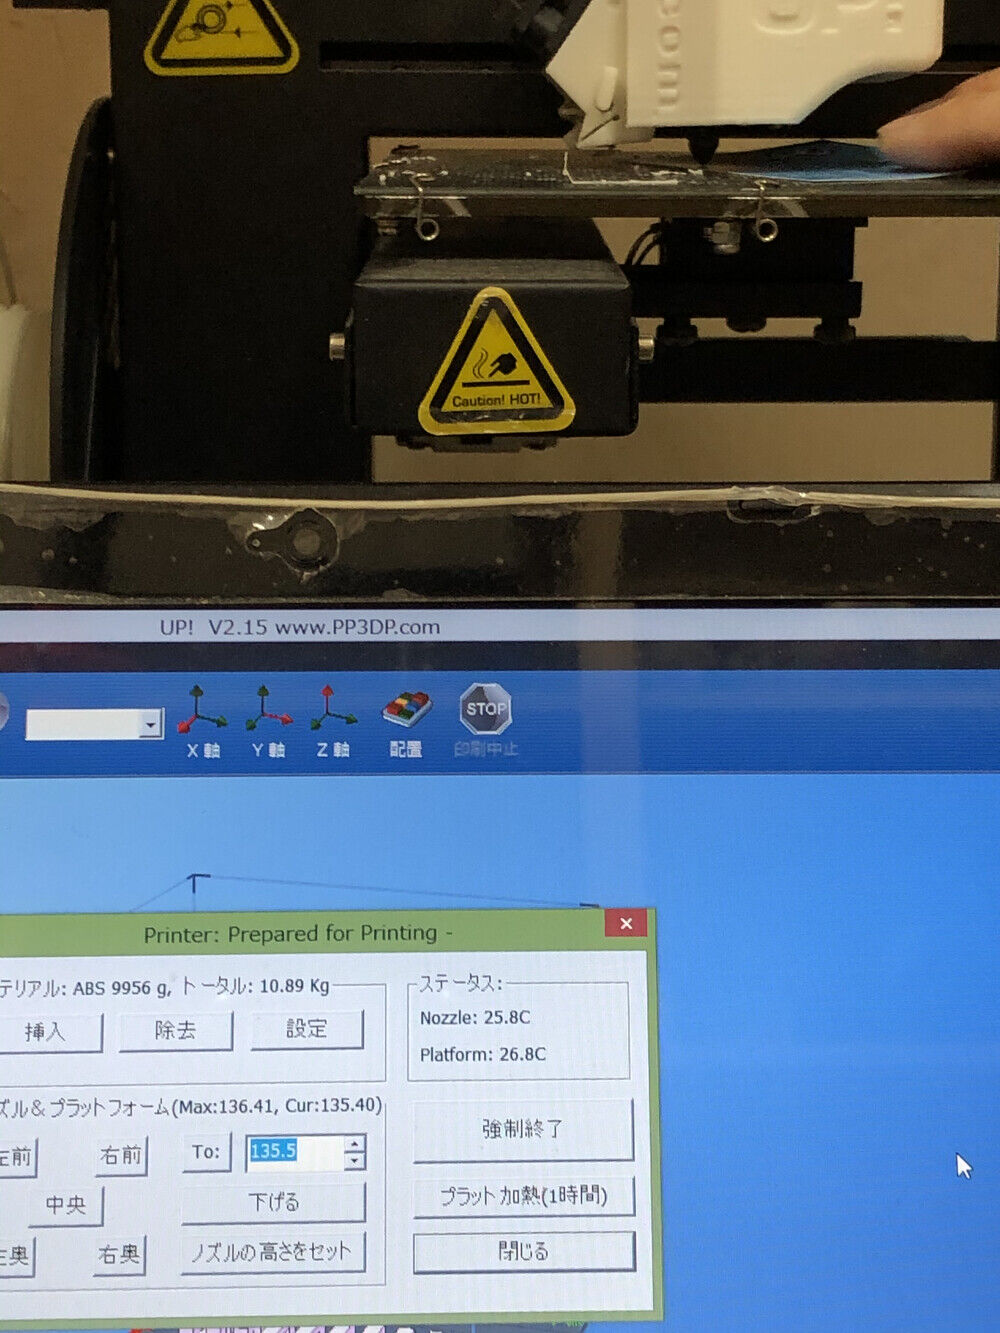
1) I needed to adjust z-axis of Up Plus2(hight of the extruder and nozzle).

2) The appropriate distance between nozzle and platform is "one namecard"
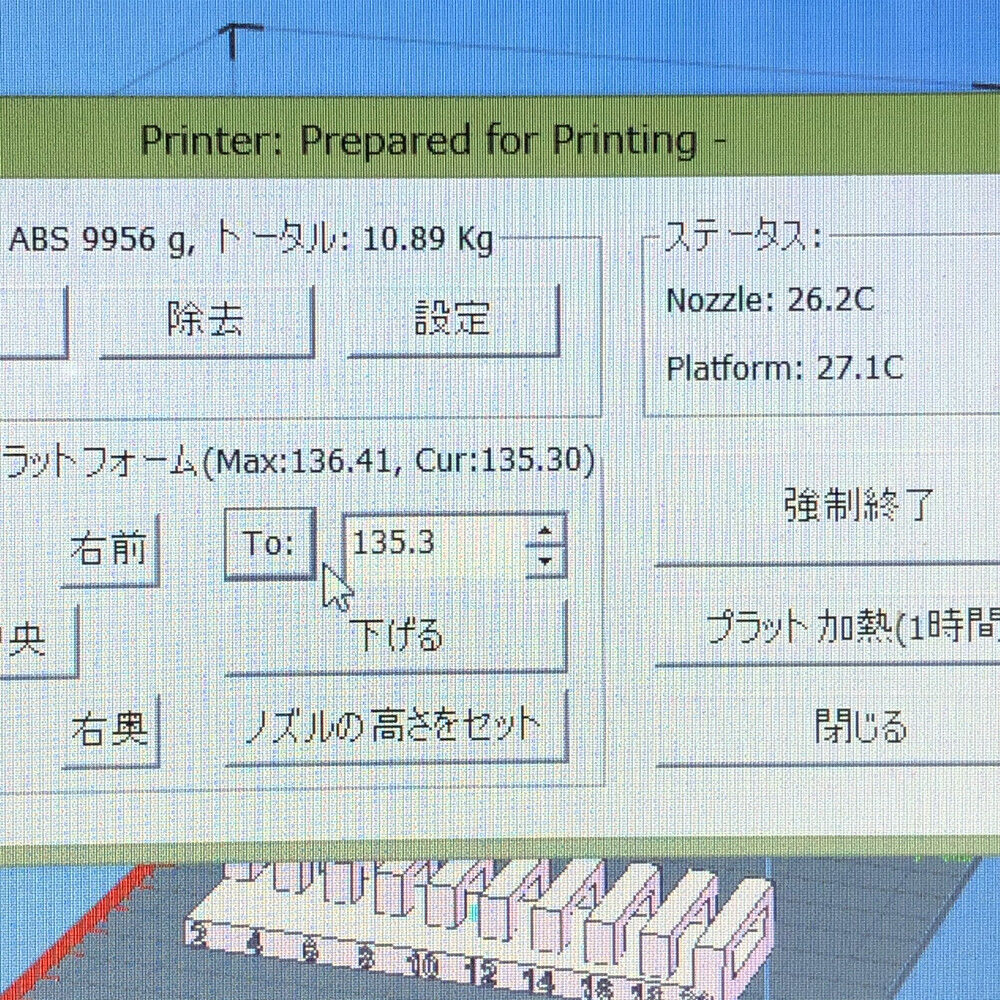
3) Clicking "To" button, the platform raises up to the height.
4) Print started from drawing the raft
5) When print started, the software tracking the status of printer
.HEIC_1000x_q90.jpg)
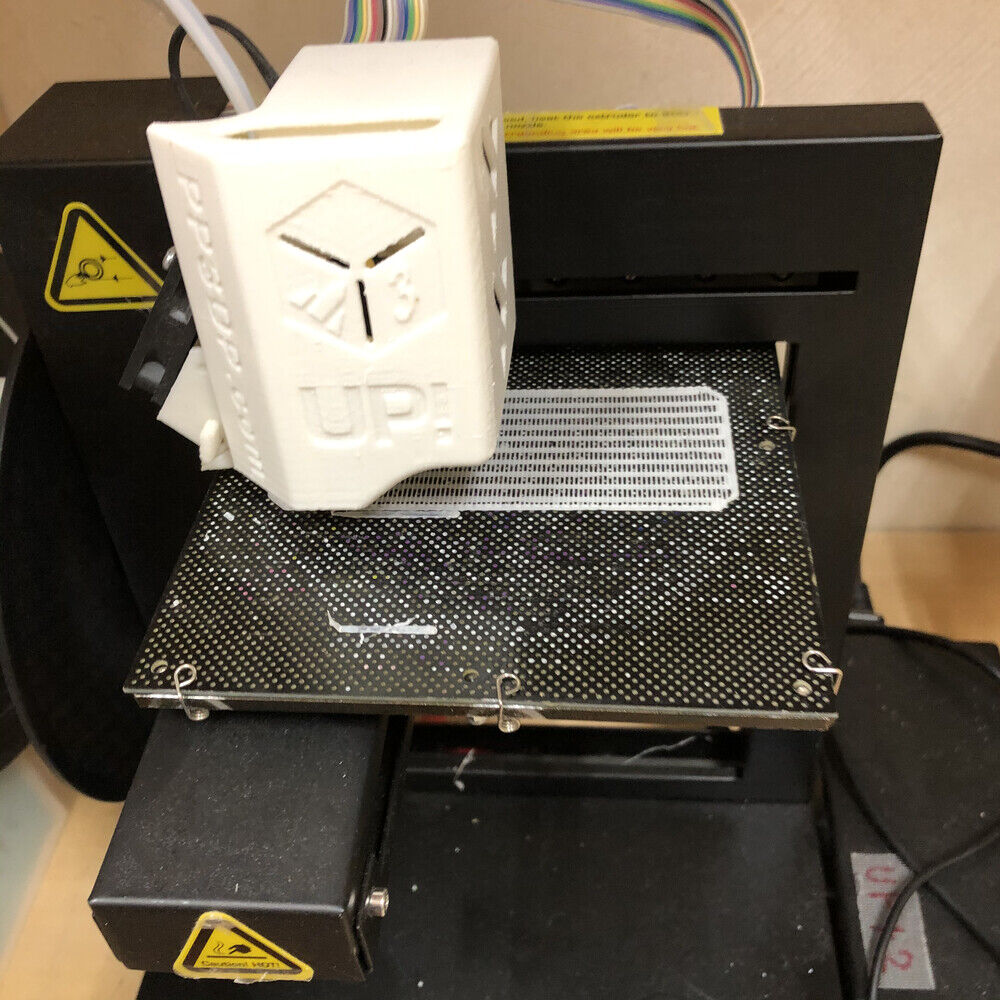
Finally, I got "bridging" model.. BUT! I failed to make this because it has support... So I retried this without support
| Support layer | off |
| Support area | off |
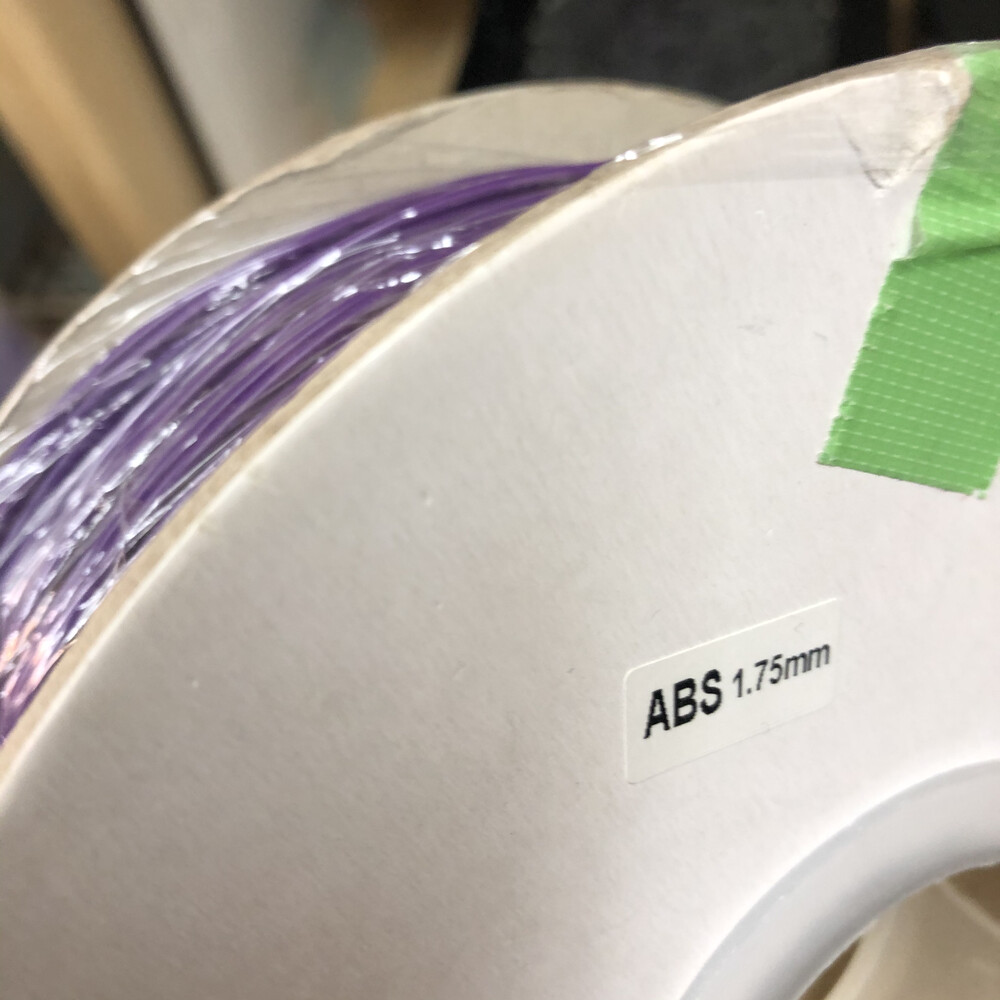
I used ABS material. It's first time for me to print by ABS.
4. Result
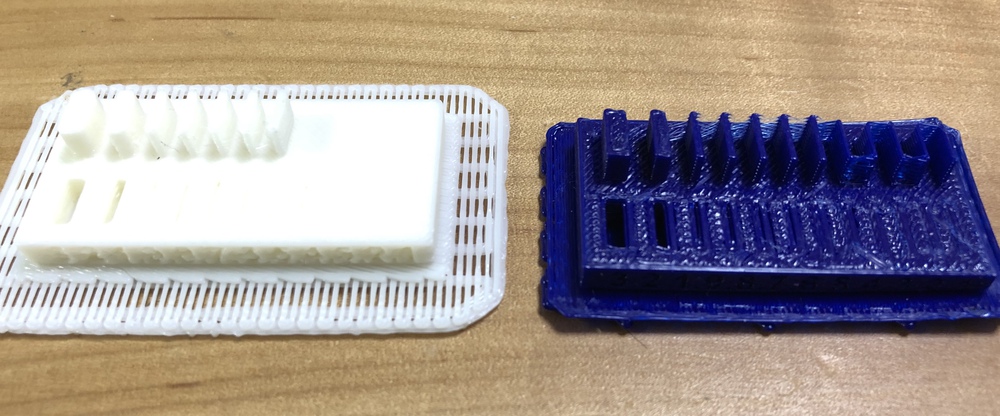
After setting up the UP Plus 2 without support, I was successfully to print out "bridging" and "thickness". Also, an member of Fablab Kannai recovered Maker Bot with cleaning up extruder with heating up decomposed extruder. So, I checked the "thickness" of Maker Bot and Evaluated that.
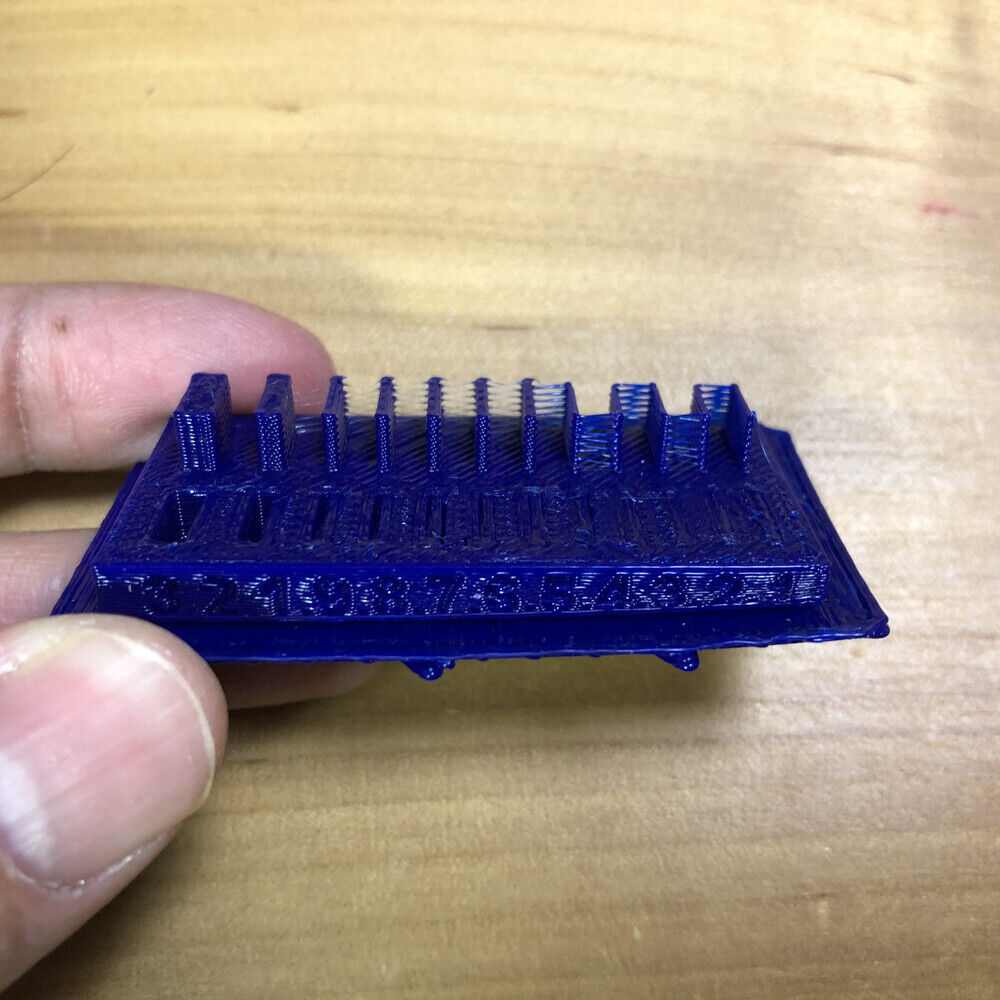
Bridging by UP Plus 2

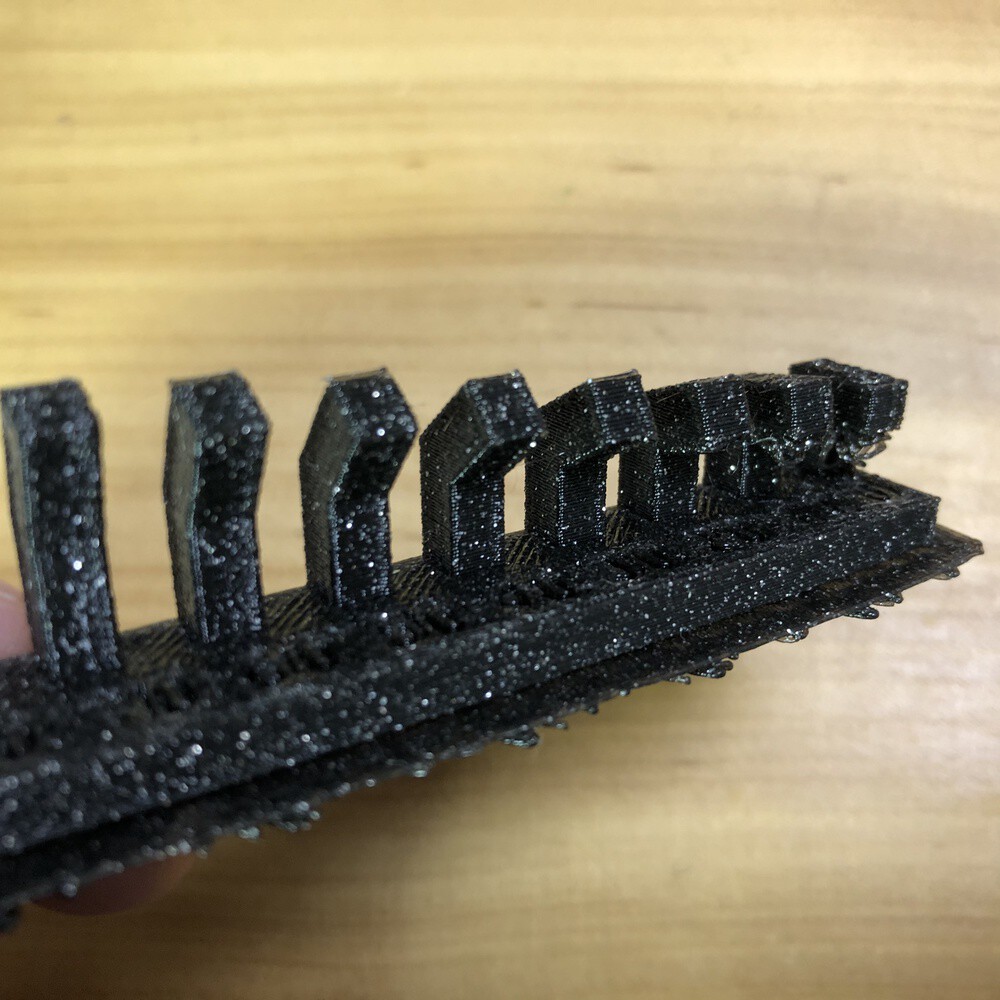
Thickness by UP Plus 2
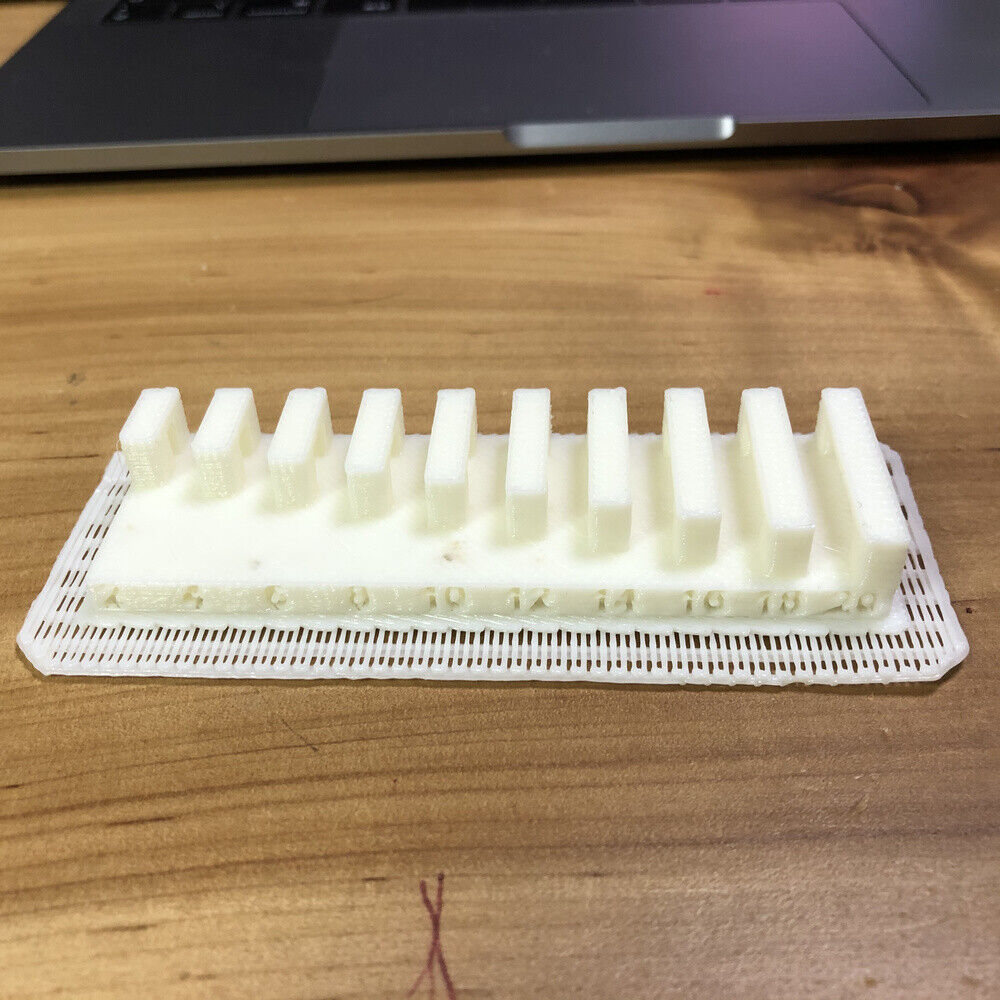
Thickness by Makerbot
Evaluation of Test Cut
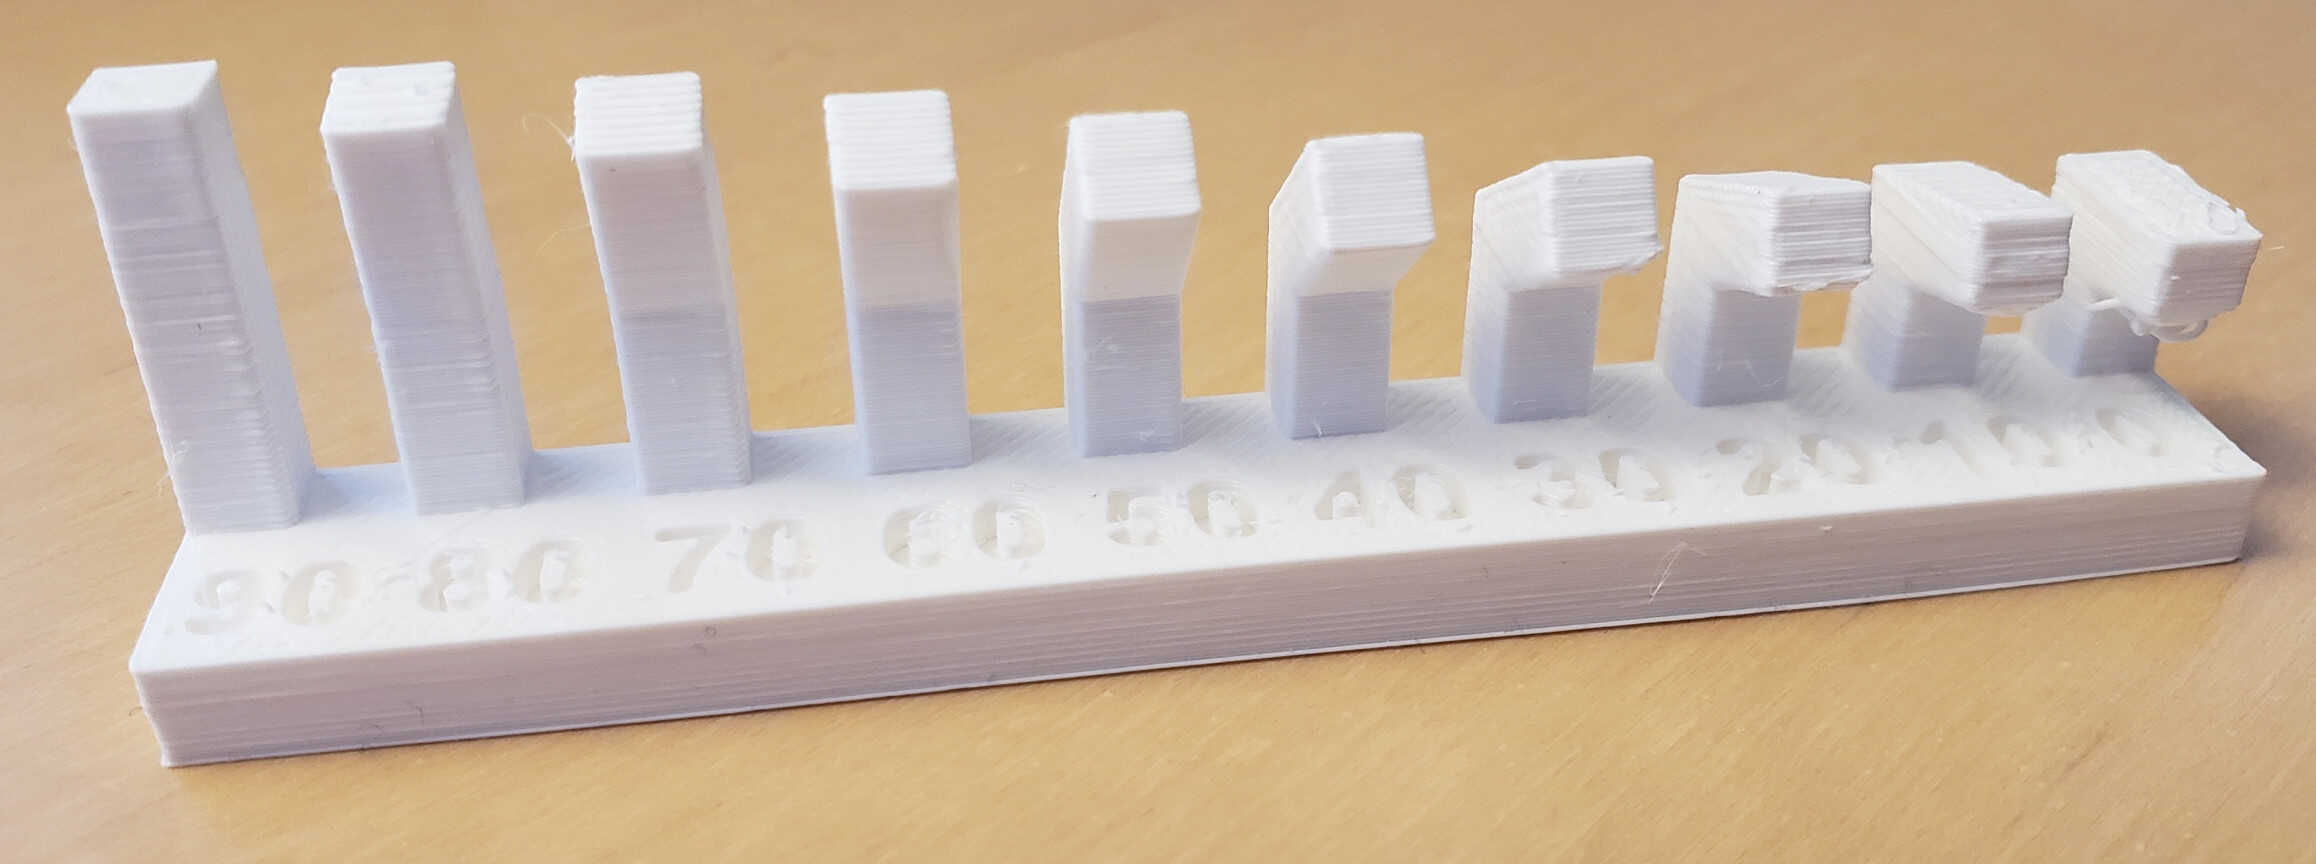
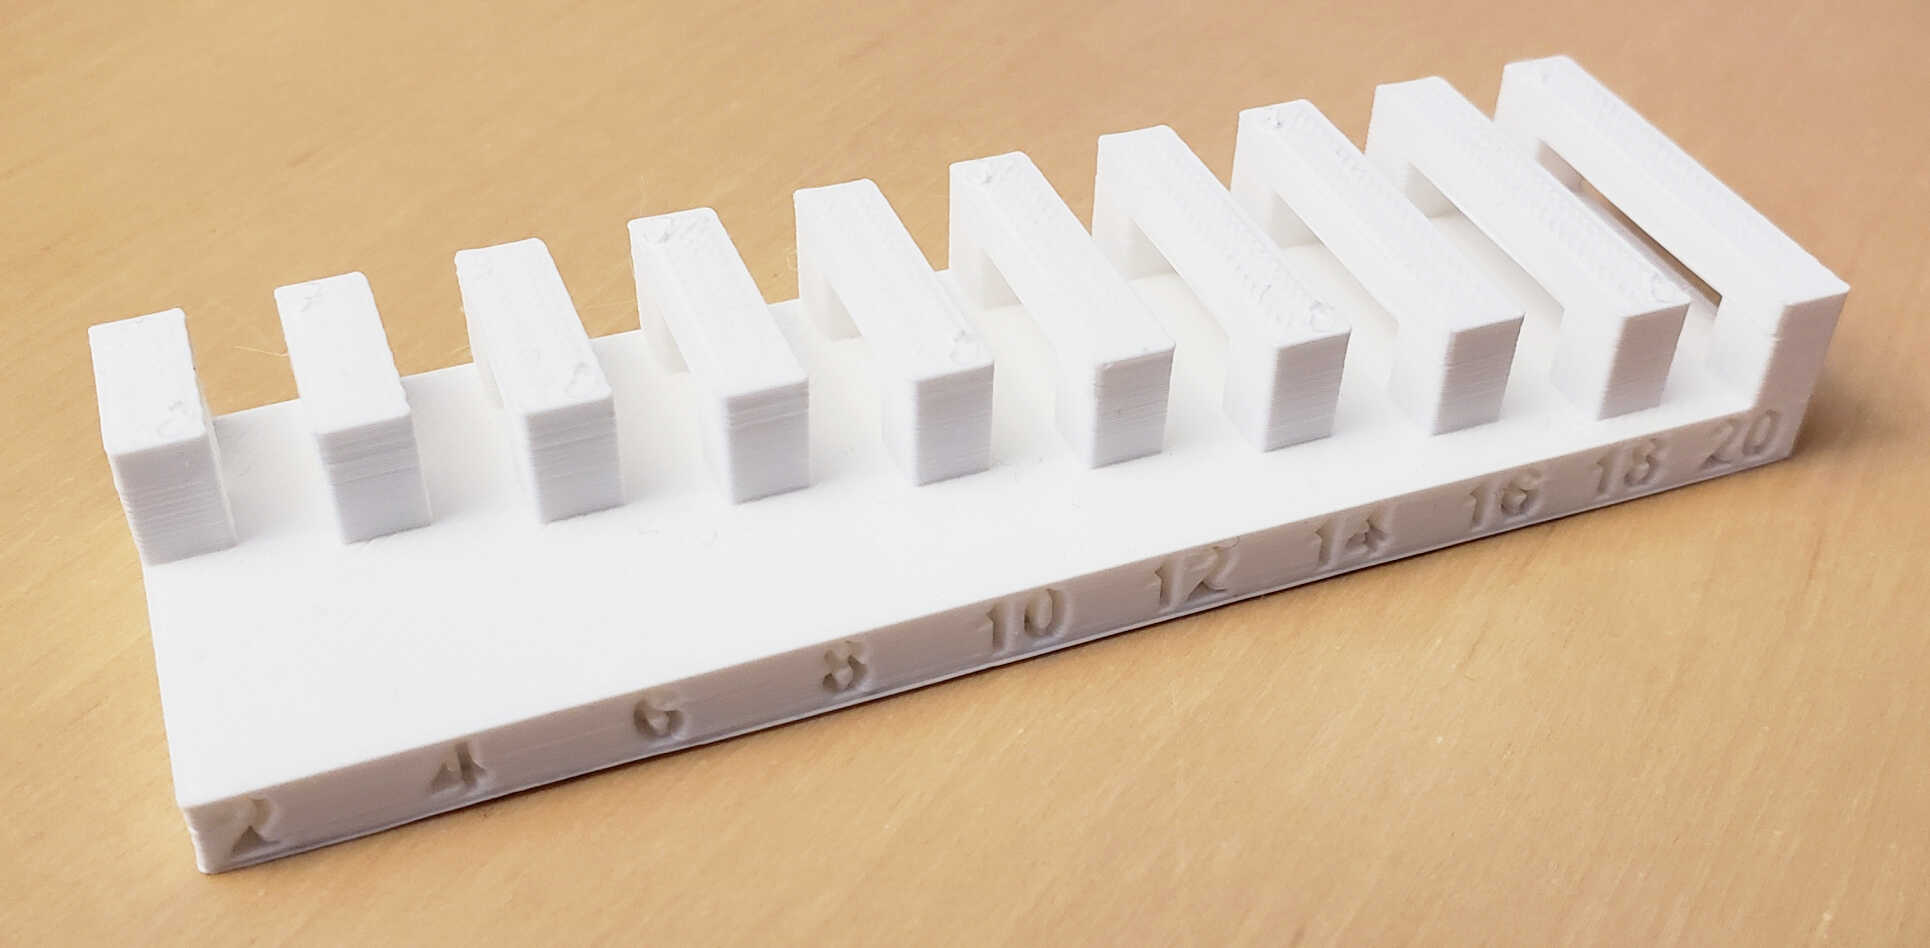
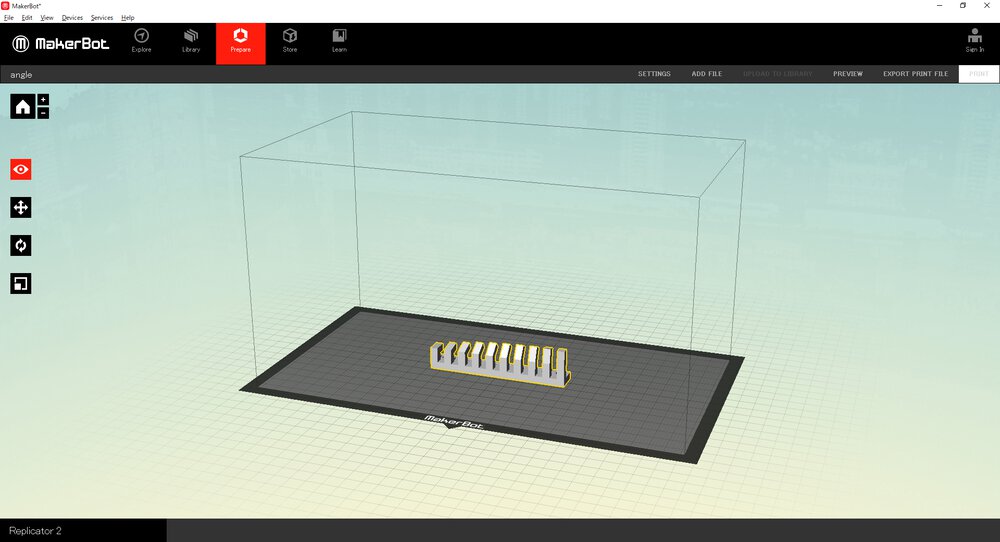
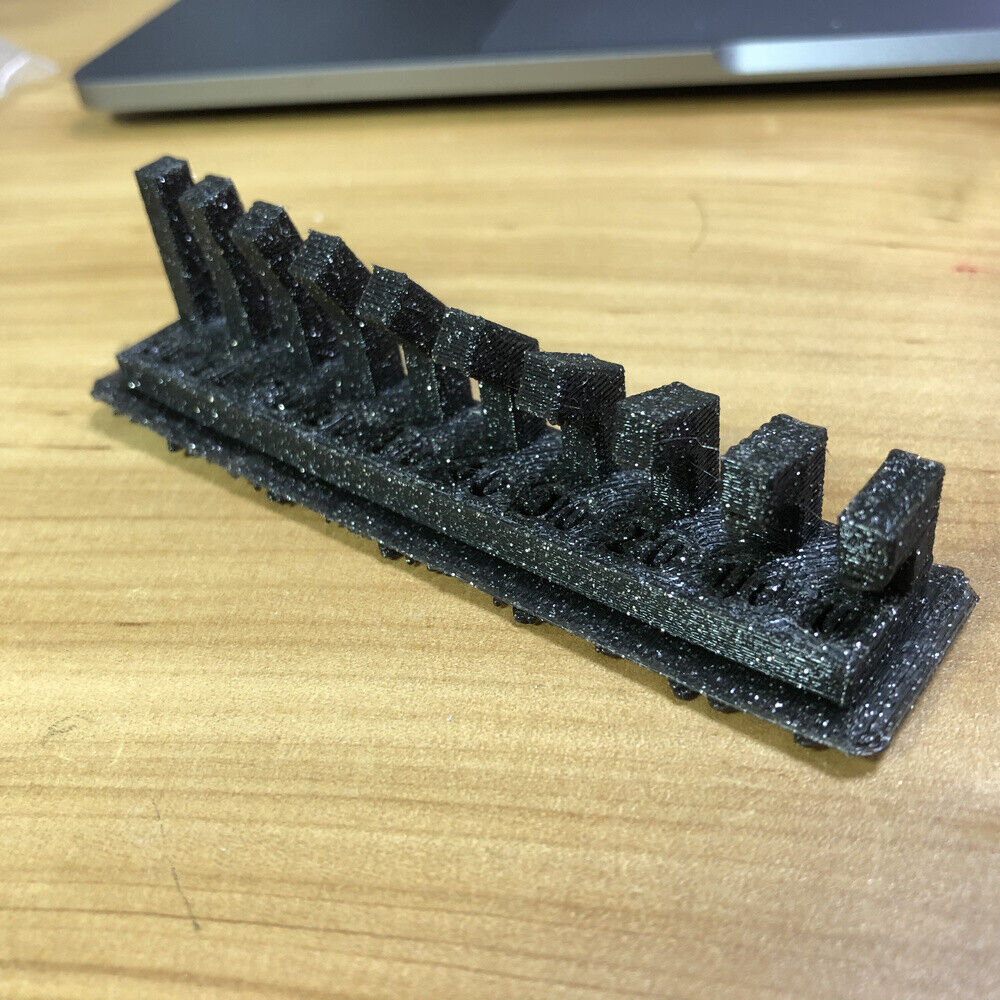
Angle
10 deg. is starting point of breaking. 0 deg. is bad.
Design of my model of individual work (whistle) contains 0 deg of angle, but it's supported by bridge. So, I need to check the what length of "bridge" can be supported.
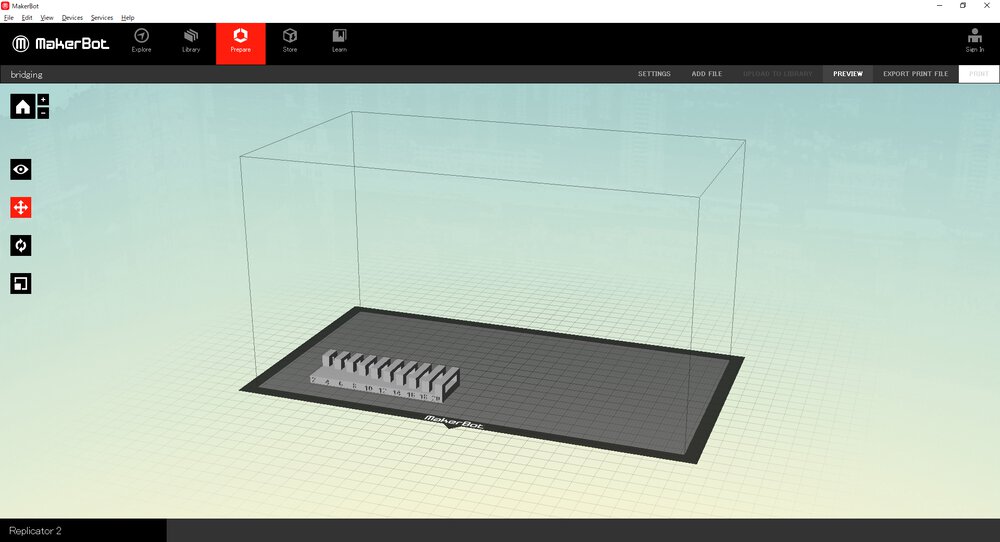
Bridging
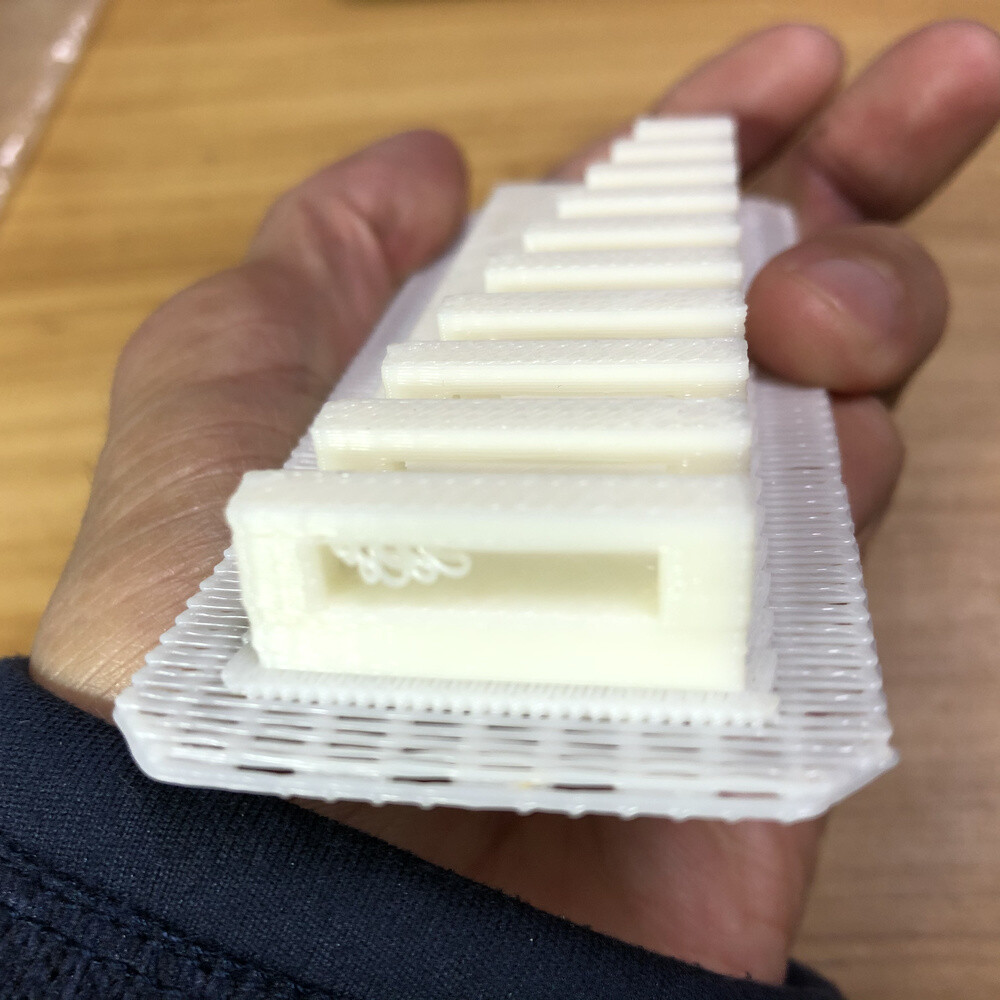
20mm is bad, but 18 mm is supported by bridging.
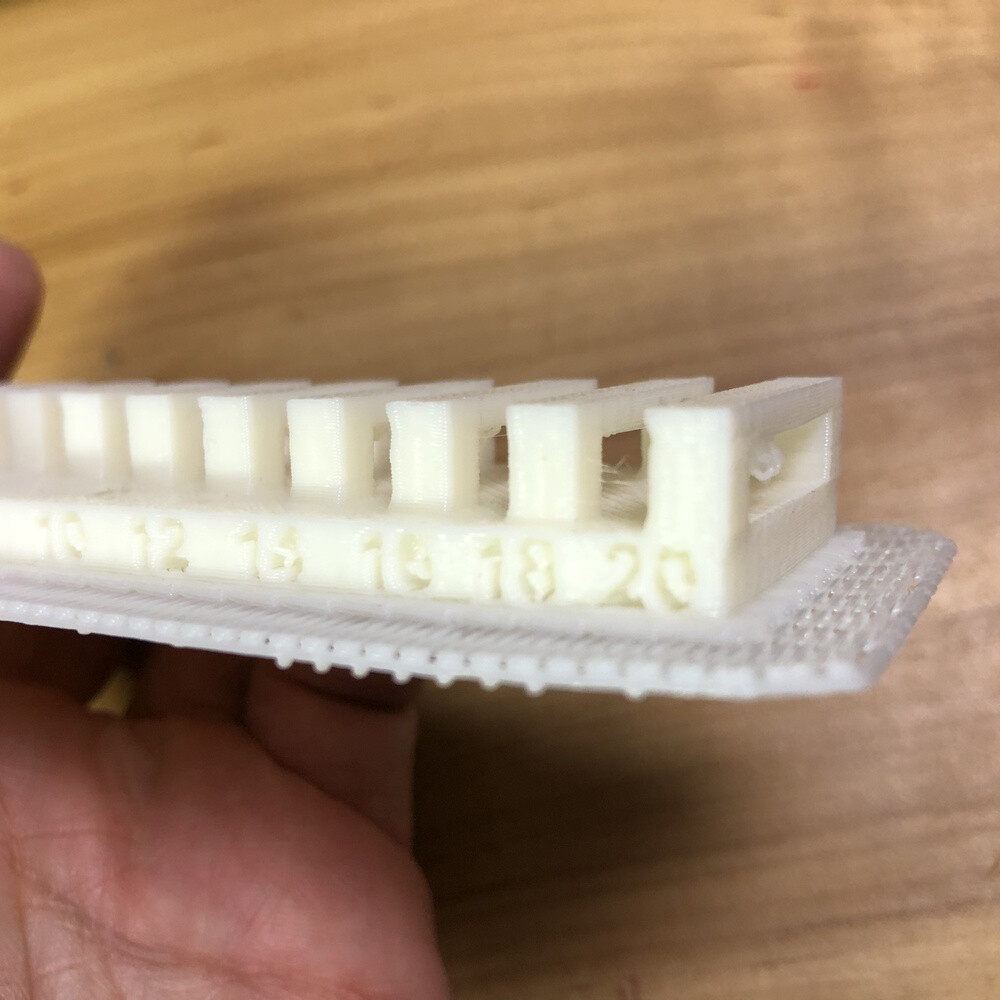
My model contains a cylindrical column with a cavity. Circle-line poll supports 19mm of bridging? I will check it with my model
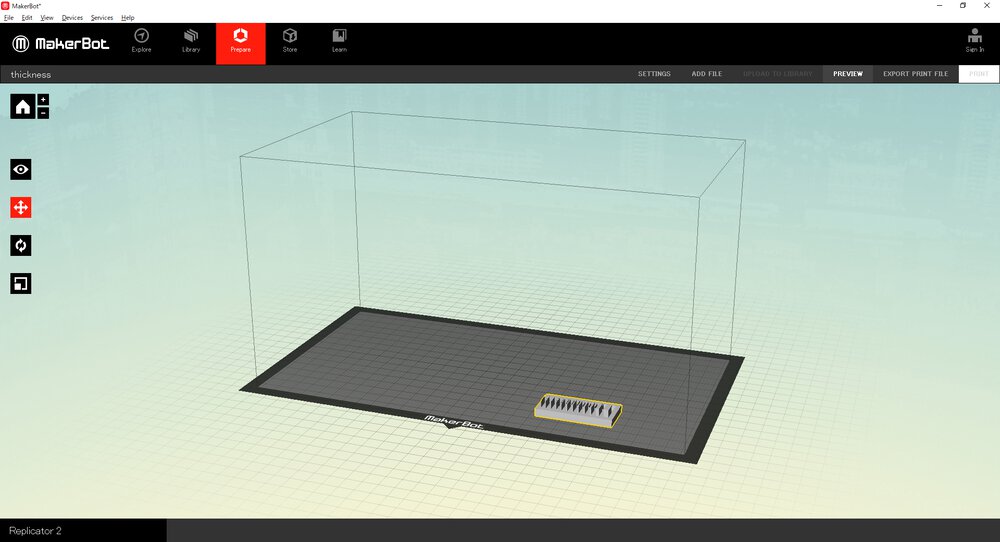
Thickness
UP Plus 2
Maker Bot
ABS using UP Plus 2 can make the smaller width of slit and less detailed thickness of wall than PLA using Makerbot
My model (whistle) contains slit for blowing by mouth. The limit width of UP Plus 2 (ABS) is 0.5mm. While limit width of Maker Bot(PLA) is 1.0mm. So, anyway I need the width of slit more than 1.0mm
The minimal wall of thickness for UP Plus 2 is 0.5mm while 0.1mm for Maker Bot (with some strange string between the walls). So, I need the thickness more than 0.5mm for my model.