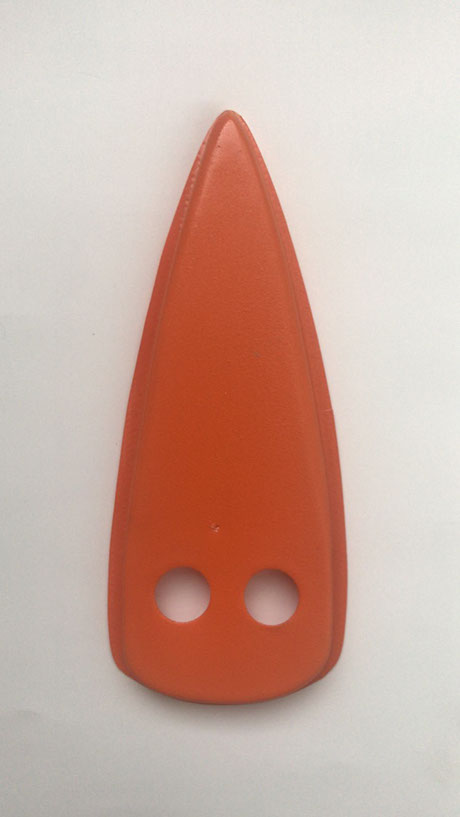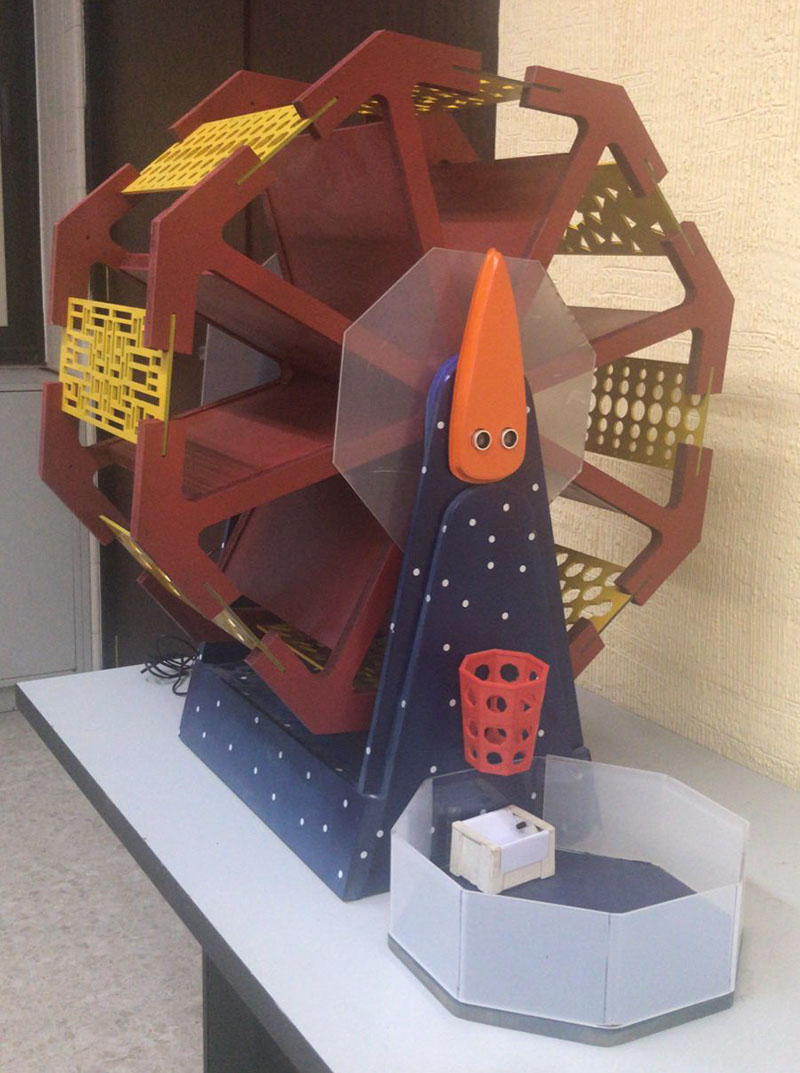

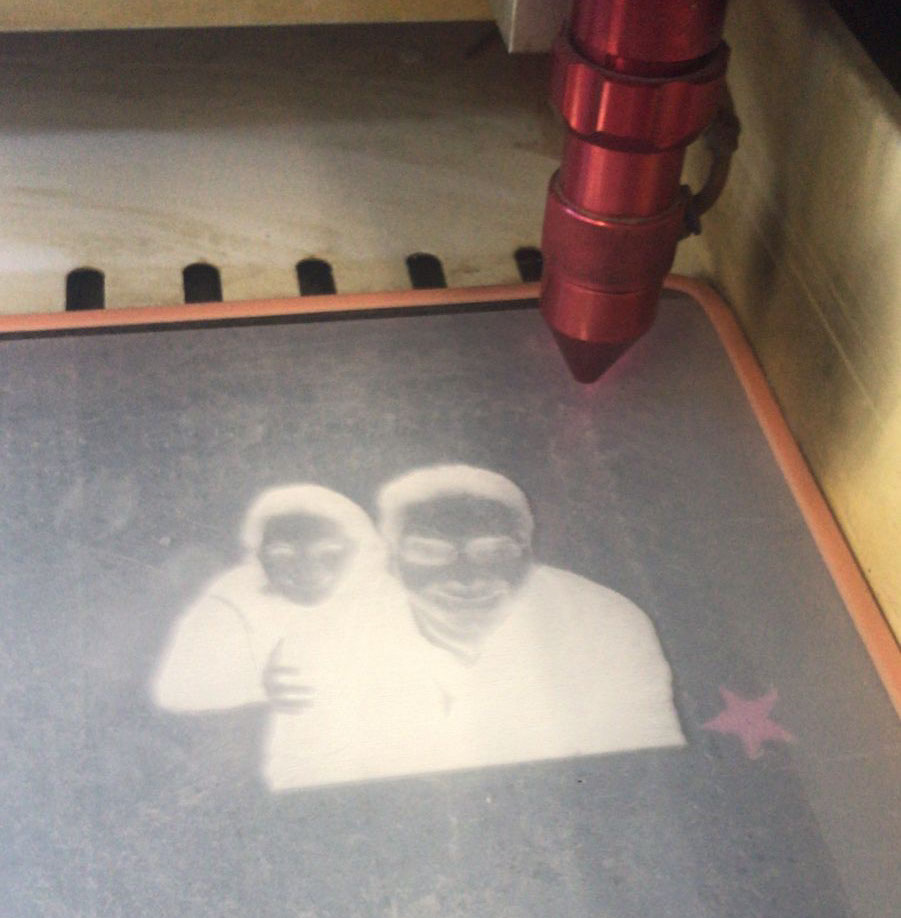

For this assignment I took the opportunity to make one of the pieces that I will use in my final project. It is an element that indicates the prize that the child wins, in addition to being a housing, the ultrasonic sensor looks very good.
I started the design with a triangle drawn in Rhino software and the idea was just to round off the ends, but for reasons that draft angles are better when thermoforming, I changed it to a piece with smooth curves.
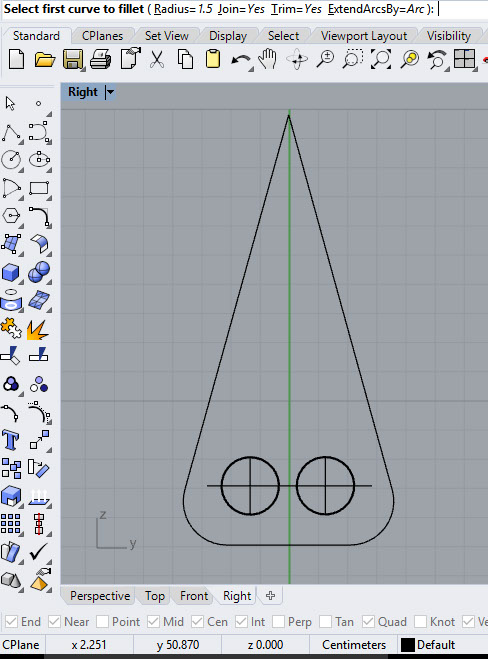
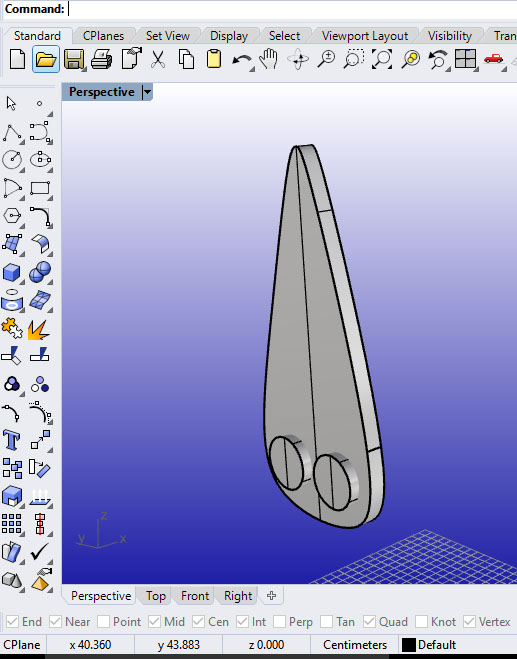
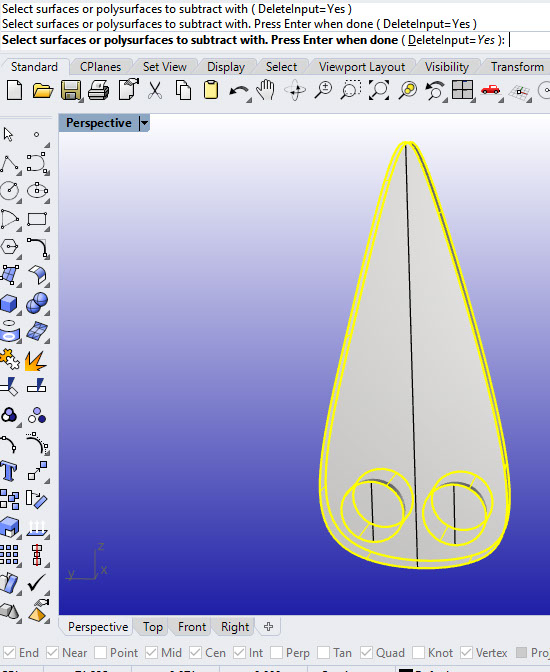
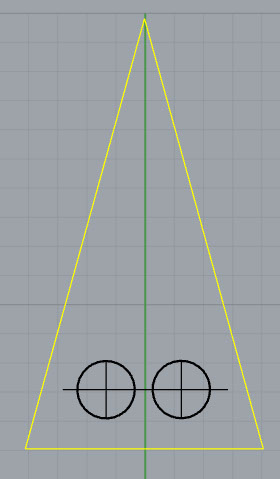
That first stroke helped me to model the final piece since using the Rhino command called control point curve I was able to draw a more appropriate contour to what I was thinking of in my design.
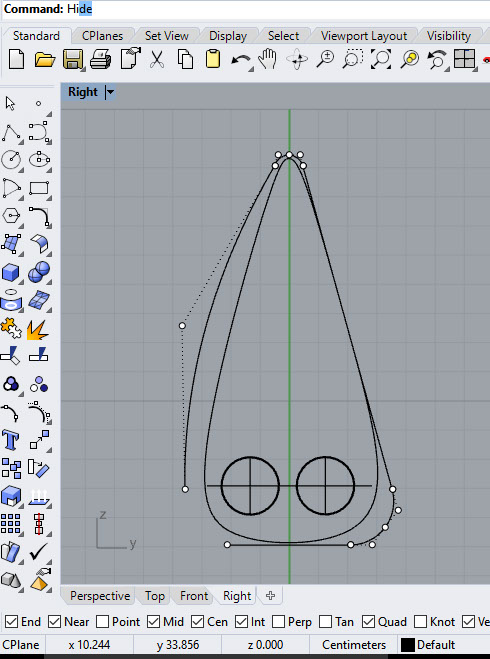
Once the appropriate contour has been drawn, we select the auxiliary lines and in my case I hide them in case I need them later.
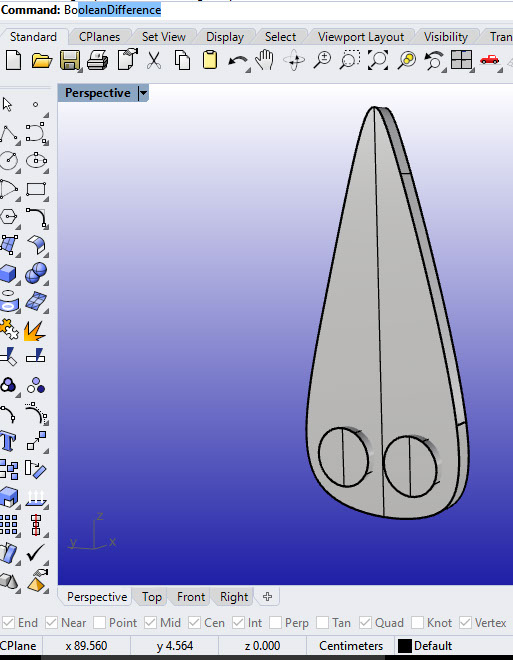
The pieces are extruded and those that correspond to the ultrasonic sensor become thicker so that the Boolean operation is carried out successfully on our contour.
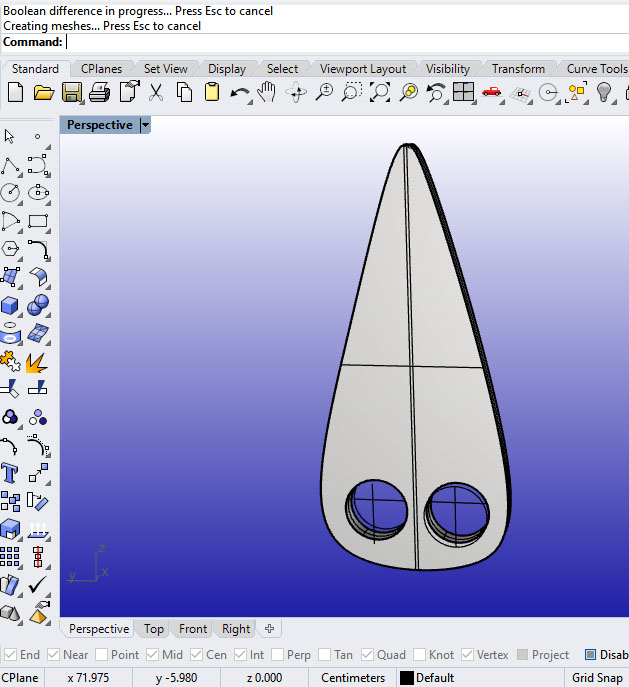
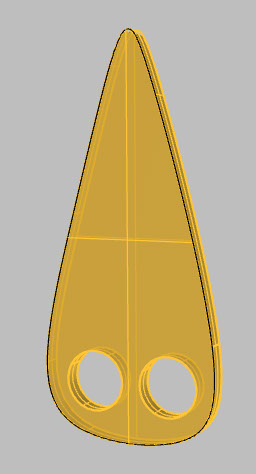
Finally, the extruded and finished piece to assess how it looks and then send it to be laser cut in mdf to make the thermoforming mold.
.jpg?crc=4183115592)
The styrene plastic sheet is cut to the size of 28 cm x 20 cm and placed in the frame, securing it with the clips.
-crop-u41309.jpg?crc=310954046)
For this type of plastic with a thickness of 40 points, it is recommended to heat the plastic up to 160 degrees Celsius so that it better registers the shape of the mold to be formed.
.jpg?crc=80768082)
The thermoforming machine is from a brand called "...." whose work bed is 28 cm x 20 cm, approximately the size of a letter sheet. It works with resistors that preheat the 40-point styrene plastic sheet and when it reaches the desired temperature, the plastic is lowered onto the mold so that it takes the shape with the help of the vacuum pump.
.jpg?crc=3873312648)
.jpg?crc=338849405)
The model to be thermoformed is placed on the work bed, ensuring that it is in the center to achieve better registration and that the suction pump operates correctly.
-crop-u41509.jpg?crc=3877799959)
.jpg?crc=4202999755)
Once the piece is thermoformed, we proceed to separate the model
.jpg?crc=319269122)
.jpg?crc=3780089940)
.jpg?crc=3950742732)
Once the piece is thermoformed, we proceed to separate the model and we can see that by having the perforations for the ultrasonic sensor, the material thins out quite a bit, although this does not affect the final result since that material is going to be removed so that the sensor can enter those holes. openings
we separate the excess of the styrene plastic material using a band saw and later we will sand it to give it a better finish and finally paint it with orange spray paint
.jpg?crc=4196654859)
Here we see the piece already placed in the machine of the final project and it was important to make it hollow so that it could contain the ultrasonic sensor plate and only the emitter and receiver of the sensor would remain visible.
