
A13
Output devices
This week we learned, in order to have a better controlled systems and improved experiences, about a series of peripherials to produce desired effects within programming.
Every device has a specific range of action, and in my particular case, i wanted to explore the Servo motor and the TCS3200 Color sensor with the LCD screen.
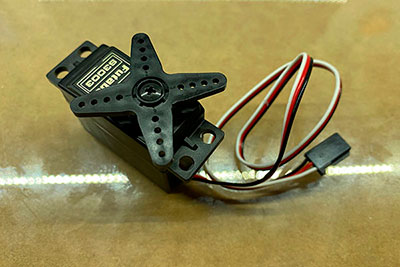
Futaba S3003 - Servo Standard
Specifications:
Modulation: Analog
Torque: 4.8V: 44.00 oz-in (3.17 kg-cm)
6.0V: 57.00 oz-in (4.10 kg-cm)
Speed: 4.8V: 0.23 sec/60°
6.0V: 0.19 sec/60°
Weight: 1.31 oz (37.0 g)
Dimensions: Length:1.57 in (39.9 mm)
Width:0.79 in (20.1 mm)
Height:1.42 in (36.1 mm)
Motor Type: (add)
Gear Type: Plastic
Rotation/Support: Bushing
Rotational Range: 60°
Pulse Cycle: 30 ms
Pulse Width: 500-3000 µs
Connector Type: J
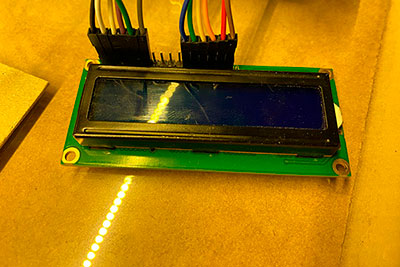
Features of 16×2 LCD module
Specifications:
Operating Voltage is 4.7V to 5.3V
Current consumption is 1mA without backlight
Alphanumeric LCD display module, meaning can display alphabets and numbers
Consists of two rows and each row can print 16 characters.
Each character is build by a 5×8 pixel box
Can work on both 8-bit and 4-bit mode
It can also display any custom generated characters
Blue Backlight
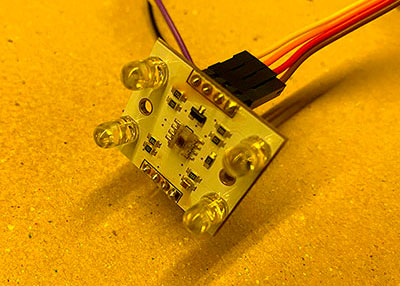
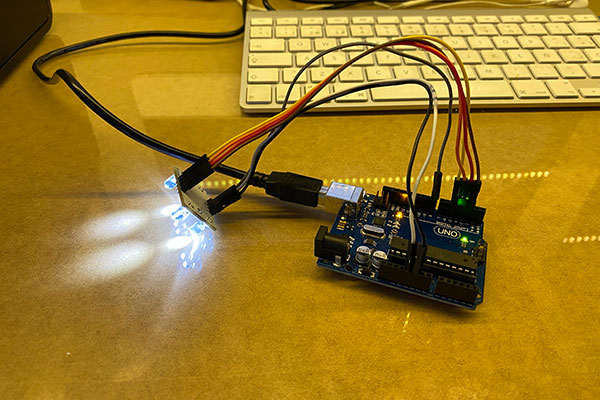
TCS 3200 RGB color sensor
Specifications:
Single Power Operation: (2.7V to 5.5V)
High resolution light to frequency conversion
Direct communication with Microcontroller
Communicates Directly to Microcontroller
Dimensions: 28.4x28.4mm
Research:
As far as we know, i haven't been able to access a roland milling machine, however with the supplies at reach, i tried to create some ideas.
Looking at the examples were posted on the Fab Academy page, i realize that simplicity is paramount, and trying new things with known objects is quite an interesting feature.
Programming
I'm using the Arduino desktop app to ensure communication and programming, i know that is slightly different way to express the code, and it has been a good way to keep learning.
I used a simple code to make a run with the color sensor, and see what hhapened, however, i realized that i had no feedback without the computer, so i created a second excercise.
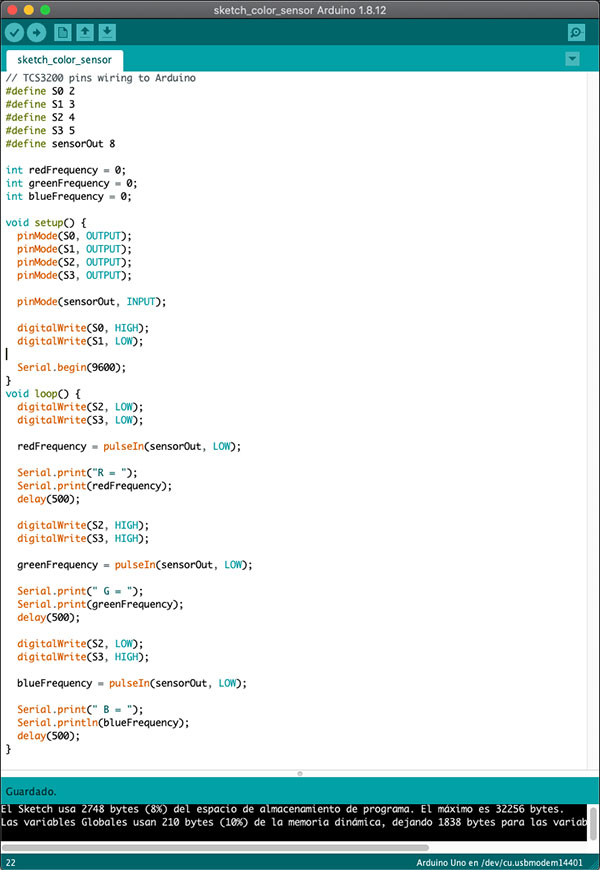
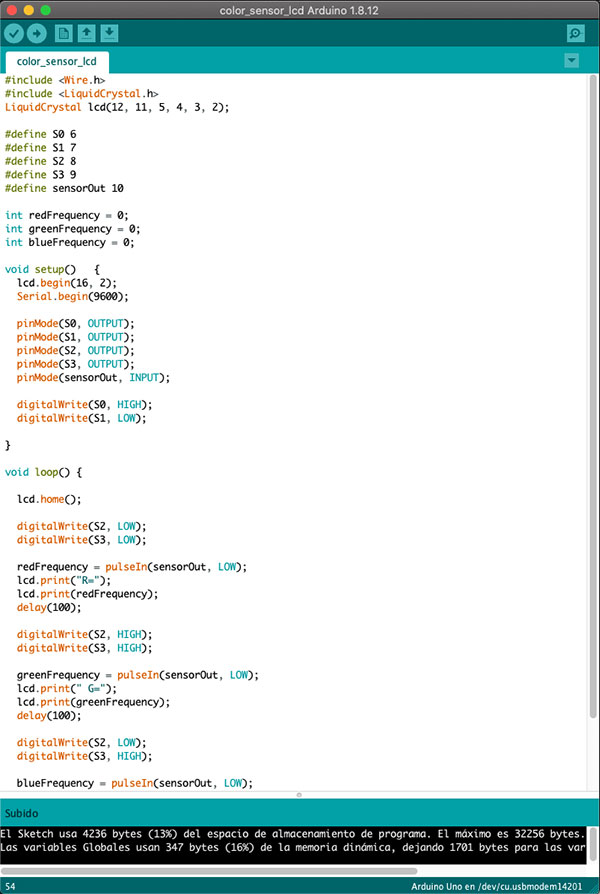
Programming 2
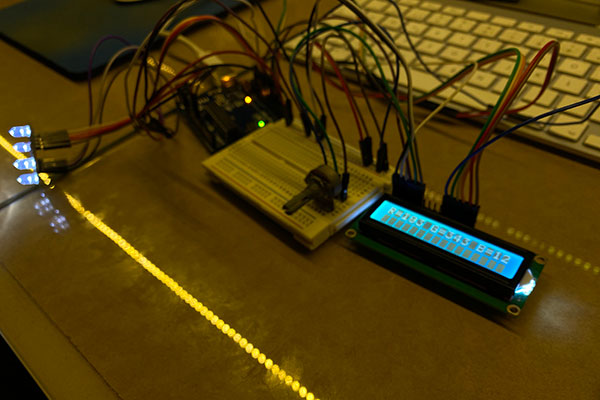
With this exercise, i realized that i could bring a data directly to the LCD screen without being attached to the computer, so i defined the pins and ports to have the proper communication in-between the programer and the board.
This thing might help me with my final project, to identify beyond light and try to "see" the colors and create a mood.
Programming 3
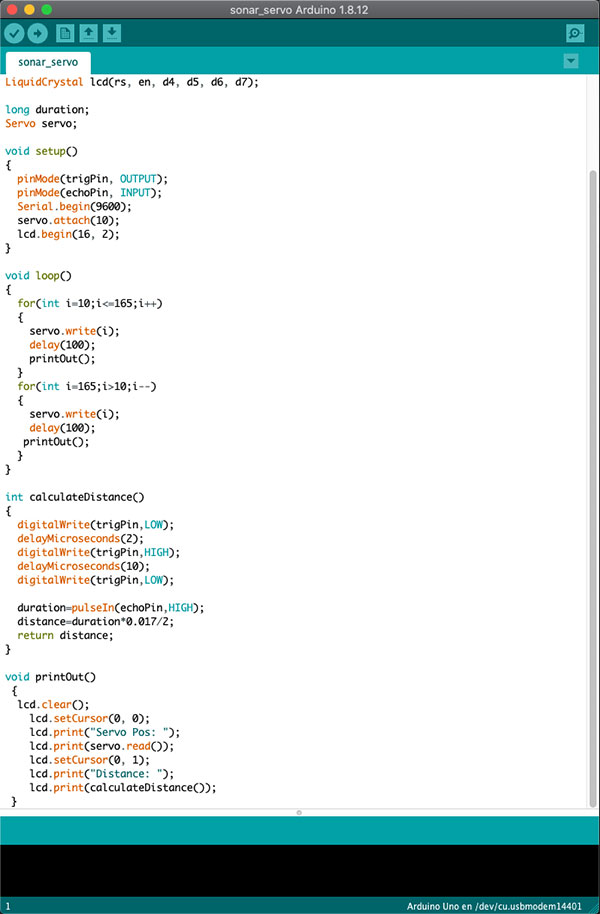
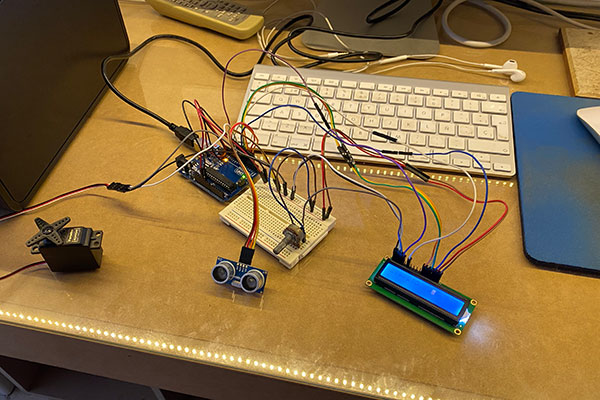
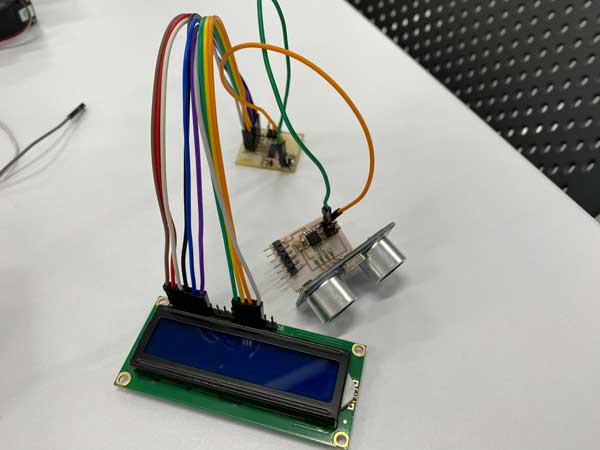
Then i tried to use the Servo motor to test two things, the ultrasonic sensor, so it could create a responsive twist with human approach, however, the slow motion response wouldn't show the real effect of the servo, anyway it showed a little idea of what is to see the engine working with the distance from the user.

Programming 4
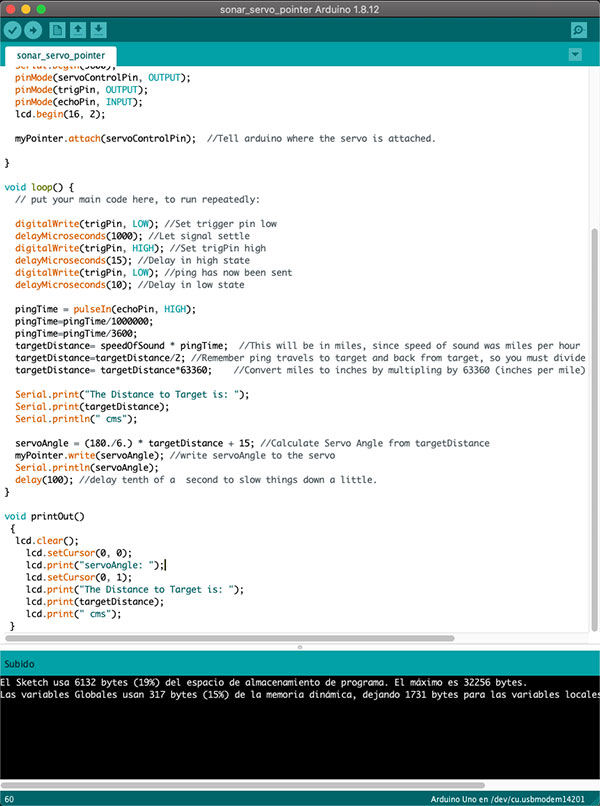
Finally, using the base code from the previous excercise, i tried a diffrent thing, why not, create a "chart" using the servo motor as a pointer with the ultrasonic sensor, to measure the proximity as a dial... process that is a little bit more interesting and fun.
Rework...
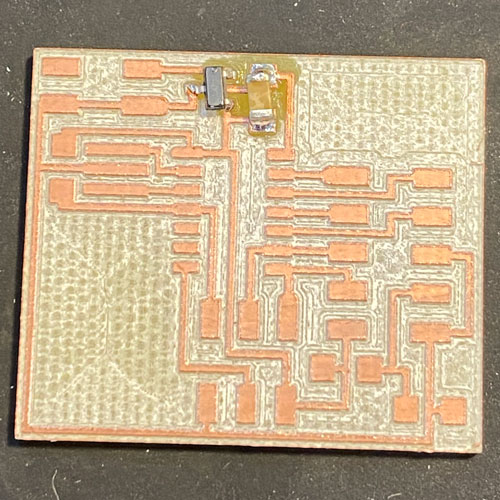
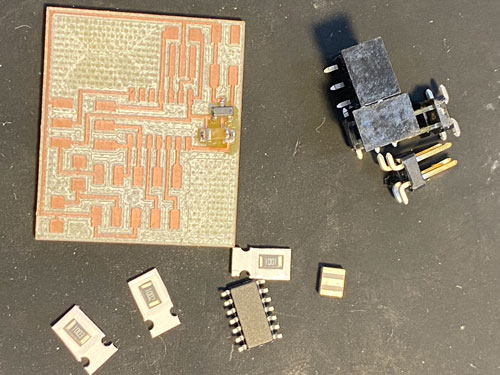
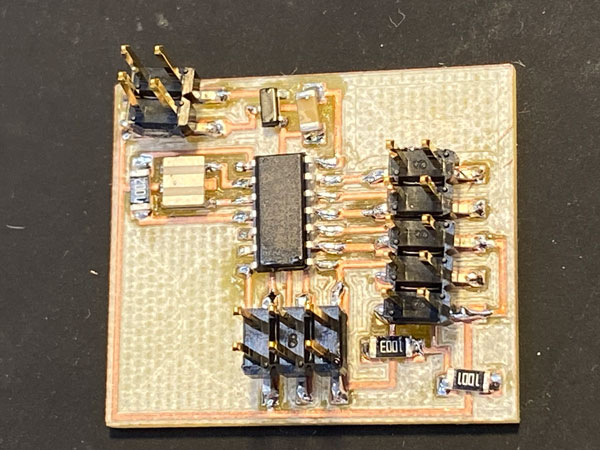
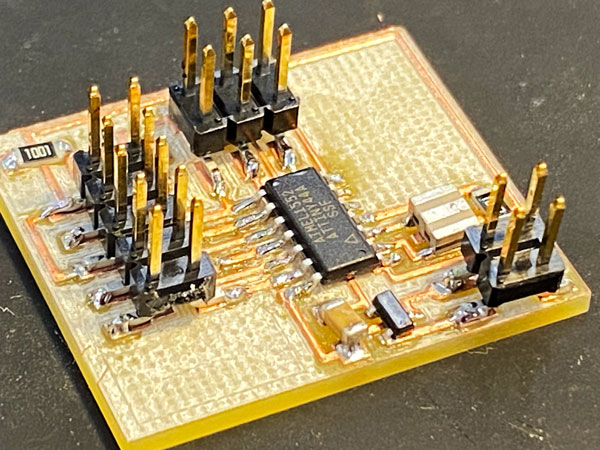
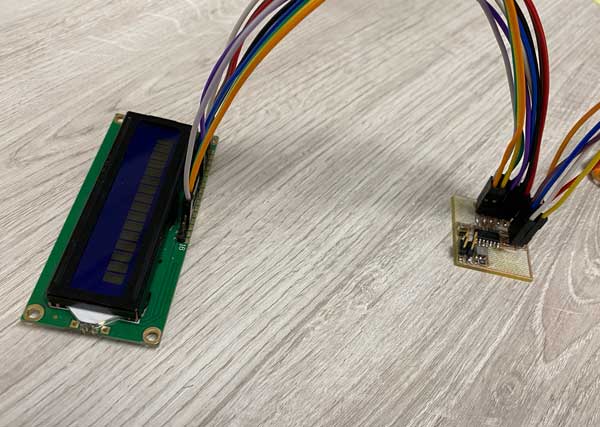
I managed to re-create with a simple board the basic PCB functions to see if that end up working with the LCD.
I had the chance to manufacture it and then program the pcb.
Just to check for the final project.
Conclusion
These week let me understand a lot more about programming concepts, the order of the writing, the language, and the connectivity in-between devices.
I finally have the chance to produce my own board and program them for my final project... it worked fine.
