
A11
Input devices
This week got complicated from every angle... i'm still trying to understand how to program, and sadly my echo-board got busted.
Anyway, after trying Arduino UNO as my board, i found that programming is quite fun.
So many people on the internet has great advice and tricks to share.
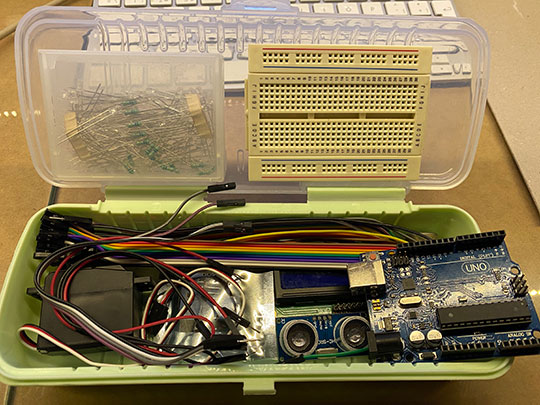
So, i started to gather a set of sensors to play with them:
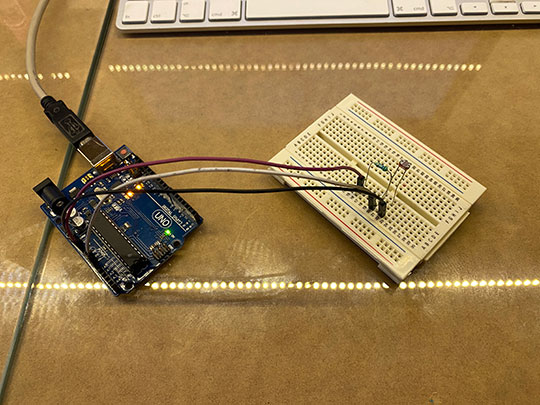
- Arduino Uno Board
- Breadboard 30 pins
- Ultrasonic Module HC-SR04 Distance Sensor
- TCS230/TCS3200 Color Sensor
- 10 Female-Male Dupont Cables
- Clear LED Light Emitting Diodes Bulb LED Lamp, 5 mm
- 1/4W Metal Film Resistor 5.6 ohm
- B200K 200K ohm Single Linear Taper Rotary Potentiometers
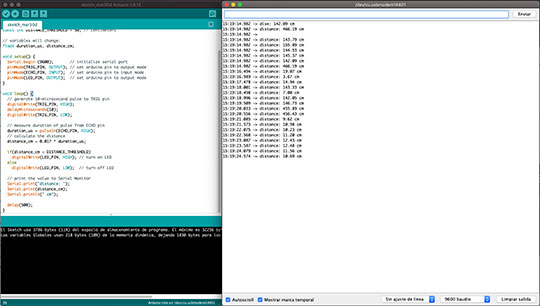
Then, using some tutorial, i started re-learning how to use the dialog box to program de board.
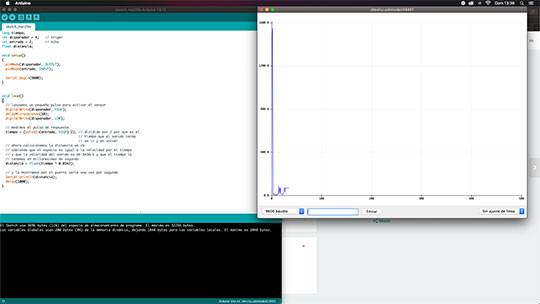
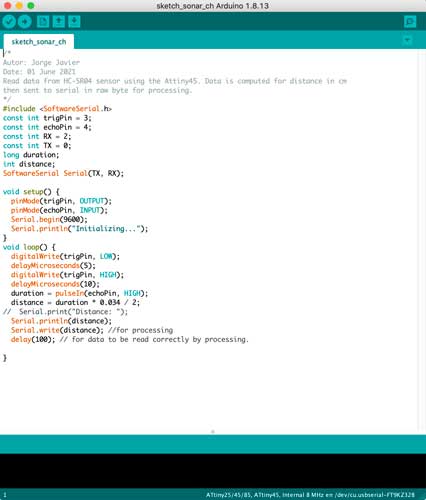
I started with the distance sensor to see what would i achive...
Some instructions are in English and some in Spanish.
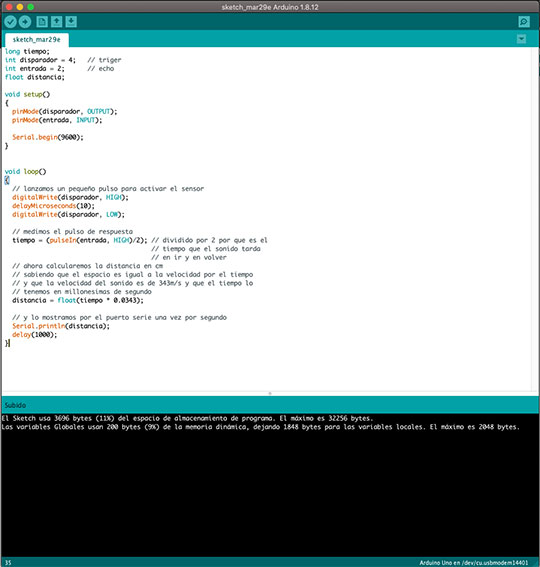
After writing and modifying certain parameters, i had the chance to measure linear distnace with my hand... a very handy device i might say. The sonar program is quite precise for overall generic measures.
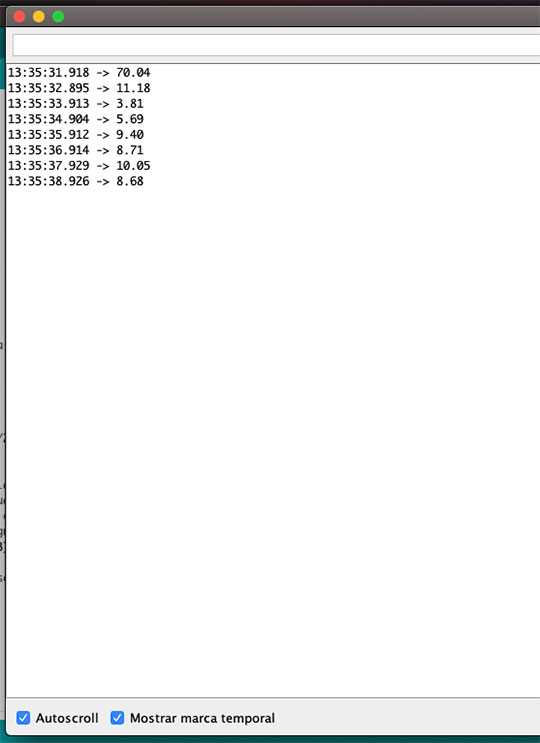
Reading the measures, it shows a random lecture depending on the position of the device.
Actually, switching the monitor to the grpaher window, let me understand the real performance of the sonar.
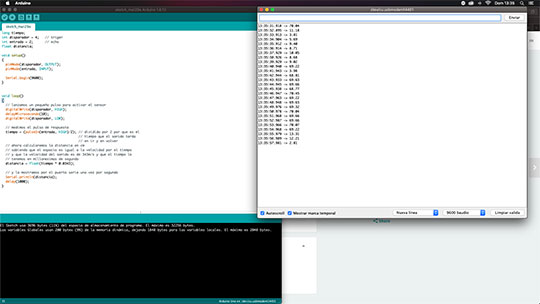
Having proper measures within a chart, results that can be shared and make sense about this tool.
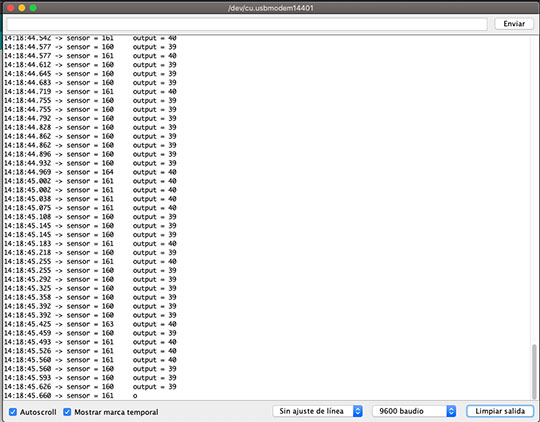
Then i wanted to test the potentiometer withan array of LED lights to create a growing serial chart, a very simple excersie to prove how easy can be to program a series of lights for a given situation, like a lamp or a wall.
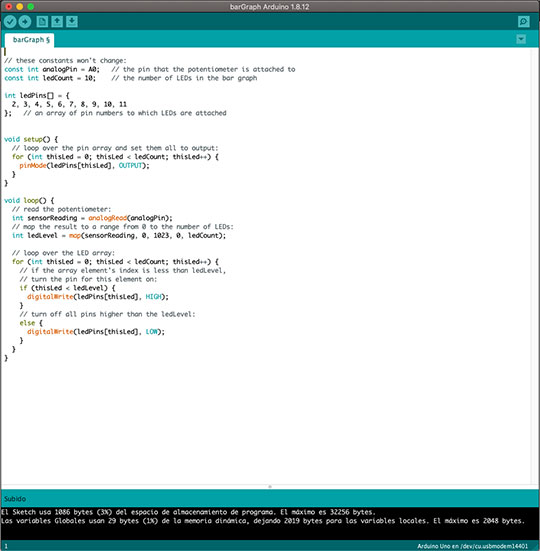
Seeing the monitor and the response, it measured the very sensible rotary sistem, to have a series of lights working
And creating a fade effect with 10 little LED diodes.
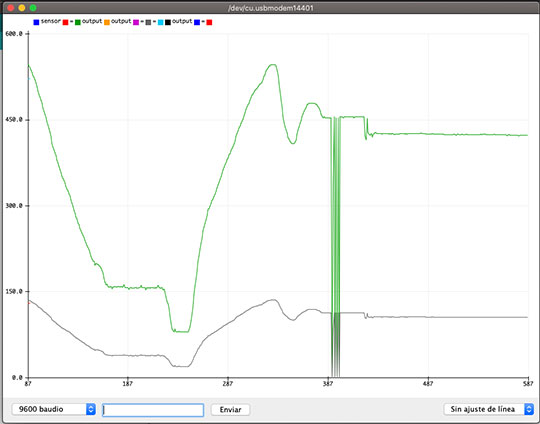
Something that ended up working like this.
The next excersice in research was a light sensor directly to the board, having a proper reading of the environmental illumination, once is dark, the LED turns on, if a medium amount of light appears, it turns off.
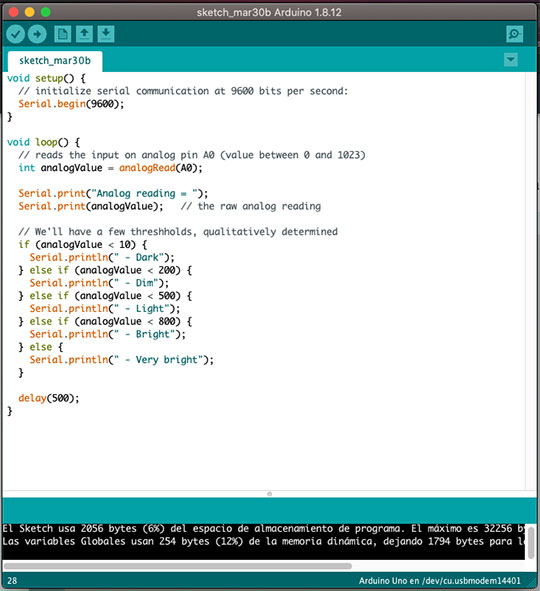
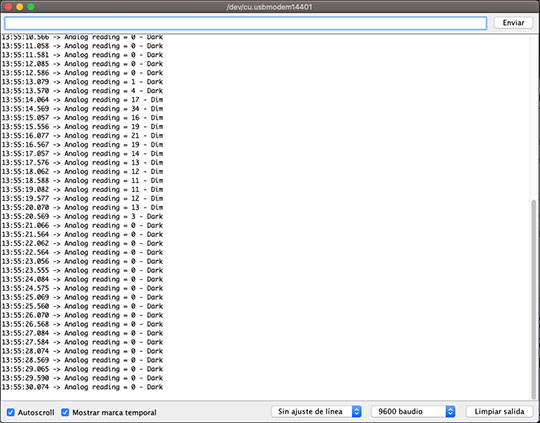
The extensive measures every .5 seconds register the amount of light that can be read with this analog device.
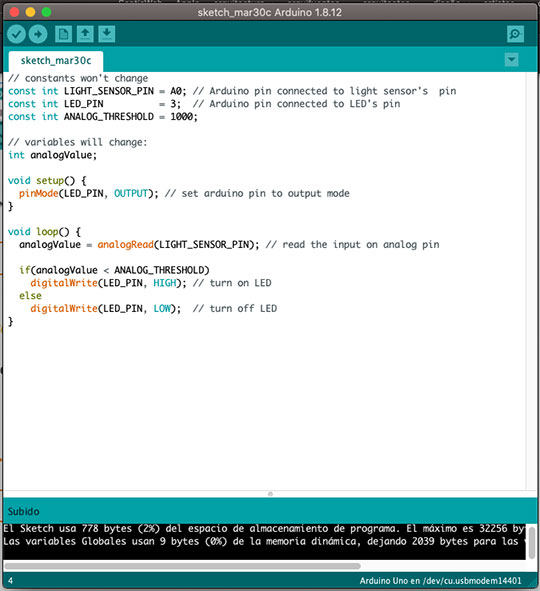
This complimentary writing apply an instruction to see the light on or off depending on the readings.
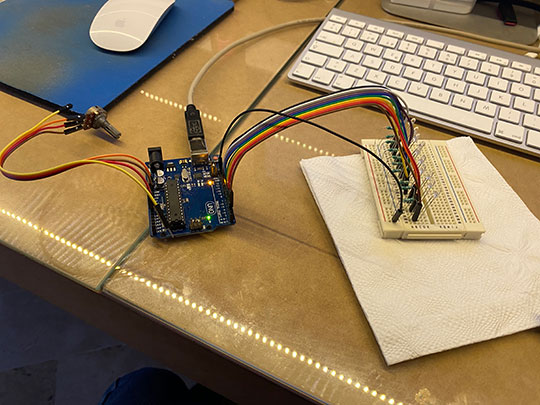
This is the basic array of the board with the light sensor...
And the finished version with the LED diode attached aside.

The best example is by using the distnace sensor to turn on a light... this version is the one that i like to use with my finish project. to enhance the experience while visiting an interior space.
The last experiment is a simple color sensor program, to read the nearby gamma and be registered in the monitor.
All of these experiments are the foundation for my main project, using the distance and color sensors to achive an aura of spatial experience.

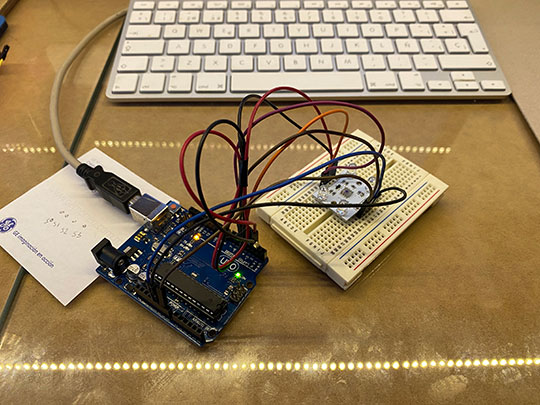
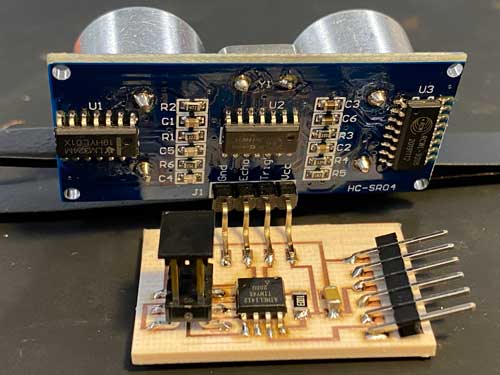
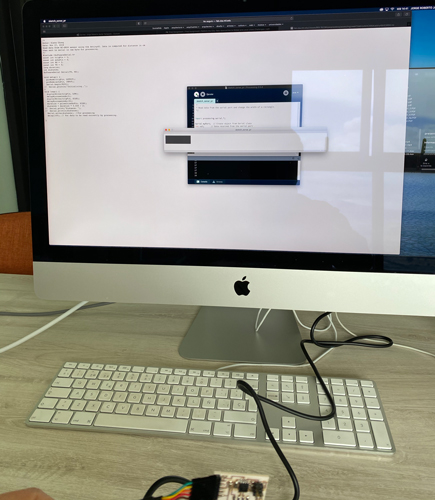
After the "break" once we had the chance to return to the LAB, i re-created the sonar excsercise with a proper personal manufactured board, and doing the distance task with it.
So, this is the setup for milling process, in order to have the cleanest board to date....
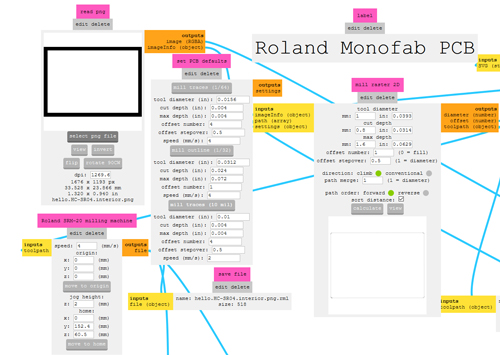
Changing speed, and with a smaller flute, it took some time, up to 2hrs, but worth it.

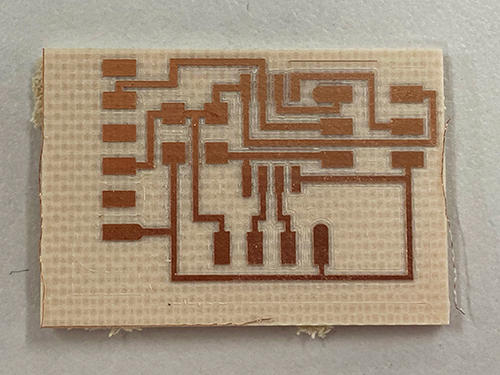
This is the final board (despite the fact that i had to do it twice) lean and ready to be soldered.
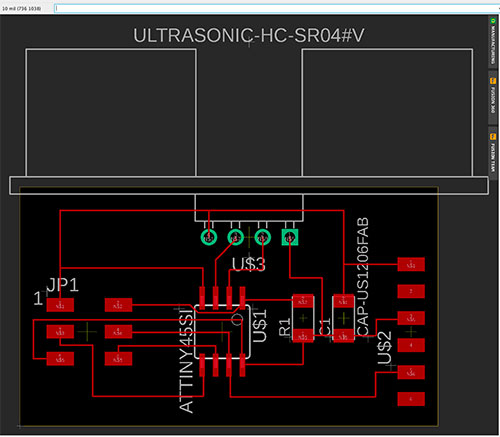
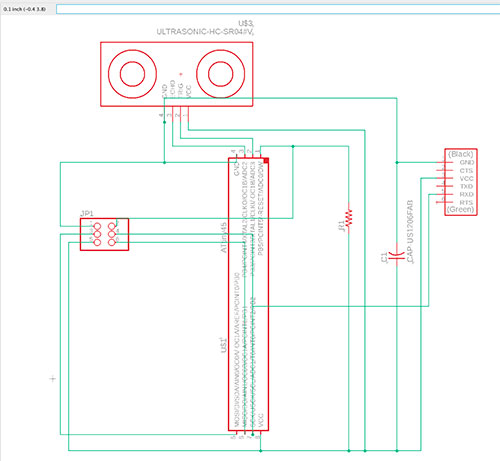
The pieces:
HC-SR04
FTDI
ATTINY 45
100K RESISTOR
1M
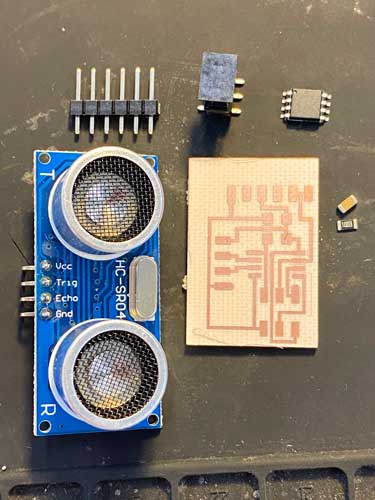
THE FINISHED PIECE!
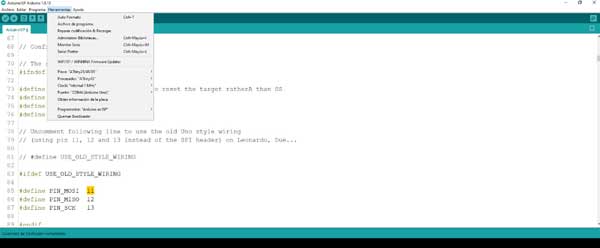
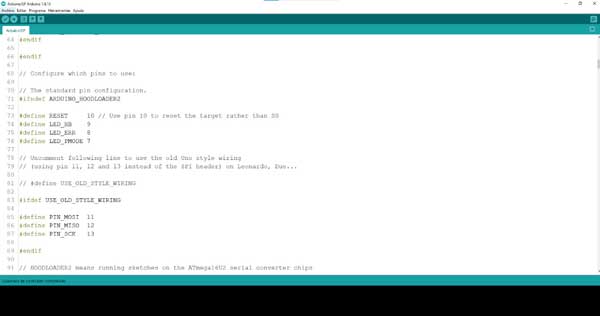
Uploading the code with the bootloader
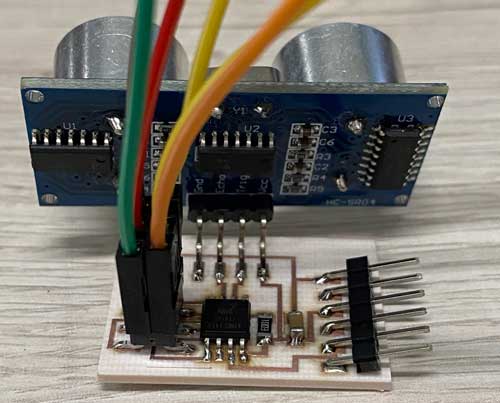
I used a generic ISP language to burn it and load the code, then, again, load a new code to see how the SONAR will end up working.
All of these experiments are the foundation for my main project, using the distance and color sensors to achive an aura of spatial experience.
However, is rewarding to learn the experience of creating a new board and programming, using the knowledge-base that Fab Academy share with us.
