Jose Alegria - Fab Academy
![]()
![]()
![]()
![]()
Embedded
Networking
ASsignment
wHAT iS THE ASSIGNMENT ABOUT?
Design,
build, and connect wired or wireless nodes with network or bus addresses.
Group
Assignment:
Send
a message between two projects.
1st Step. Setting
up the network
The first
part of the assignment was to understand how the bus works. There are two
communication ports within our processors, these are:
-
SDA: Serial Data, transmits the
information from one board to another.
-
SCL: Serial Clock, sets the
parameters for the boards to know when to expect information.
All
lines must have resistors to pull up to High when nothing is being transmitted.
Every
board connected to the network must have an address. This must be a 7 bit number.
In order to connect to
the network, Arduino has a library called <<Wire.h>>
which also works with our SAMD11C14 boards, so we are going to use it.
2nd Step – Wiring
The assignment consist
in making that two boards work together by sending a signal between them. To
make them work together I will be connecting 4 wires to each of the boards:
-
SCL to SCL
-
SDA to SDA
-
5V to 5V
-
GND to GND
This is a
main and one secondary board setup, as you can see the wiring for each of them
is the same:
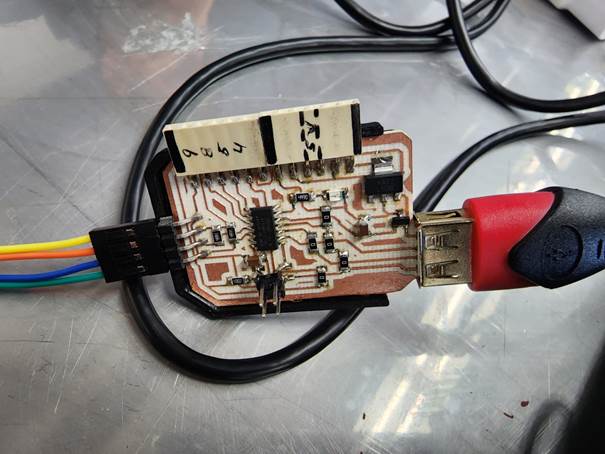
Main
Board
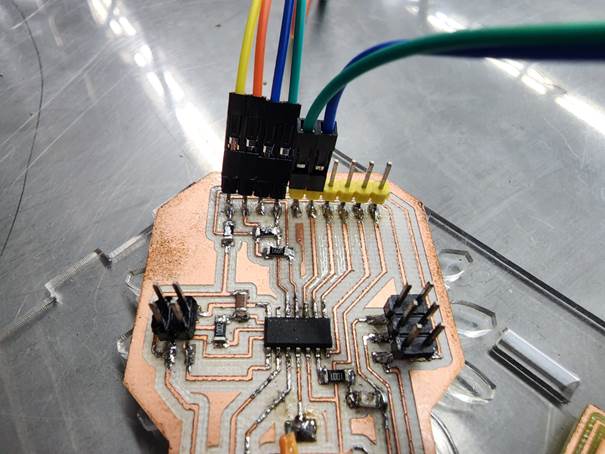
Secondary
Board
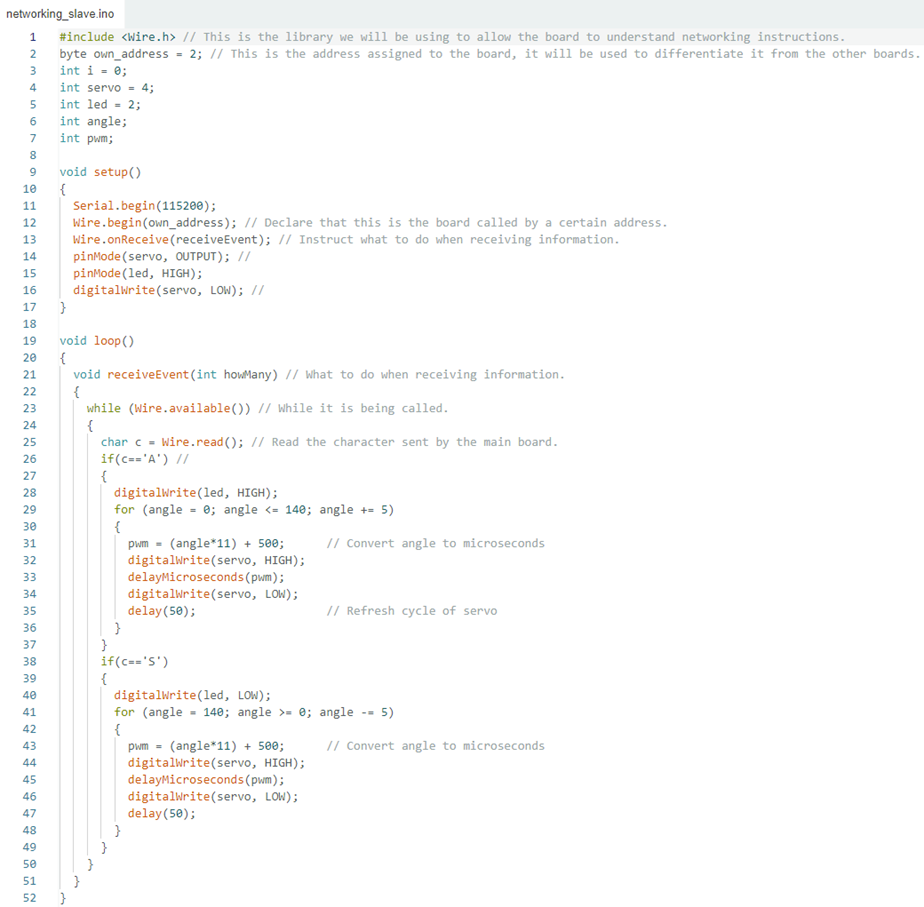
3rd Step –
Secondary boards
Once I have
got both boards wired, they will be divided into two classes: a main board
which will be used to give instructions to the other board which is called a
secondary board and it will be receiving the instructions. These will have
different codes programmed into them:
Code:
4th Step – Main
Board
This
will be the last one to be programmed because it needs to have the addresses
and the codes for the secondary boards. The code goes as follows:

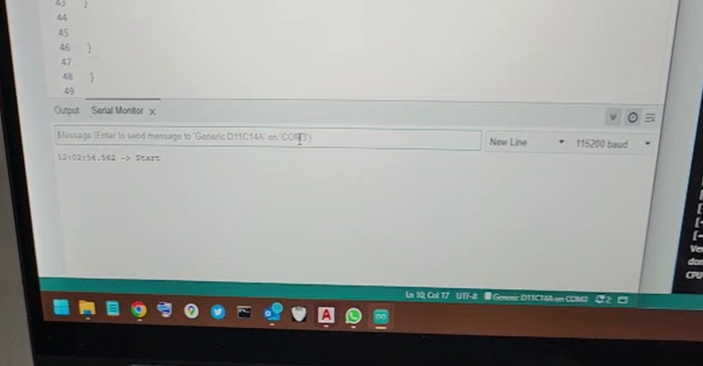
5th Step –
Operation
This
setup allowed me to write into a secondary board. When writing a letter into
the main board through the serial monitor, it transmits an order to the
secondary board.
This
is what the serial monitor looks like when working this setup:
And
that translates to the boards as follows:
Conclussions
The networking assignment sounded
really intimidating. When I understood what each of the pins was doing it
became really interesting and evolved into a great potential for my boards and
projects.
Original
Files
1.
Master
code
Nueval
Checklist
-
Linked to the group assignment page and reflected what you
learned individually of the group assignment.
-
Documented your project.
-
Documented what you have learned from
implementing networking and or communication protocols.
-
Explained the programming processes
you used.
-
Outlined problems and how you fixed
them.
-
Included design files and original
code.
2022