Jose Alegria - Fab Academy
![]()
![]()
![]()
![]()
Project
Management
Assignment
wHAT iS THE ASSIGNMENT ABOUT?
The goal for
this assignment is to design and upload the website where all the activities
required to accomplish the final project will be posted. This will include all
the information needed to replicate all works posted, the background knowledge,
and how it was achieved.
1st Step. offline
work
As this was
the first time that I had ever made my own webpage, I had to make a few
sketches regarding how I wanted to display the information in my homepage.
The
main input we had was to make the homepage as simple as we could, so it would
be easy to navigate and understand. It was important to remember that we will
have much information to show, and it must be understood in a few minutes. So,
everything on the website must be shown in as few clicks as possible.
There
were a few software options to design the homepage without being required to
learn HTML. I started designing through BlueGriffon,
being aware that in the future I was required to upgrade this website to make
it easier to read.

As
I started thinking in ideas for my website, I started browsing old alumni
homepages, and I saw a pattern, most of them are showing the entire project
development as images within the first page, so scrolling down can take you
from step 1 to the last one without going anywhere else. I decided this was the
most efficient way to demonstrate my work, and I started working with the
design of this main page
After
solving the design for the main page, I still had to deal with the design for
the other pages in my website, for instance, the About Me page, and the
Assignment ones. I made a few new sketches until I found a design that I liked.
This design shows the most important information (as in the main goal of the
assignment) at the top, having the process, step by step underneath.

2nd Step. Webpage
new design
After several
weeks, I started using a different software to design my assignment webpages.
Now, I am using Microsoft Word to keep track of the processes and make further
uploads and always have my latest files online.
The
main difference is Microsoft Word is more user friendly and it was faster to
document and upload my progress, making the assignment webpages easier to read
and the images easier to resize.


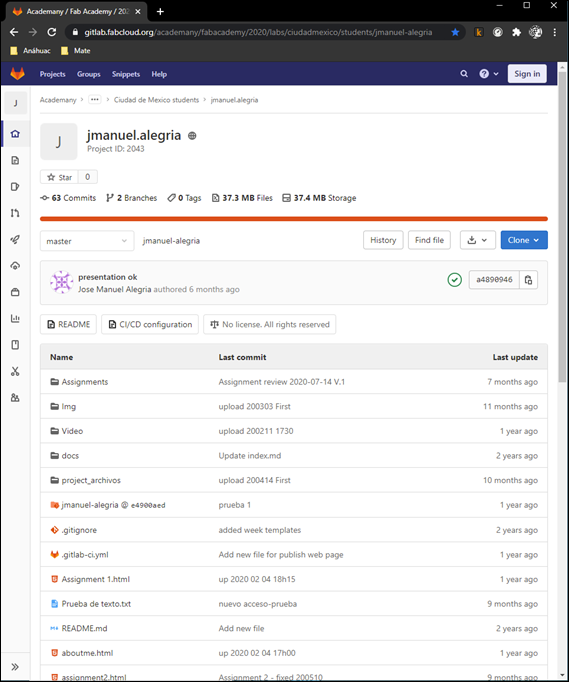
3rd Step. GIT Hub
That was all
for the design stage of this assignment. I started working with GIT, which is
required to keep change control within all the assignments. The first step was
to search for the repository, log in, and clone the files we already had there.
By
cloning our files, I replicated the folder and files in our local drive, so I
was able to make changes in my own computer, and just keep track of them in the
repository.
To achieve
that, I started working with GIT so it will help to upload all the information
I've been working with. After a couple of steps within GITBash,
everything was up to date, so all my work was online.
GIT Bash is a
Windows software used to upload and update the files that have been changed
into the repository. There are two main groups of steps:
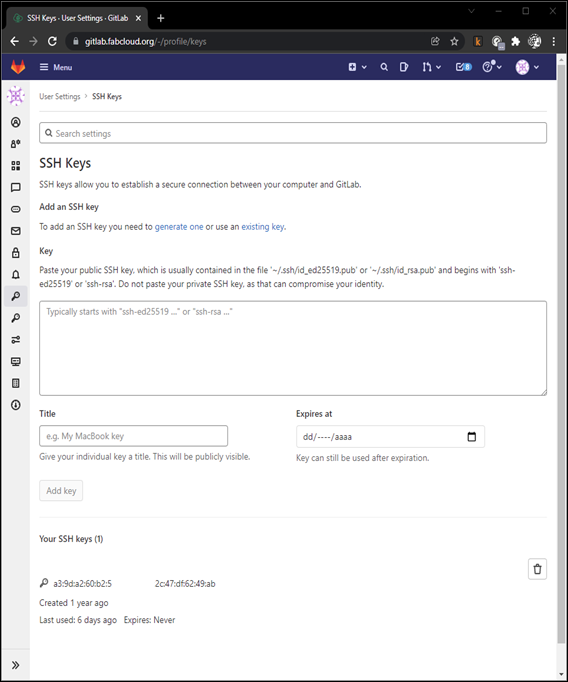
a.
First time:
a.
Using a Secure Shell Protocol (SSH): In order to login into the remote server you will need to
generate a new SSH key and add it to the ssh-agent.
Then, you must add the SSH key to your account on GitHub to authenticate.
b.
The next step is to generate a new
SSH key, for this, you need to open Git Bash, get into your folder and type:
<< $ ssh-keygen -t ed25519 -C your_email@example.com >>.
c.
This will create the SSH Key, once
there, you can check if you have the SSH key in your directory by typing:
<< $ ls -al ~/.ssh >>
d.
Once you have the SSH Key, then you have to show the key by typing: << cat ~/.ssh/id_rsa.pub >> and then copying the key.
e.
Go to https://gitlab.fabcloud.org/ and get
into the SSH Keys menu (if you have already logged in then go directly into: https://gitlab.fabcloud.org/-/profile/keys
), then paste the SSH Key you have just copied, and add the key.
f.
You should be ready to go. If you
need more information you can go to: https://gitlab.fabcloud.org/help/ssh/index#generate-an-ssh-key-pair
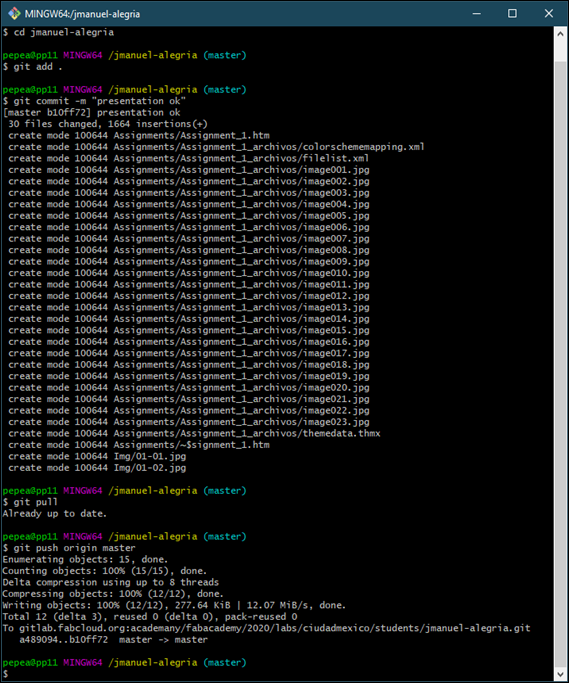
b.
Making a commit:
a.
Each time you want to push something
into your repository, you will have to use the following commands. Remember you
should be in the directory where you cloned into your local files:
b.
>> git add .
Adds all the existing files in your own directory to the staging index.
c.
>> git commit.
Takes the files you have just added and saves them in the repository. Usually,
it is recommended to commit with a message to understand what the changes
between versions are, in that cases, the >> git
commit -m “Insert message” will be used.
d.
>> git pull.
Pulls the files from the repository to get the latest version in local
directory.
e.
>> git push origin master.
Pushes the commit into the repository so GitHub displays the changes done.
These are the
most used commands. If you have any other command you need to use, try checking
out this webpage: Git Bash
Commonly Used Commands.
Conclussions
This assignment importance is that it makes clear
that it is as important to learn how to develop our project as it is to be able
to show our progress and make it available to the rest of the community.
Sometimes this will be a task as difficult as acquiring the knowledge.
Nueval
Checklist
ü
Made a website and described how you
did it.
ü
Documented steps for uploading files
to archive.
ü
Pushed to the class archive
ü
Signed and uploaded Student
Agreement
2022