Introduction
This week we have one main assignments:
Individual assignments
– Cut something on the vinylcutter
– Design, lasercut, and document a parametric press-fit construction kit, which can be assembled in multiple ways. Account for the lasercutter kerf.
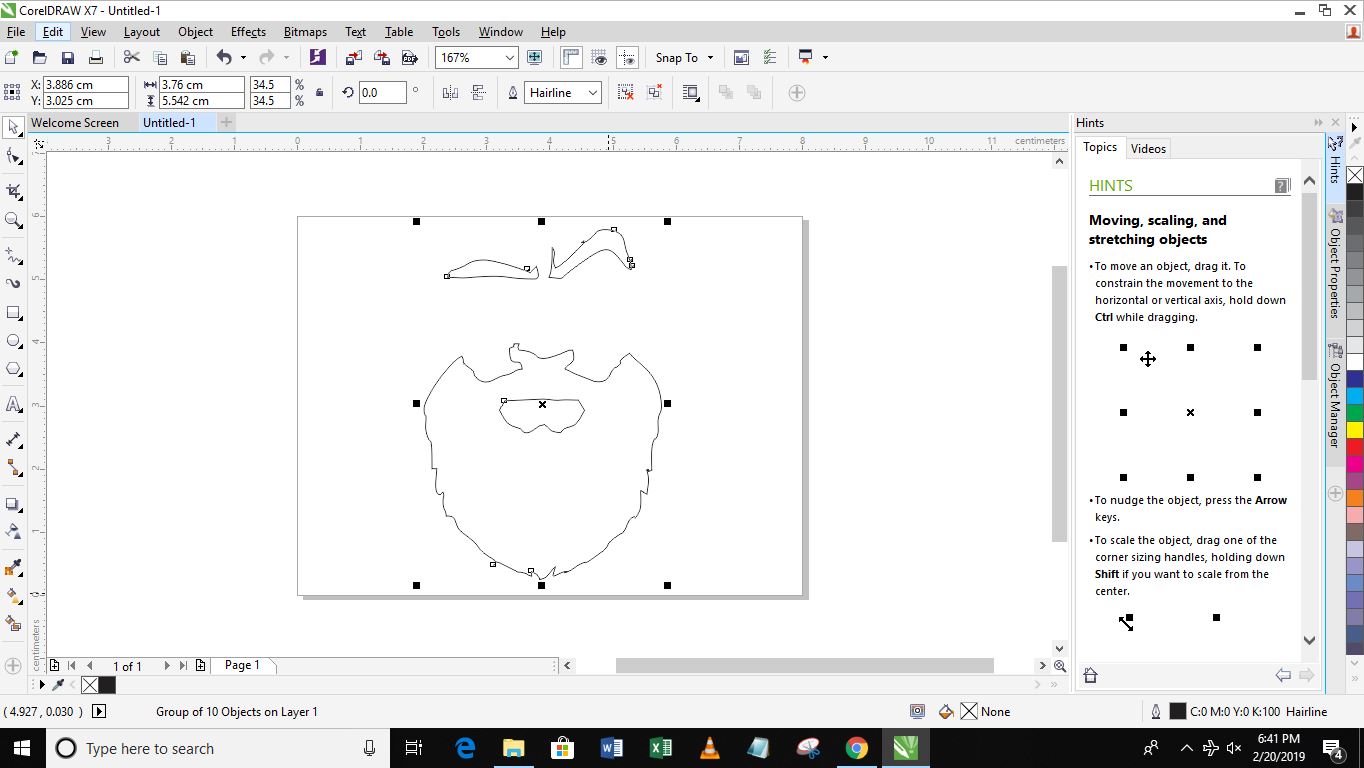
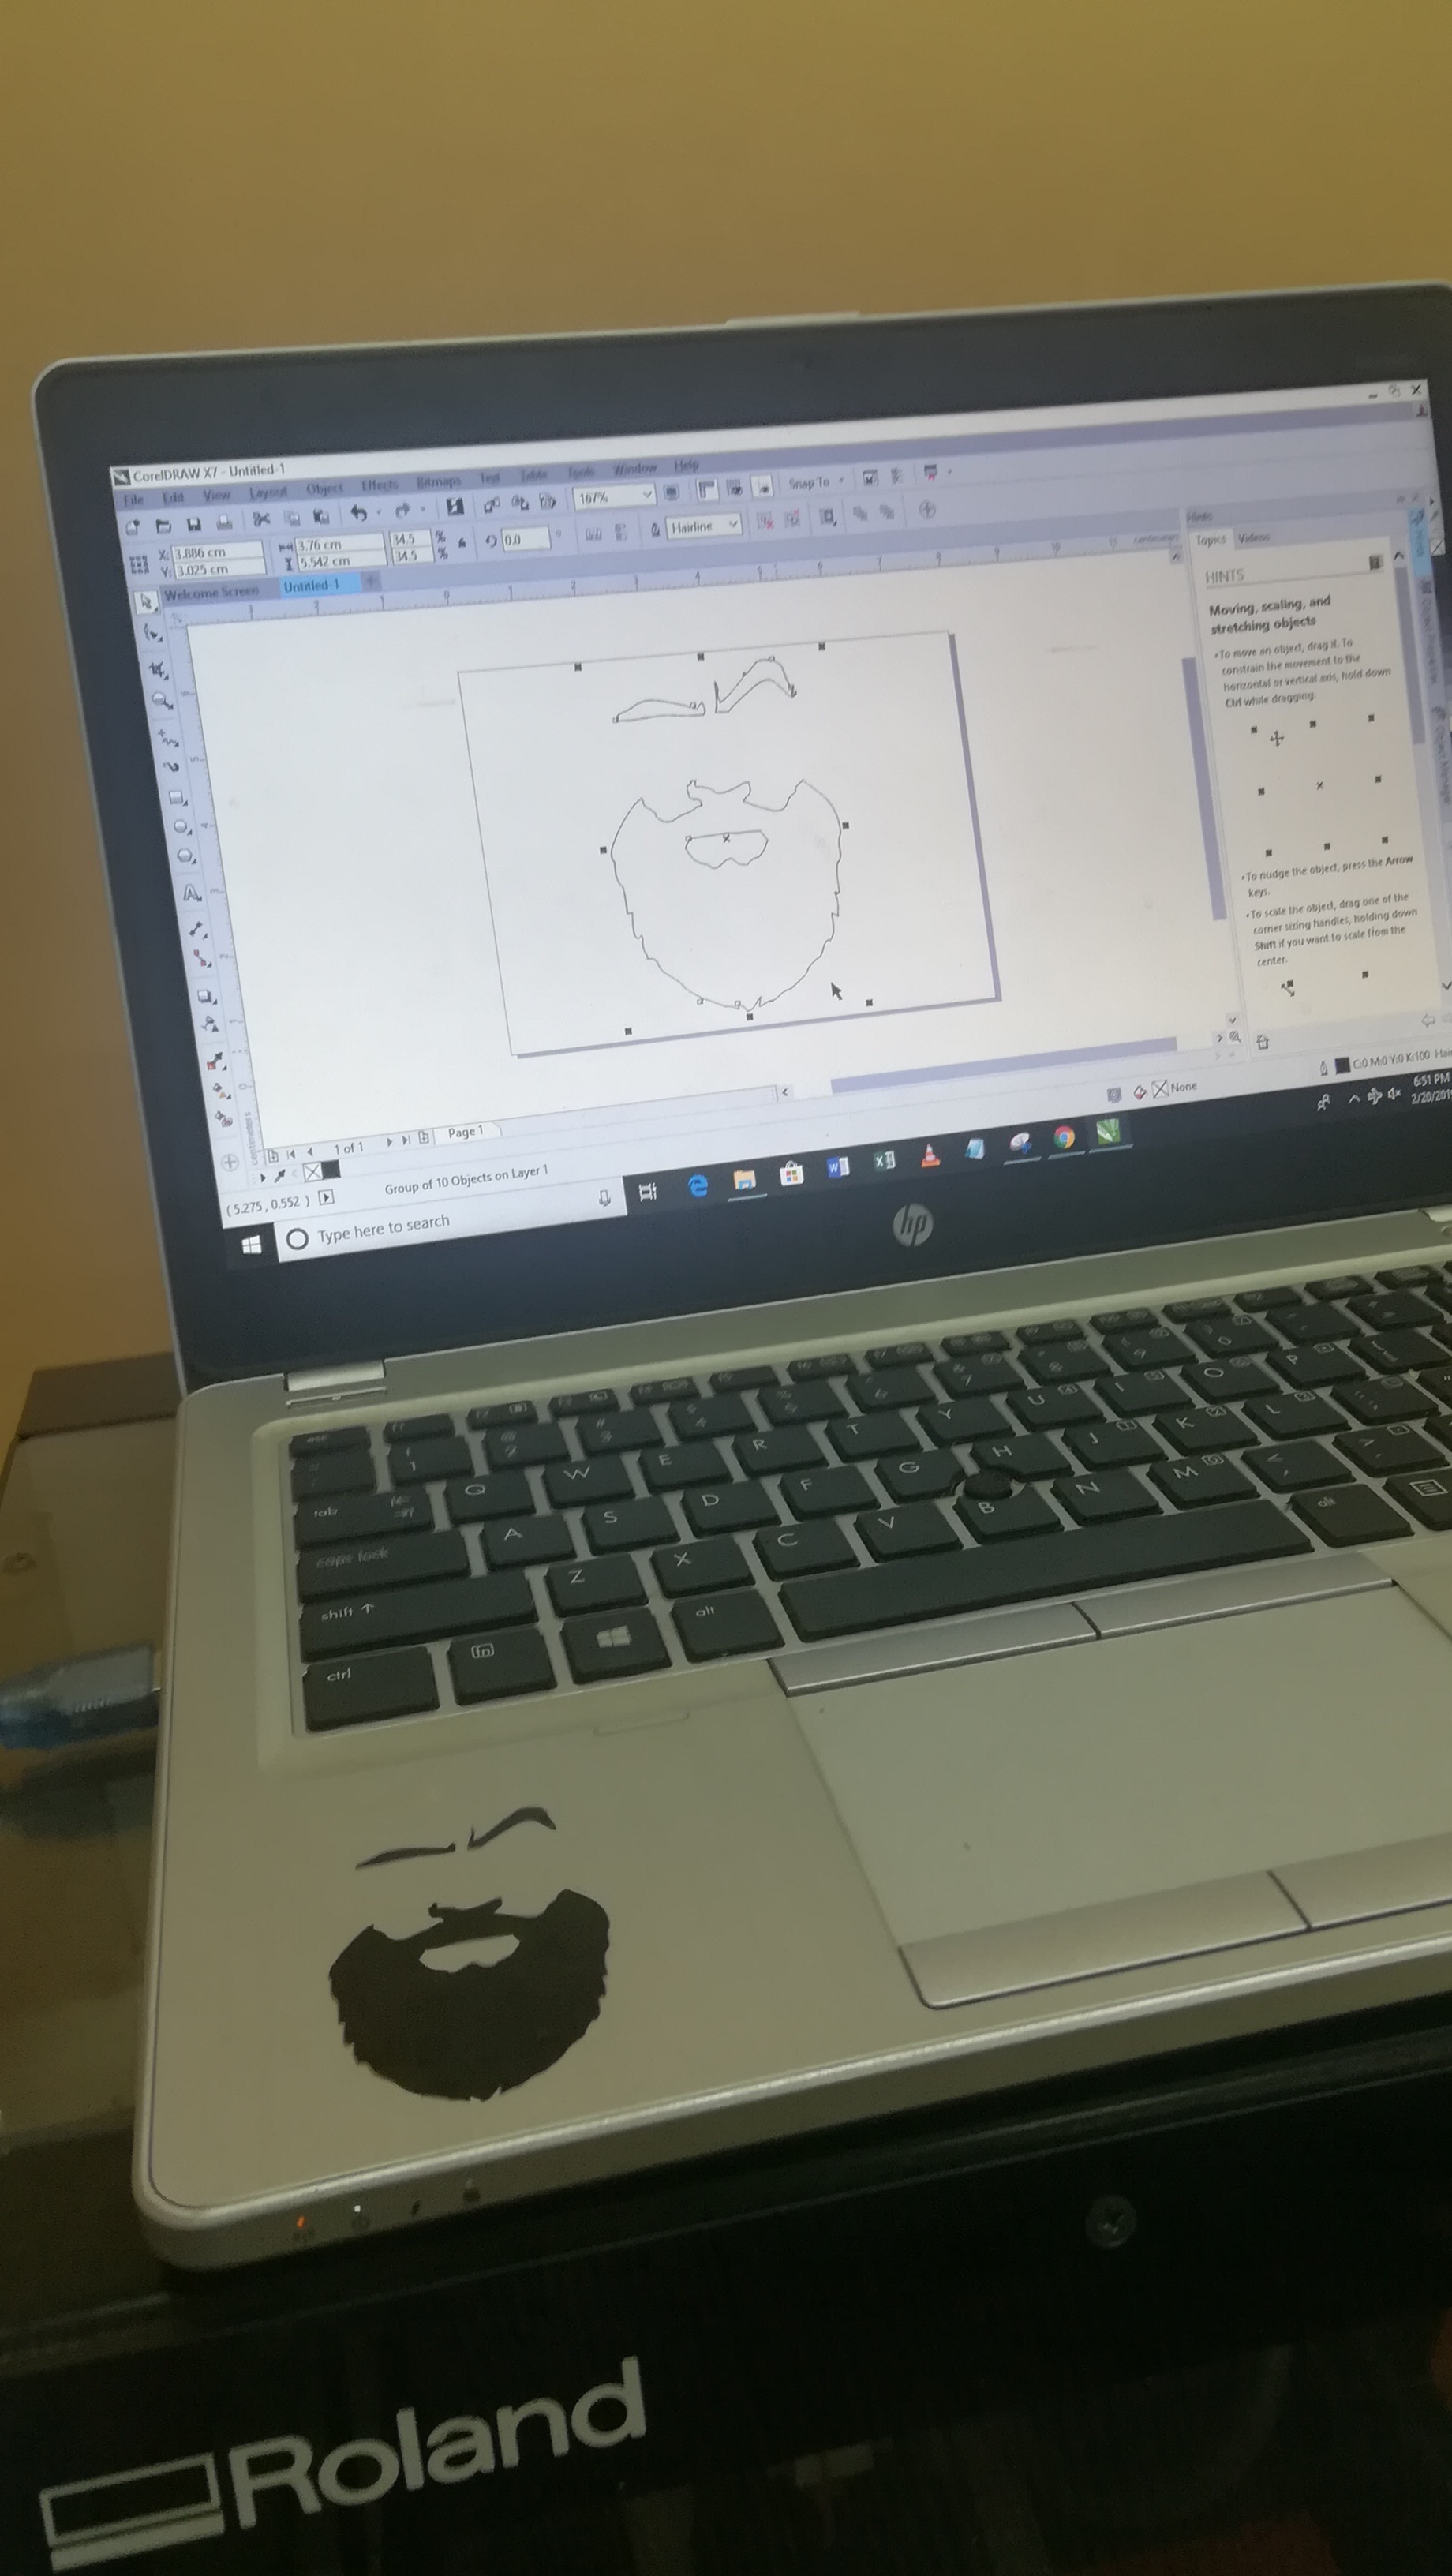
For my computer controlled cutting assignment I used corel draw to create my 2D design. I downloaded an image from the internet and transformed it to a vector using the quicktrace feature for corel draw.

I then adjusted my dimesnions for the page to be as closs as possible to the dimensions of the image

This was the final image to be cut using the vinyl cutter
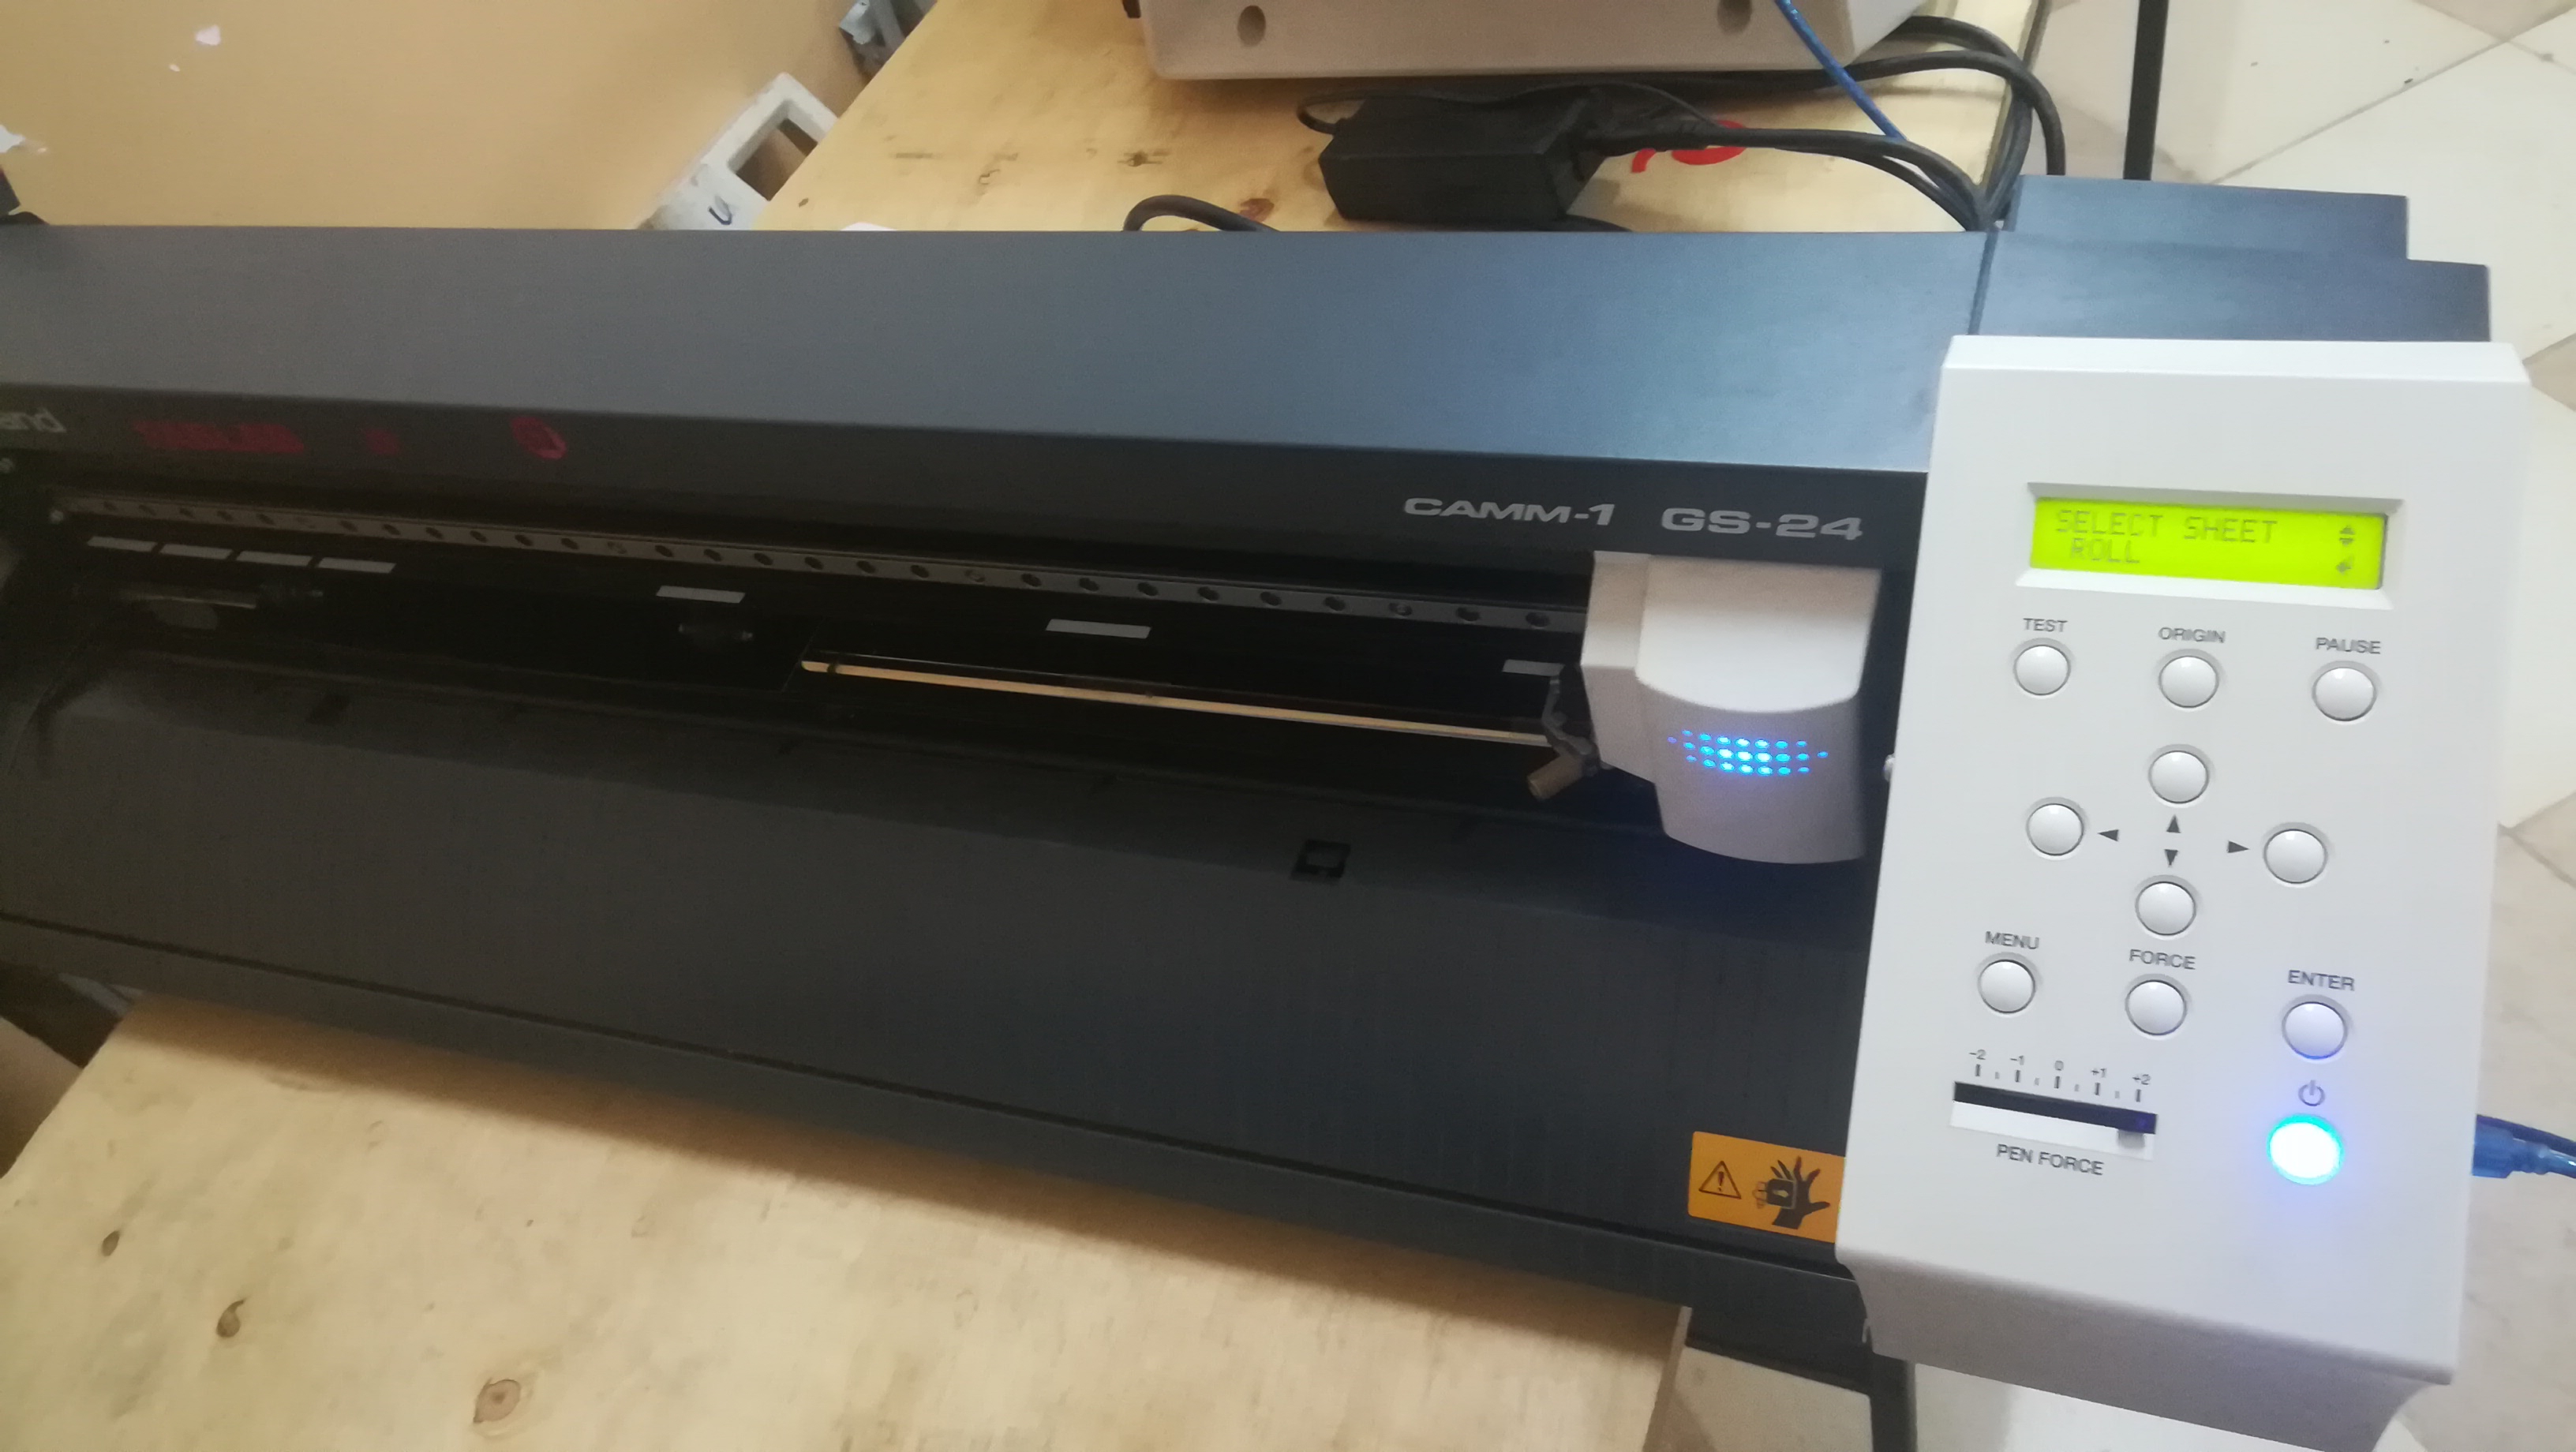
After completing the drawing it was time to set up the printer the first step is selecting the type of vinyl sheet your feeding the machine in my case it was a small piece as my diagram was small. I cut a piece of vinyl from the sheet available inserted it into matchine and used the latch on the end to lock the piece, the next step was to select piece from the machine and scan the size of the piece.
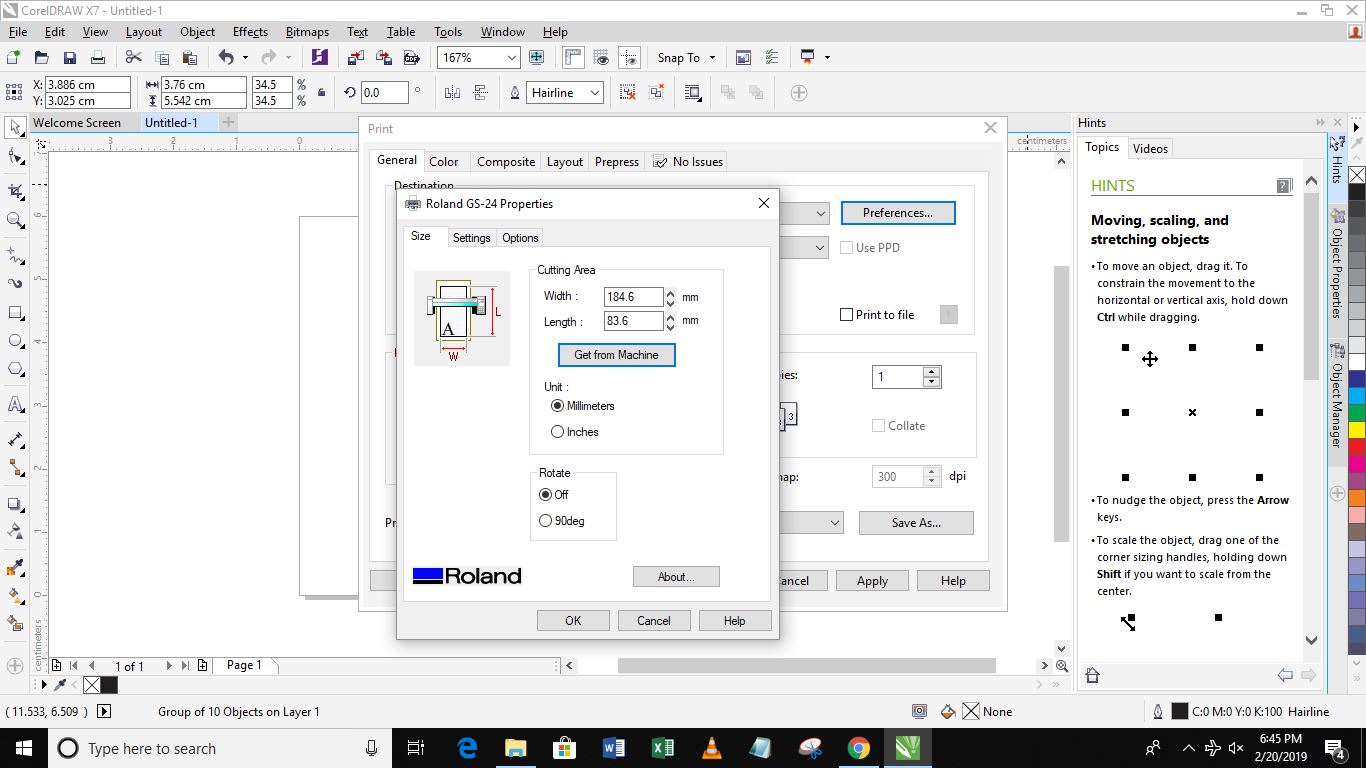
After identifying the size, I selected print from my computer, then on preferences, I selected get from machine, so that I can generate a print preview to see if If my image would fit within the piece. I then longpressed origin from the machine to set the origin. I also adjusted the pen force as required and begun printing. I did an extra run just to ensure the vinyl was proper cut
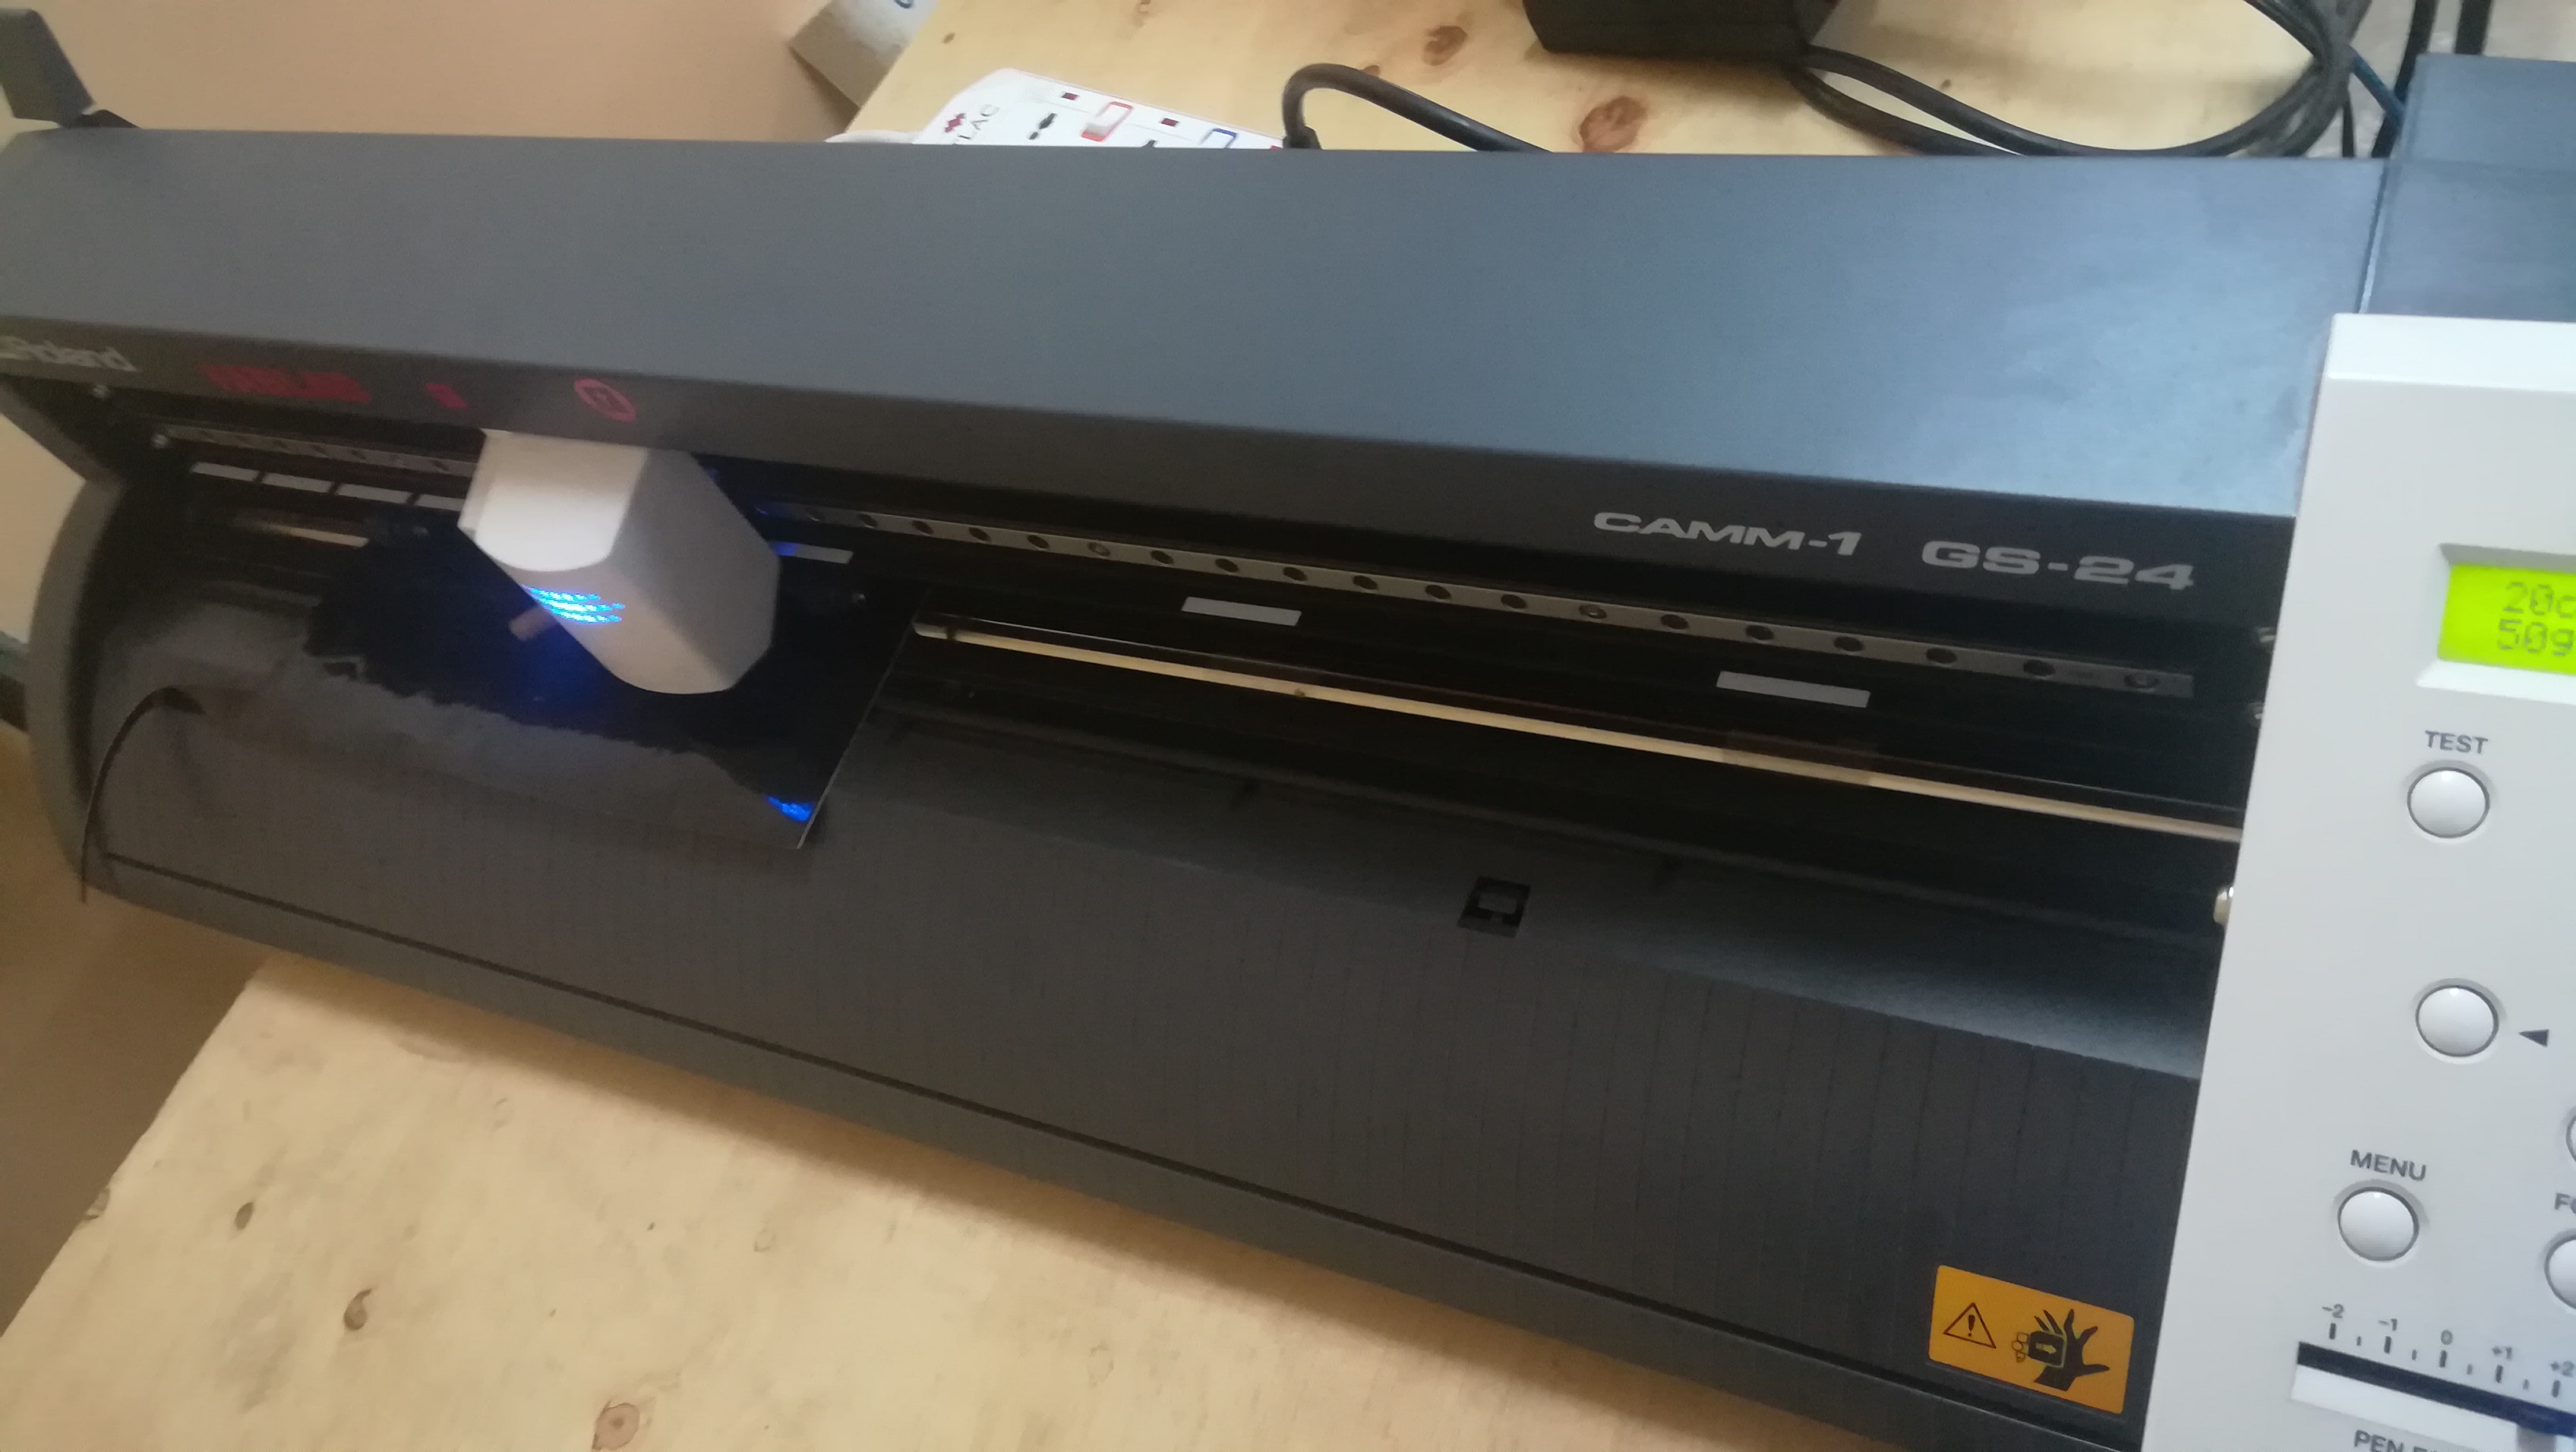

After it completed printing I unlatched the machine and removed the vinyl piece. I then usedmasking tape to safely remove the cut vinyl without damaging the layout of the sticker.
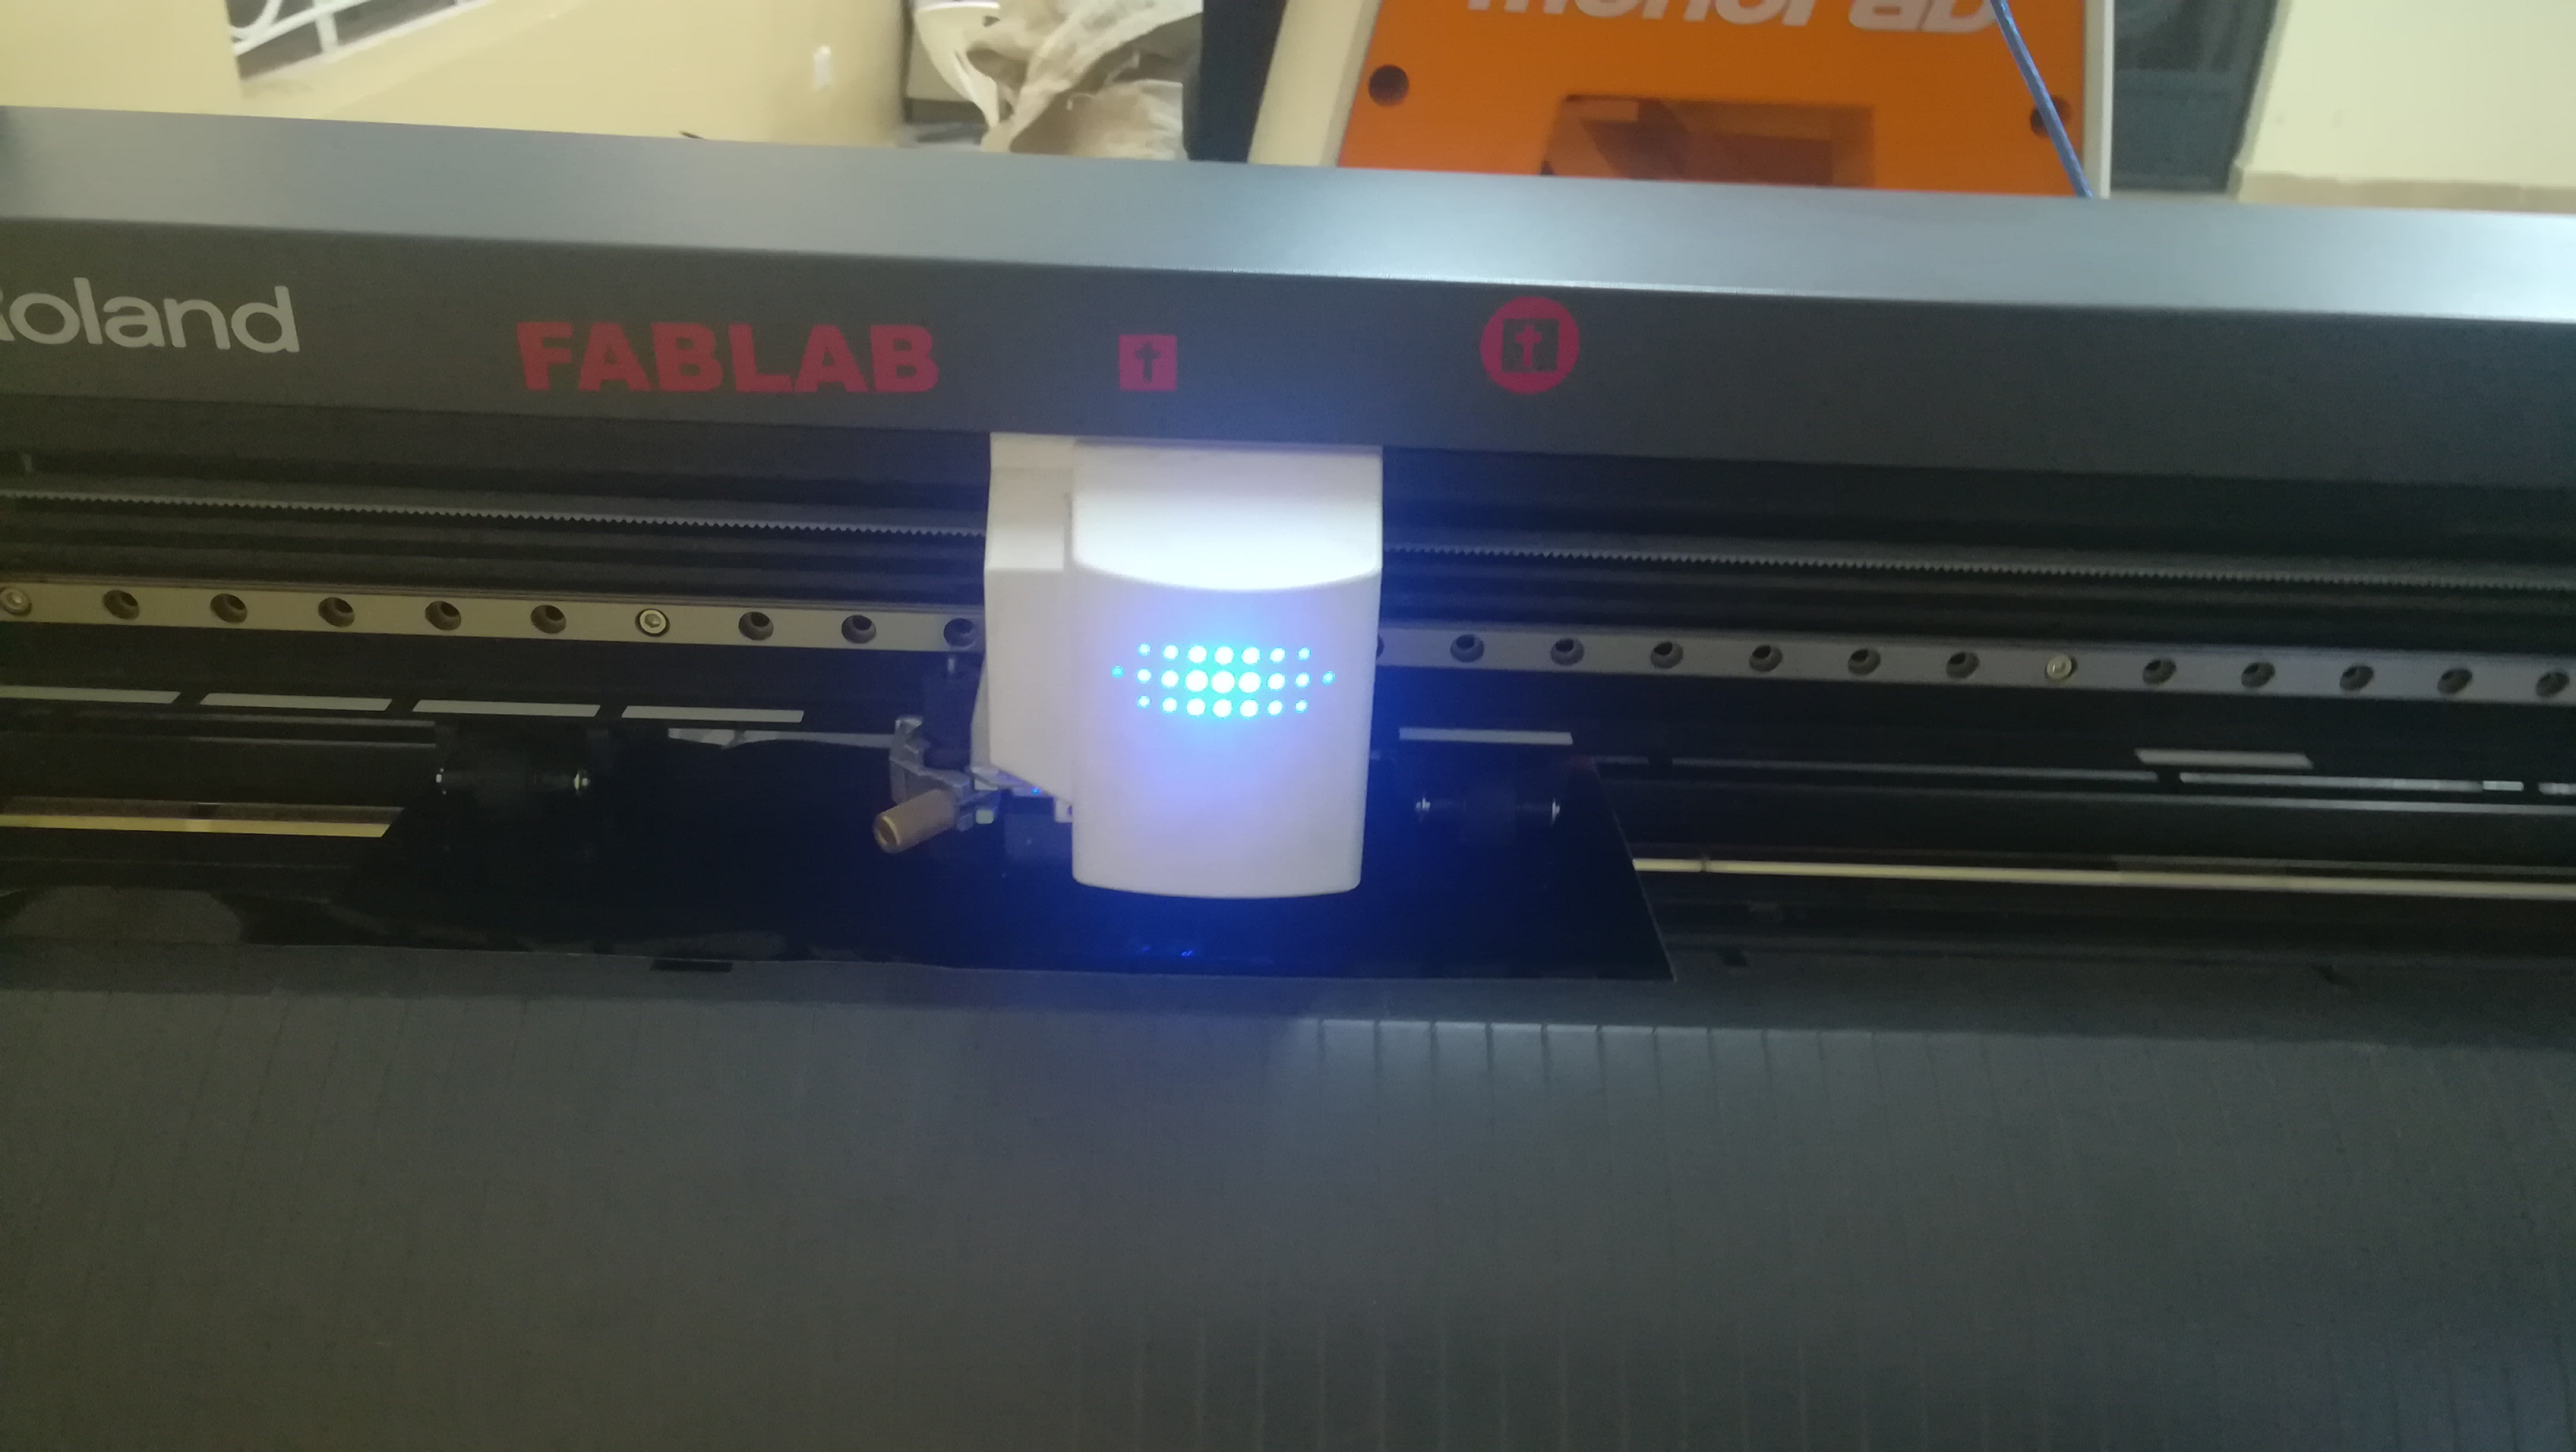
I then transfered it safely to my computer

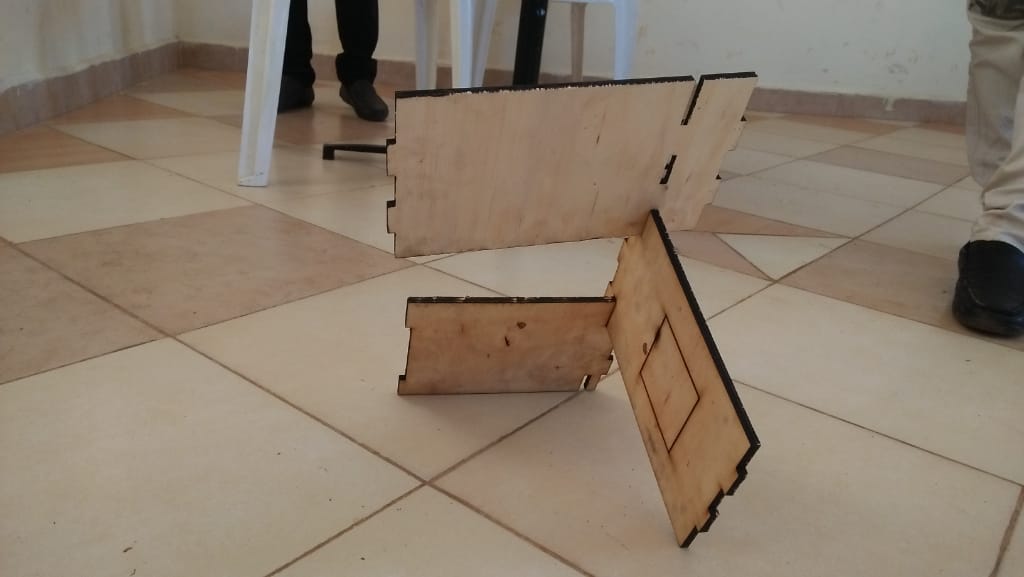
For the laser cutting assignment below is my press fit
I used moderate speed since the block of wood is thick i.e 6mm and run the cutting at 60% speed I also reduced the power to 60% while I manually adjusted the focussing lense to pruduce a thin cut for the pieces as I minimzed the tolerance therefore the parts would still be tight even after depletion of the burnt areas by the laser


The design process involved cutting out shapes that can be inserted to each other in this case I used three blocks of ply wood. For parts that were fittting horizontally I hard to use a specified gap of female and male mating parts I ensued that there was a minimal tolerance so that the mating parts would be tight, for vertical parts I used the thickness of the ply wood which was 6mm to create slots in the piece of wood for mating tightly.

