-
First idea: Food 3D printer
What do I want to do?
Where did I get the stuff?
Who has done what before?
Plan of action?
The sketch(es)
First prototypes
The electronics
The code
Reflection on this assignment
Manual and files
What do I want to do?
For this assignment I'd like to make a chocolate/jelly printer. It is said, convert an existing one to do this kind of things.
At work, in the Ingegno Makerspace, we often use molecular gastronomy to teach kids about how molecules work and how we can change them. In this case we mostly use agar agar and
do everything manual. It would be nice however to have the machine 3D print things in jelly.
The chocolate part is what you find online a lot. Lot's of people started experimenting with other materials a few years back and chocolate was one of them. Next to the mess that it will
probably make, it could be a nice project for an old printer. The main lab, in Brussels will work on a similar machine. Where they will document how they make the syringe
work, my job will be to connect their invention to the frame from my old 3D printer. That way, we do kinda have a group project, but we're not bothered by the fact that I have to make a 3
hour trip to the lab as I can work from home.
To top
Where did I get the stuff?
I found 2 old 3D printers laying around at my place and with friends. As the internet isn't consistent on which one is best to use, I'll just test it myself.
The first printer that I'll use is a Velleman Vertex. It was my first 3D printer that I owned but sadly about a year ago I blew up my motherboard while short circuiting on the temp-sensor. The same moment I decided to use this one as a test subject for a chocolate printers as I've build it myself and pretty much know all parts in it.
The second printer that I can use is a first generation Spiderbot delta 3D printer. It was once given to the ecofablab in Brugge by FabLab Leuven when they started but since it has had it fair share of trouble in the past, and new, cheaper and better printers are on the market now, they started using it less. As it was only in our way and gathering dust, I asked if I could take the printer home to do something else with it. The wish got granted.
Once my job heard about the plans to make a chocolate/jelly 3D printer, they showed me their first 3D printers and told me that I could use parts from those to if I would be in need of anything.
In the case of this project, I won't need to buy a lot of hardware (apart from the syringes) as I'll be recycling most of the parts.To top
Who has done what before?
- The instructable
- Keep art
- The Ultimaker
- The open source syringe pump
Chocolate has been a hot topic for a while in the 3D printing world. I remember a small FabLab conference in Belgium in 2015 where I for the first time ate chocolate that was 3D printed. Special about it: the receipt was changed that way so that it would actually still taste like chocolate. Some people on instructable also had the same idea and put their tutorial online. You can find it here.
I think this guy is my new hero, and I'm seriously concidering on visiting him when I'm in the UK when the Academy finished. He basically did what we need to do during the machine and mechanical desing week. He started out with a 'manual' pump for the chocolate 3D printer, but also has all the files for making the printer yourself. It's here that I found the delta printer idea. A link to his site can be found here!
Of course, people that have an ultimaker can't be behind. So some people started experimenting with adjusting their printer. The link can be found here!
As we live in wonderfull times where a lot of things have already been made, the colleague students in Brussels used this site: as a guide
To top
Plan of action
Now that I have found most of the hardware it's time to define a plan of action.
As a first step, I need to know what needs to be done, what still works and what doesn't, what parts do I need to order...
Spiderbot delta
When I took the spiderbot home, I knew that the printer should work pretty fine. At least on the x - y - z movement. The prints that came out a the end were not perfect anymore and thats
one of the reasons that they stopped using the printer.
I booted up the machine part by part, first not connected to the computer, then connected to the computer. The manual operation of the machine seemed to be fine.
The next step for me was to take off all the extra things that were put on the machine. There were LED strips on, a protective cover around the machine... As it made working on the machine harder, I took it off. This also opened up the electronics on the bottom.
Speaking about electronics, I started mapping out the most important parts of the motherboard and to what it's connected. This was one of the moments where I realised how much I've learned during the FabAcademy, knowing several words on it and knowing what they mean and do.
Velleman Vertex
The Velleman Vertex was another story. As I mentioned before, I blew up the motherboard during a short circuit near the extrude and the temperature sensor. I took the multimeter and started measuring everything out. In the end I came down to this:
- temp sensor: burned through (isosolation burned through and created a short circuit)
- screen (4 line): burned through
- extruder line 1: burned through
- extruder line 2: still working
- extruder: not working, nozzle broken
Next steps
Both printers have a lot of pro's and cons to work with. The Delta has the advantage that it's pretty high (with place on top), easy to draw cables and connect the syringe to. The sad thing is that this version of the printer has very weak magnets to keep the extruder up. The question here will be if the magnets will be able to hold the construction with the syringe.The Velleman Vertex has a working second line of extrusion on which I might be able to make the printer work again. The hard part here is that the printer isn't very high, and that I'm not sure yet how to connect the syringe to the printer and keep it steady.
What needs to be done?
In general the steps that I need to figure out are the next:
- How to connect the syringe to the existing machine
- How to get the new material flowing and controlling the flow
- How to heath or cool down the material?
To top
Building the syringe pump
To be able to manage the build of the special printer, I needed the hardware that they have in the lab in Brussels. And the easiest part was not to take it with me, but just to build my own version at home.
I started with 3D printing the parts that you found on the open syringe project page while gathering all of my materials. As predicted, some of the parts didn't fit. As this is a first fit, I adjusted some parts with the column drill to get the prototype to work.
The next step was to start drawing my own parts for the assembly. As became standard during the academy, I used Onshape to draw everything.
To top
What do I want to do?
The question on what I want to do for machine and mechanical design changed out of need. During the preparation and production of my final project, I noticed that I might need a tool that makes me paint circlesThe electronics on my resistors. I thought about it for a moment and decided to let the food 3D printer for what it was and develop the resistorbot.
It has basically 2 functionalities.
- It needs to be able to turn around, continuously, in several speeds.
- It needs to be able to hold the resistor.
To top
Where did I get the stuff?
Most of the materials, I recycled from the 3D printers and the food printer project. Though, I didn't need much. Just a servo motor to make the axxis turn.
All other parts will be lasercutted or 3D printedTo top
Who has done what before?
I can't put in a link here of who has done what beforehand, because that would mean that I'd have to add all of google to it. But if you google 'eggbot' you'll find a lof of similar results of what I'm willing to build.
To top
Plan of action
- Step 1: put ideas onto paper
- Step 2: make the CAD drawing
- Step 3: gather all materials
- Step 4: make first prototypes
- Step 5: fix electronics and code
- Step 6: make more prototypes
- Step 7: final version
To top
The sketch(es)
It took me a while and a lot of car drives (I brainstorm in my car) to figure out how I wanted to make the machine. How it would all be connected and already take out some flaws. As I needed to communicate with my boss about the project, I made a quick sketch on paper so that she'd know what I was on to.
 First sketch of the Resistorbot
But having a sketch on paper is one thing, making the actual thing is another problem. As usual I got stuck on the measurements. So I decided to go into my CAD program, take out my files from the resistors that I printed out before and build around that.
 CAD drawing of the Resistorbot
To top
First prototypes
When I figured out the need for the Resistorbot I didn't have time or the means to develop one. So I went into my garage and build me one from scrap materials. The connectors for the resistors and axis were 3D printed (not on picture), the axis came from the old 3D printer that I used for the food printer, and the wood is scrap material from the make something big week.
For what it had to do, it was good enough, but I did miss an automatic version
 Prototype 0
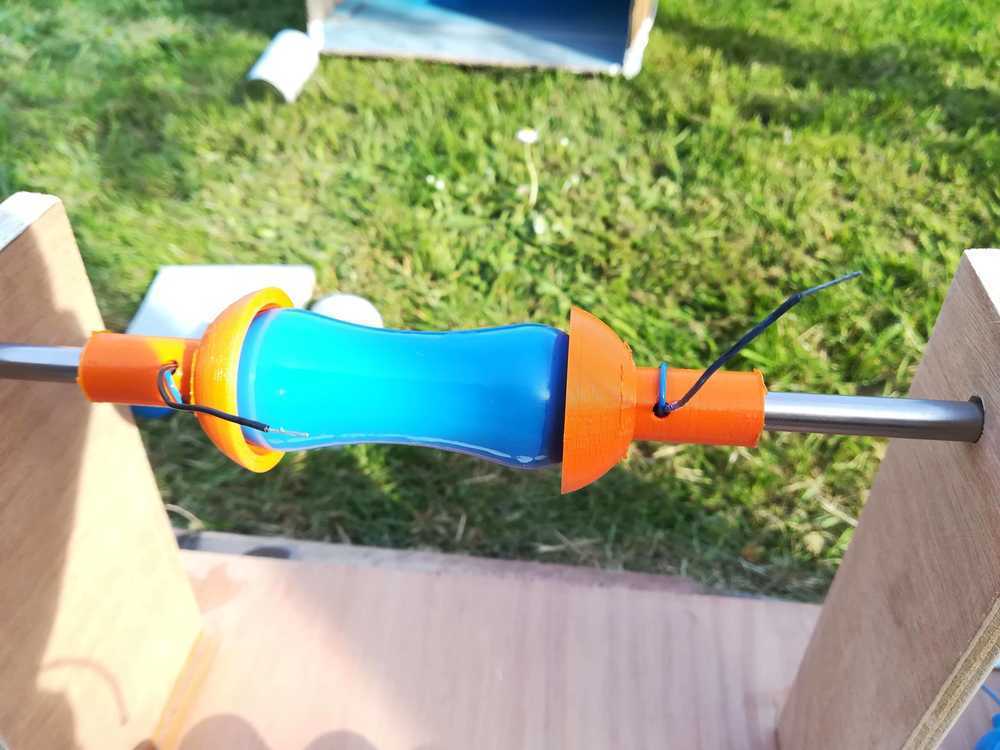 Prototype 0
For the first time in a very long time I made my prototype in cardboard. We recycle cardboard - so kinda get it for free - so it's cheaper than to laser cut directly into wood. The cardboard actually proved to be a very good material, not just because I could adjust it on the go, but it proved to be much stronger than anticipated. The thickness of the cardboard was also almost the same as from the wood that I wanted to use, so that was perfect to for testing the pressfit.
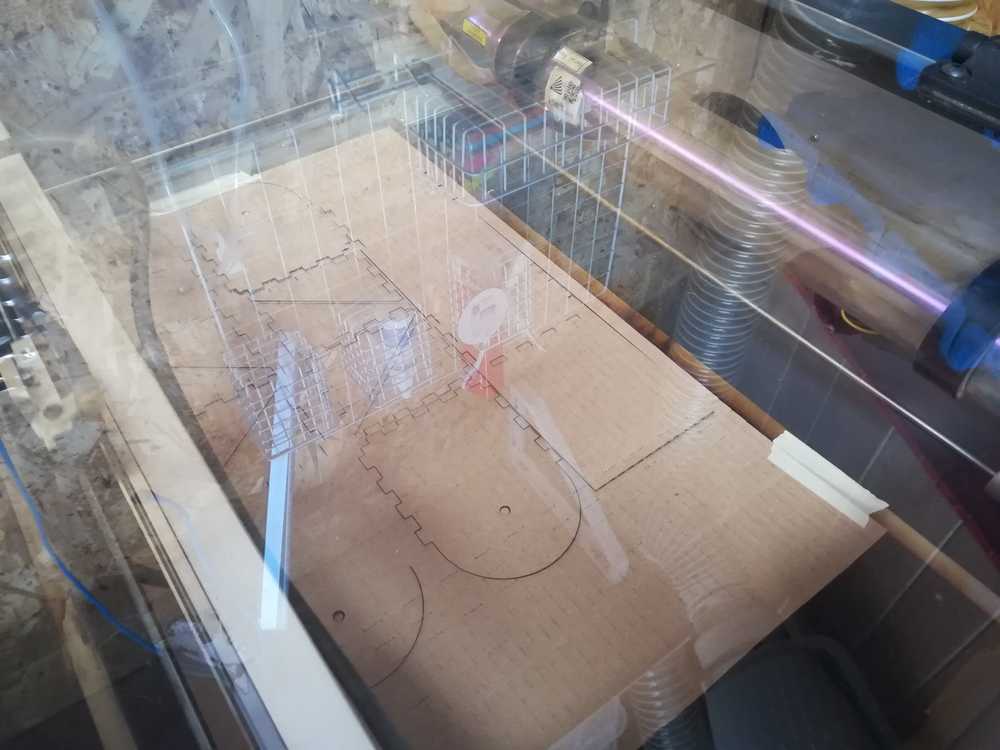 Lasercutting the parts
The next part was to assemble all the parts together and see if the engine fits. In the mean time I also figured out how to make the engine run, but more on that later. In the first test here I figured out that the rubberband could work, but it ain't perfect. I also needed a way to keep the engine down to the plate. I first tried with tyrips, but that wasn't an ideal solution as I needed to be able to remove the engine every once in a while.
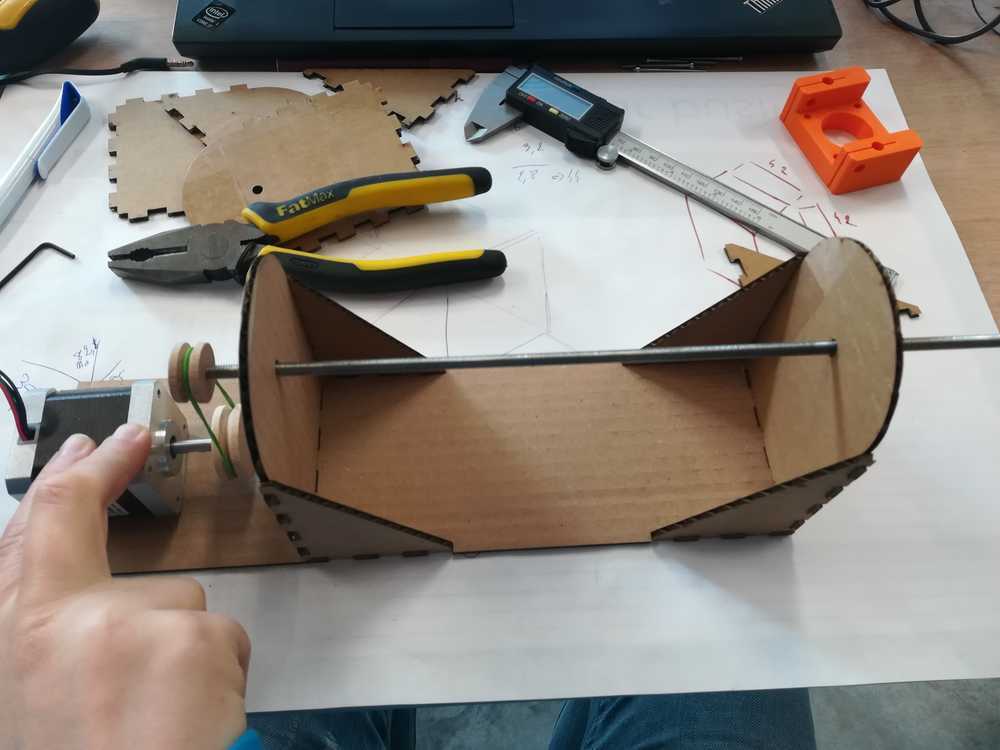 Setting up the hardware
You couldn't see the machine rotate when turning it on so I decided to add a sticker to it. In the upper left corner you can see the electronics breadboarded.
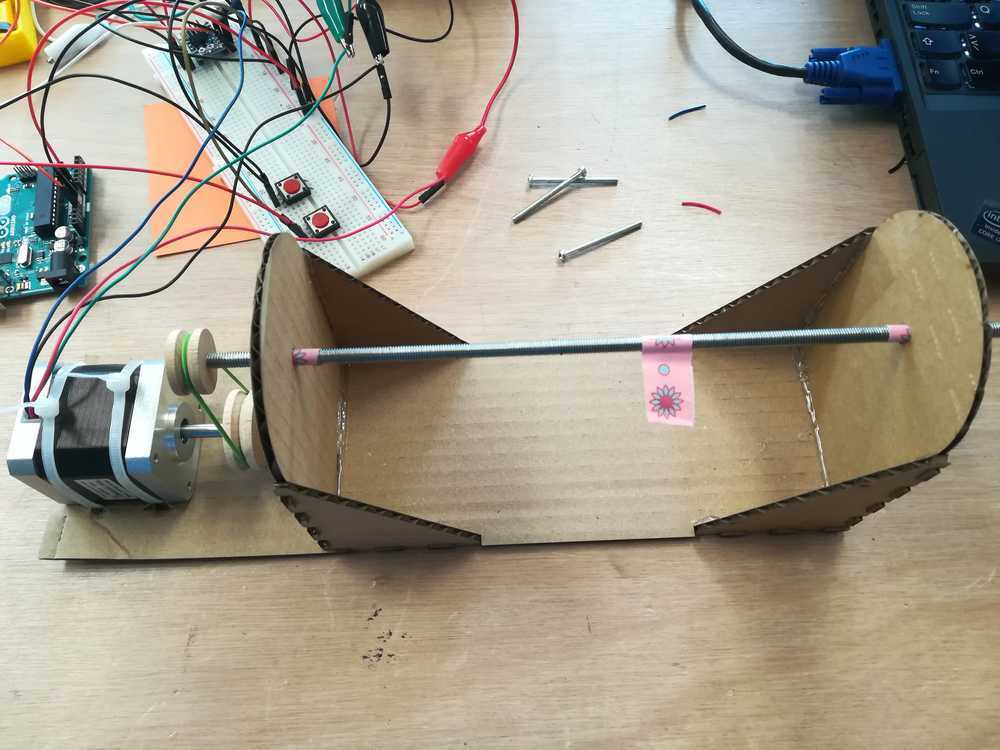 Seeing the axis turn
During the assemblage of the parts, I noticed that the rubber band would not be sufficient, so I had to change it. I went back to the old 3D printer where I previously took parts out and also took the belts. I cut those the right size, glued it together with special rubber glue and it worked fine. Another problem that came with this was that I needed to be able to change the tension on the band. And I couldn't do that. So, my solution for it, another prototype!
In short I needed a solution so that I could move the axis and put tension on the axis. I figured that I could make 3 slots in the side panels and keep the axis up like that. I made special connectors that can be connected with butterfly bolts in the end and are always adaptable.
 Cardboard resistorbot
As you can see I also used very big spacers. During the tests my axis would move down anyway because of the tension and as cardboard is impressive, the tension on the bolts was not correct anymore. So I decided so share the tension over a bigger surface. In the picture you can also see the new belt that I made, and a new way to connect the motor. As said before I had problems with keeping the motor down. So I went looking for loop and hole tape in the lab, found some and connected the motor with the construction like that.
Around that time it became time for the final prototype. I first made it out of cardboard, but changed it to wood later on to have a more fixed structure.
 Engine connectors, selfmade pulley, connection of axis.
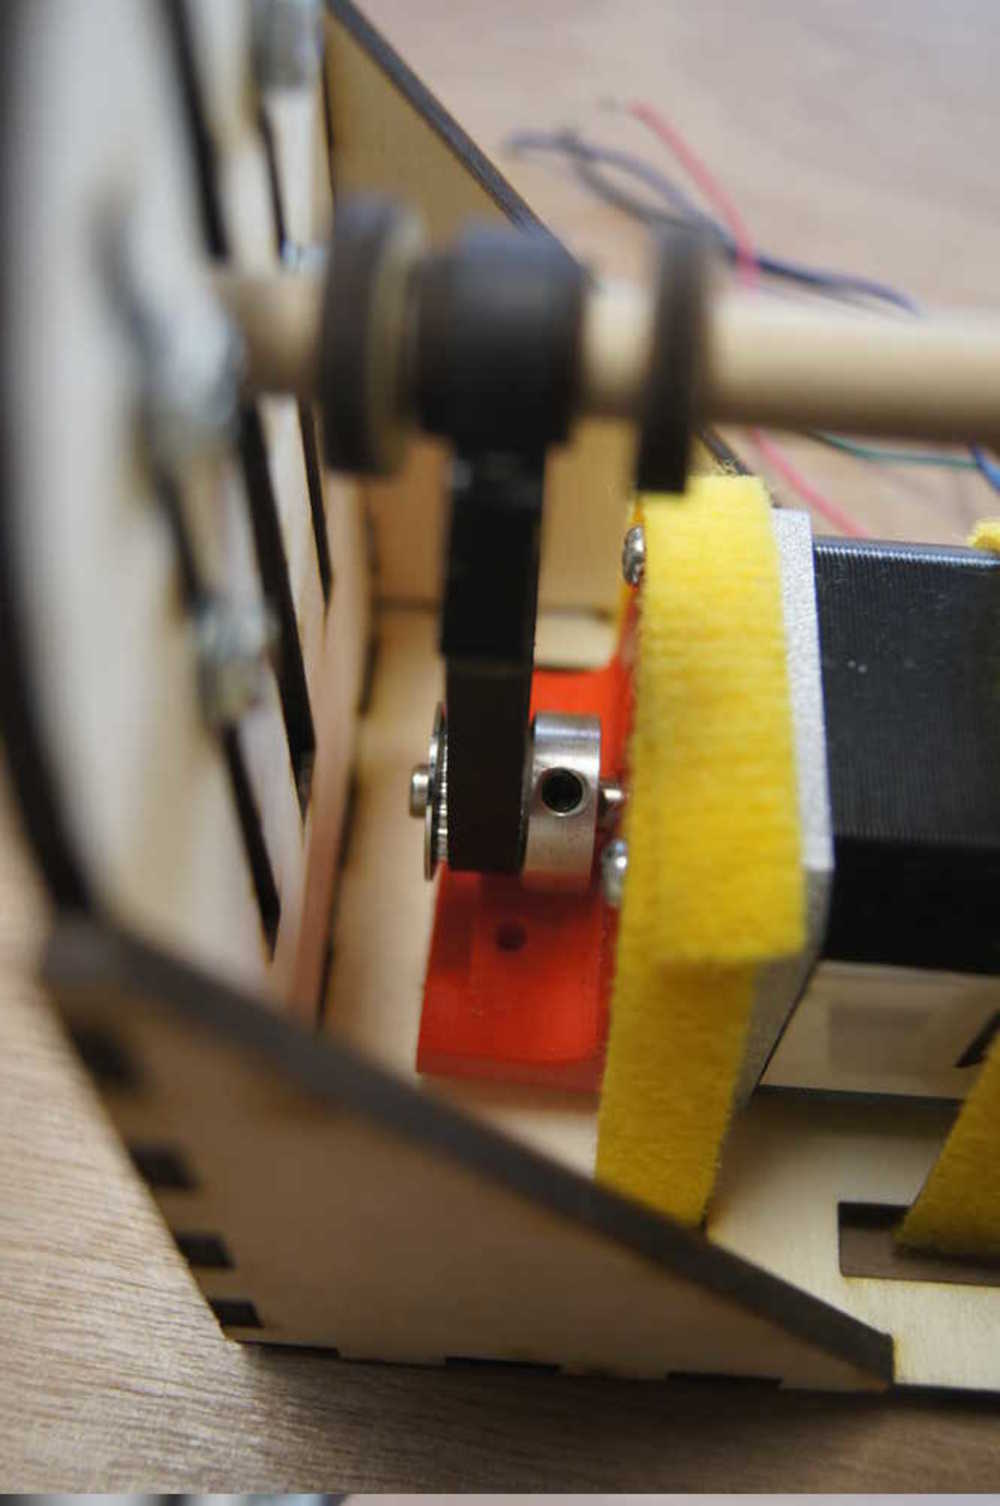 Closeup of the engine part
 Hero shot
To top
The electronics
Ofcourse I can't just keep turning the axis when I want to paint a Resistor, so it needed to be automated. I decided to use an Arduino and a nema 17 stepper motor. As all of this is new for me, I based my circuit on this Youtube video. He did use some other components, but I was able to make it work with what I had lying around by changing the wiring to the Arduino.
What you need:
- One Arduino uno
- Nema 17
- (lab) power supply
- A4988 stepper drive
 Gif of the rotation of the axis
It's typical that you always find the good stuff at the end. But I made the drawing here above with Fritzing. They don't just let you draw out the breadboarded stuff, but also the schematics and PBC's. I might try to use it with kids some day.
To top
The code
One of the things that I did program into it, was that I'd have different speeds and an emergency button. For now there are 4 options in it. Pushing short once will let the axis rotate slow, if you push again, it will go faster. The 4th push is the push to get to the maximum speed. If you push long on the button, you'll stop the rotation, and reverse it.
The second button is the emergency button and stops the whole rotation at once.
To make the code, again, I made my basic structure in the programming environment that we use for the children, Blockly. This will be my backbone on which I will hang all the rest of my code.
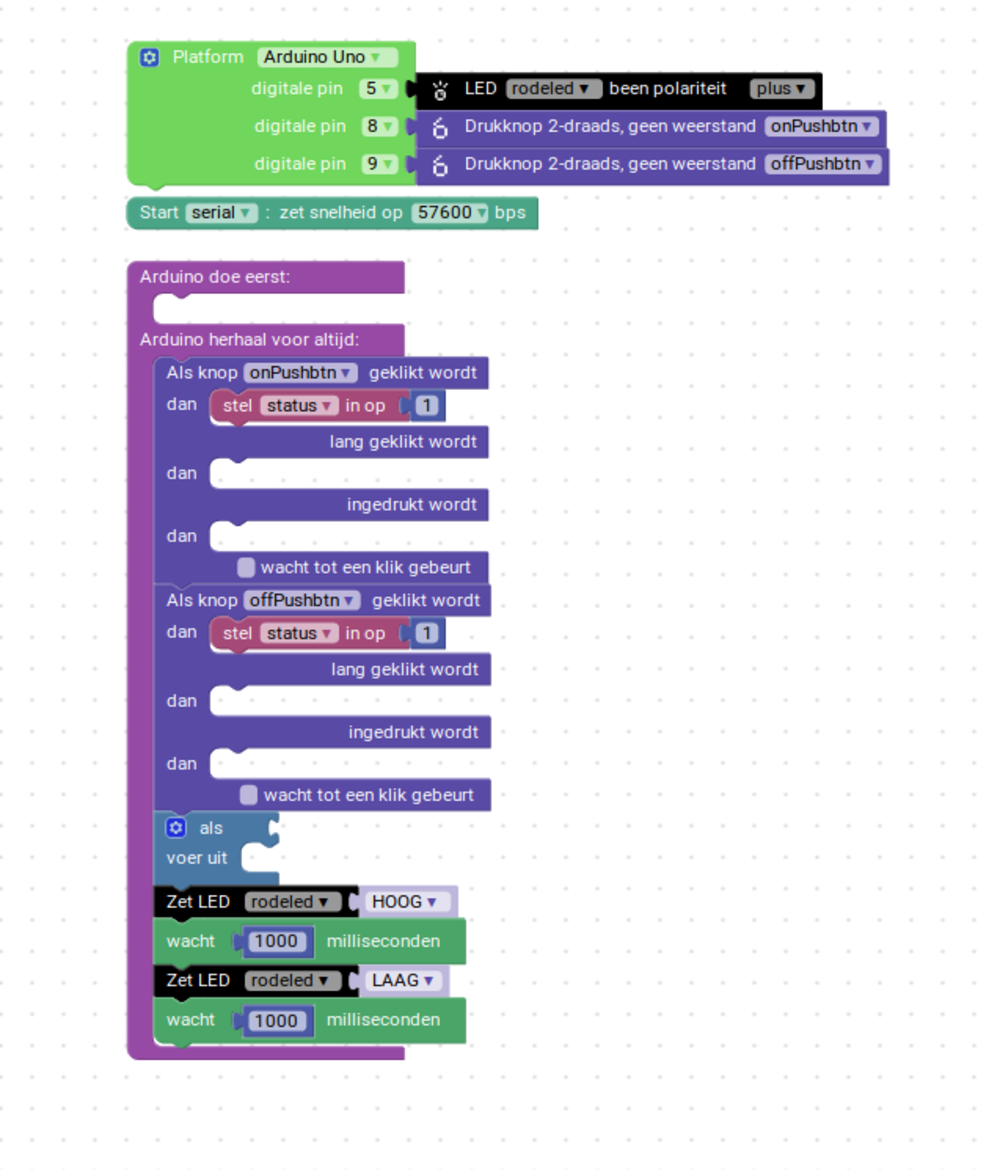 Backbone structure of my code in Blockly
After that I migrated into the actual Arduino code with help of the files come with the previously mentioned Youtube video. Among things that I programmed in the code was the rotation speed. And how many times you need to push it before you change speed.
 Declaration of the buttons
To top
Reflection on this assignment
I learned a lot during this assignment. To one hand that I like to make it myself difficult, to the other hand that I'm pretty good at thinking outside box, but that planning might not be my strongest point. As most things during the FabAcademy my red line was using used parts and recycle. But also using not the most logical materials. The axis is made out of wood, the first prototypes - that were actually all good, were mad out of 3.5mm cardboard. But despite all of that I'm pretty much in state of making a machine that works, and it is kinda safe (the electronics can use a case, but that's for later).
To top
Manuals and code