-
Materials
Conductive ink
Conductive loop and hole (read: velcro)
Conductive textile
standard materials
test
Materials
Before you can start making something, you need to figure out the material. In the case of the giant breadboard for teachers we needed materials that were flexible, magnetic and conductive. For the breadboards for children we needed materials that are robust but also conductive. About 3/4 of of the academy I spend on testing materials, making my own ink, figuring out the best way of proceeding. A small summary can be found here.
Conductive ink
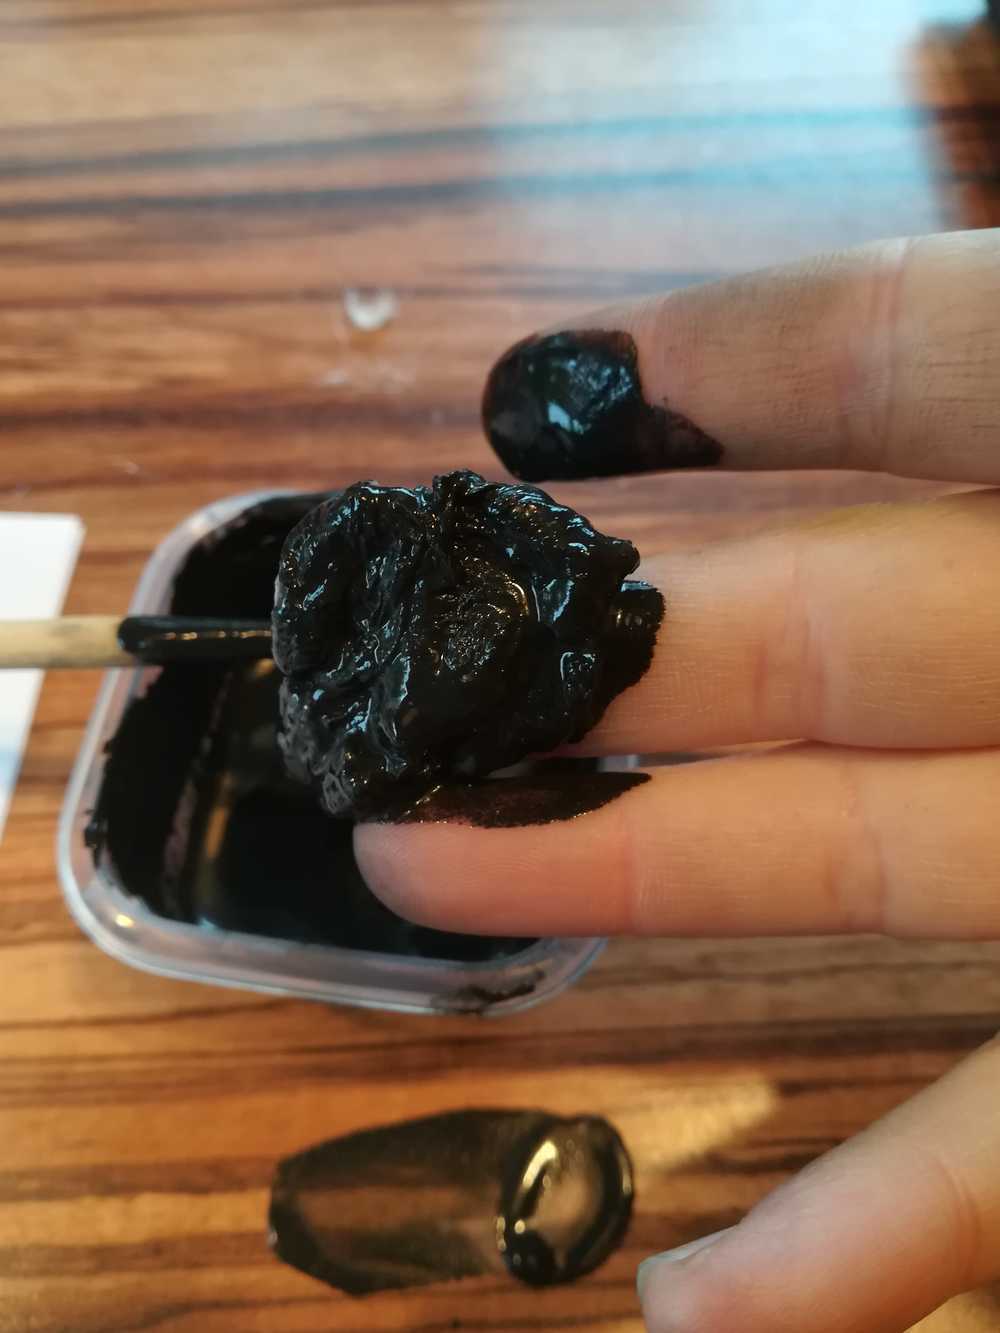
I've spend a lot of time on this ink. Trying out different receipts but never really having the low resistance that we wanted. We did however end up with a good ink that we can use for workshops and temporary projects. I did several tests with glue, paint, carbon, water and tested the results
I ordered carbon from Labshop. Once that arrived I started testing several mixtures with the carbon. Some of them went well as long as they were wet, some of them gave a better result when dry
Here you can find a list of all the possibilities that I've tested.
| Carbon | Water | glue | paint | ohm | remarques | |
| Test 1.0 | 18g | x | x | 12g | 2 to 3 Ohm | very thick, not paintable. Add more water, more paint? |
| Test 1.2 | 18g | drop of water | x | 12g | 18 Ohm | dries quick enough |
| Test 1.3 | 10g | drop of water | x | 5g | 5 Ohm | x |
| Test 1.4 | 10g | several drops of water | x | 5g | ? Ohm | |
| Test 2 | 10g | 20ml | x | x | ? Ohm | comes loose when going over it after it dries, stays conductive |
| Test 2.1 | 10g | 20ml | 2g | x | ? Ohm | Stays wet forever |
| Test 3 | 12g | x | 6g | x | ? Ohm | granular |
| Test 3.1 | 12g | drop of water | 6g | ? Ohm | not conductive | |
| Test 4 | 10g | 20g | 1 to 2 g | x | x | forms a block |
| Test 5 | 10g | 20g | x | x | x | x |
Conductive loop and hole (read: velcro)
During the testing phase we did some experiments with 'loop and hole' conductive materials. We mainly wanted to use those as a connection between the breadboard and the components. More info about the connections can be found here.
Positive about it was that it's perfecly conductive (duh) but also sewable with a not to fancy sewing machine. The negative side of this material is that it's crazy expensive. A 10cm x 2.5cm piece goes up to 6 English ponds at Kitronik. We decided to go with testing but nothing more.
Conductive textile

Conductive textile is an interesting one. For now I split this up in 2 parts. One part is the actual textile the other part is the Beckaert wire, a type of conductive wire.
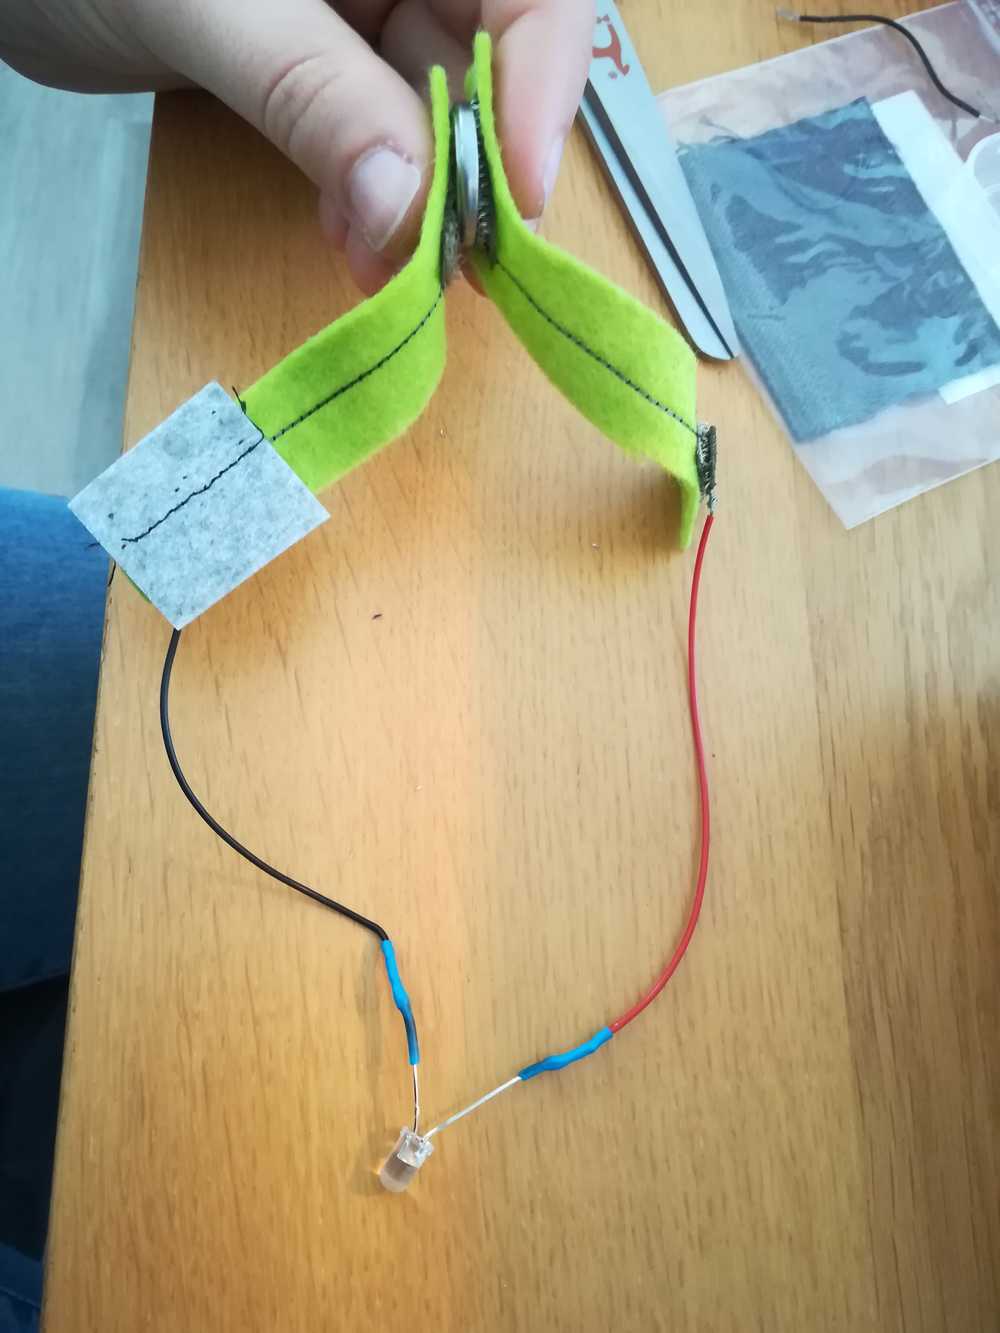
I started using the Beckaert wire during the laser cutting and vinyl cutting week where I made the blinking lighthouse. Due to connections at my work, we managed to pitch our
idea to Beckaert and got some samples to test our prototype and breadboard with it. We tested several material on the sewing machine and with the filt. And got awesome results.
We even discovered that the Beckaert are so magnetic that it can hold our giant components!
We all know that Beckaert wire is conductive. What I didn't know was that they have it in different thicknesses and amount of threads. I tested several of them out in the sewing machine, mainly for myself to learn how to sew. We, my sister in law and I, also figured out that we can put 2 wires through the sewing machine needle. This results in having the right colors on the breadboard showing what the plus and minus are.
Standard materials
Within standard materials I include common materials that you can find pretty easily (in the western world). In this part I'm specifically taking about aluminum tape, copper tape... The materials that you can easily find in a FabLab, Makerspace or normal hobby store.
It wasn't a surprise that all of the materials were conductive and didn't have a lot of resistance.
To top
Testing the conductivity of the materials
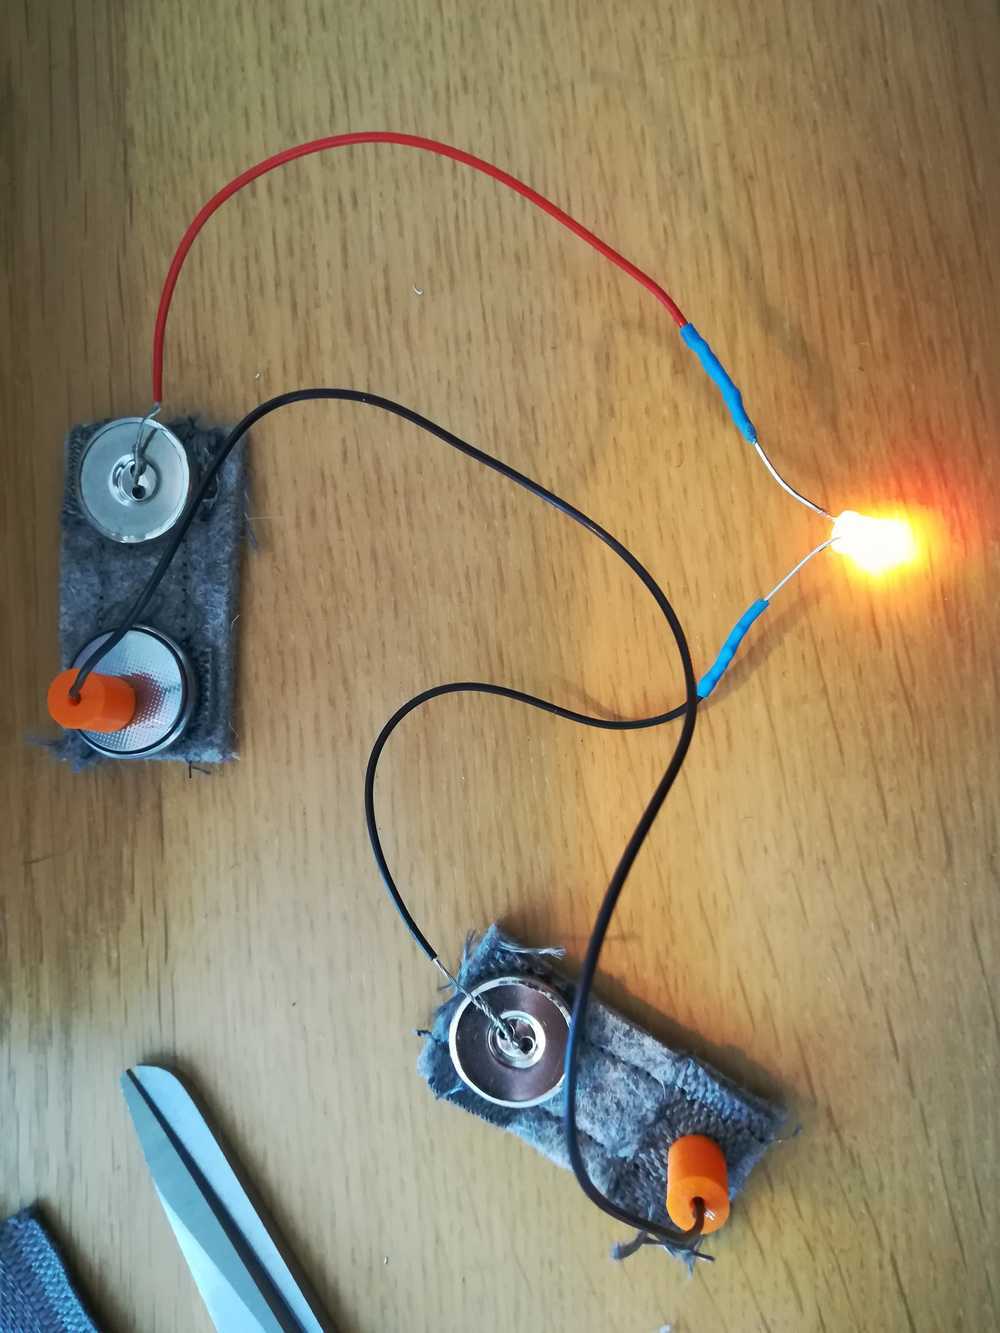
As mentioned before, we worked for a while on conductive ink. This also ment that we had to test the conductivity of the ink and see if we got the same results as with other materials. Next to that, making one LED burn is often easy, but more complex projects might not be.
I decided to make a general test plate and give each line on the breadboard to another material. Or open for a next, still to discover material. As none of the first 3 materials that we tested shared the properties of conductivity and magnetism, I needed to find a solution for this. The solution was found on the photo wall at my parents house: a magnetic plate! We soon deceided to not work with a giant plate in the back, but with smaller strips of magnetic material. This led to the new materials that we tested out.
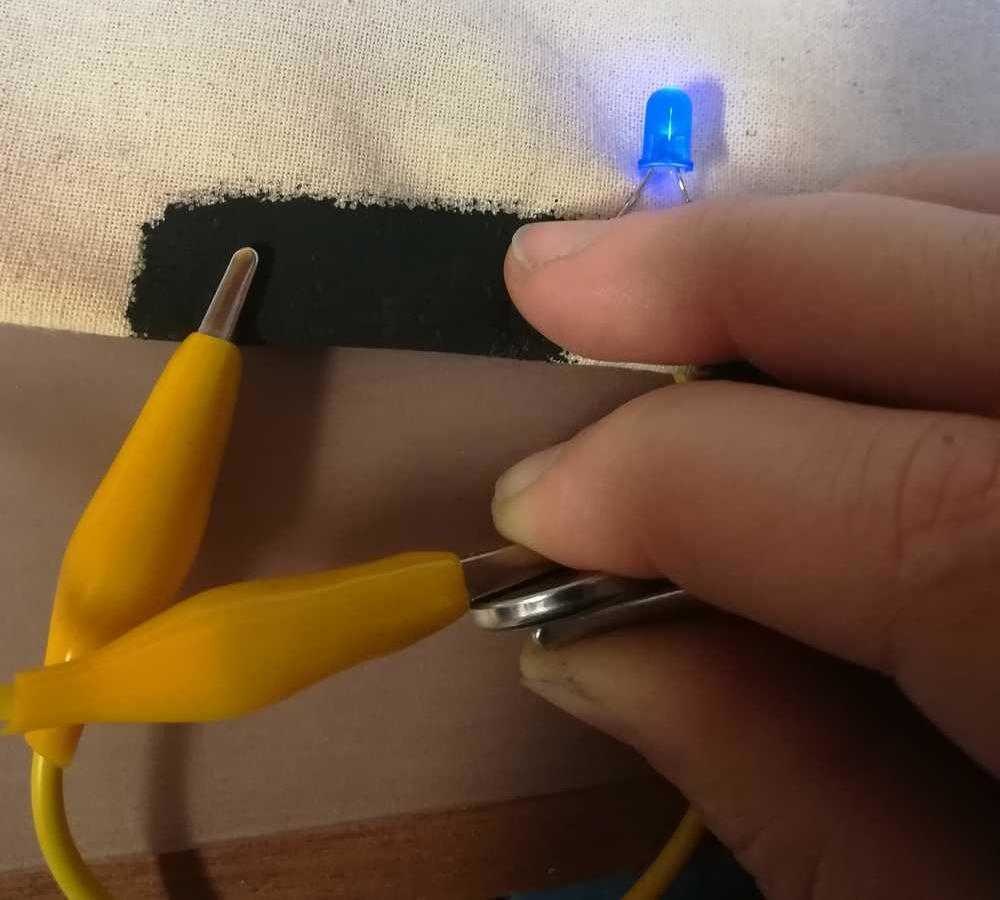
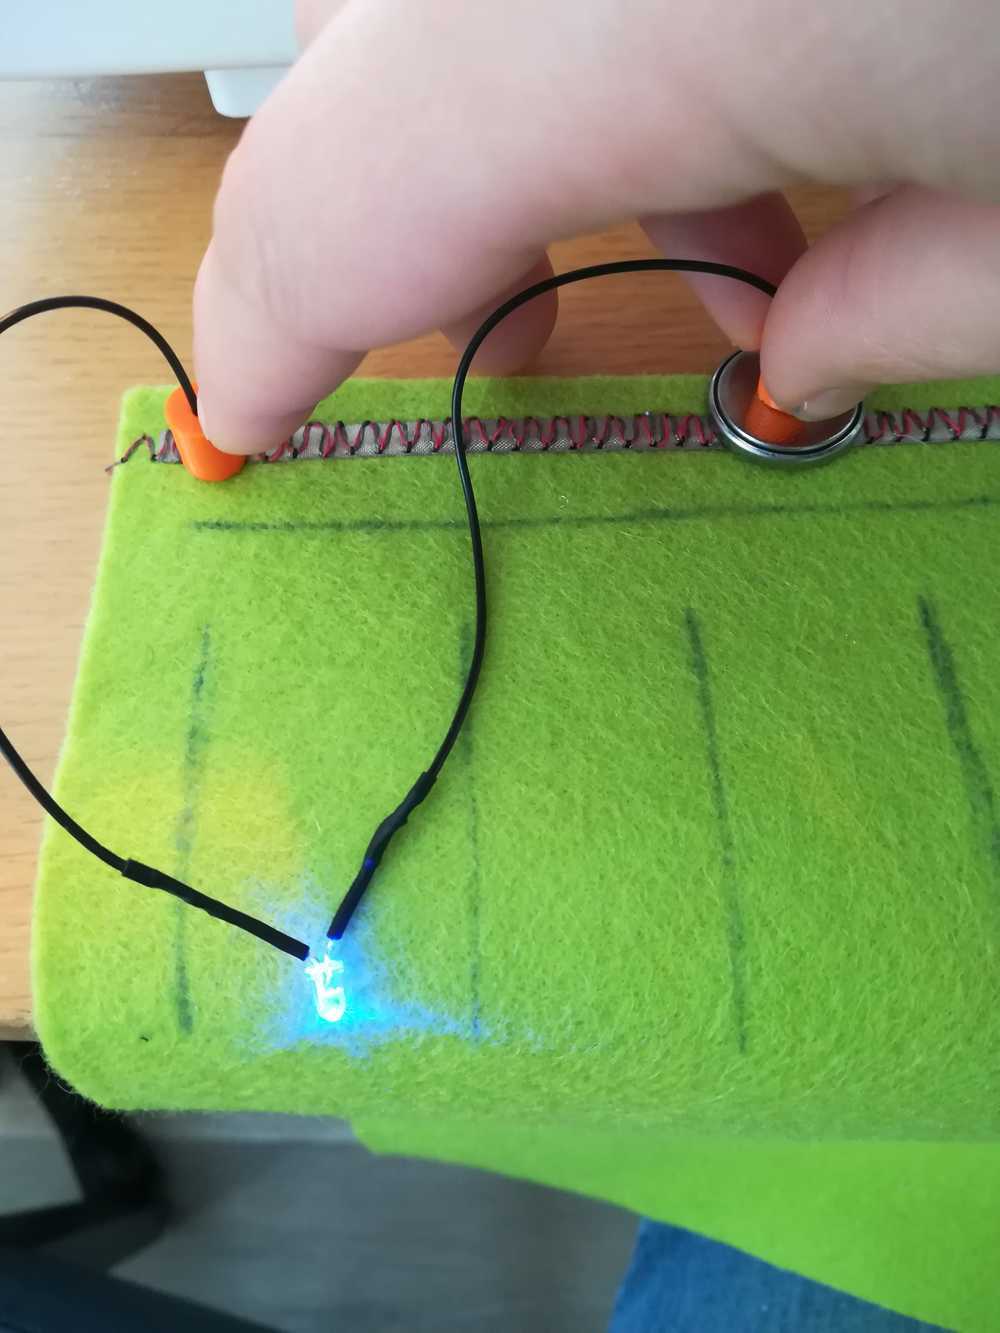
 Test with conductive ink. The LED is not burning bright due to a to high resistance
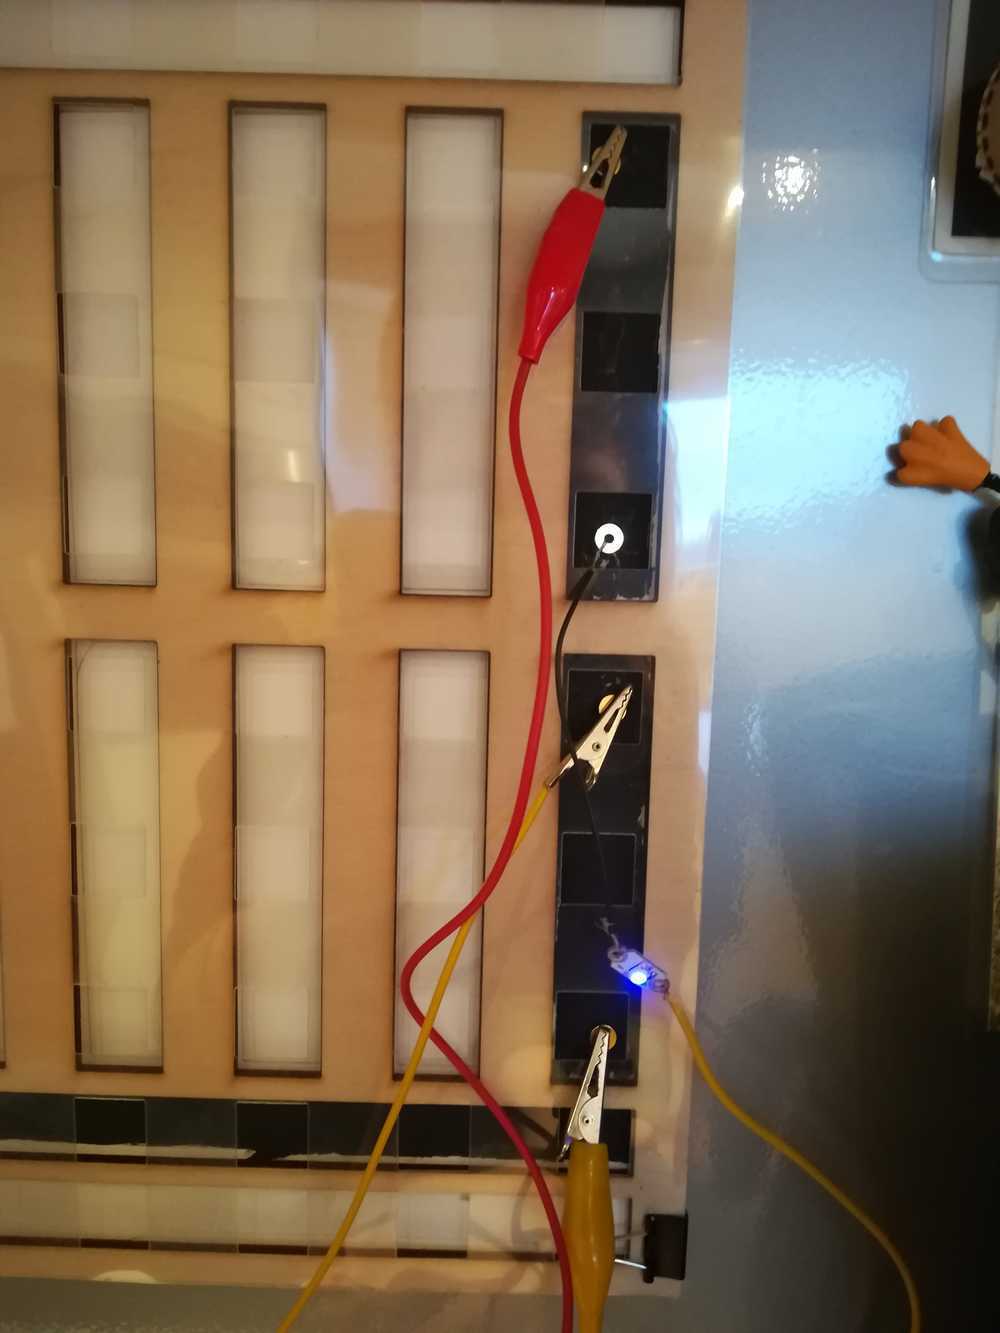
 Test with copper tape
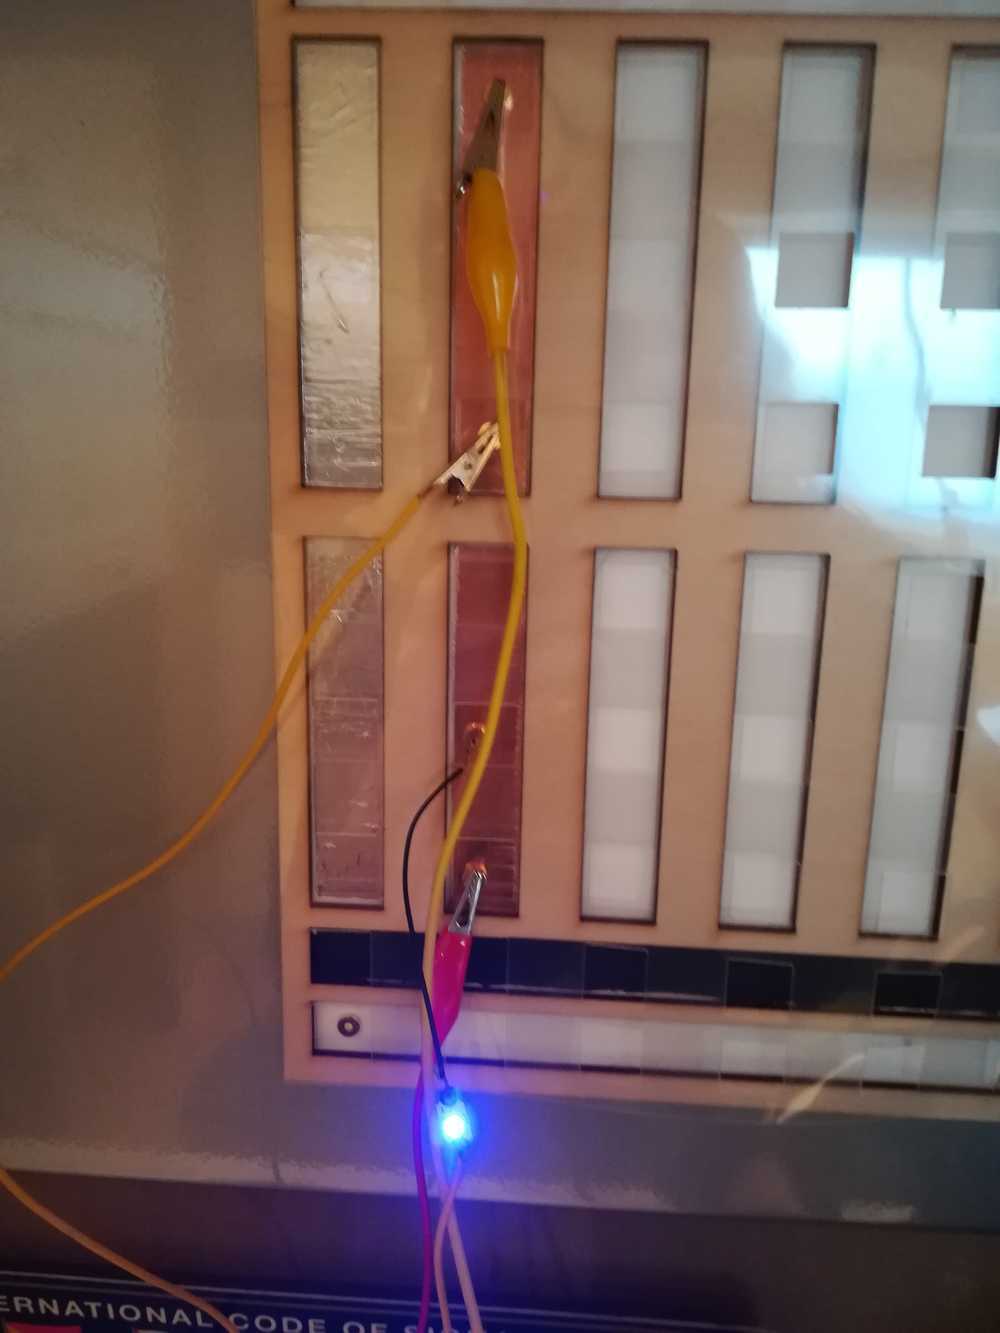
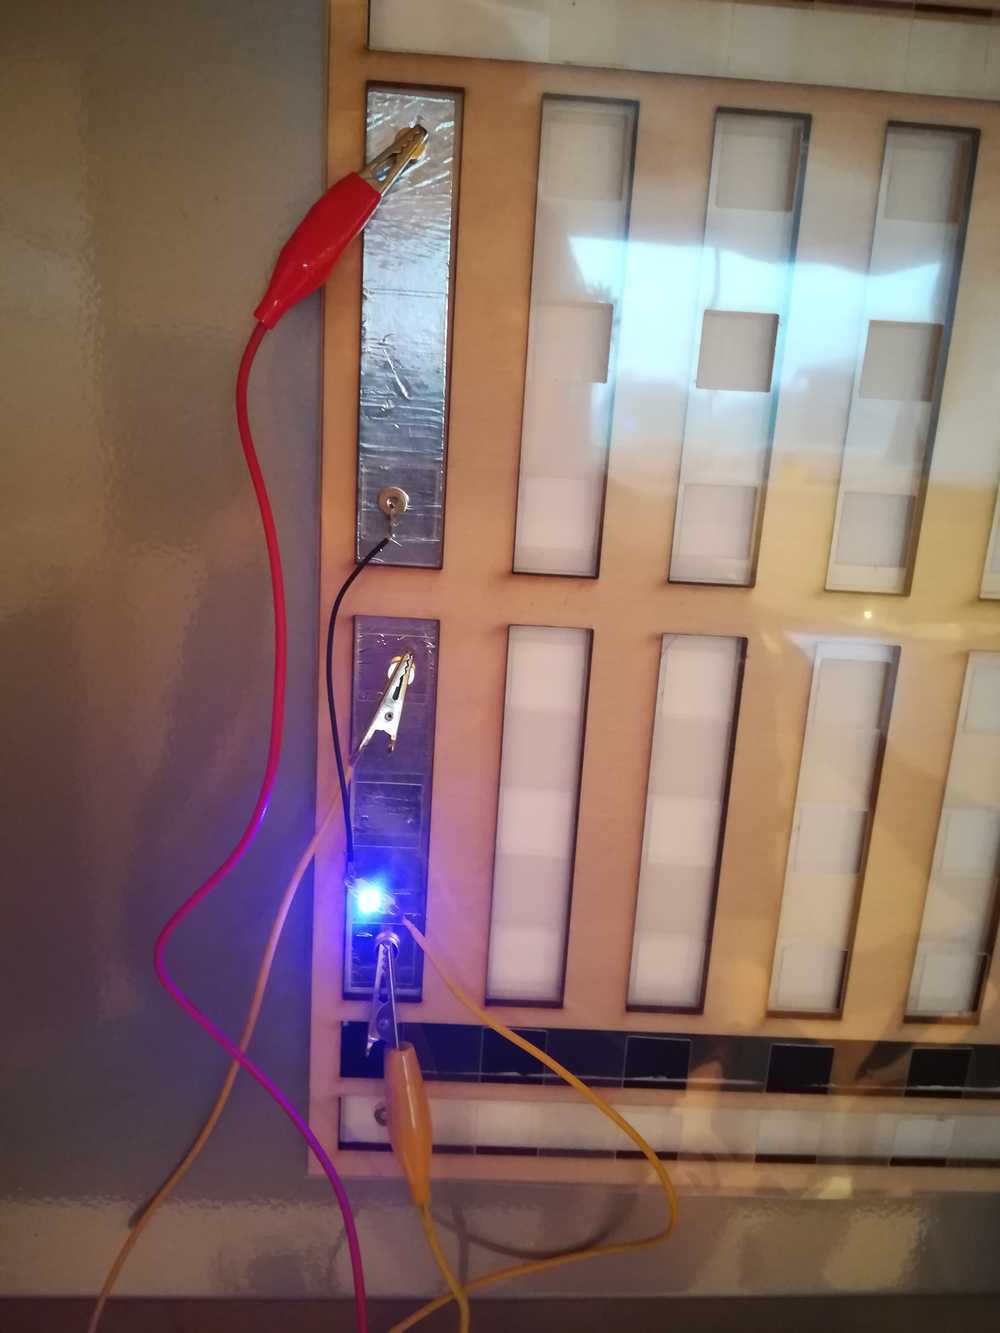 Test with aluminum paper