In this week, I was inspired to learn more about the 3D printing inventor, Chuck Hull. From here I also got to learn more about different interesting topics on the future of fabrication, the social, environmental, economic impact of personal fabrication and ideas about new factory models that use new and emerging technology to reinvent the future.
. Material : PLA (Plastic)
. Print Temperature: 200 - 210 degrees depending on the selected nozzle size and print profile.
. Temperature of build plate : 20 - 100 degrees
. Build volume: 223 x 220 x 205 mm (8.7 x 8.6 x 8 inches)
I went through it's manual, especially on the Maintenance and safety section. You can access the full manual here.
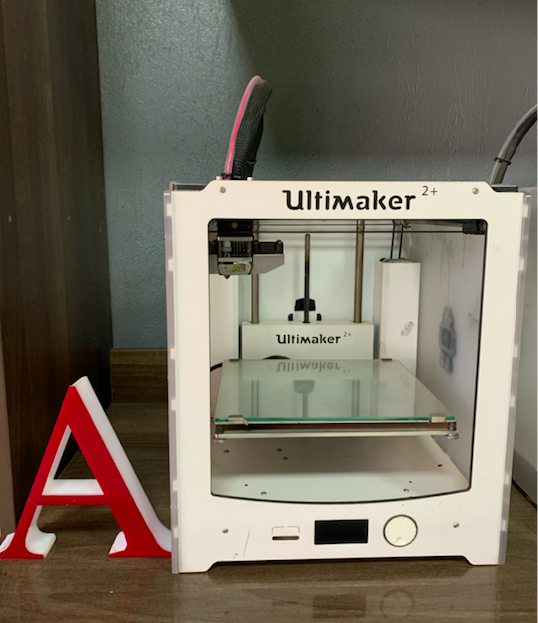
Know the machine: Ultimaker Cura
Slicing Software: Ultimaker 2+
MACHINE TUTORIALS:
We can see how to handle this machine by going to support page of the Ultimaker.
. Level the bed, Link.
. Loading material, Link.
. Printing, Link.
. Changing the material and nozzle, Link.
General Safety Rules:
. Keep Hands clear from moving parts.
. Don't touch, Hot surface.
. Don't touch the nozzle.
. Wear mask to avoid the fumes.
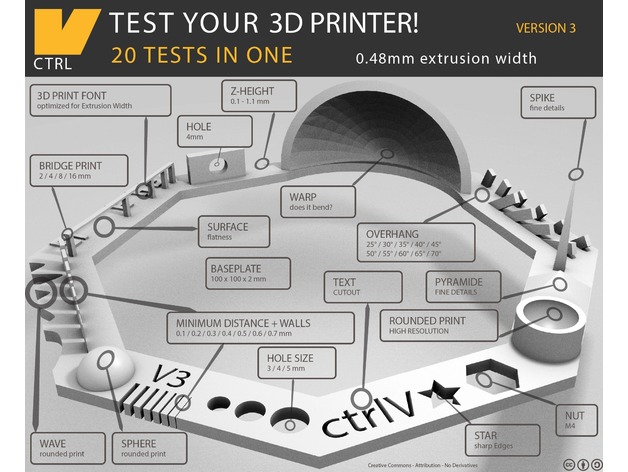
I downloaded a "3D Printer test kit" by ctrlV from "Thingiverse" to test the 3D Printer. I chose the Version 3
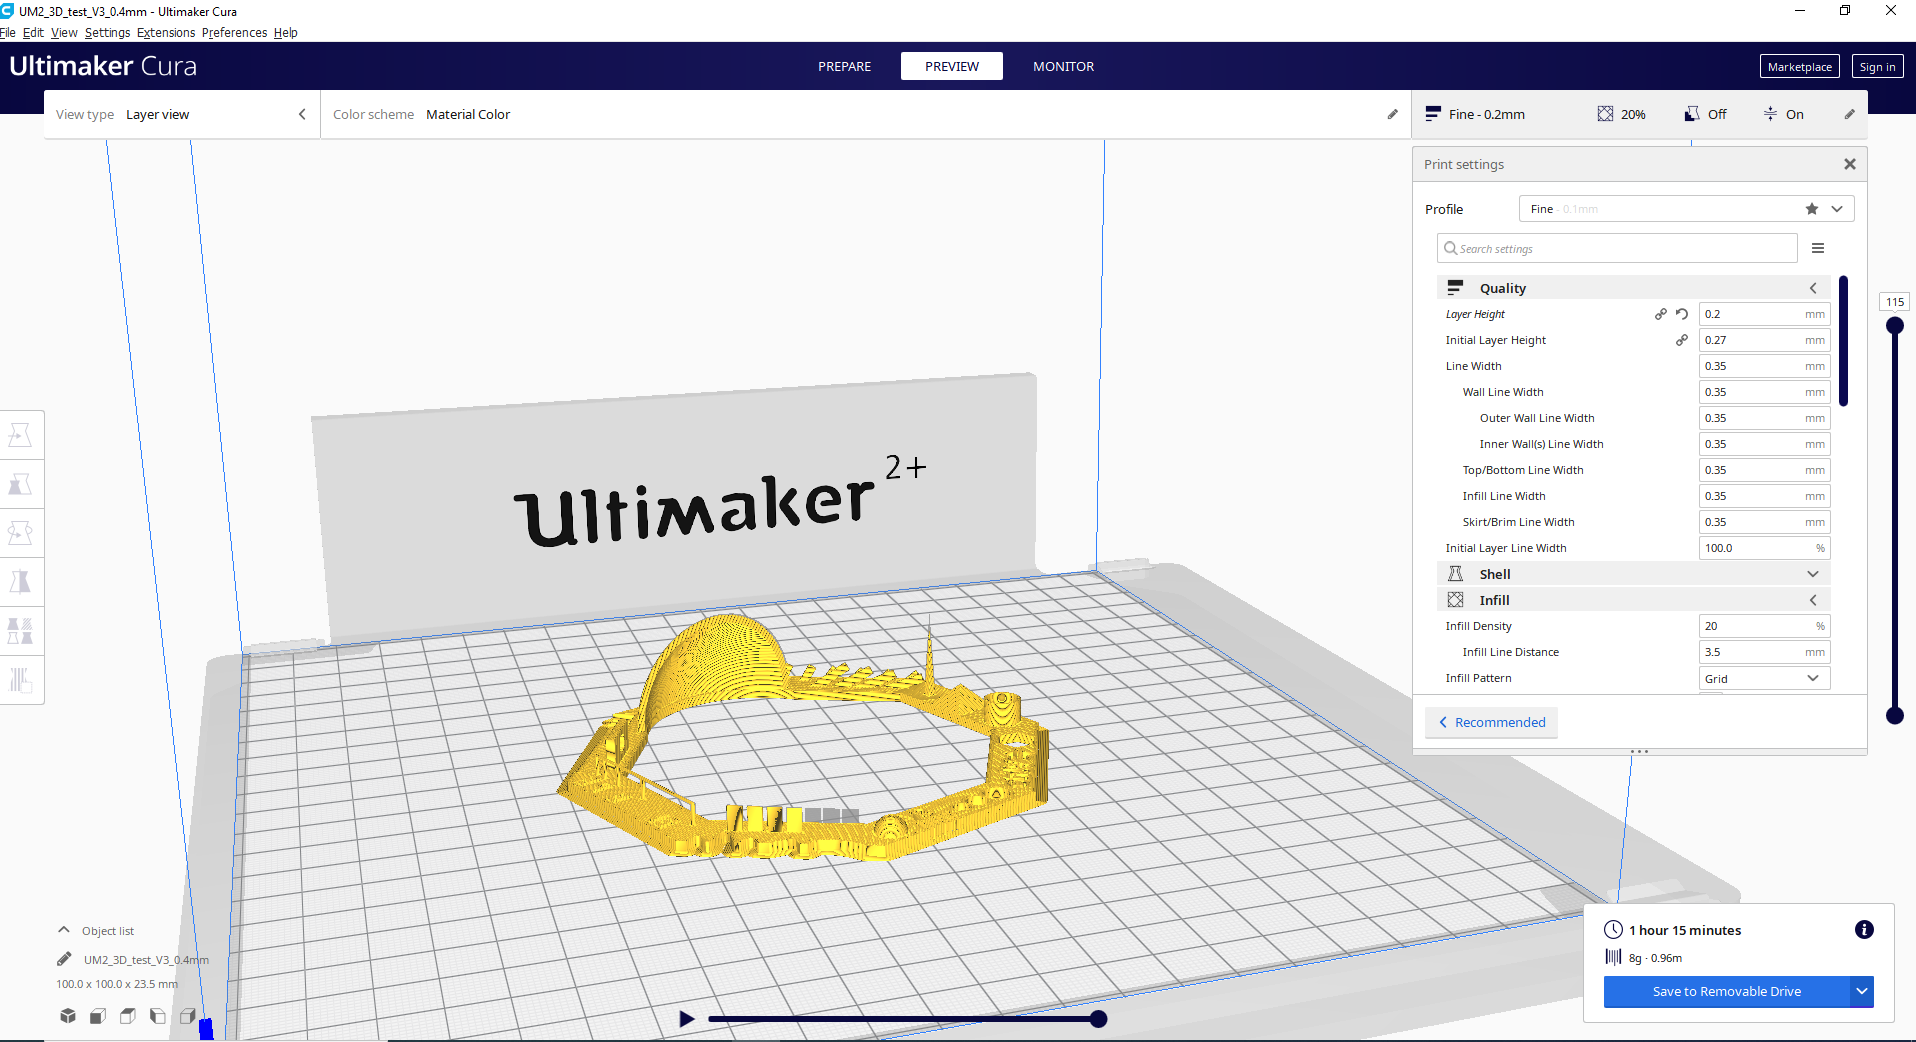
Print Setting :
Quality (layer height) : 0.2mm
Infill Density : 20%, Grid layout
Support : no
Raft : Yes
The raft is required to prevent 'curving' of the base and easy removal after 3D print to avoid damage to the 3D printed test kit. I set the quality to be 0.2mm which is what I would typically set. This goes for the infill density setting, which is 20%, this is what I typically will set.
I imported the design in Cura to generate the Gcode :
PRINTING
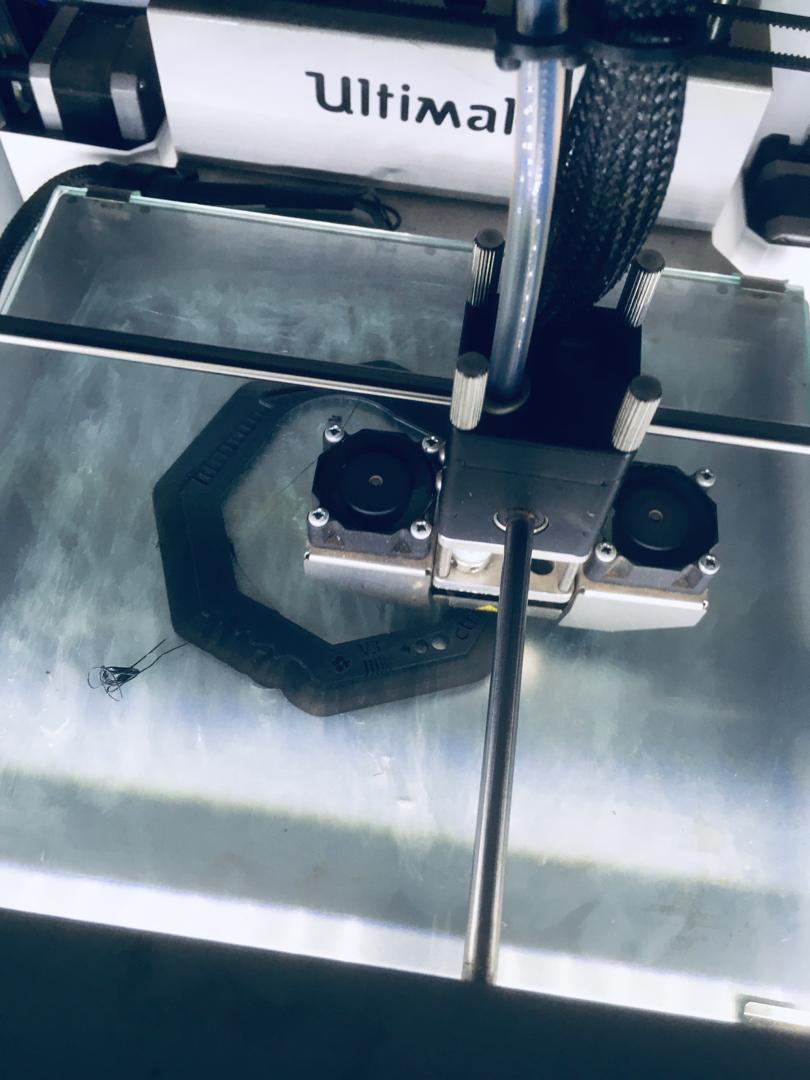
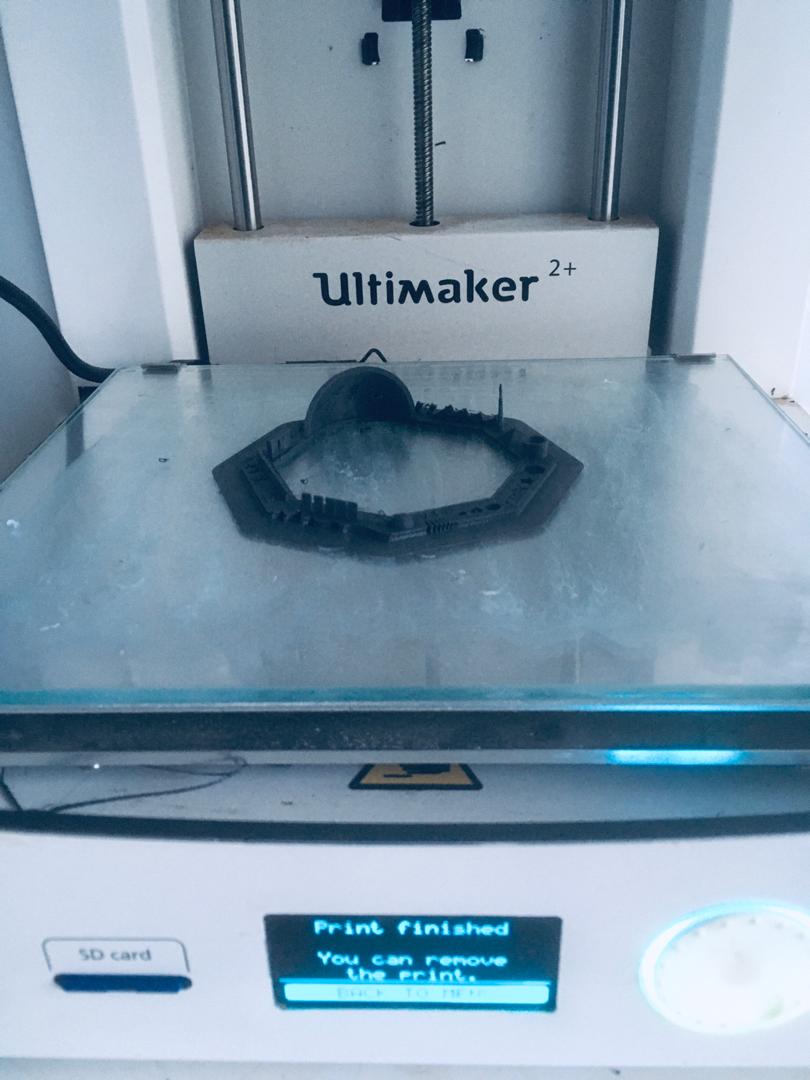
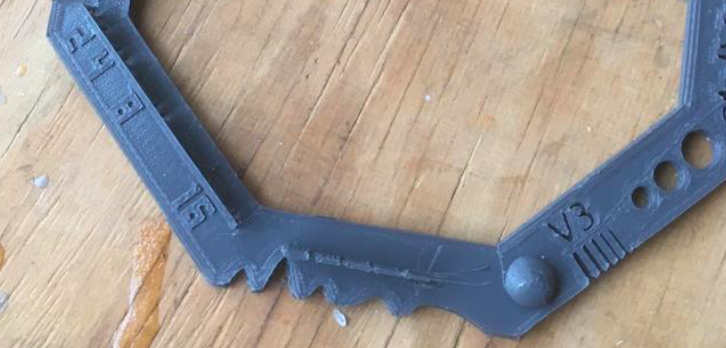
RESULTS
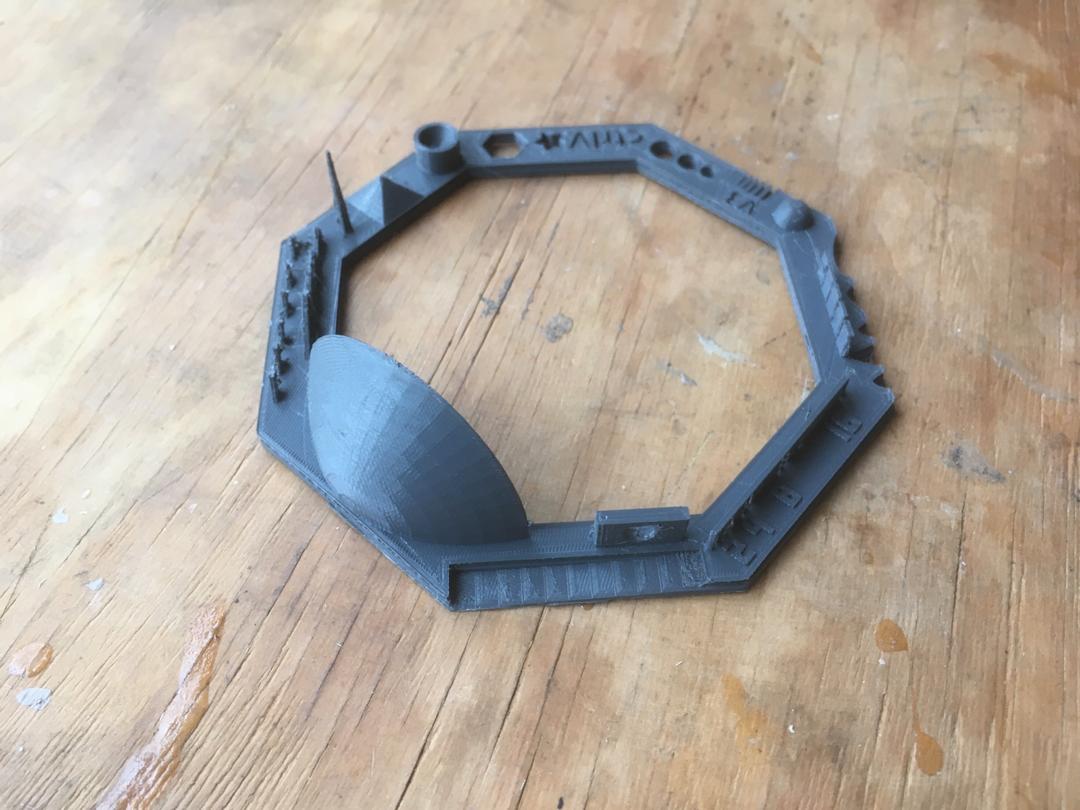
FINDINGS:
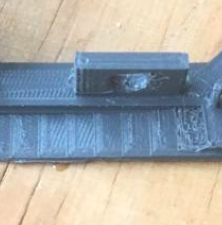
Bridge :
The machine printed without any support: 2 mm (ok), 4 mm (ok), 8 mm (marginal pass, slight sagging, or sinking downward, in the center), 16 mm (marginal pass, managed to 3D Print the bridge, but with too much sagging in the centre)
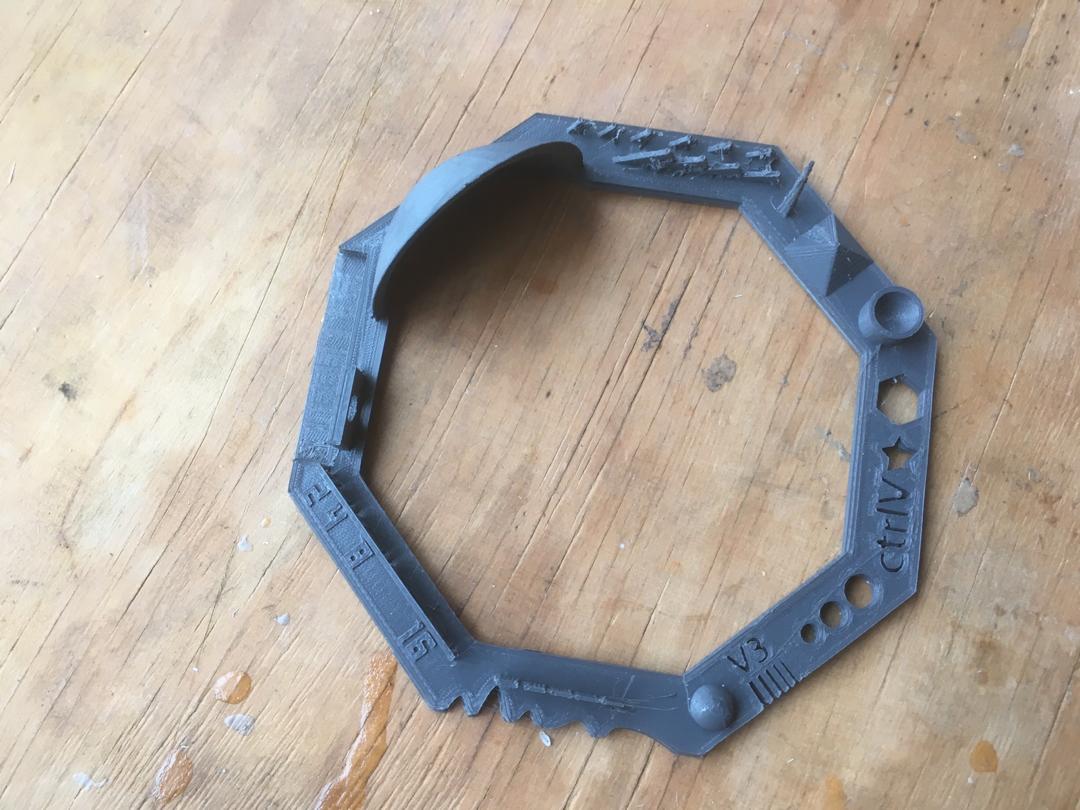
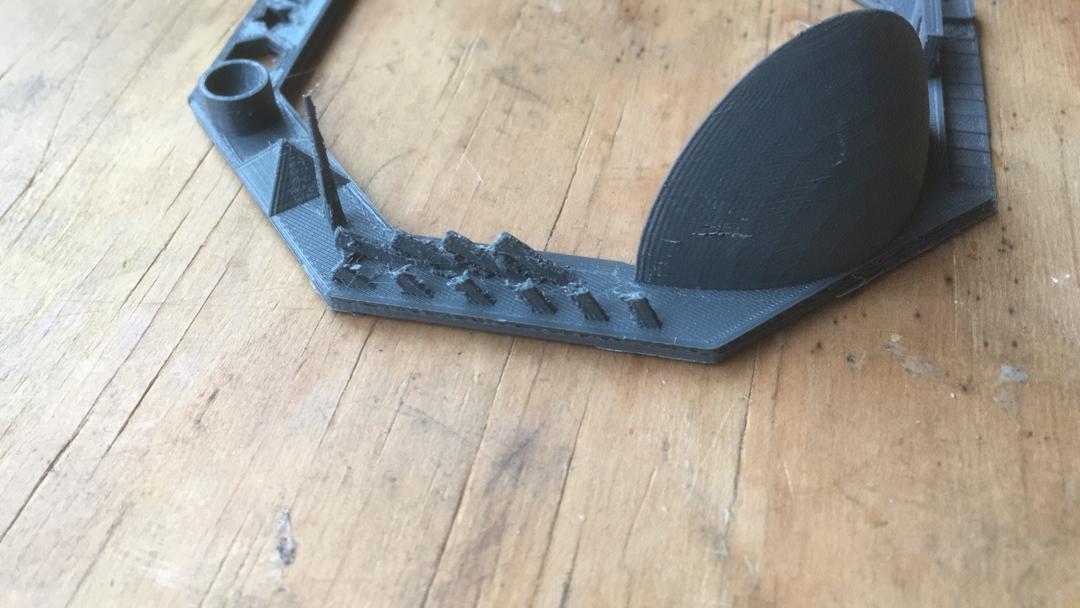
Hole-in-center :
The machine printed the holes, but I would give a 'fail' as a bit of unwanted sinking at the top ceiling as well as excess material at the bottom of the circle
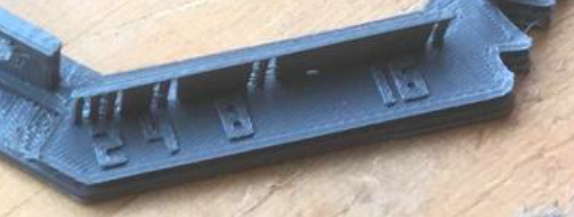
Distance between wall :
The Minimum distance of gap 0.1 mm (failed), 0.2 mm (failed), 0.3 mm (not good, ends are deformed and almost touching each other), 0.4 mm (ok), 0.5 mm (ok), 0.6 mm (ok), 0.7 mm (ok)
Wall Thickness :
0.1 mm (failed), 0.2 mm (failed), 0.3 mm (failed), 0.4 mm (failed), 0.5 mm (ok), 0.6 mm (ok), 0.7 mm (ok)
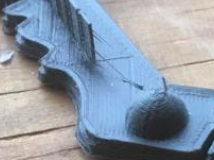
Overhang of 25, 30, 35, 40, 45, 50, 55, 60, 65, 70 degree :
The machine managed to print out the overhang but the shapes don't look so good.
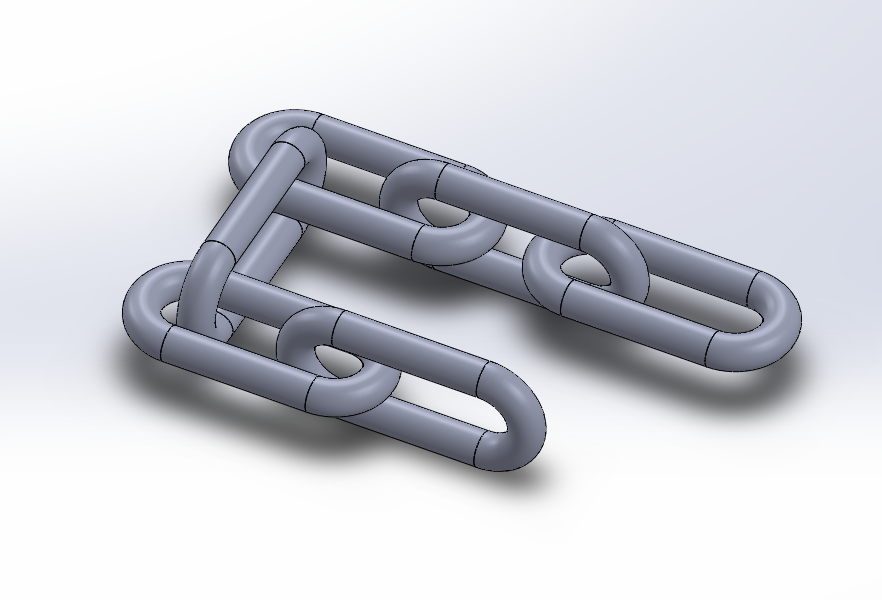
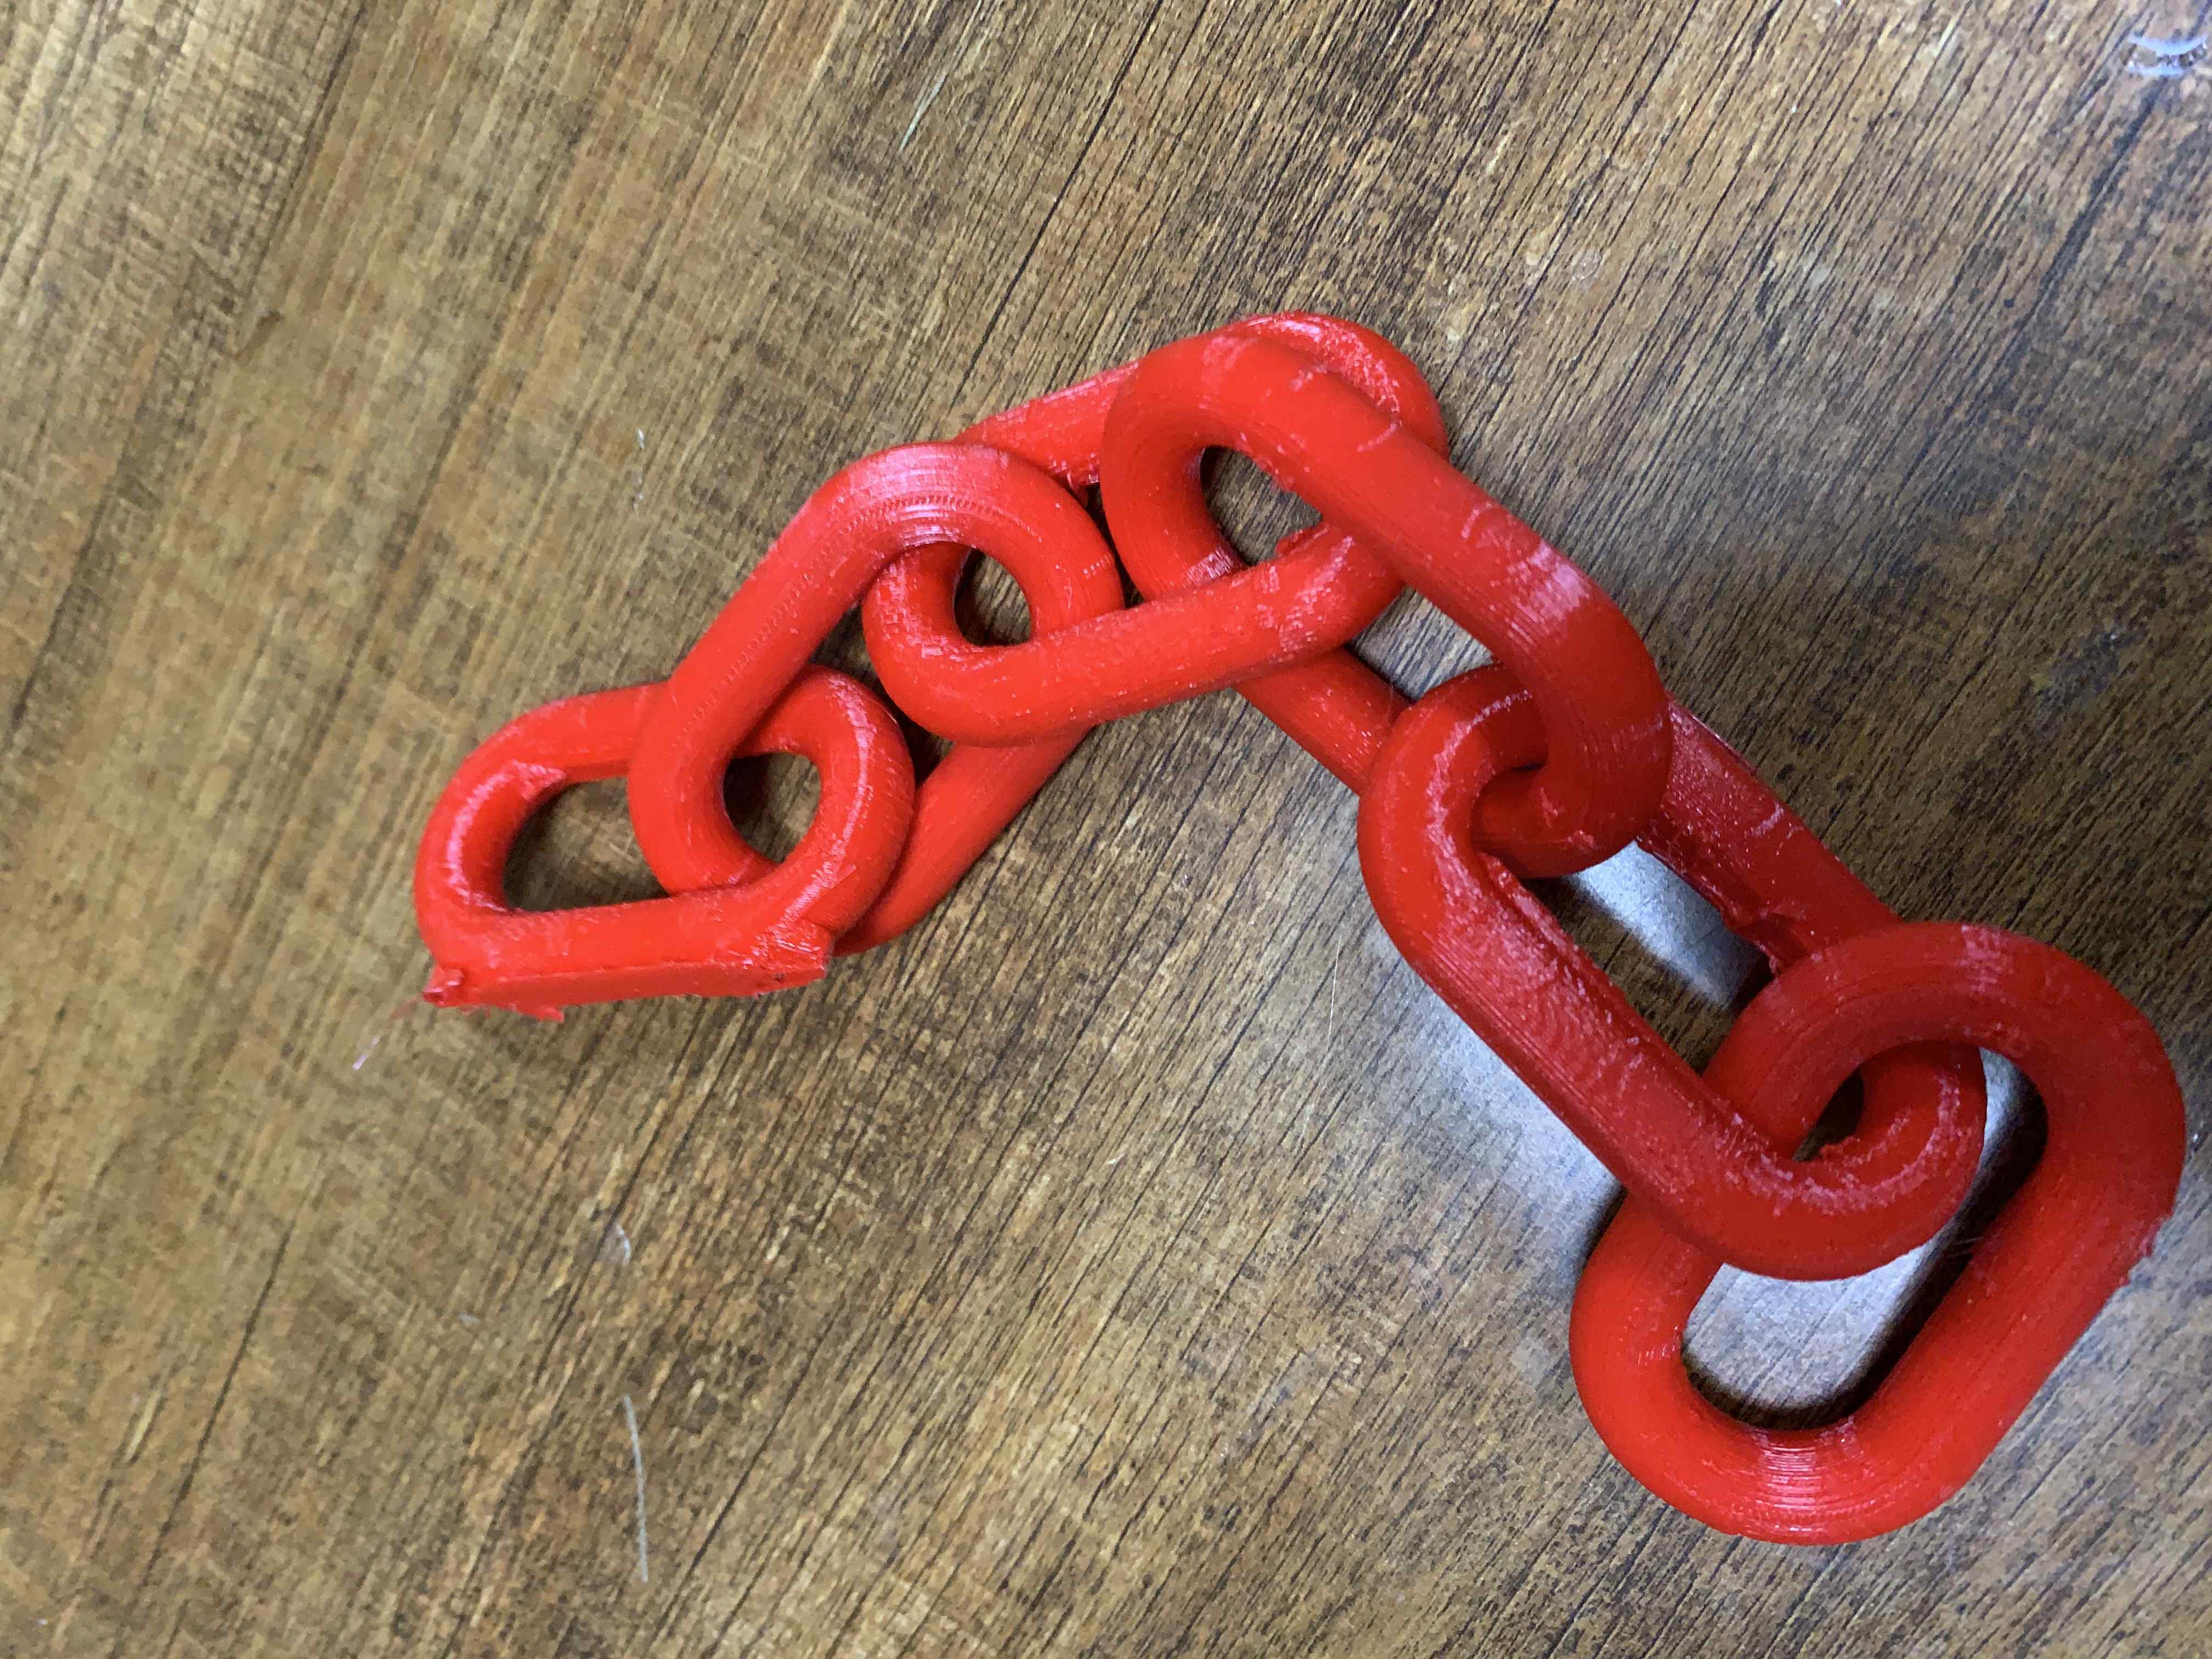
Doing this assignment I got inspiration from Christoph Laimer's work.
I designed and 3D printed a chain:
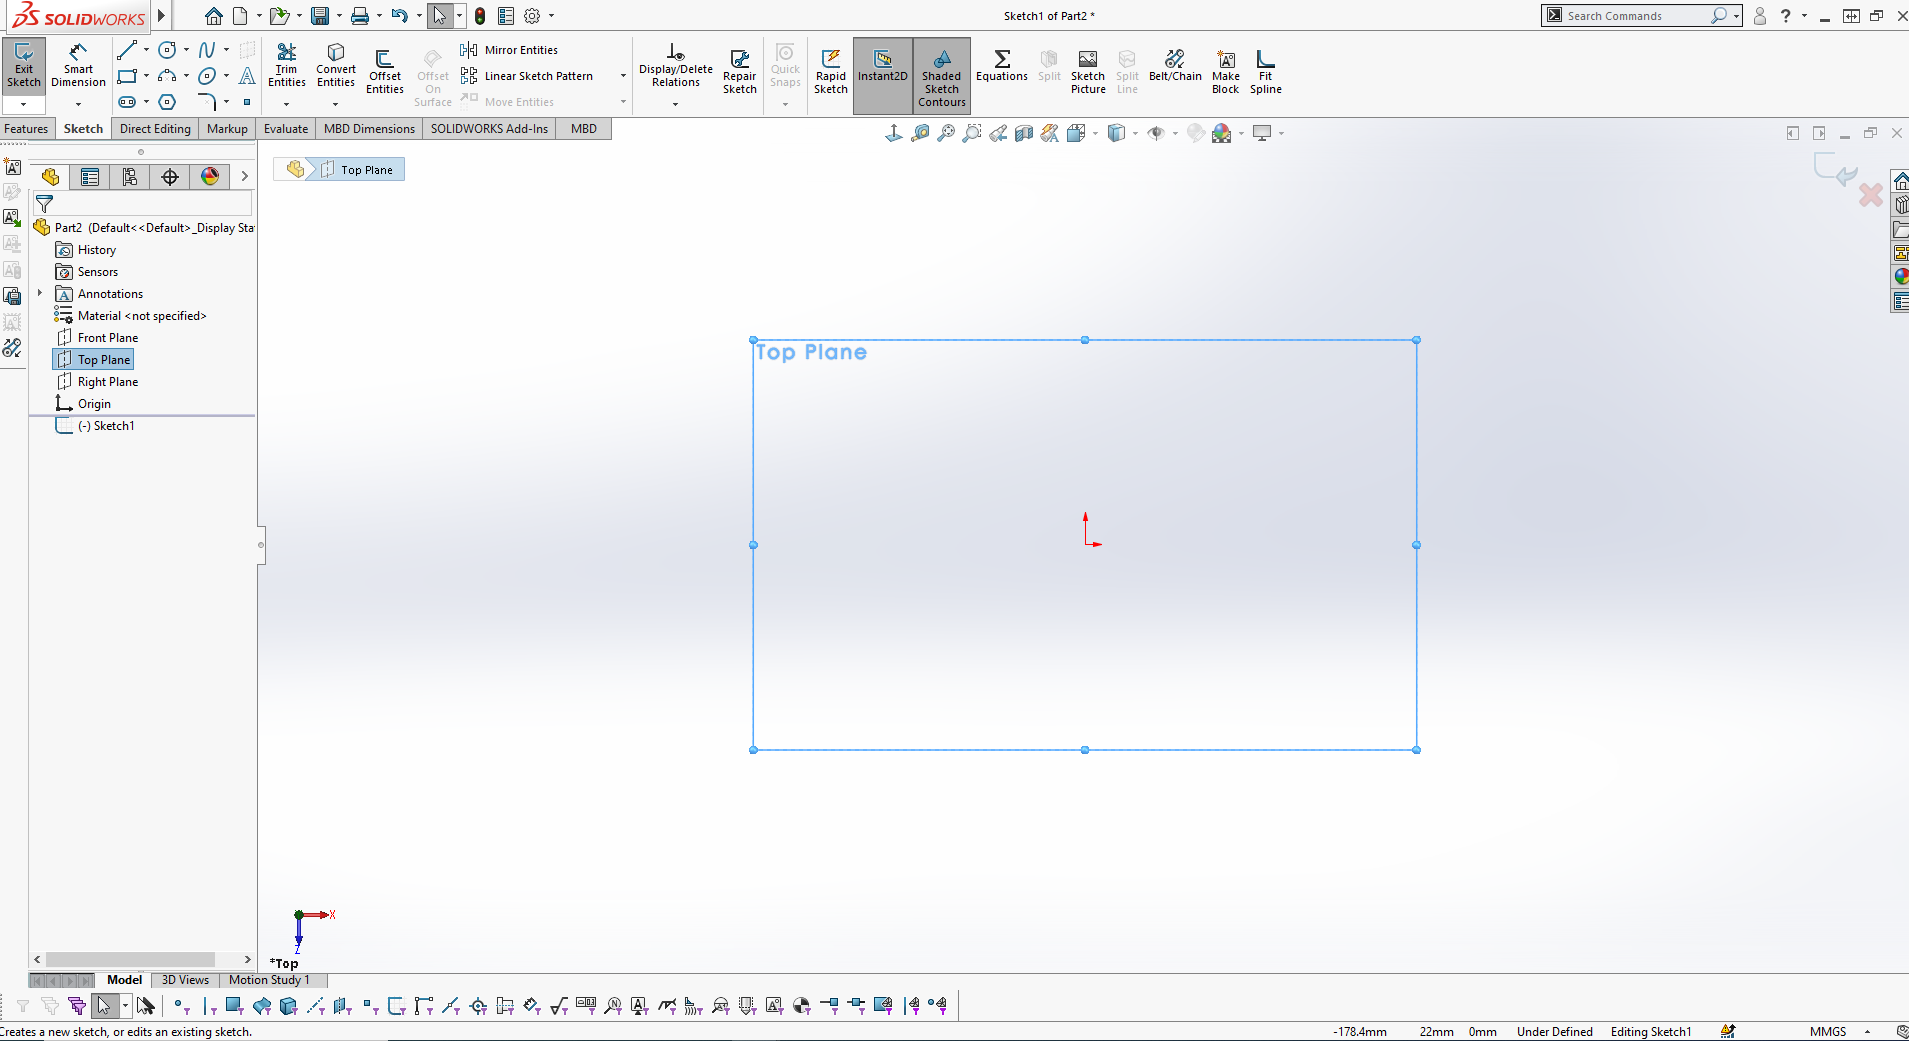
Open a new project and Select the plane (top plane):
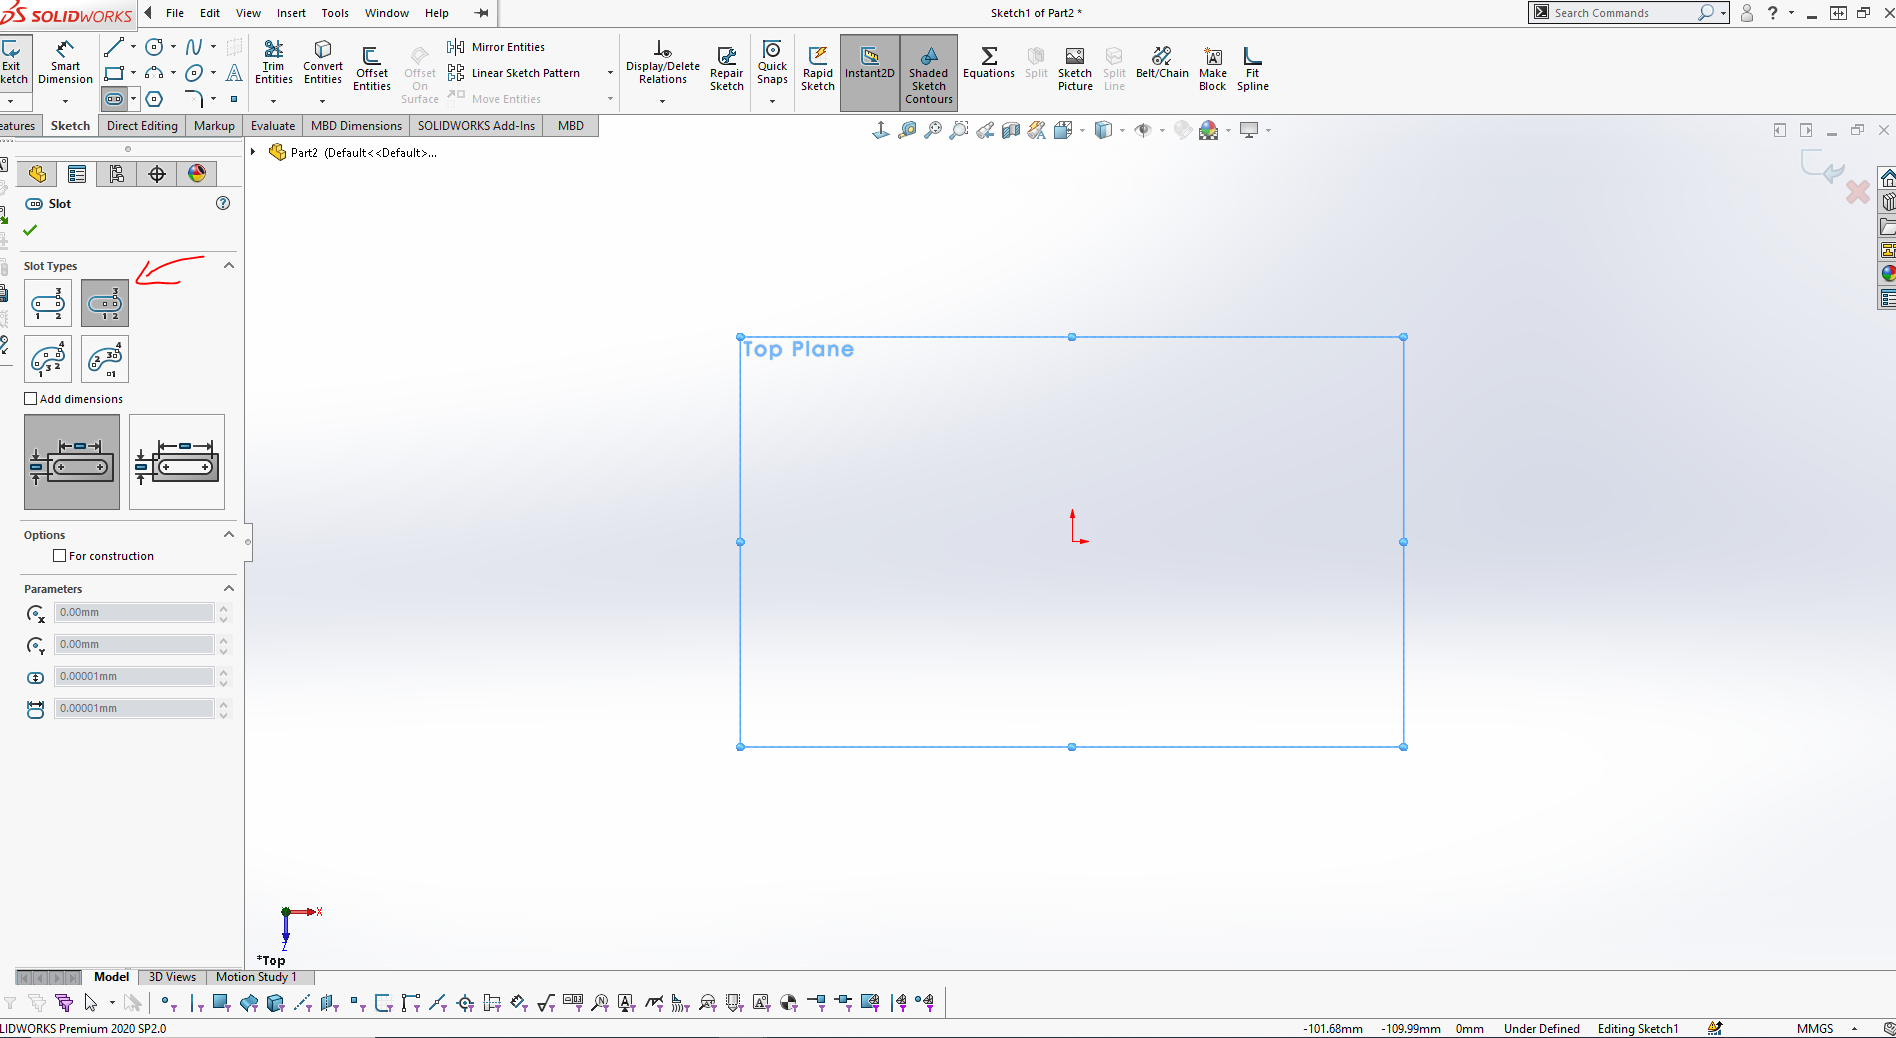
Sketch slot (center point straight slot) :
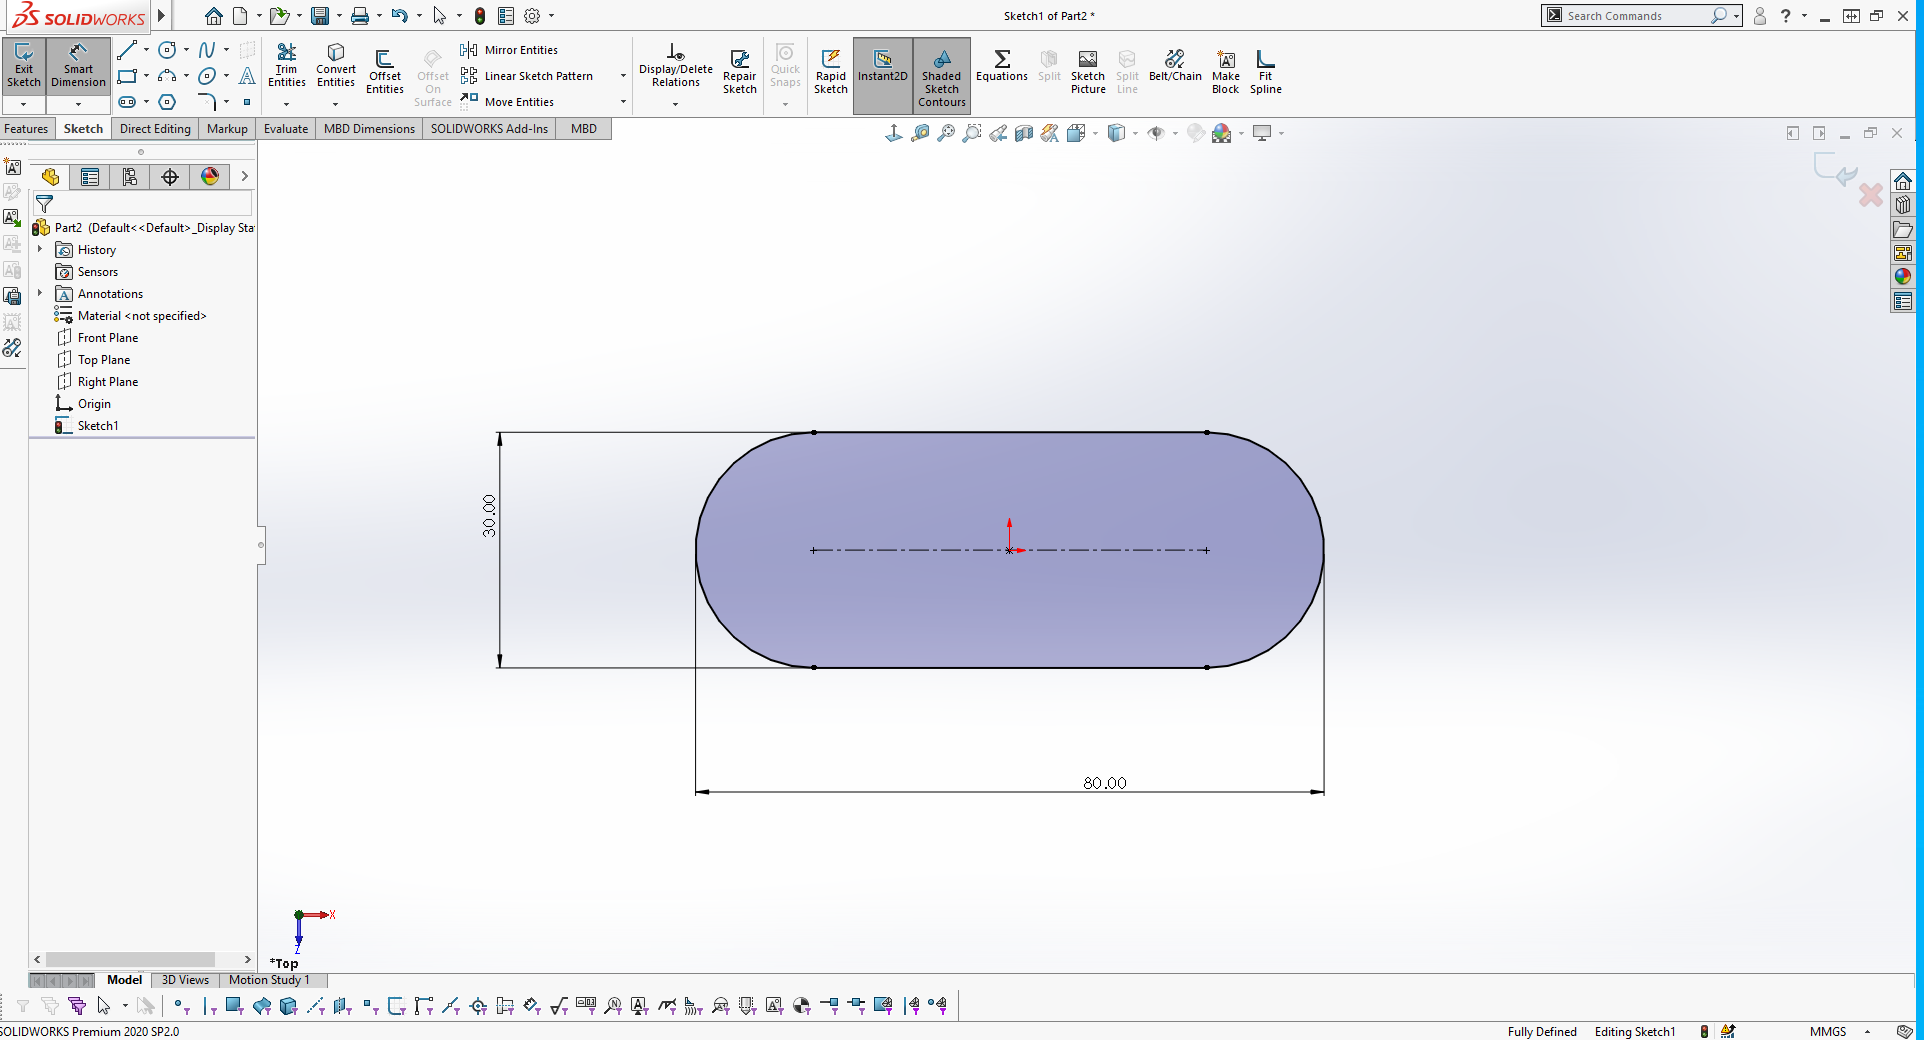
Set dimensions (80*30) :
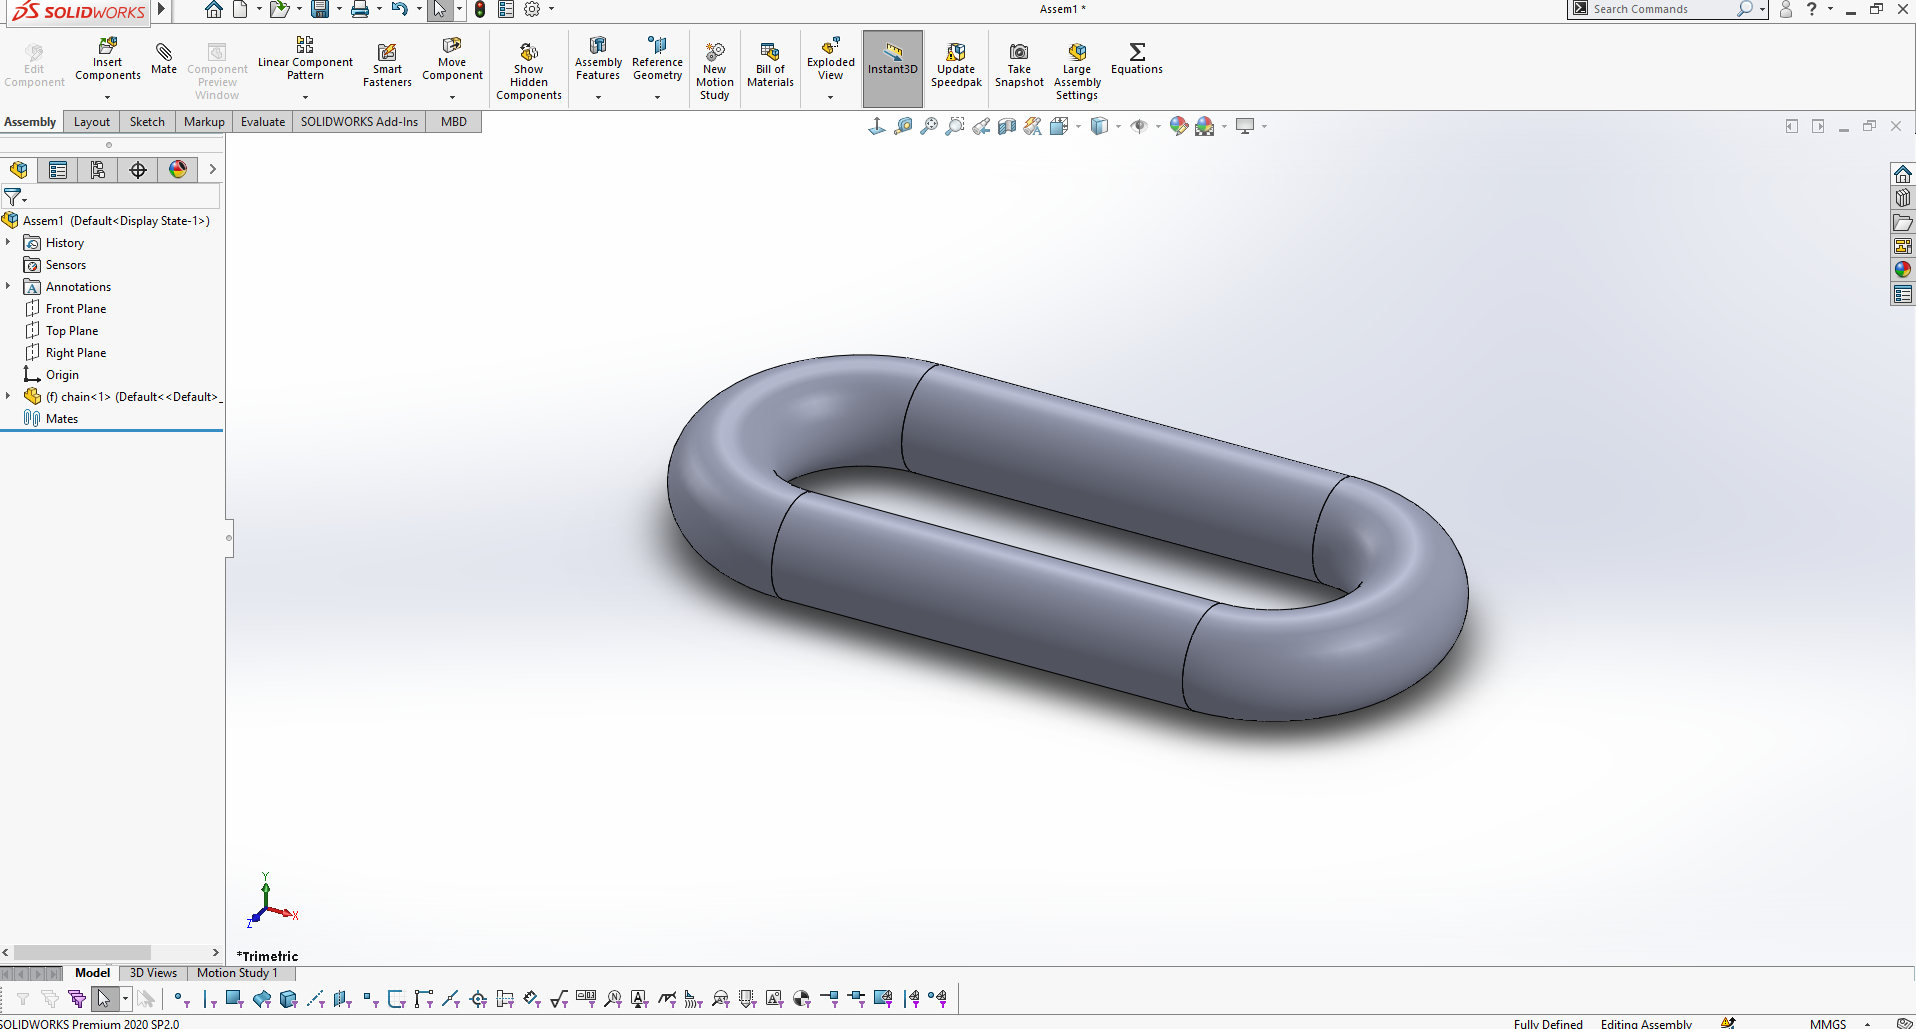
After the profile and sketch are defined, select the Swept Boss/Base command on the features tab as shown in the screenshot below to create a closed profile :
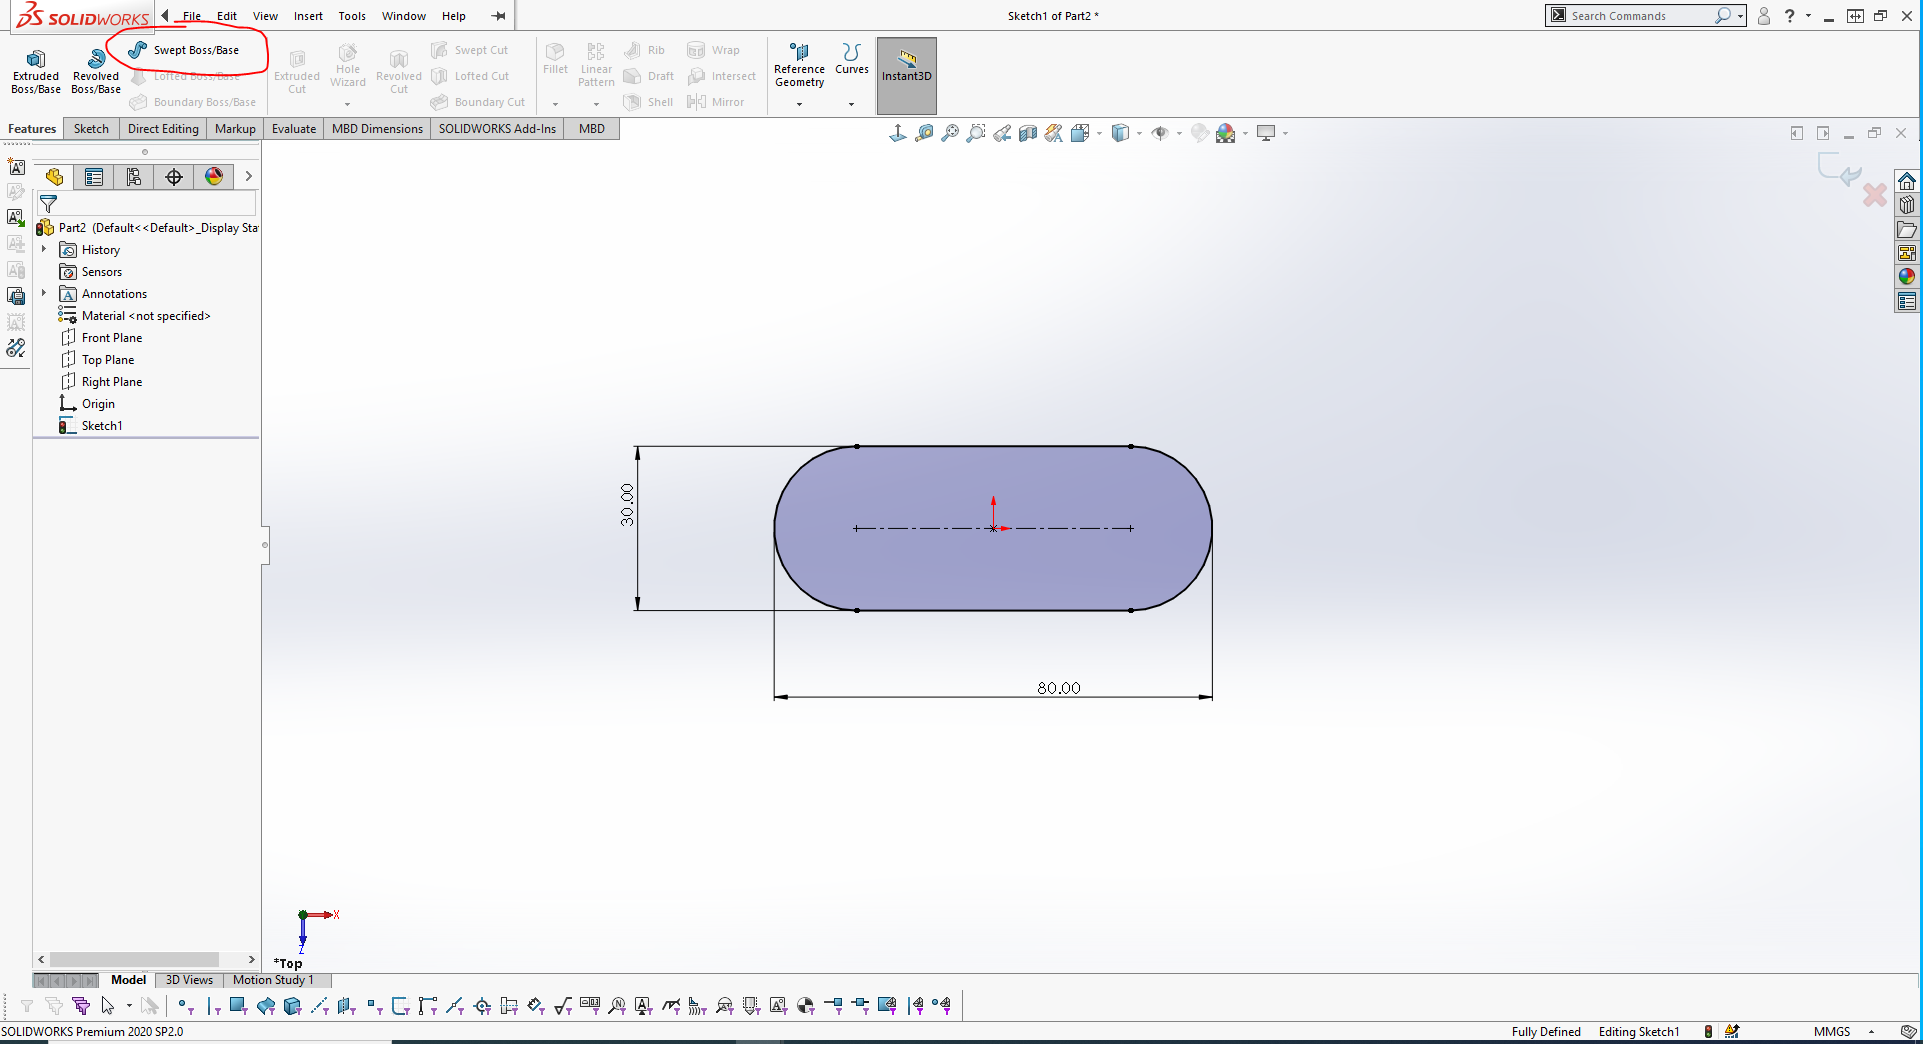
Choose the circular profile and insert the diameter (12mm) :

Create assembly from the created part (Select File + make Assembly from Assembly):
Duplicate the part (Ctrl + Select the part + Drag):

Arrange the duplicated parts (by mating) in such way that no part will be in contact with one another:
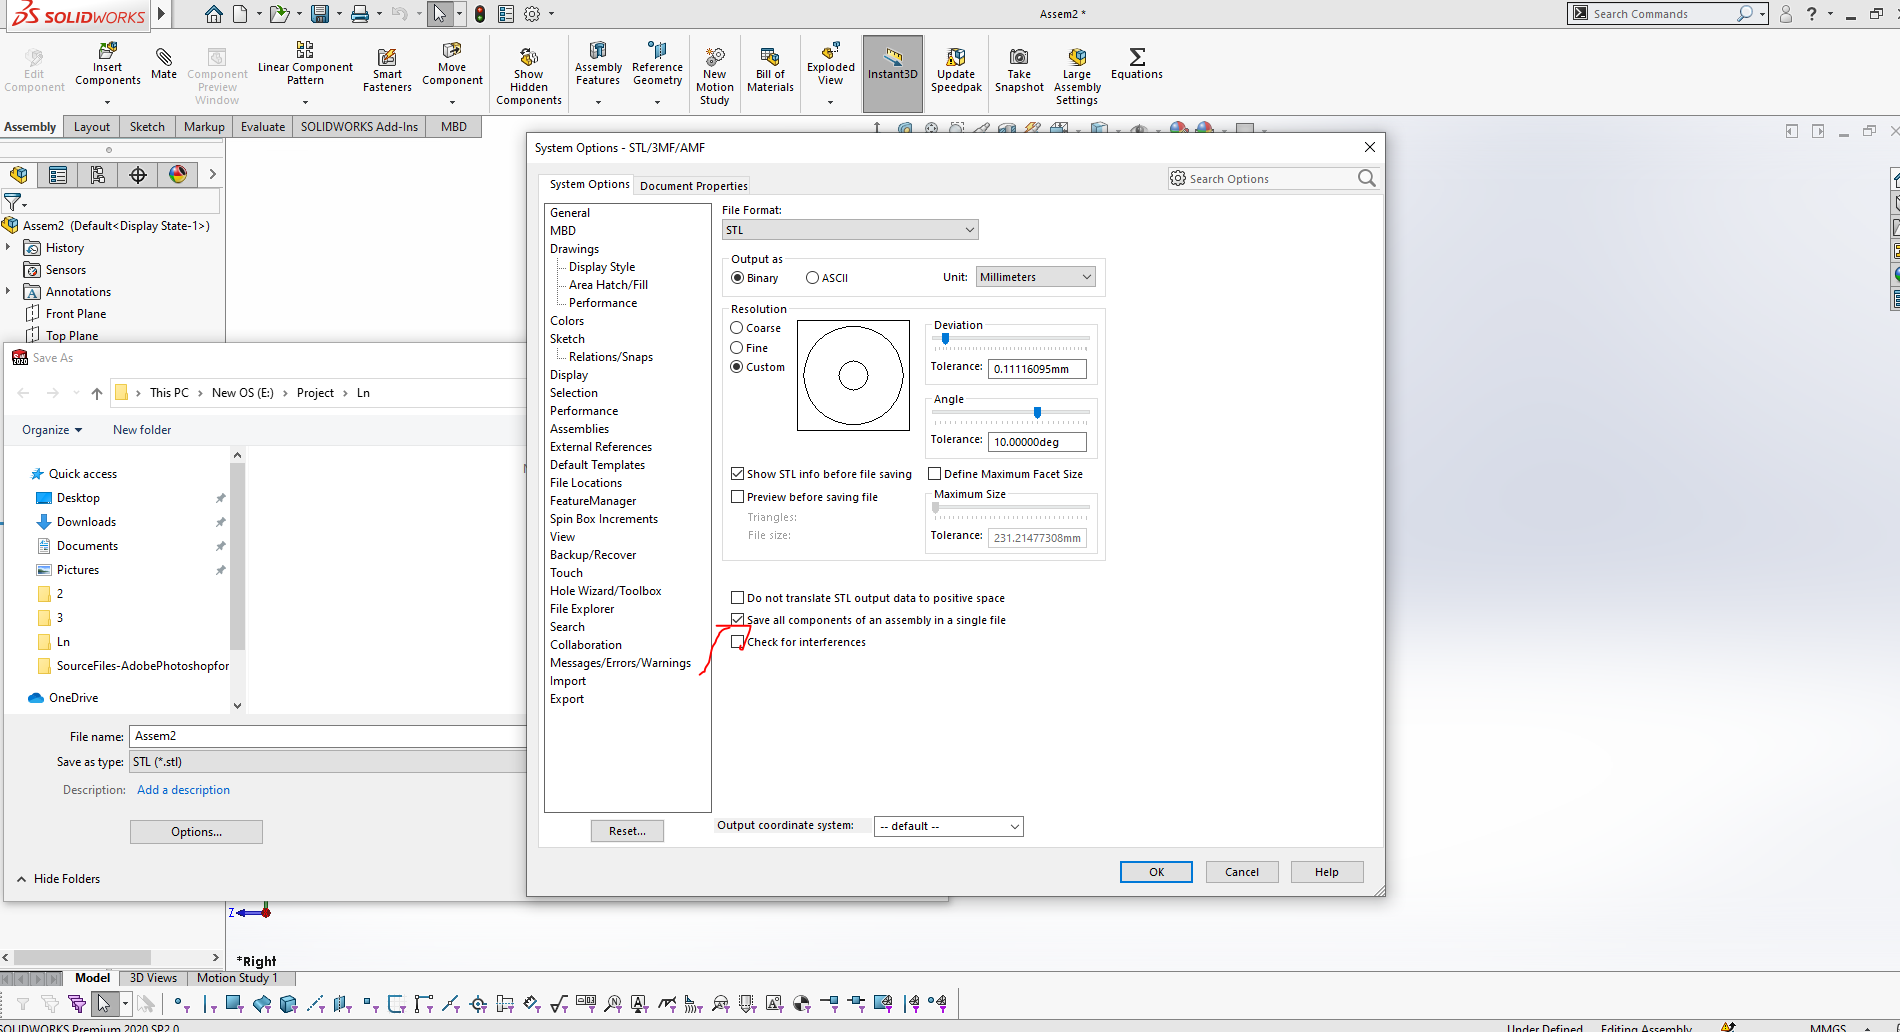
Save the assembly as STL file.
NOTE: In the saving option, save all components of the assembly in a single file so that the whole assembly is saved as a single file and not separate files for each part.
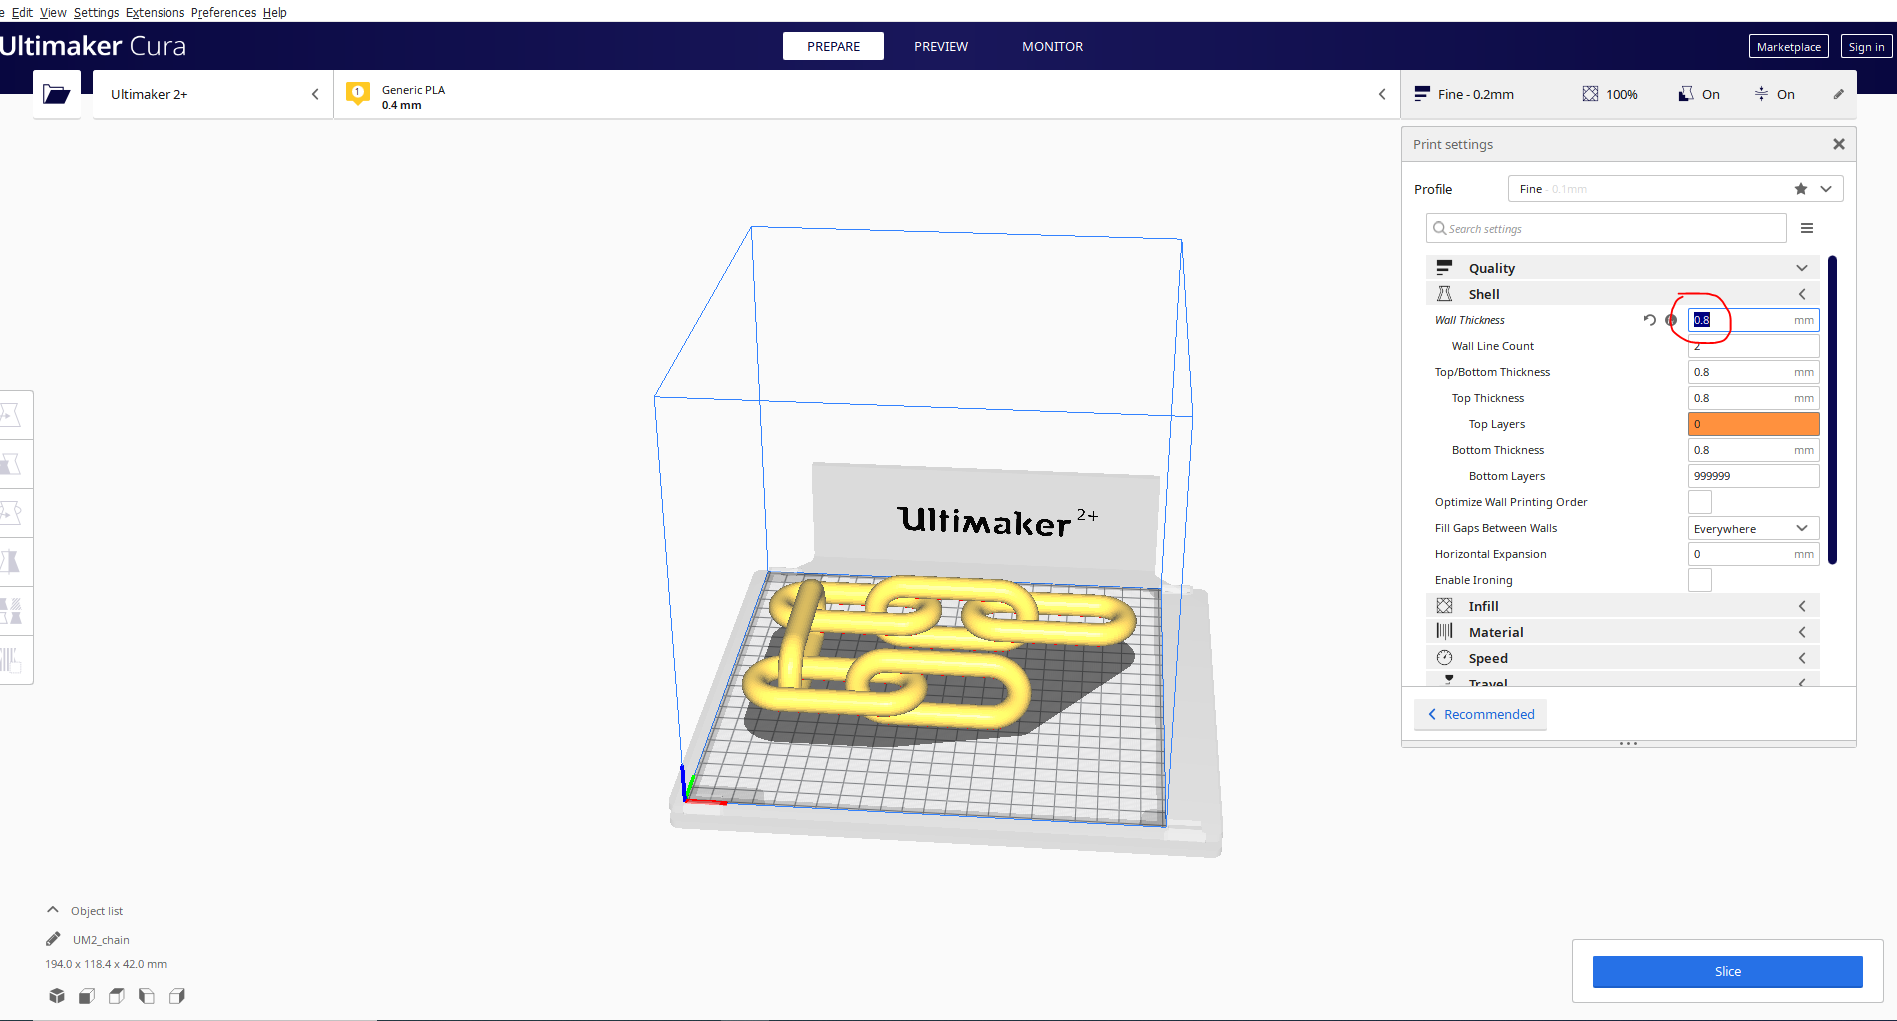
Next, we need to generate the Gcode for the 3D printer by importing the STL file in Ultimaker Cura Software. For the quality parameter, set the layer height. I set 0.2 mm
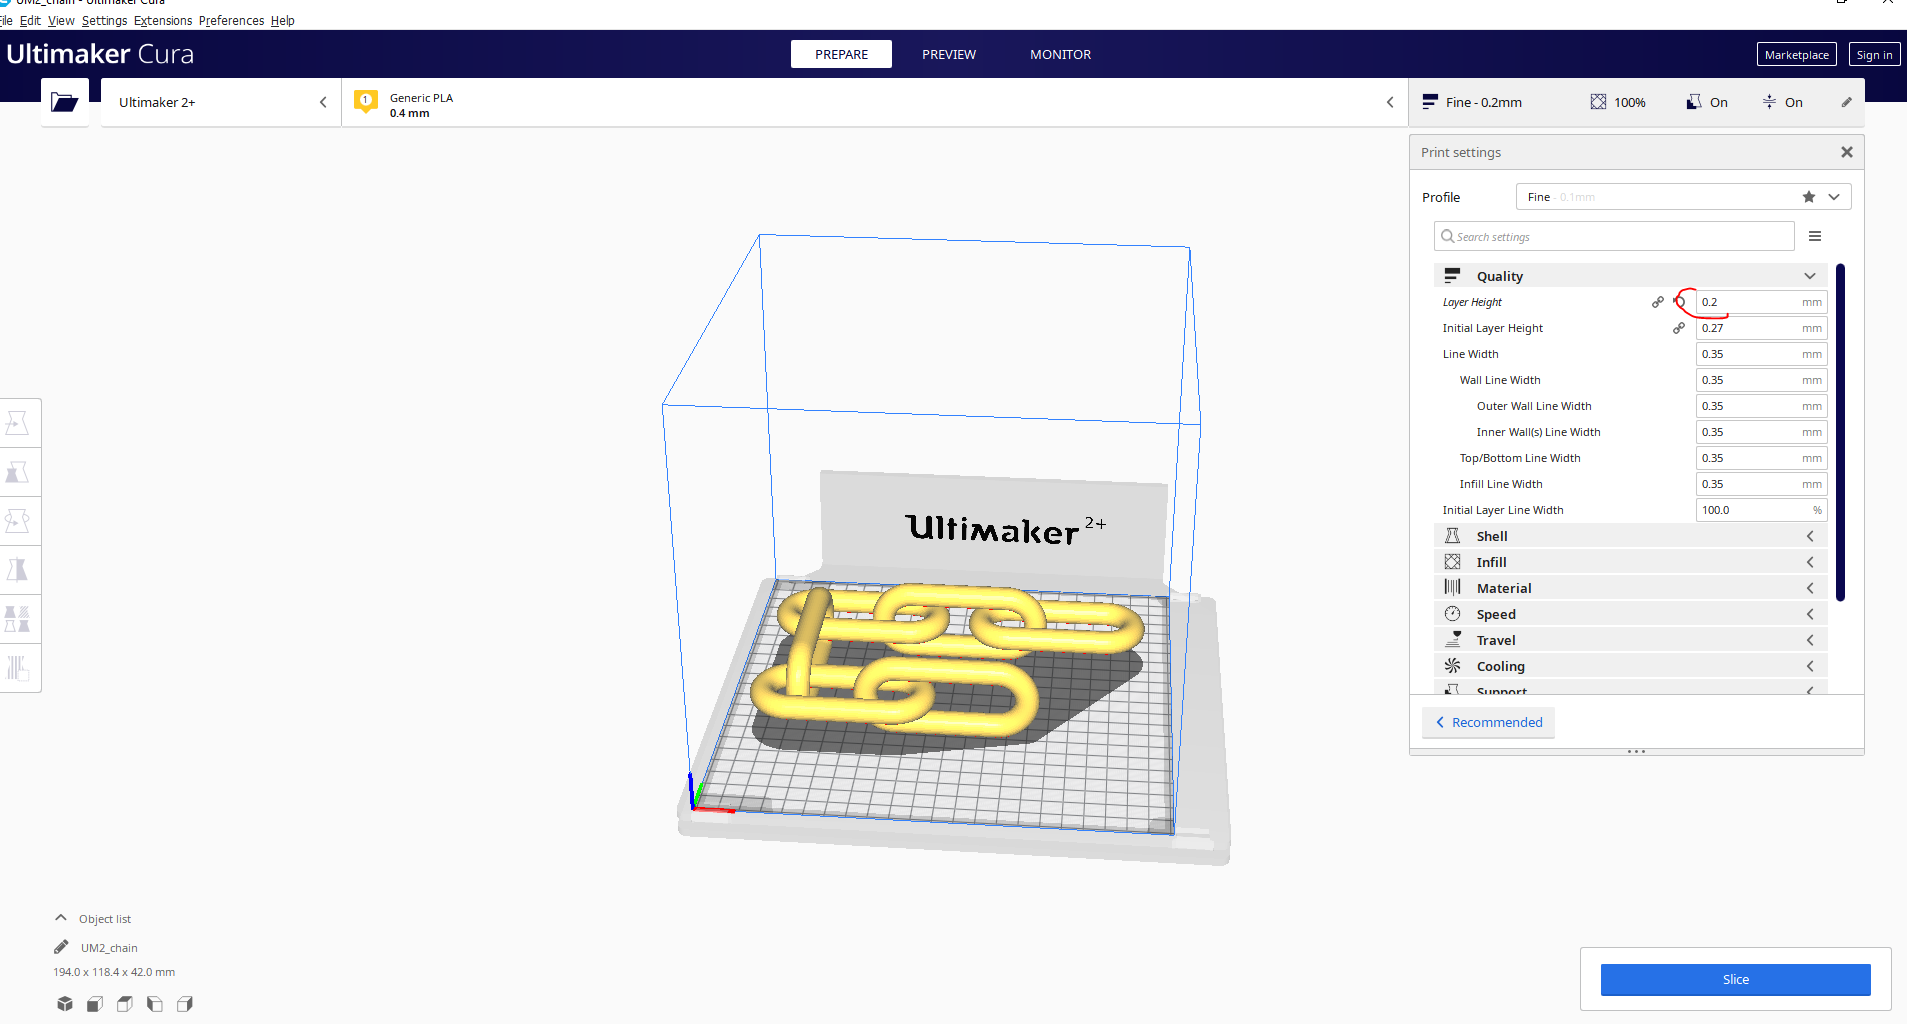
In shell, set the wall thickness of at least two times the nozzle diameter. I set 0.8 mm
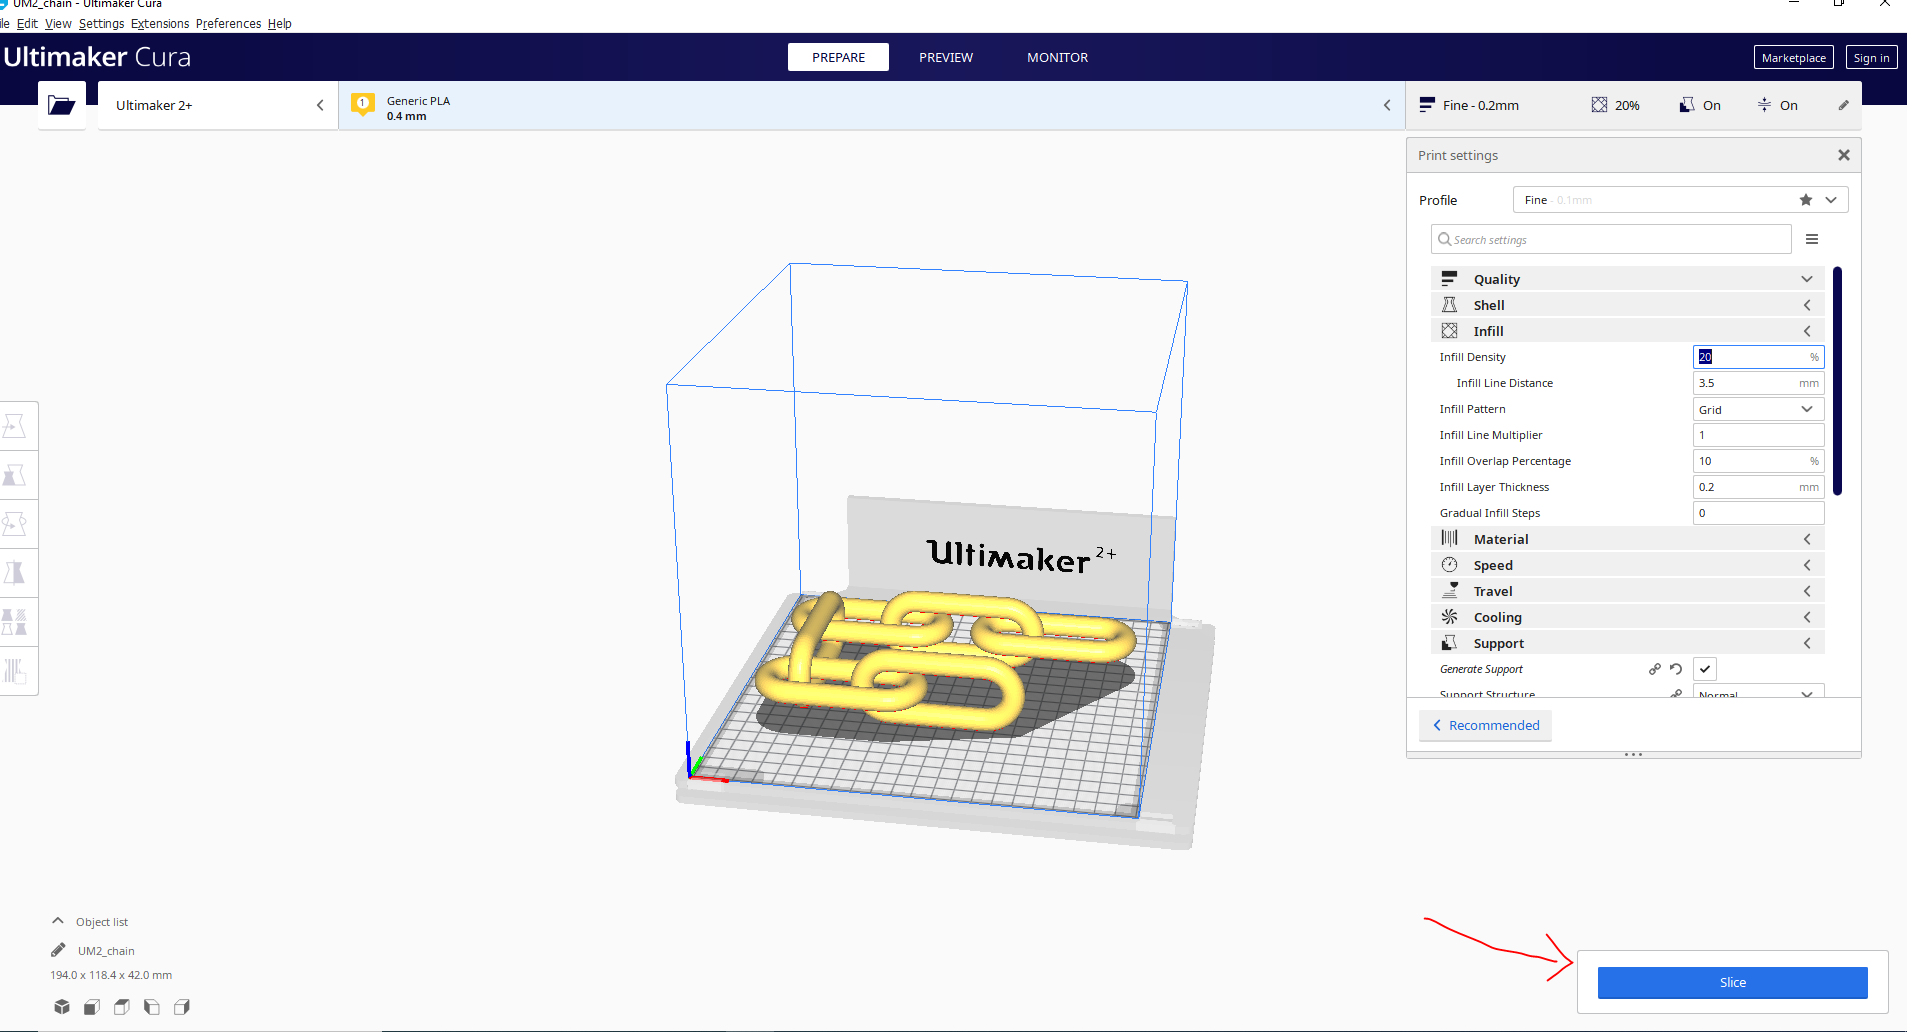
Set the infill of 20%

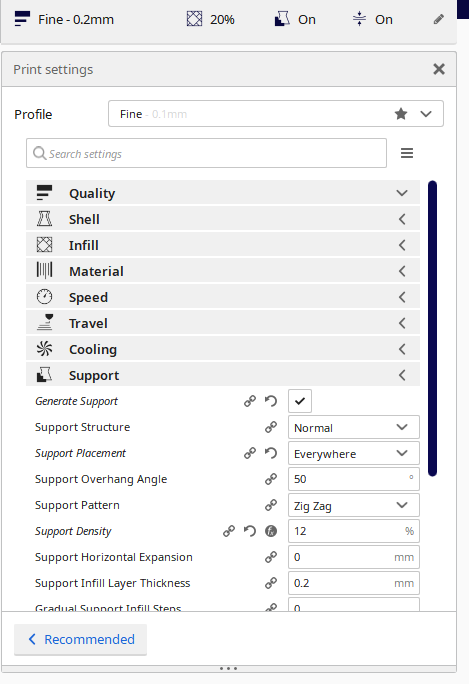
Create the support:
Finally slice to generate the Gcode and export file as Gcode
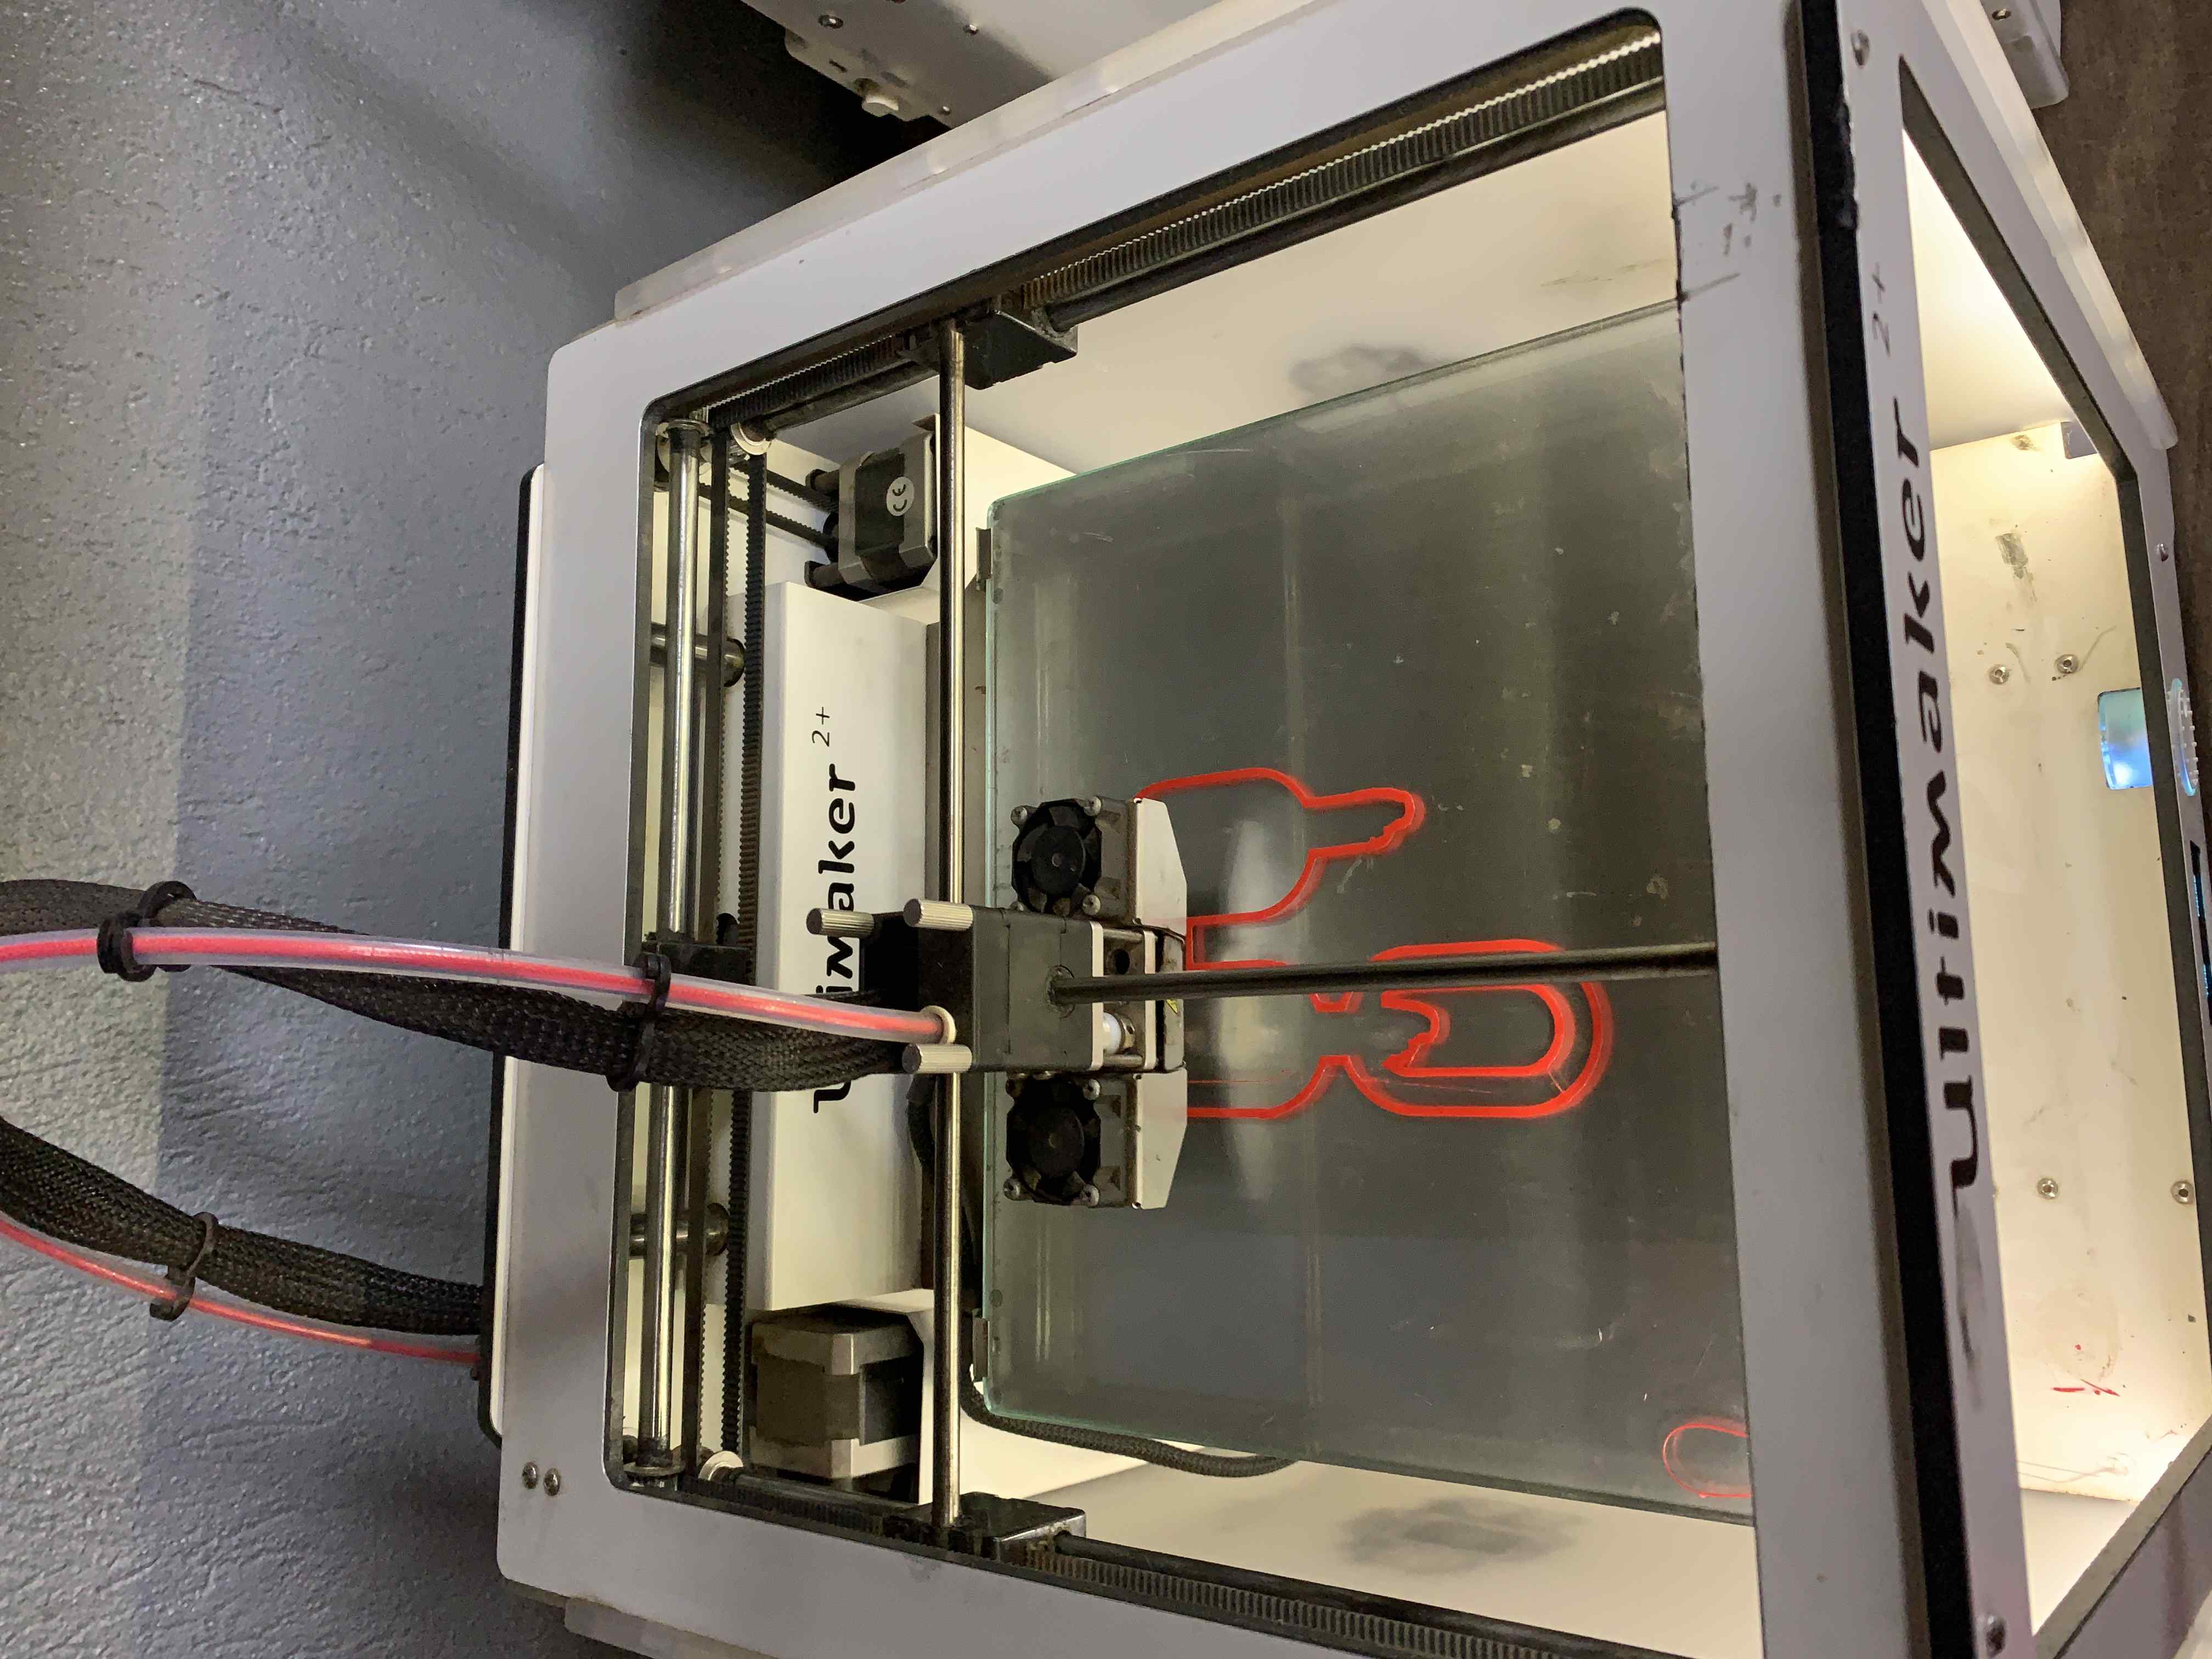
Save the design on the 3D printer memory card. Insert back the memory card, select your design and print:

The greatest advantage of 3d printing is that it is available for everybody. 3D printers are becoming more and more available and cheaper, therefore anybody who can affort it, can buy one and produce parts for their own needs. It allows creating real parts with ease, which was not possible before without a lot of work. It also allows the creation of complex shapes, easy to custom and allows more chances for creativity. Now anybody can adjust and produce any 3D design for their own needs.
Limiting on traditional 3d printers is that you can't print things with overhang without support material. Moreover, speed and quality are the greatest limitations. Because 3d printers are still quite slow in printing, especially for higher quality prints. This can be a limiting factor for huge prints which could then take several days. The quality is depending on the printer is also a problem because there are variations on how accurate the printers are. So the more experienced you are and the better you prepare your model and set up your printer the better your prints get.
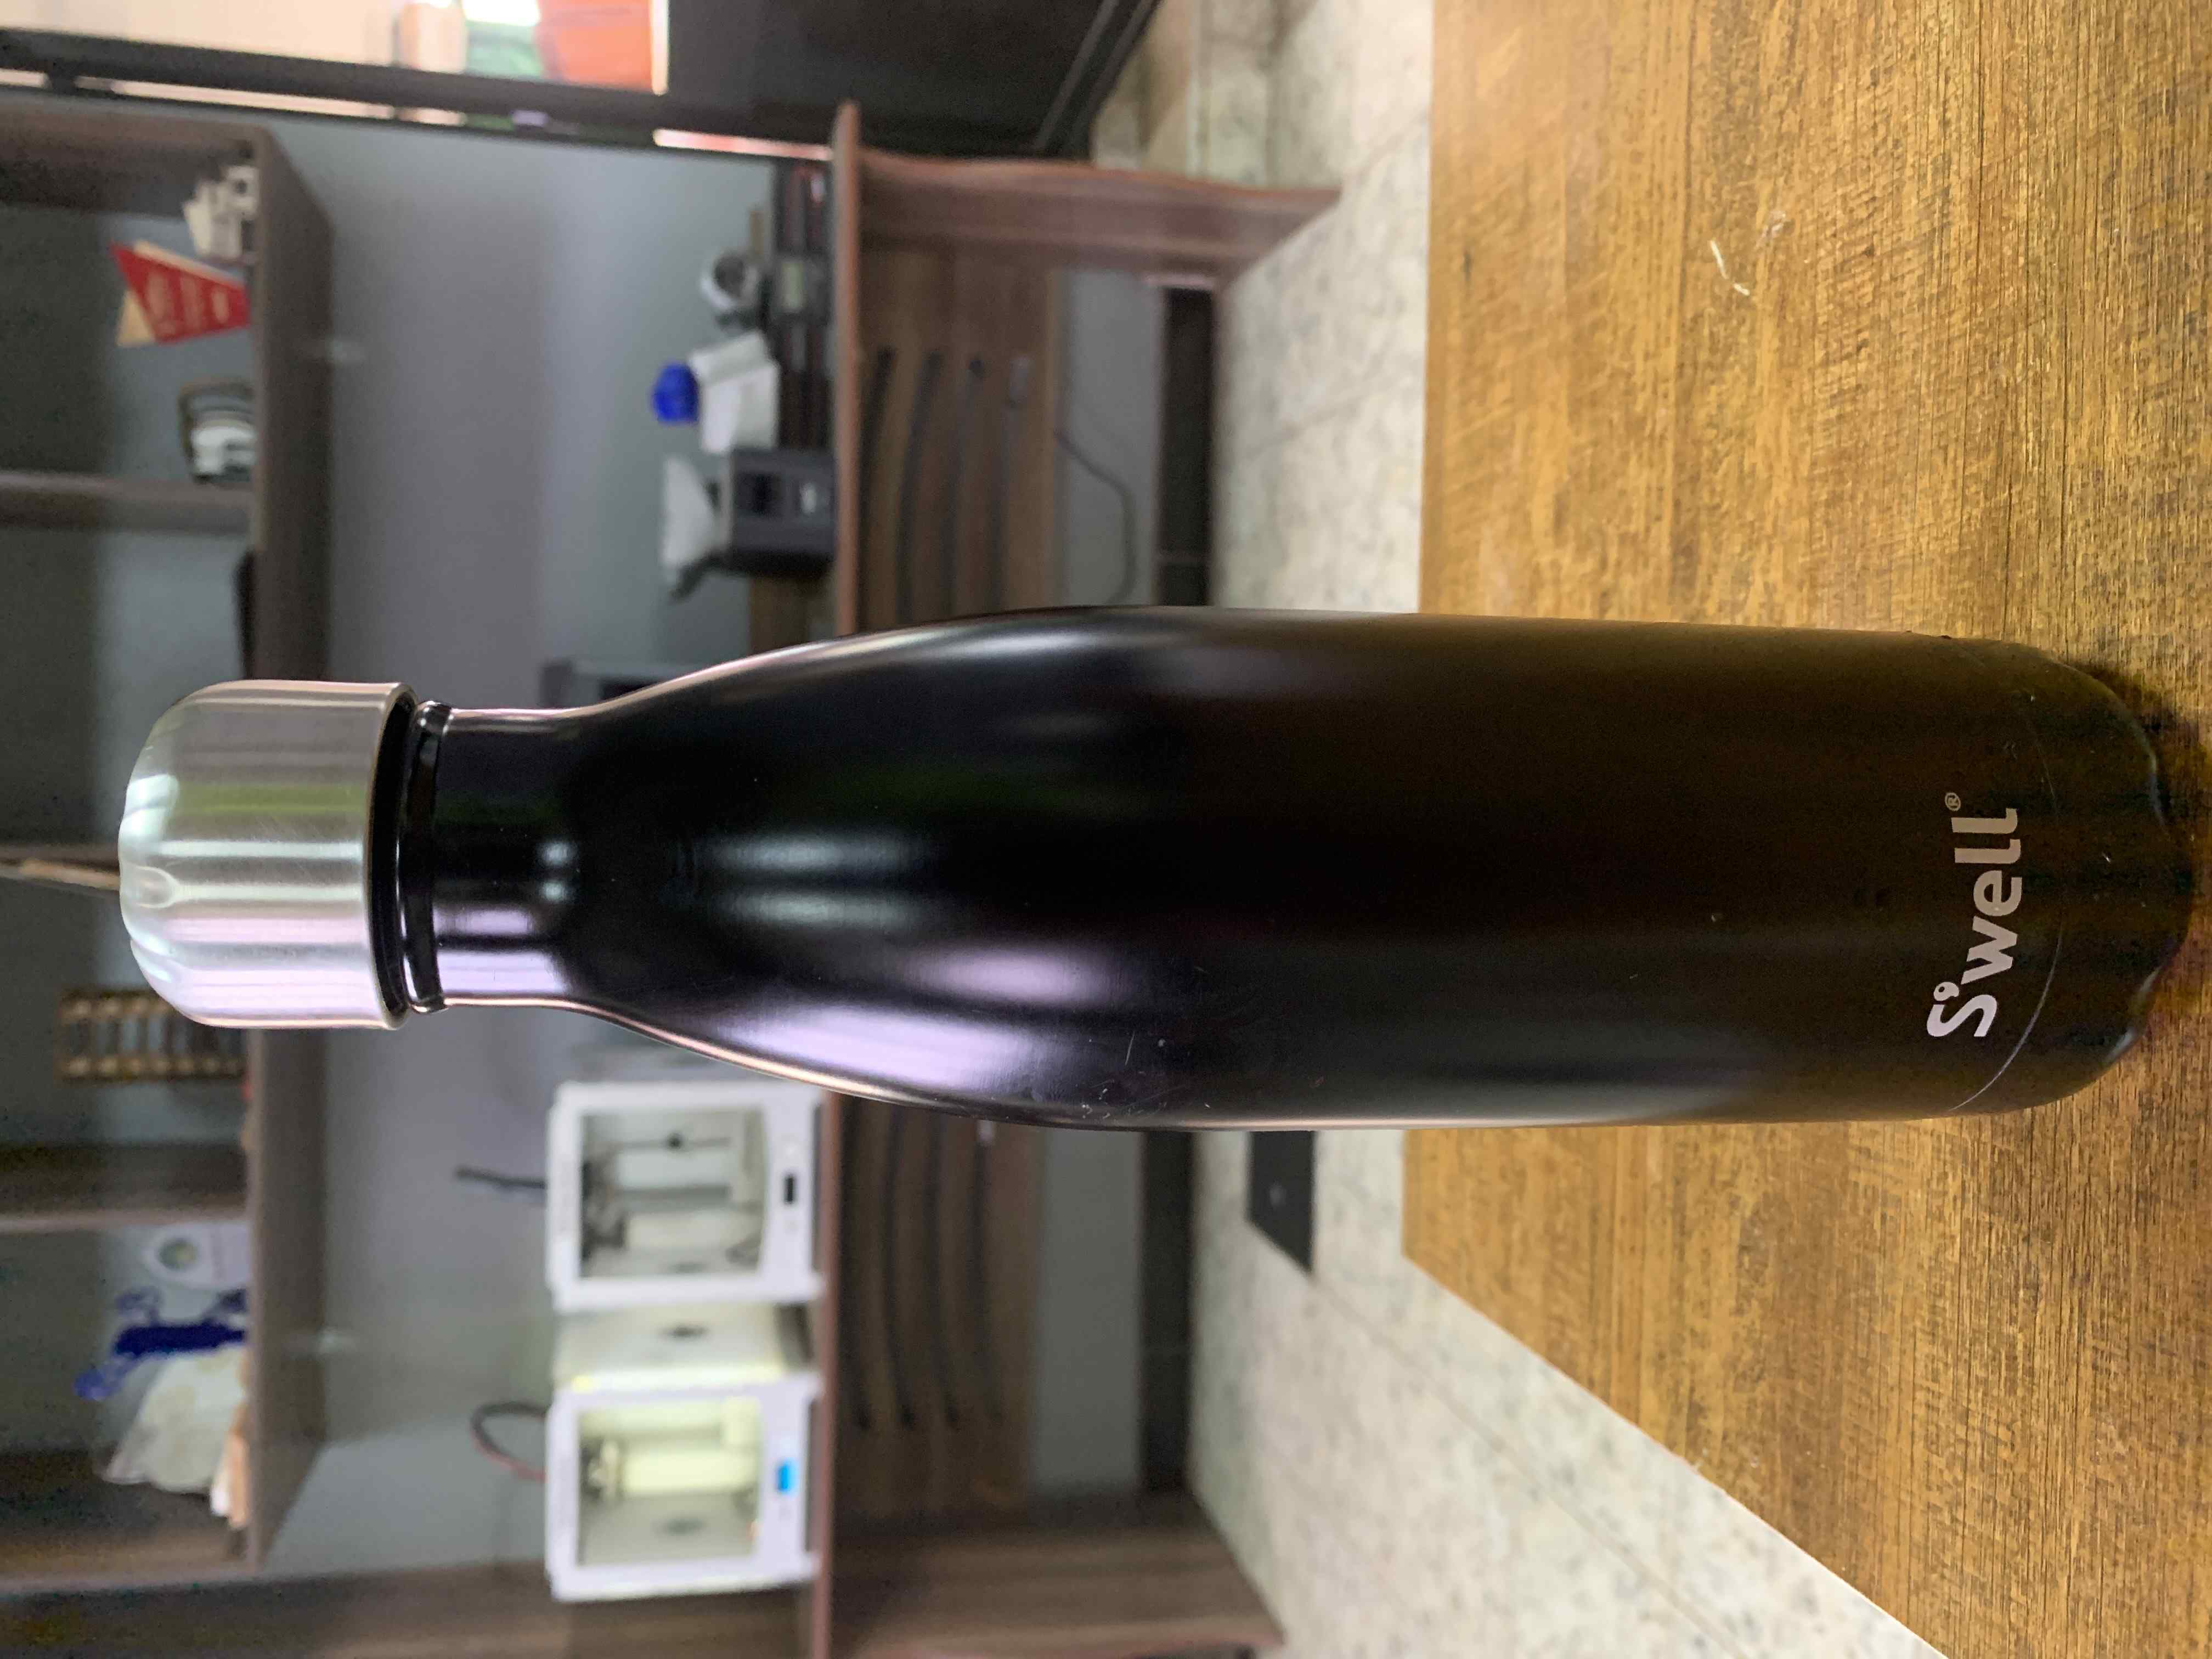
Here I scanned my water bottle and printed it.
Here is my bottle before scanning it.
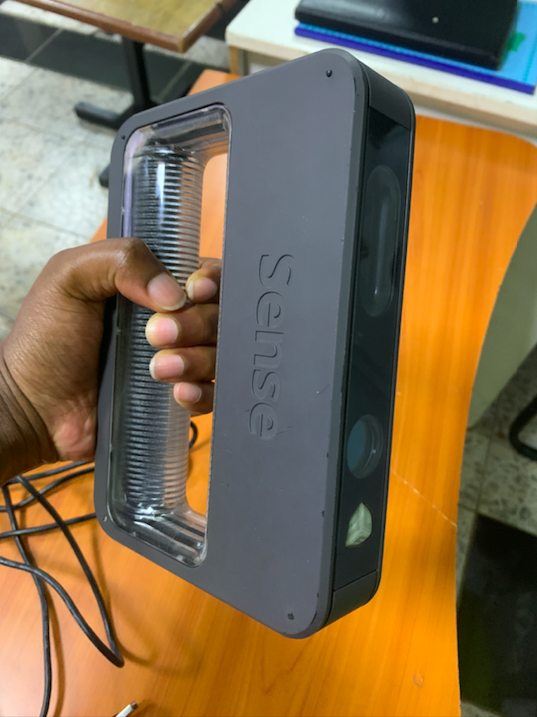
The Lab's 3D scanner is SENSE. It's supported operating systems are:
. Windows 7 (32-bit or 64-bit)
. Windows 8(32-bit or 64-bit)
Here is the software I used: 3D Systems Sense
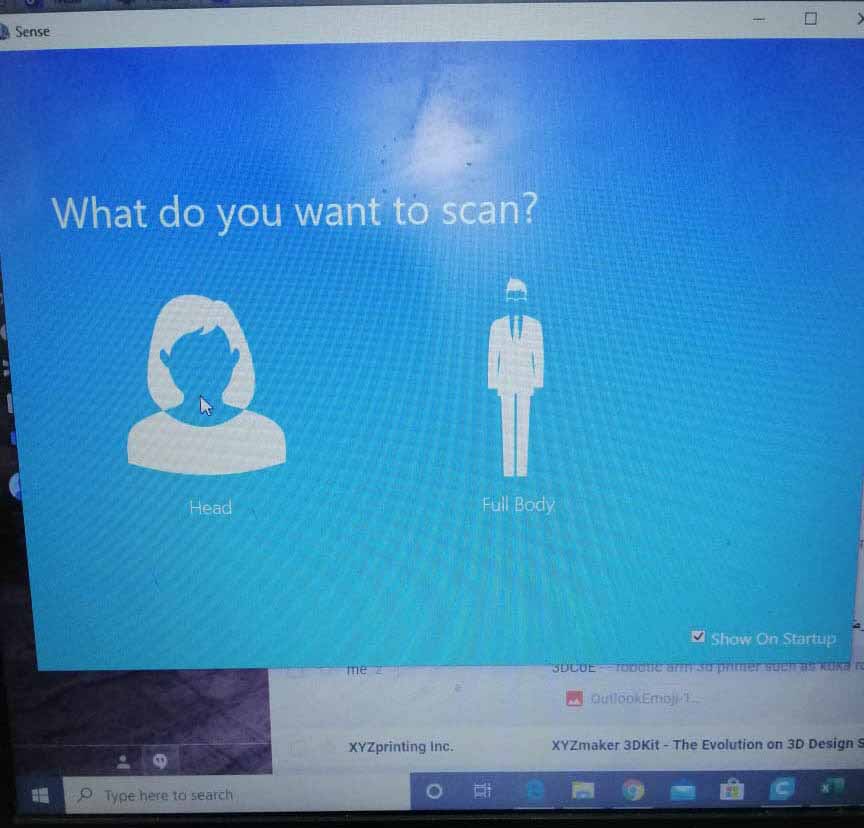
I chose to scan an object since I'm scanning a bottle:

Here is the result after scanning:
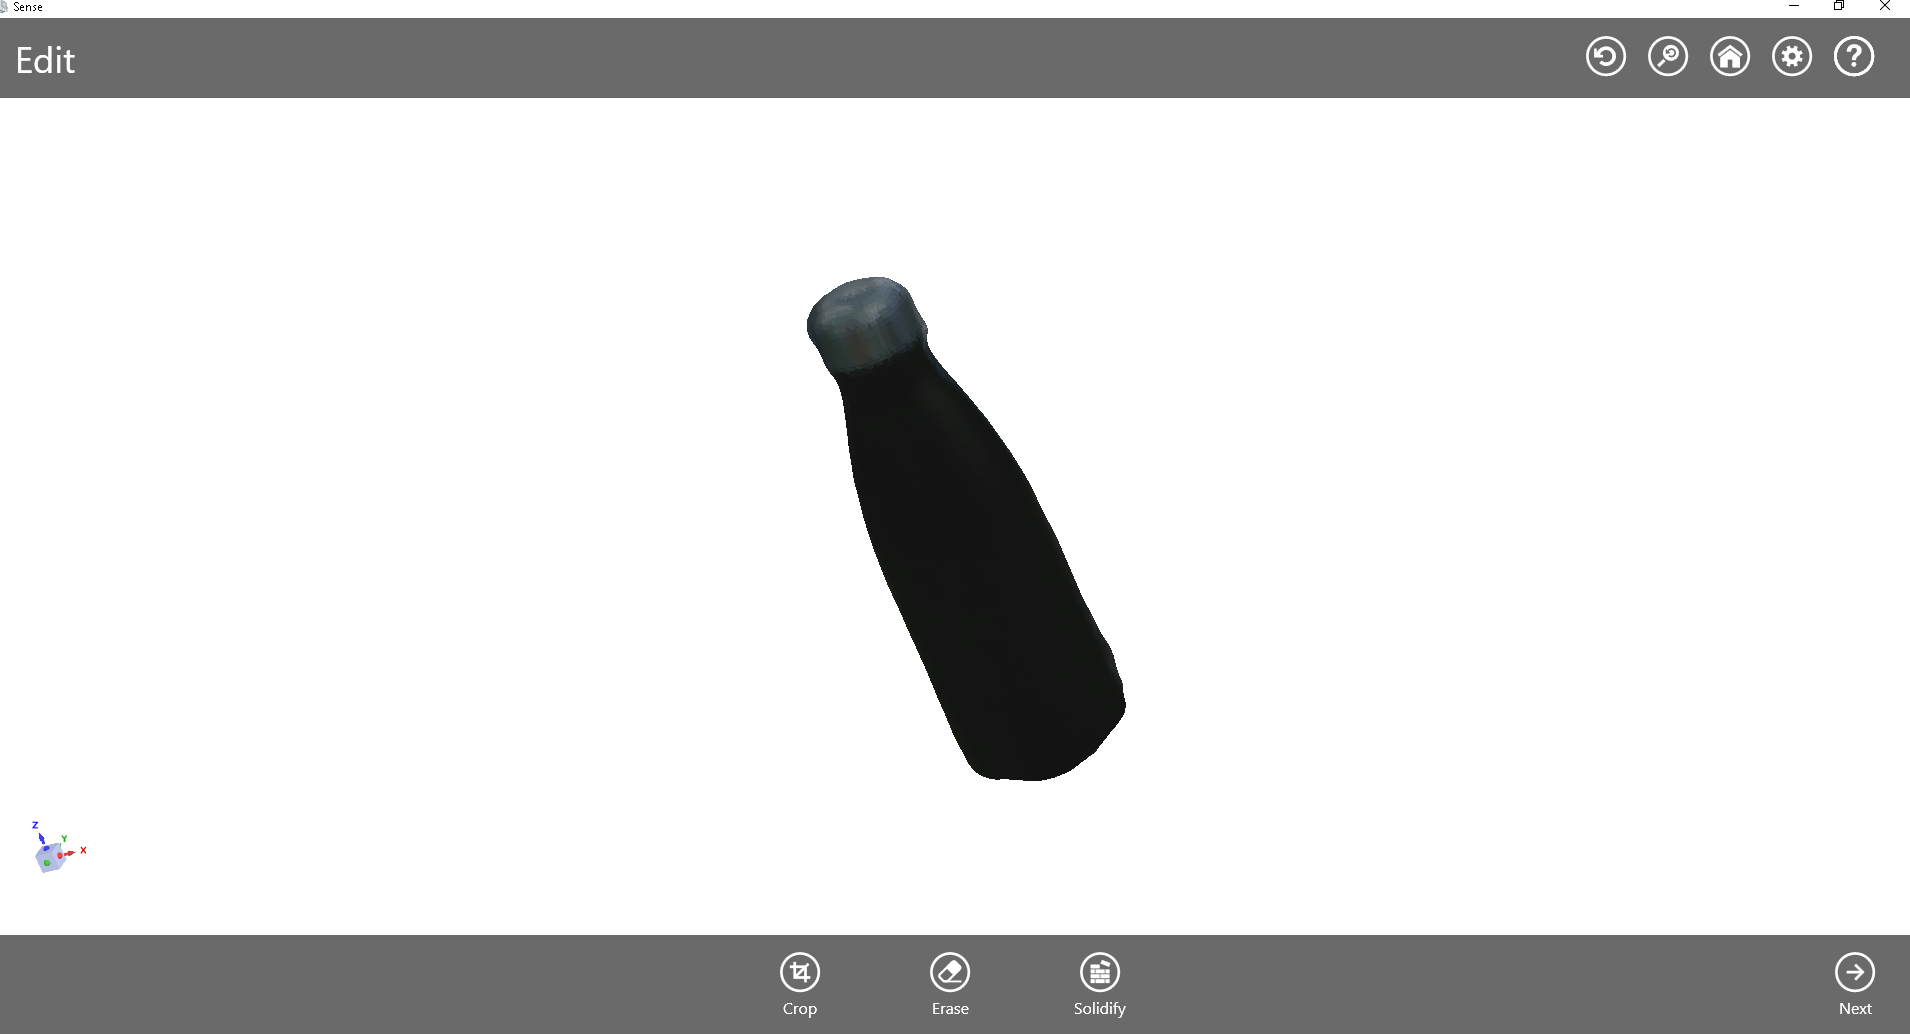
Since I 3D printed another object, I decided not to print the bottle, because this was optional.
The main advantage of 3D scanning is that you can create a 3D model of anything in an easy and fast way. With 3D scanning you can also create more creative 3D design shapes like the shape of the human body.
The 3D scanning limitations I can name are: limitation on the size of the object you can scan, the quality of the 3D model produced (matching with the original).
Files: