6. 3D Scanning and printing
For week five, I learned how to 3D Print properly, use MeshMixer, and Makerbot. We had three challenges and had to complete them by the end of the rotation. We learned the difference between subtractive, additive, and formative manufacturing. We used additive manufacturing with 3D printing.
Ball Inside Cube
I made my ball inside a cube to complete the ‘make something that cannot be made with subtractive manufacturing.’ I first made the design on AutoDesk Fusion 360, exported it to MeshMixer, then saved it as an STL. I opened it in MakerBot, then sized it to my preferred size. After that, I saved it as a MakerBot file and printed it. The machine had to warm up before hand though. It only took 14 minutes though!
 [STL File] (../docs/ballinsideacube.stl)
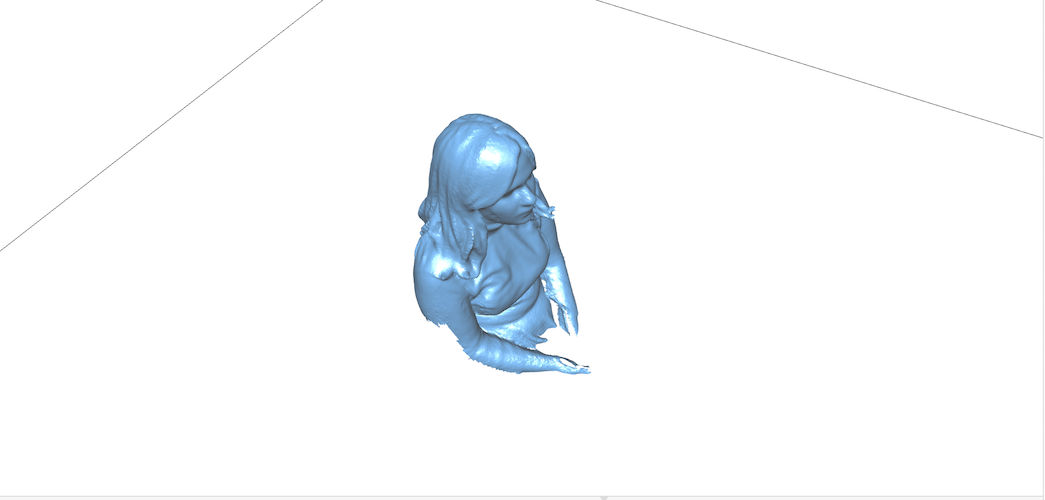
Scanning My Face
So, I decided to do a scan of my face. Mr. Gerber helped me a lot by scanning me, but I also got the oppurtunity to scan another one of my classmates. What I noticed with the scanning is that some of the models can look grainy if they are not properly circled. The software will either automatically make the jump to connect it with a flat, smooth surface or completely ignore the area in general. When I scanned my classmate, it was kind of difficult to get everything. This process took up to 3-4 minutes, but you would never have to scan your face again! You’d be able to mold the .stl file whichever way you want. Like most of the kids in my class, I molded my face to a lion. Both of the files are too big to put on my repo right now (6MB and 10MB. Yeah, kind of a problem.) and I doubt that zipping them will make that big of a difference.
How To Test Your Printer
3D printers are some beautiful tools that bring additive manufacturing right into your bedroom. You can set one of them up there and just make almost whatever you want. Almost is avery important word there and I know what that almost means very well. For my torture test, I made something that would torture me and the machine. You know how 3D printers