.png)
Hi! Welcome to Week 18
This week’s assignment was to design and produce something with a digital fabrication process (incorporating computer-aided design and manufacturing) not covered in another assignment, documenting the requirements that my assignment meets, and including everything necessary to reproduce it.
What I Did This Week
This week is the wildcard week :D as someone who has faced all possible problems in working with electronics I really wanted to take a break from that. When I started my internship in the FabLab, there was a student taking the FabriAcademy, and I found it to be very interesting, so this week I decided to try and experiment with textiles.
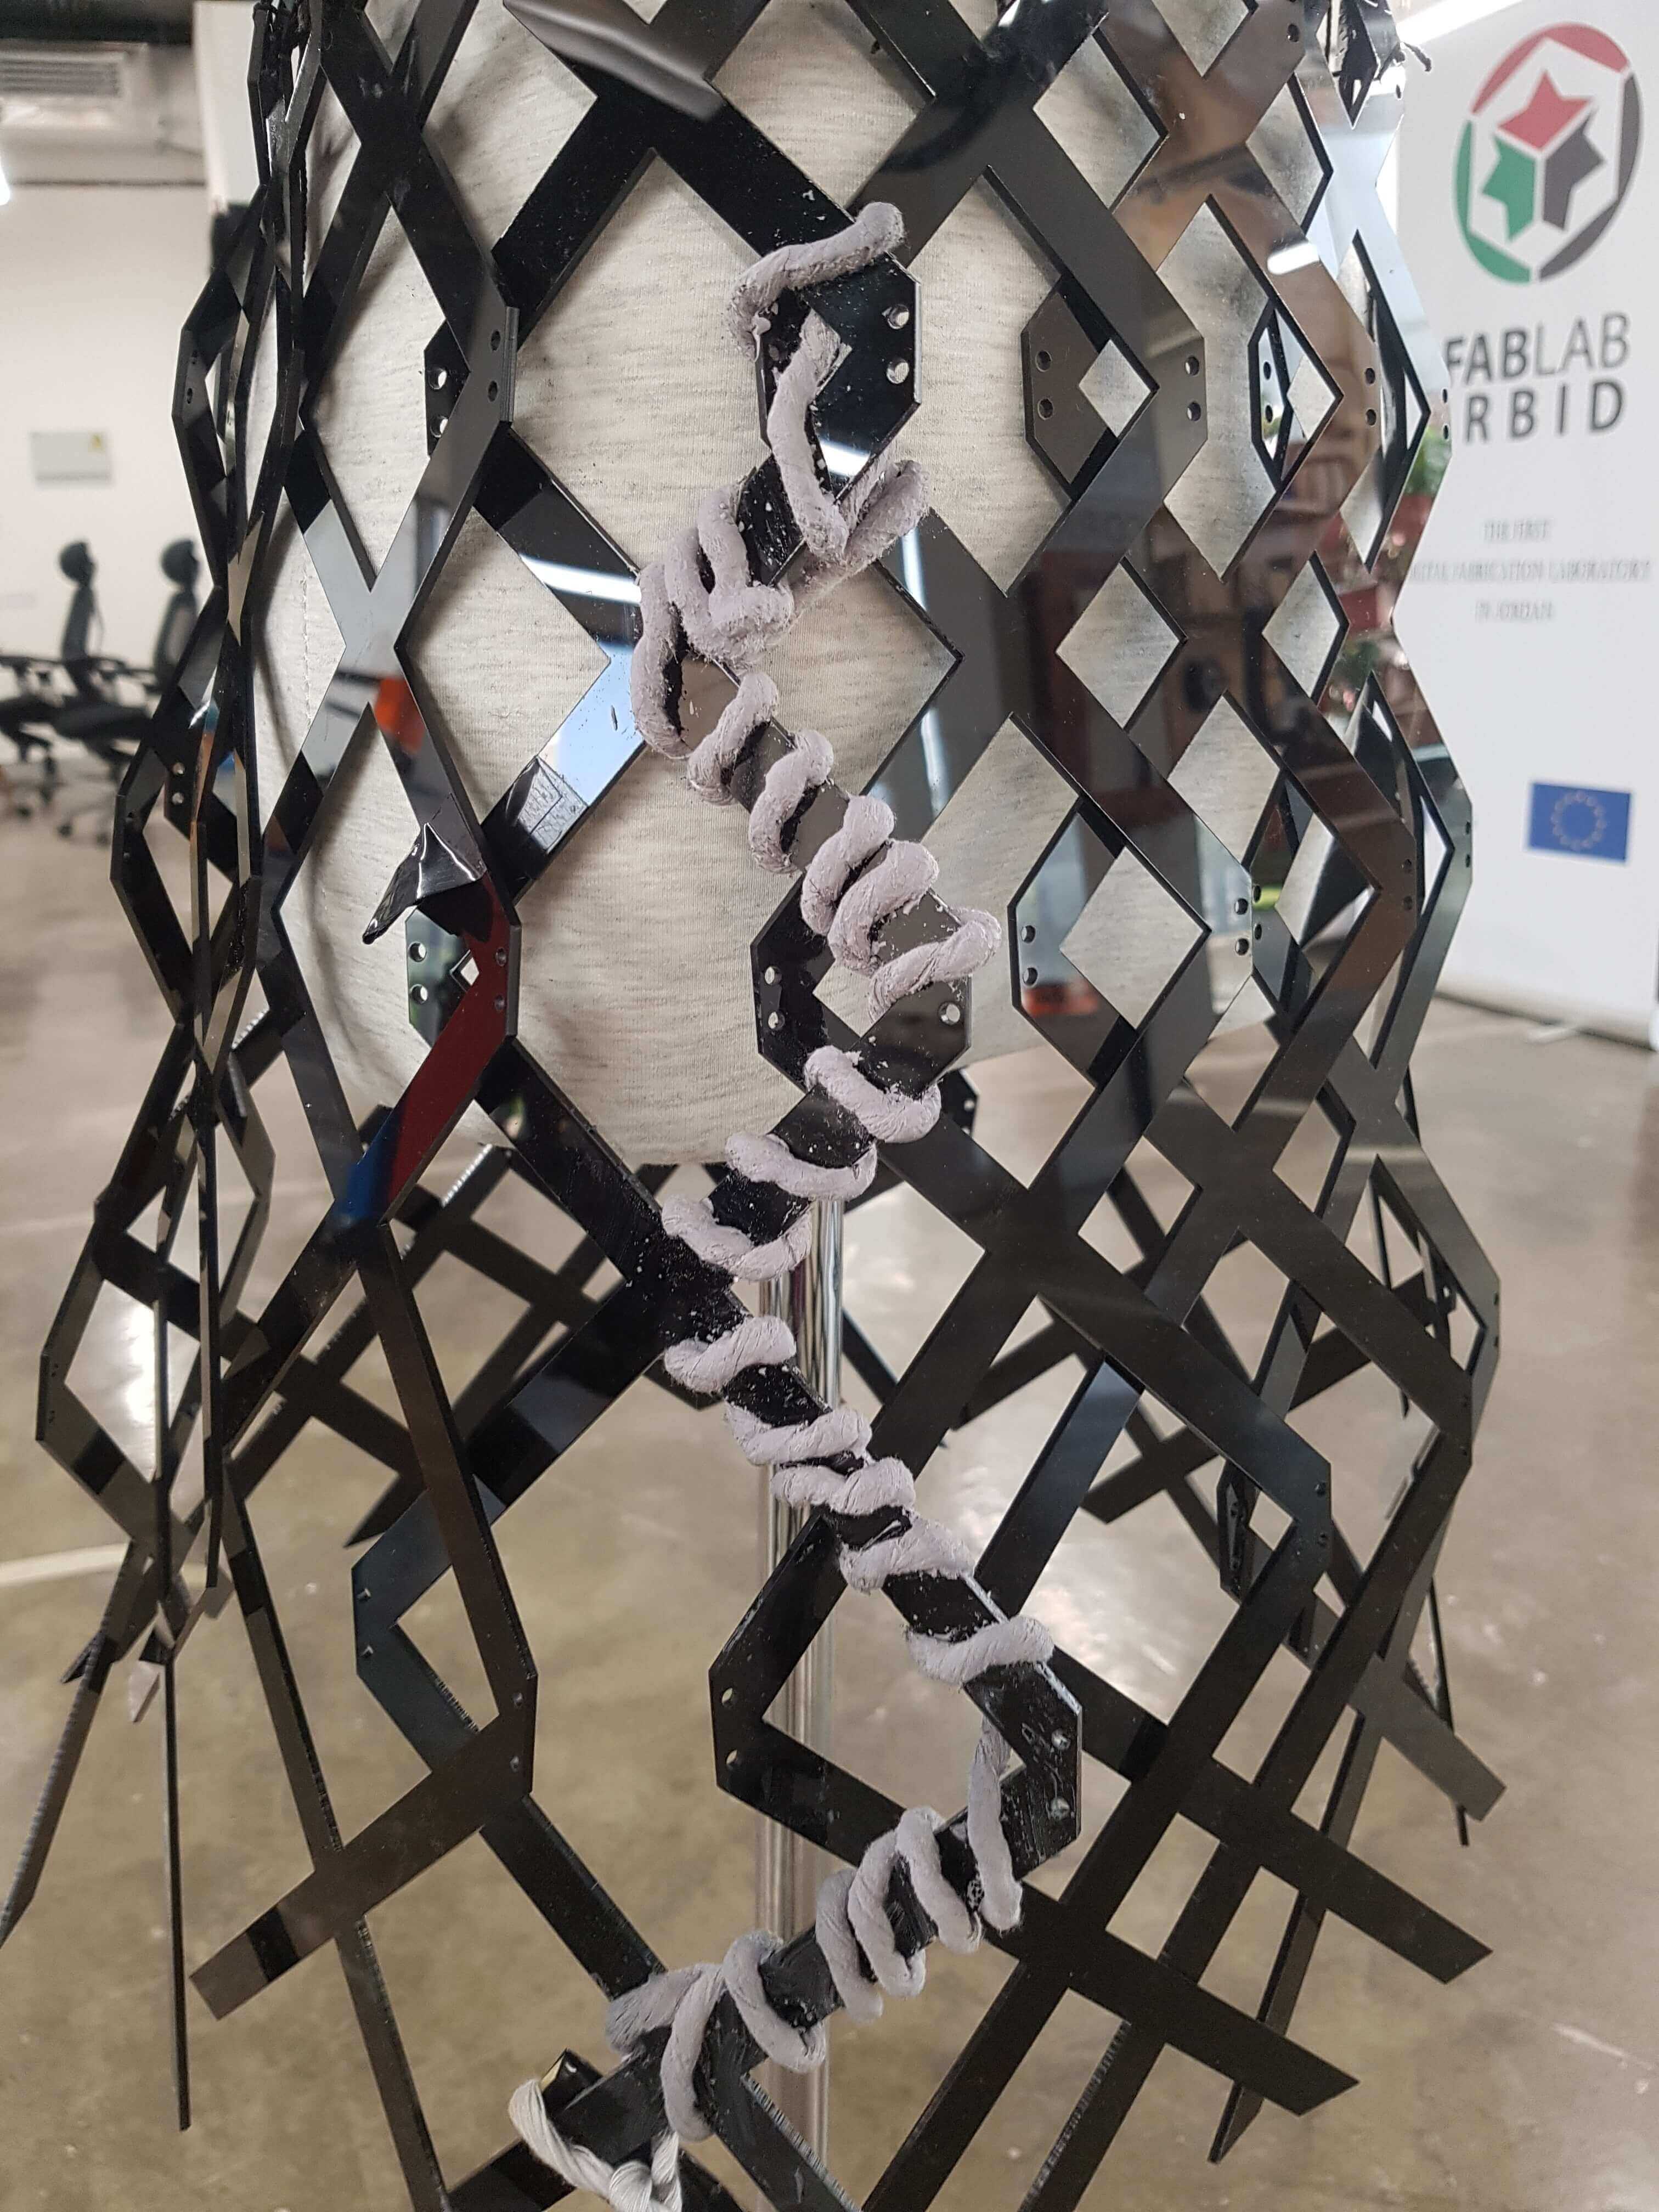
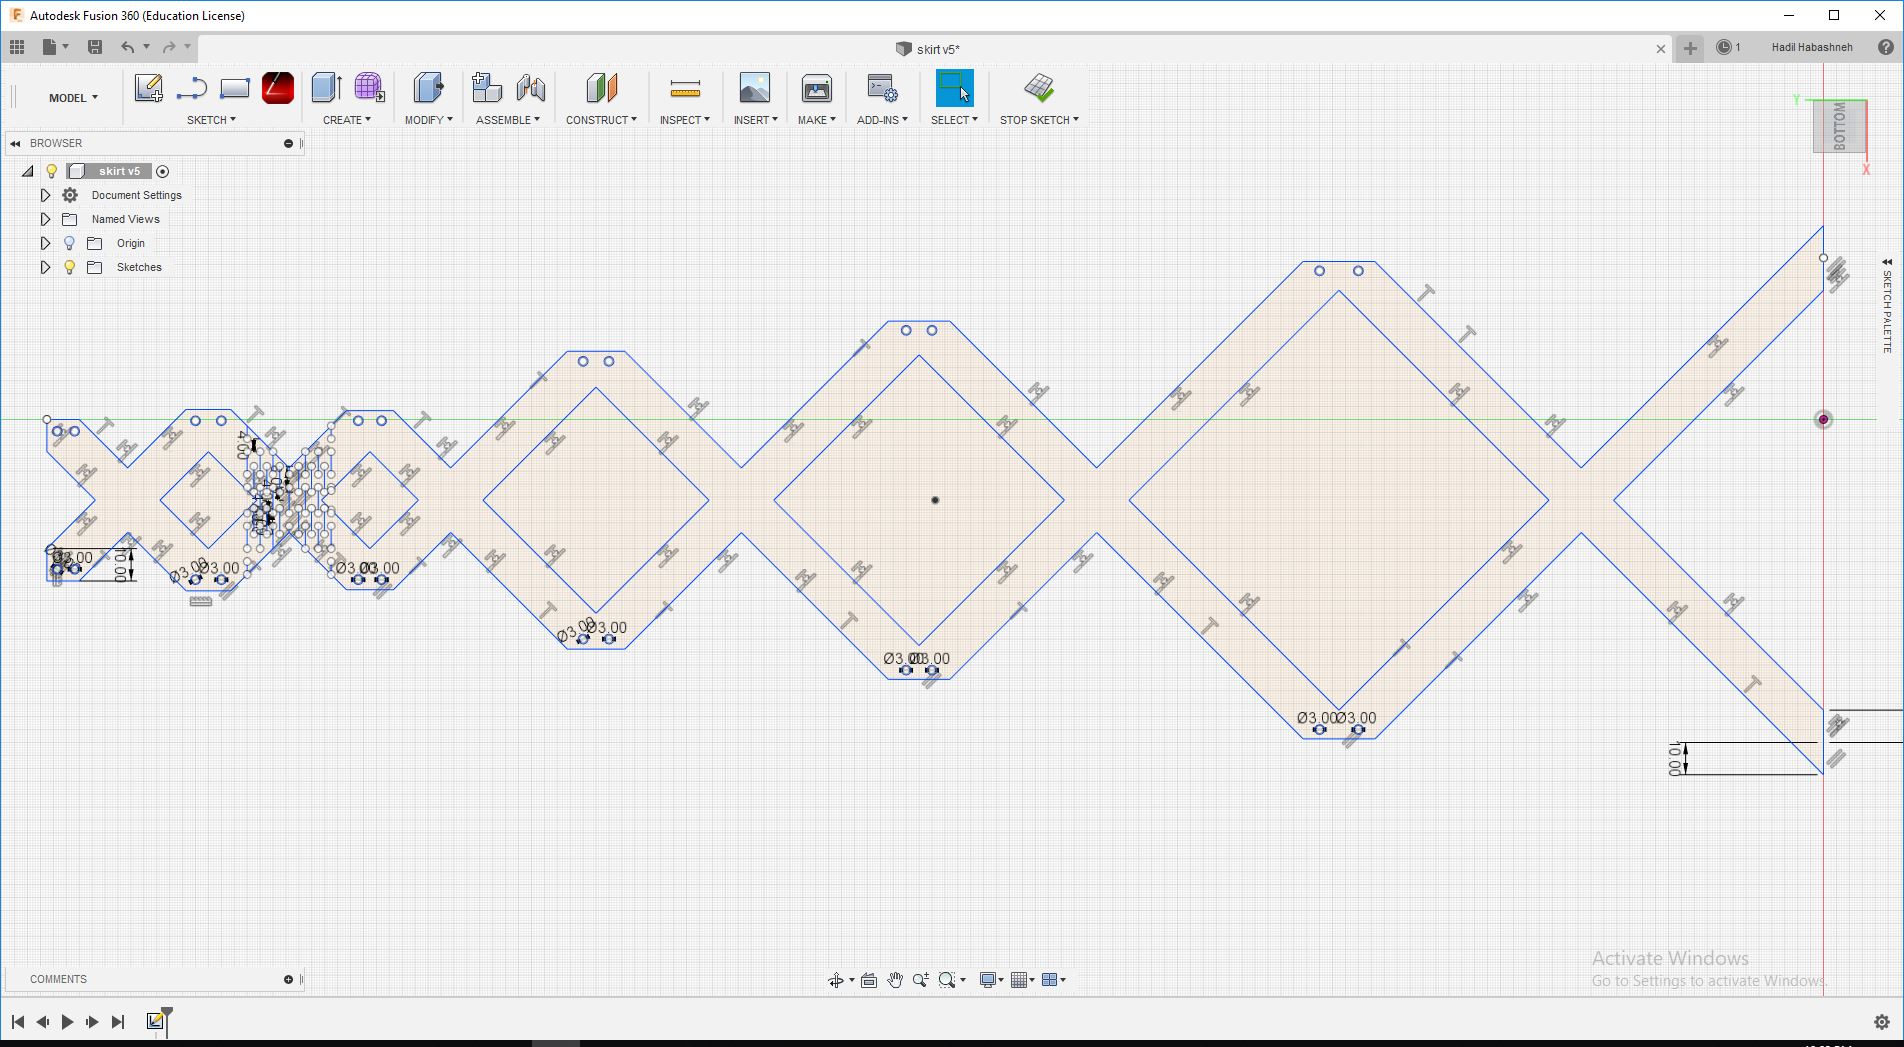
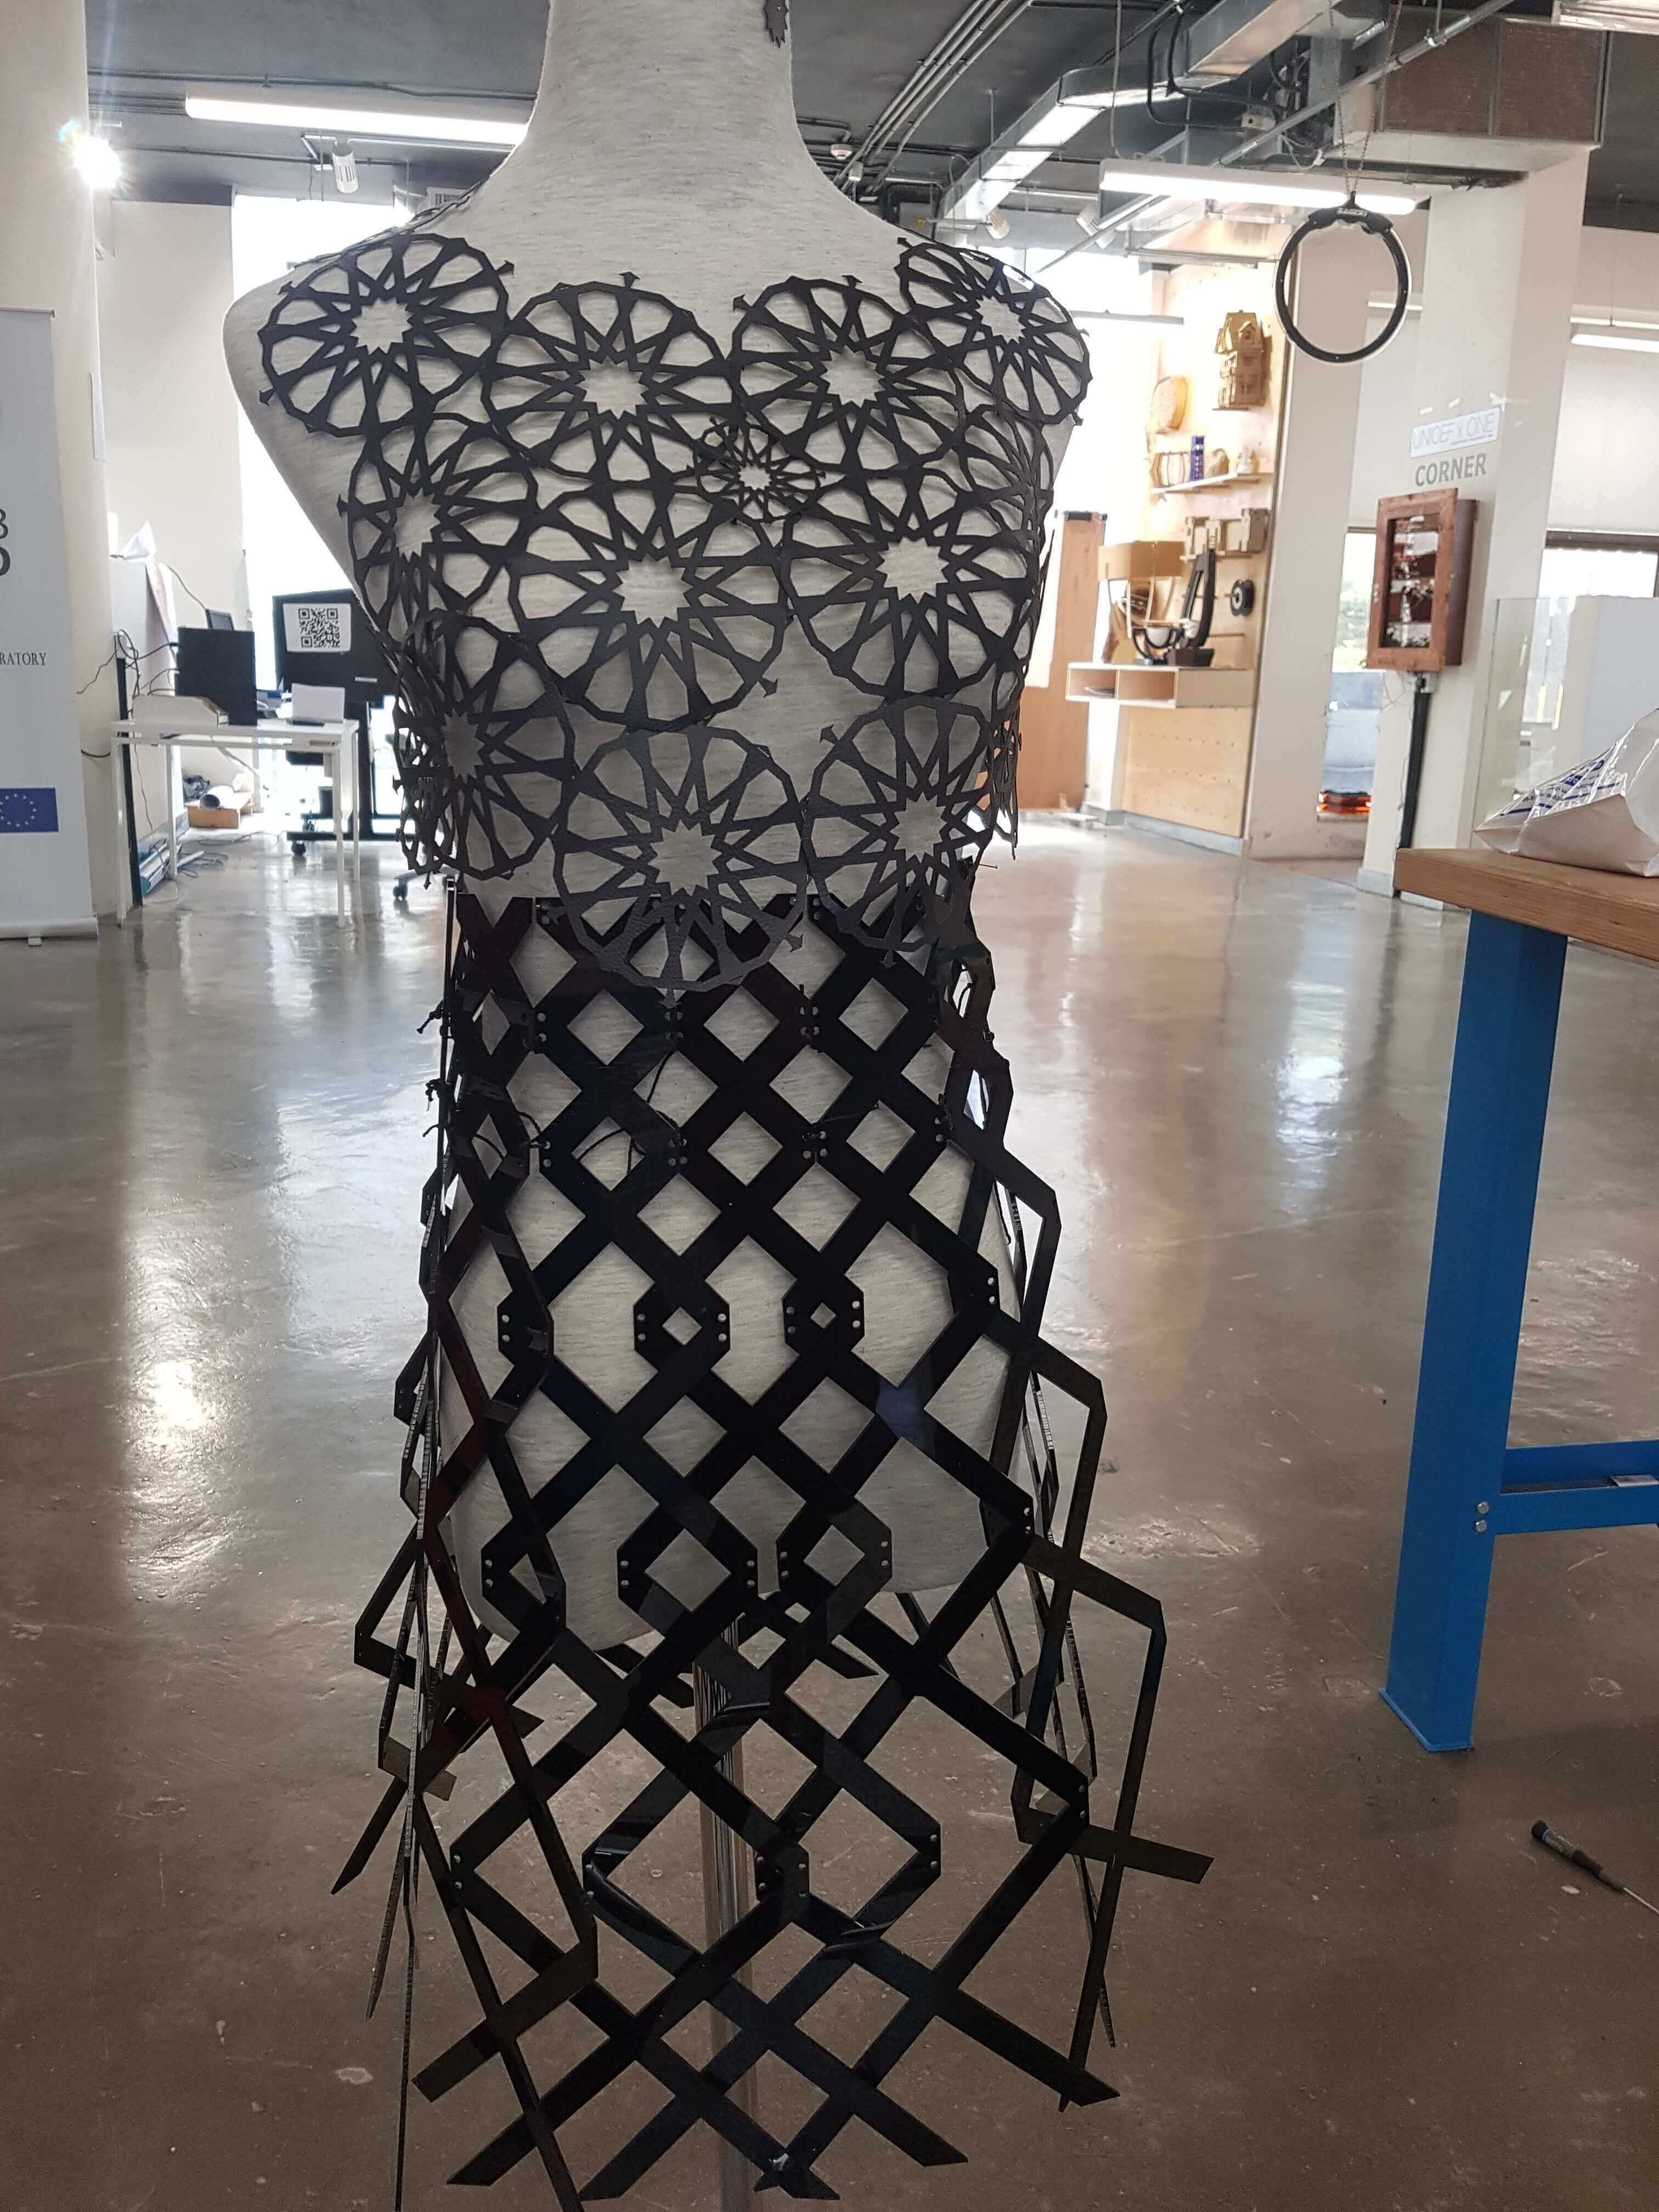
1- The Skirt.
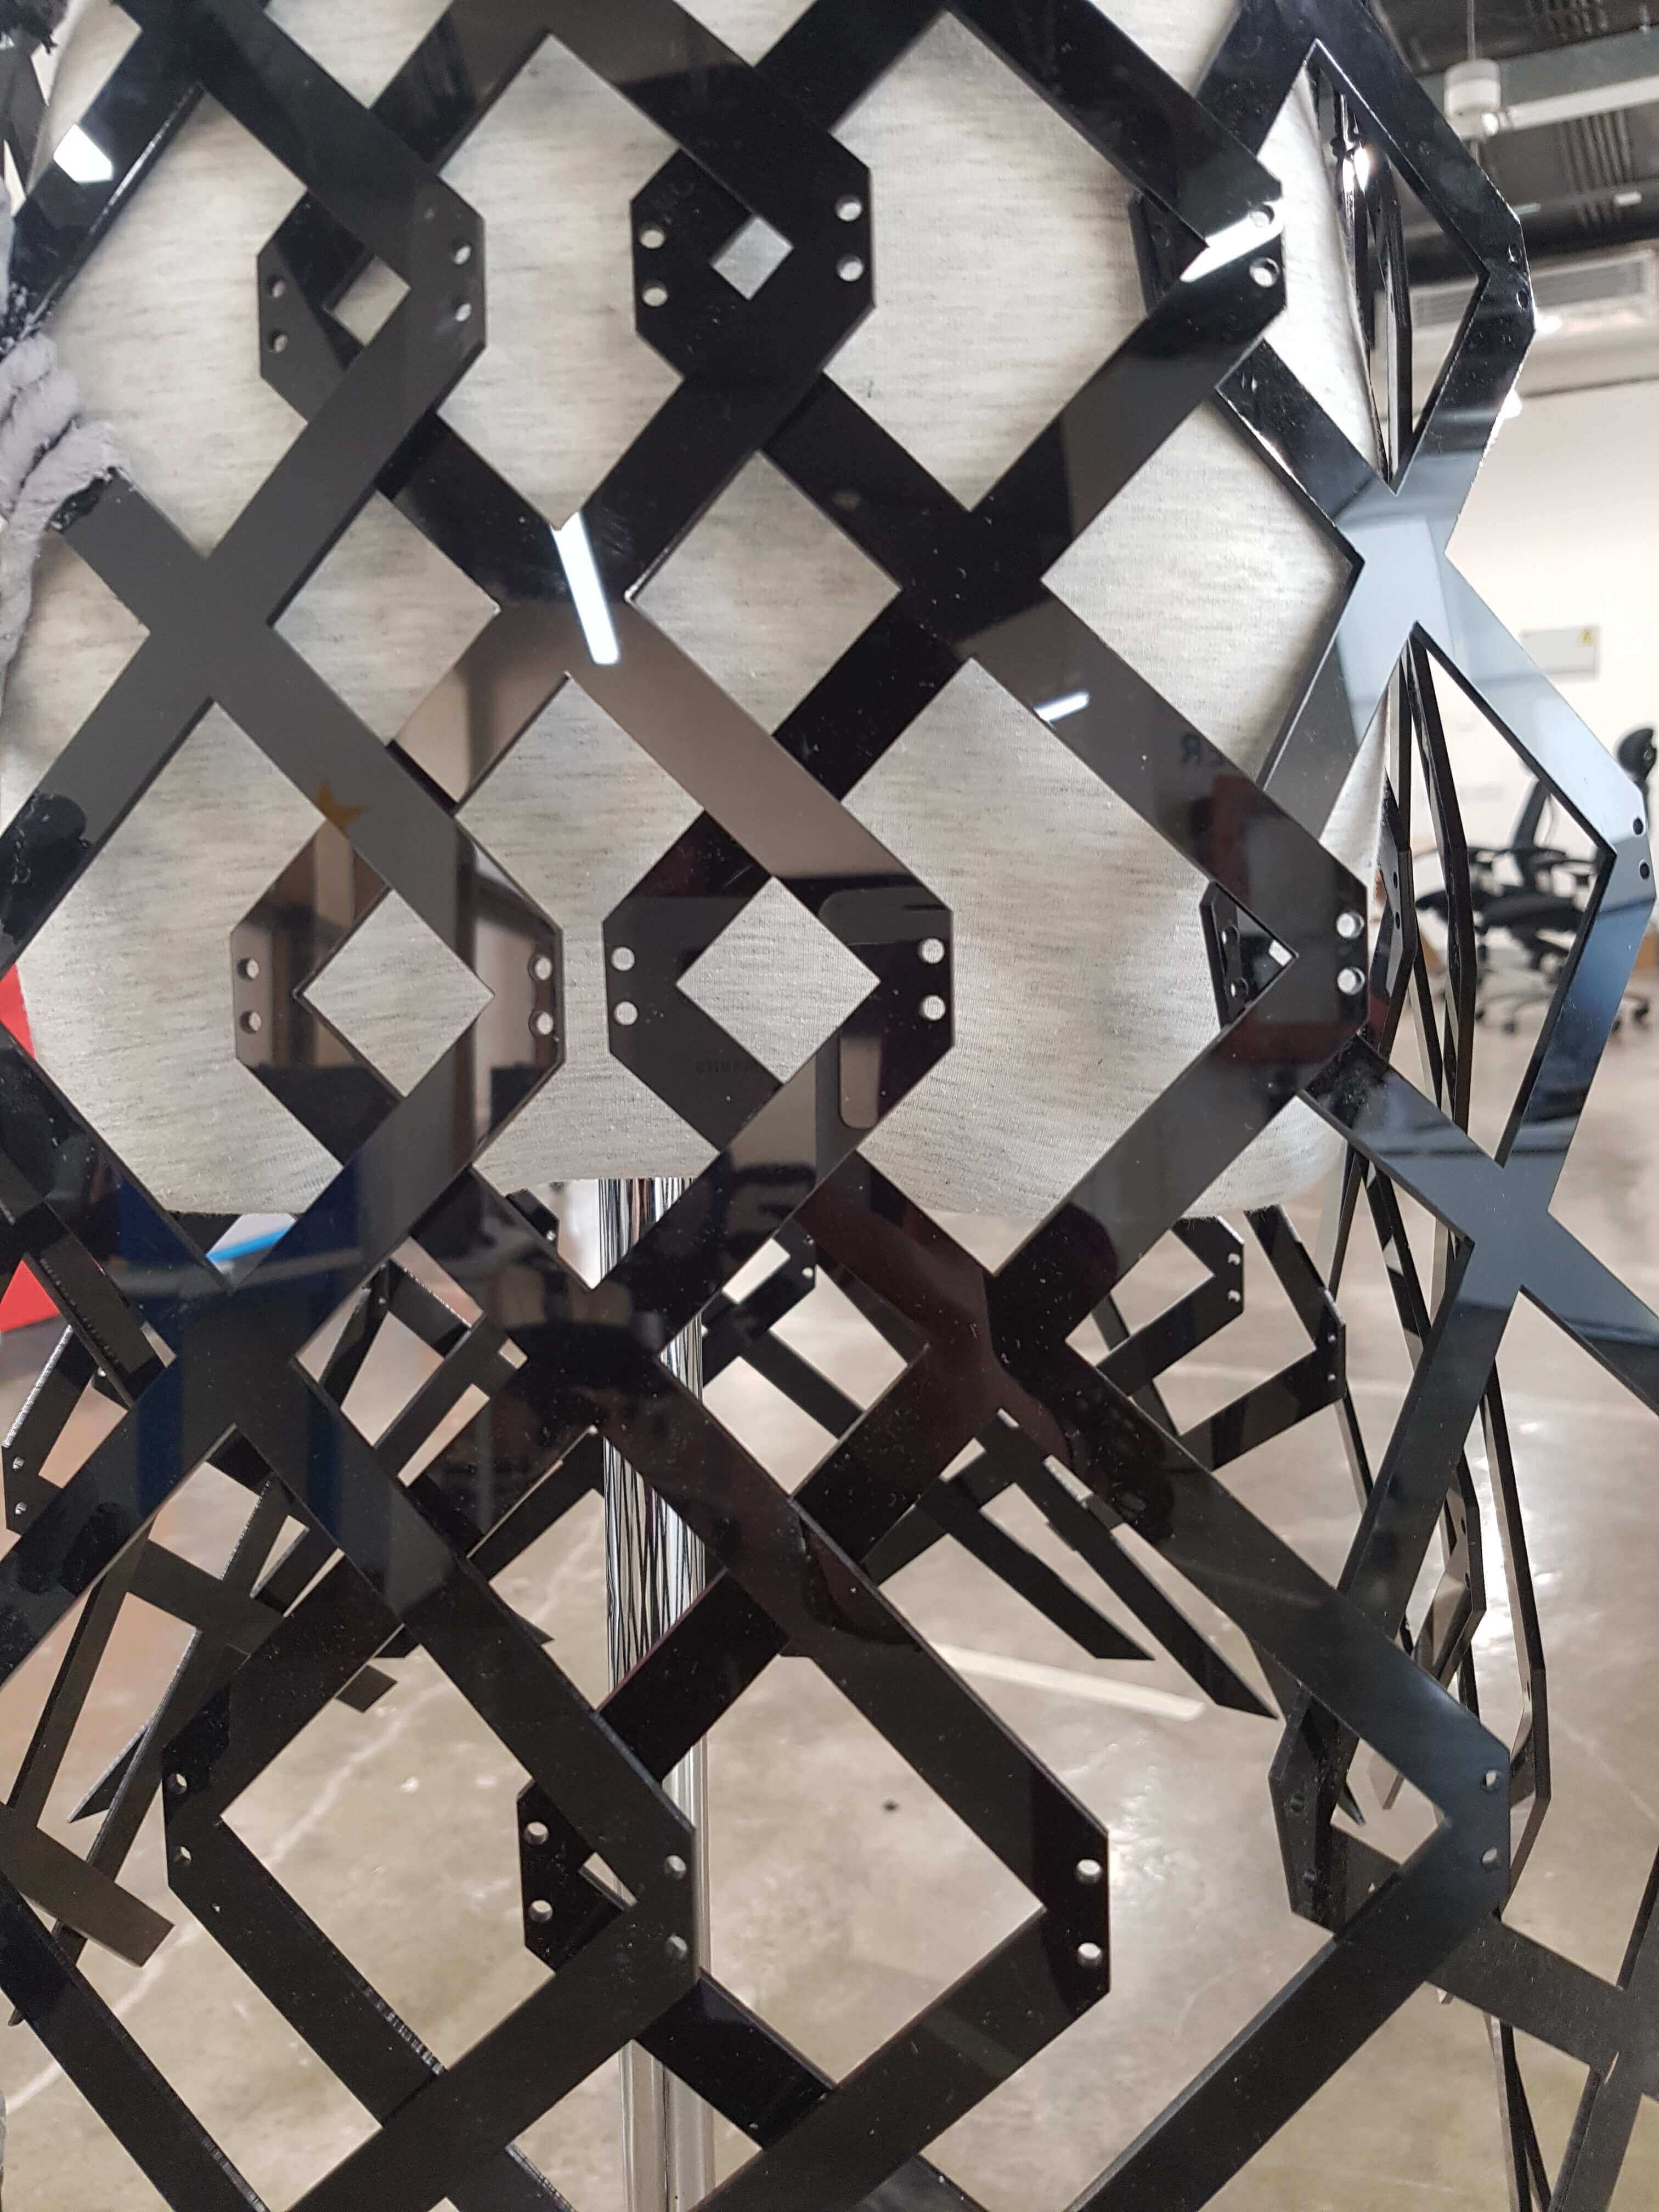
I designed the skirt on Fusion 360, the idea of the X’s was to have place for the conductive threads to climb on (later on I had a problem that I couldn’t use it), nonetheless, I liked how the looks turned out. I designed it using fusion360. I first drew "X"s gradually increasing in size. I then created offsets for each line, and connected the edges, before I cut the sharp edges and added thread holes.
I also then created the living hinge around the waist, because i wanted to make sure that if the waist of the mannequin was too small it would still fit and won't break, but I didn't need it when I assembled the parts together.
.jpg)
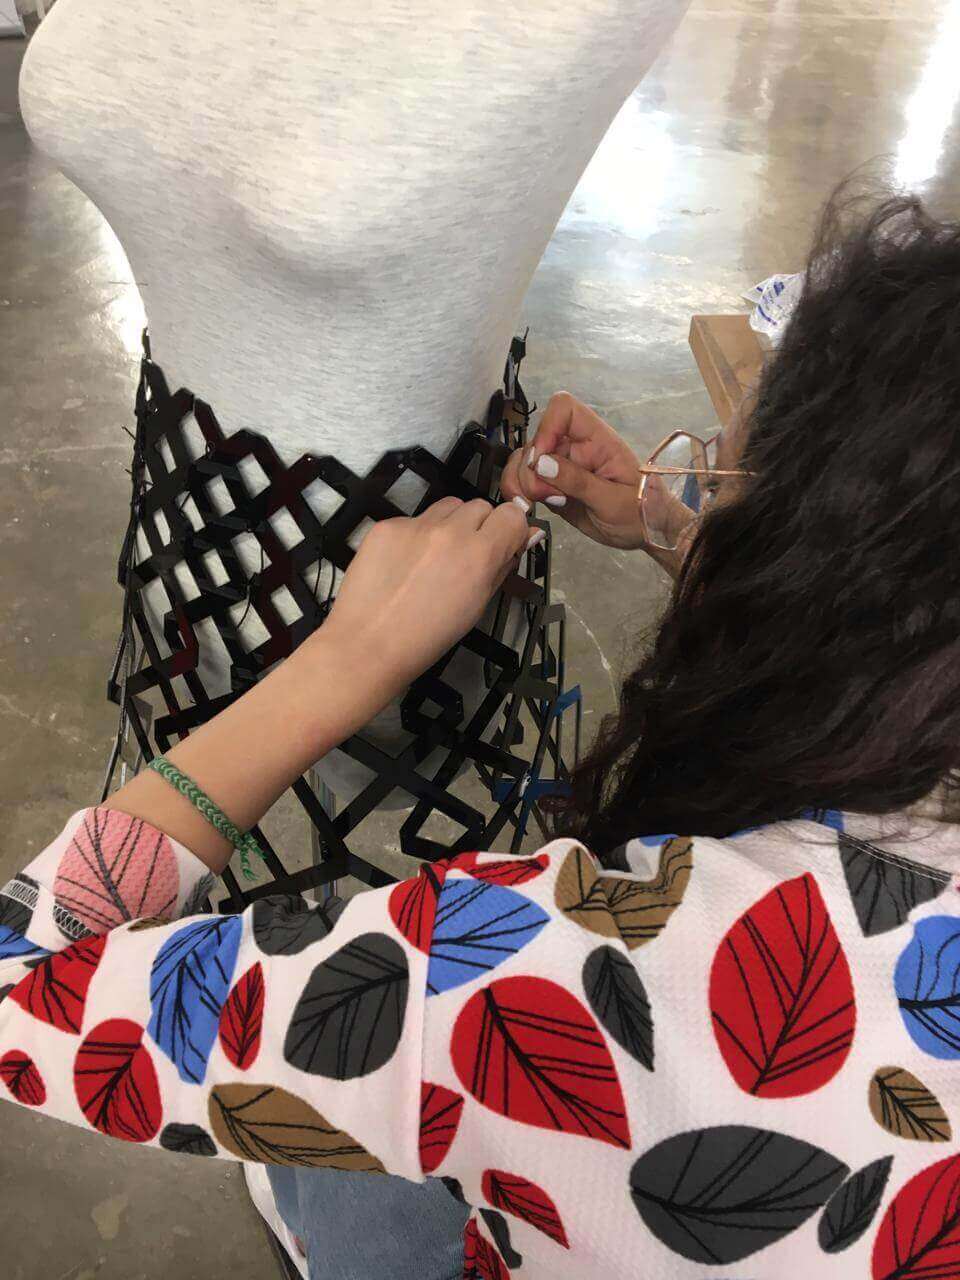
I used 2.5 mm thick black acrylic, and cut them using the laser machine. Download the dxf file from here and the original Fusion file from here.

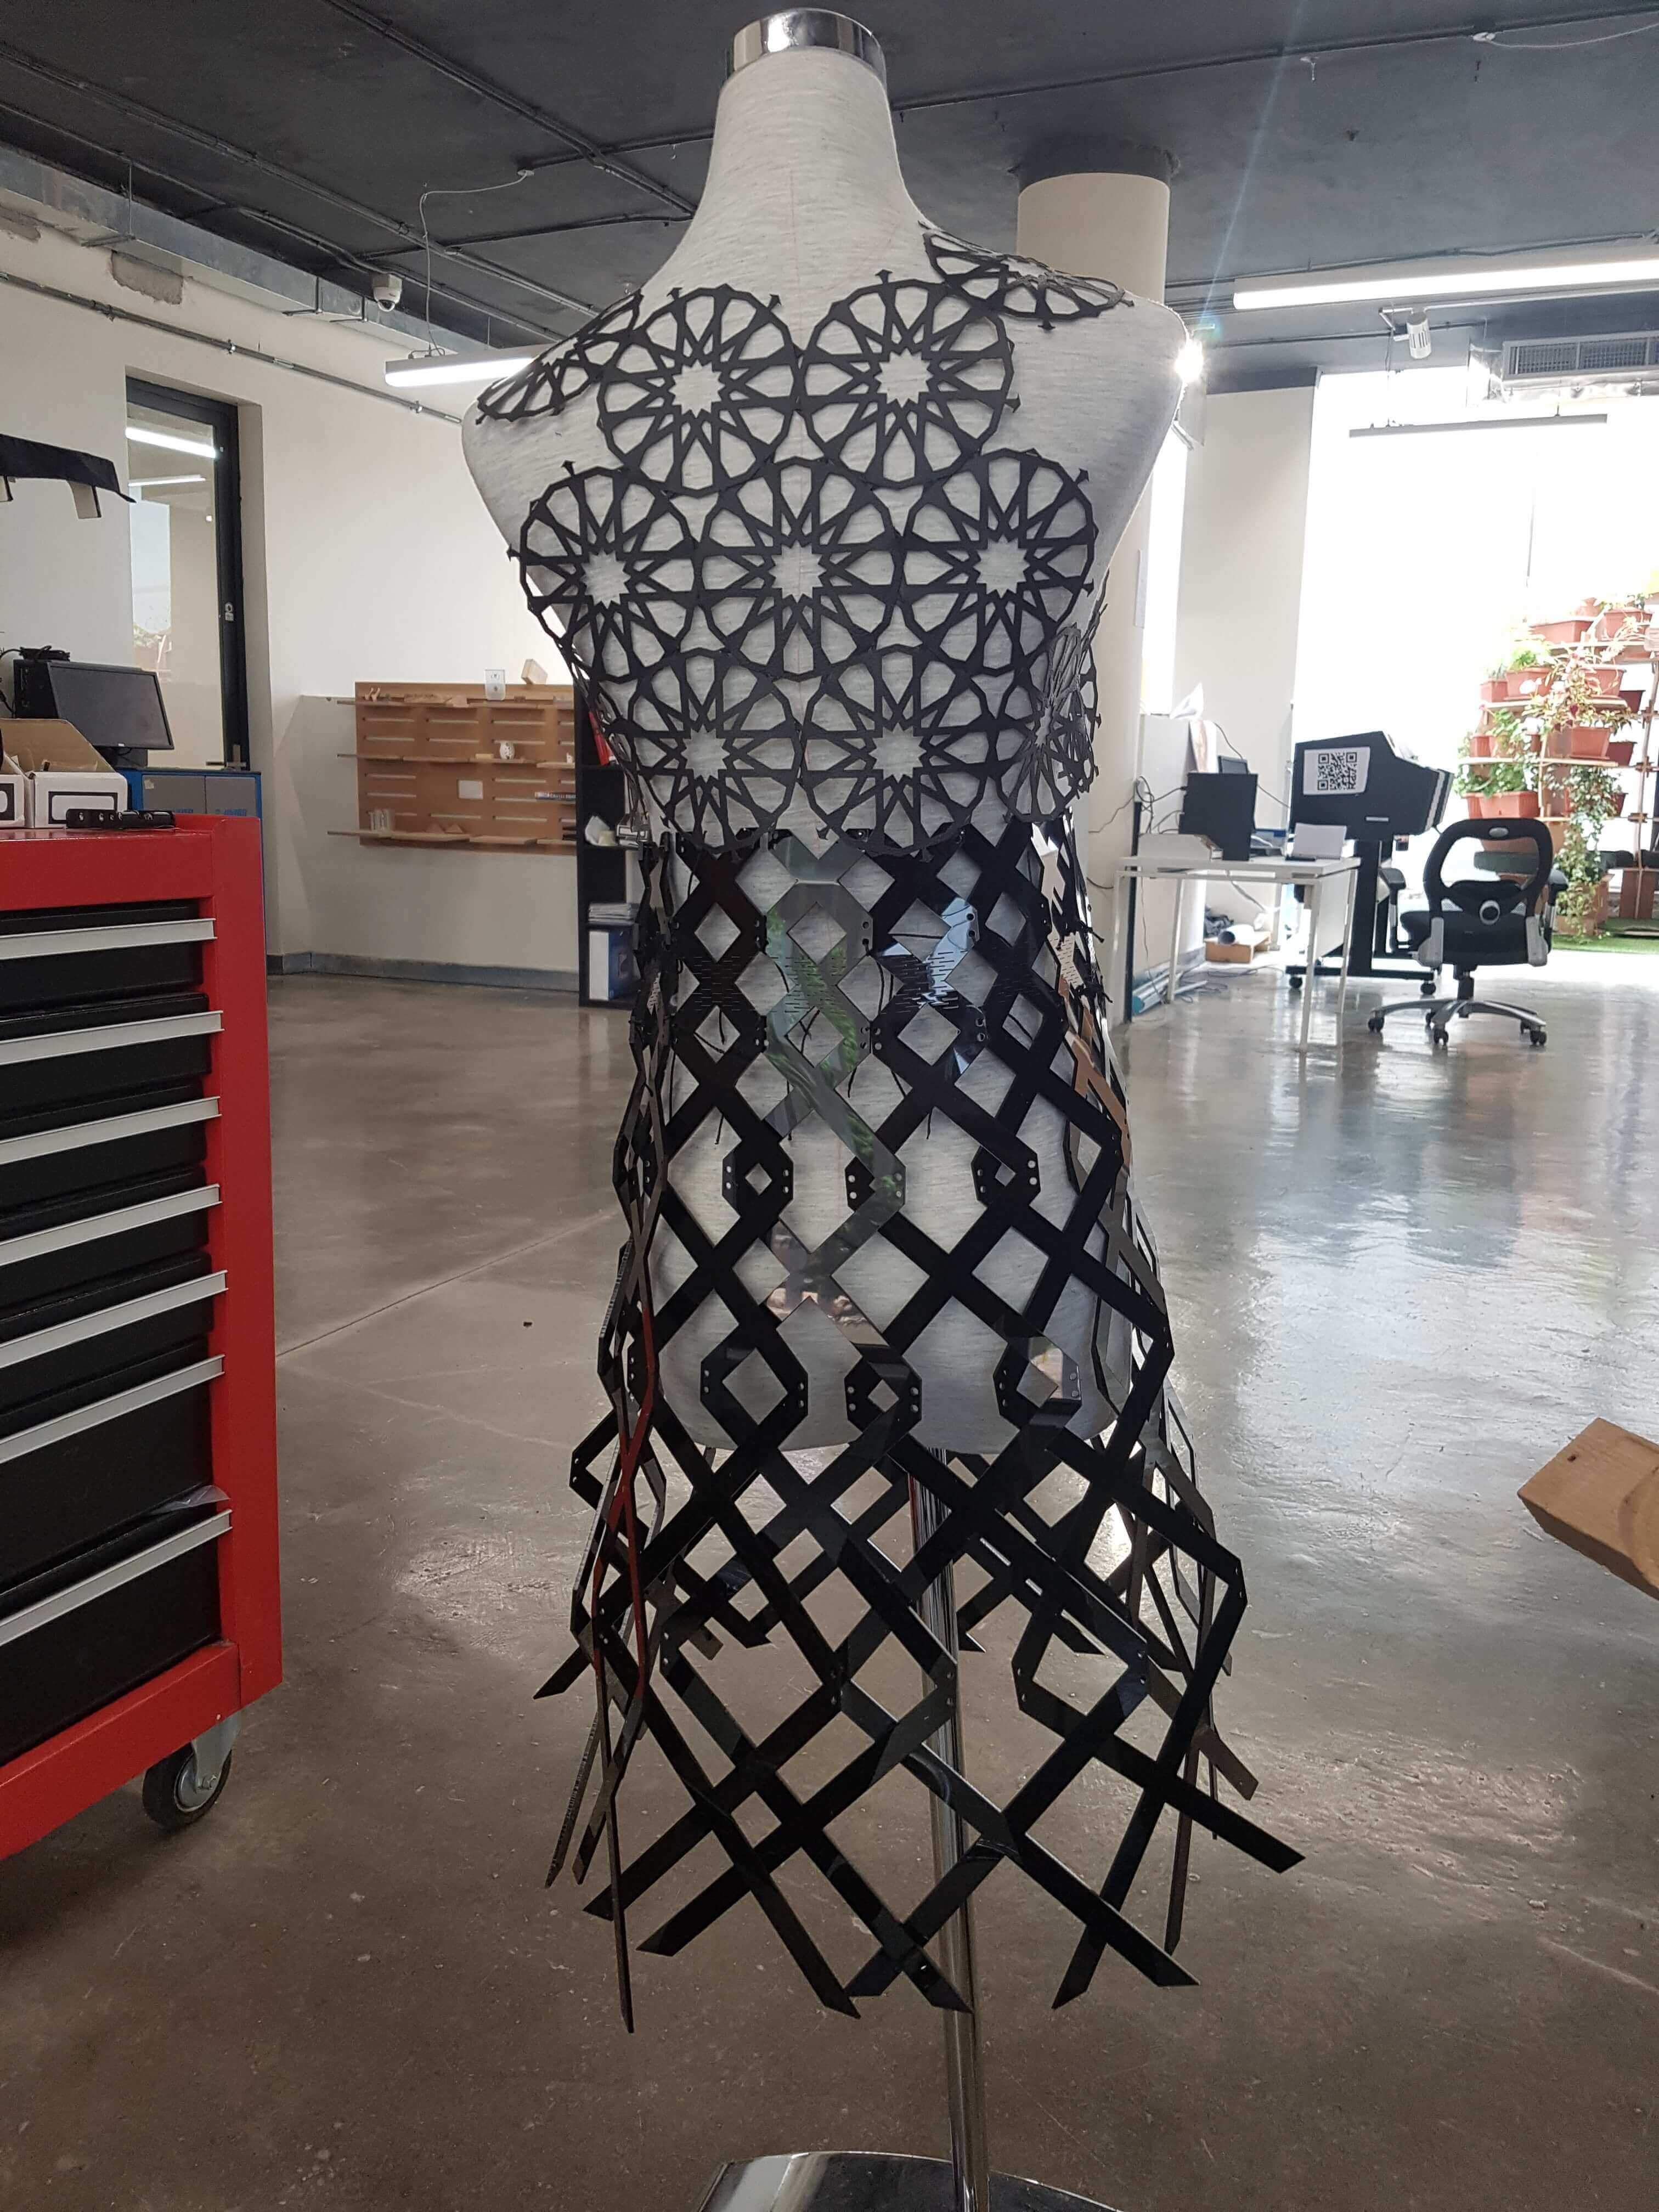
2- The Top.
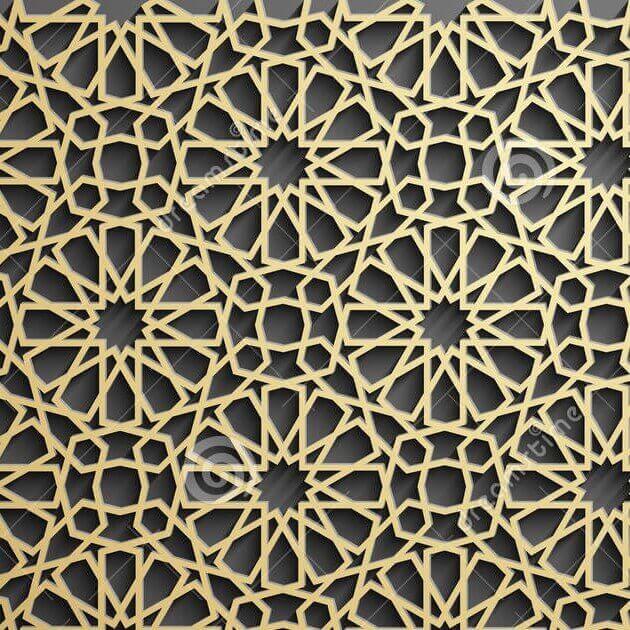
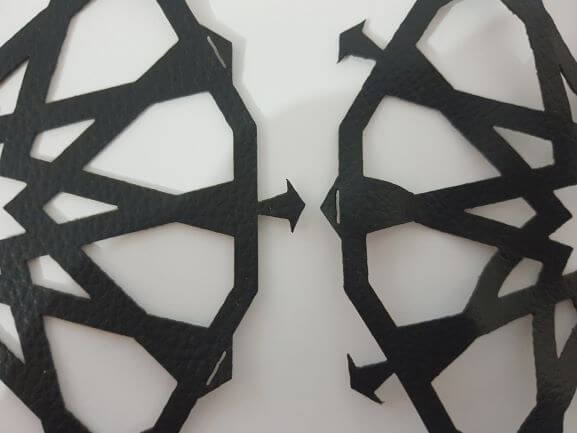
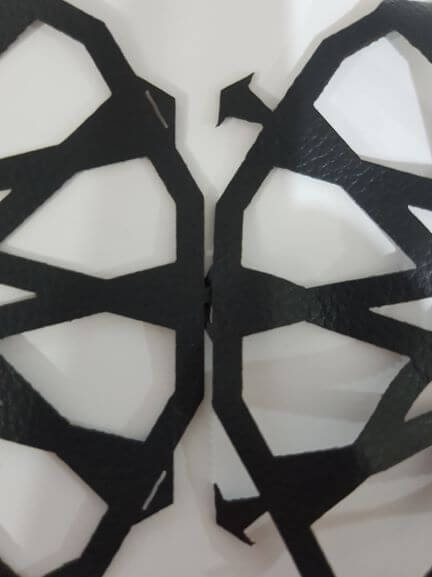
The top is made from black leather, also cut by the laser machine. I’m a huge fan of Islamic architecture patterns and so I wanted to make a pattern that imitates it. I used Fusion360 also to design it, and then prepared it for cutting on CorelDraw. The arrows and cuts on the edges are used for putting together. Download the dxf file from here.

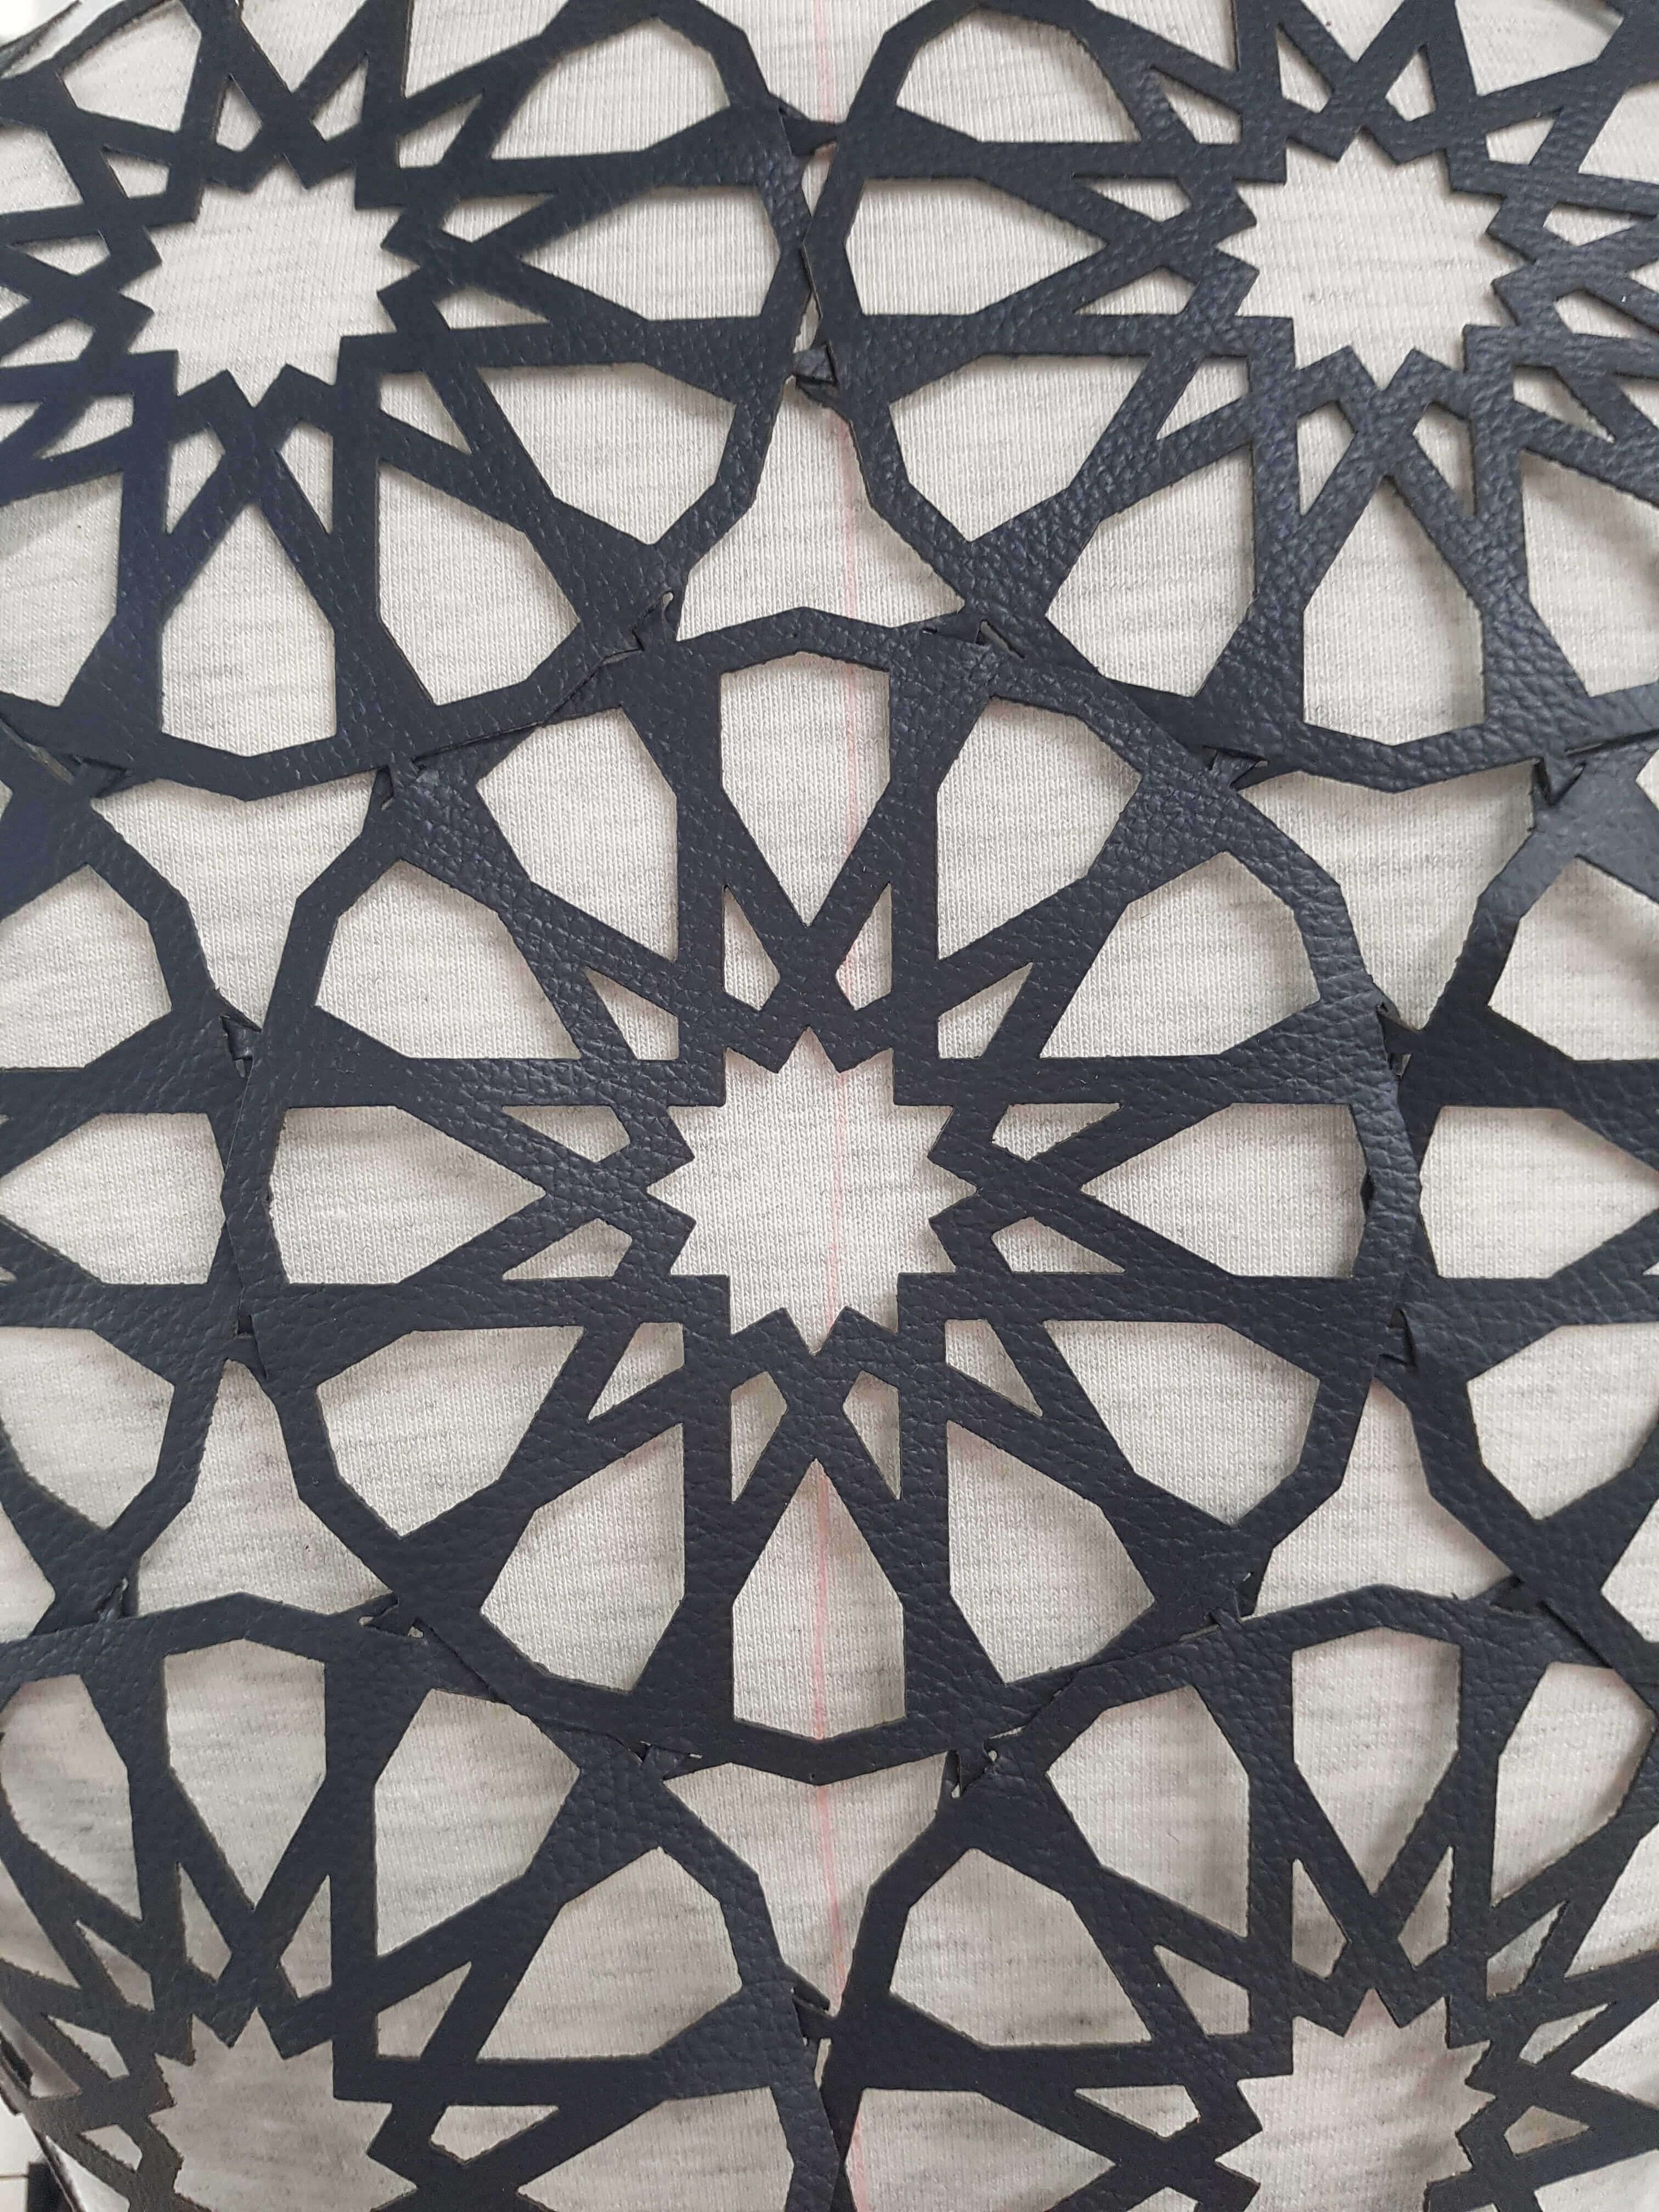
Although it was my first time cutting laser, But when I started my internship in the fablab, a Fabriacademy student tried cutting leather as I was helping here. She had saved the optimum settings to the lab's laser sheet, and so I tried them. I placed the leather piece on the laser machine's bed, and used the following settings:

and the results were rather satisfying
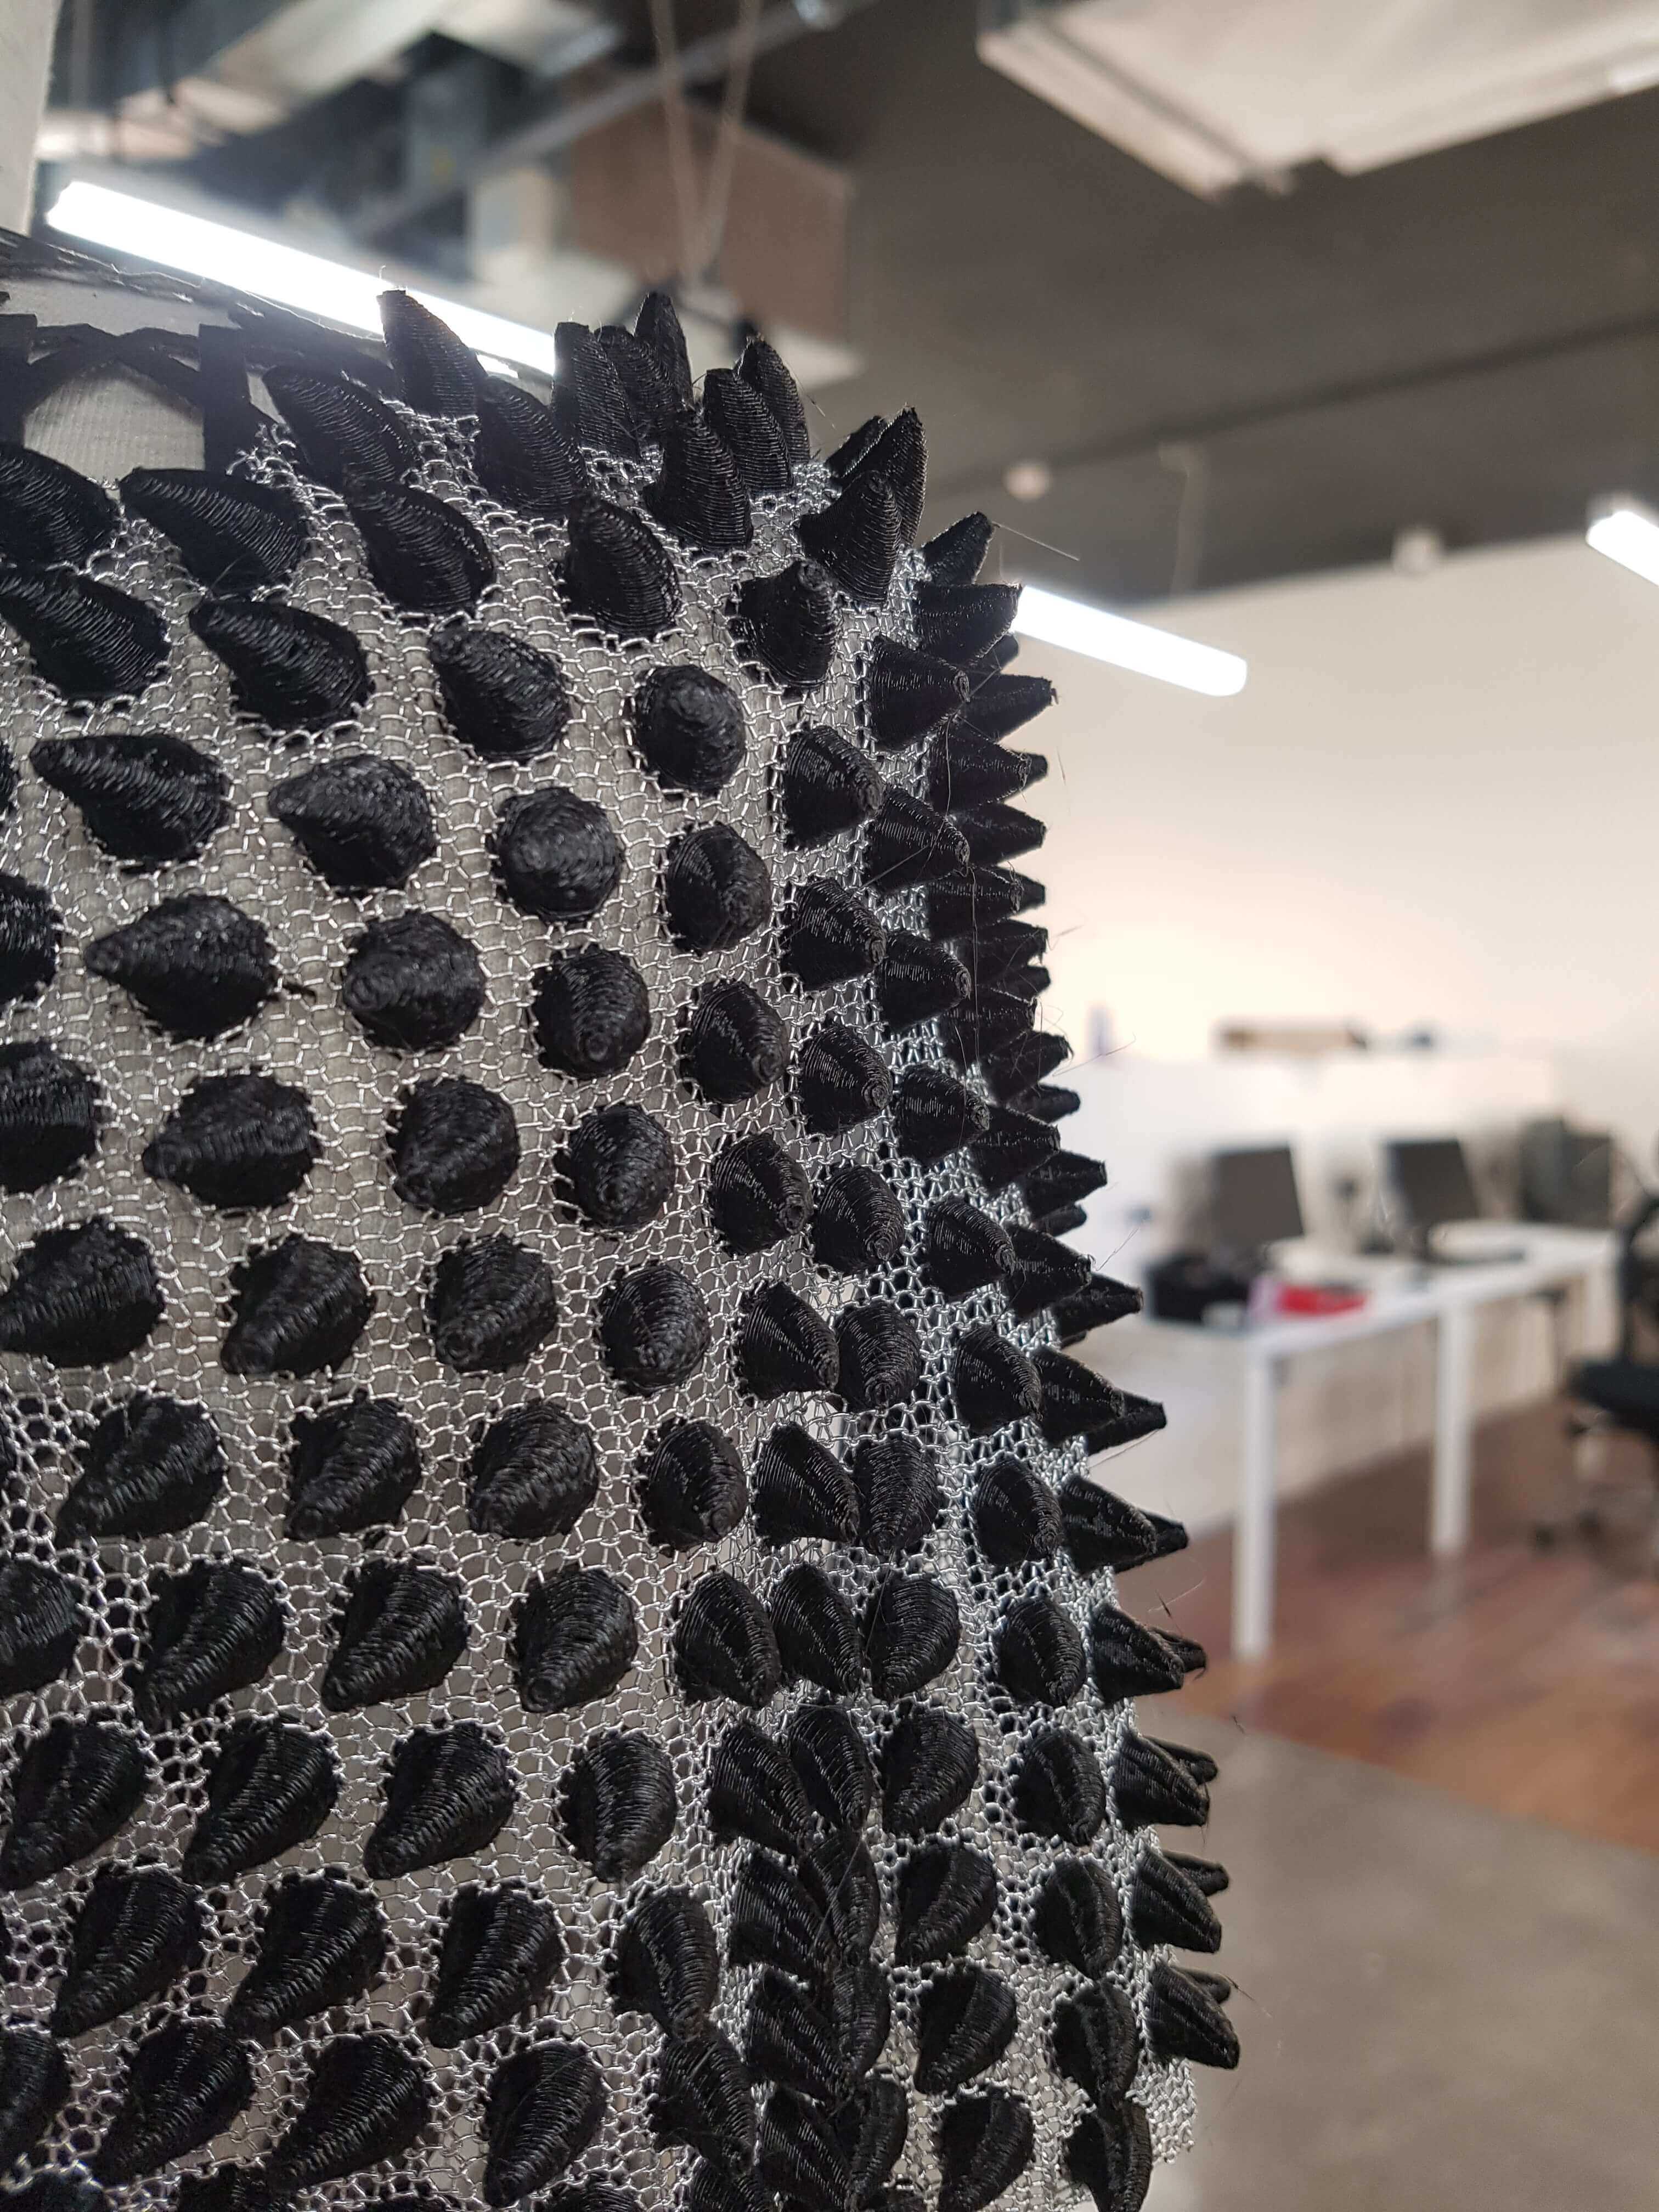
3- The Sleeves.
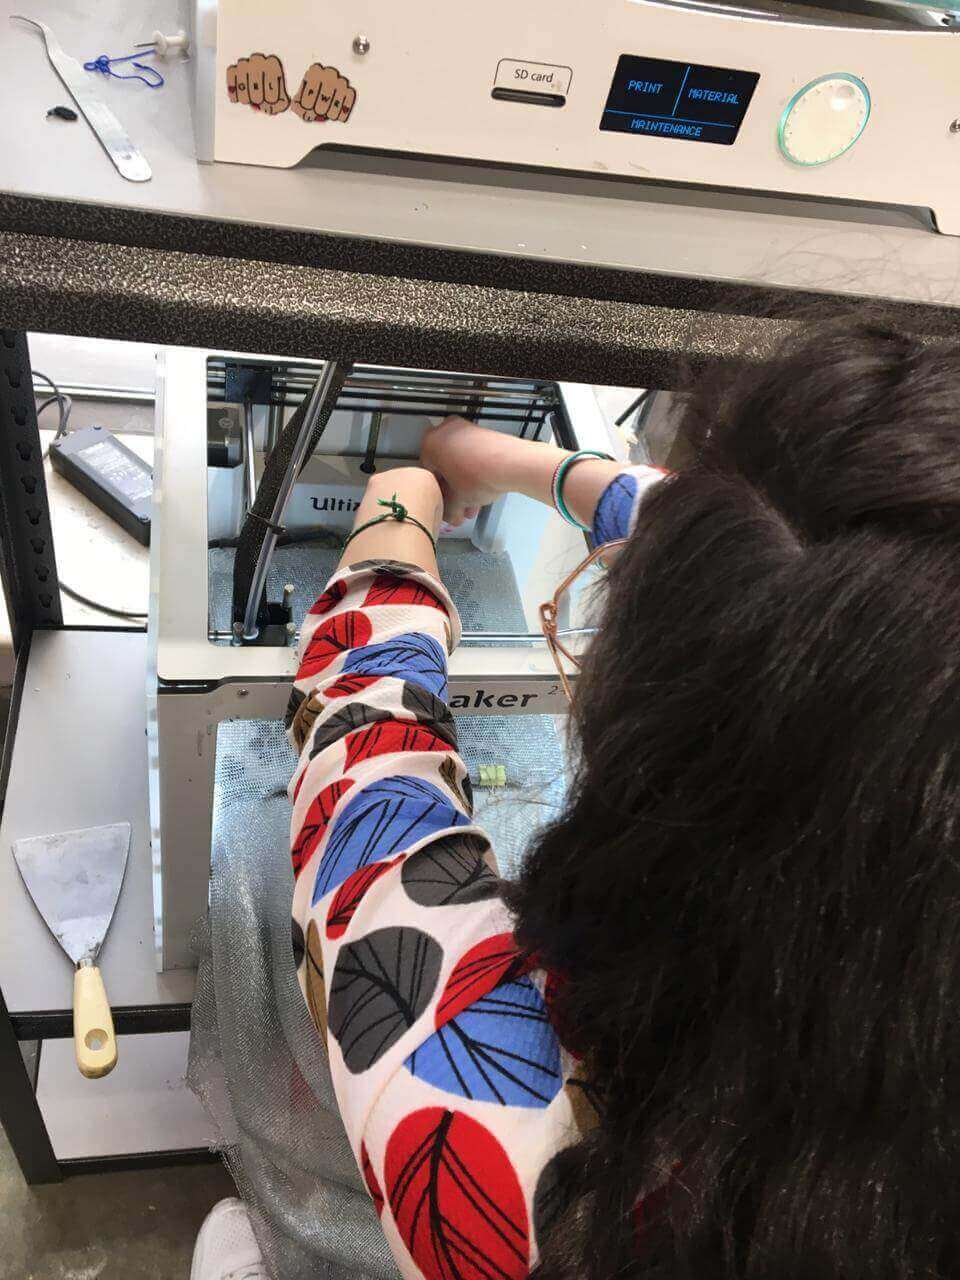
The sleeves are made using 3d printing. The lab had previously printed flexible 3d prints, so this week I wanted to try something new. I found a technique online on Youtube, which you can check out here ,
where you design any shape, start printing it, and after few layers you pause the printed, add a piece of fabric that has big holes, and then resume the printing process.
You can download the file fromhere.
I started the printing process, and then paused it, I got the fabric I'm using (must have big holes in order to make it possible for the PLA to stick together through the holes). I used little paper clips to hold the fabric in place:
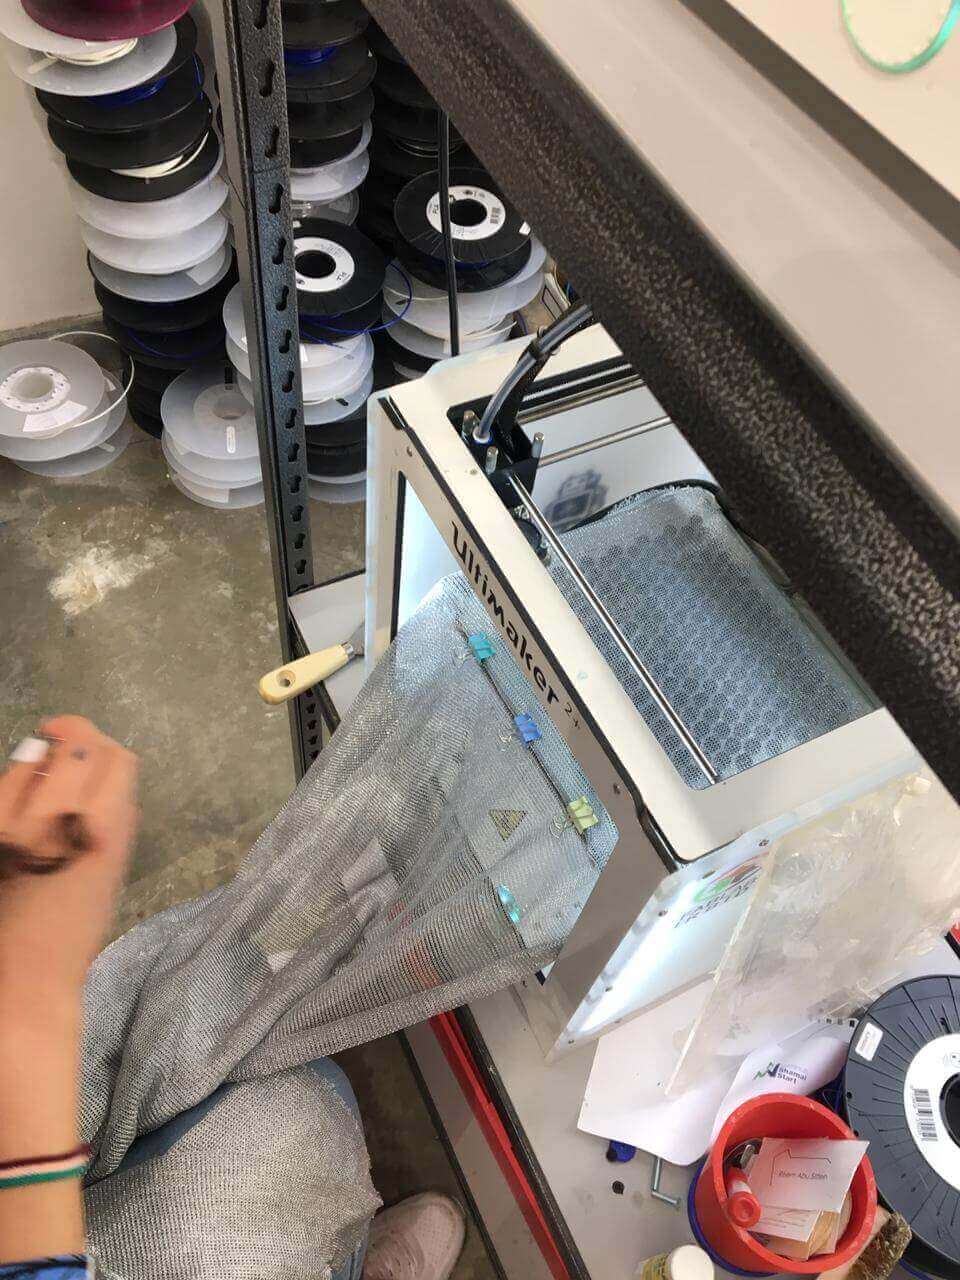
After I finished putting the fabric in place, I resumed the printing process, although the first layer or 2 went a little rough, I kept it printing to see if they will goo smooth after a couple of layers. I checked on the printer , and found it to be printing nicely and so I let it continue.
This is how the fabric looked when it was done:
I then took the resultong pieces and cut them to the shape I want, and fixed them on the manniquen as sleeves:
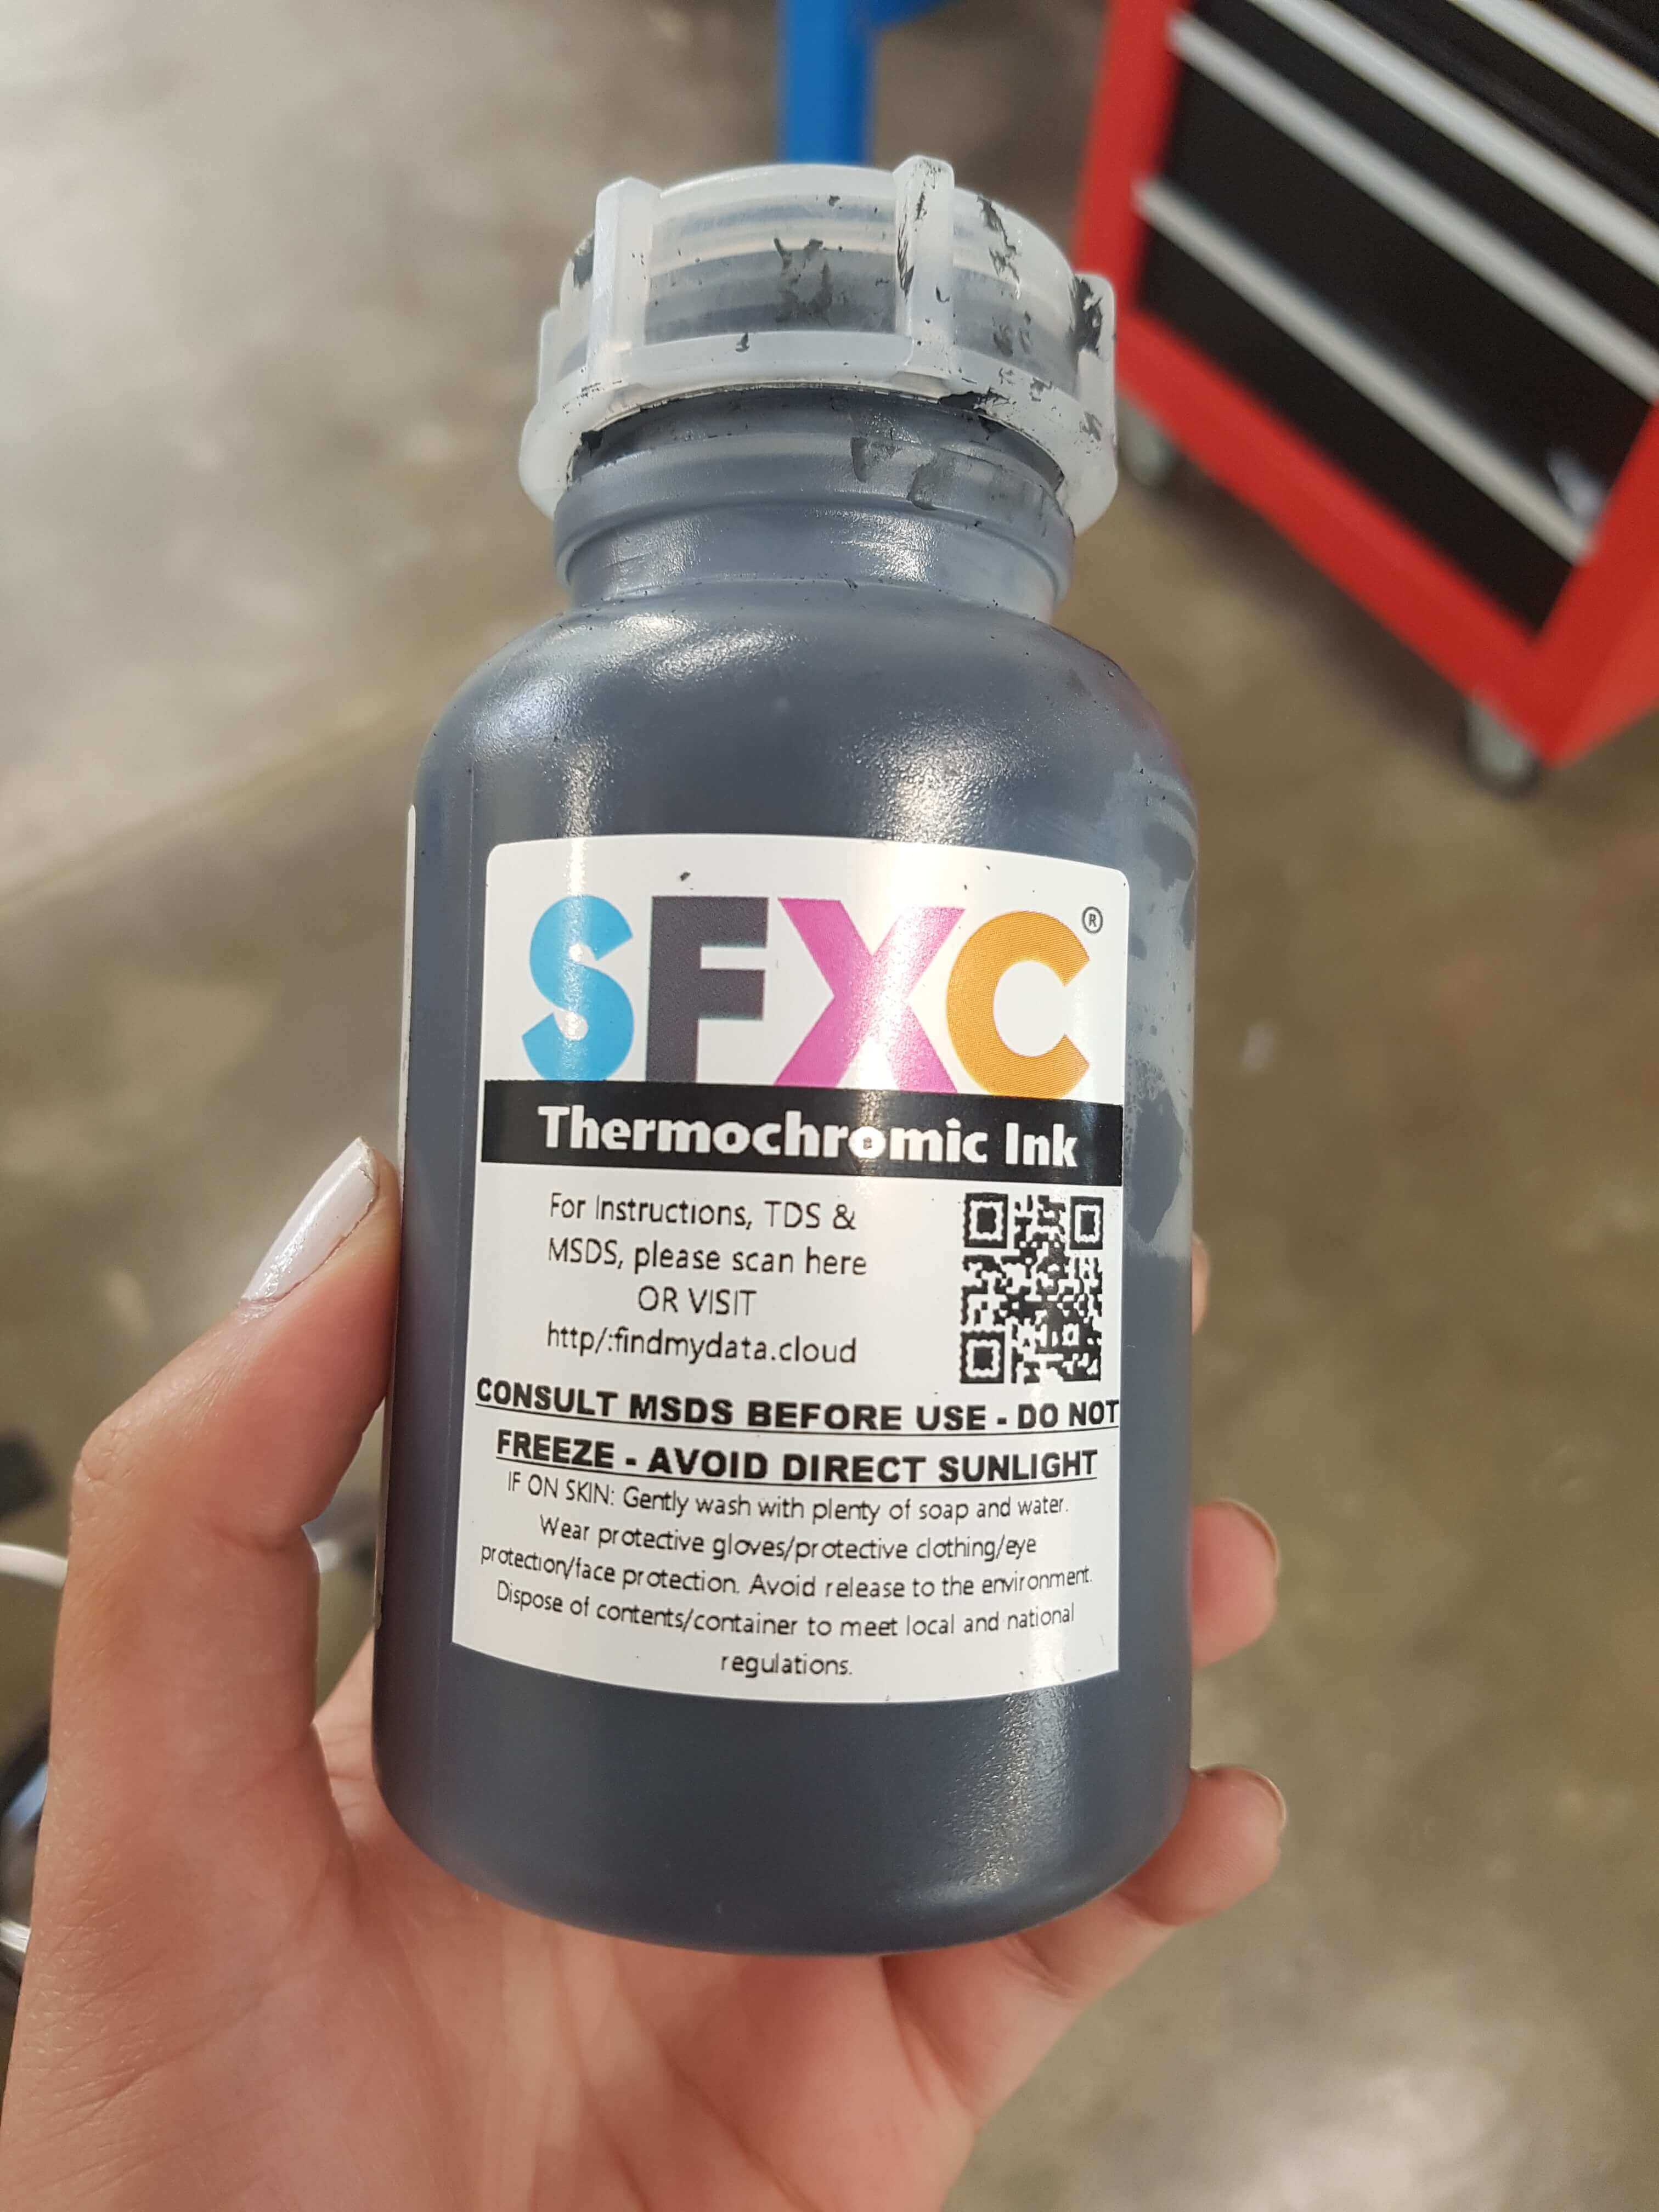
4- The Conductive Threads and Thermochromic Ink.
What I wanted to do in the beginning was to have sort of embroidered pattern that could change colors on the skirt. We had conductive threads in the lab so I thought I could paint them with the thermochromic ink and stitch them on the skirt.
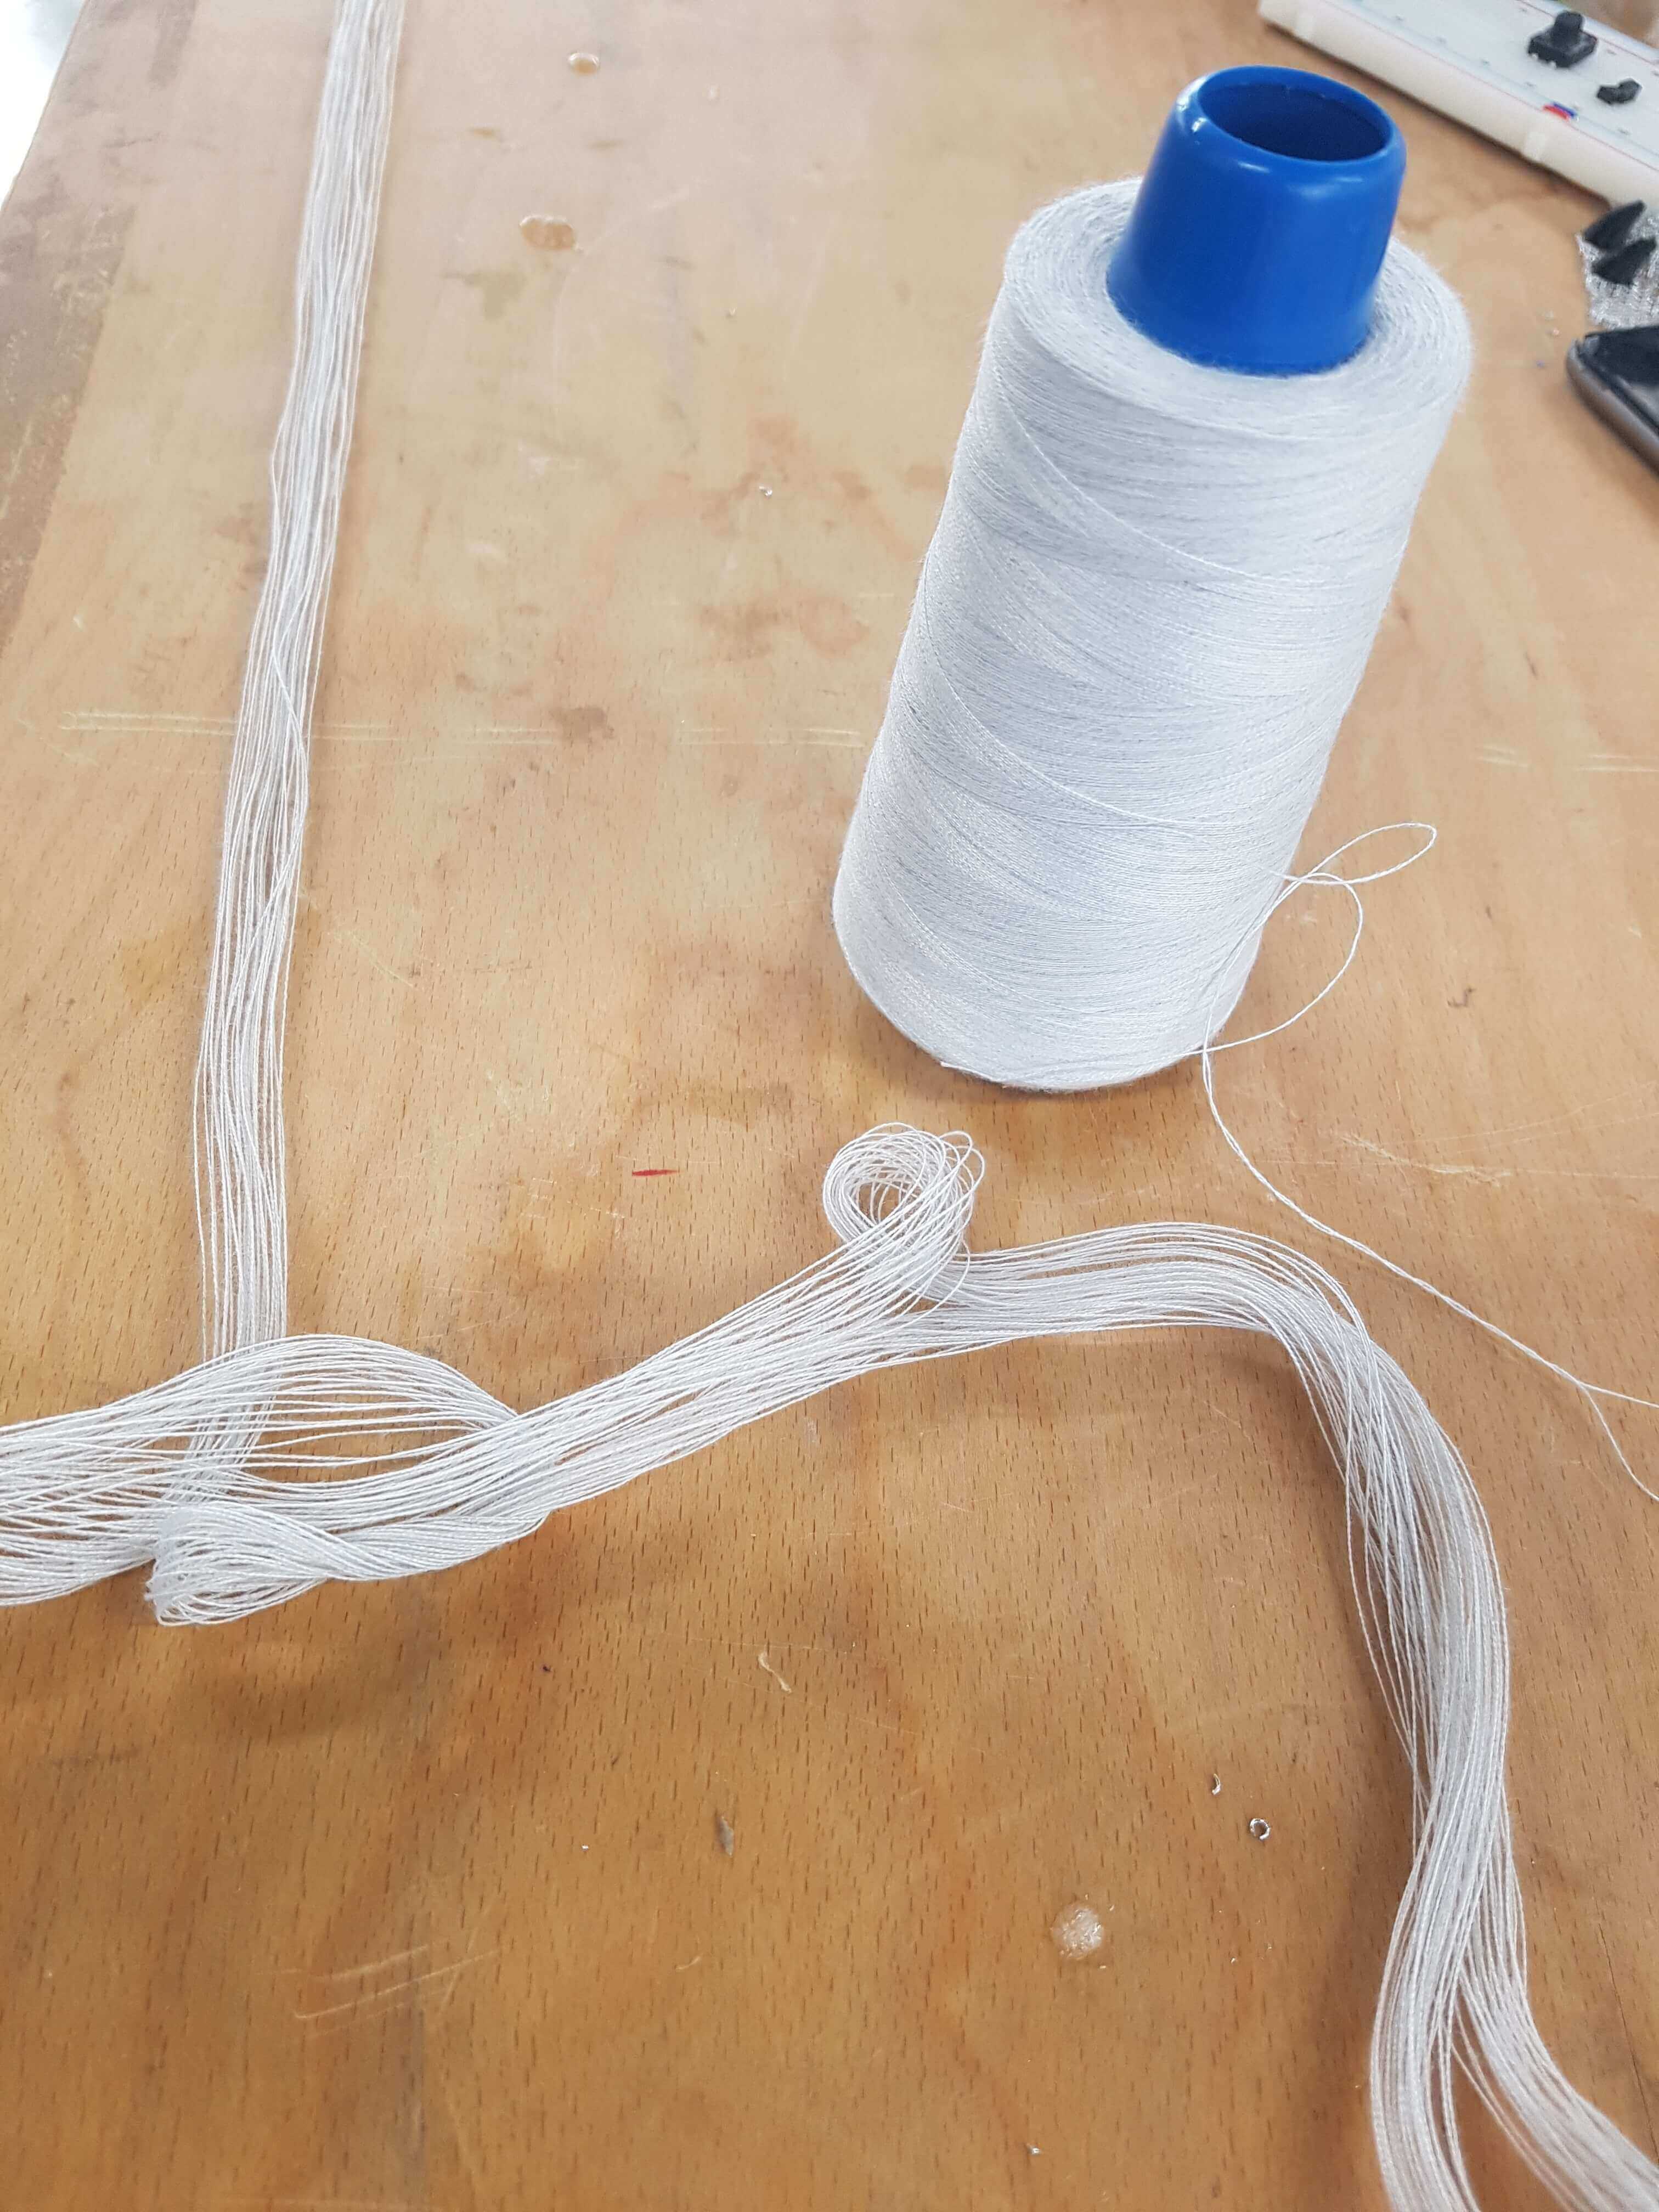
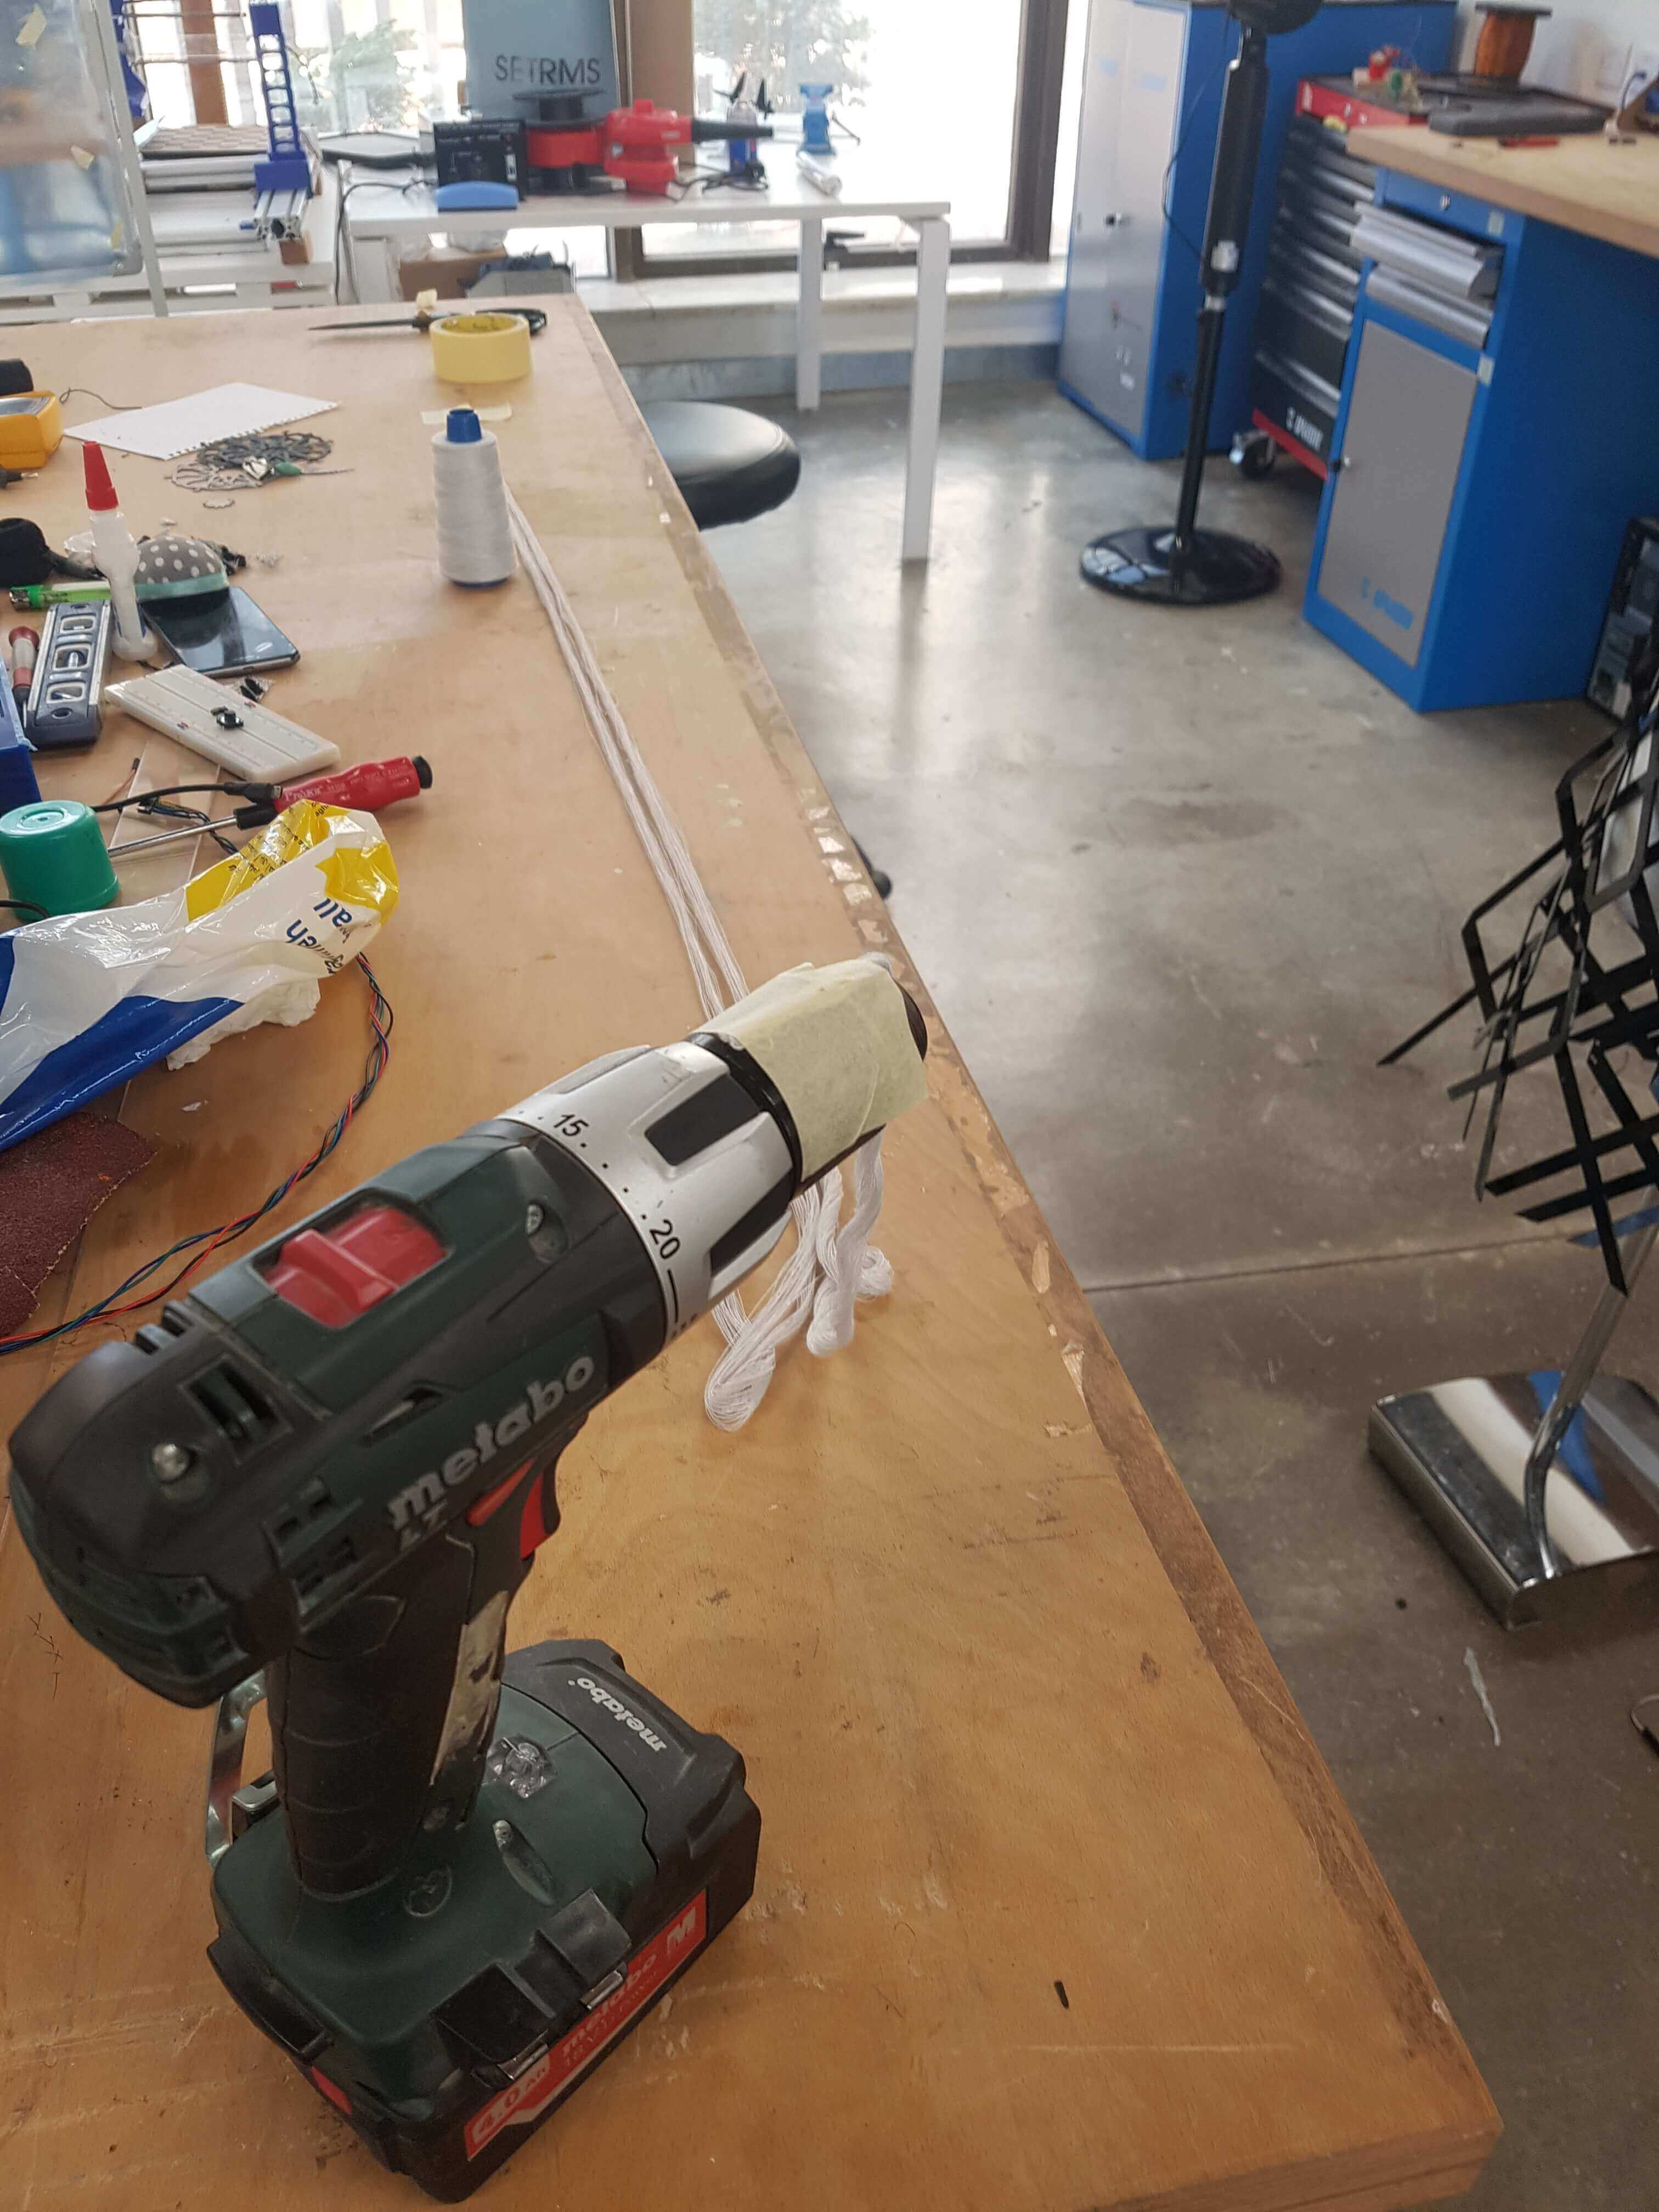
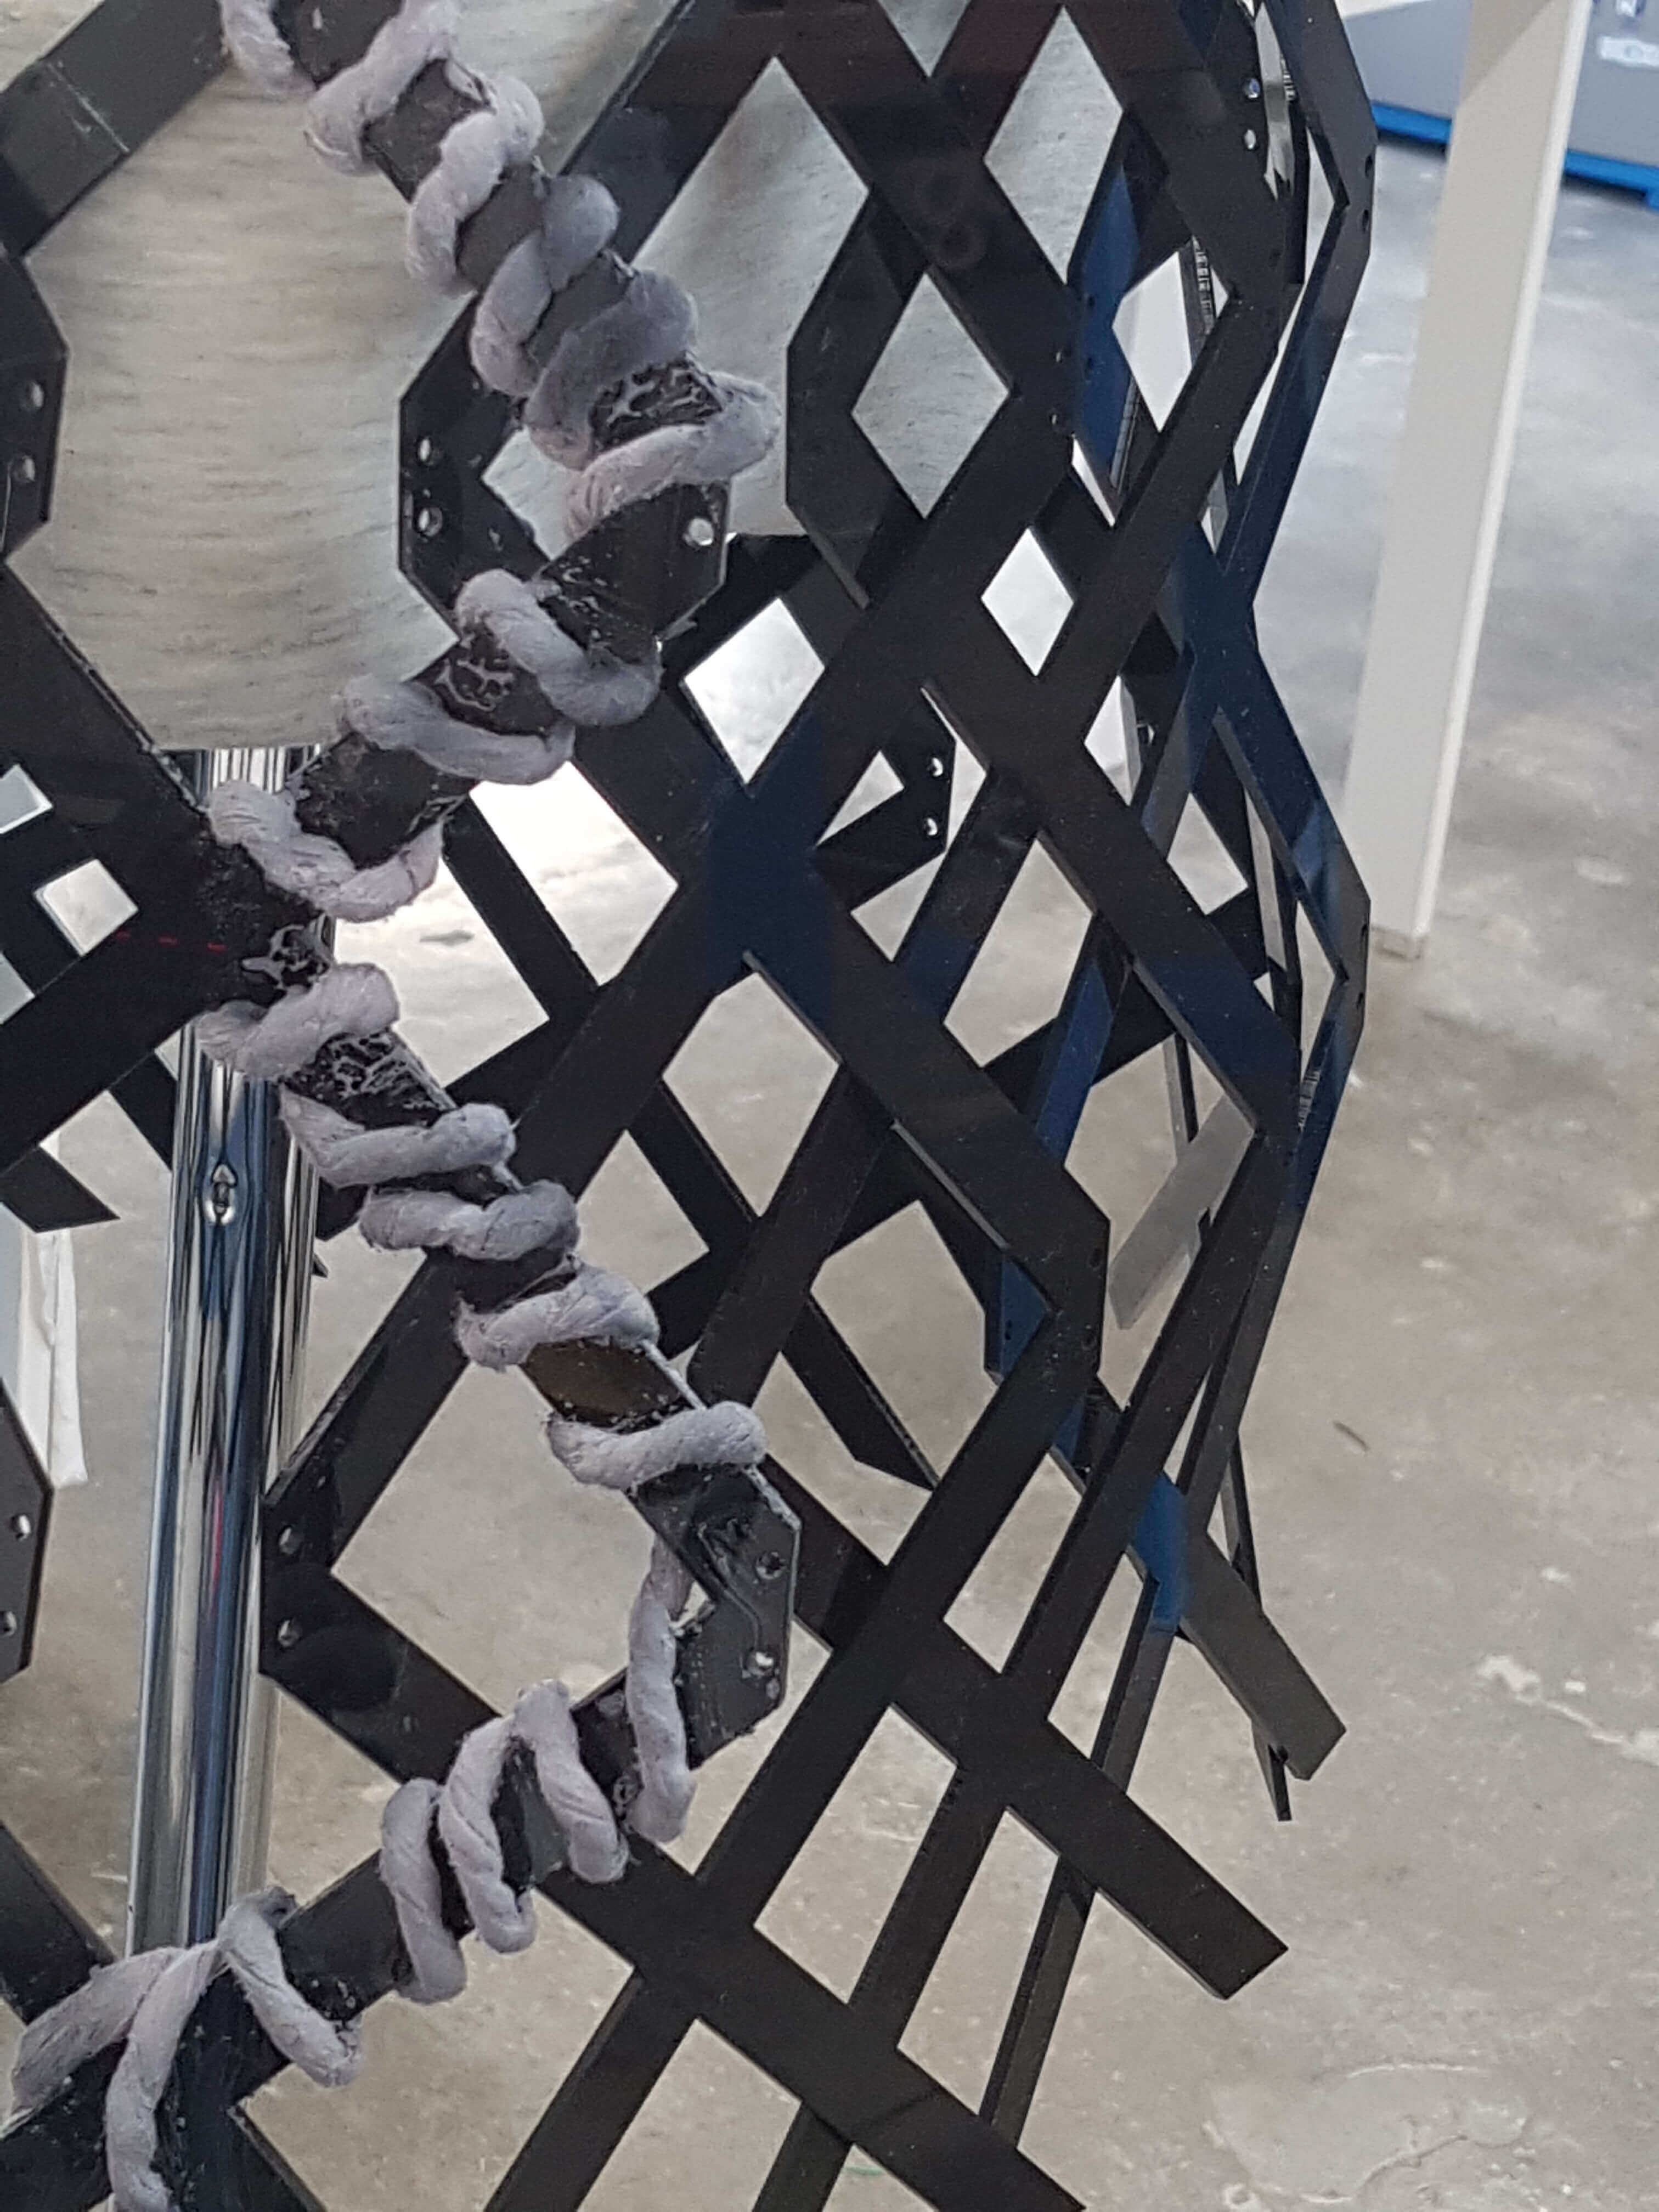
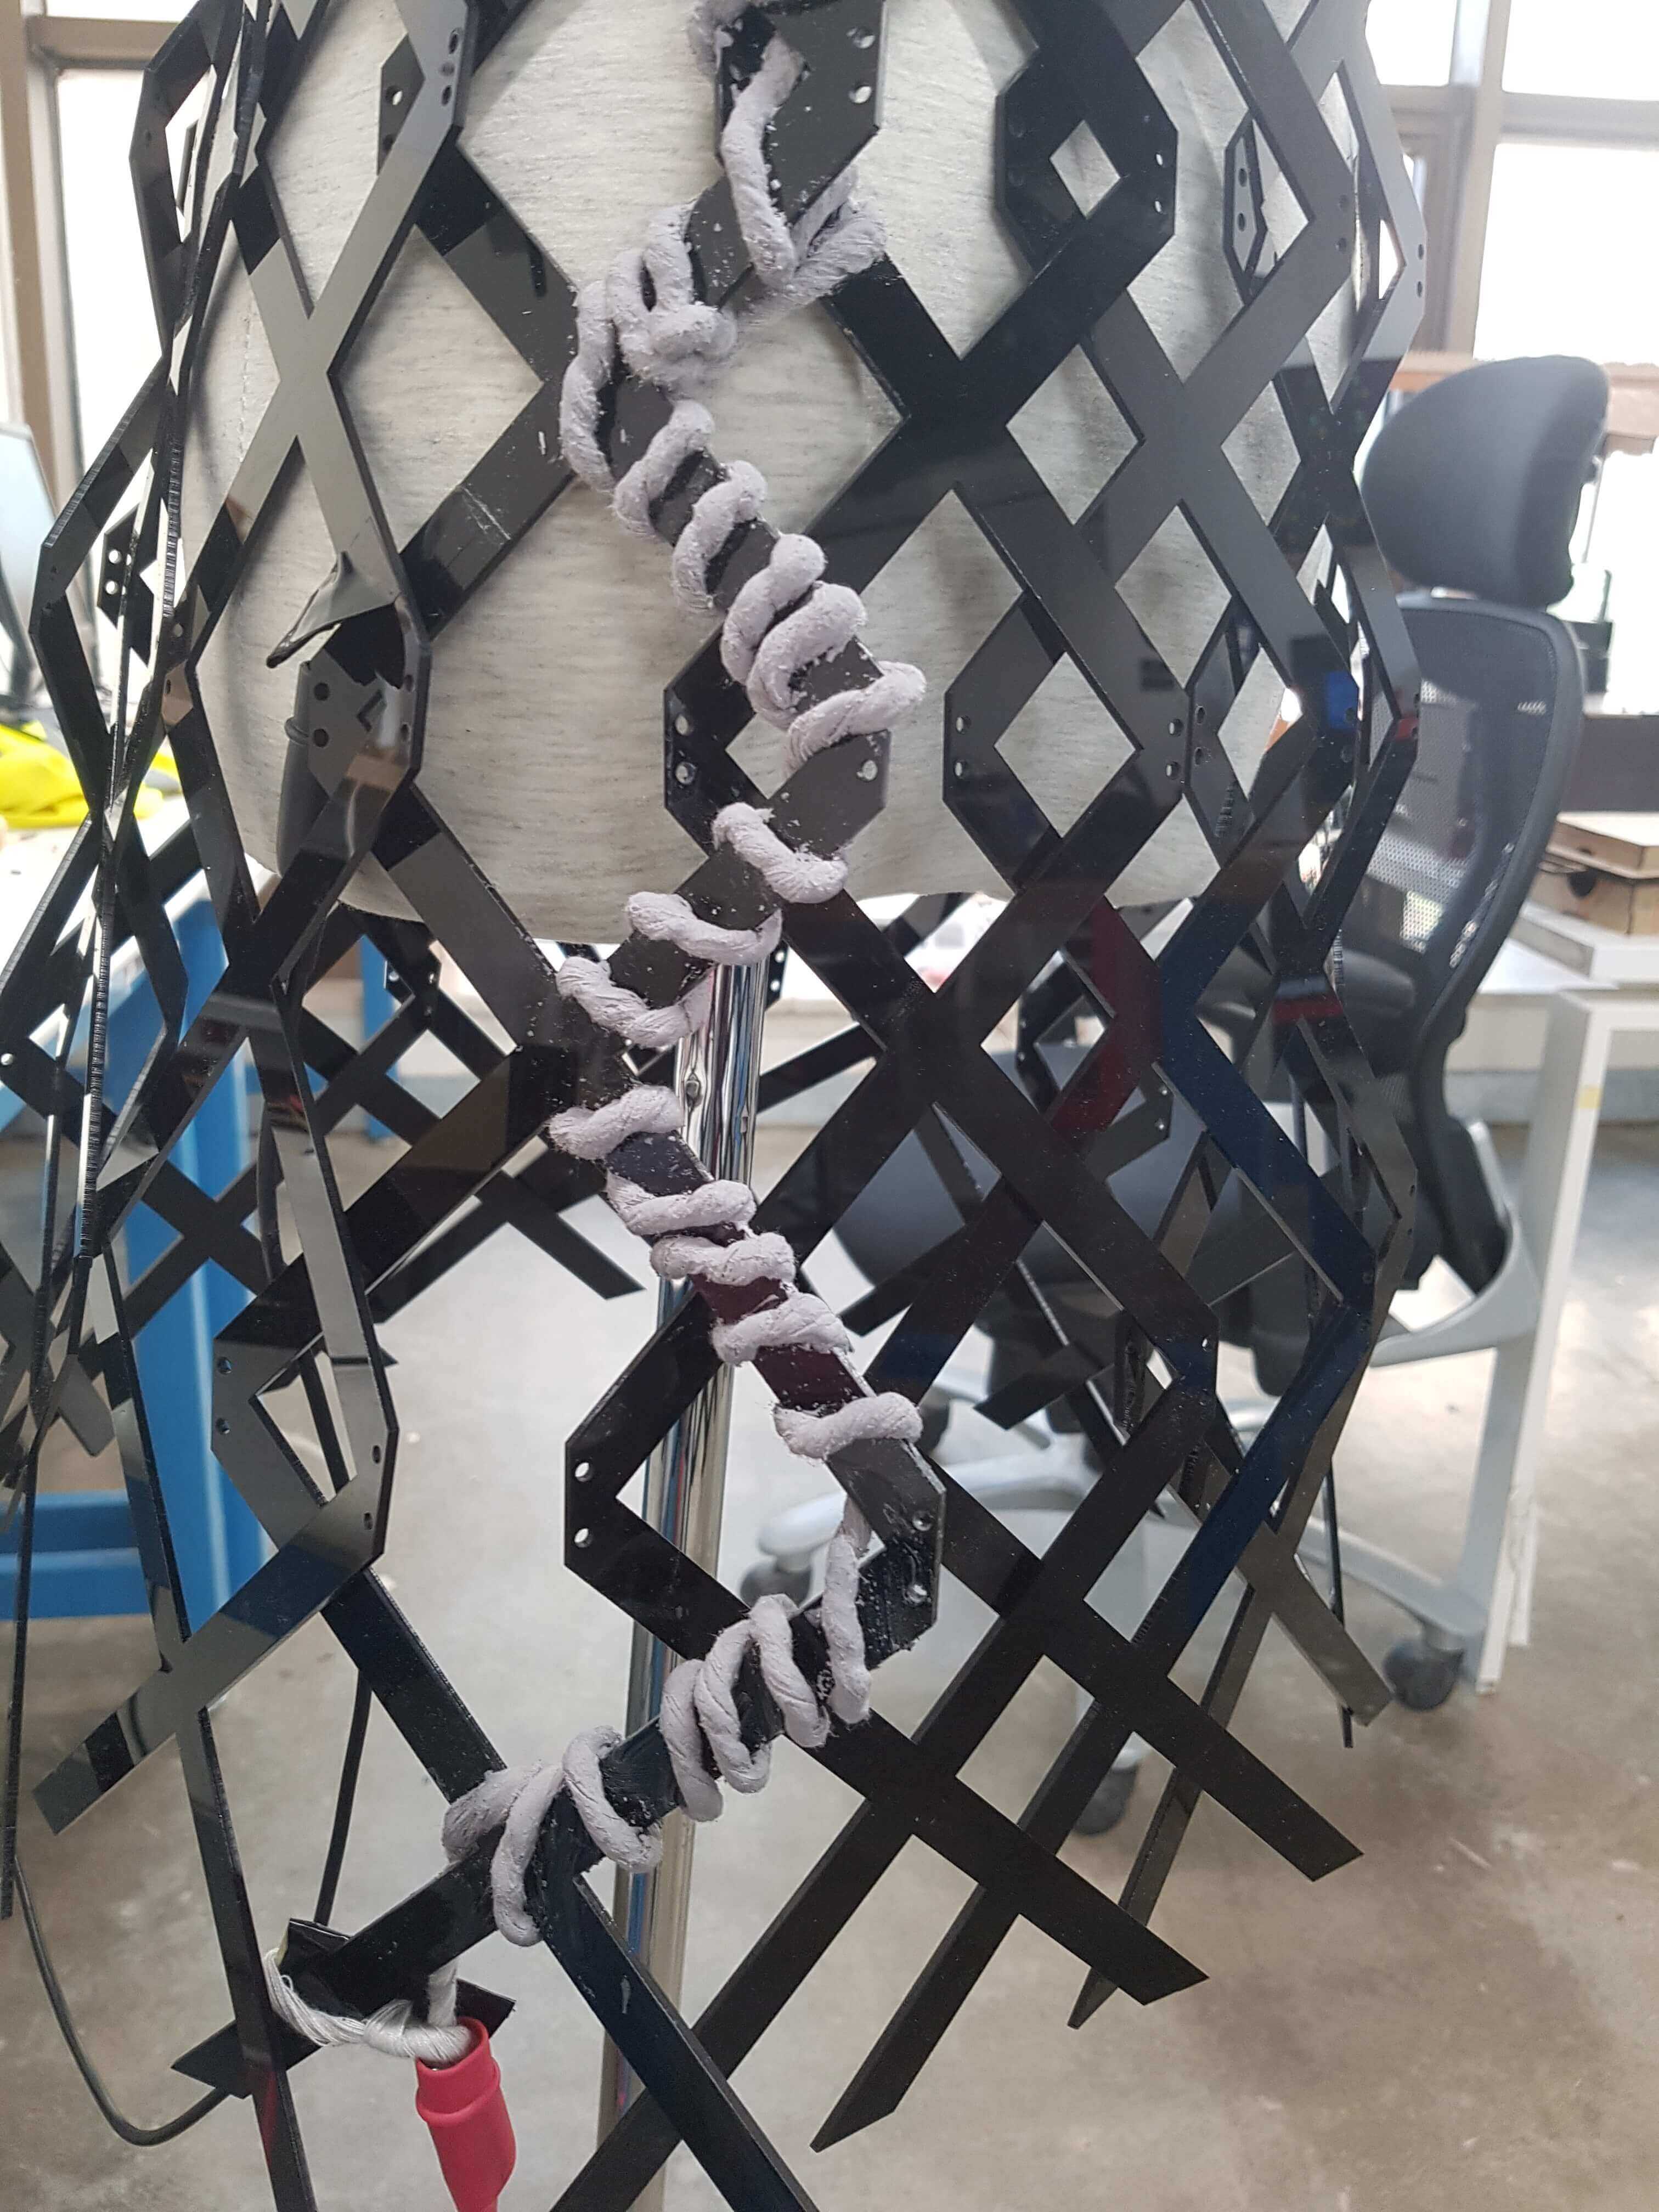
I tested the threads, but the resistance of the threads was really huge, like mega huge, so I changed the plan. I decided to lower the resistance by folding the threads more times before braided them together. I folded the threads 200 times, then I placed one side on the table and held it in place using tape, and taped the other side on the drill and turned on to make a rope braid.
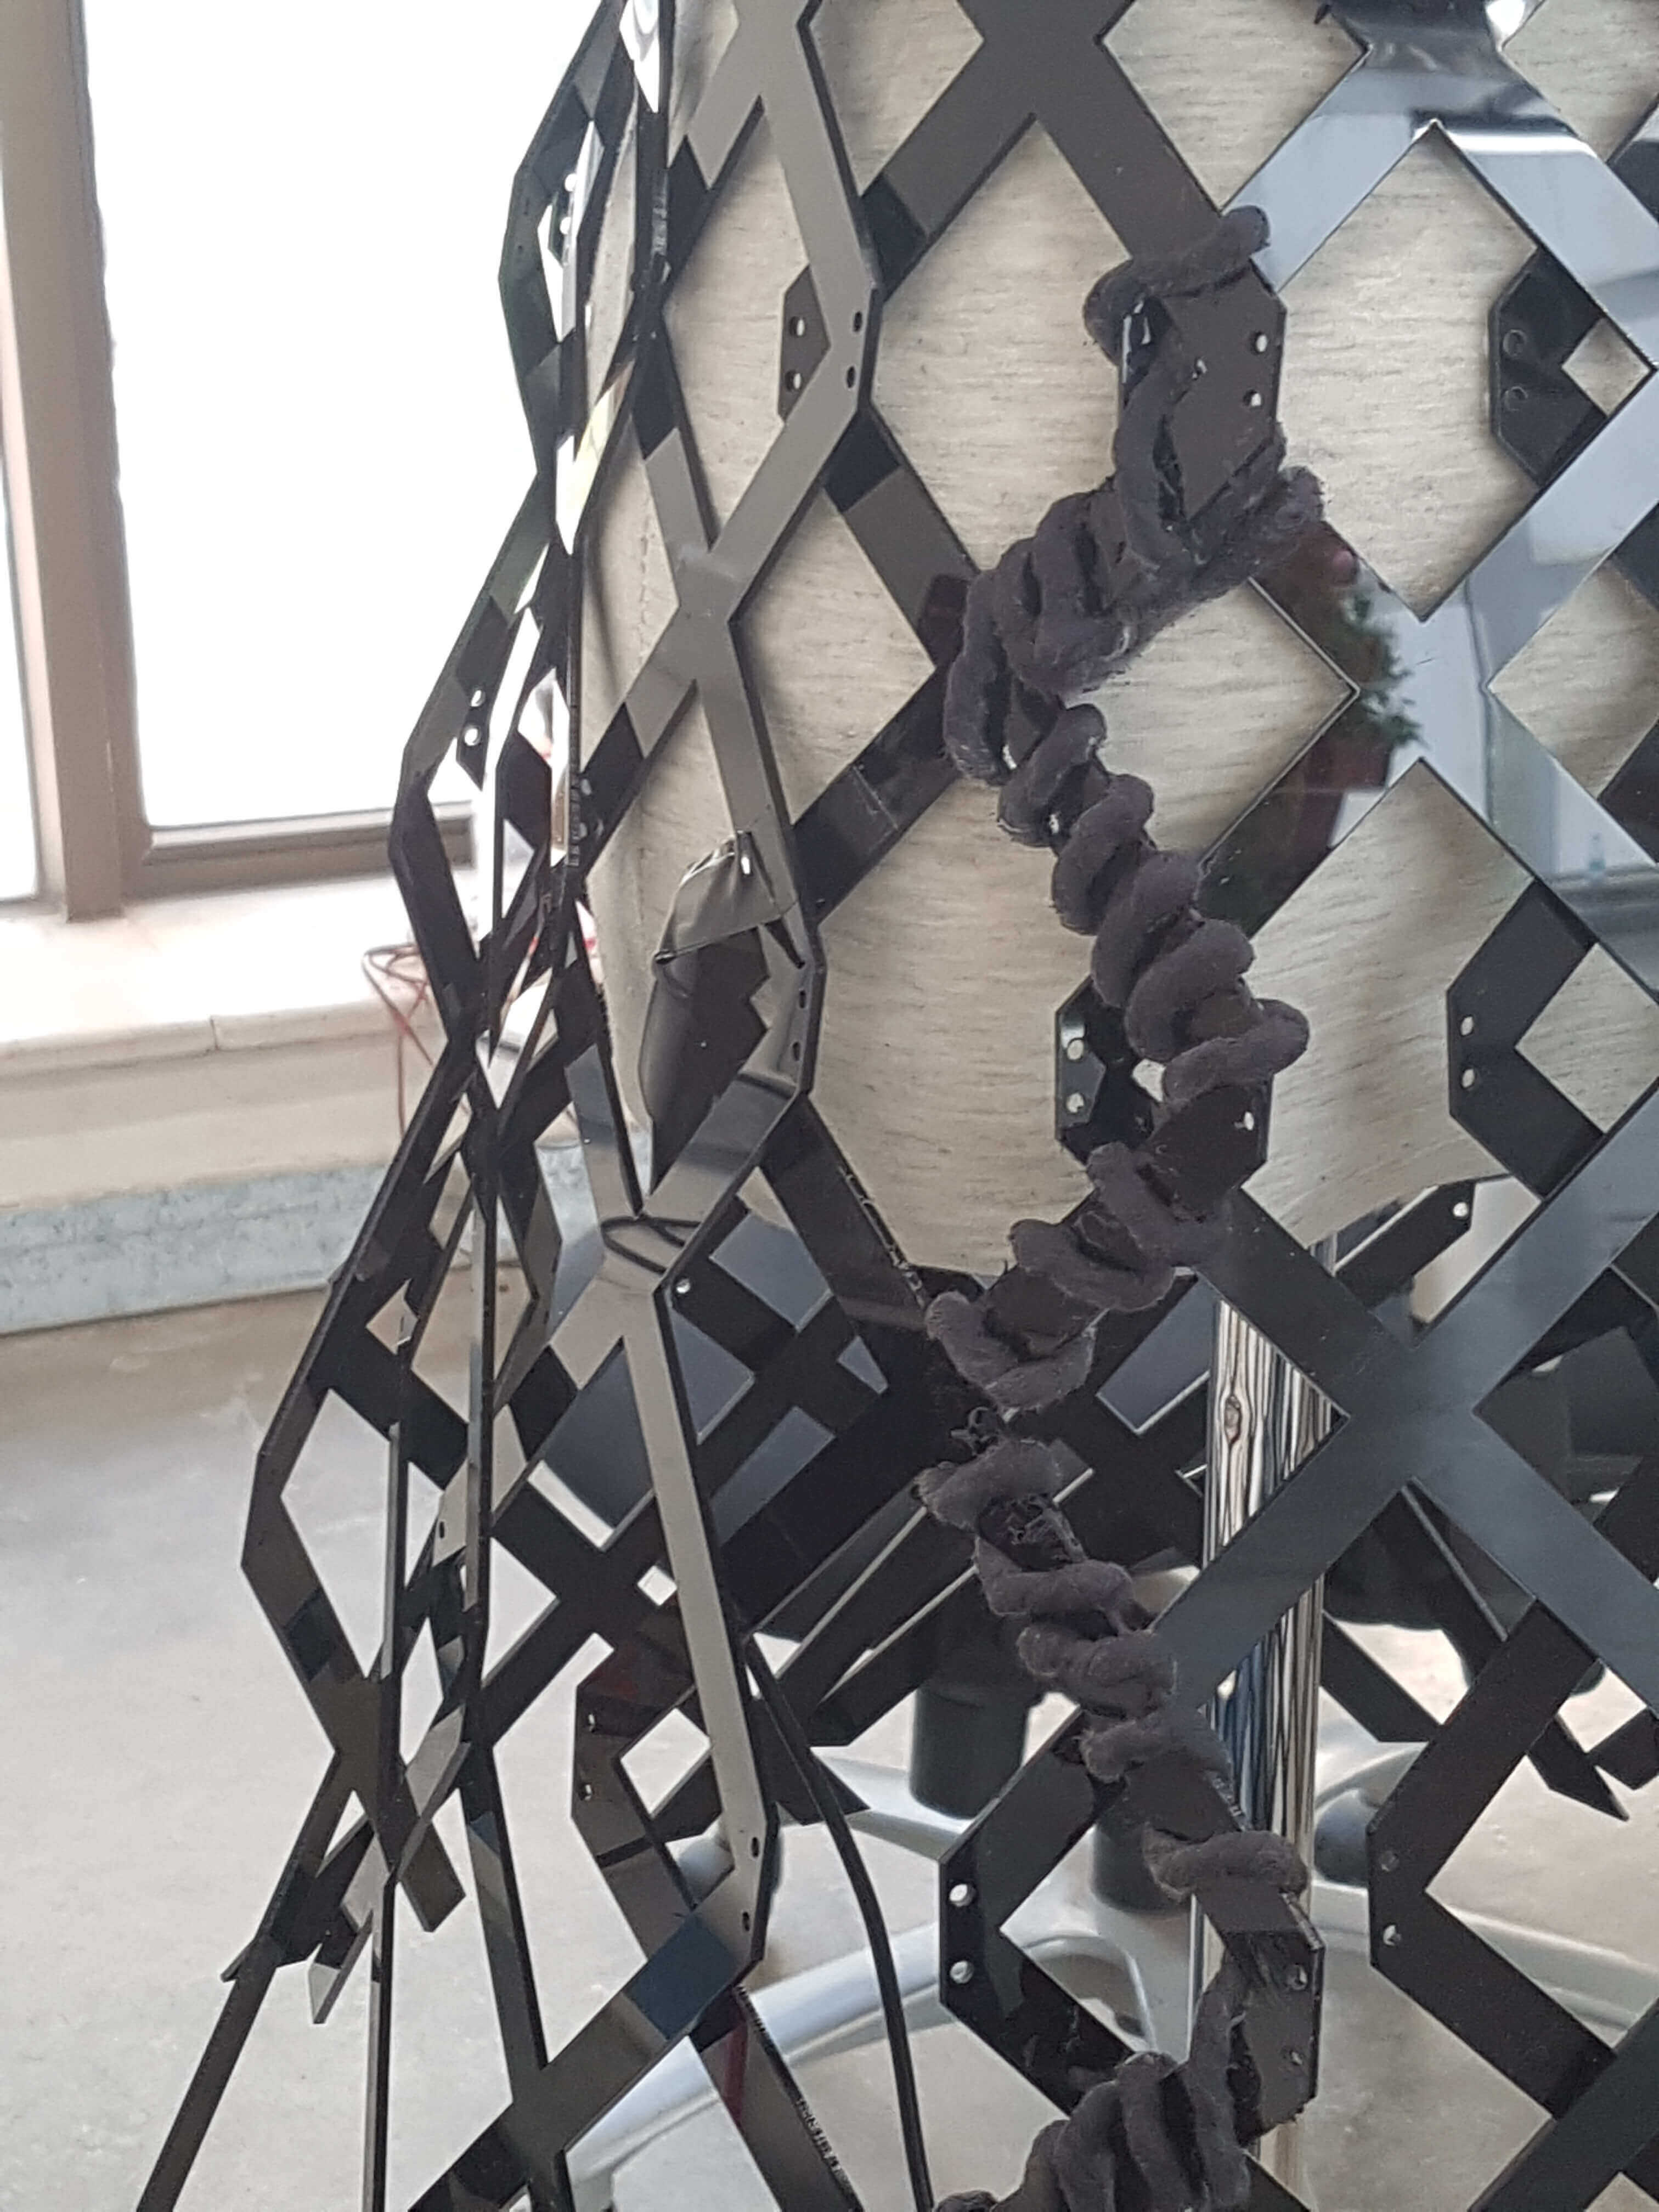
Next, I colored the thread and placed it in place around the edges of the skirt pieces. I then connected the sides to a power supply with 32 Voltage, and the color changed :D
.gif)
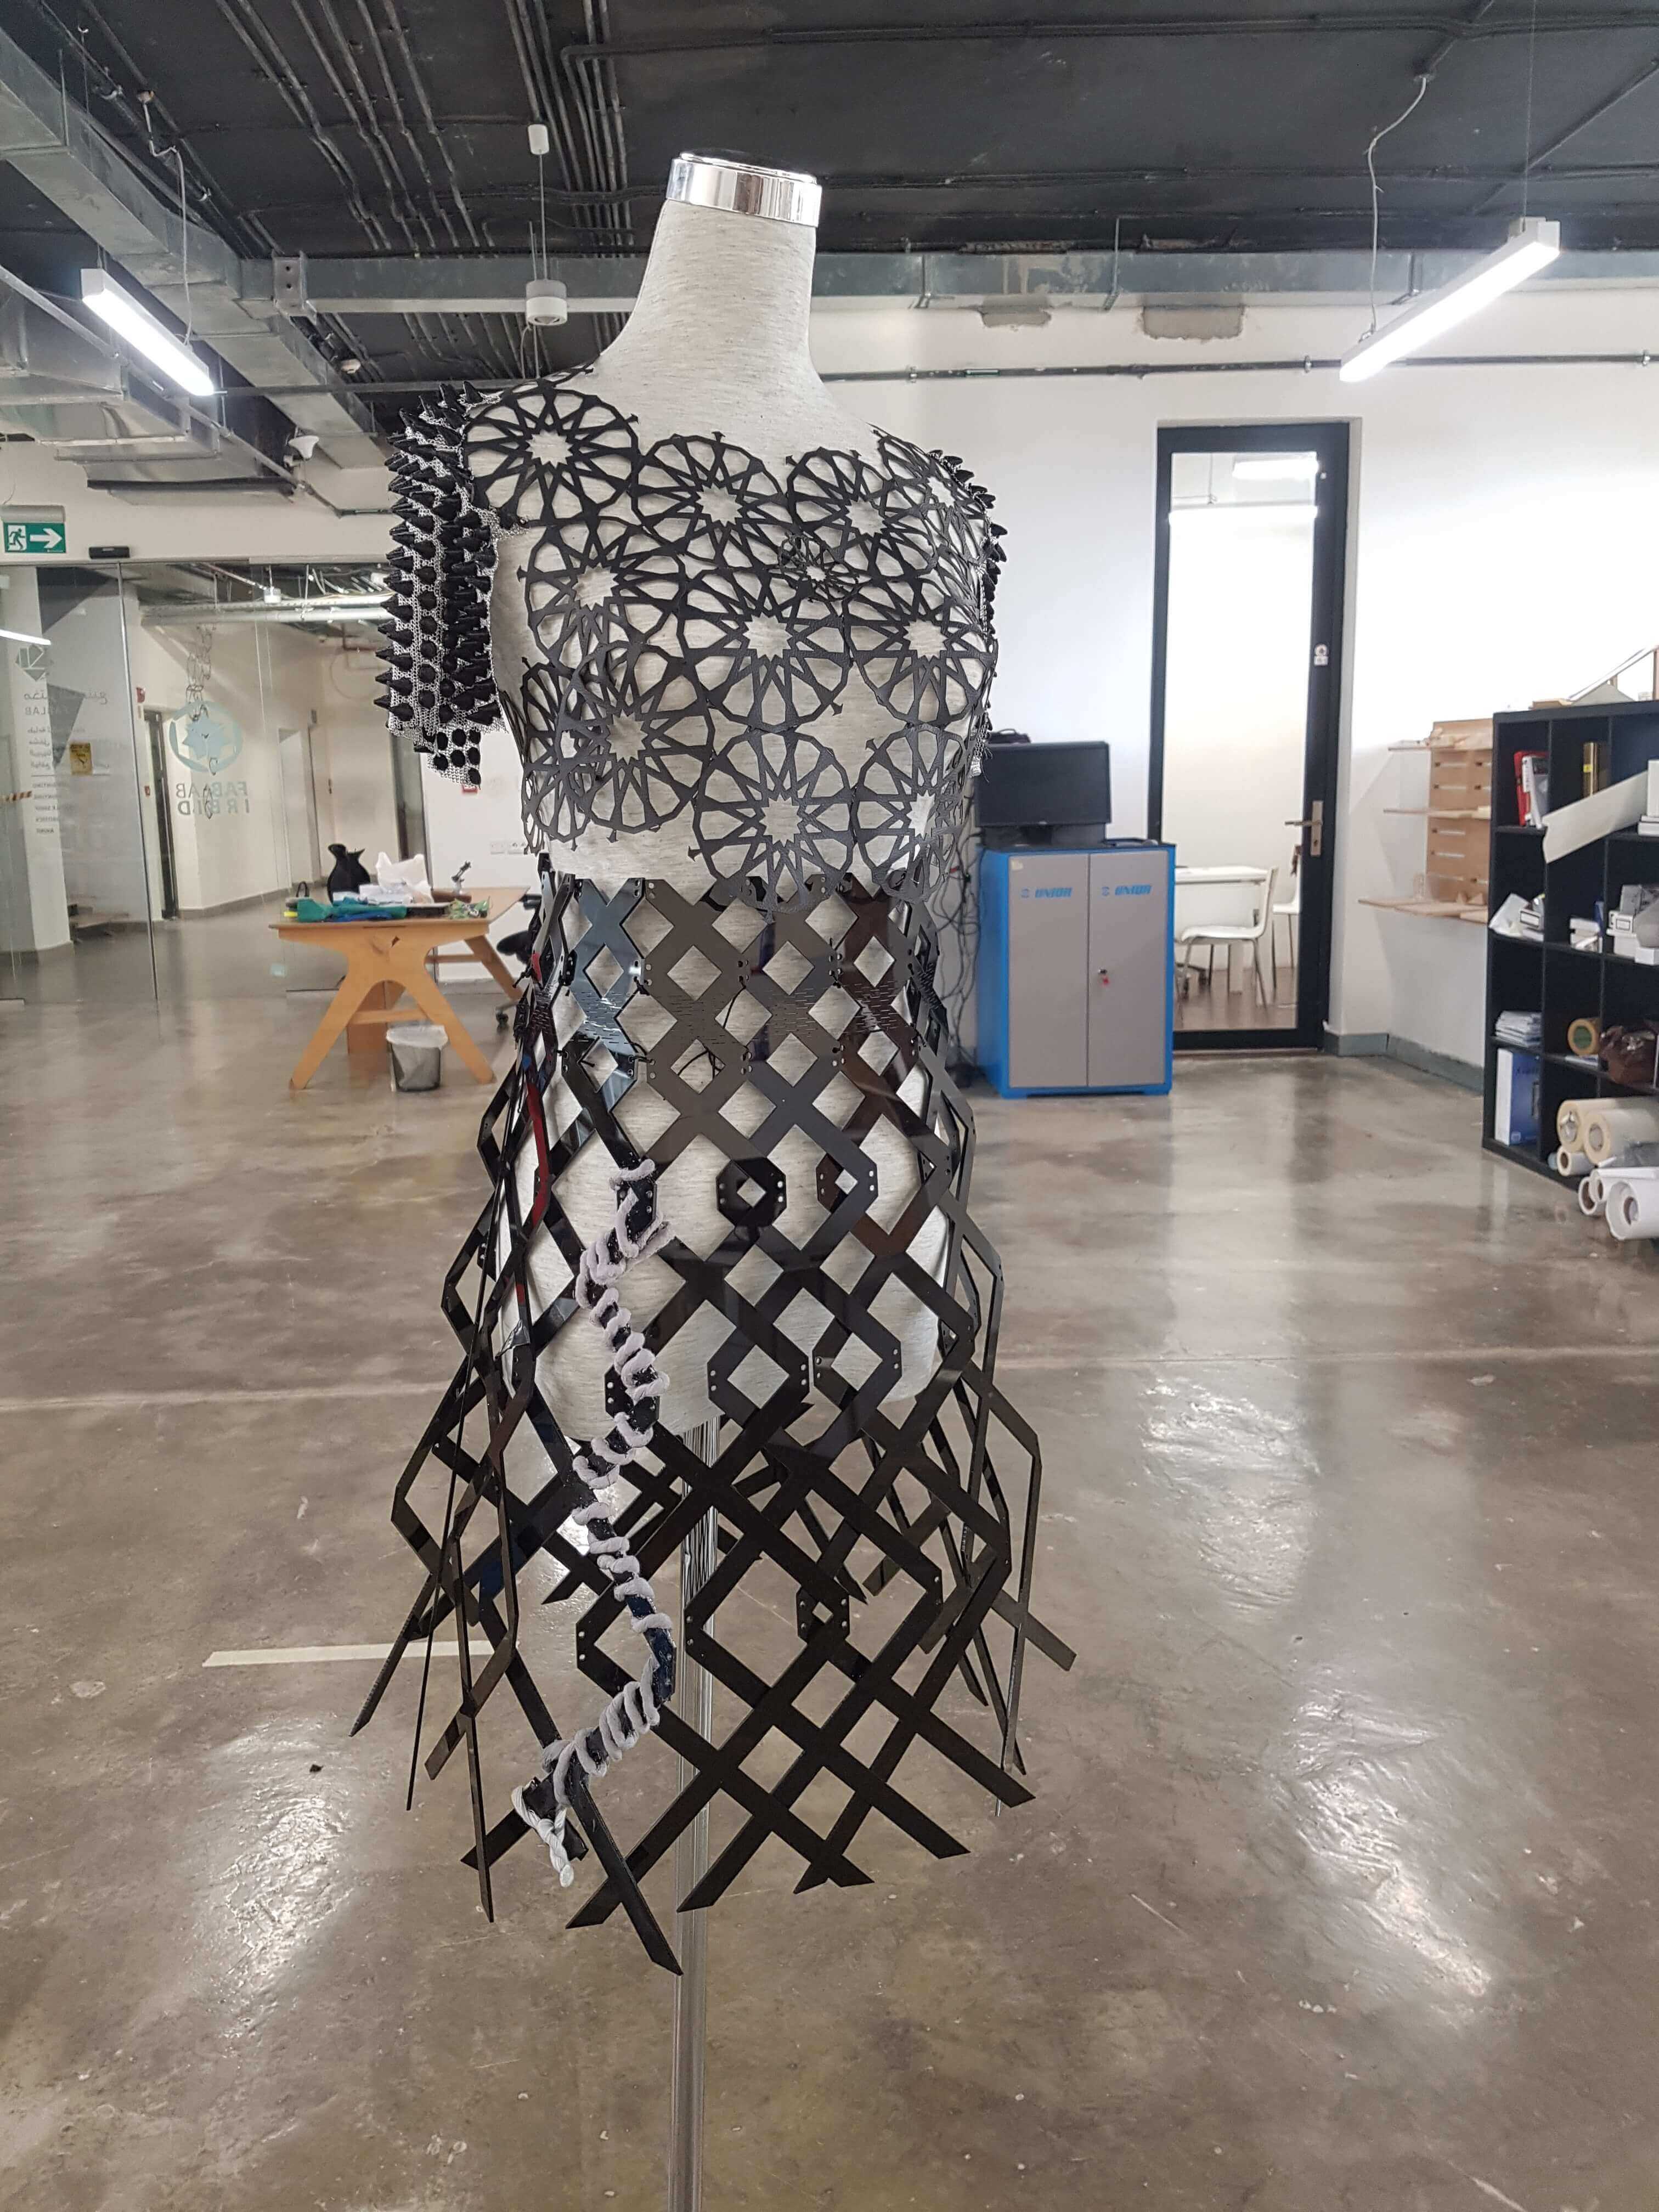
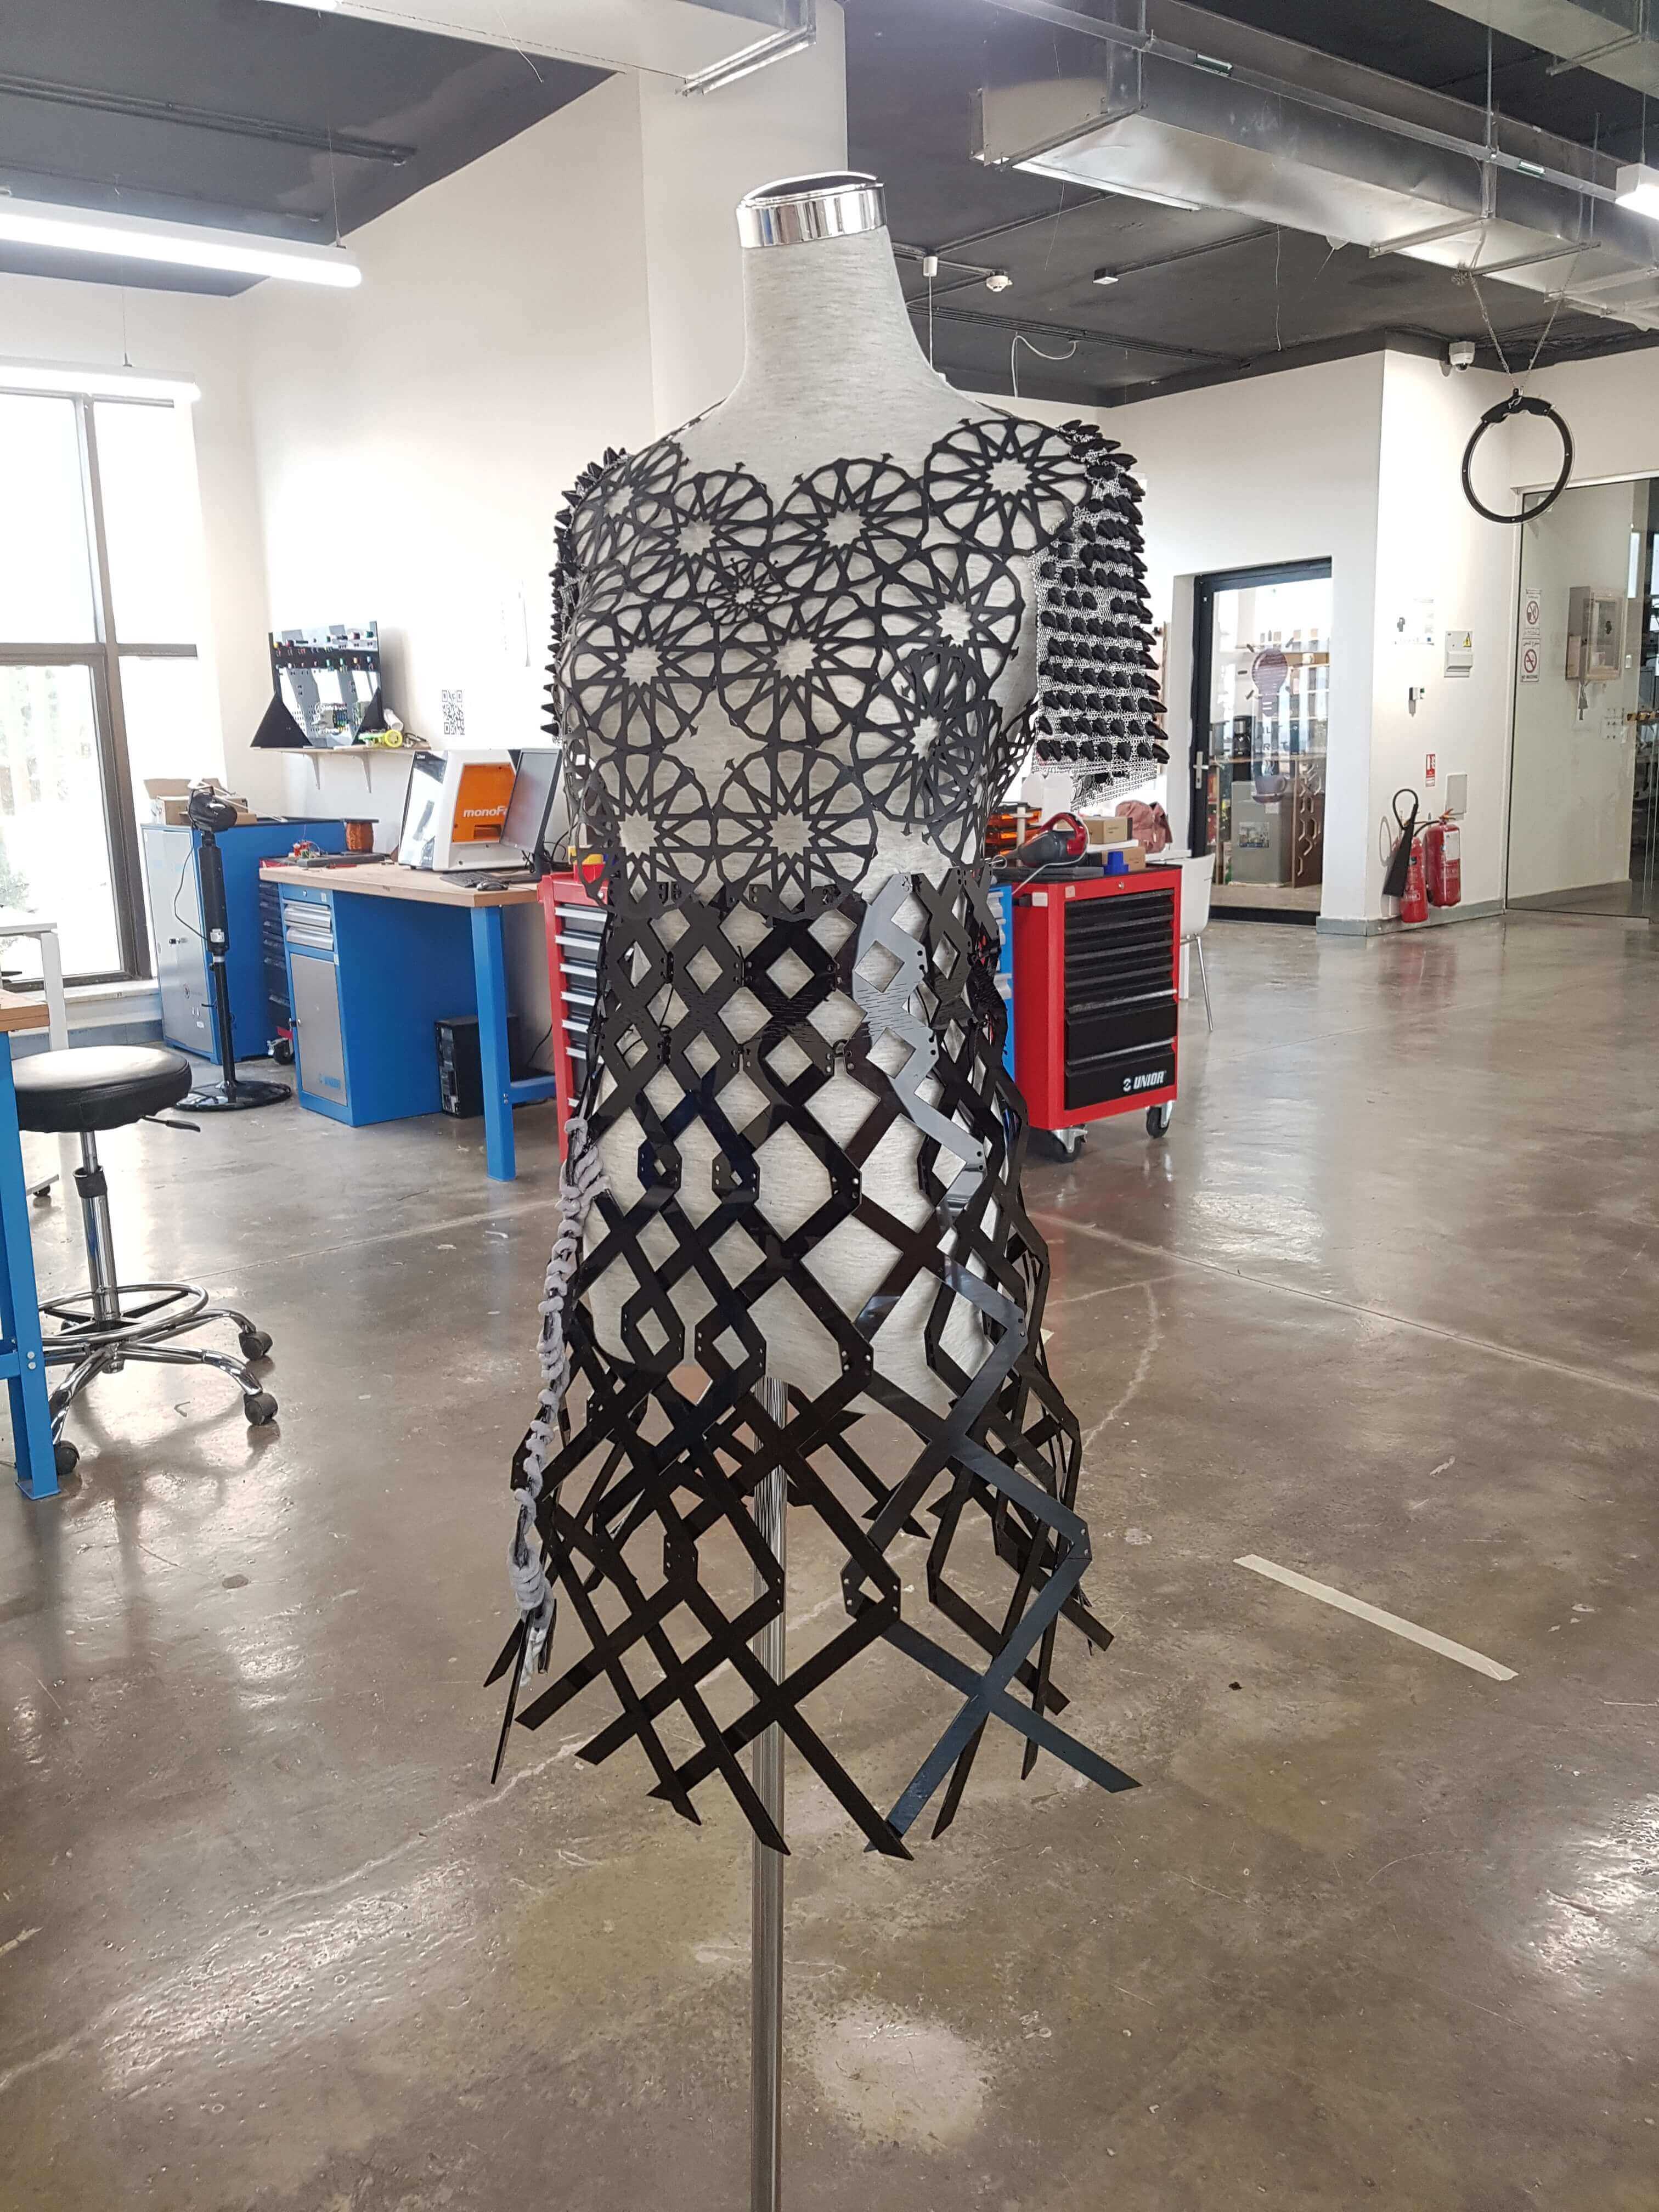
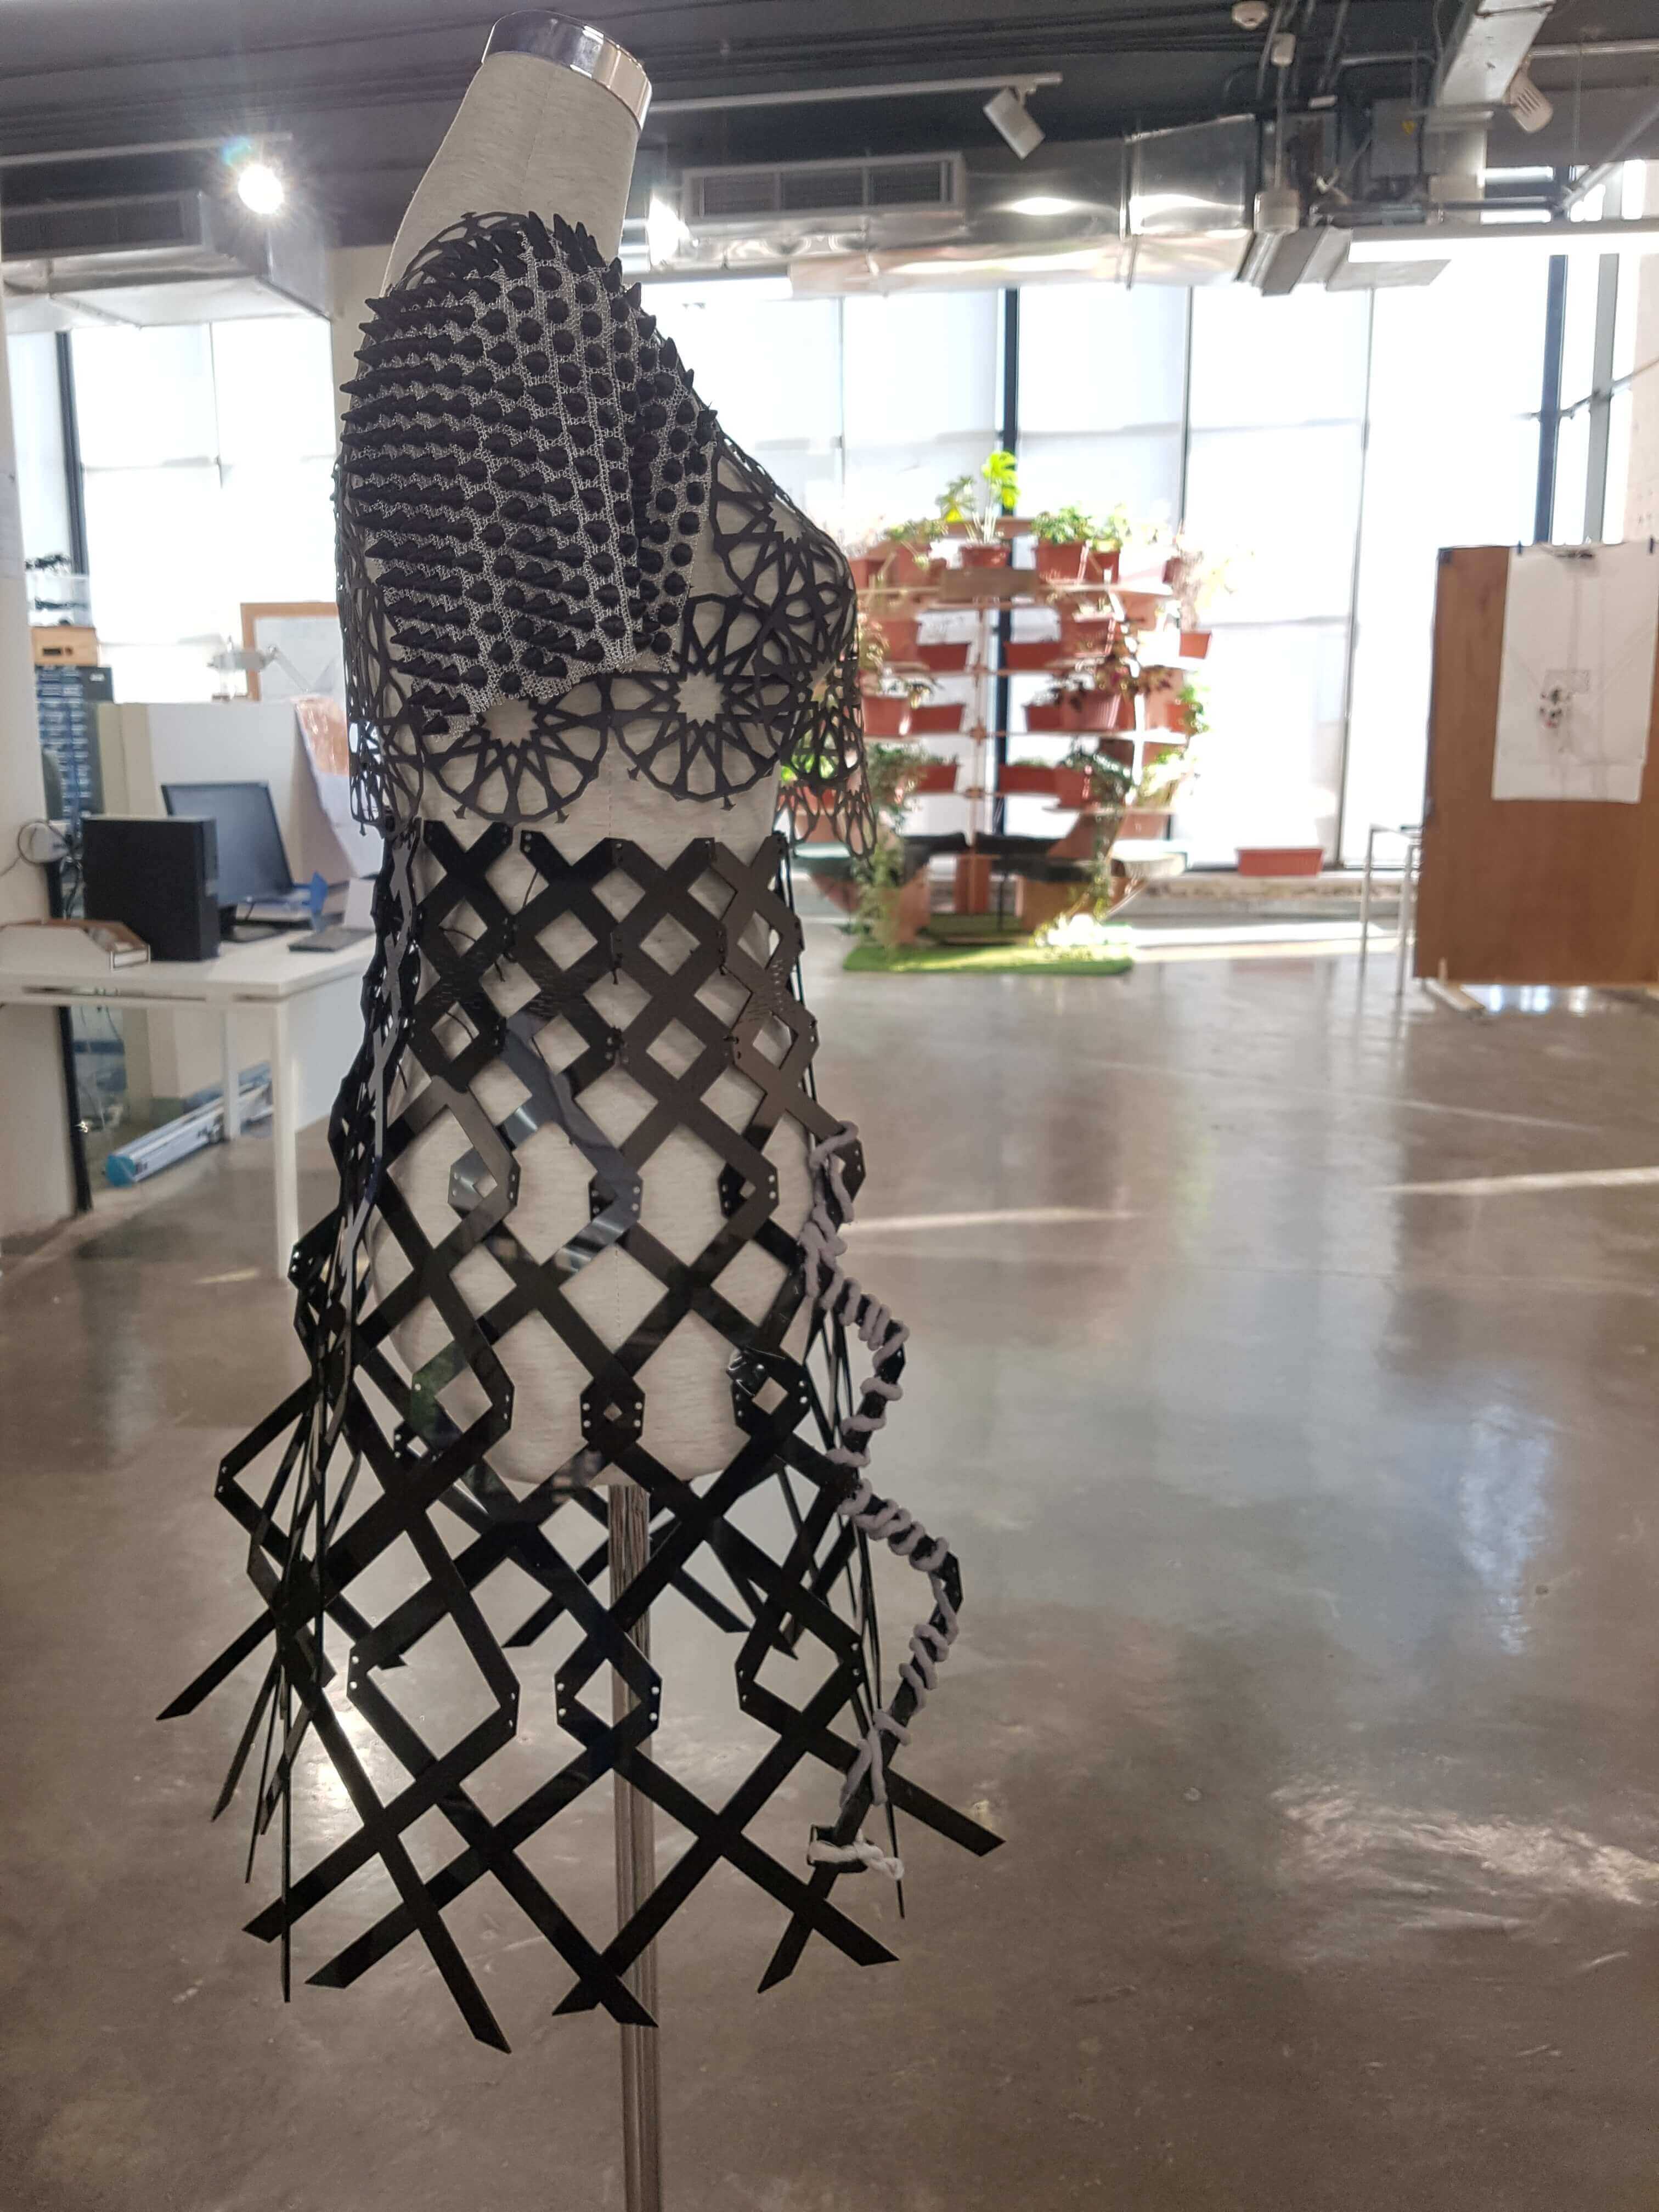
This is the final dress, an Avant garde one I guess :P