Computer-Controlled Machining
Back to Mónica Pedro ←main page ←Assigments
Assigment:
        - individual assignment:
           make
           (design + mill + assemble) something big
DESIGN
Design in Fusion 360
Autodesk Fusion 360 is gaining relevance in the Prototyping world, mostly due to its continuous advances in the comunity oriented needs, such is the case of CAM and Manufacture
CAM/Manufacture workspace
to learn I used the regular good source of knowledge, the
Autodesk Learning - Manufacture, from which is worth documenting here the following concepts and techniques:
- SETUP - or JOB Setup
A concept / Item that will inlcude all the machining process.
should be made before any machining process,
same design could have many "SETUPs"
to tell Fusion360 CAM if the toolpaths will be milling or turning,
and to stablish the part zero's wich integrates the Work Coordinate System (WCS).


- STOCK - or Stock Boundarires, are used to visualize the part machining during Toolpath Simulation. Fusion will automaticaly determine a stock size based on your model.


- Postprocessing Settings - set conditions for the final NC Code output. WCS Offsets defines te offset used by the program, whwre 0 and 1 equals the first available offset on the machine control.
2D machining strategies
- CIRCULAR strategy - for milling cylindrical pockets and islands
- THREAD operation is used for thread milling cylindrical pockets and islands
- BORE operation allows to bore cylindrical pockets and islands by selecting the cylindrical geometry directly.
- CONTOURING - to machine 2D and 3D contours with separate lead-in and lead-out, and with or without tool compensation. Choose multiple roughing and finishing passes and multiple depth cuts for any contour. Machine open and closed contours without creating additional geometry and eliminate sharp motion with corner smoothing.
- POCKET toolpath to machine closed curves both with and without islands. The toolpath starts at the center of the pocket and works its way outward. The entry can be selected anywhere on the model and includes possibilities for plunge, ramp, or at a pre-drilled position. The special high-speed option creates a smooth toolpath and allows you to specify a maximum tool engagement. As a result, the feedrate can be increased significantly, reducing the machining time and tool wear.
- FACE - the Facing strategy is designed for quick part facing to prepare the raw stock for further machining. It can also be used for clearing flat areas in general.
- Adaptive Clearing strategy creates a roughing/clearing toolpath inside closed curves both with and without islands. This strategy avoids full-width cuts by progressively shaving material off the remaining stock. The generated toolpath ensures that the cutting conditions remain constant with a stable load on the tool. As a result, the feedrate can be increased significantly, reducing the machining time by 40% or more which provides improved surface quality and less tool wear.

Parallel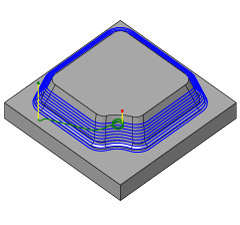
Contour
Horizontal Clearing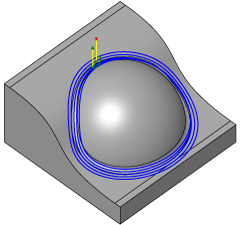
Pencil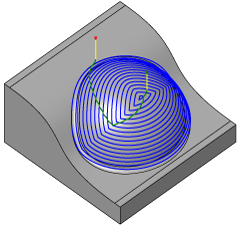
Scallop/Constant Stepover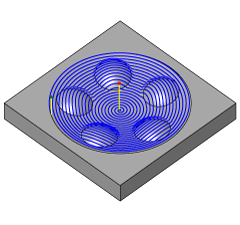
Spiral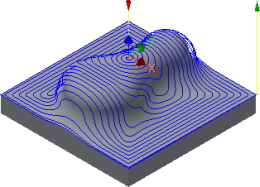
Morphed Spiral
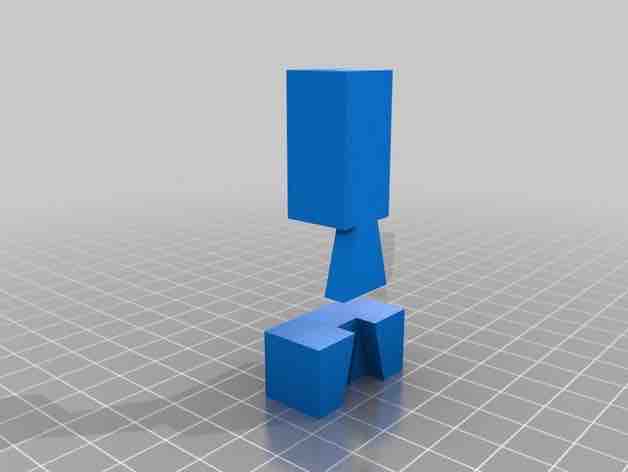
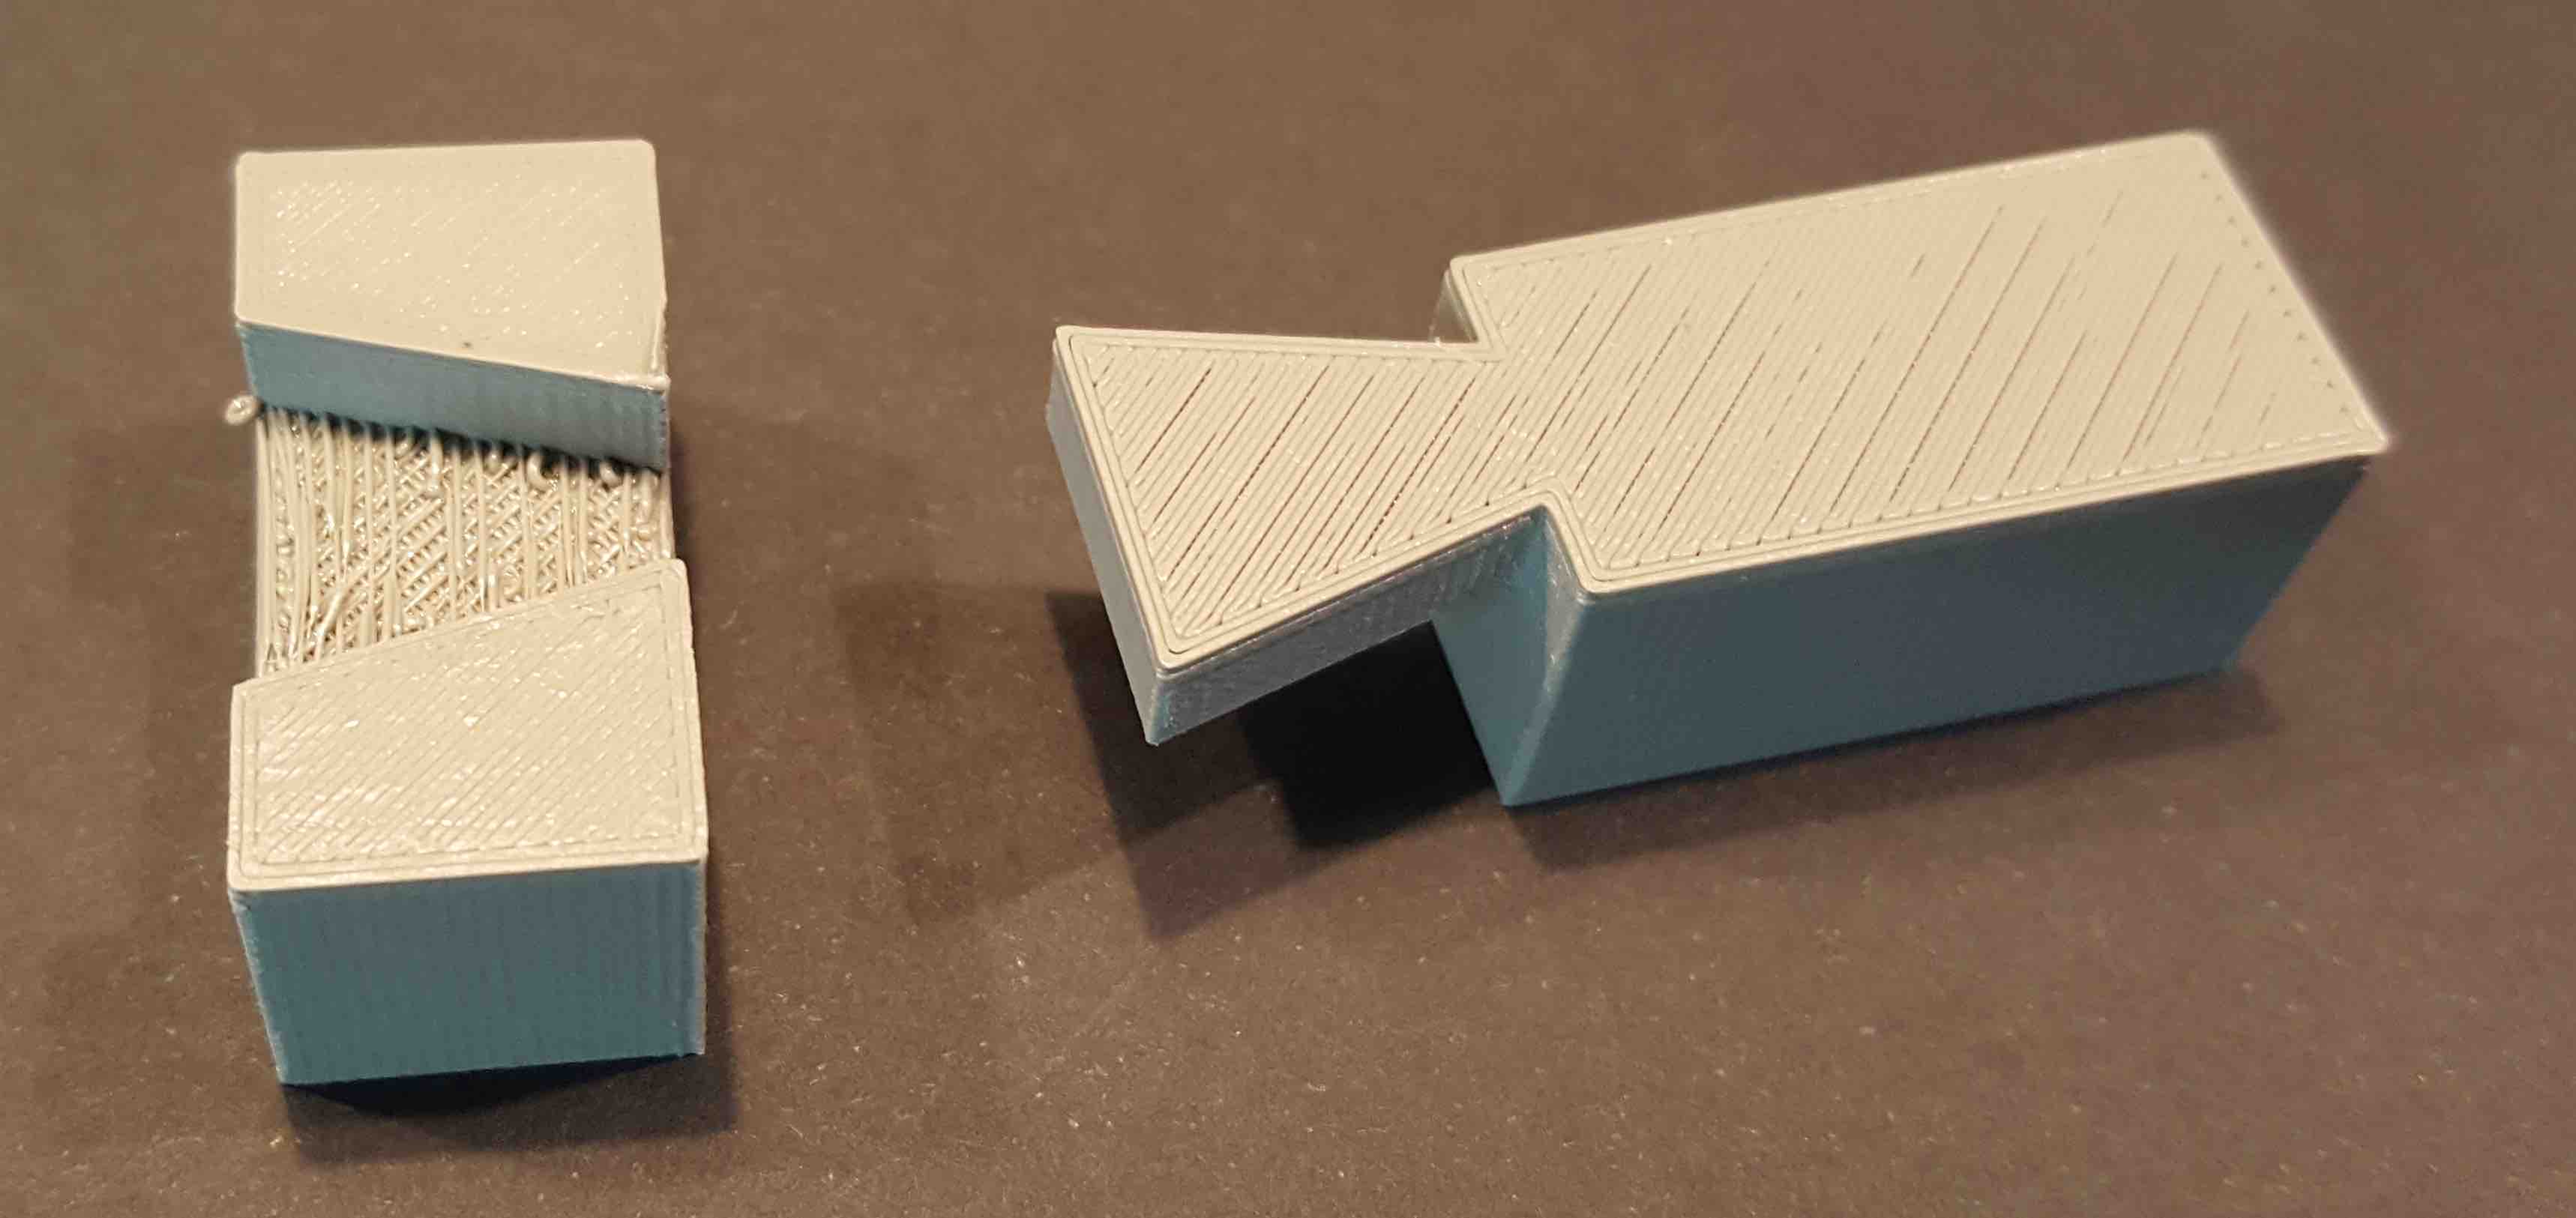
Dogbone addin for fusion 360
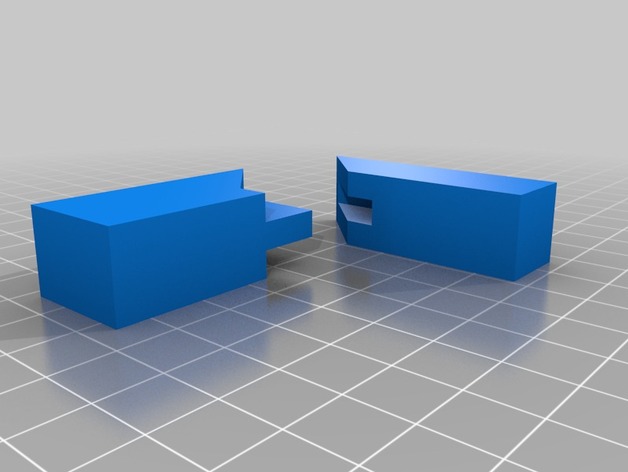
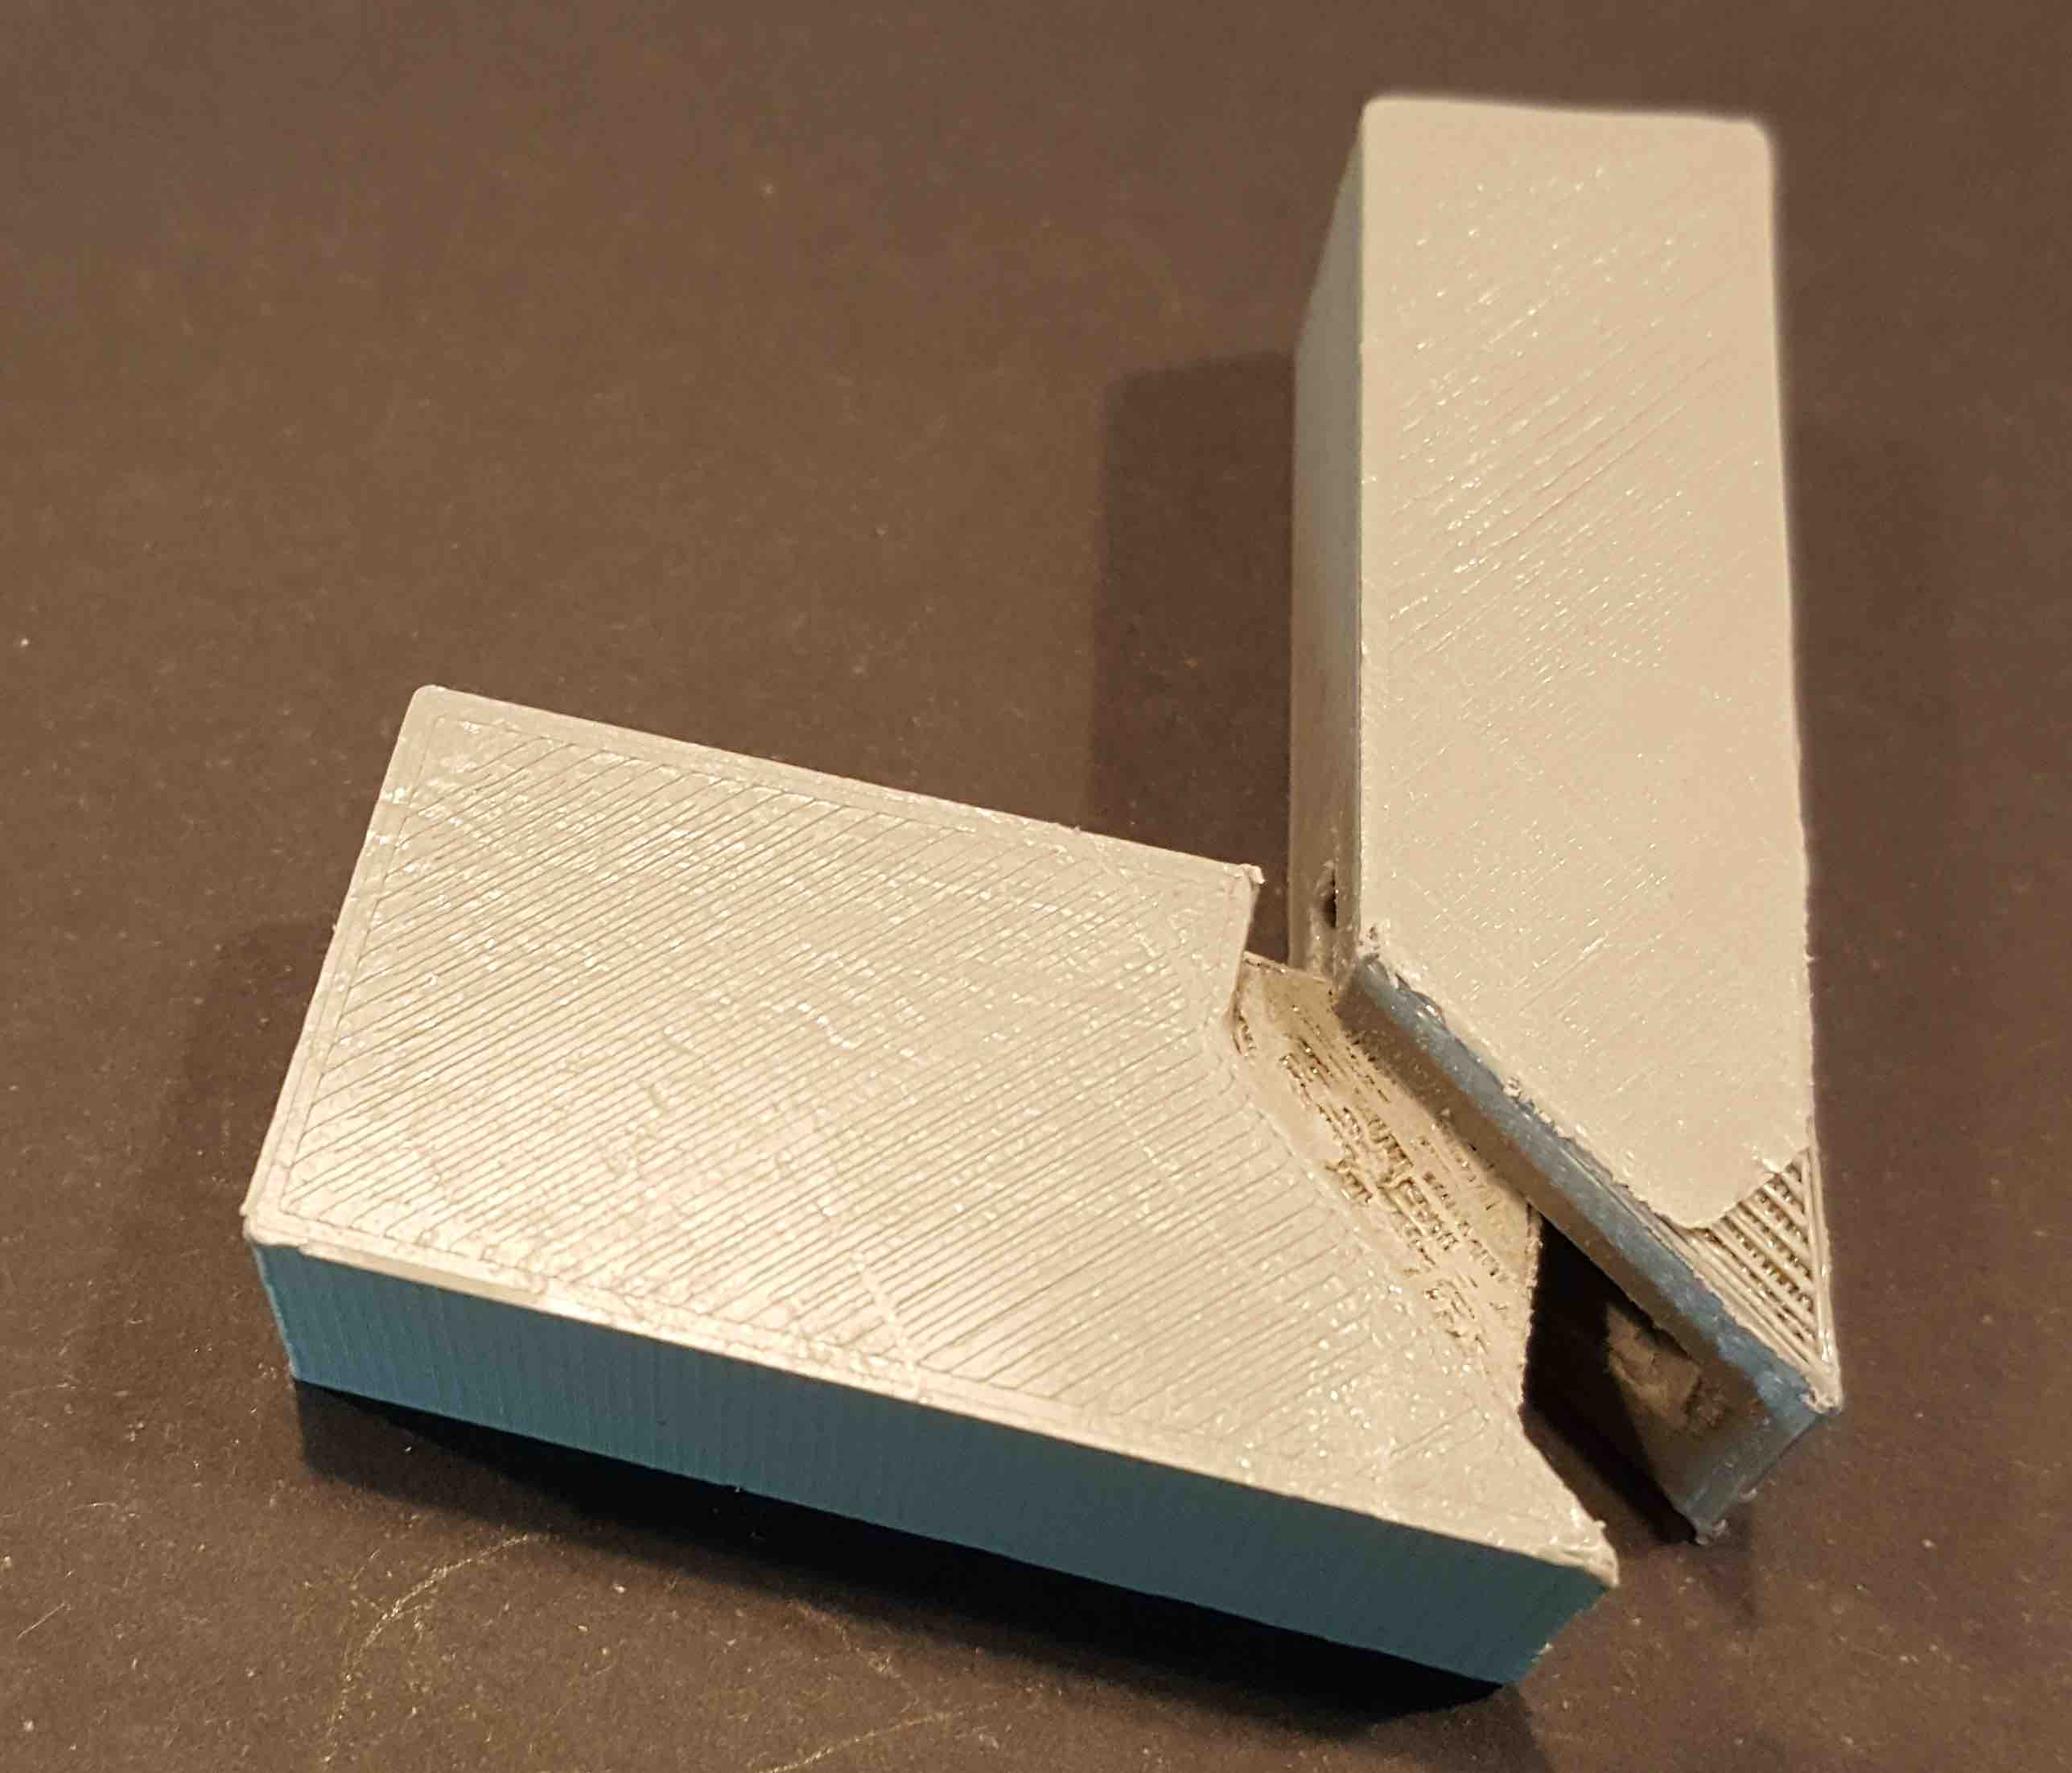
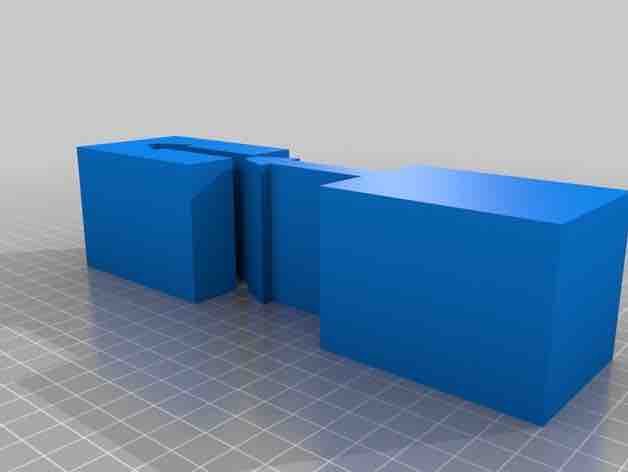
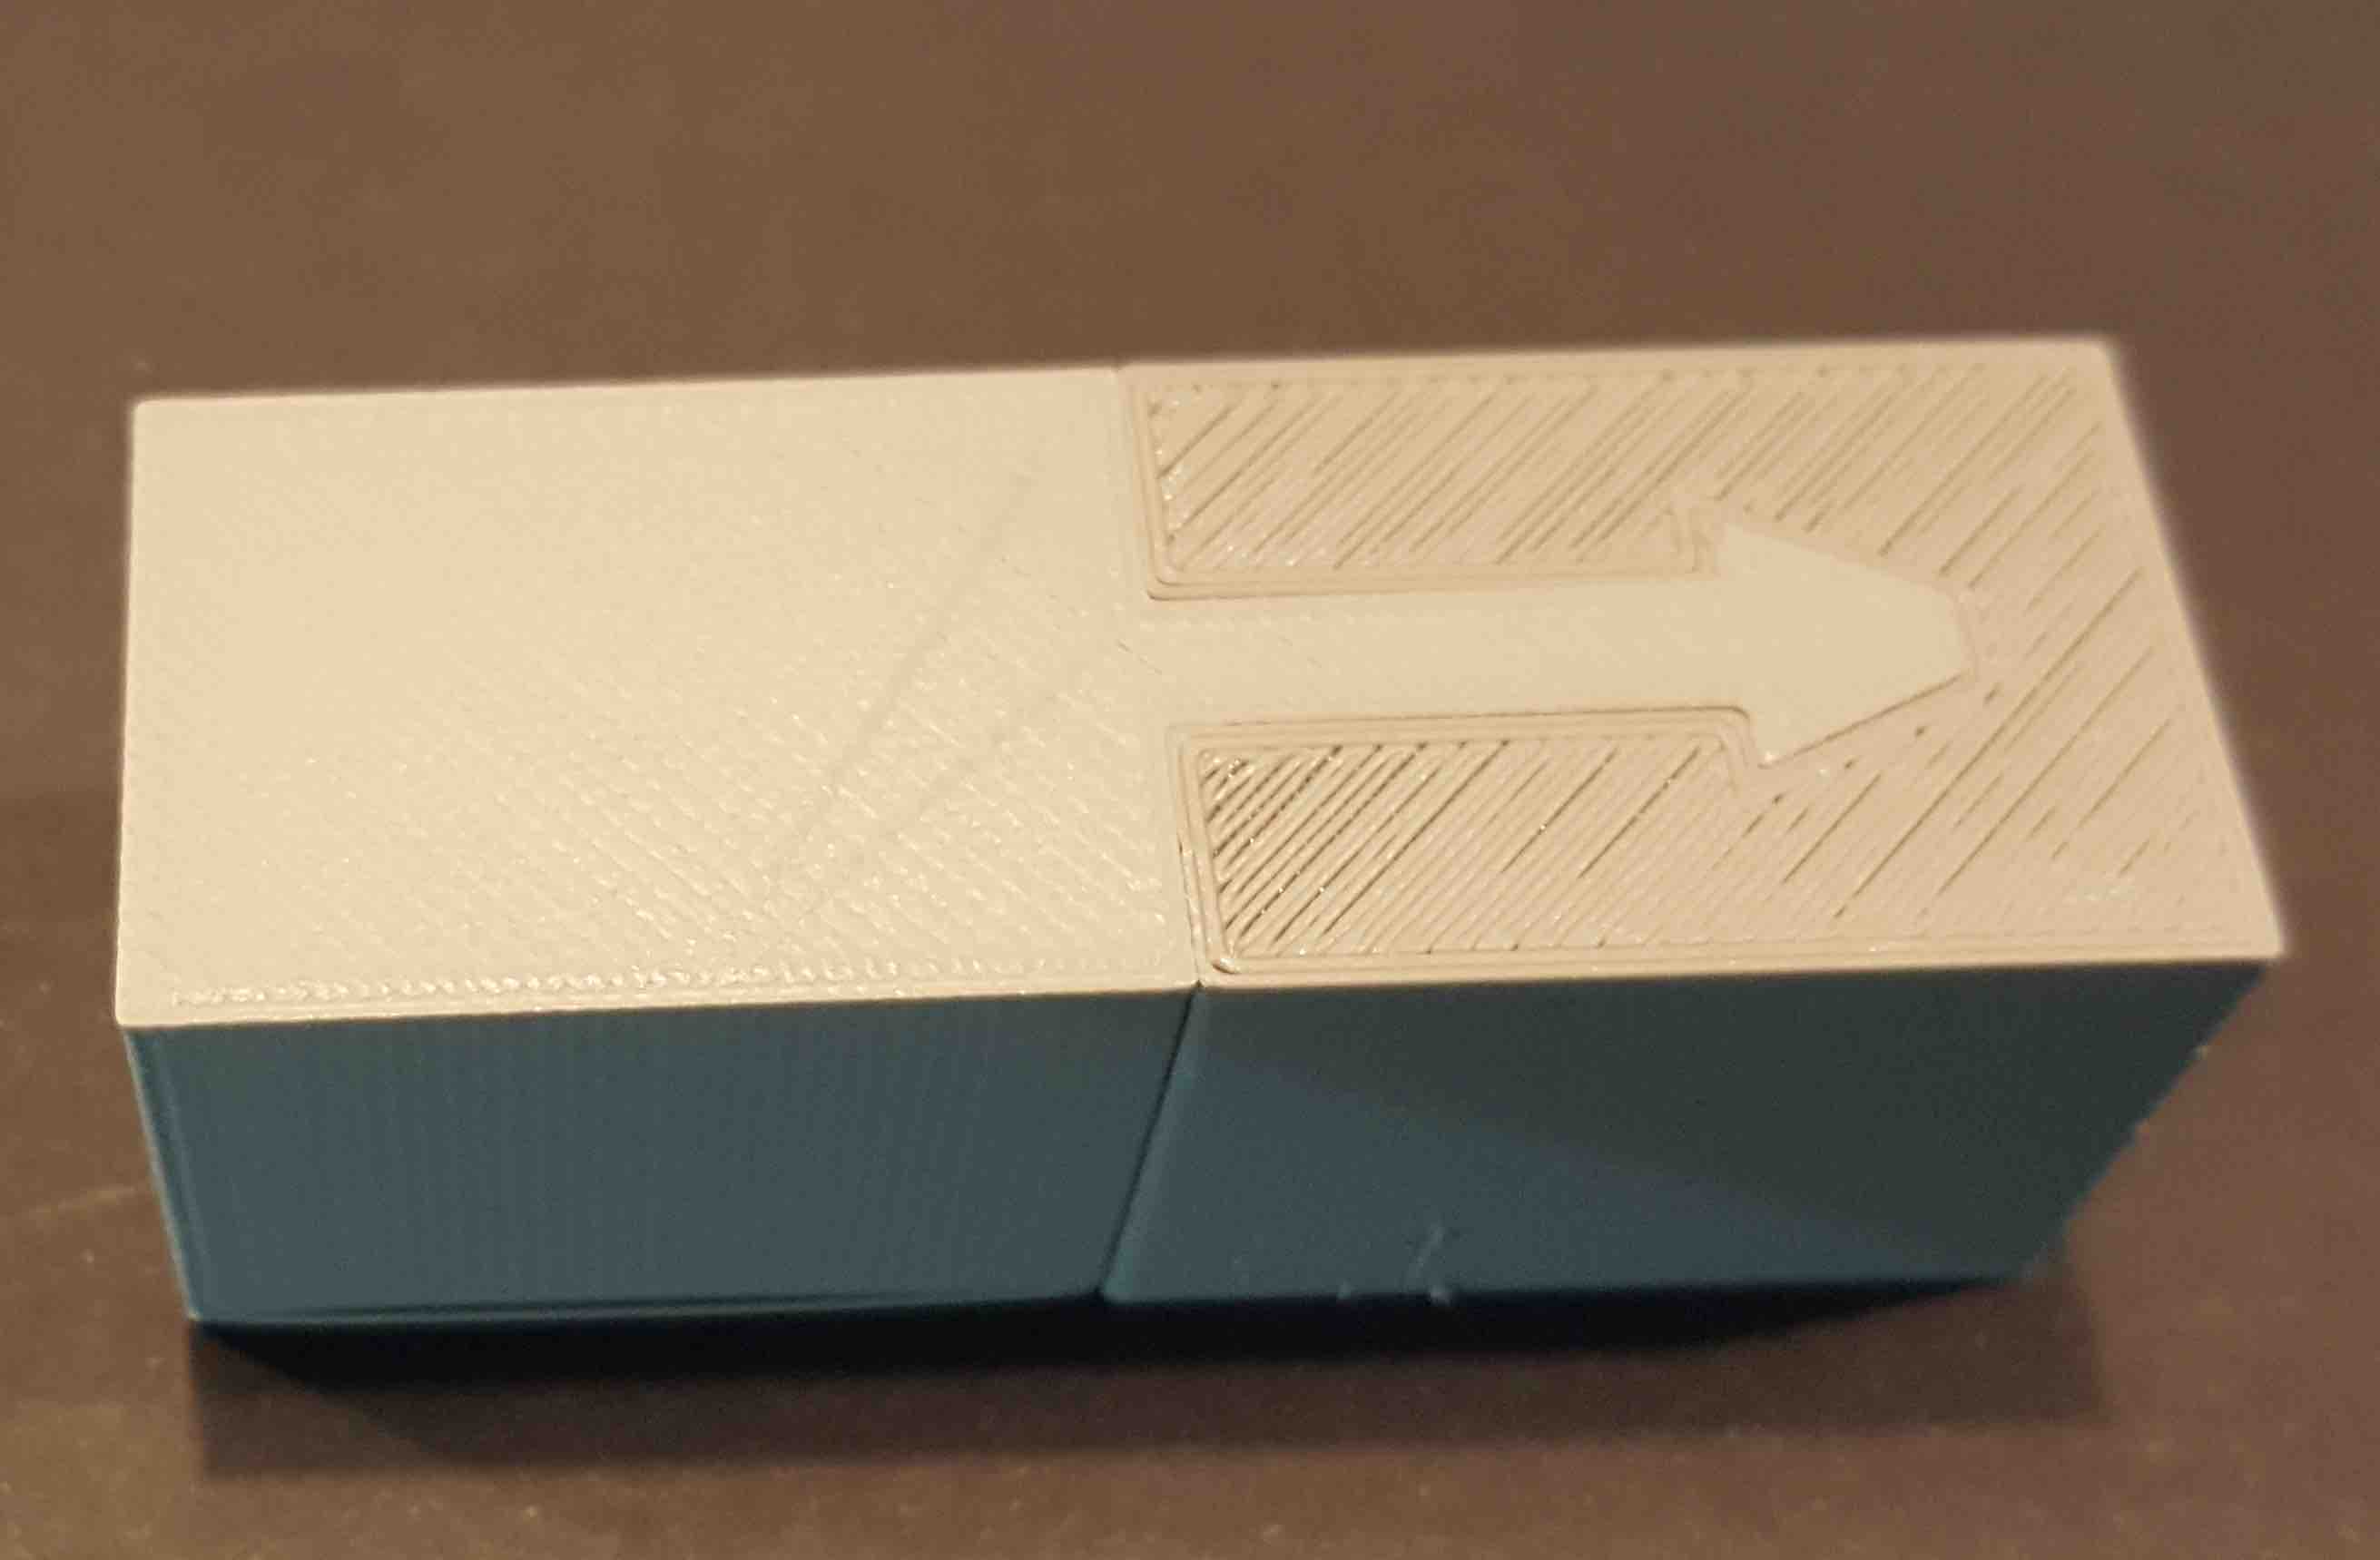
Joinery
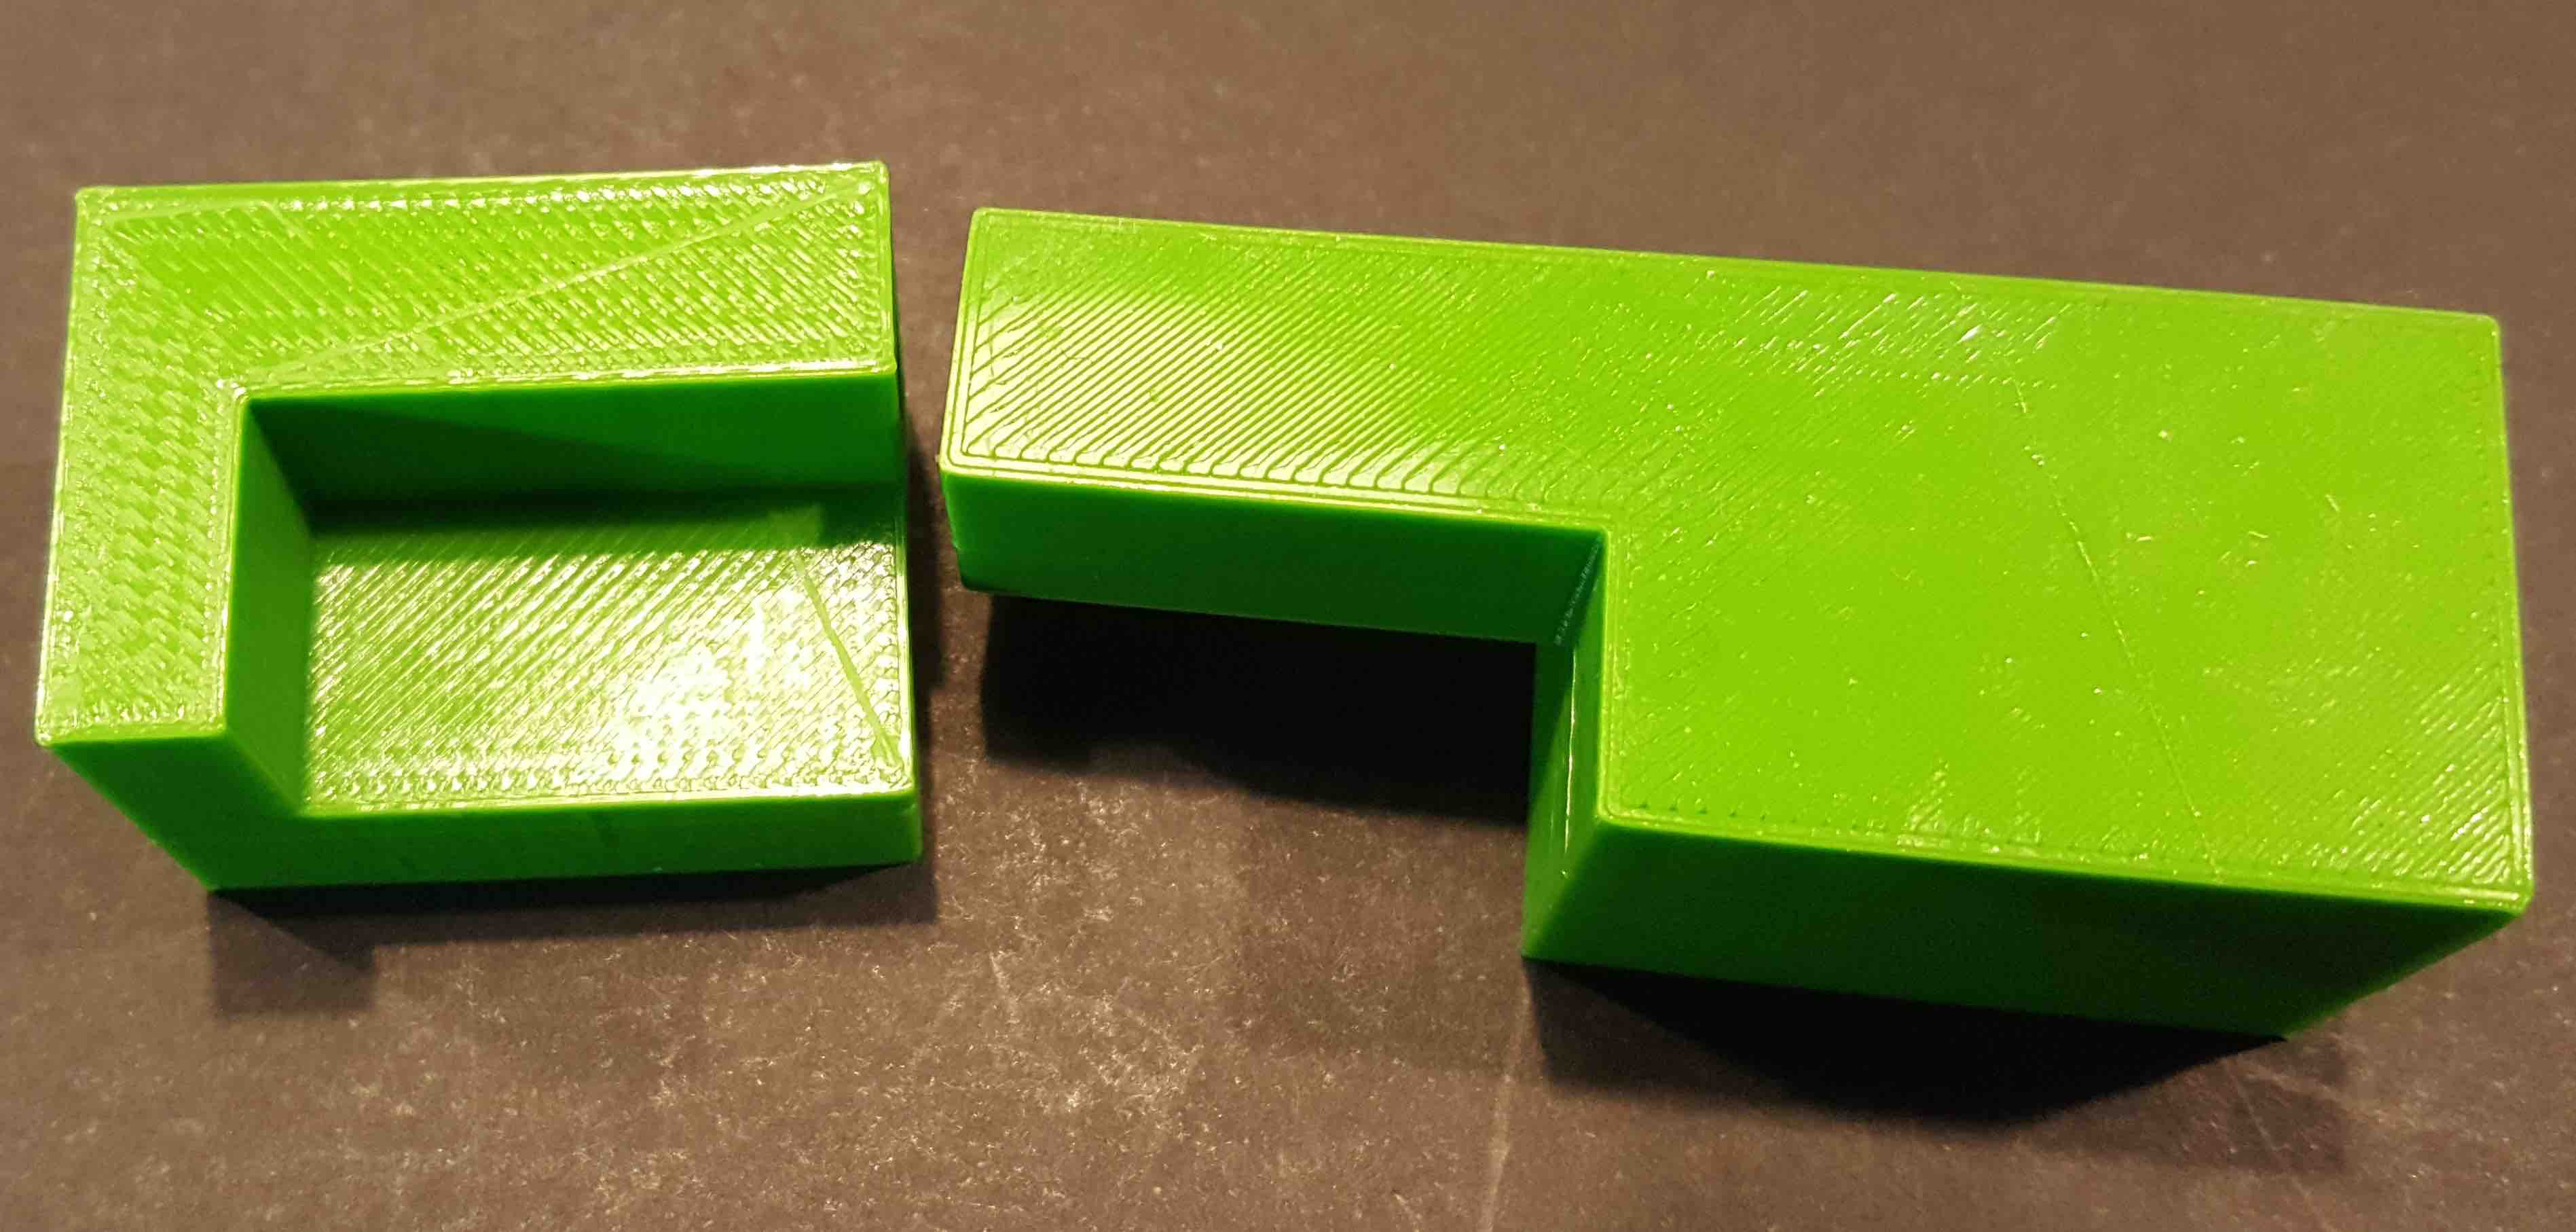
I decided to download the Thingiverse file Japanese Wood Joint, and test some:


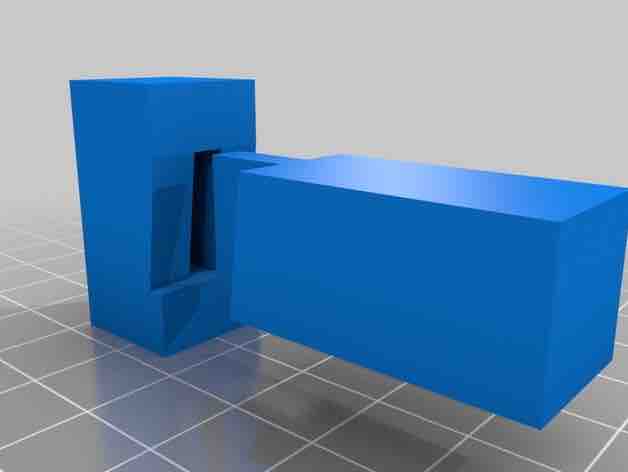


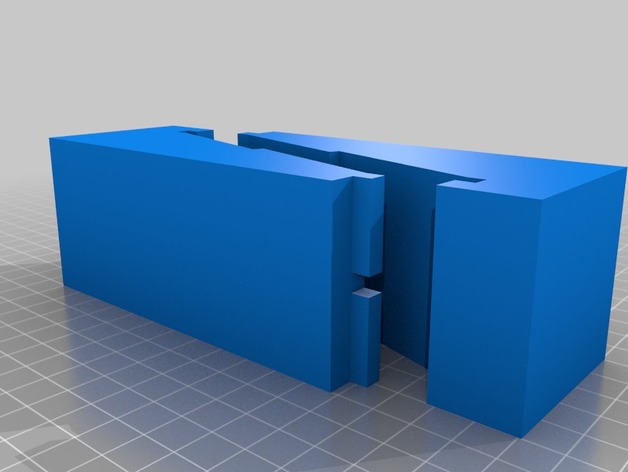
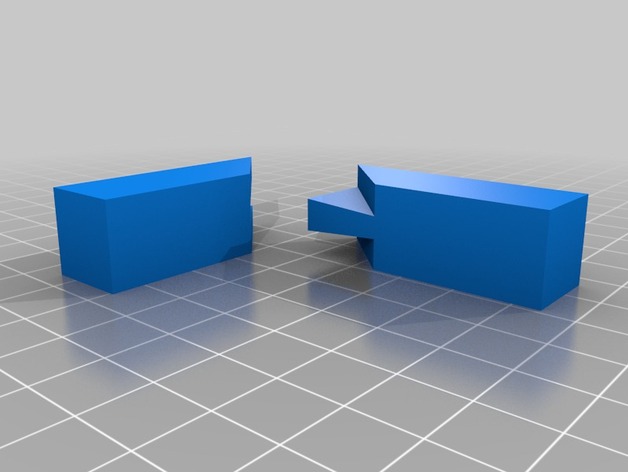
Machining principles
inspired by the documentation on guerrila guide
- TIR: Total indicated runout, difference between the intended and effective diameter tool... with quality spindles, TIR usally can kept below 2 µm.
- DogBones: its the solution for better square interior corner's. Good explanation: More elegant CNC dogbones @ Fablab RUC
- T-Bone:
Test equipament
I'd fallowed the group assigment tests from ISAAC Pierreand created a design that will allow me to test the machining on different materials.
Parametric design to test Machining

We can change the paremeter's for:
- Material thickness
- Tolerance

Source files in Fusion 360
MILL
Local Tools


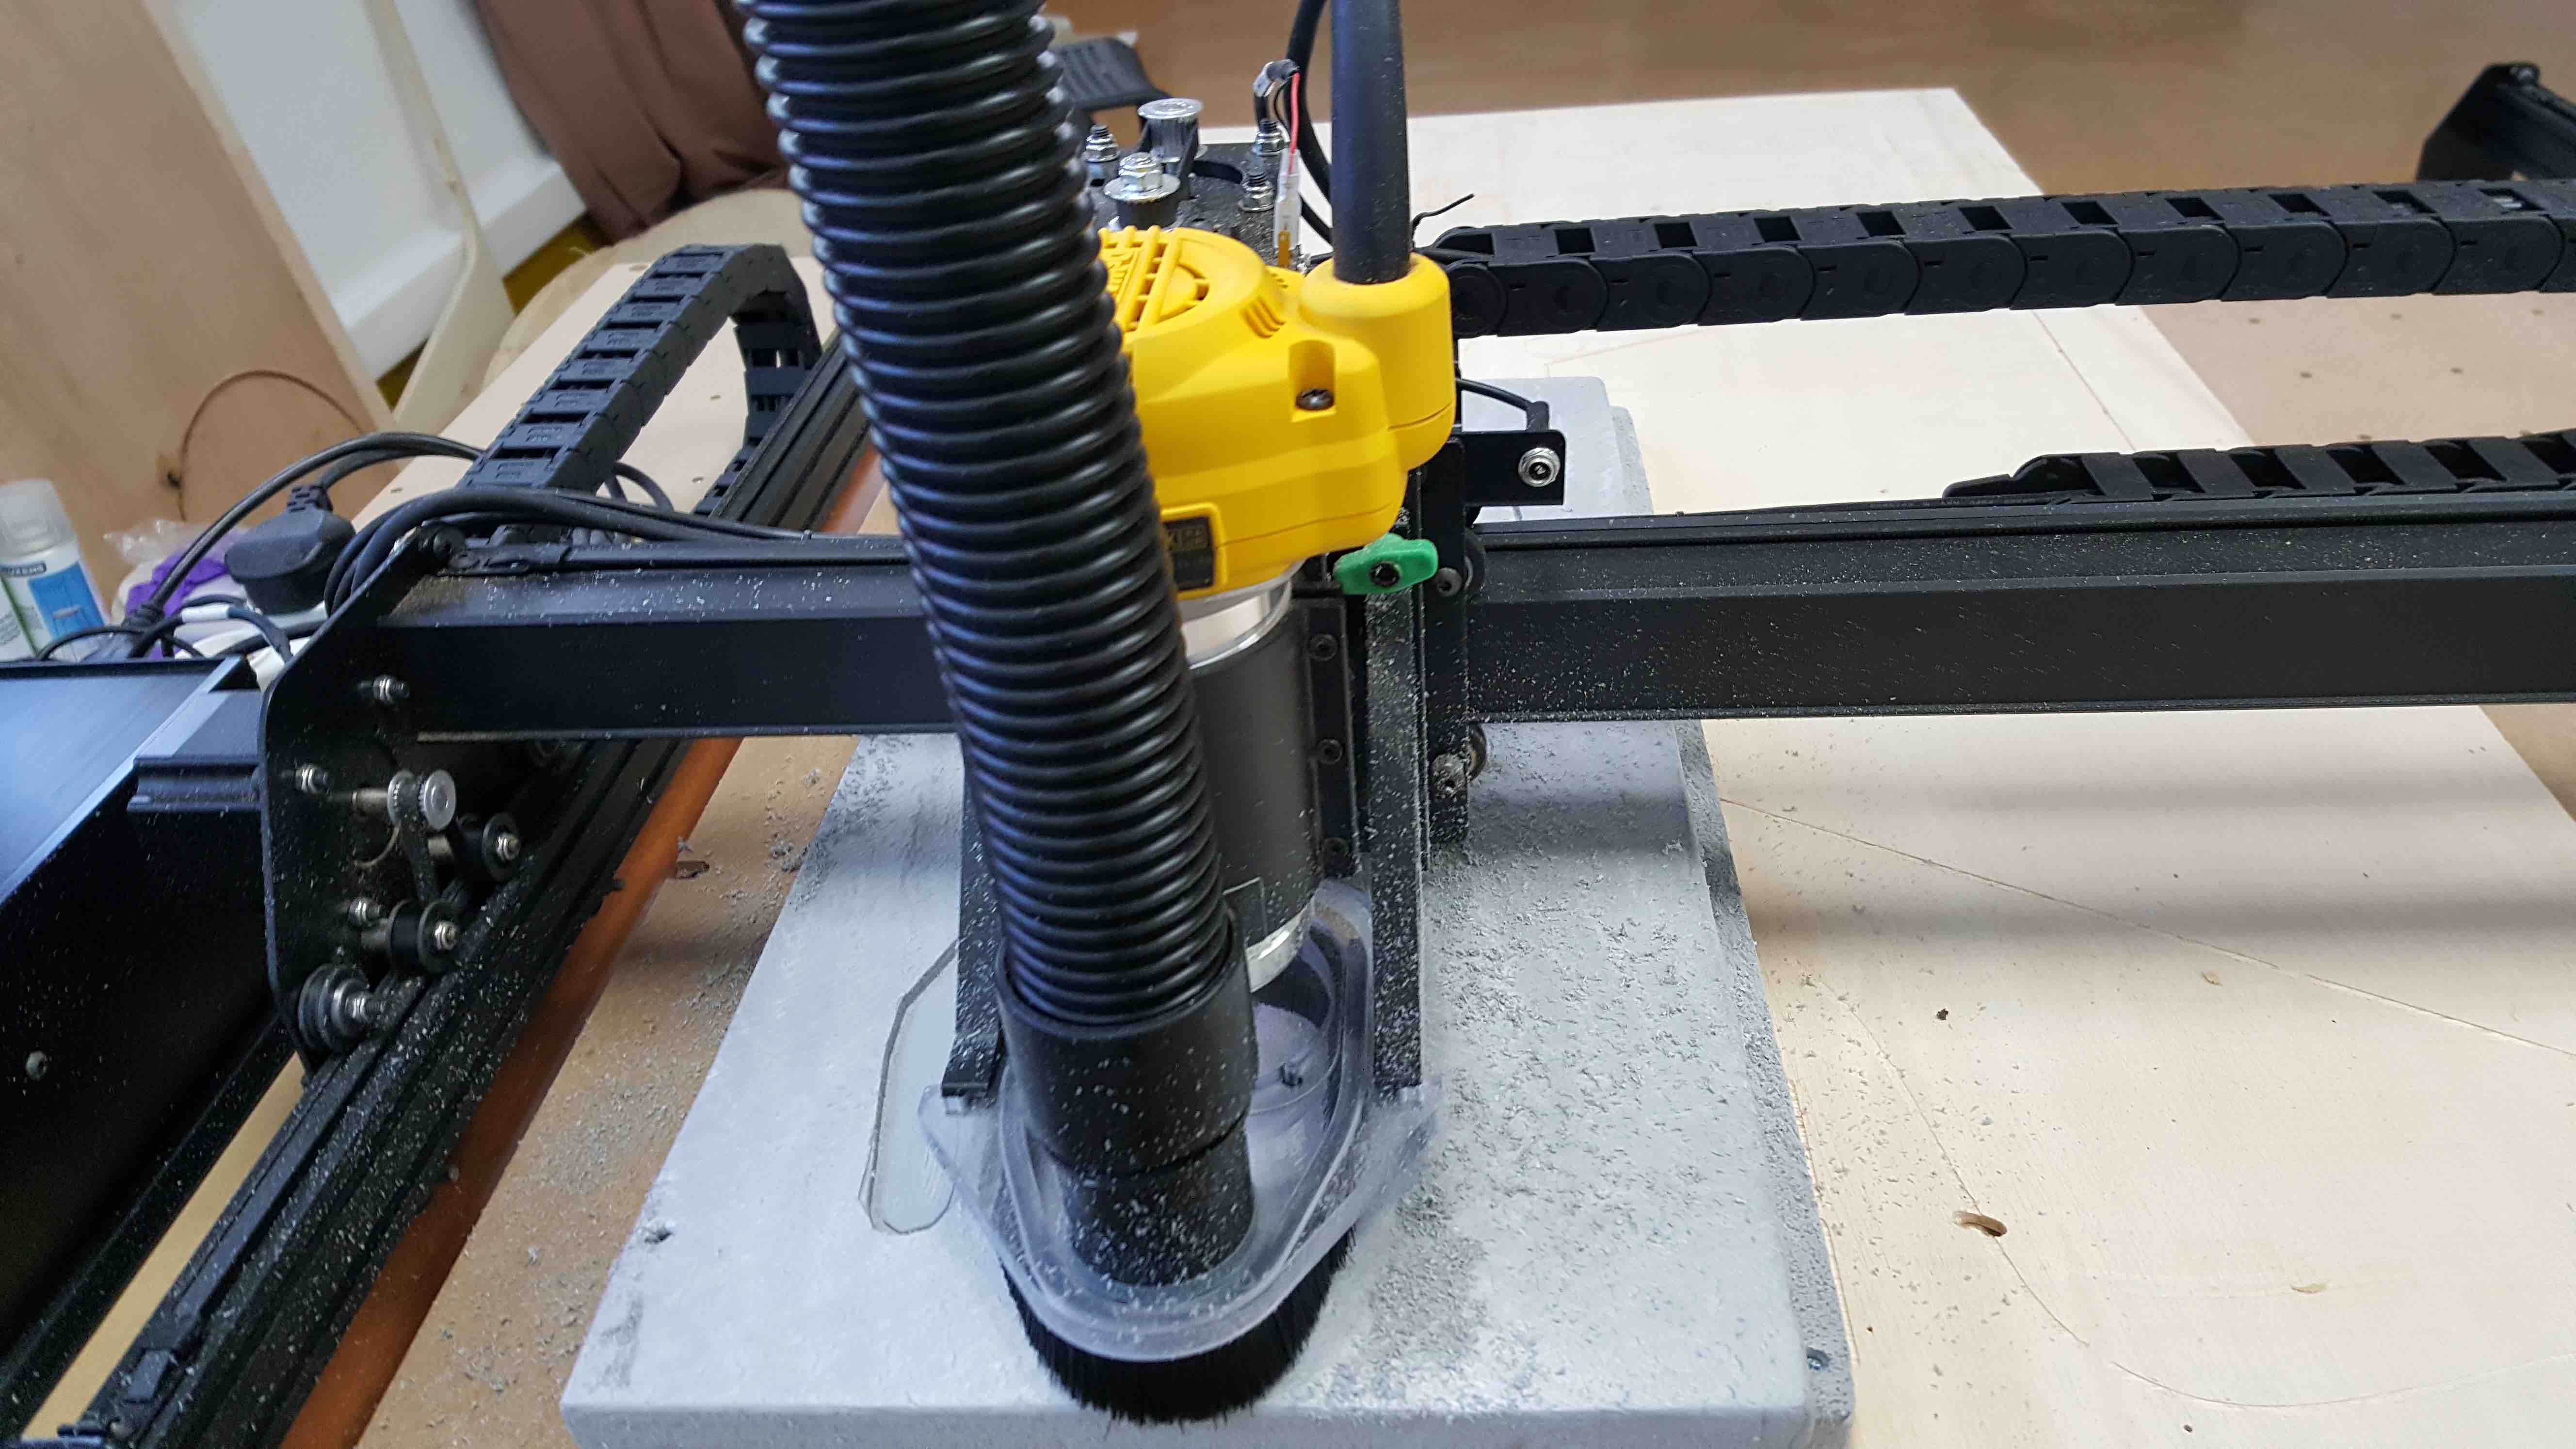
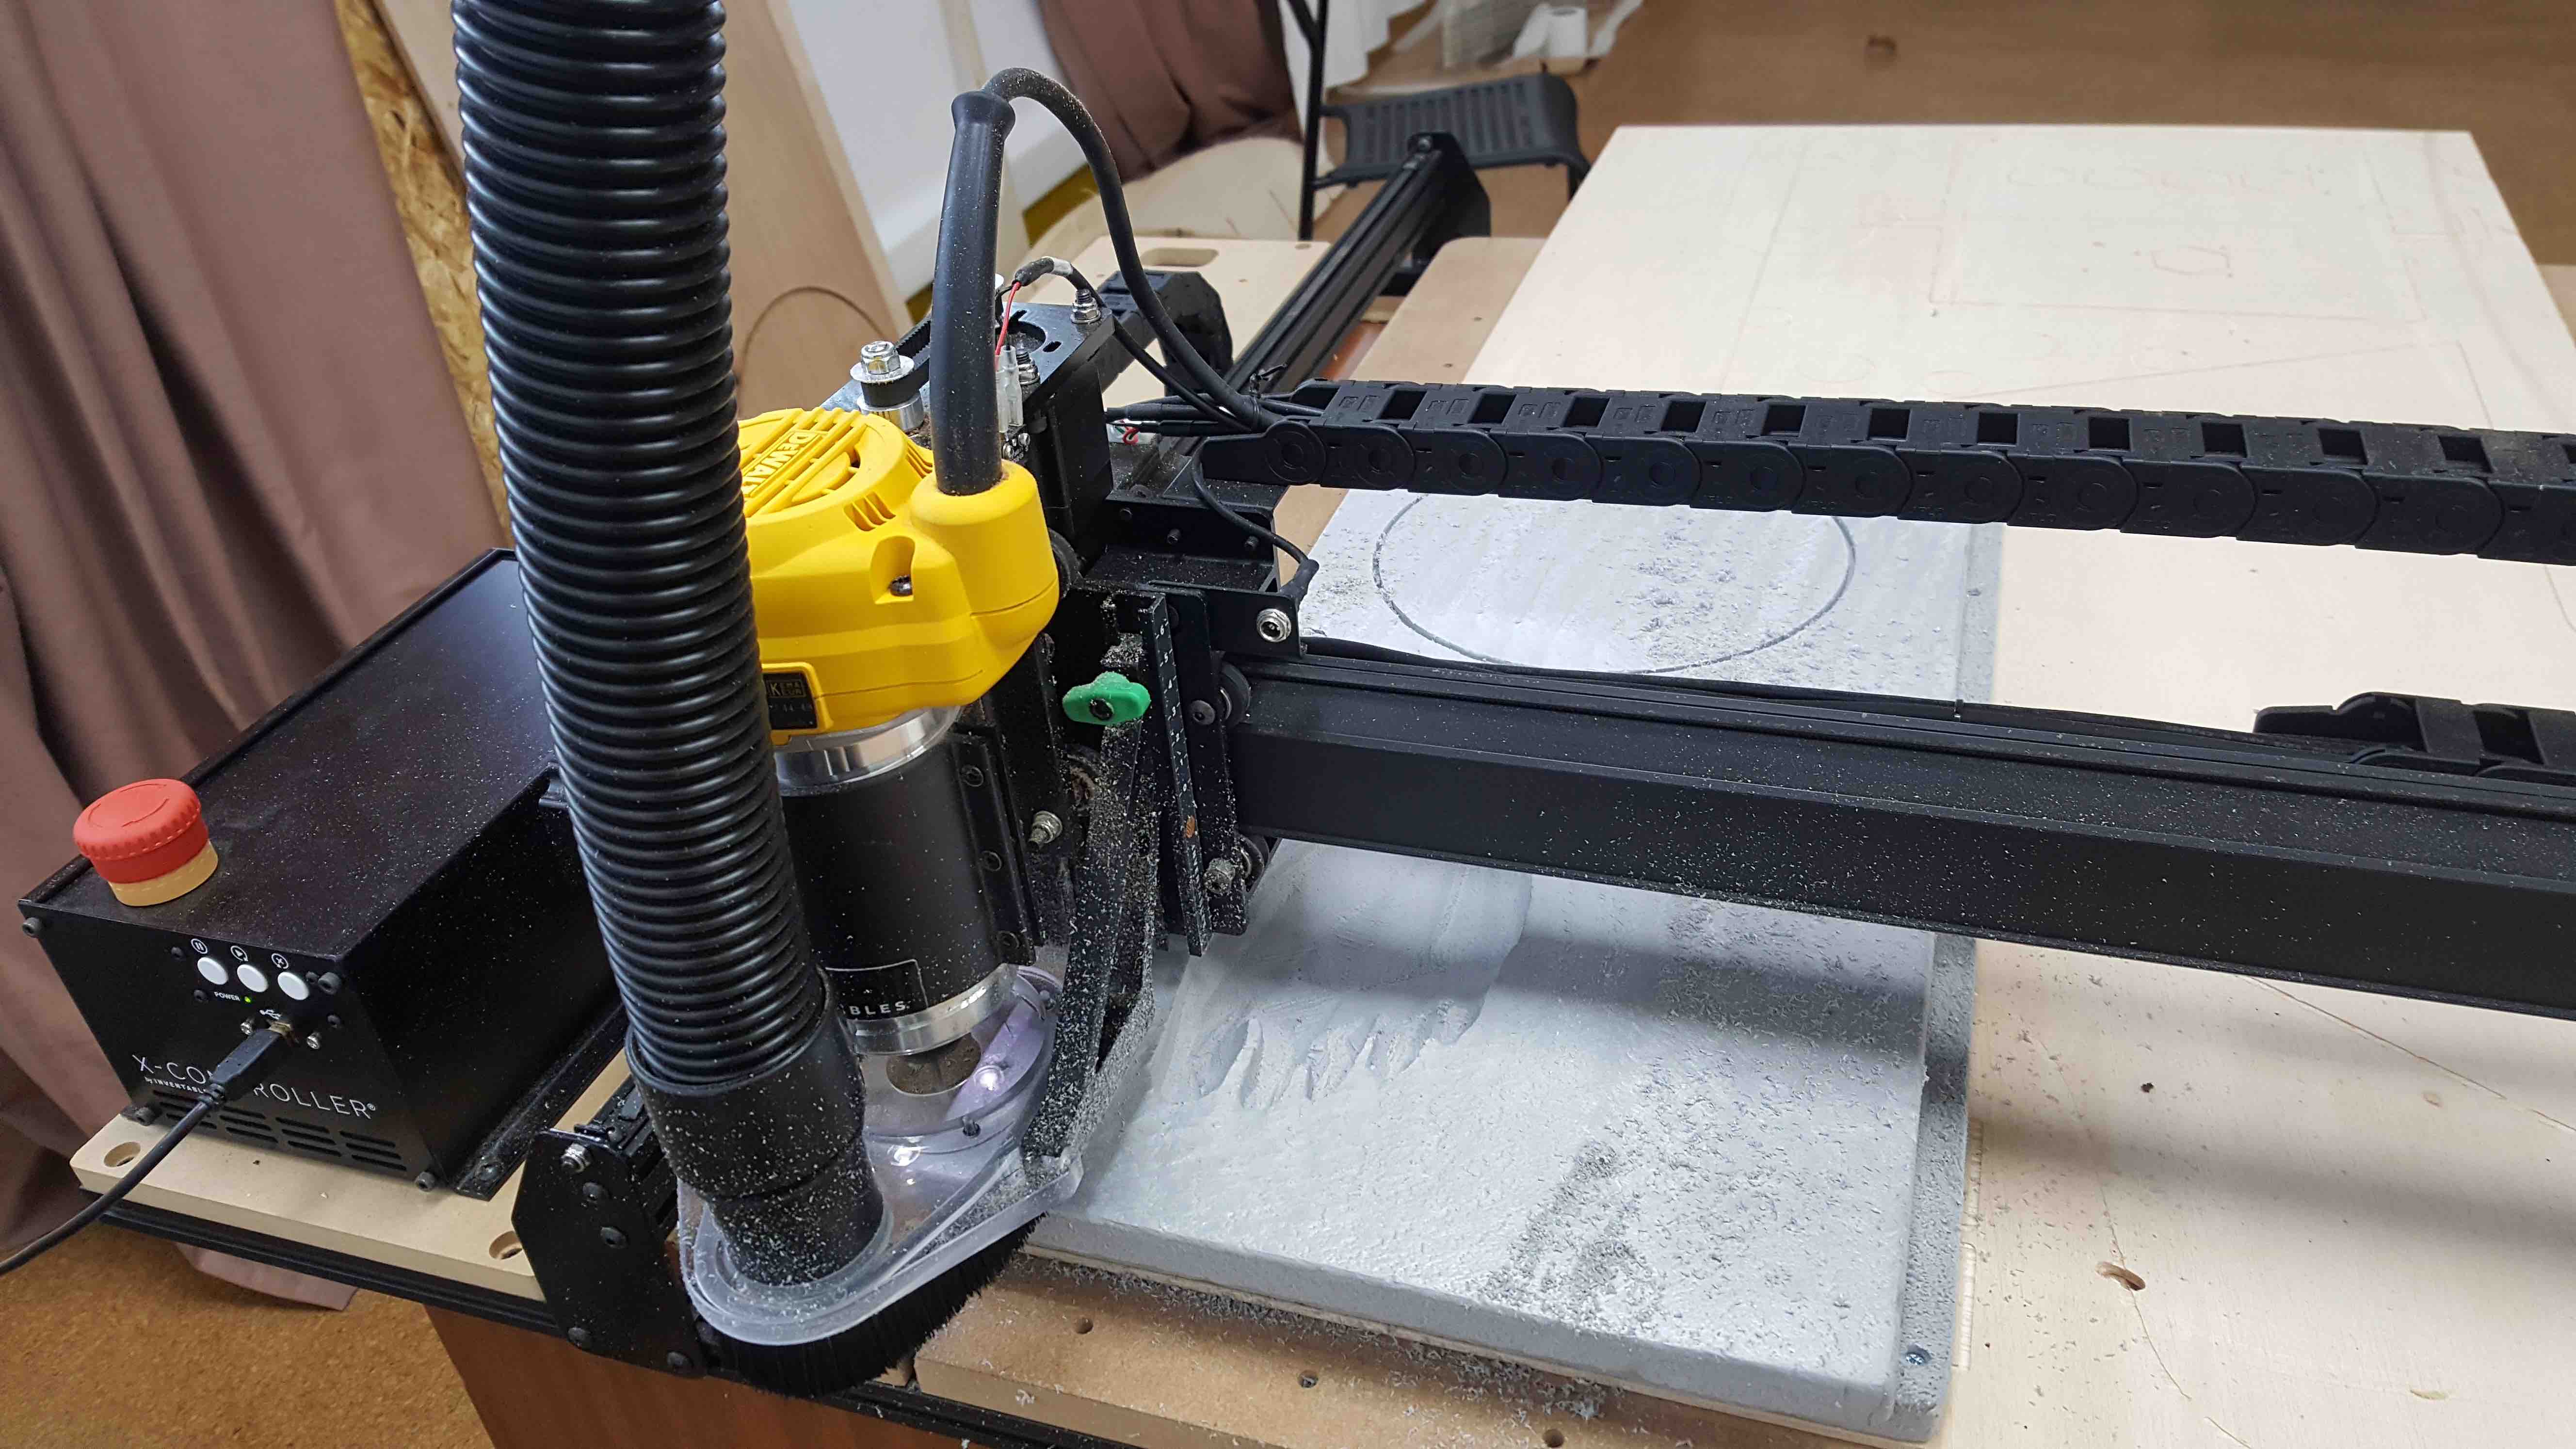
in our Lab we have the Inventables X-CARVE® 1000mm which uses the online software EASEL
X-Carve

X-Carve dimensions
X-Carve 1000x1000 - in real its available only a cutting area of 700x700, due to the space ocuped by cutting head.
Process
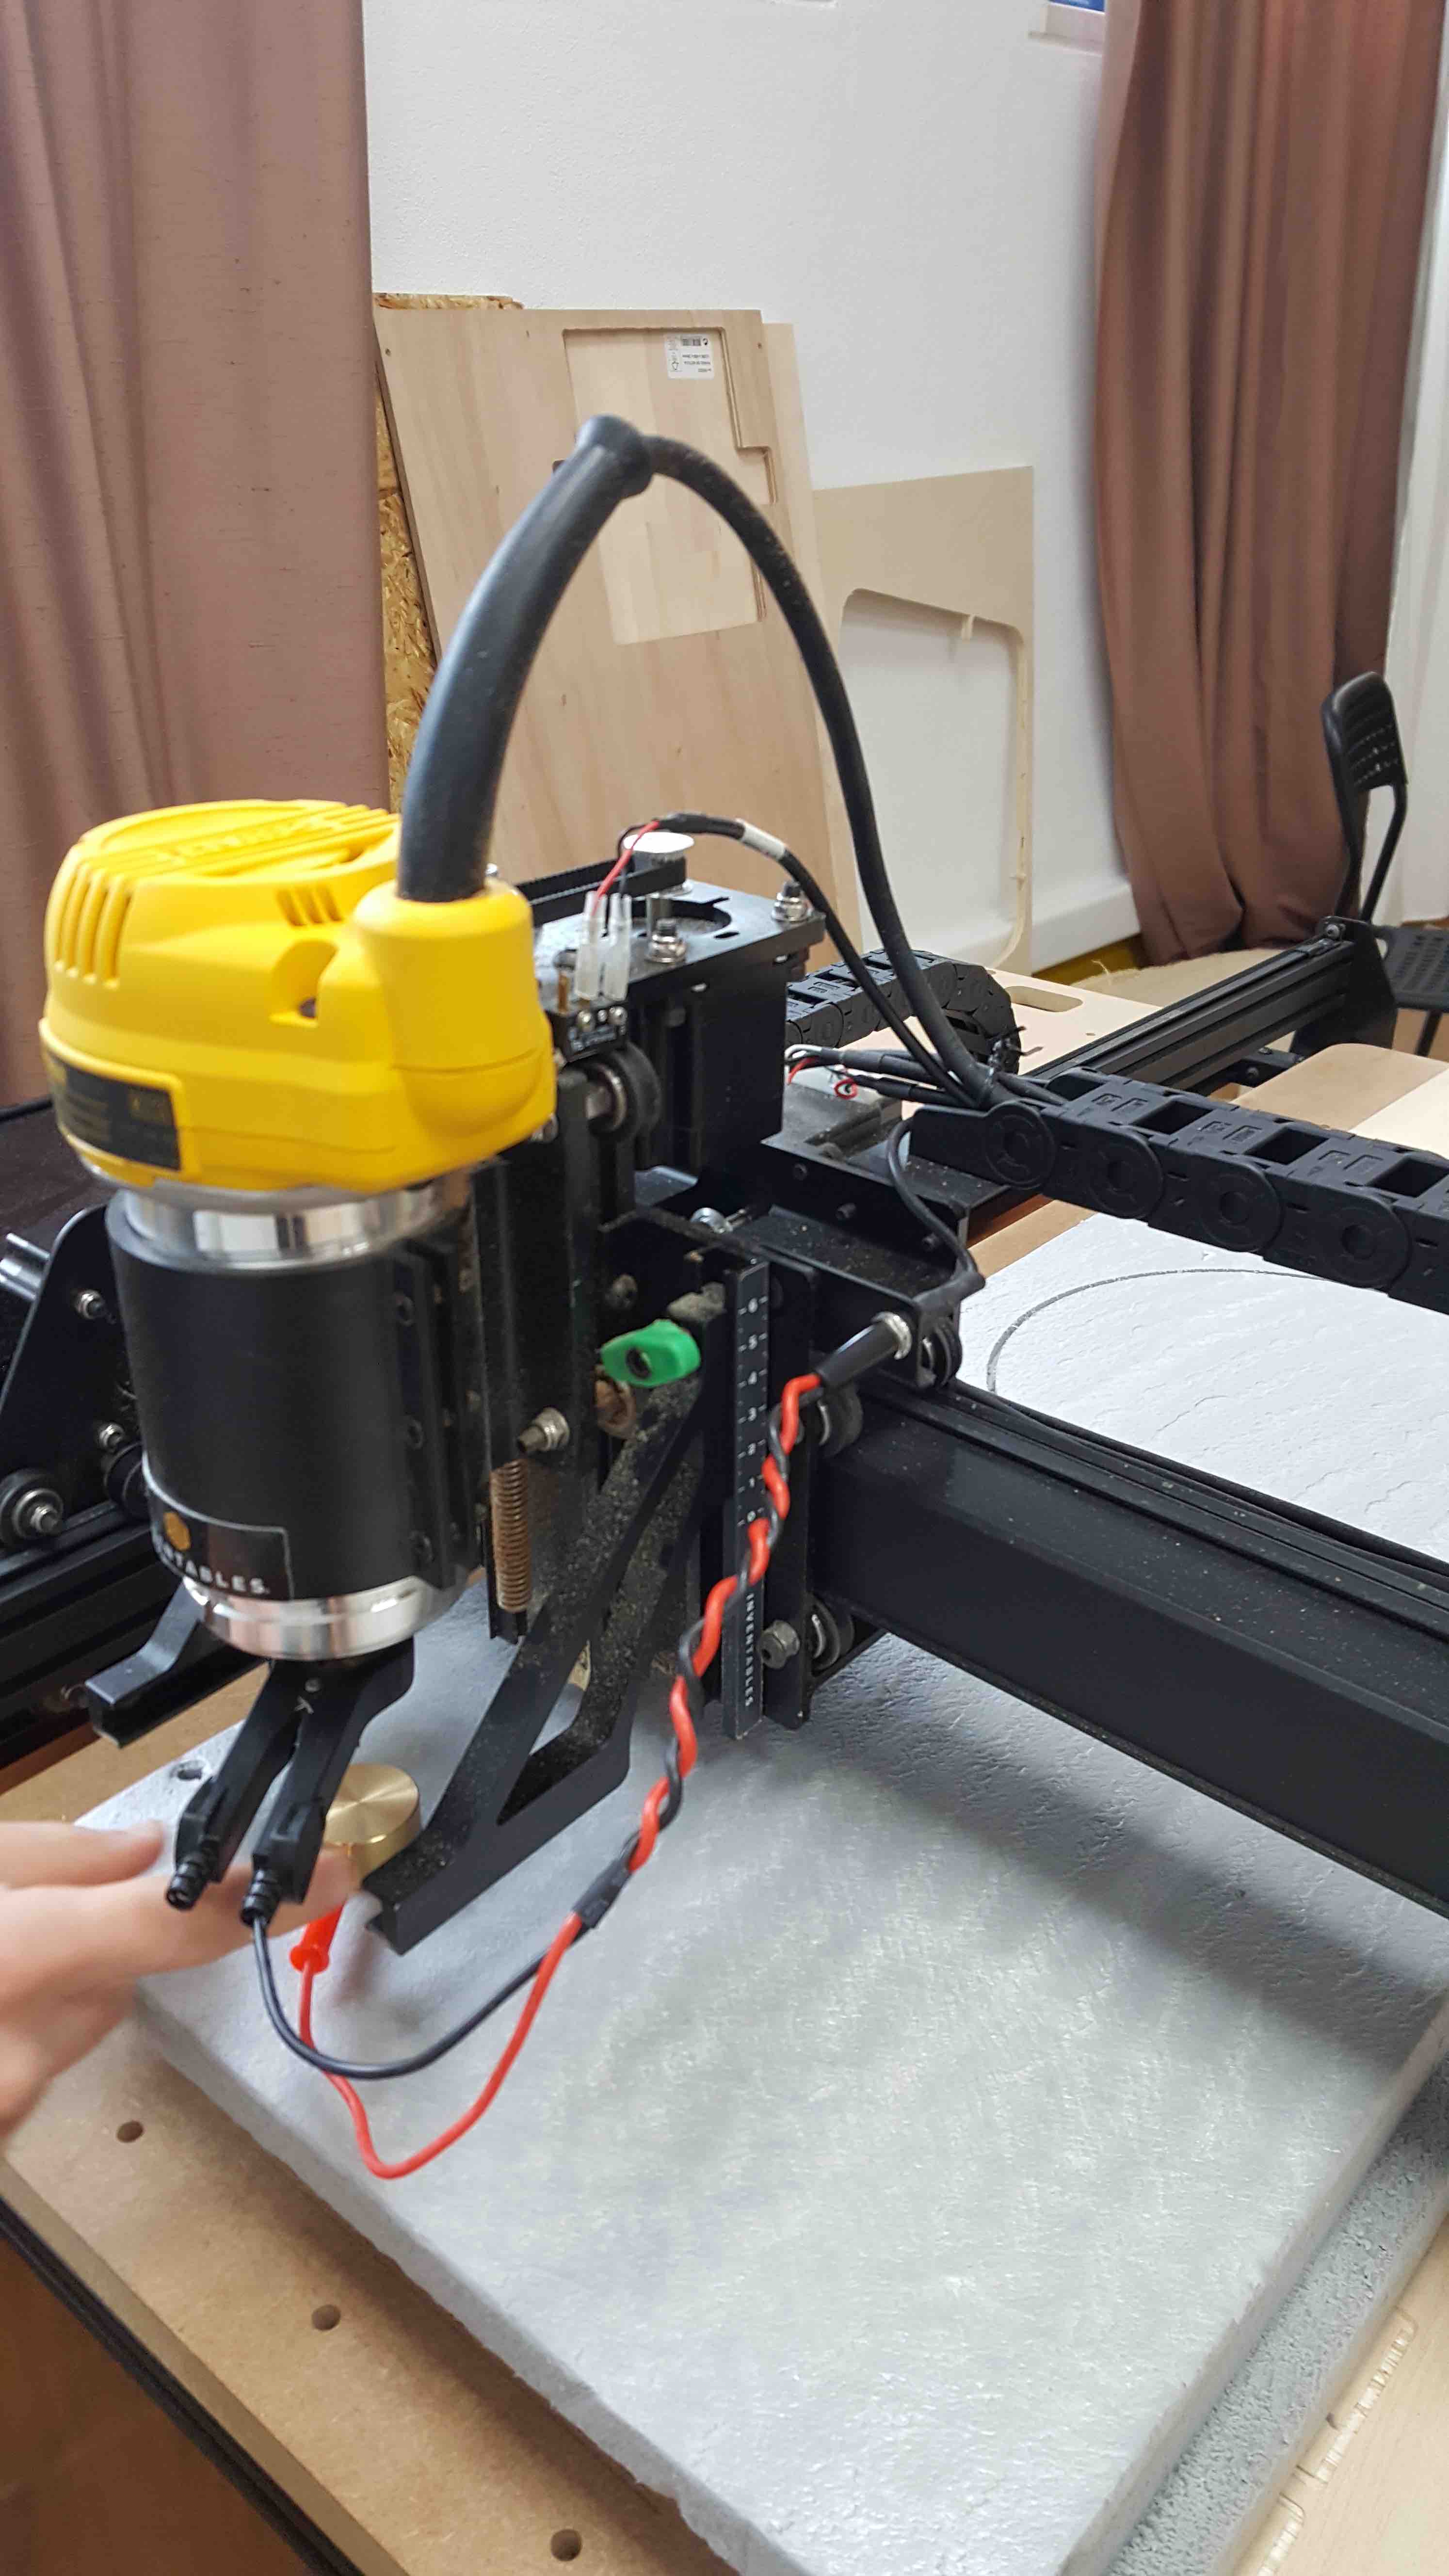
- It's necessary to position the Material inside the Available Cutting Area. We need to attach the Material to machine bed using Hand-Drill
- Open EASEL - we need the Software to actuate the Machine on next steps
- Open Machine Control Button - Red One
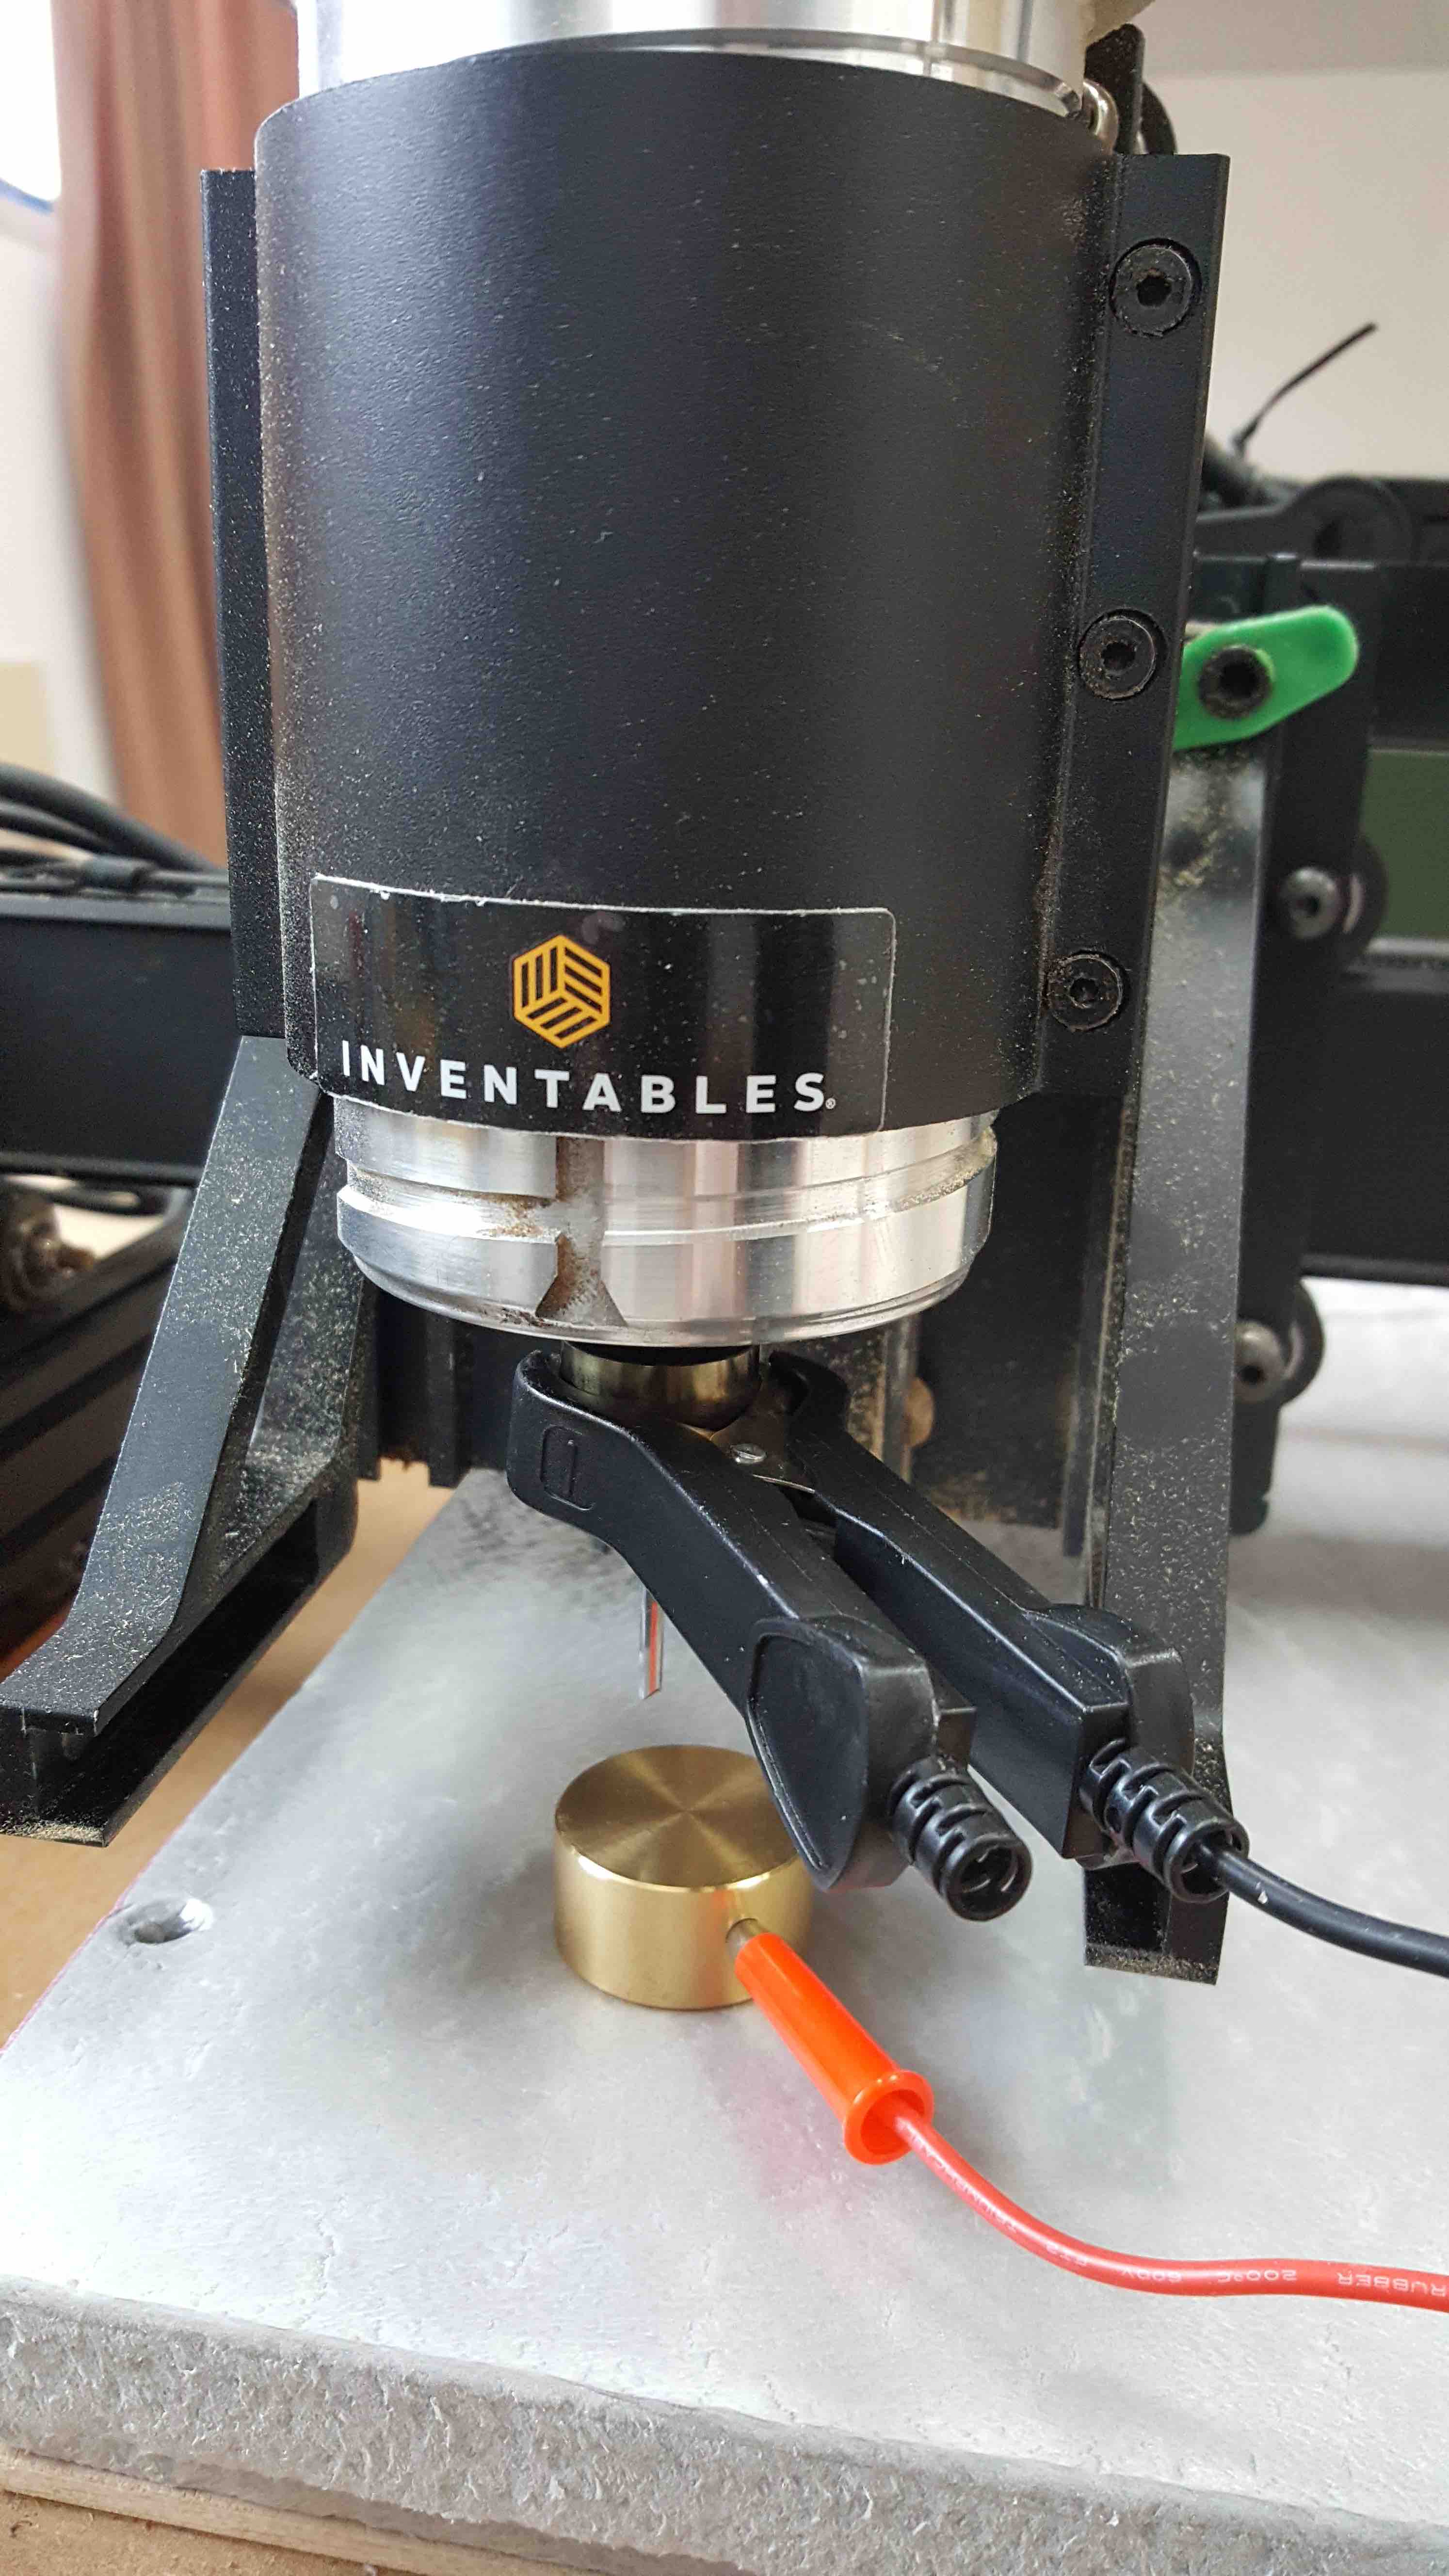
- Manual Place the Drill on the Drill Older
- Z probe - fallowing easel wizard -
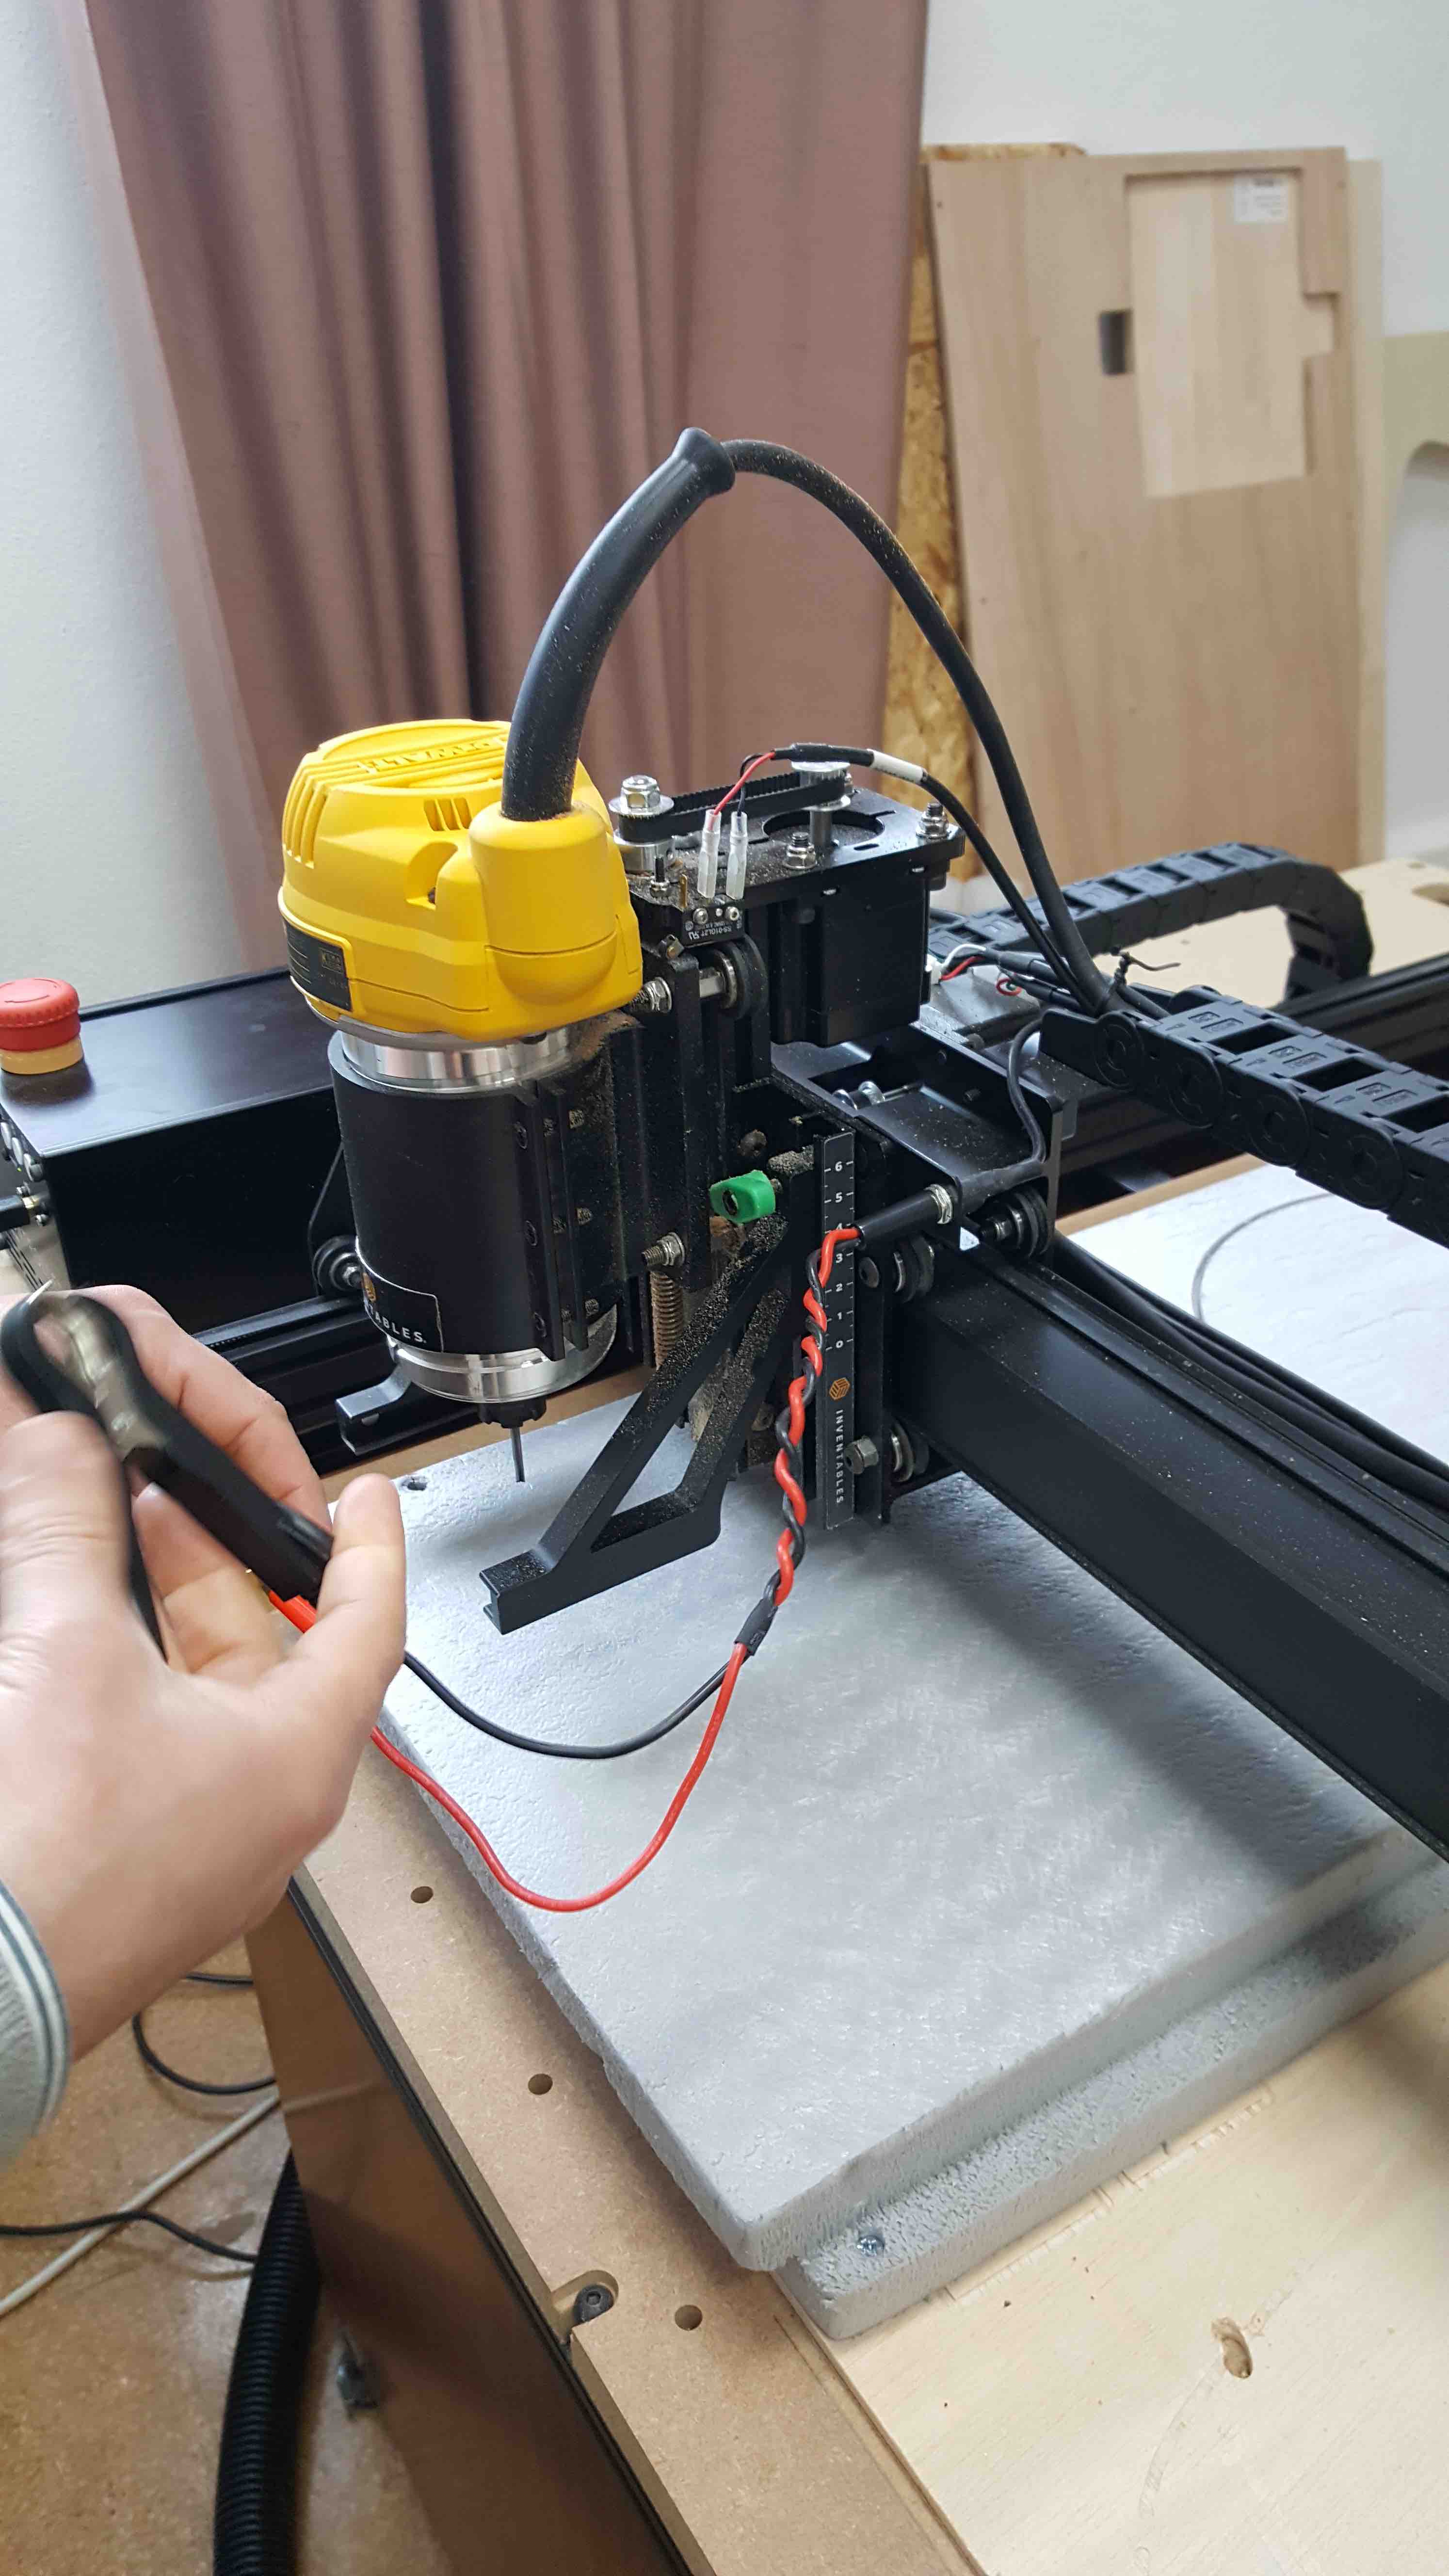
- Zet X and Y Zero
- Manual turn-on Drill head
- Verify Drill Spead (manualy)
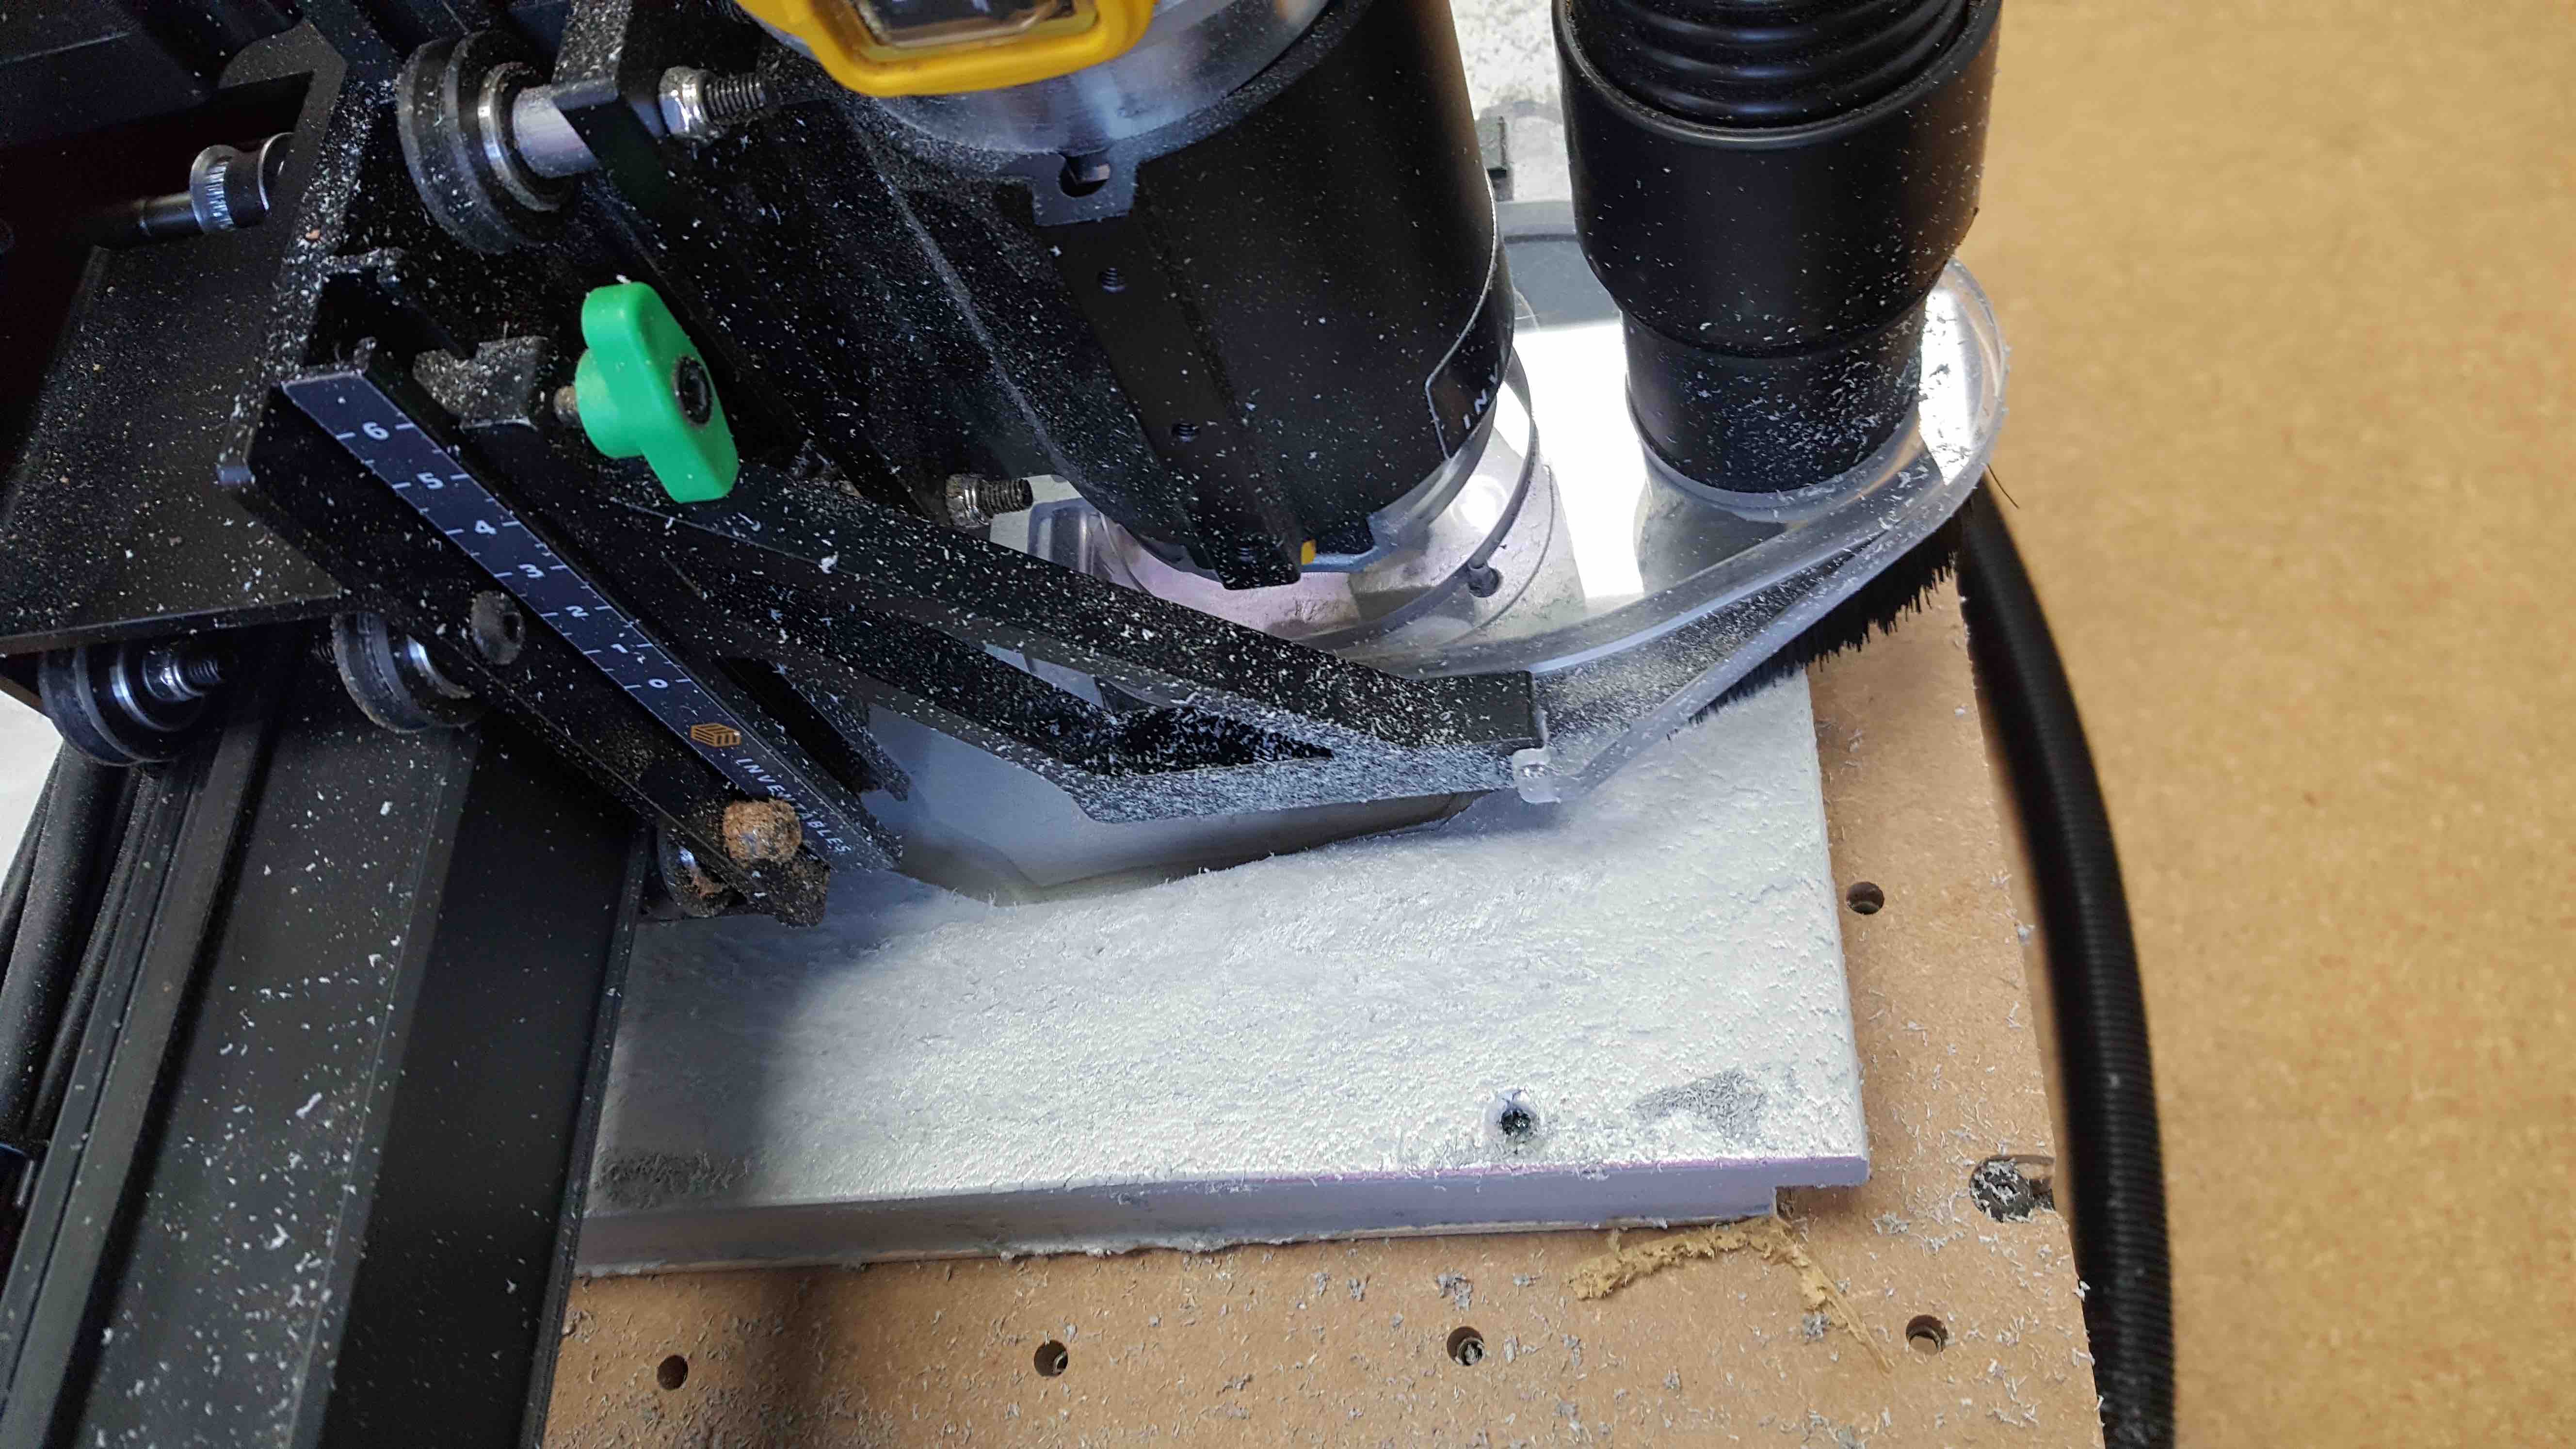
- Attach Brum to the Cutting Head -
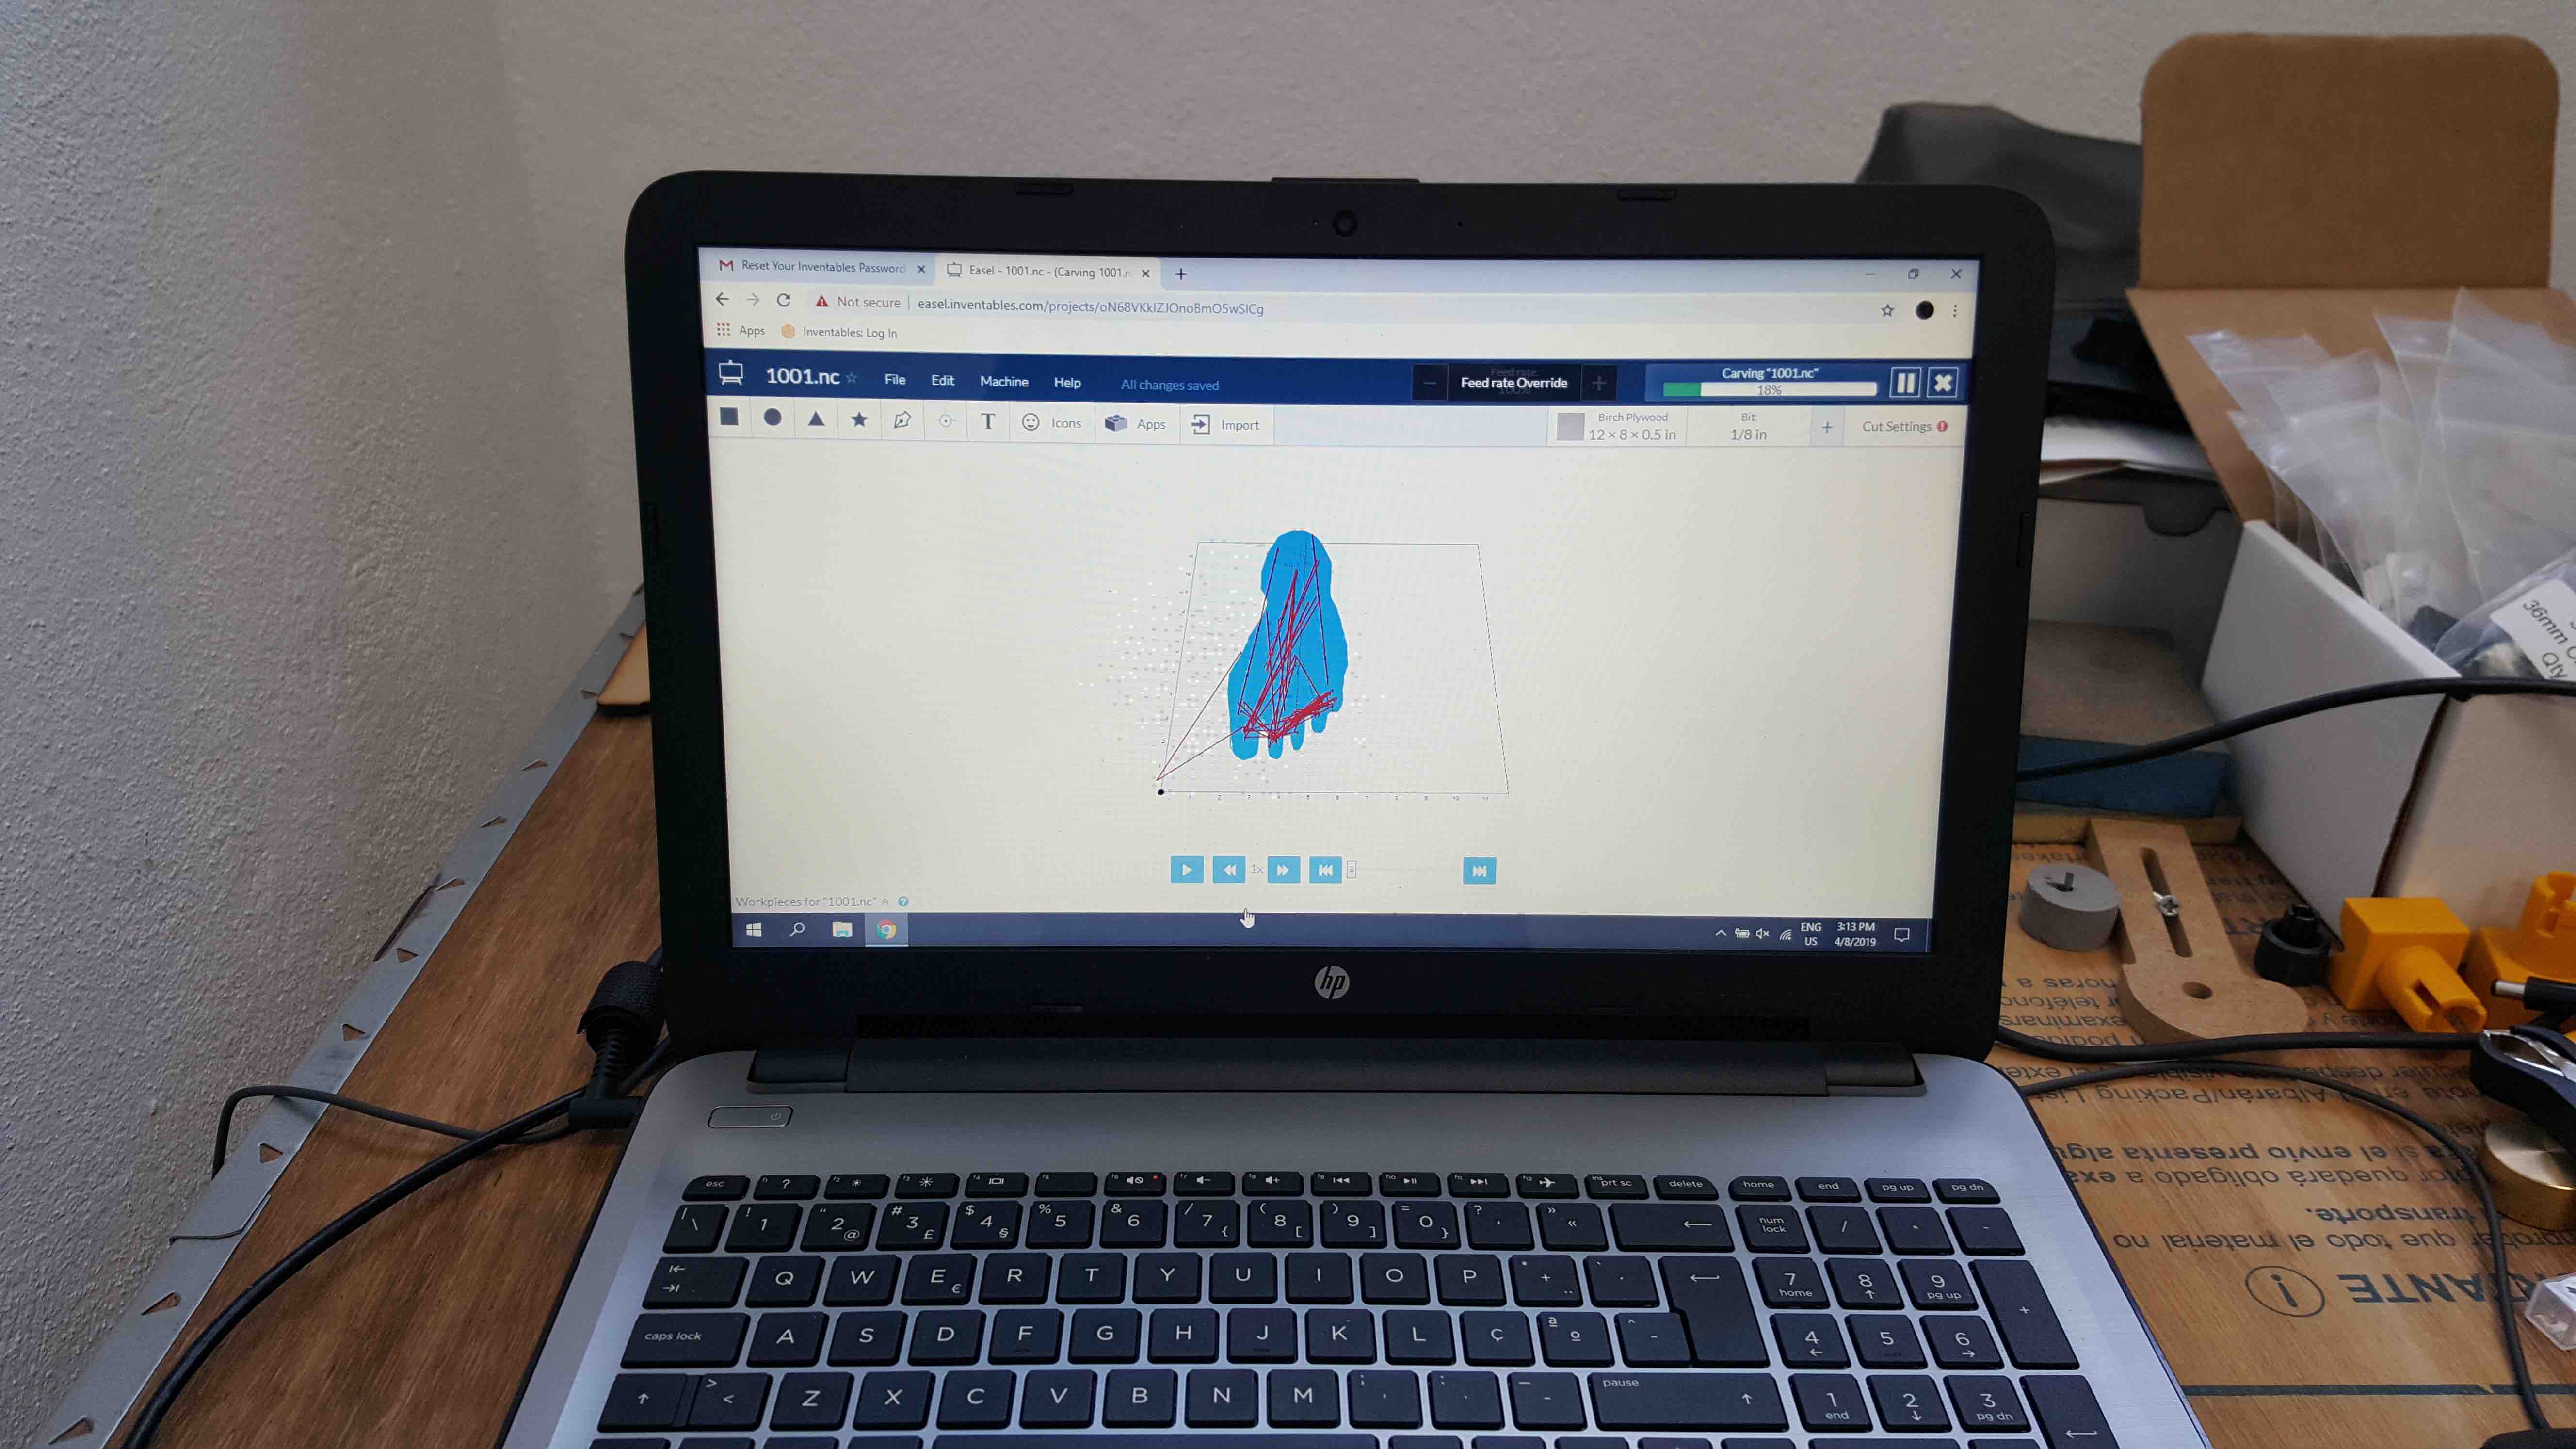
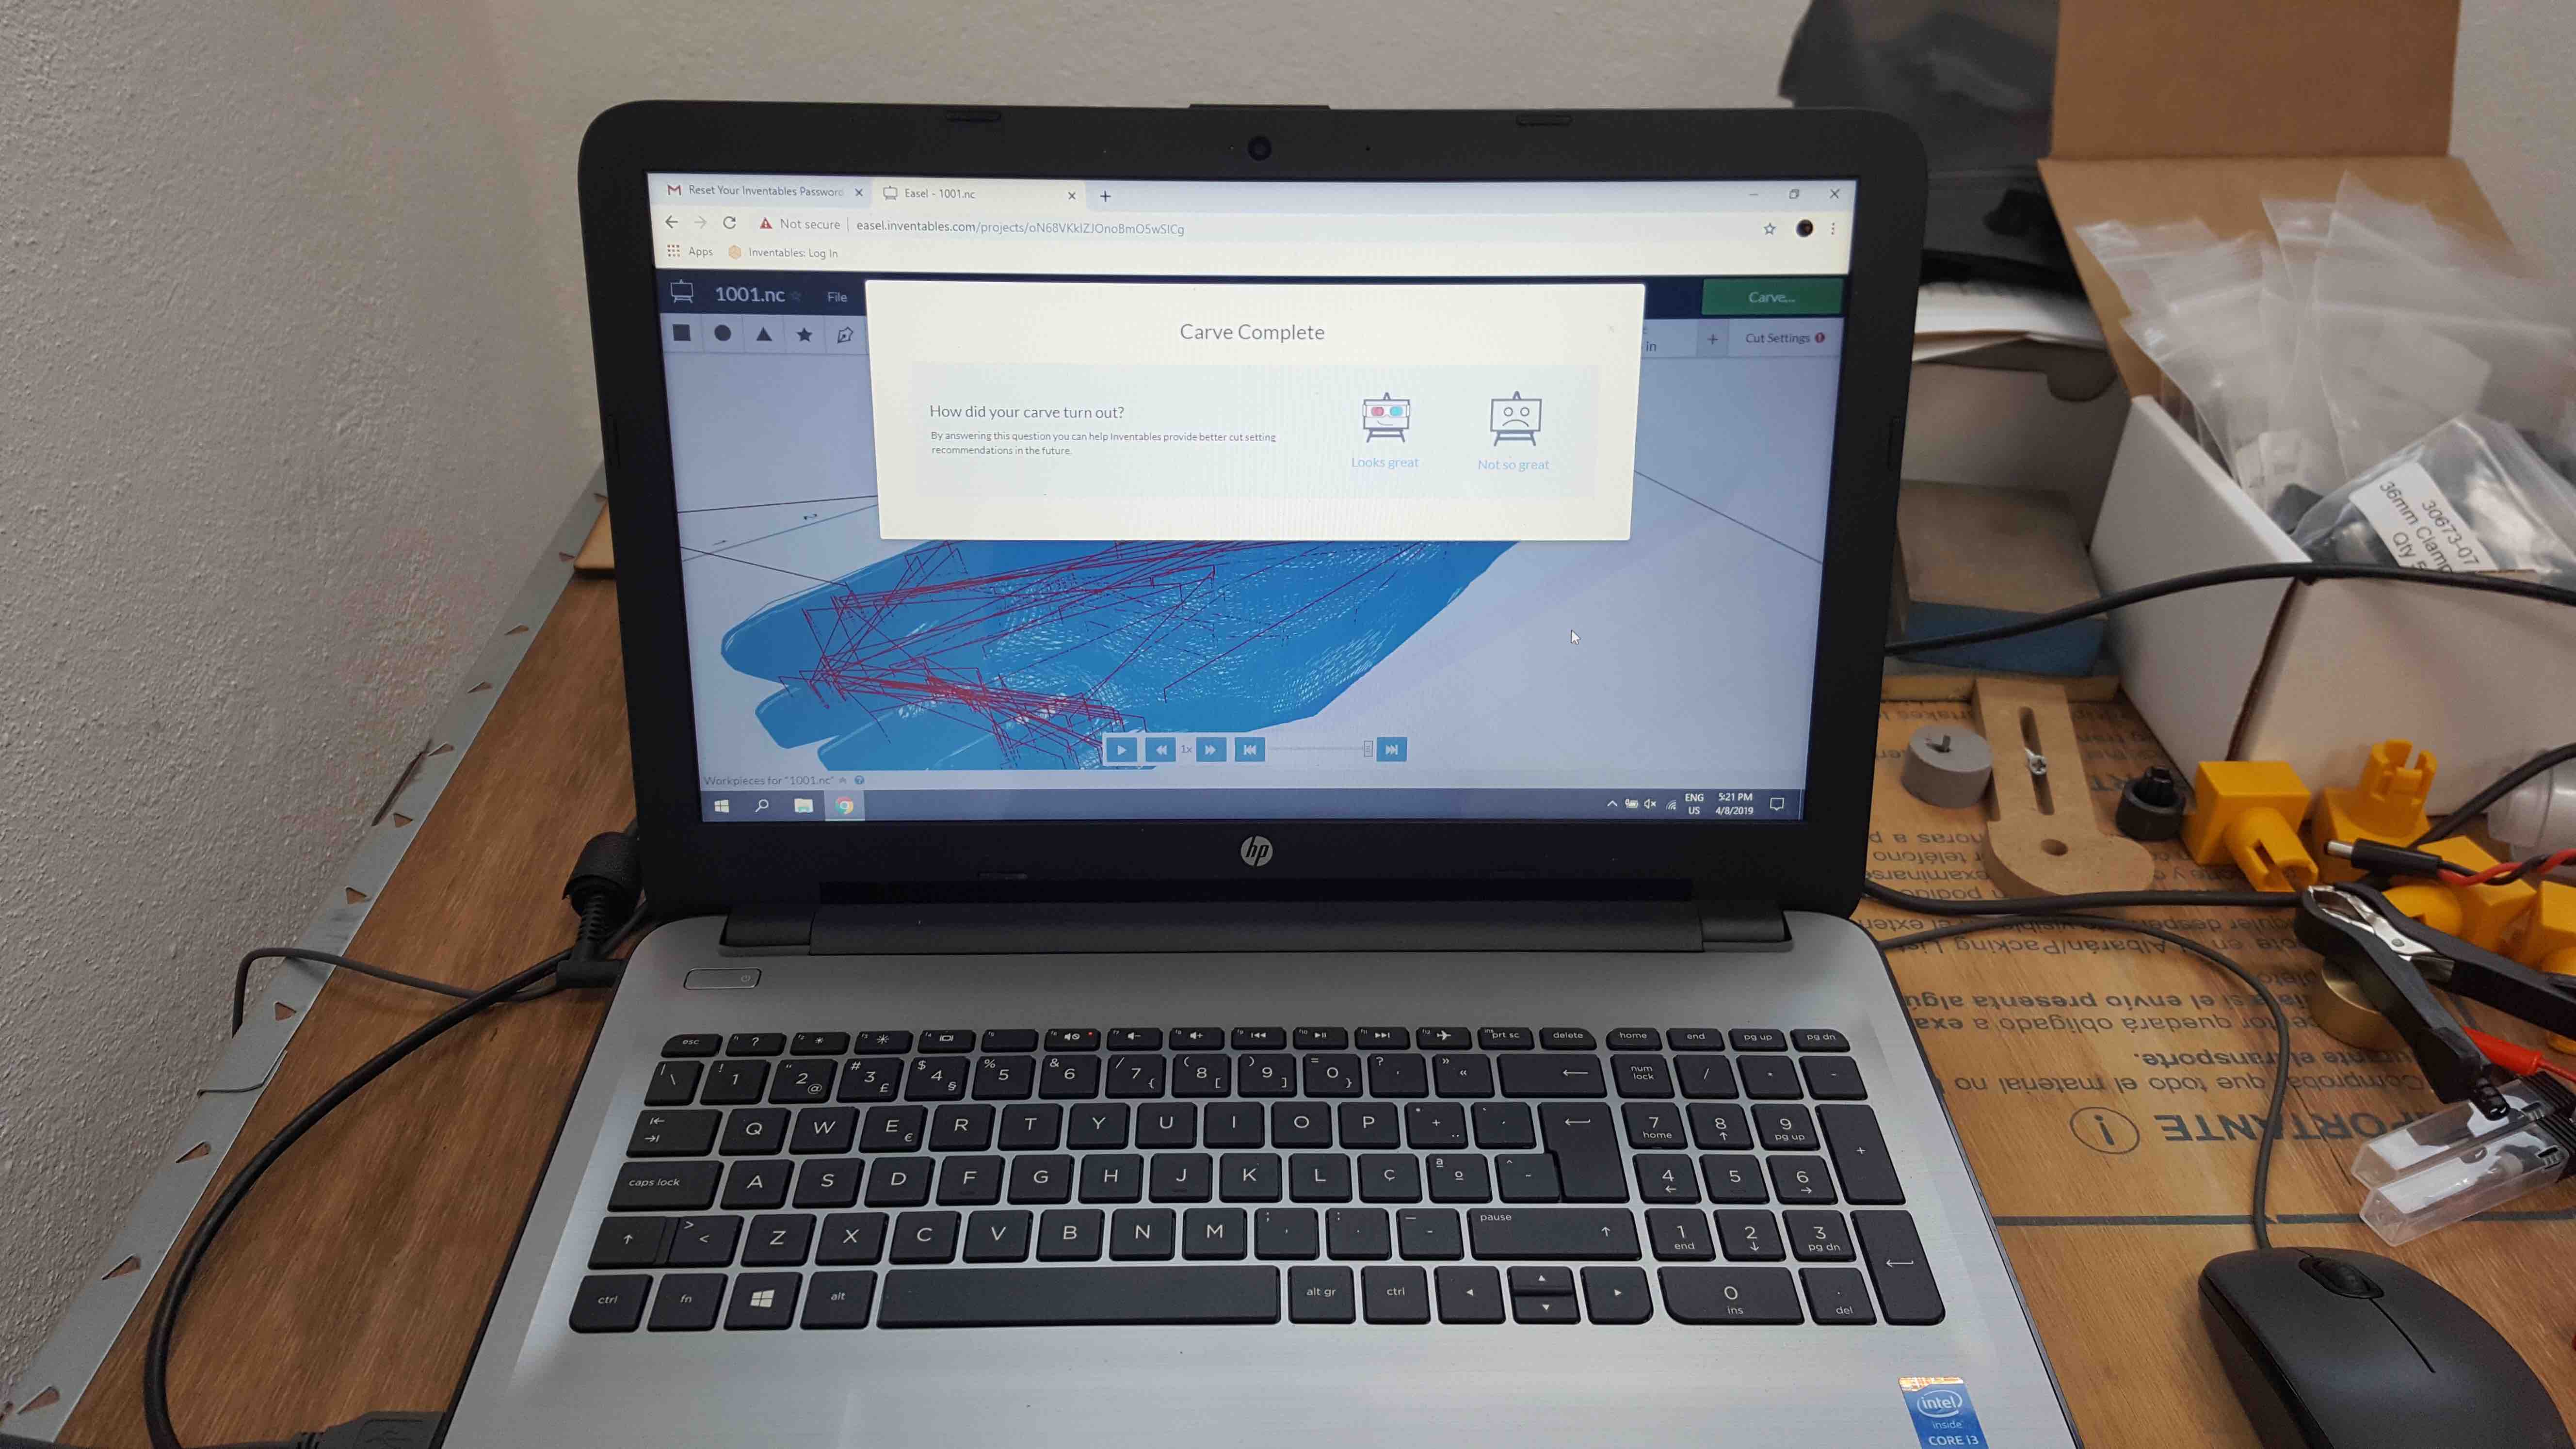
- EASEL - Start Carve - and fallow software steps...
- Manualy Turn-ON exhauster
- Carve Complete
- Unsetting the machine -
Assemble
←