
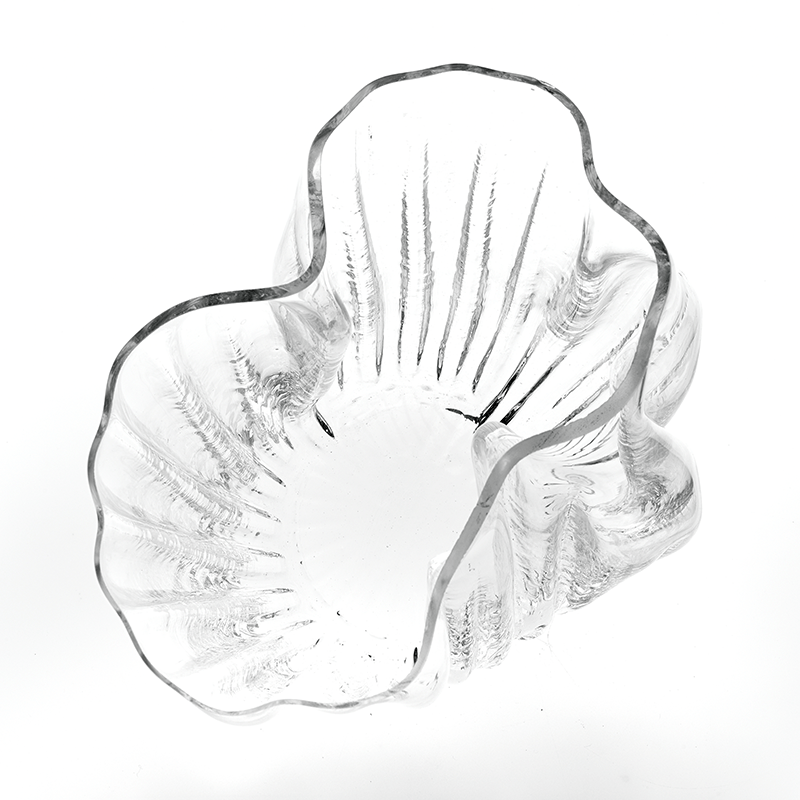
 Laser cut glass jar?
intro intro intro
 the vinyl result
The assignment was clear about the importance of vinyl cutting.
Since it is something that I was already acquainted with, I didn’t have much trouble.
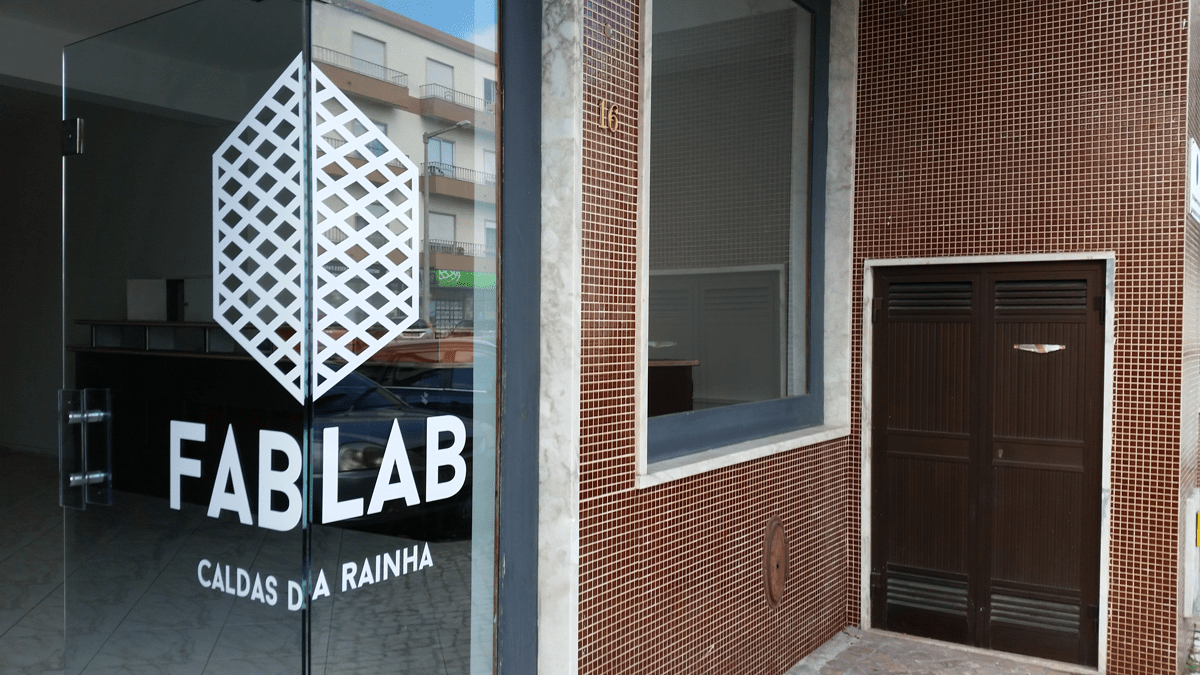
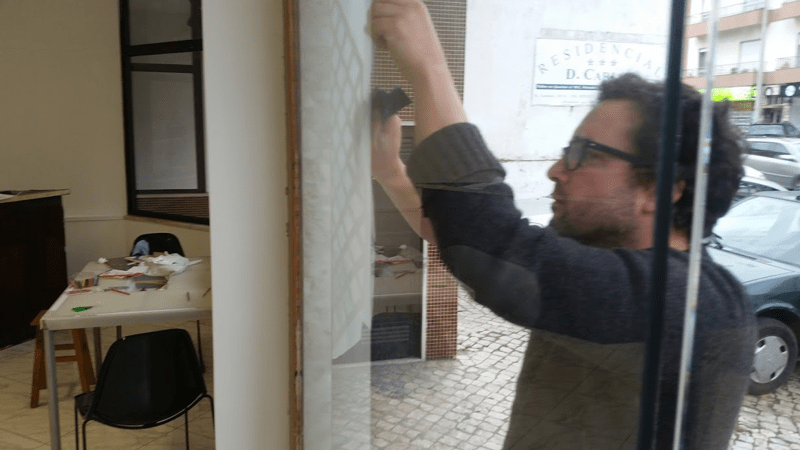
The idea was to make a cool door sign for the new space of the Fab Lab we are installing in Caldas da Rainha.
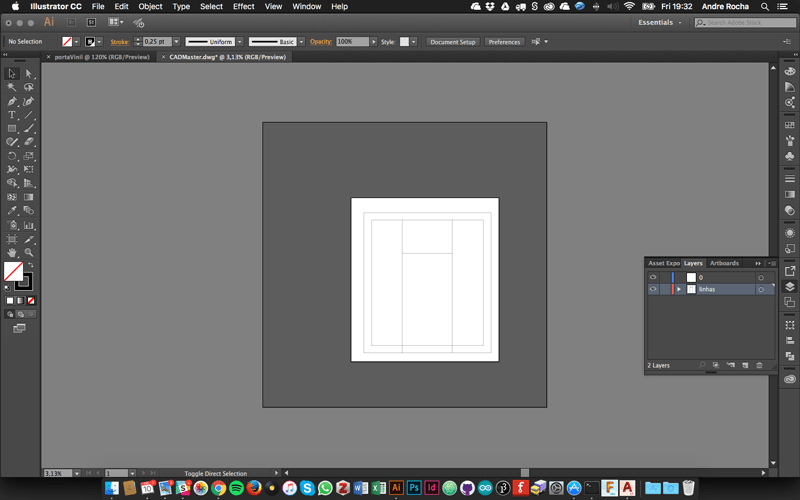
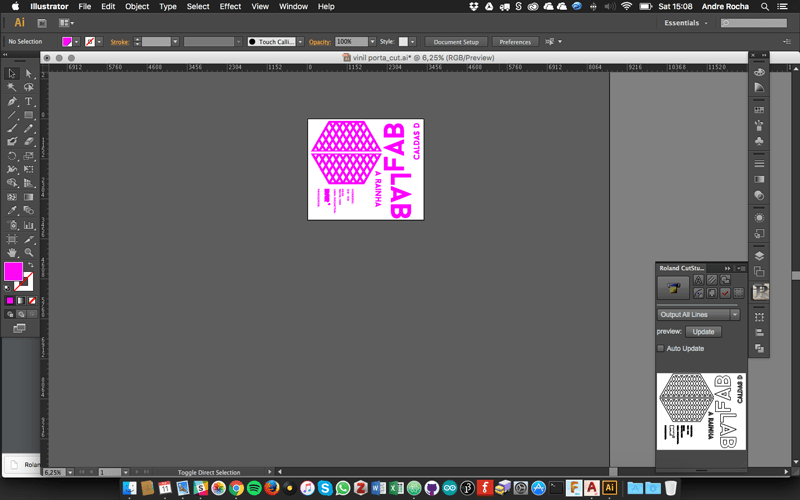
I started to import the front facade to illustrator from an AutoCad file I made a couple of weeks ago.
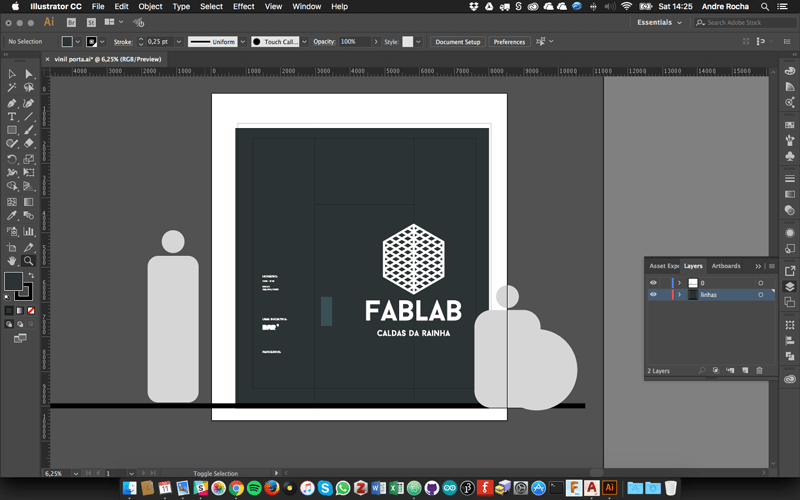
After that I designed the layout positioning and dimensioning the main logo sign according to users dimensions and impact.
 My good friend illustrator
 My good friend illustrator 2
The vinyl was cut on Roland GX-500 and prepared in illustrator.
The cutting paths are sent directly to the machine through a Roland plugin (Cut Studio).
 Second Sketches
 installing 1
 installing 2
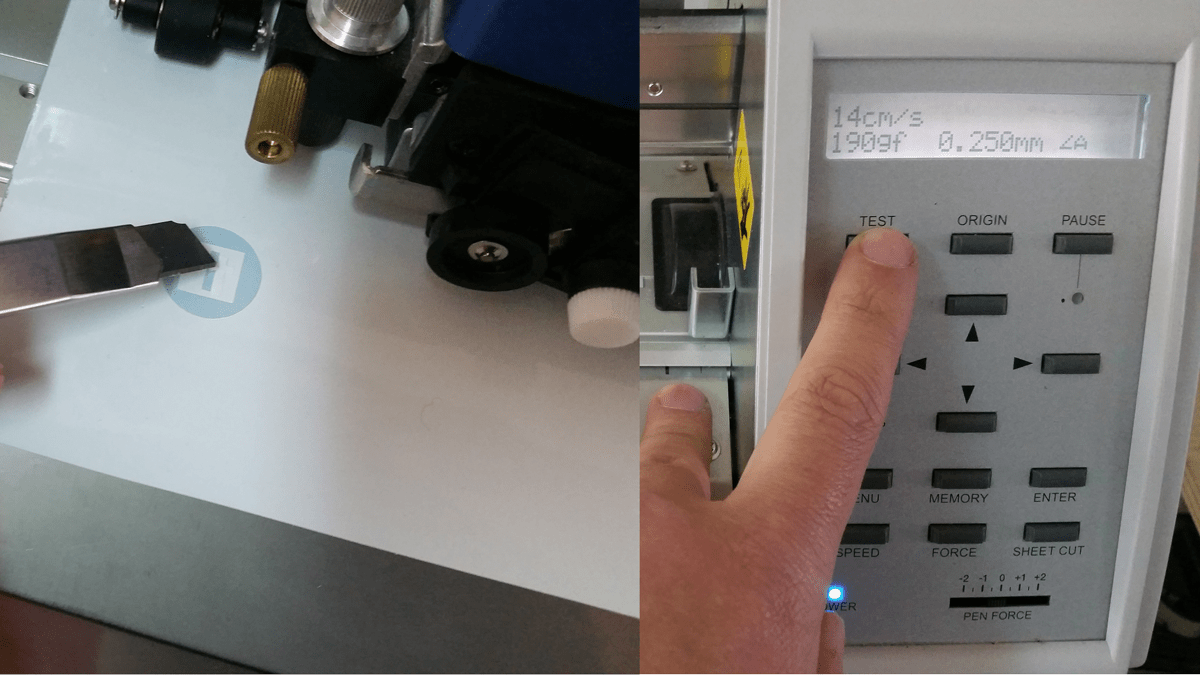
Before start cutting you have to make sure that you are applying the right amount of pressure and that the velocity of cut doesn’t affect its quality.
That is solved on the machine own interface. There is usually a test button that is used to check if the presets are ok for that type of material. The blade state of conservation is also a variable to be aware of.
The optimisation of the cut should be independent from the composition, since you will have to place the cutting elements on the cutting artboard reasoning between your ability of putting the pieces back together with a little more effort and measurements, or do it directly maintaining the positions, but spending a lot more material.
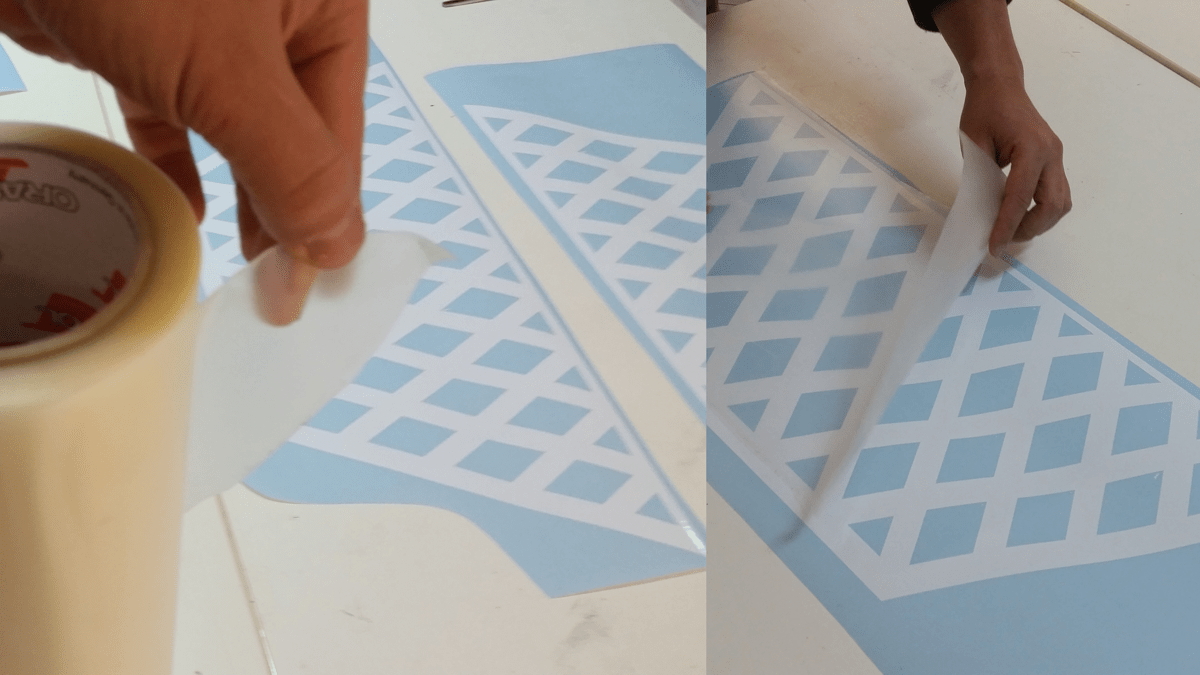
Once the vinyl is correctly cut you will have to have some patience and remove the excess. The level of detail and size will dictate the time you spend on this task. Bring a cup of tea and a nice partner to chat and help you with this part of the job.
After these, you should apply transfer film, which is the translucent film, that grabs the cutted parts on position so you can place them elsewhere without losing relative position between cut parts.
 Experimenting with laser
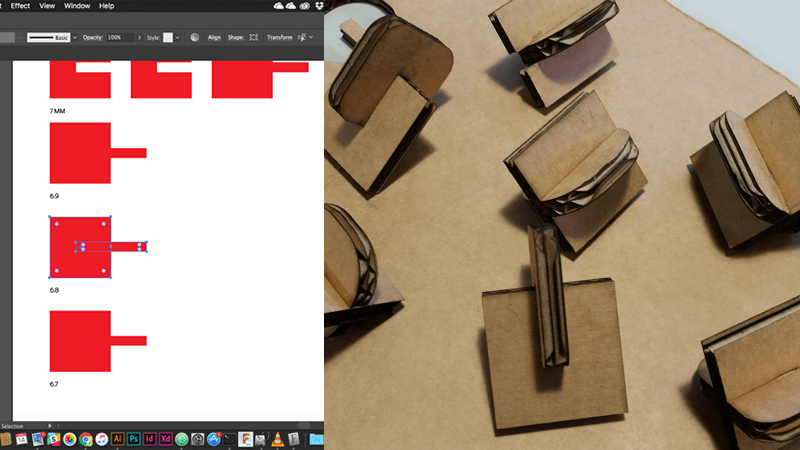
A first step for testing would be to prepare a 2D parametric model. Here's who you can do it very quickly:
I started a bit late on this, trying to catch up with the rest of the colleagues,
At first I focused on the cardboard trying to figure a scale for a assemblage on this specific 7mm thick one.
I used my colleague Filipa definitions and previous experience and developed a quick experience on illustrator.
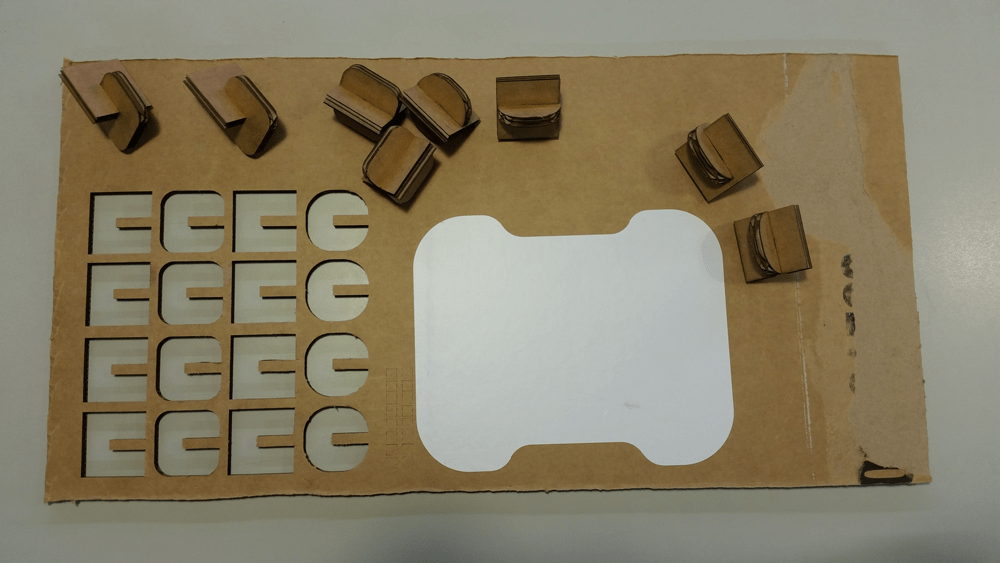 Part of the model
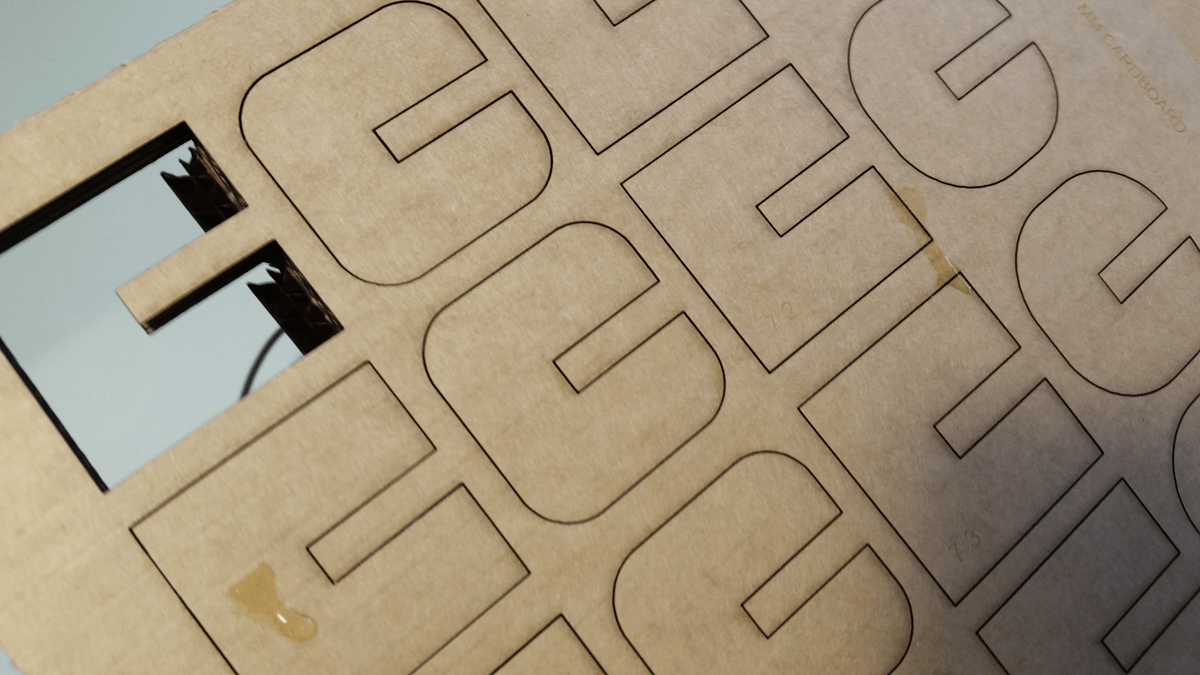 Experimenting with laser - cardboard connections
I had two goals, one of which I didn’t got to accomplish yet.
The first was to make a scale model of my near probe (GROUU new design), the one that would be stuck on the ground, near the plants, collecting all kinds of data;
 Probe Design for 3 mm MDF
The second was to come up with lost molds for blown glass, to use on a workshop next weekend (the weekenf after the assignement). (I will talk about this other time)
 Kerf experiments 1
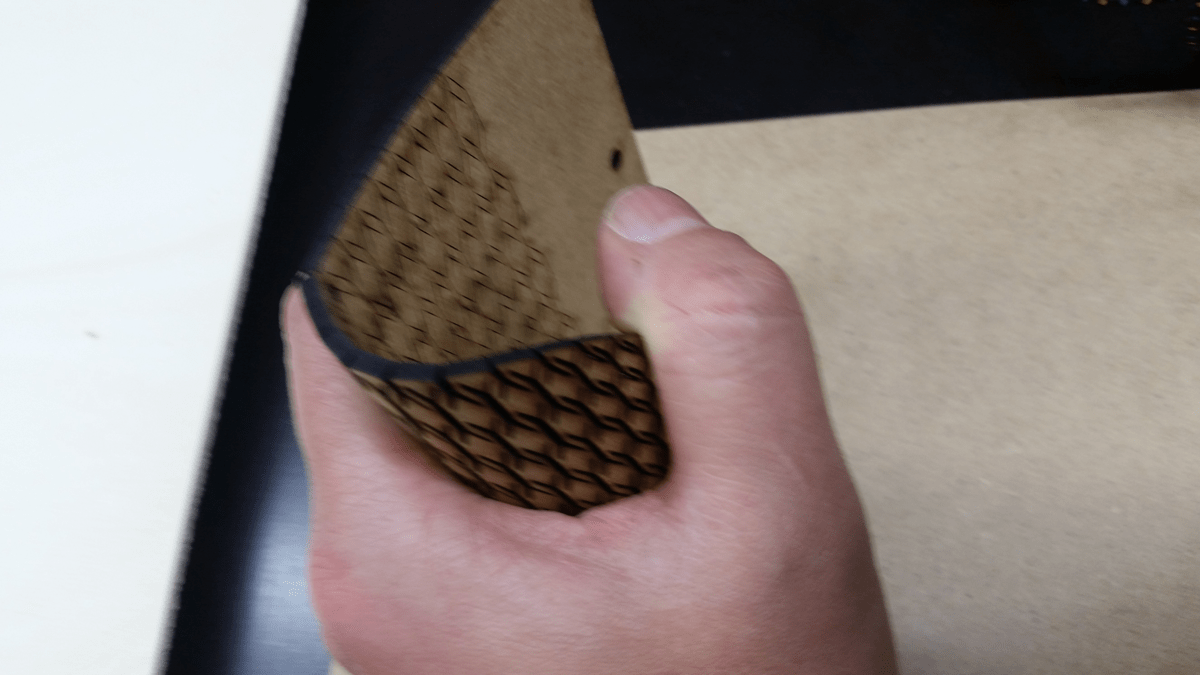
For both, kerf bending techniques and a deeper knowledge about it, besides grabbing samples and feeling amazed , would do a great job toward both goals.
The linear bend technique is easy and FIlipe already has very nice experience on the matter.
I was very interested on trying to bend MDF on more than one direction simultaneously.
I would use that for my lost moulds.
By experimenting with this set of samples, and cutting a few., I began having a lot of ideas and at the same time the clear conscience that to achieve a mould by wednesday was again an impossibility.
 Kerf experiments 2
I than focused on the model.
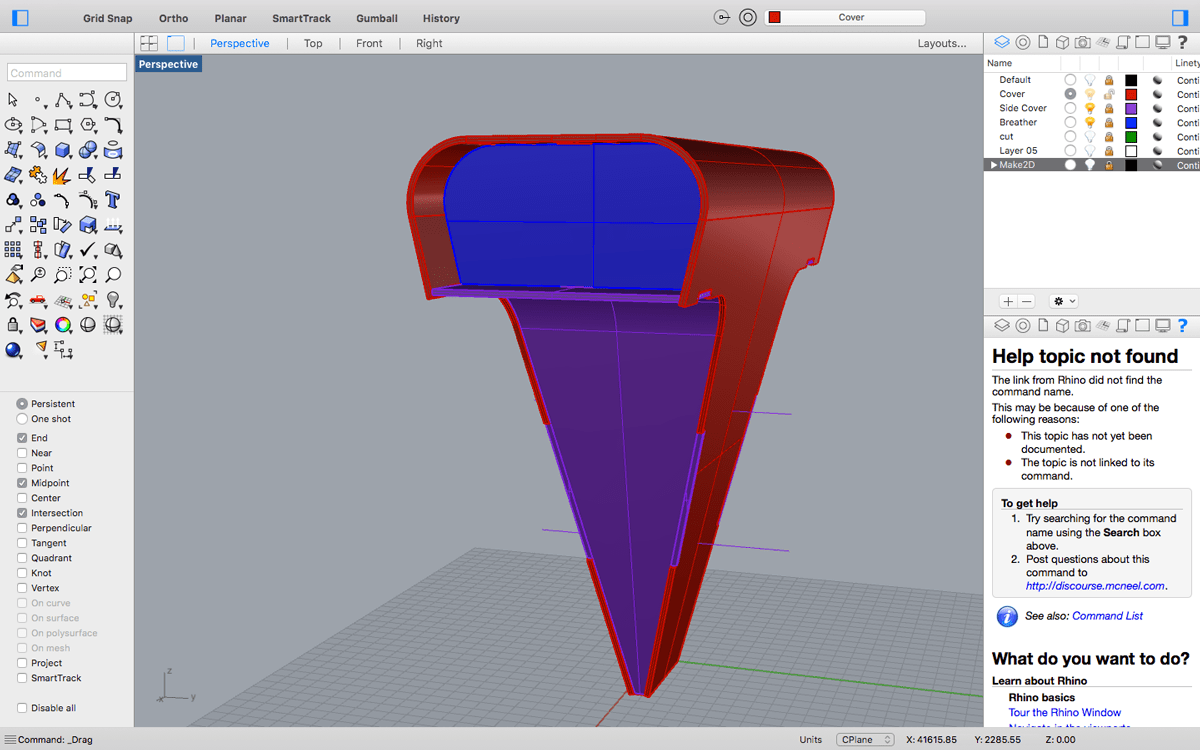
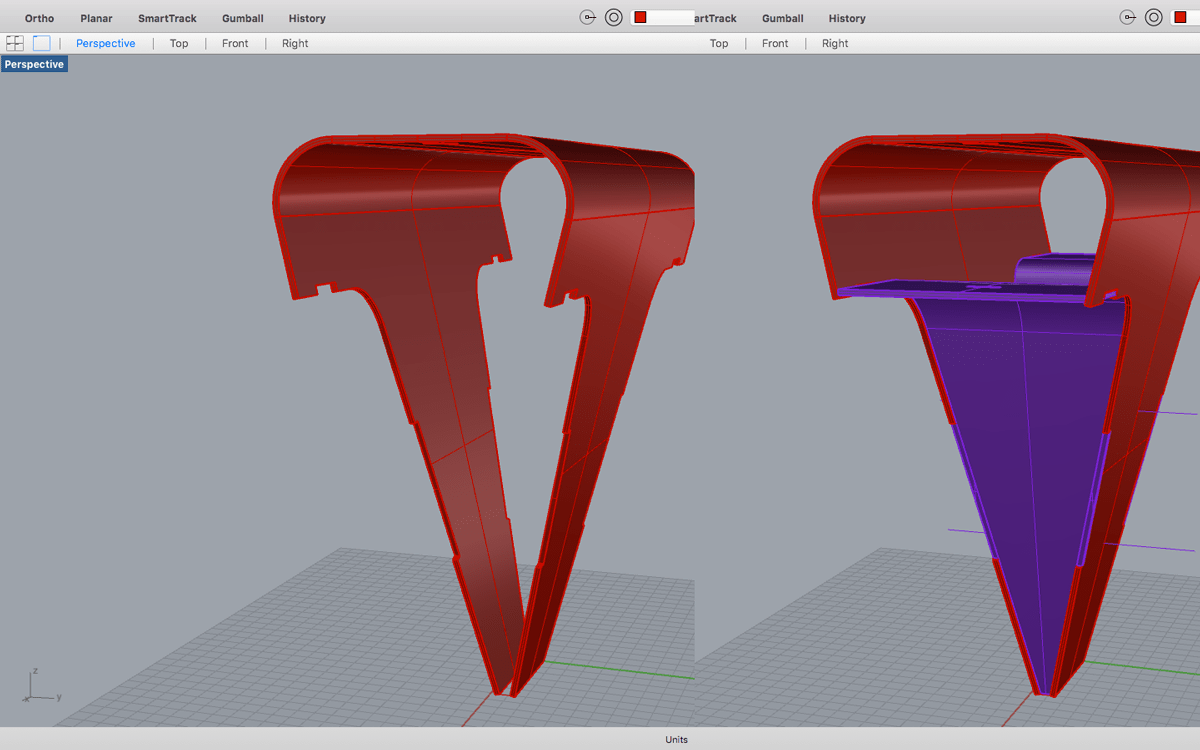
I only had access to rhino and the complexity of the shape was also impossible to model parametrically in just a few days. So I modeled it it classis NURBS 3d modeling techniques.
After having the complete model, I separated the components on layers and began isolating the outer surface and unrolling it (with the Unrollsrf command).
 Probe Design for 3 mm MDF kerf studies
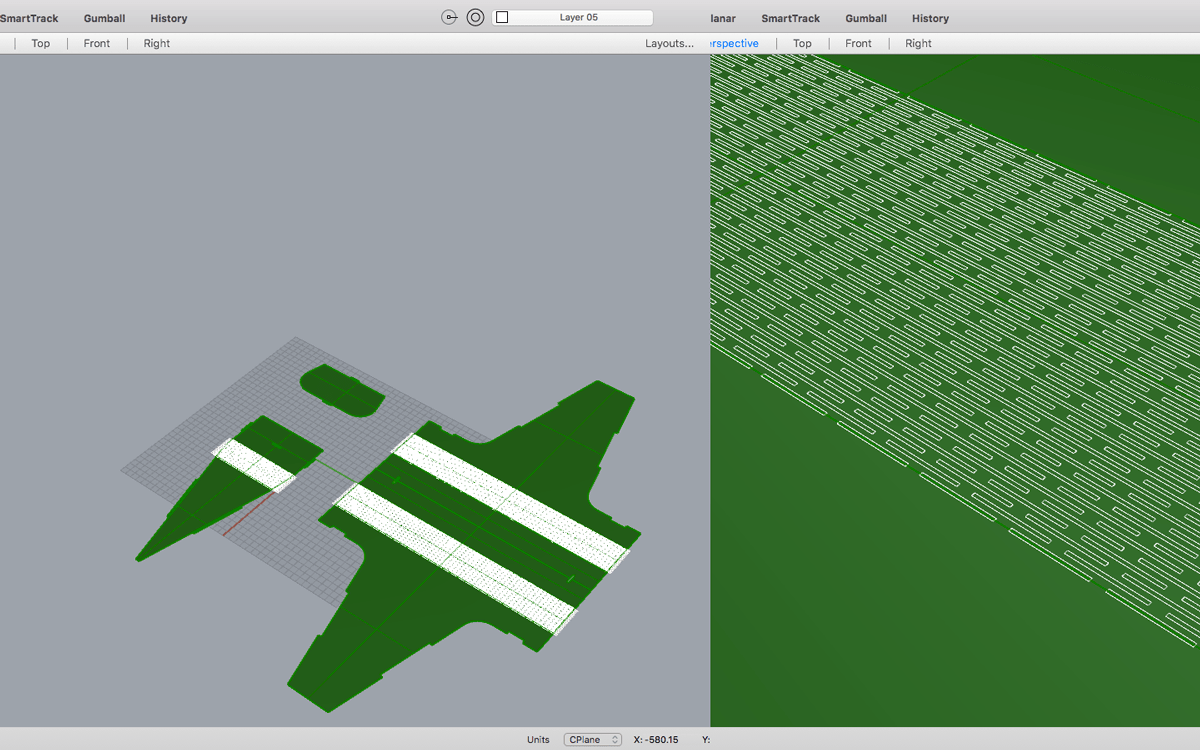
On top of this, I applied a linear kerf pattern to the perimeter of the areas to bend.
I than used the Make2d command to these elements and exported it to the dwg format to cut.
 Rhino + Kerf + Array
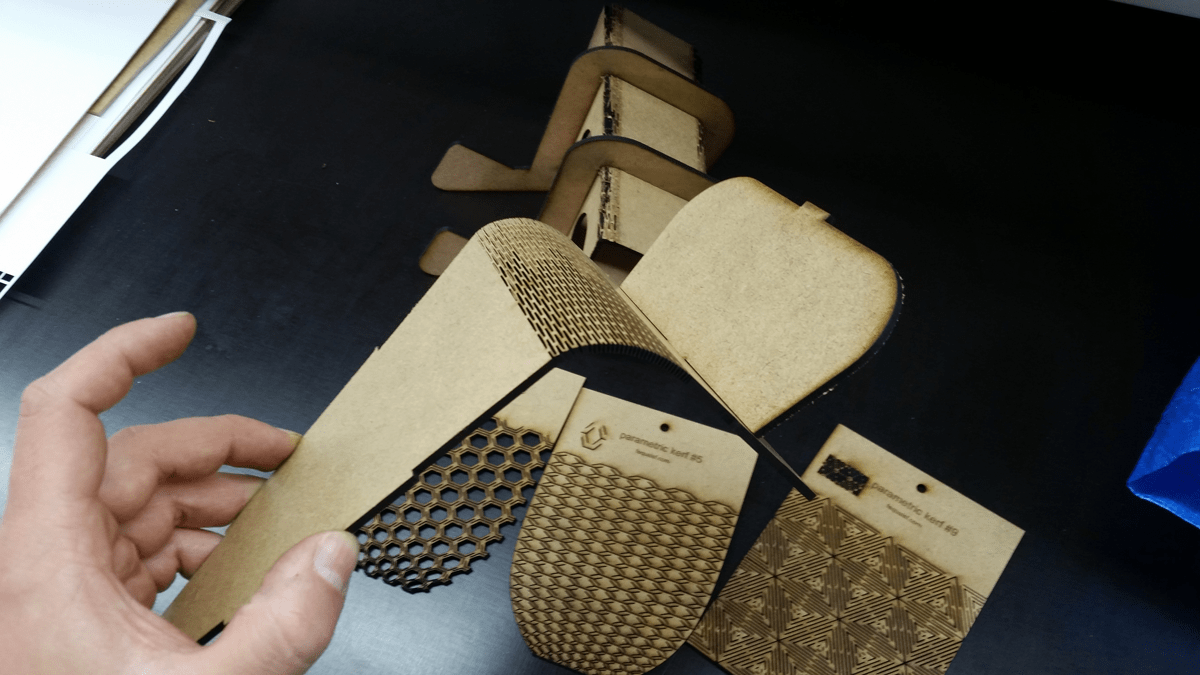
At this time I noticed that the size won’t fit the area. Since scaling was an impossibility because it makes me lose tolerances and material thickness index on connections, I just cut the smaller parts, leaving the rest to cut on a bigger dimension laser cutter.
Here is the result:
 Part of the model
 A used mould
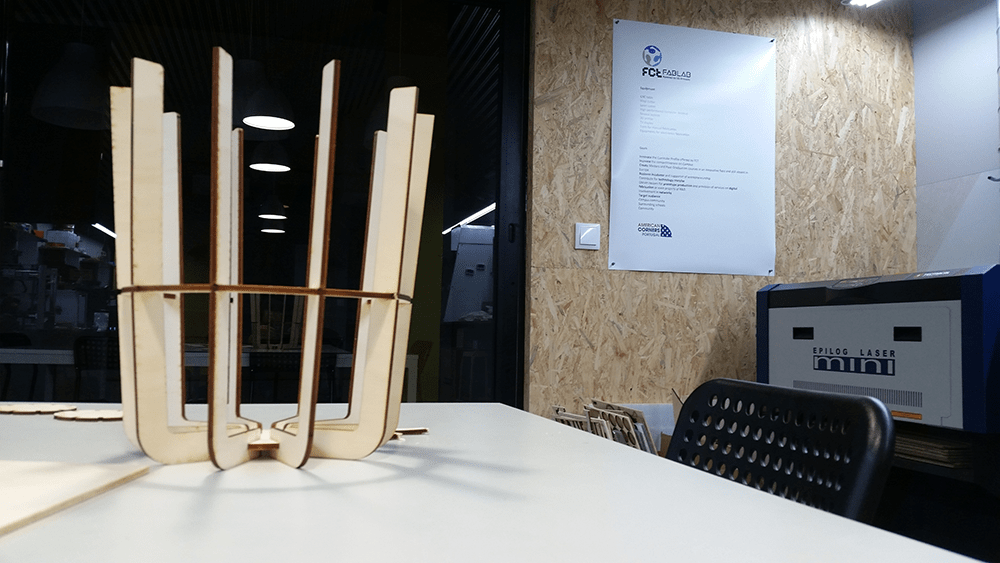
This experience is based in two premises:
It is quite easy to produce relatively big structures using press-fit thin plywood laser cuts;
You can use wood for blown glass moulds. The wood has to be burned and soaked before usage.
 OnShape Interface
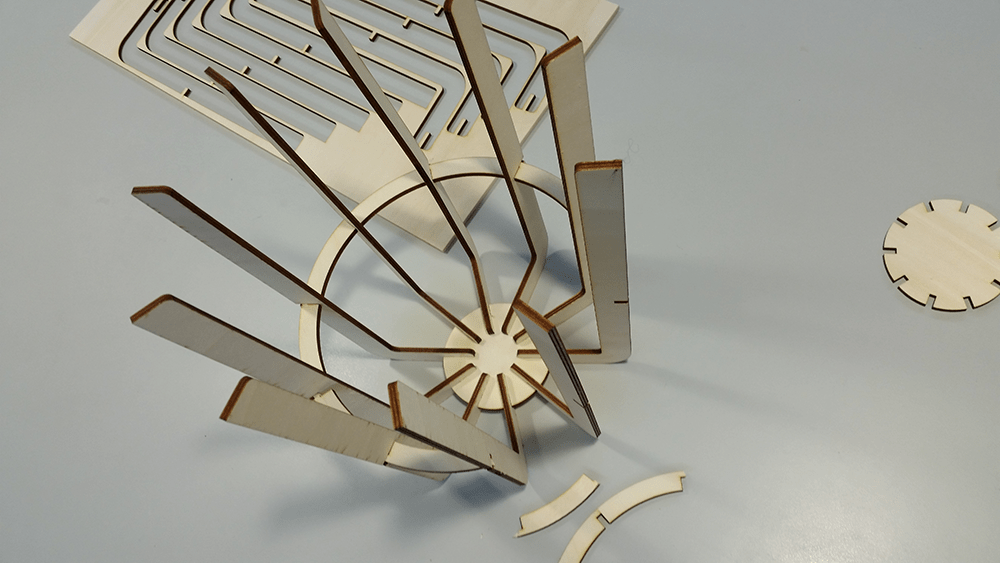
 First cuts
I’m also very interested on exploring the dichotomy between precision and aleatory generative control on traditional and artisanal artifact production processes.
All these made me come up with this experience, where I used a 3D design, divided it into radial sections exporting those same sections to 2d designs for cuts. The design was tested on onshape. From there exported as drawing at 1:1 scale and opened it on illustrator, compiling all into a cut file.
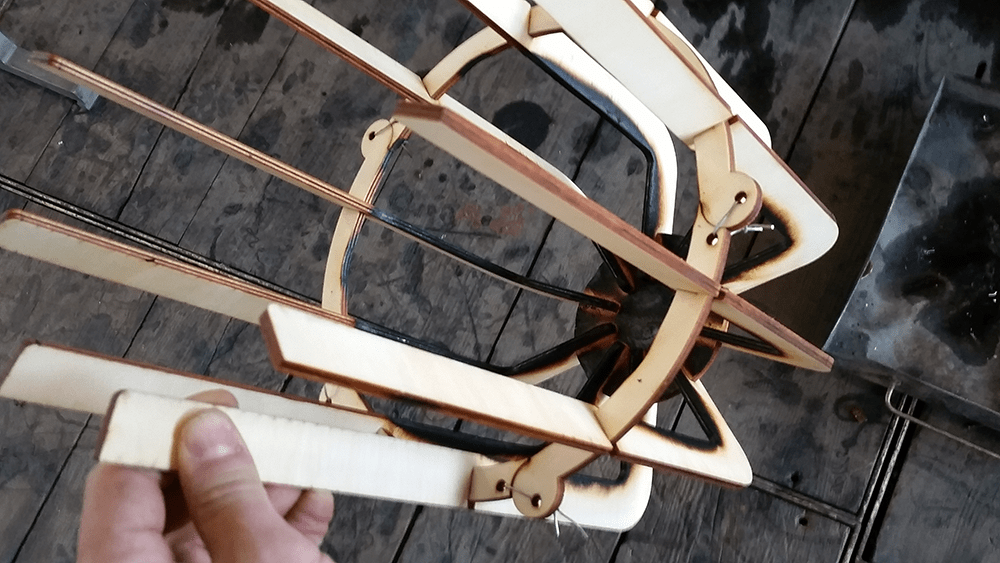
 Assembling 1
 Assembling 2
Another interesting thing about this process is that the laser already burns the wood, and that it is essential to seal and soften the wood to make contact with the fusing glass.
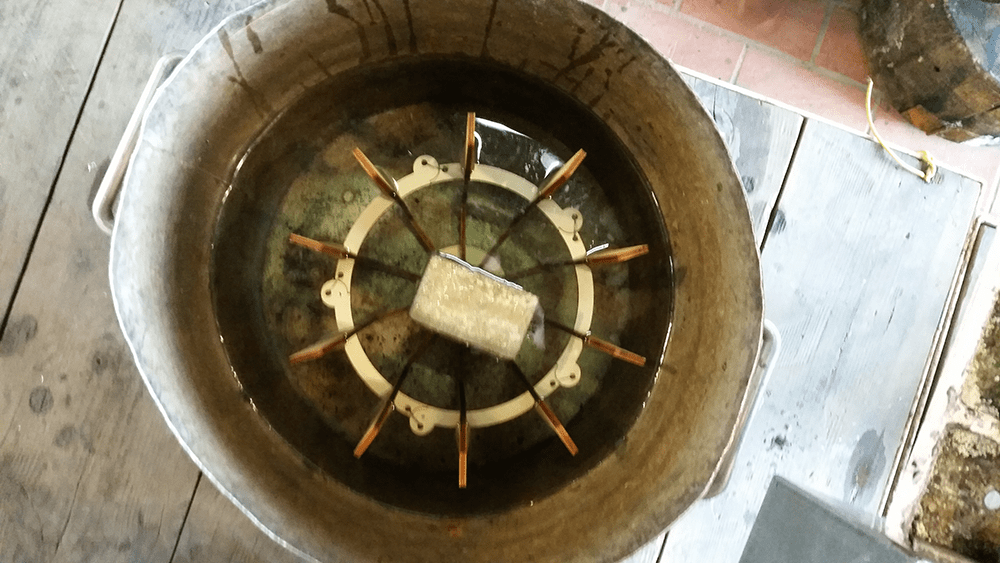 Soaking the mould before usage
Blowing glass
Soaking the mould before usage
Blowing glass
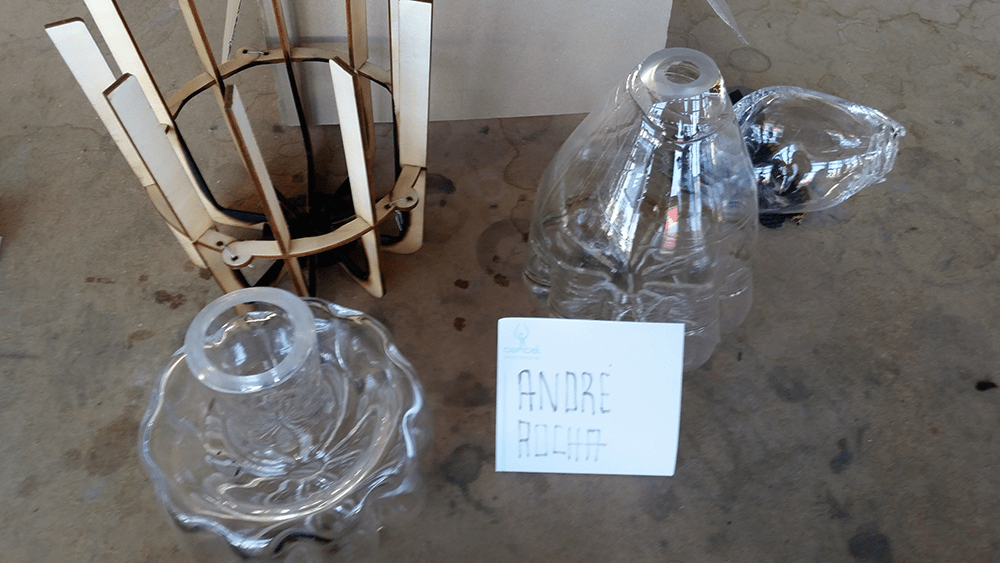 Used mould and first Experiences
In the end, I think I have a pretty nice process to repeat with a couple more designs, and turn it into a collection.
If by any chance you want to try or adapt the design, here is the cutting file.