#Week 04 / Computer-Controlled Cutting
Assignment and learning outcomes.
What is this week assignment?
For this week as a group assignment we must characterize our lasercutter's.
As an individual assignment we must design, lasercut, and document a parametric press-fit constructor kit, which can be assembled in multiple ways. Account for the lasercutter kerf. For extra credit include elements that aren't flat. Also, we must cut something on a Vinyl Cutter.
What I gonna do this week?
In this week I what to design parts for parametric press-fit construction kit using parametric 3D modeling tool. As Autodesk Inventor Pro has a parametric design tool I want to use it. Also, I want to design simple parts that I can assemble in multiple ways.
How I gonna do this week assignment?
First I need to design my parametric part using Autodesk Inventor Pro. After designing the part I will export it in some 2D vector file format like (.svg). After having all the files I need to set parameters for my laser(It depends on the material and its thickness ), which we must learn in a group assignment. After some test cuts, I will cut the final parts and assemble them.
What is the learning outcomes for this week?
For this week we must demonstrate and describe parametric 2D modeling processes, Identify and explain processes involved in using the laser cutter. Also develop, evaluate and construct the final prototype.
Which tools and materials I will use for this week?
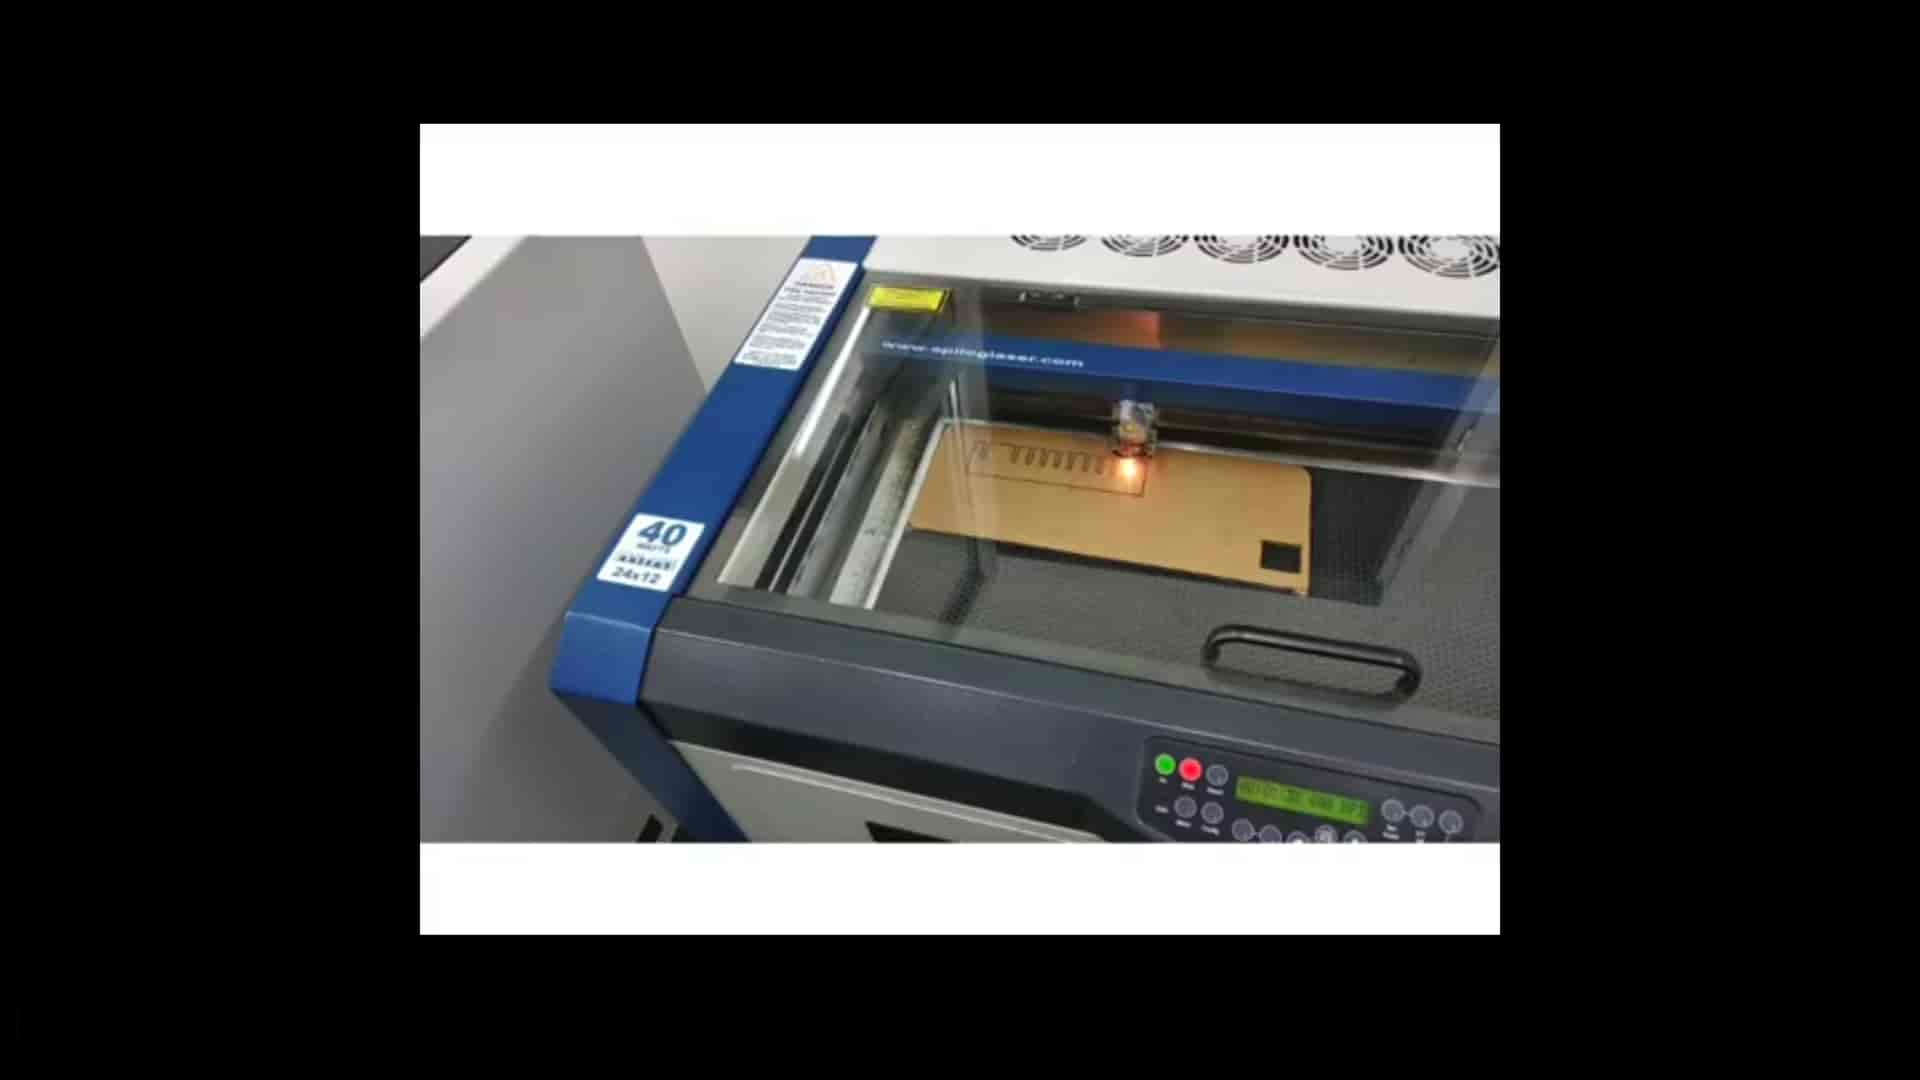
For this week assignment I will use “40 WATT EPILOG LASER” and as a material, I will use cardboard. For vinyl cutting, I will use “Roland GX-24”.
Which steps I am gonna follow?
First step is to create design parametric part for cutting, second configure laser in a group assignment, after cutting some test parts, and finally cut all parts and assemble. Also, I will try to cut something on a vinyl cutter.
Vinyl Cutting
Designing the logo
For Designing the logo I used Inkscape . Inkscape is very easy to use , and you can download it from Linux store , also it's available for Windows and Mac users .
At first I sketch polygon by using Create stars and polygons command .

After I changed the angles of polygon by using Dynamic offset command in the Path .
.jpg)
The next step is Duplicate the polygon , and press red X in down left corner , after press Shift and choose any color .You will see red line around polygon , you can change width of line by going to Stroke style on the right side , and adjust it .After by pressing Ctrl and Shift you can change the size of polygon line .
.jpg)
The next step is to insert image , you can just drag-and-drop the image .
.jpg)
Make sure that embed is checked .
.jpg)
After we must make it vector , by going to Path -> Trace Bitmap , choose the same option as in image and press OK .
.jpg)
You got 2 image one of them is vector the other one is raster image , you must remove the raster one (the left one ) .
.jpg)
You can adjust the size of image by pressing Ctrl + Shift
.jpg)
After I duplicate the image several time by using Ctrl +D command . After union them as one part by going to Path -> Union
.jpg)
After I choose gray surface and trees by pressing shift and Path-> Difference .
.jpg)
Afrter I sketched ellipses by adjusting opacity on the right corner .Also I duplicate ellipse several times and use Path ->Difference command .
.jpg)
After I write some text ,choose the font , and adjust the size . After I choosed the Text and ellipse and pressed Text -> Put on Path , and by pressing teh tab you can adjust the position . After choose the text and go to Path and press object the path , and delete the ellipse .
.jpg)
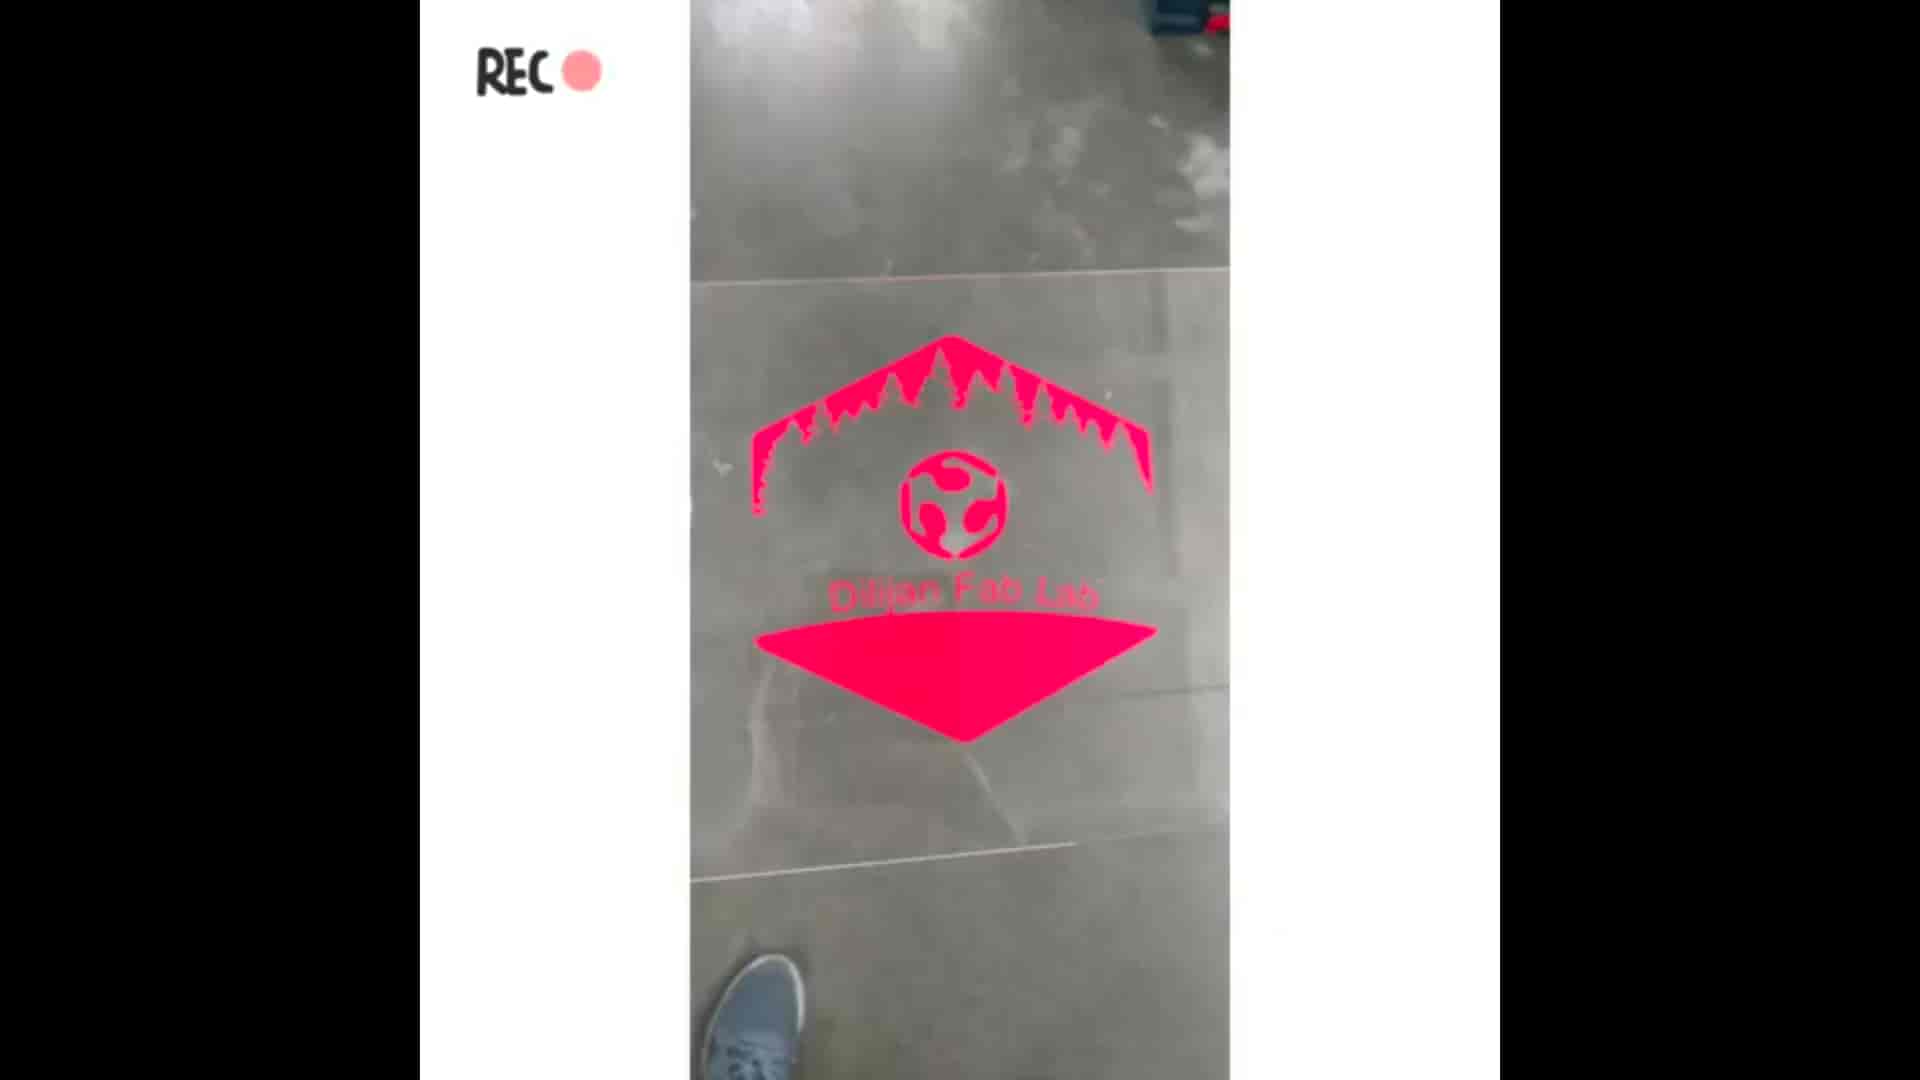
After adding image and changeint the color I got this logo .
.jpg)
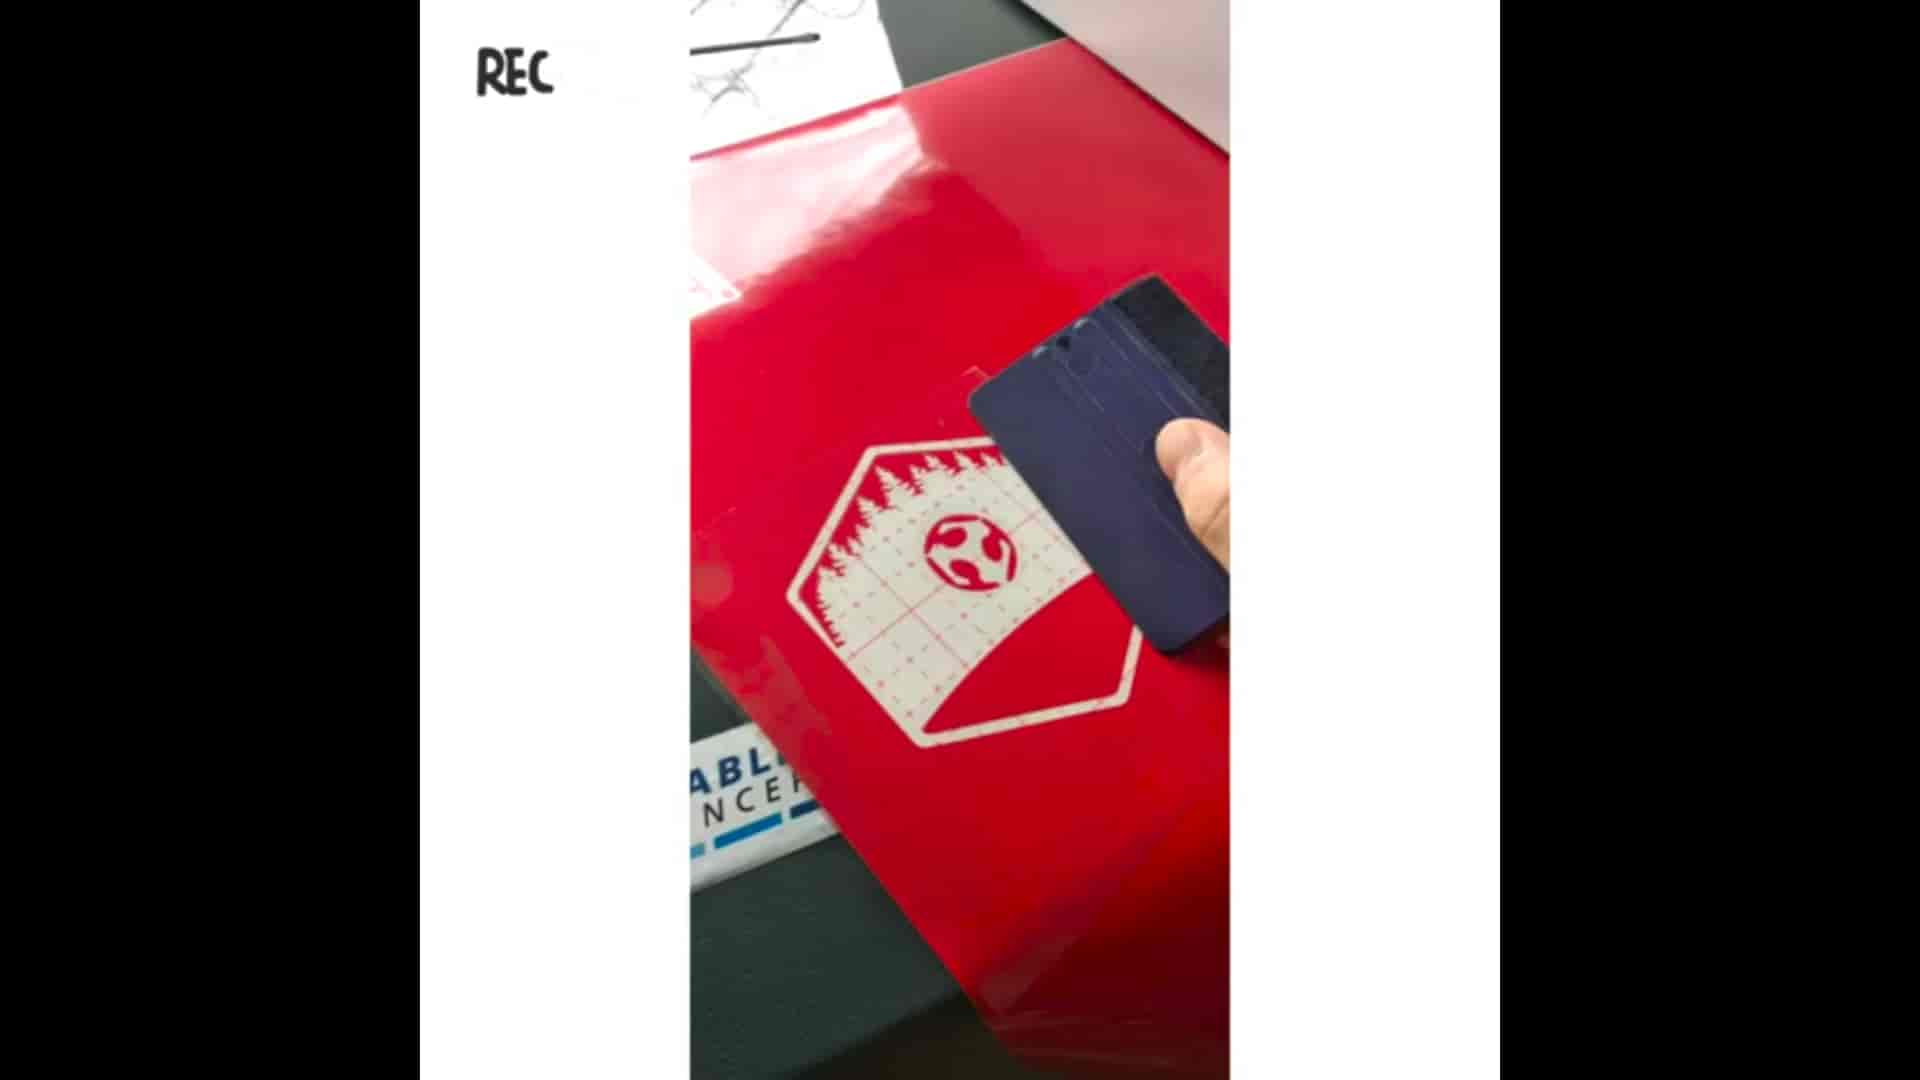
For vinyl cuting I exported it to DXF file format by going to File -> Save as (also you can choose) any format you what .
For vintl cutting we need to set the sheet in to the cutting machine by chagning loading lever(lowered).Installation of cutter -need to Insert the cutter holder while supporting the screw. If it is properly inserted as shown in the picture OK. Basically, it does not take out because it adjusts the cutting condition with cutting pressure.After turn power on.Mesure the lenght of the seat. Do some test cut by setting up Pen force,if it is not ok we can change cutting pressure.After we need to set the origin by ajusting position and presing ORIGIN button. the final step is to connent cutter to computer and by using CUT STUDIO send data to cut.
Laser Cut
Test cut
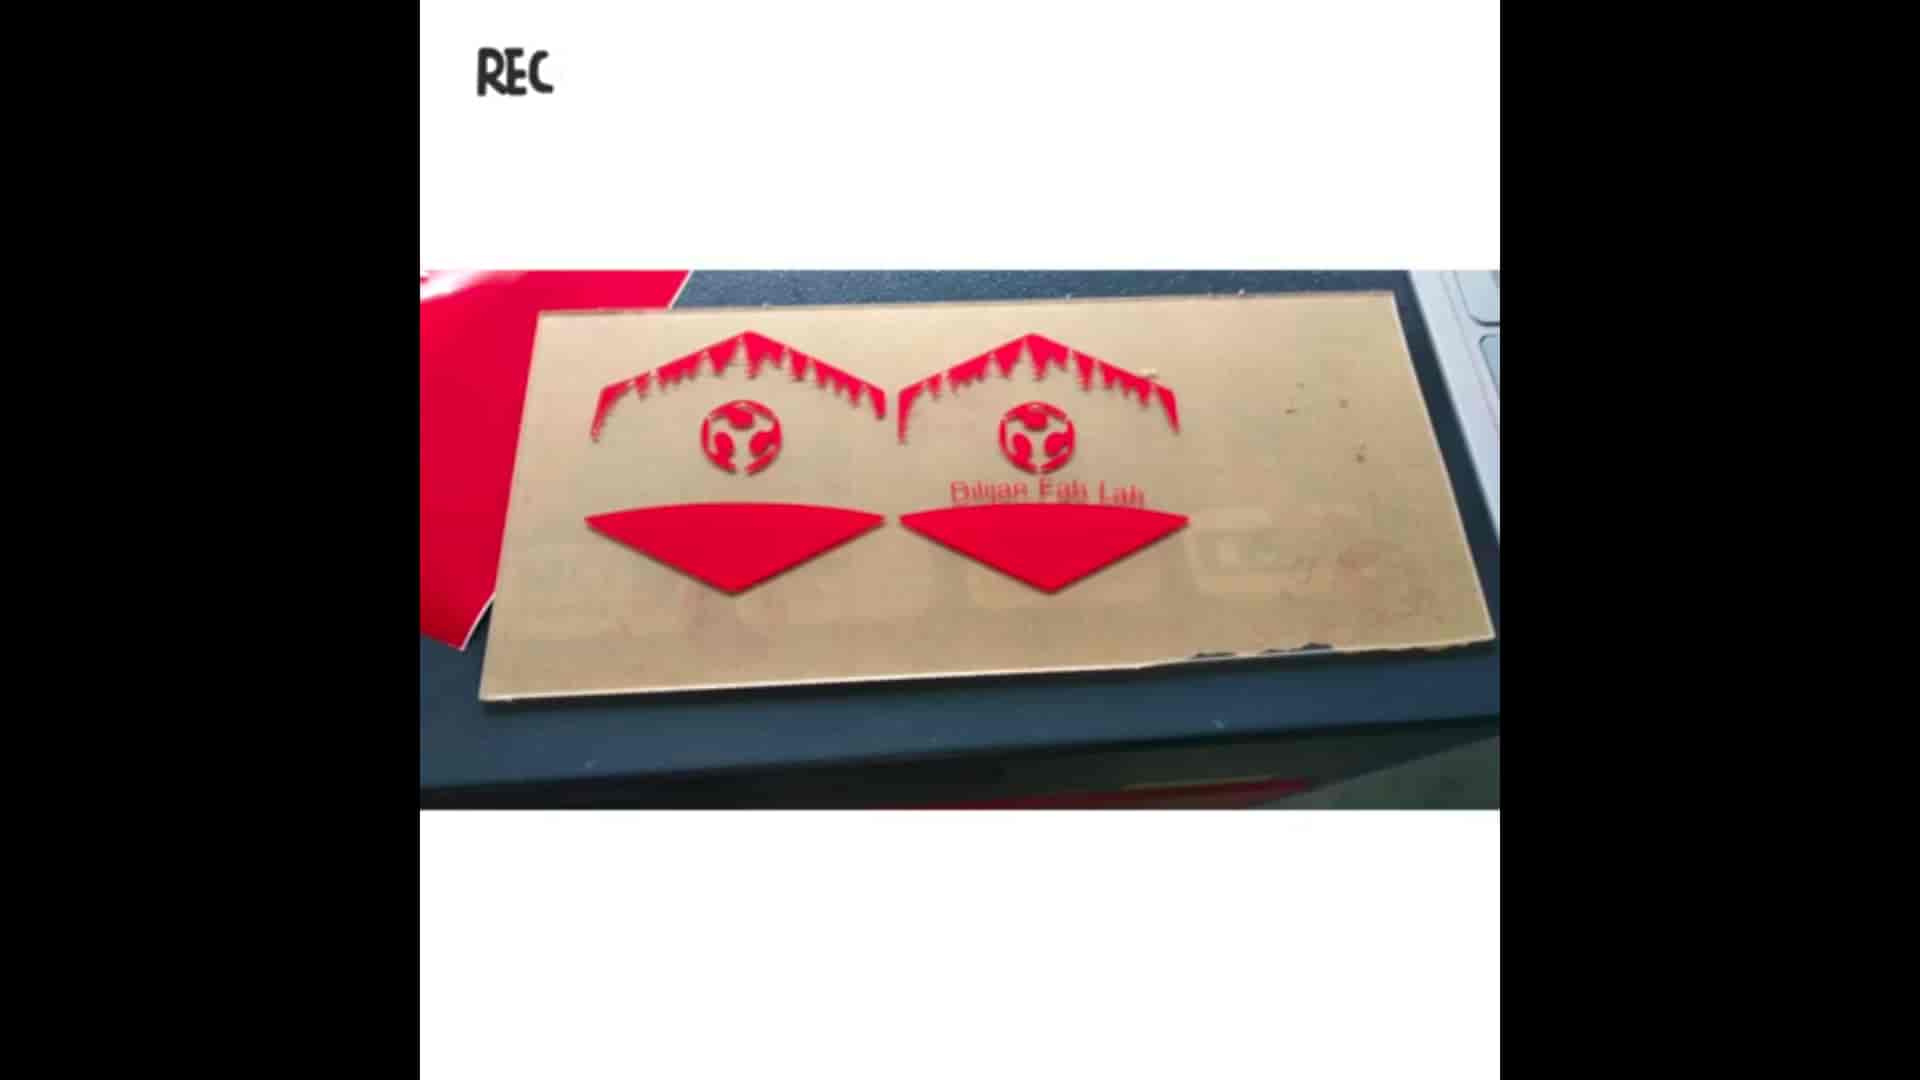
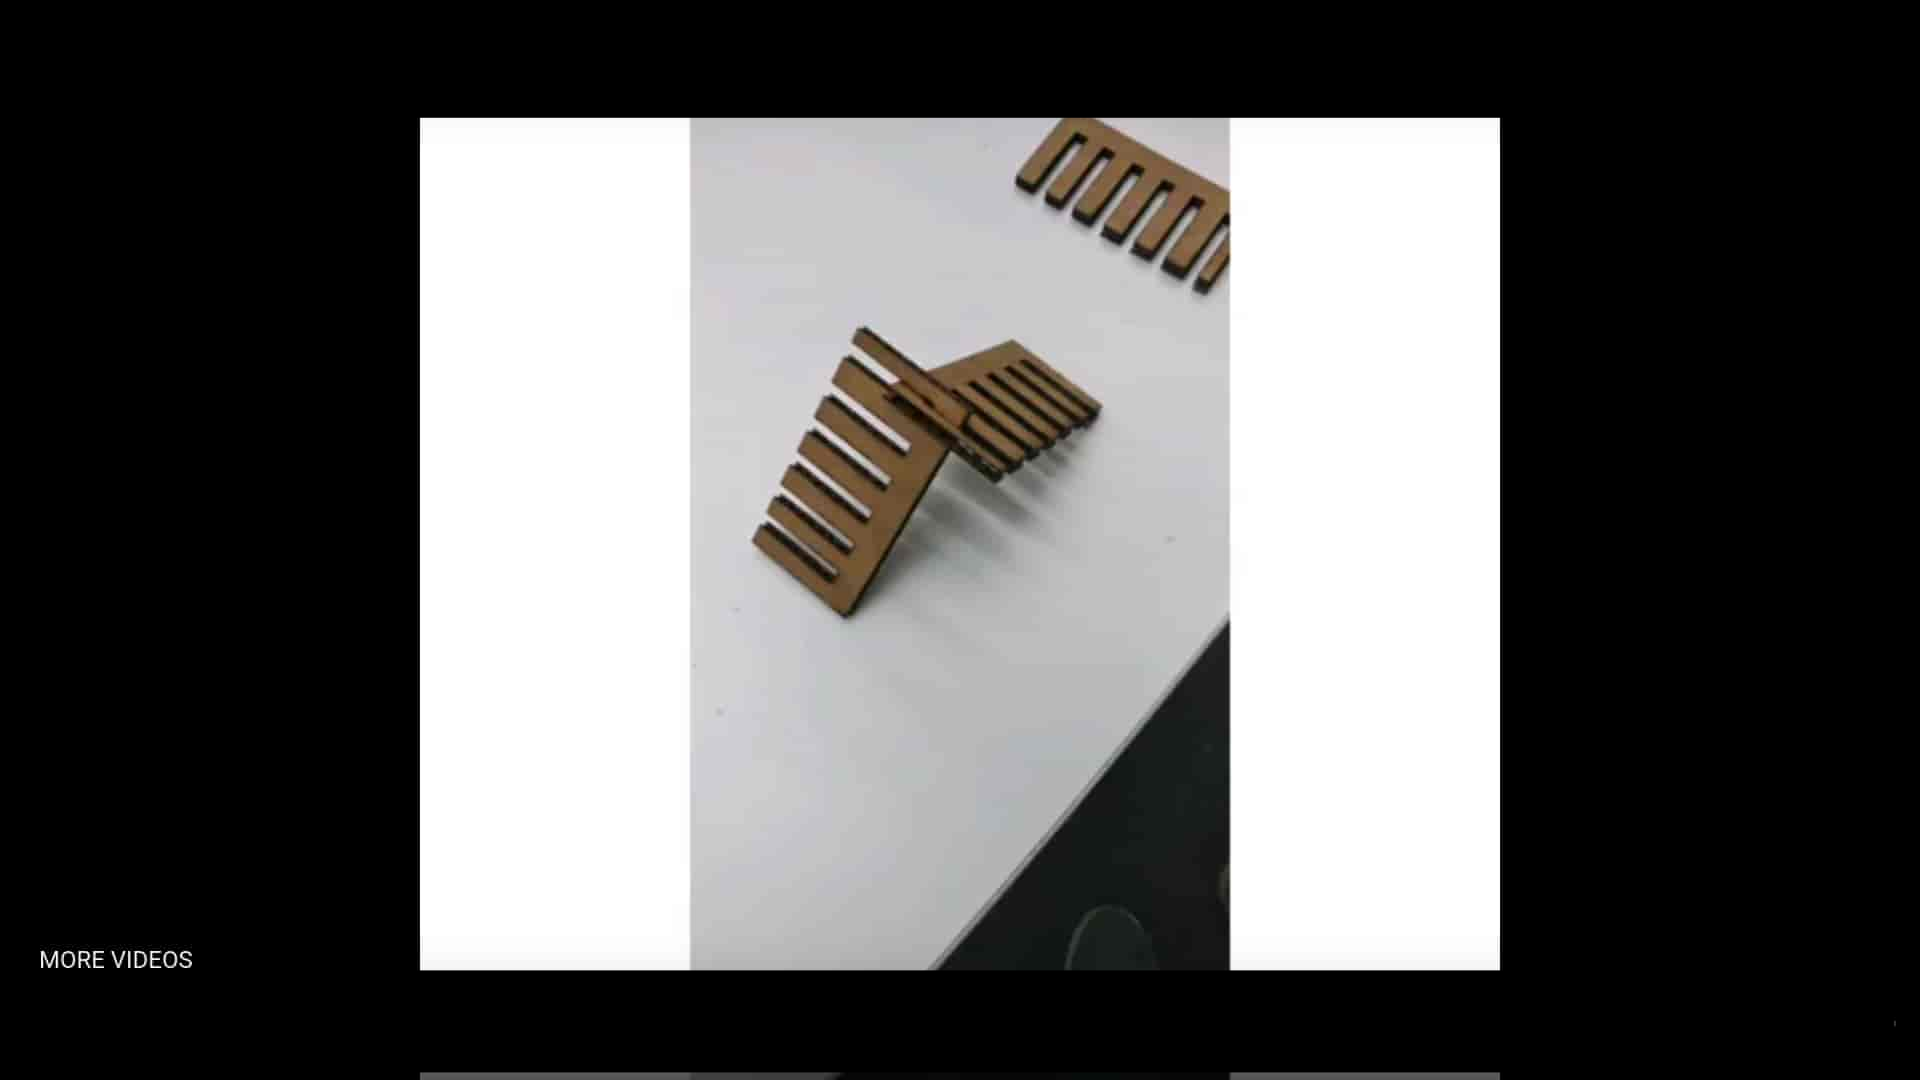
First, of all, we have made the test part to check the joints for press fit kit. We make a parametric design using 3D modeling tools like Fusion 360 and FreeCaD. After finishing the model we export it on .svg file format and cut it on Mini Epilog laser cutter (40W). Test part has square cuts, the thickness of square cuts is probably the same(+/-0.1mm) as the thickness of the cardboard(3mm).As you can see from the picture last square cut is the best, it is about 3.2mm. I will use this for parametric design to make my press fit kit parts.
Parametric design of Press-fit
Parametric design is a process based on algorithmic thinking that enables the expression of parameters and rules that, together, define, encode and clarify the relationship between design intent and design response.
In Autodesk Fusion 360, for the parametric part design I have follow this steps. steps:
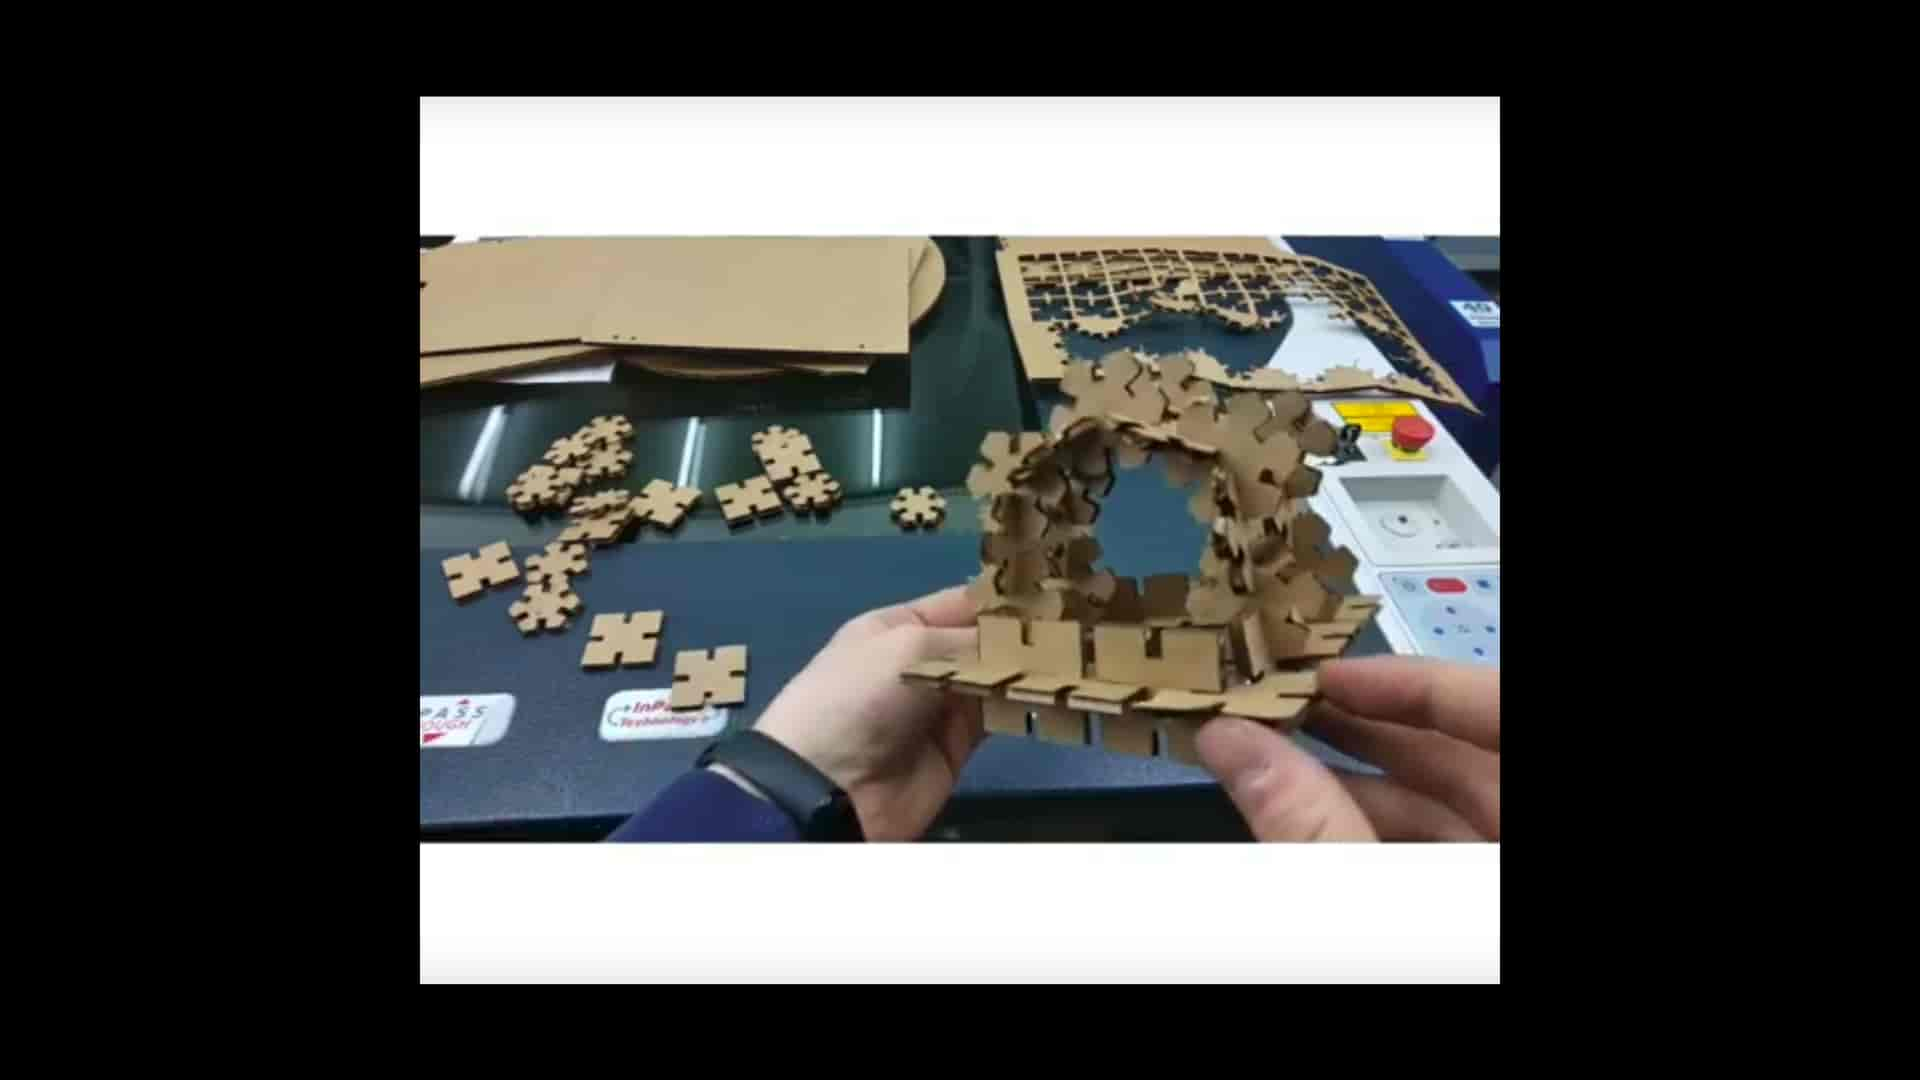
Press-fit kit laser cutting
Safety is a number one priority -DO NOT remove material from the cutting bed before it has cooled. DO NOT leave a laser cutter operating unattended. ALWAYS clean up clutter, debris and flammable materials in the laser cutter after use. ALWAYS keep a properly maintained fire extinguisher nearby.
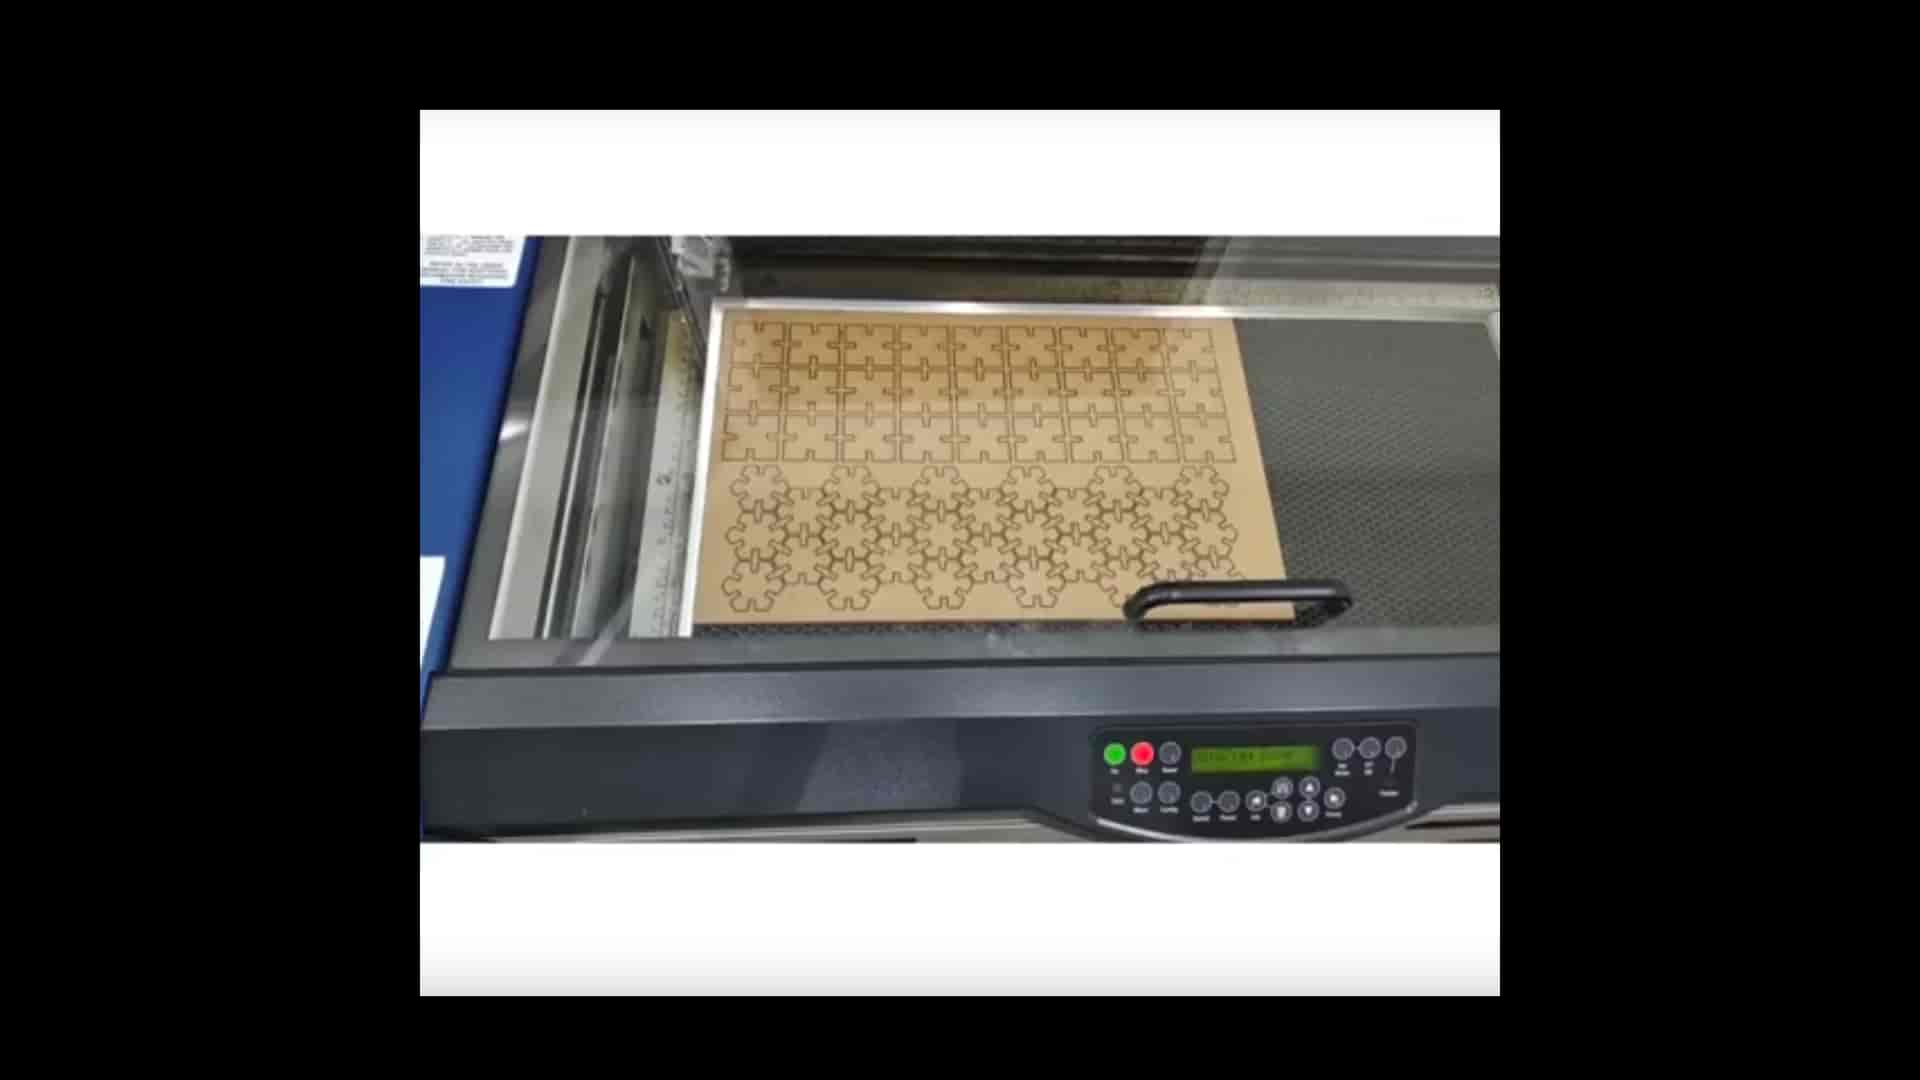
For Cardboard Cut I used this parametrs to cut parts
For laser cutting I follow this steps